


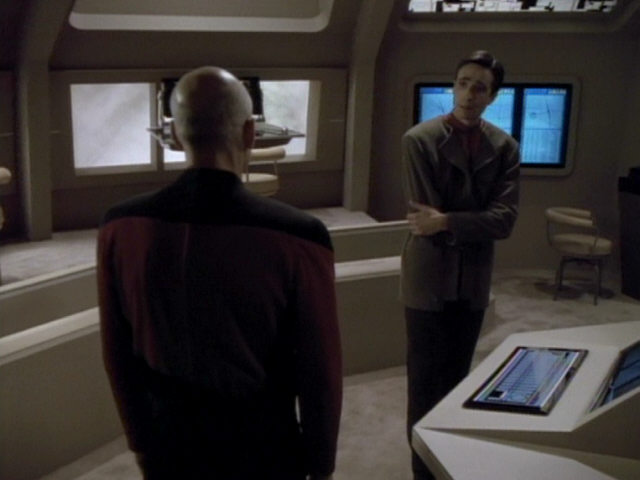
Observations in TNG: "Cause and Effect"
A joint project with TrekCore, by Jörg Hillebrand and Bernd Schneider
 Here are some observations about sets, props, make-ups and visual effects in TNG: "Cause and Effect" without a specific theme, and a comparison of the original TV release (TNG) with the remastered episode (TNG-R).
![]()
"Cause and Effect" HD Screencaps @ TrekCore
| Description TNG | Other caps | Comparison TNG to TNG-R | Description TNG-R | |
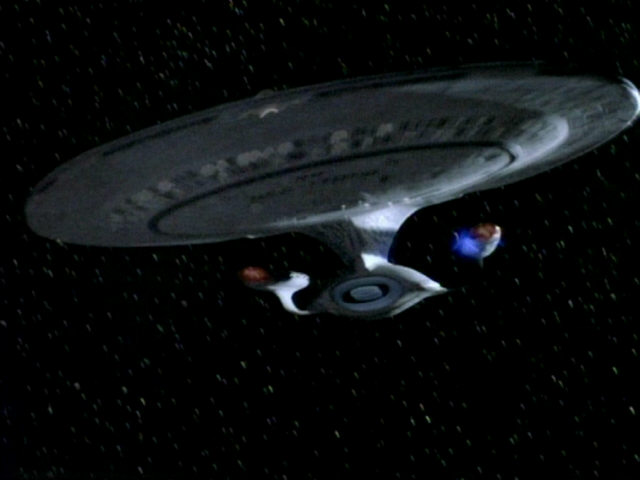
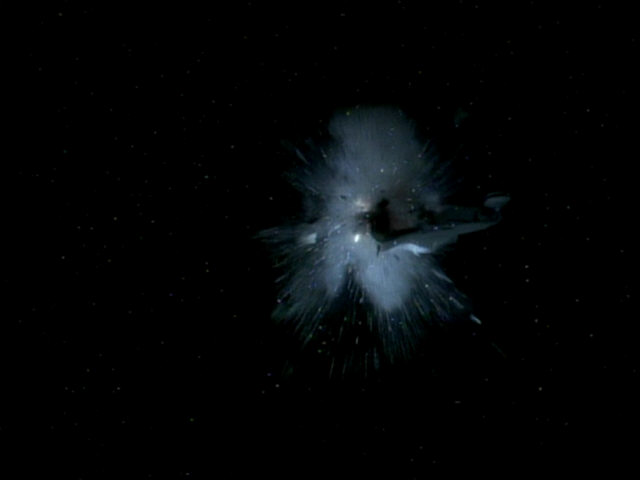
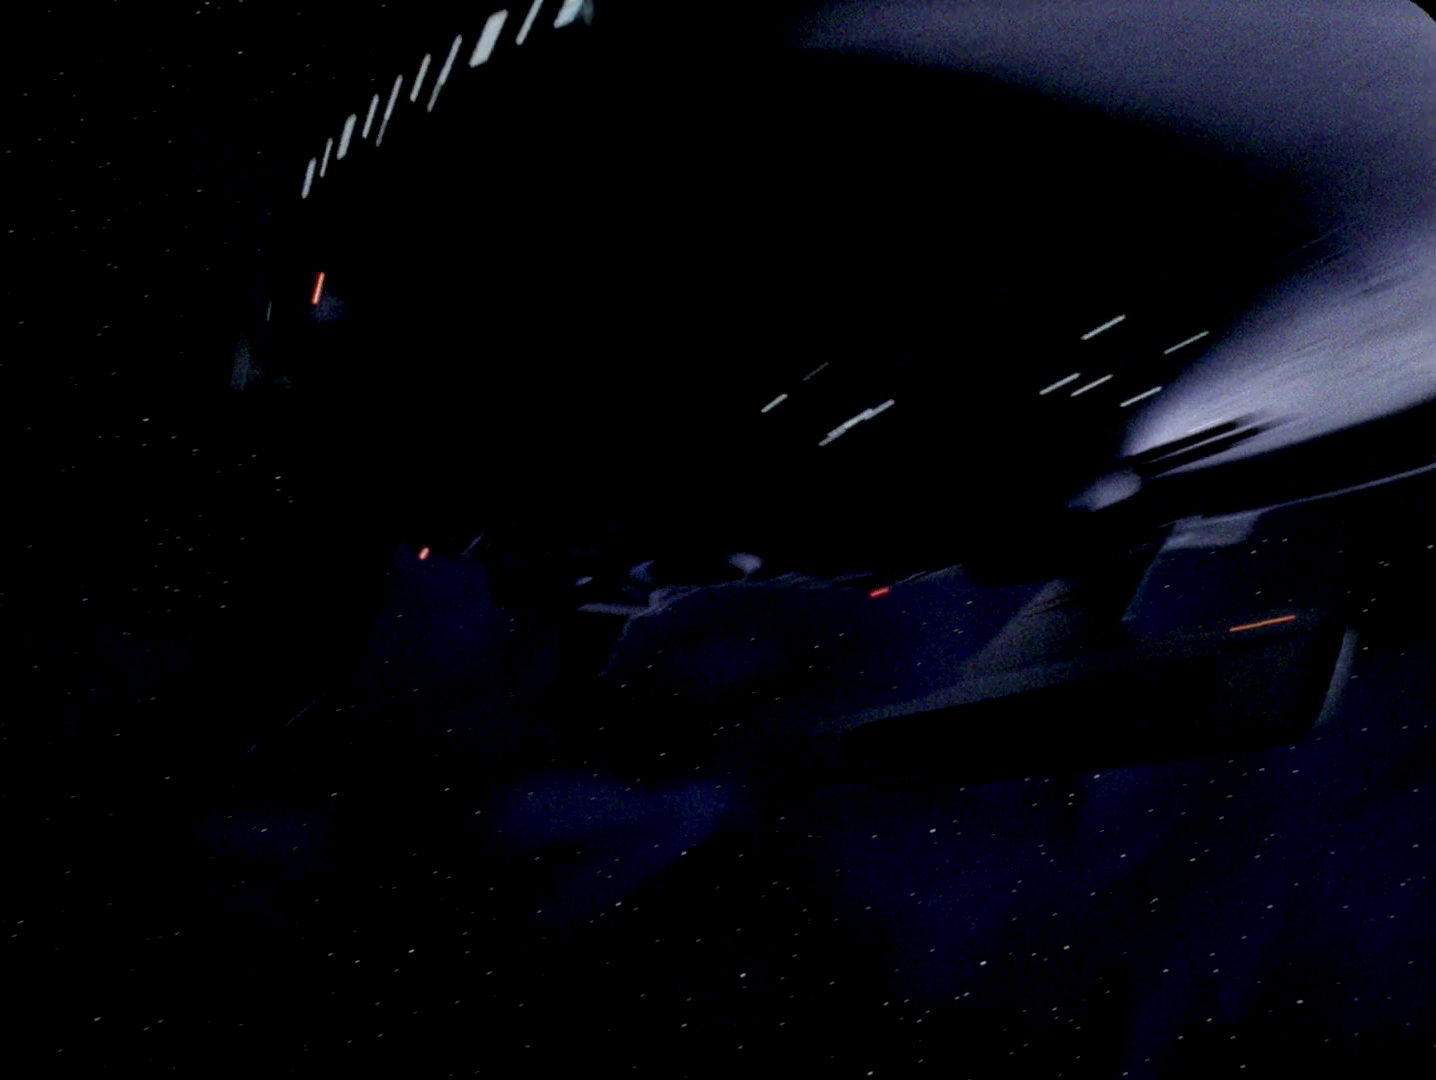
| The USS Enterprise-D violently spins out of control after the starboard nacelle explodes. | 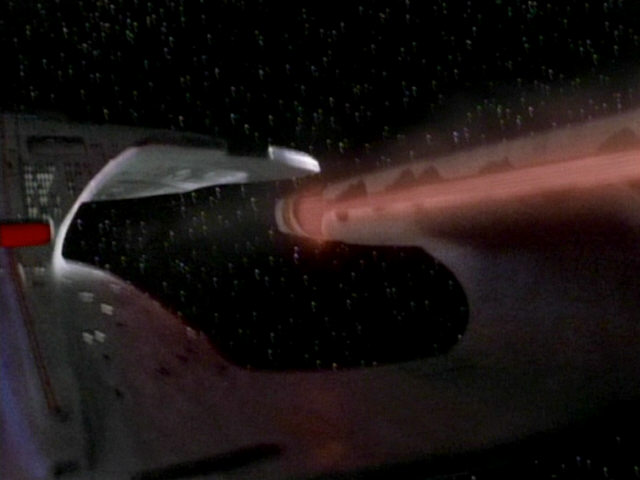  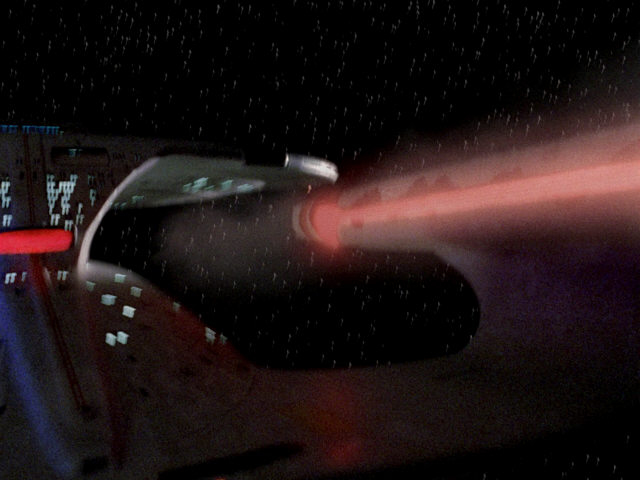 |
The sequence in TNG-R. | ||
  |
||||
  |
||||
| Flames engulf the bridge of the ship shortly before it explodes. The flames were added in post production, of course. | 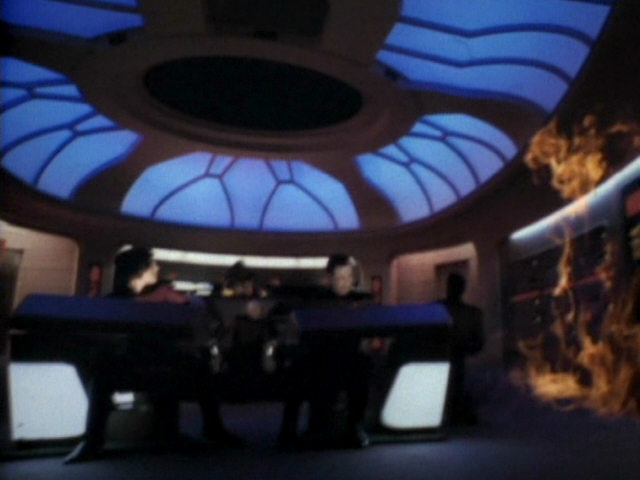 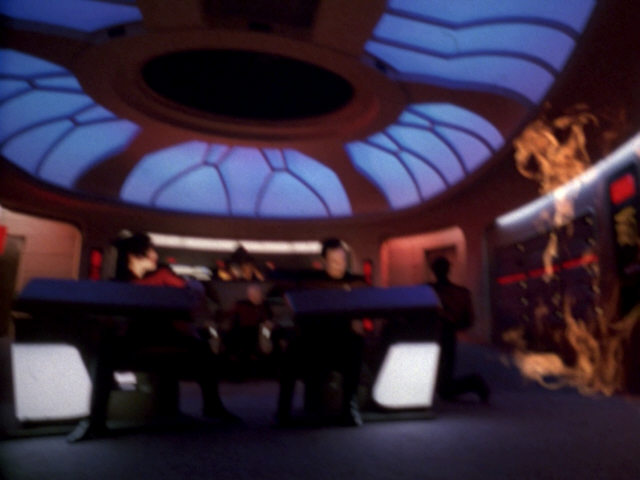 |
All shots of the burning bridge (also those seen later in the episode) are still extreme blurry in TNG-R and may already have been filmed with a defocused lens. | ||
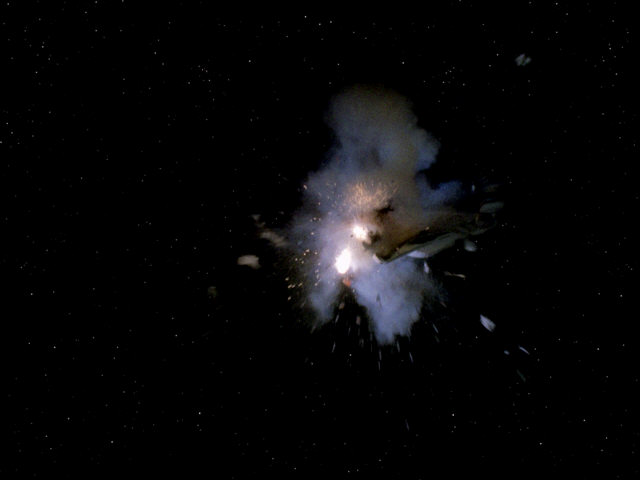
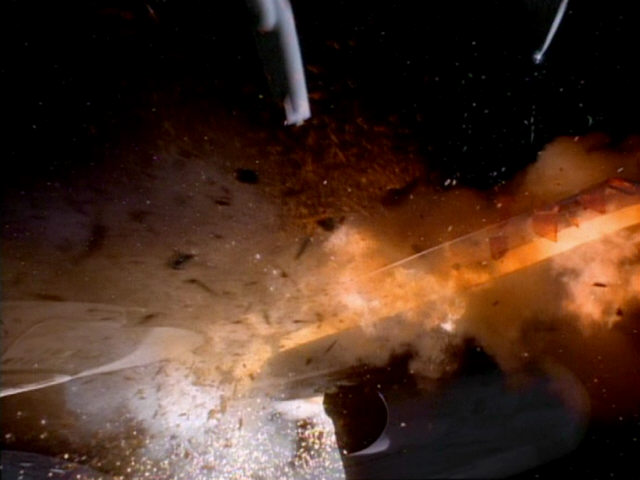
| The USS Enterprise-D explodes. The same footage appears several times in this episode. | 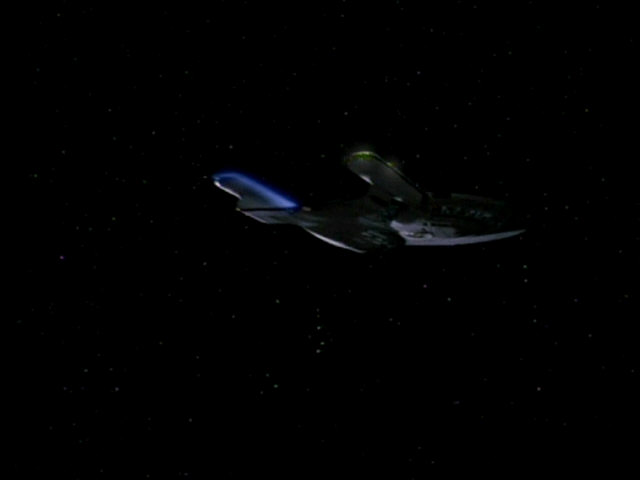 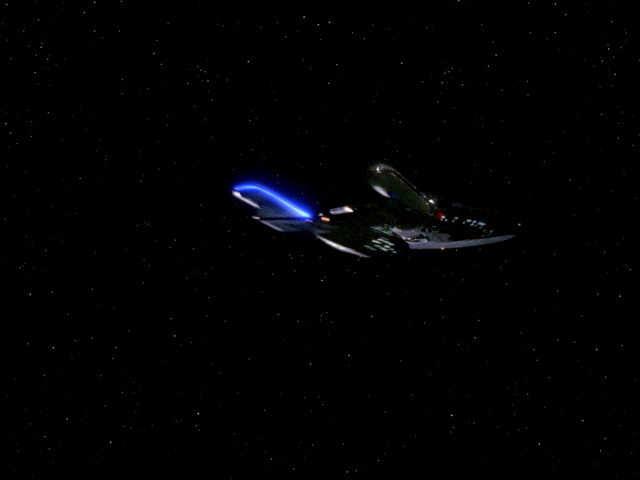 |
The sequence in TNG-R. | ||
  |
||||
  |
||||
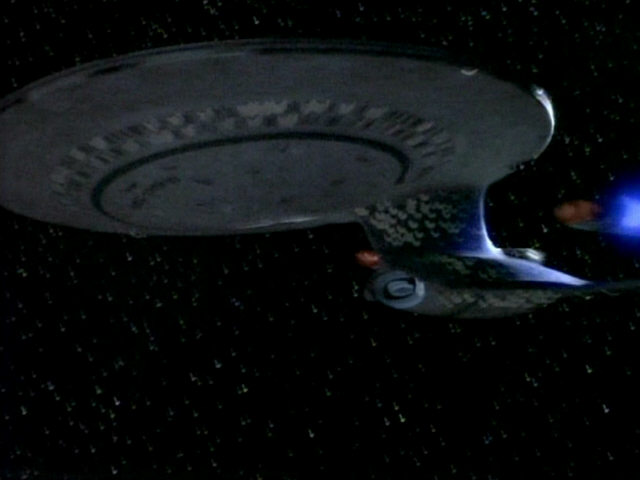
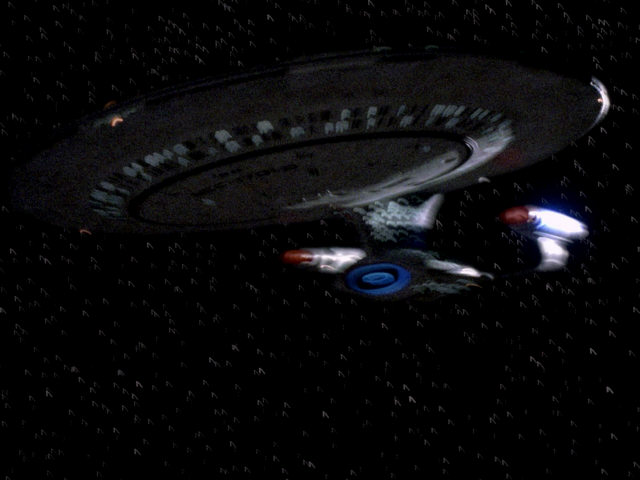
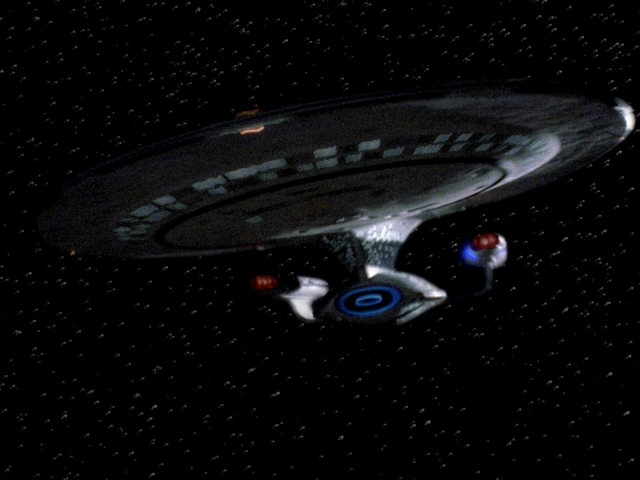
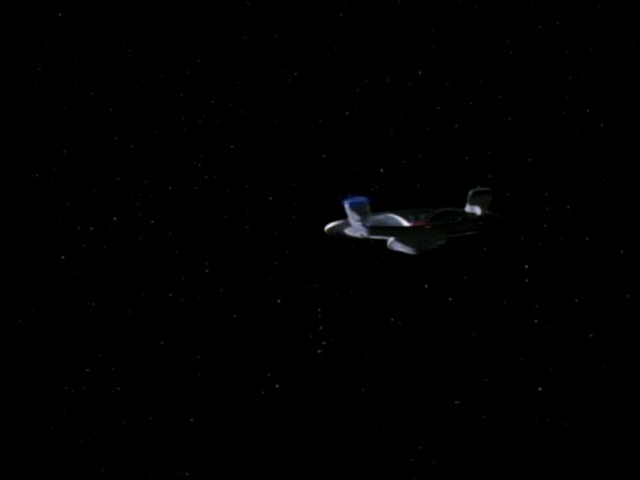
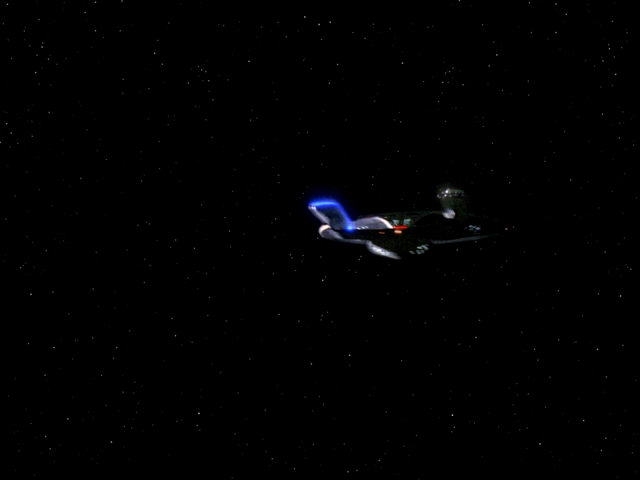
| The frequently re-used flyby of the Enterprise-D. It can be seen in three more of the time loops. Enterprise Flybys in TNG and TNG-R |
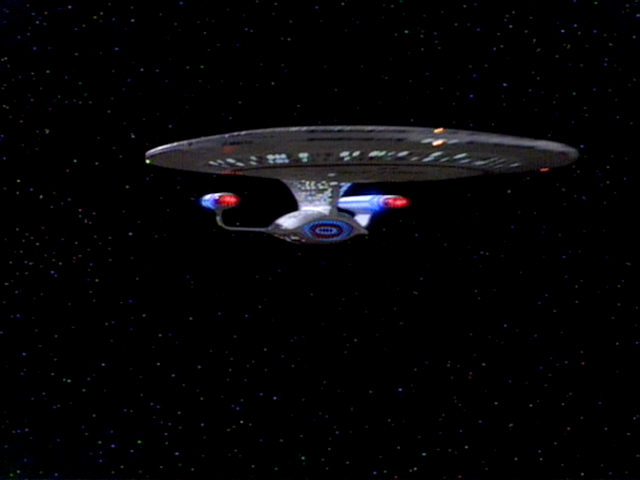 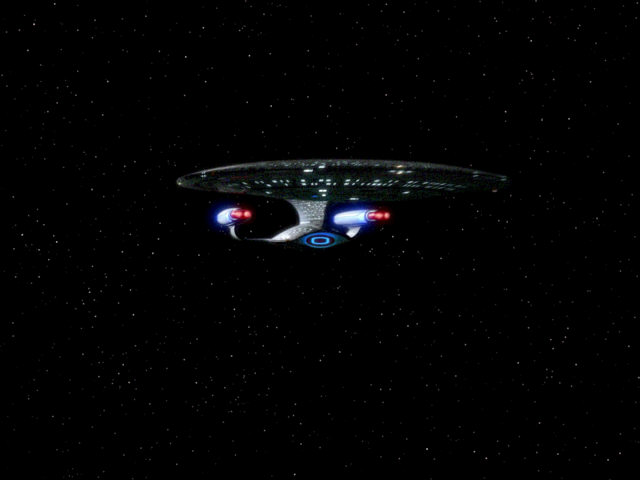 |
In TNG-R, we can see a CG model of the ship. | ||
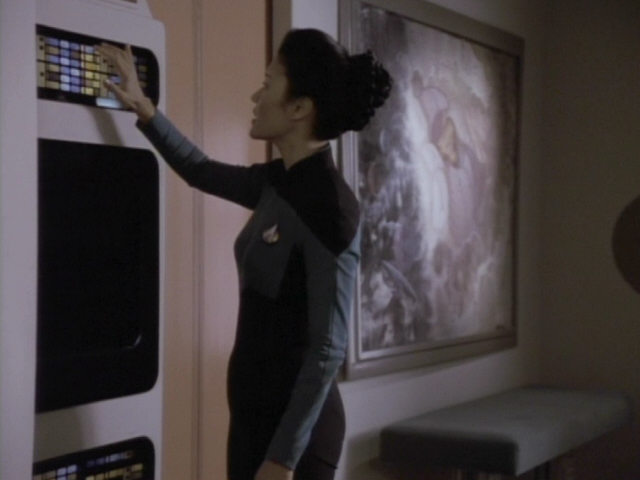
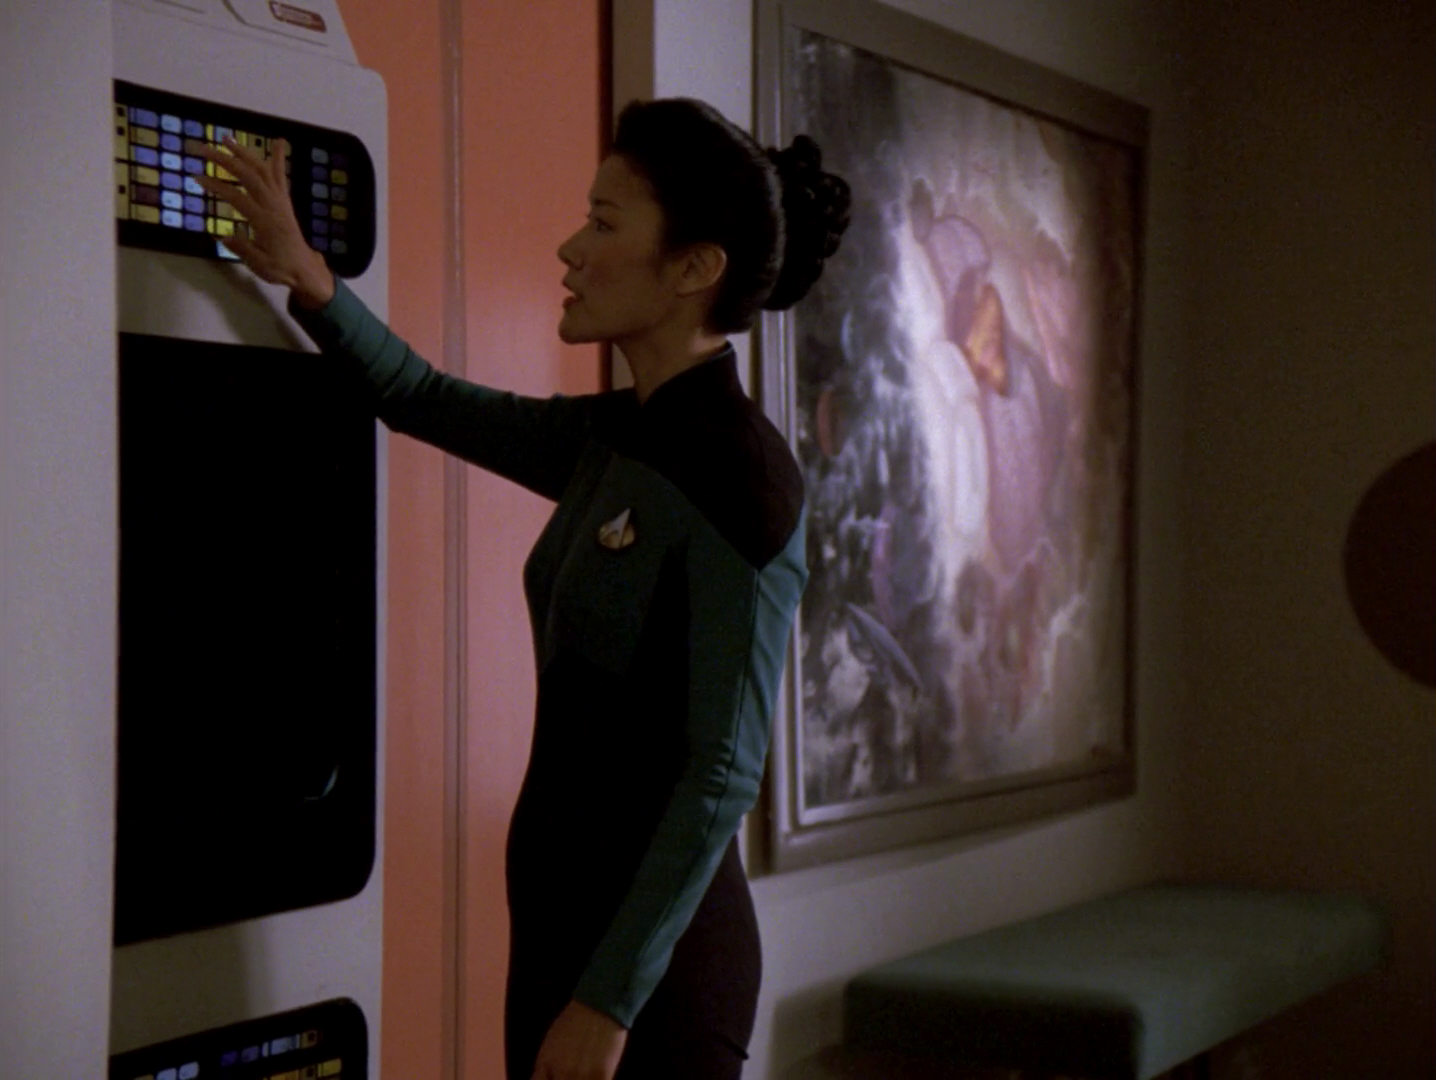
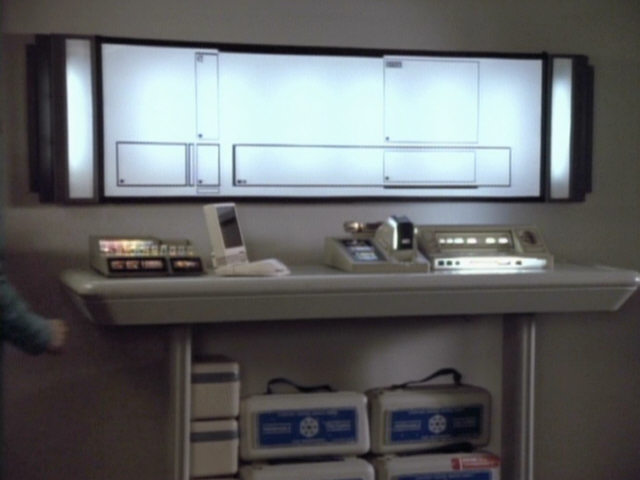
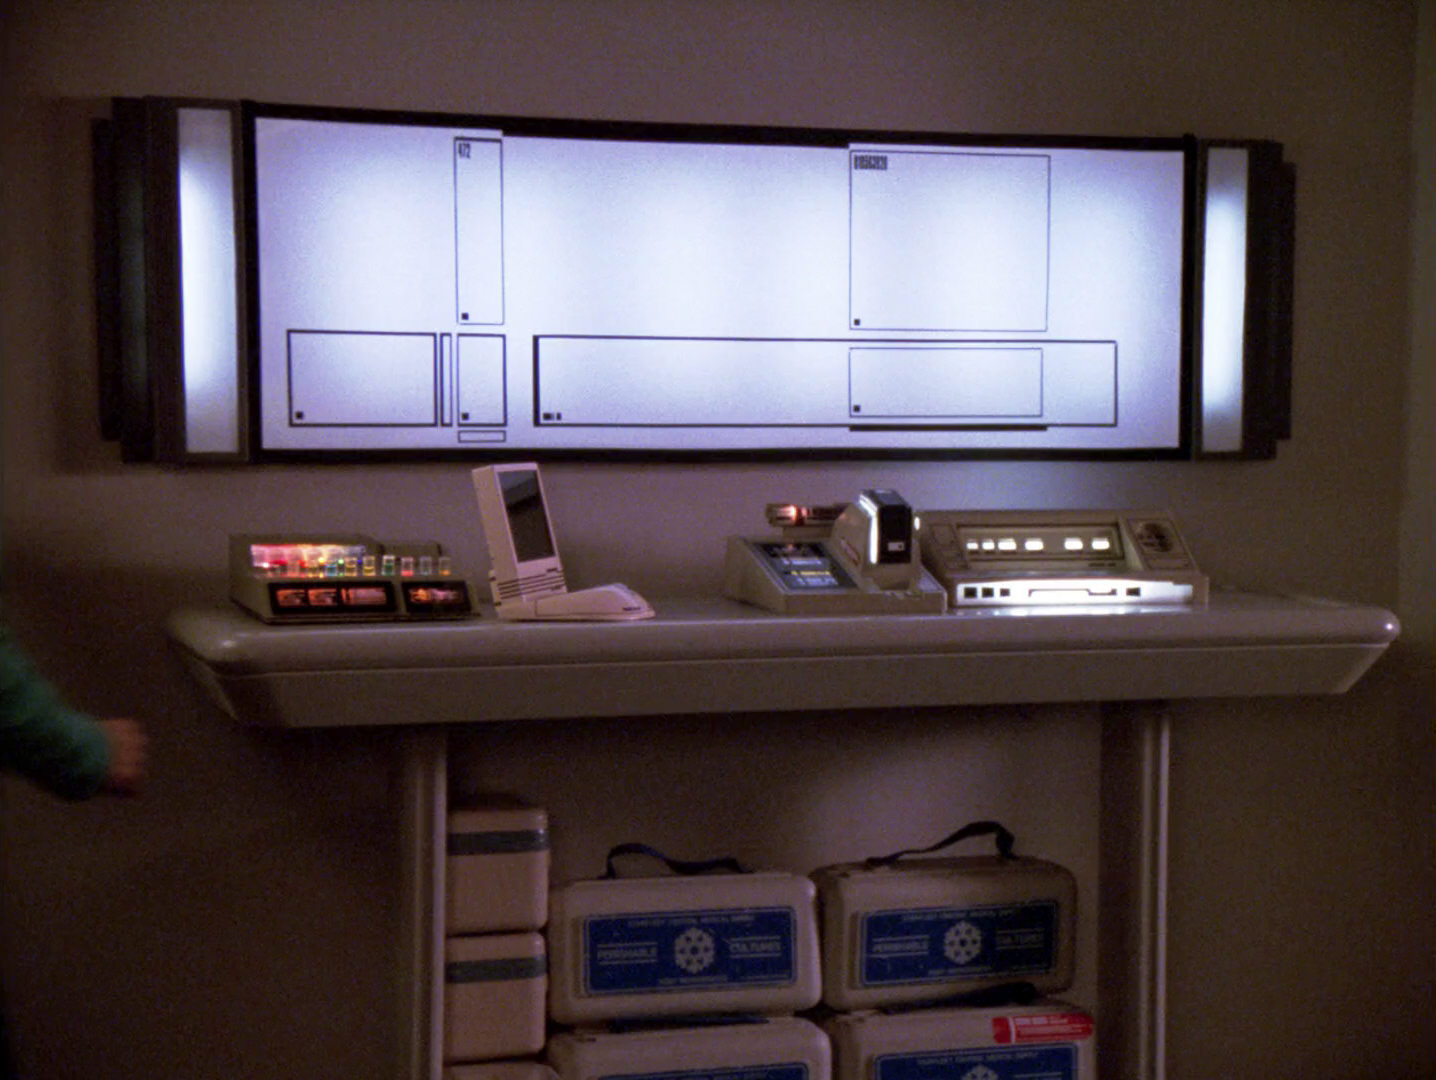
| After blue PADDs were first seen in a medical context in "Ethics", Doctor Crusher starts using them in sickbay as well in this episode. The first blue medical PADD was handed by Dr. Russell to Dr. Crusher in the earlier episode. The PADD lying on the biobed here displays the same image it did in "Ethics". |  "Ethics" |
  |
The PADD and the other props in HD. | |
| Either Crusher took a very steamy sonic shower before going to bed or the mirror in her bathroom was deliberately made opaque so the reflection of the camera equipment and cameraman wouldn't be seen... | 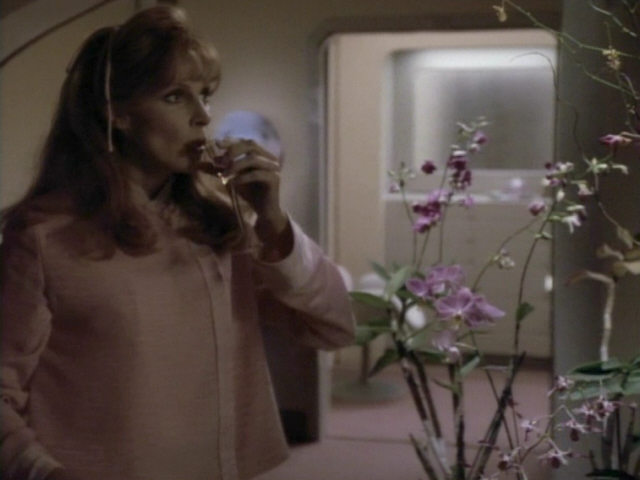 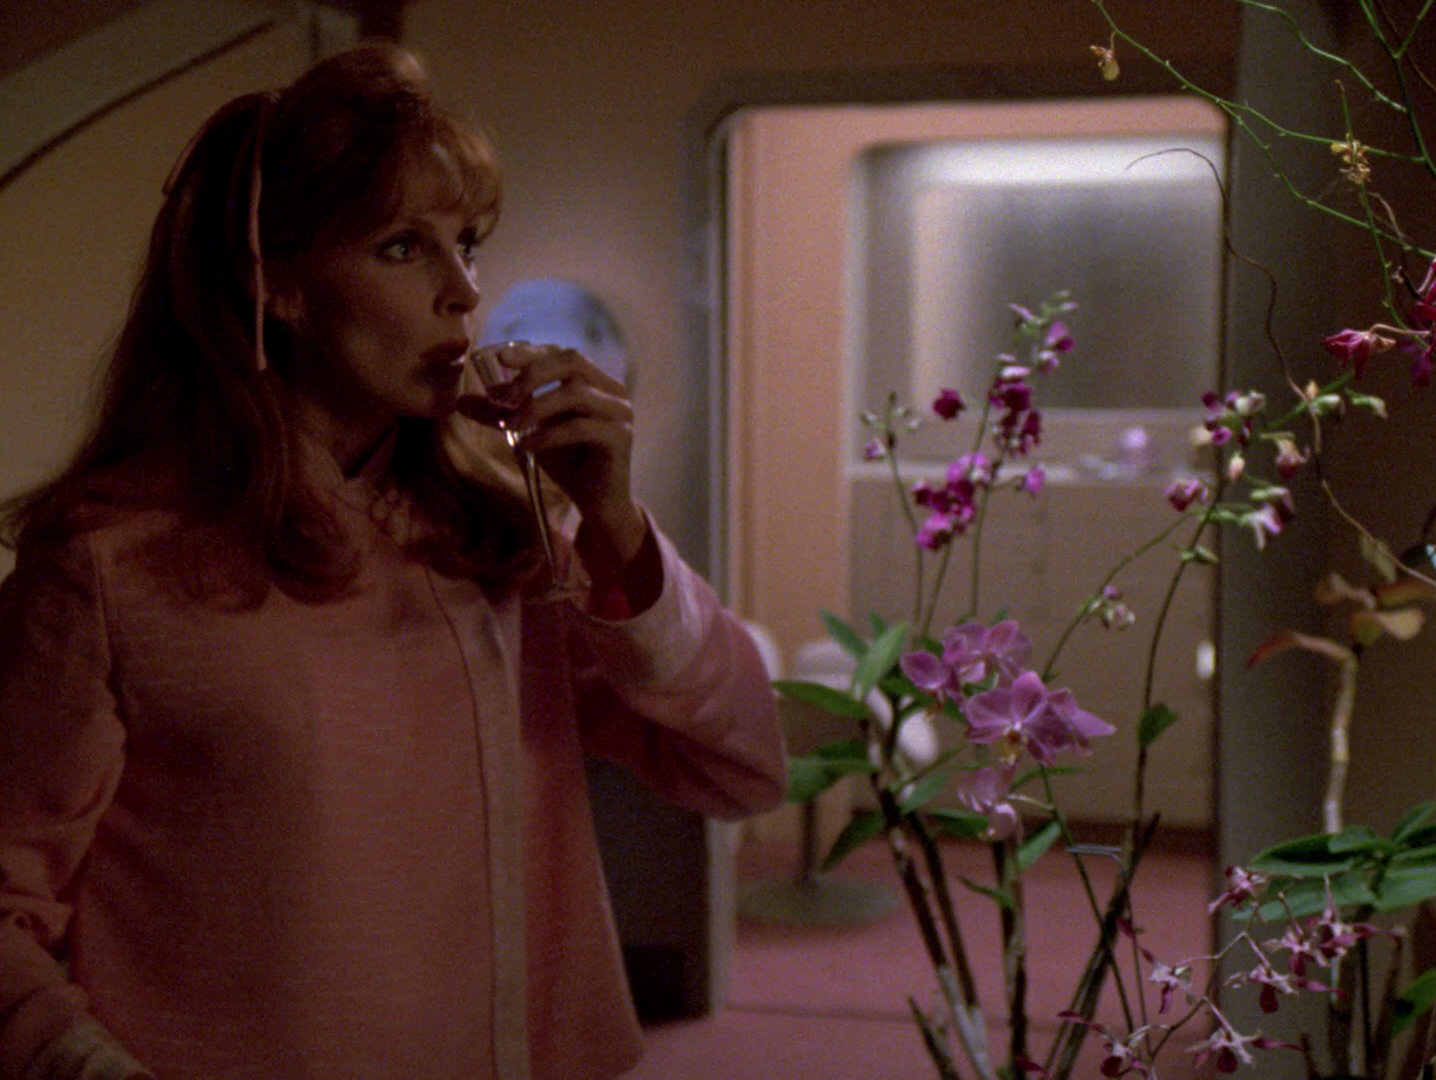 |
The "steamy" mirror can be seen even better in HD. | ||
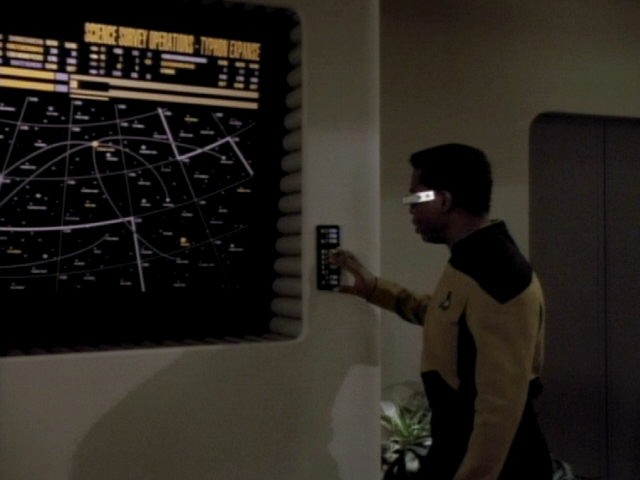
| The map of the Typhon Expanse originally appeared as a different stellar map in the tactical lab in "The Mind's Eye". | 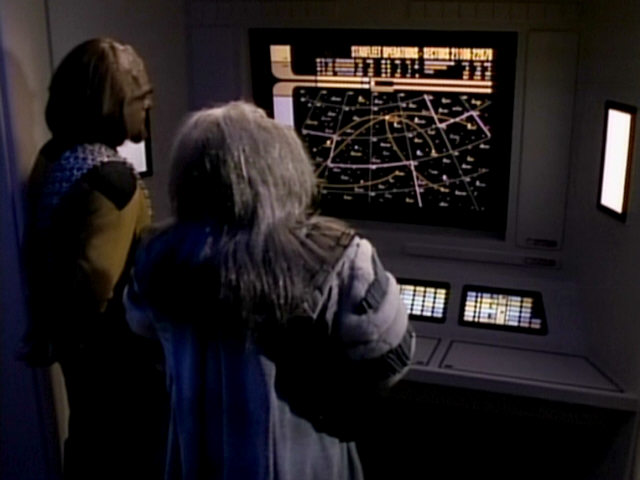 "The Mind's Eye" |
 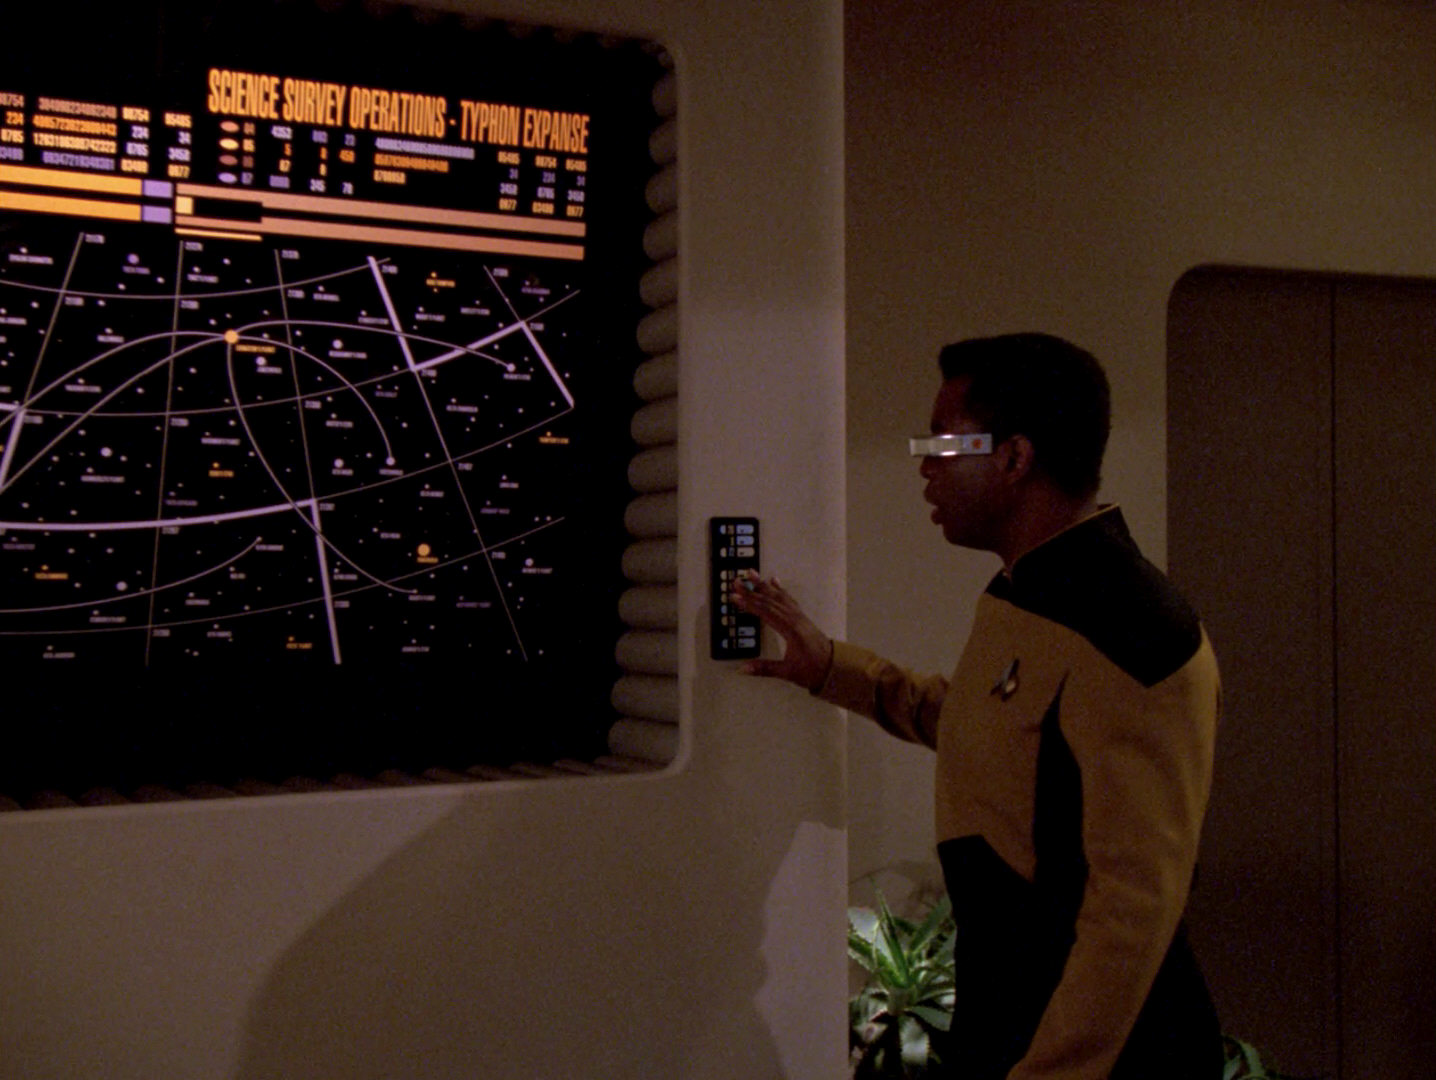 |
The map in HD. | |
| The temporal distortion in the Typhon Expanse is seen on the main viewscreen of the USS Enterprise-D. | 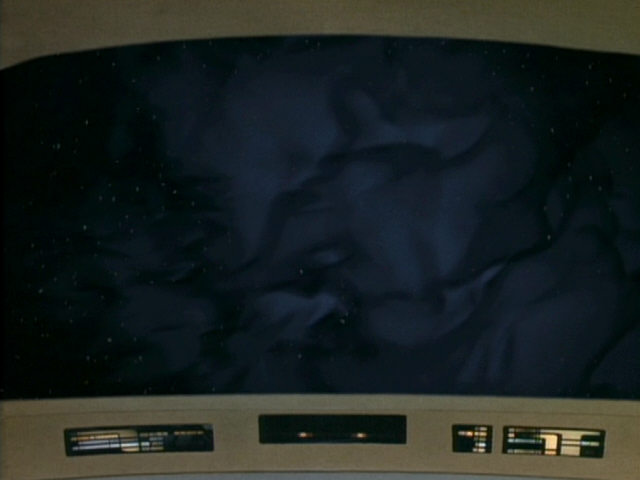 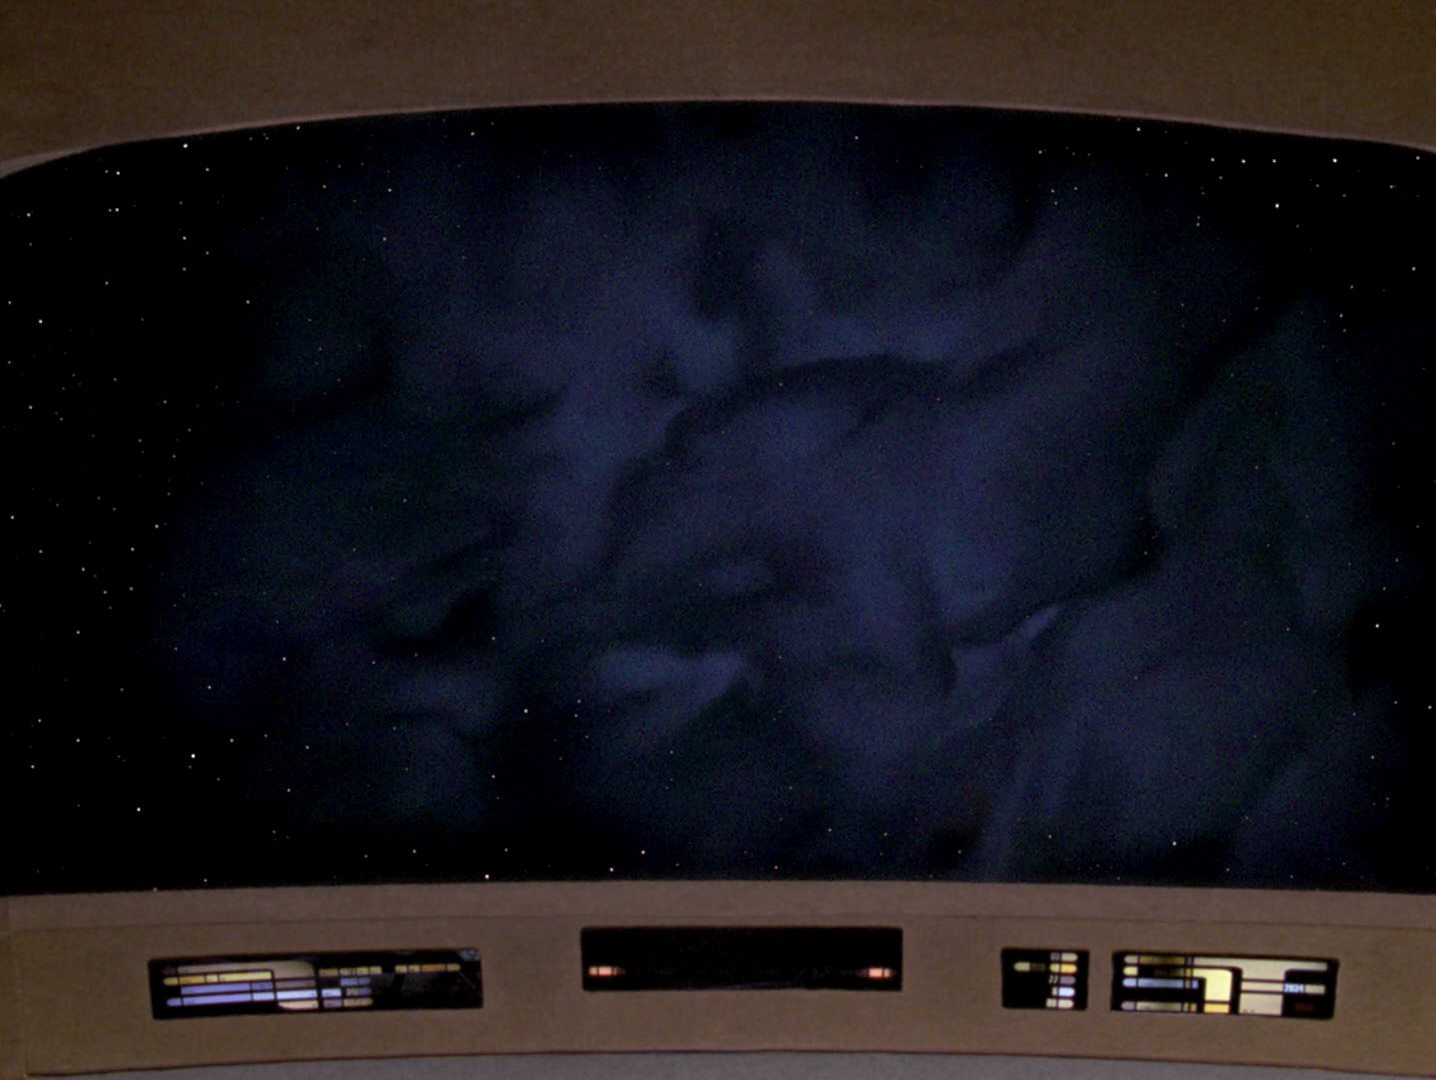 |
The effect of the Typhon expanse appears to be still the same in TNG-R. | ||
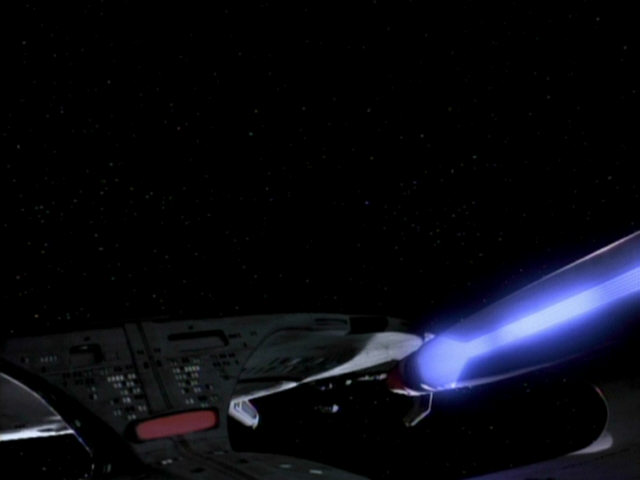
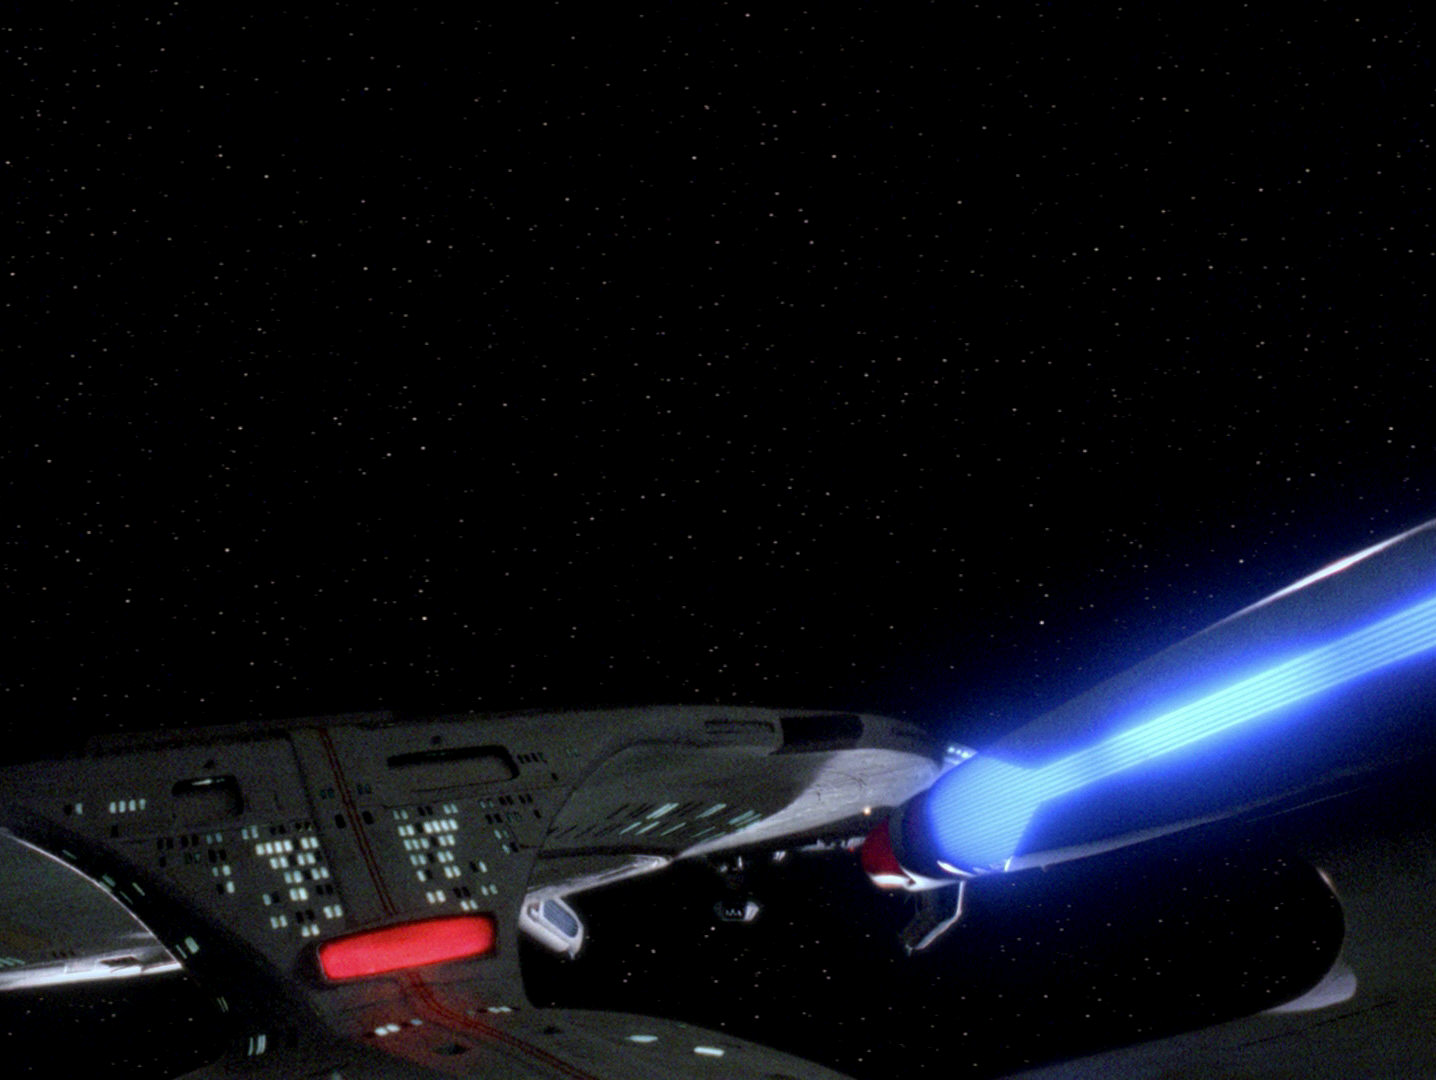
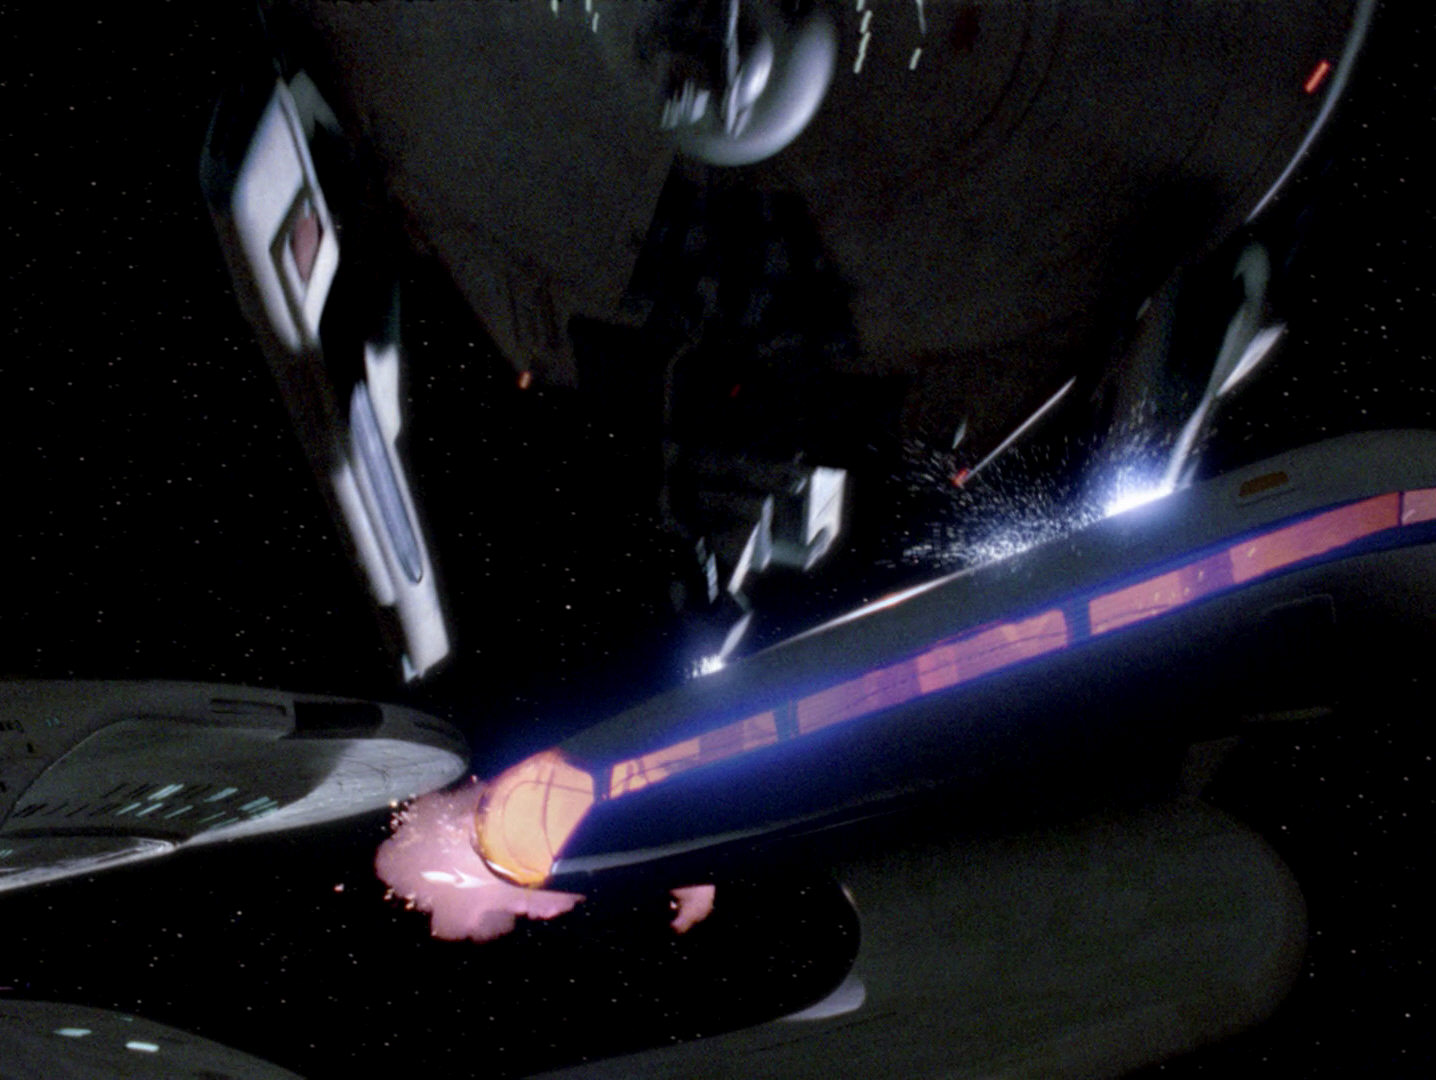
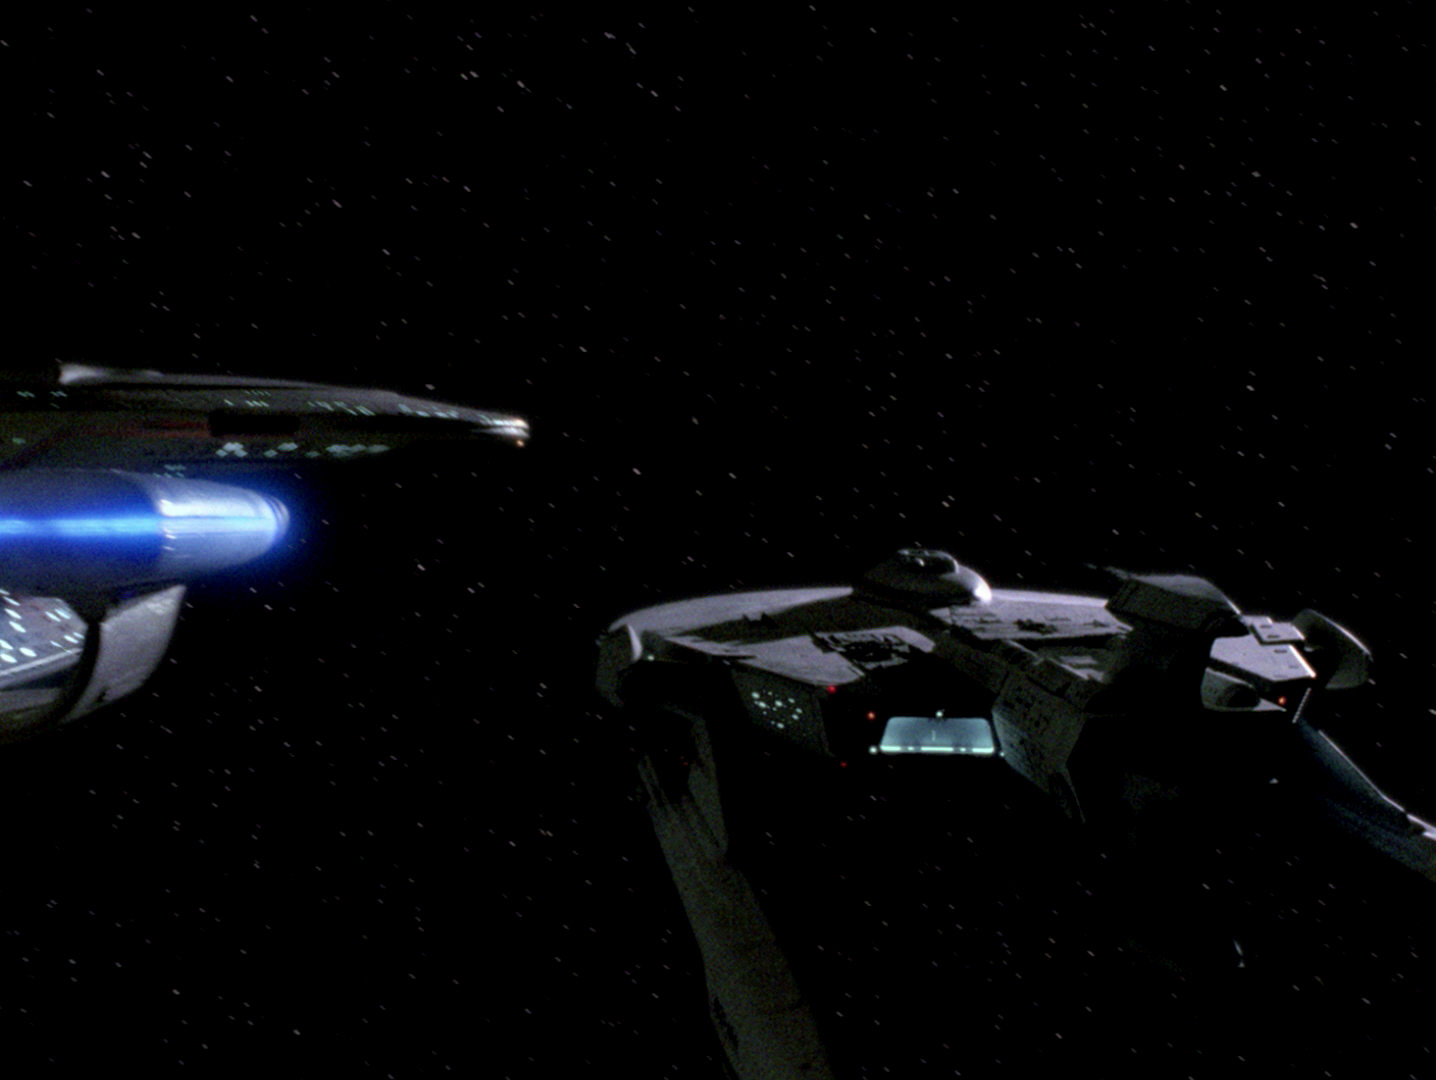
| The USS Bozeman flies out of the anomaly and collides with the starboard nacelle of the USS Enterprise-D, which unsuccessfully attempted to move away from the 23rd century ship using its tractor beam, ultimately leading to the destruction of the USS Enterprise-D. All footage of both ships in these scenes was newly filmed for this episode. | 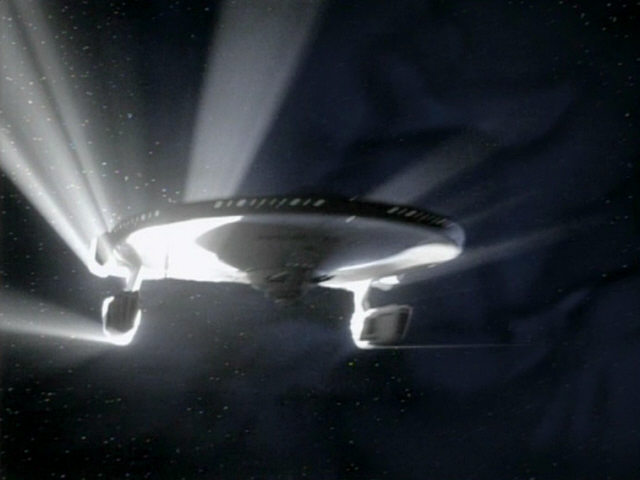 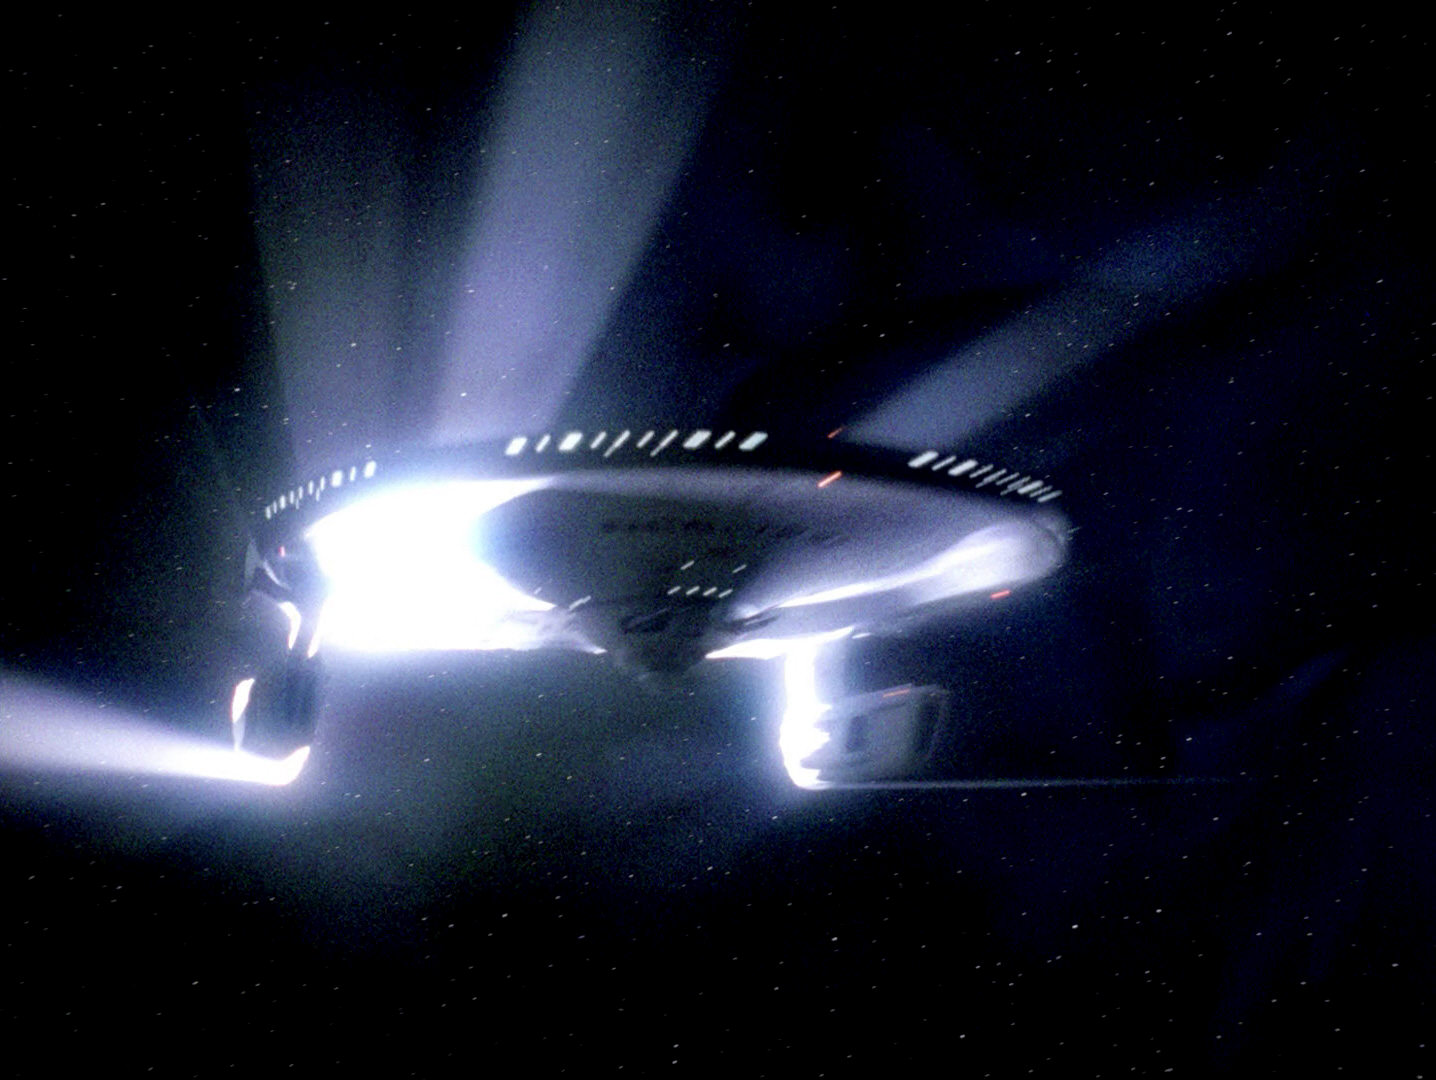 |
The exciting sequence in TNG-R. The shots of the Bozeman with back light are very dark in TNG-R and exhibit even less contrast than the original (meaning that even gamma correction is no help to make details better visible on nthe caps). | ||
  |
||||
  |
||||
  |
||||
  |
||||
  |
||||
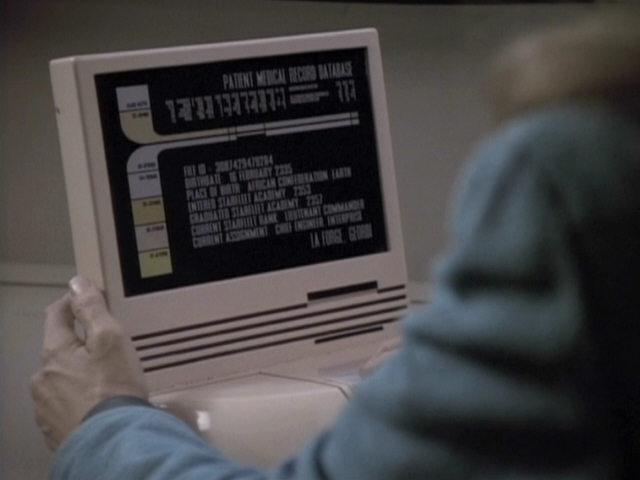
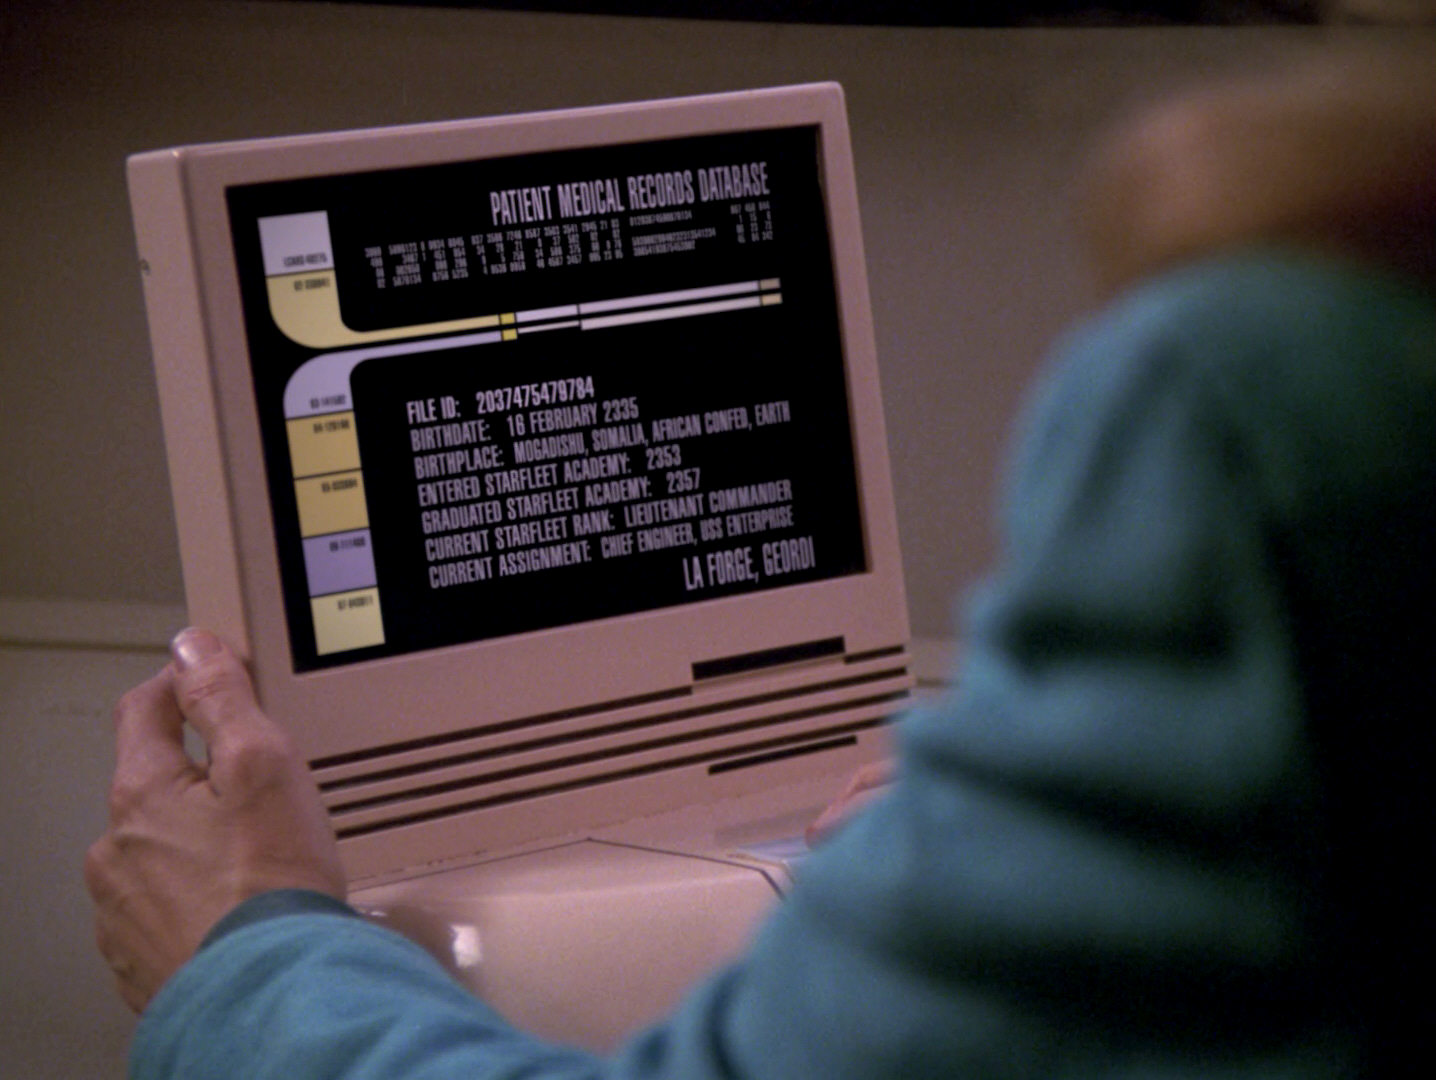
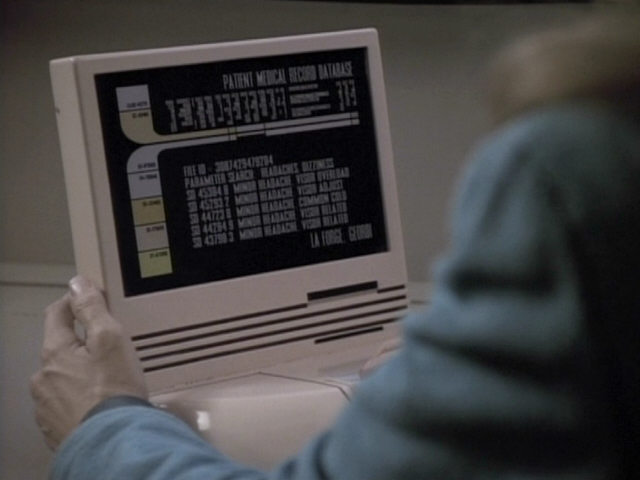
| Doctor Crusher looks at Geordi La Forge's medical file. The first graphic showing various life signs was created for "Ethics" where it is displayed during Worf's operation. As La Forge's personnel file was one of the few not shown in "Conundrum", his media file offers some vital information about the chief engineer, including his place and date of birth. | 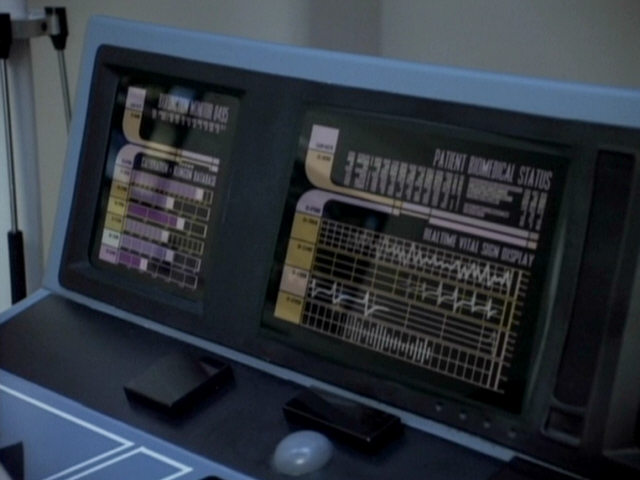 "Ethics" |
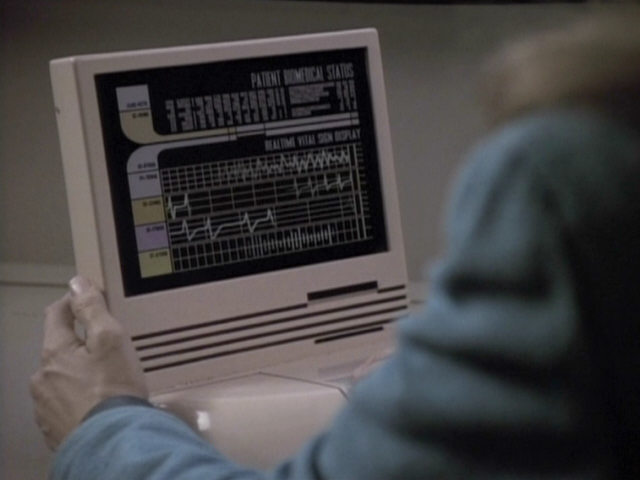 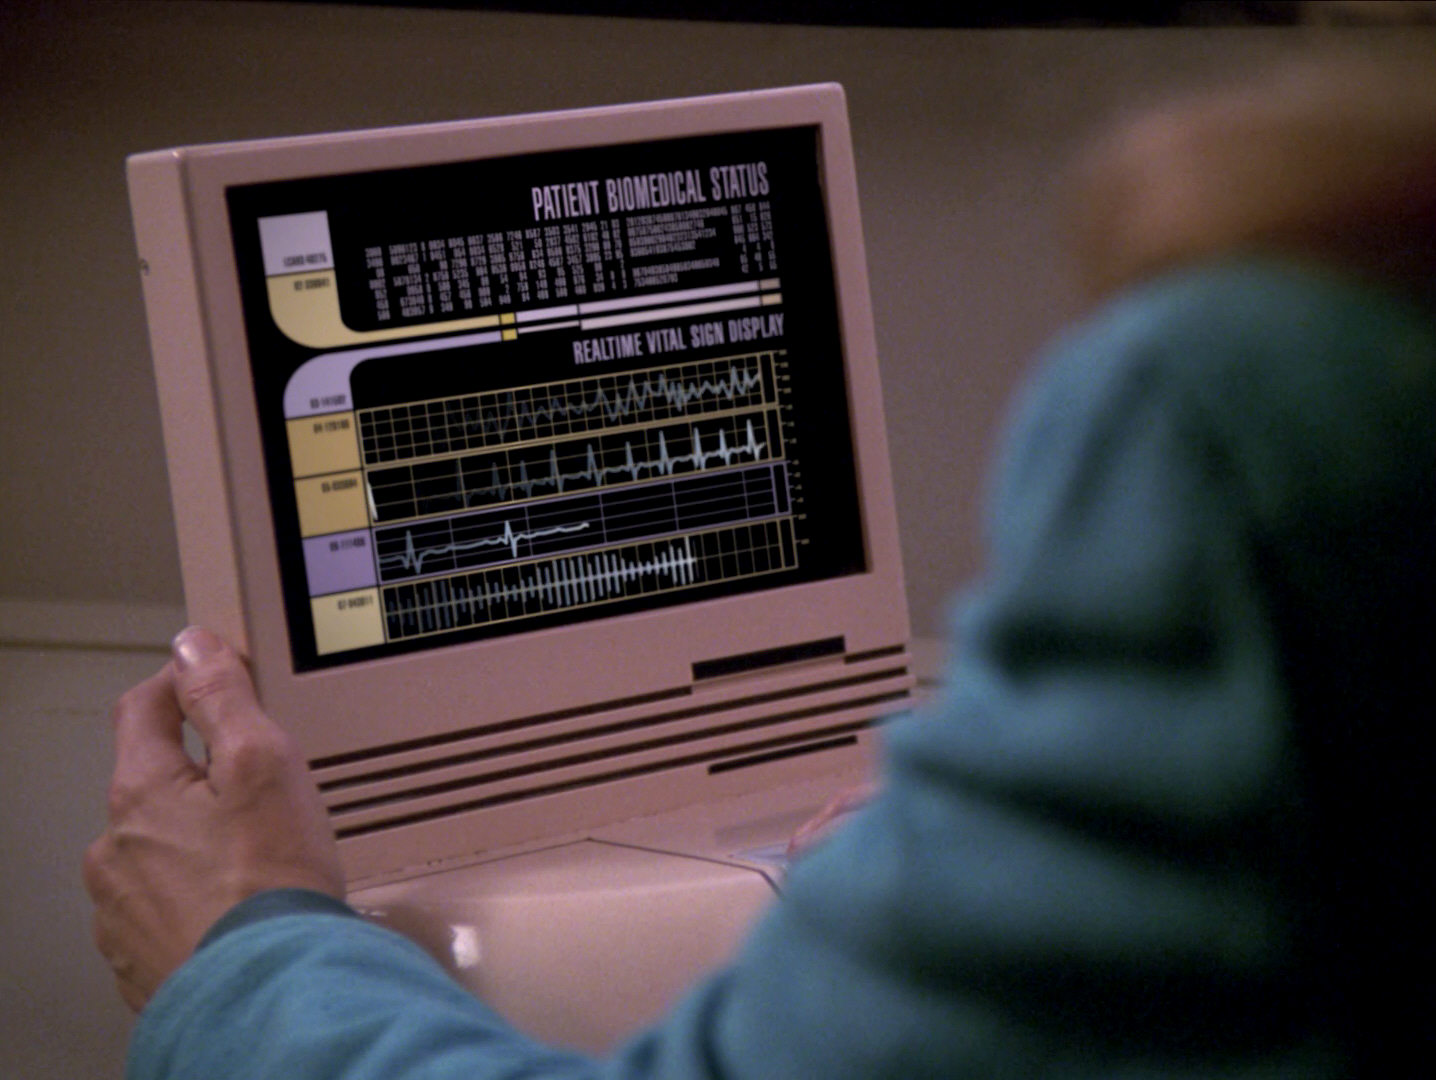 |
The screens were newly created for TNG-R. Note the different shapes of the pulses on the first cap. The birthplace "Mogadishu, Somalia" was added to the second screen. | |
  |
||||
  |
||||
| This is the first good look we get at the nightstand, which is part of the large bed seen in most crew quarters since the first season. | 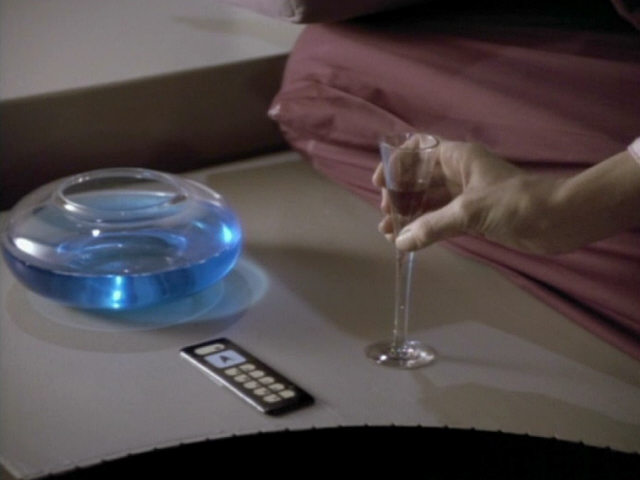 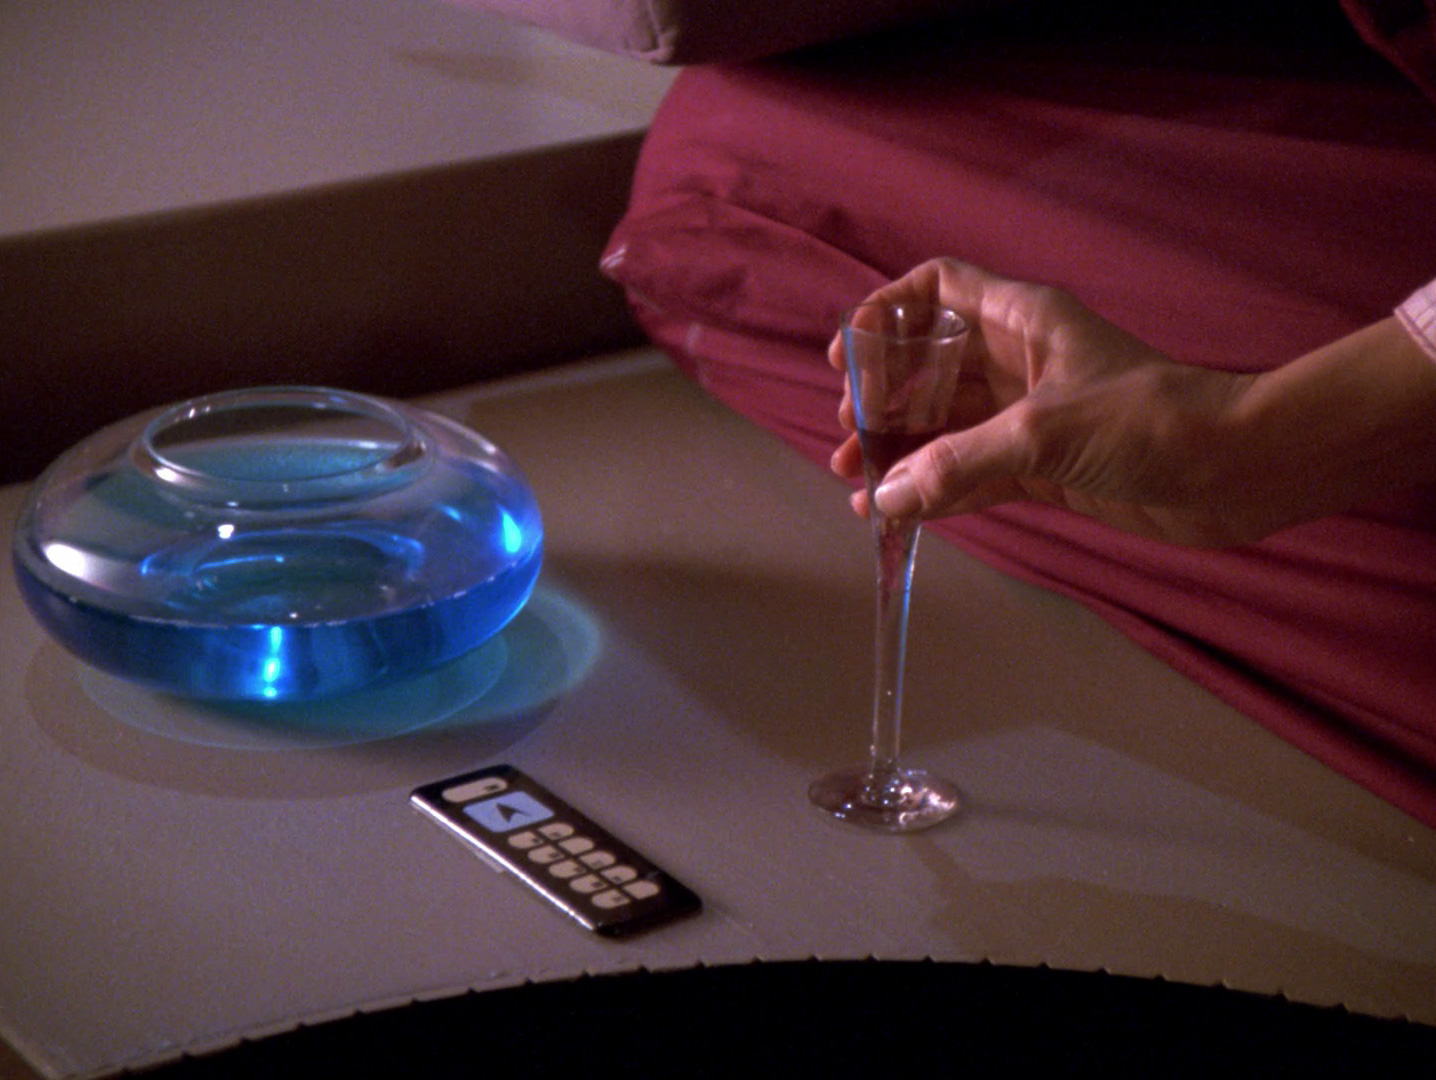 |
The nightstand in HD. | ||
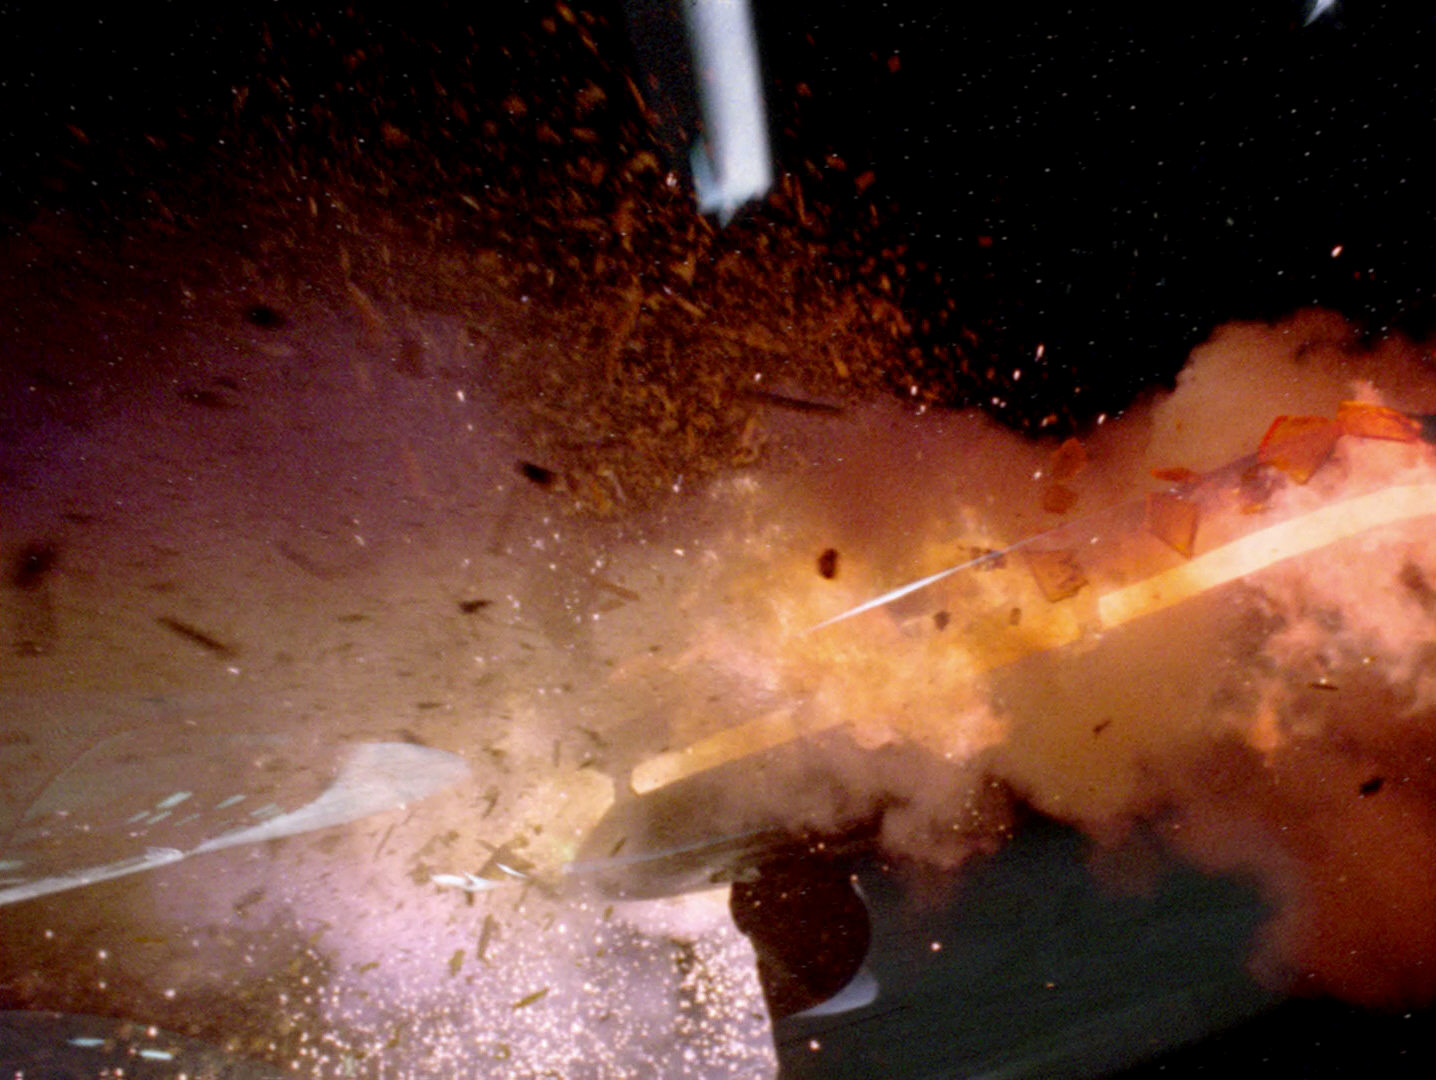
| This is the only time the explosion of the USS Enterprise-D (seen 4 times in the episode) is shown from a different angle. | 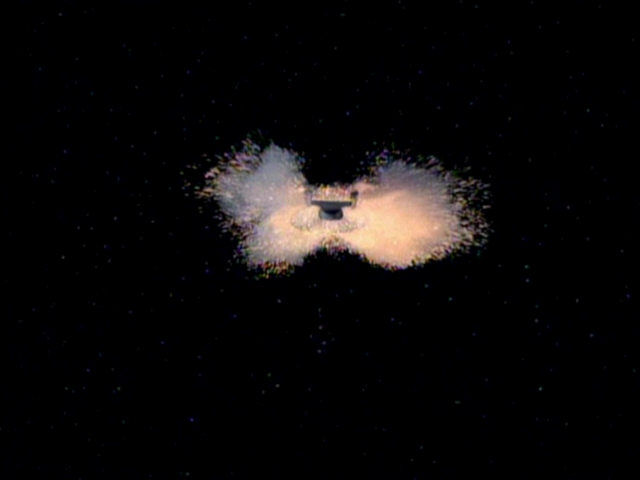 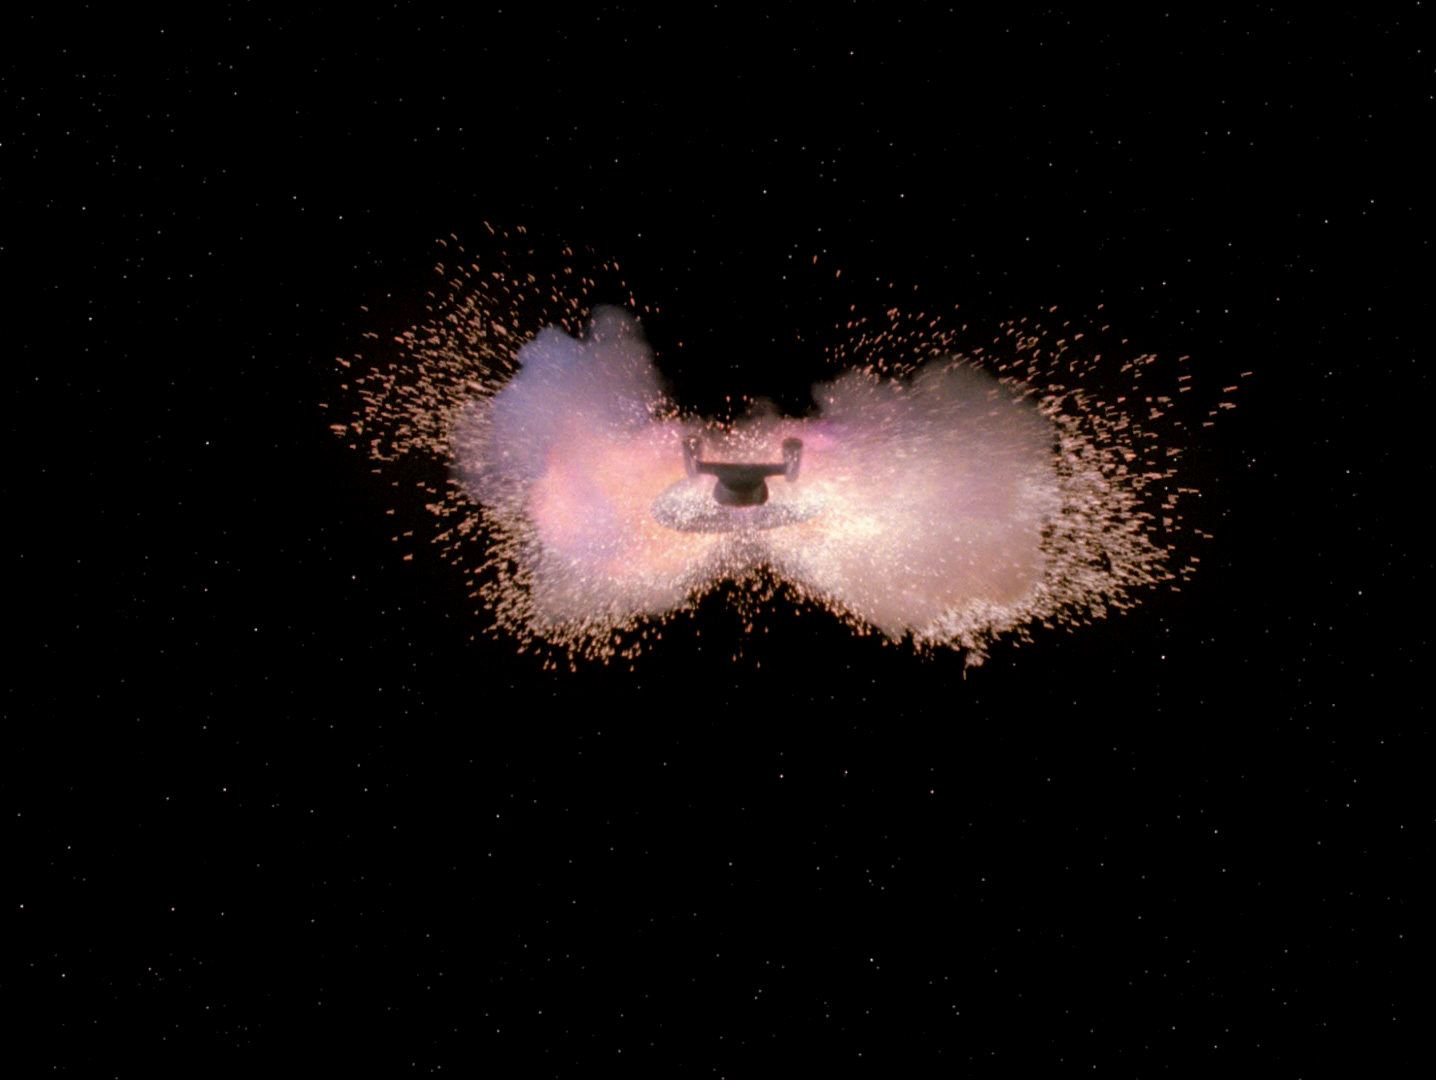 |
The explosion in HD. | ||
| Although it was seen up close in "Ethics", the large medical painting in the sickbay waiting area can be seen well here again. |
  |
A good look at the painting in HD. | ||
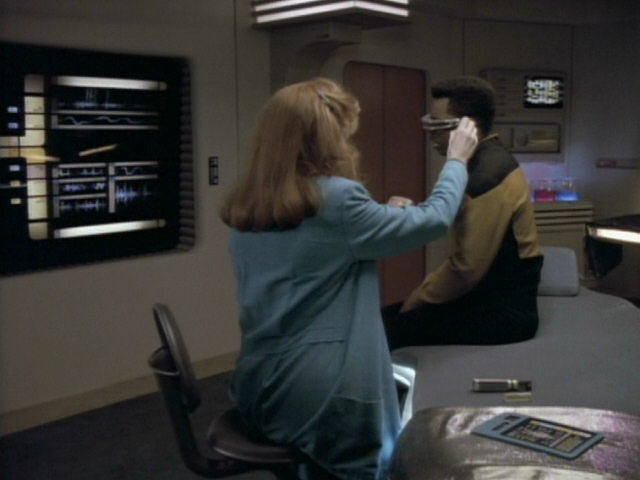
| The scanner Crusher uses to run an optical diagnostic on La Forge appears in later episodes whenever his eyes are scanned. The device appears in "Parallels", for example. | 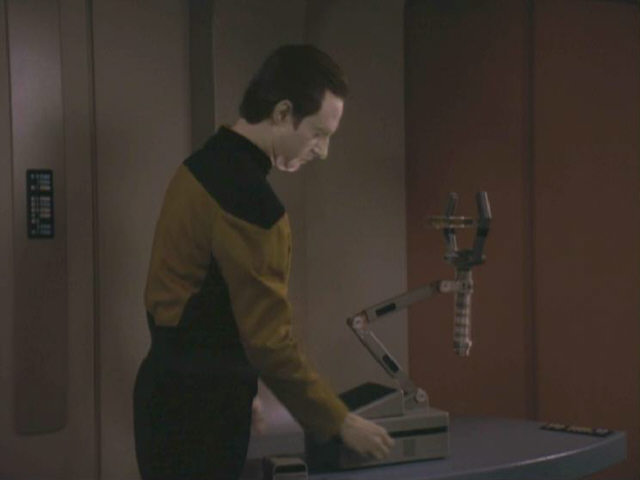 "Parallels" |
  |
The prop in HD. | |
| An interesting feature of Crusher's medical case is finally seen up close in this shot: It seems the case features a complete inbuilt tricorder interface. |   |
The medical case in HD. | ||
| An animated graphic of the temporal causality loop is displayed on the observation lounge monitor. |  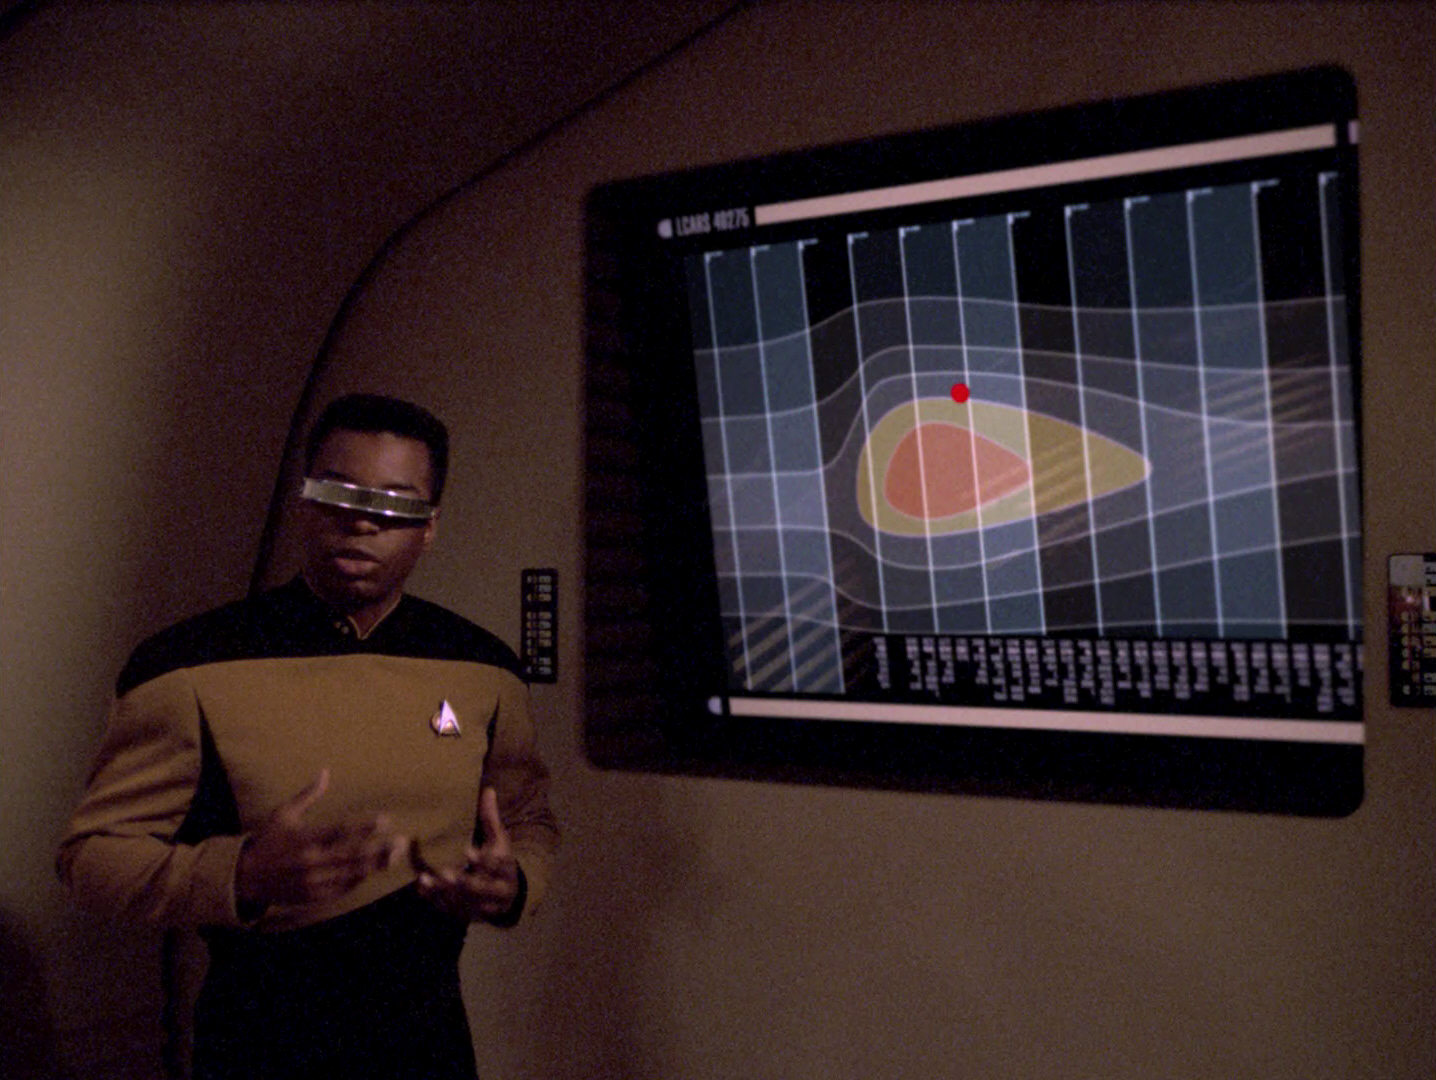 |
A new graphic was created for TNG-R. | ||
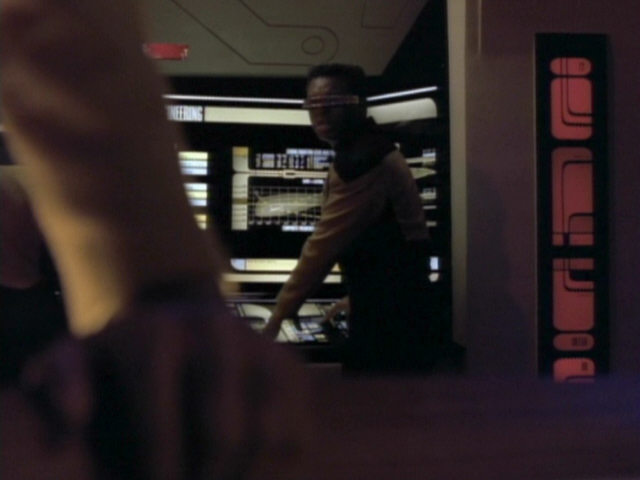
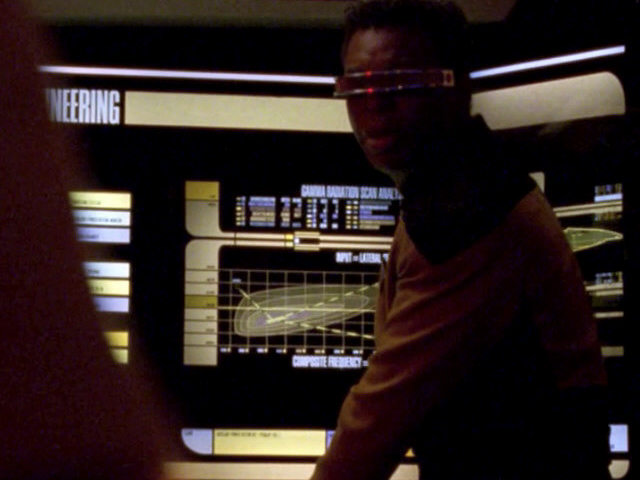
| A microphone pops into view in the top right corner of the frame in this scene and follows La Forge to the right as he takes a seat. | 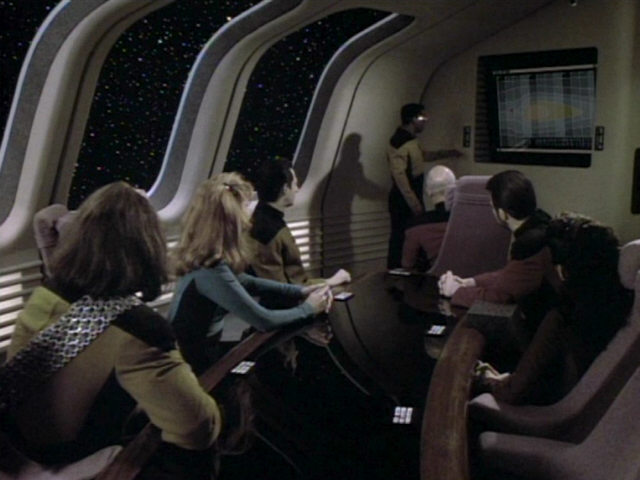 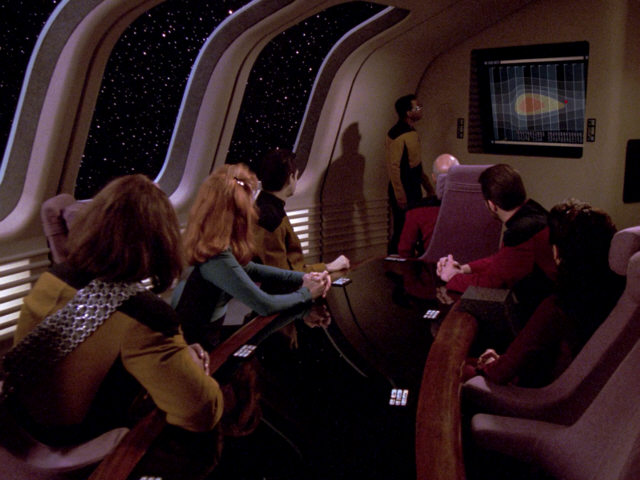 |
No microphone is visible in the remastered version. | ||
 |
||||
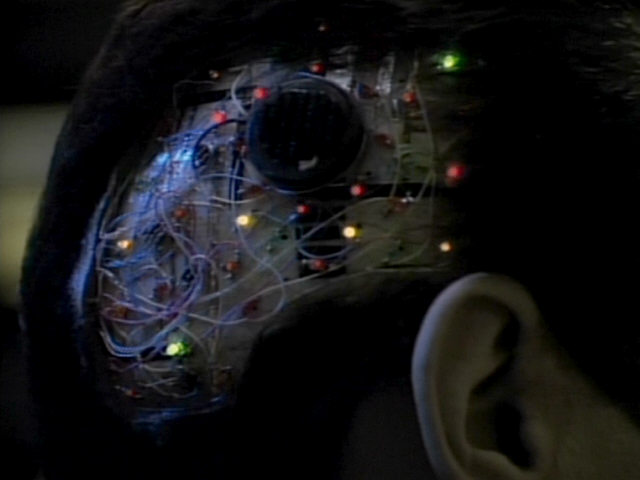
| The same section of Data's head as in "The Best of Both Worlds II" and "Clues" is opened again. | 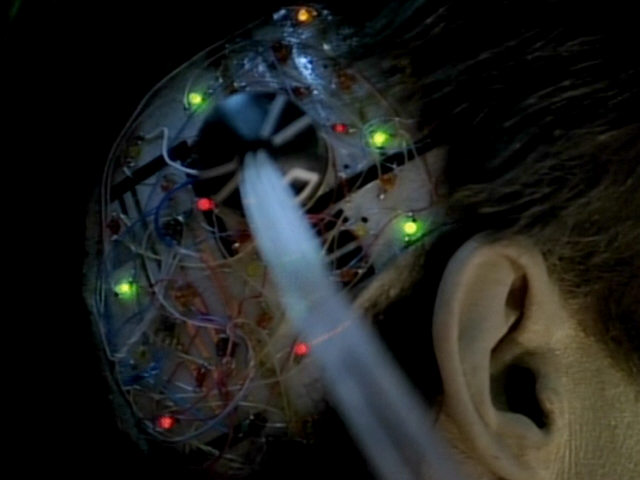 "The Best of Both Worlds II" |
 "Clues" |
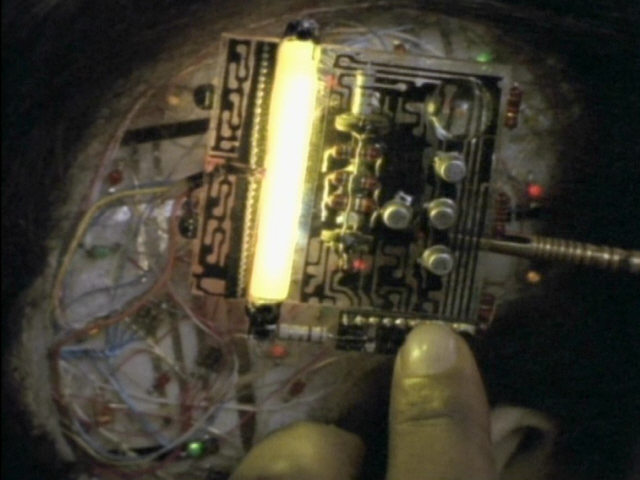 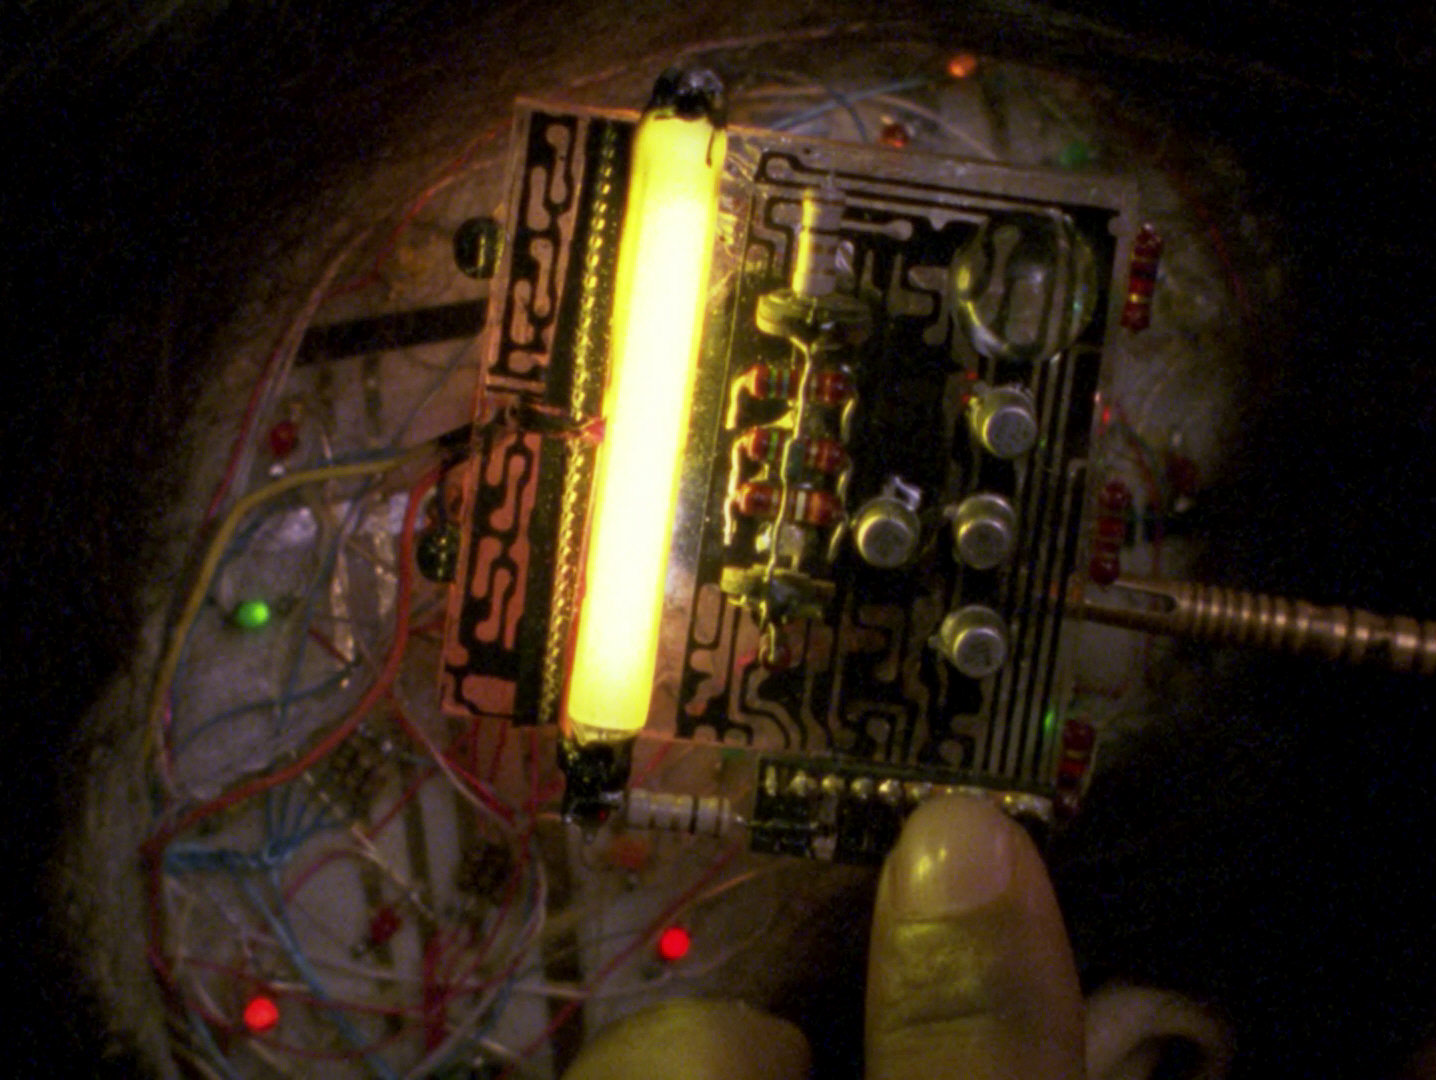 |
In HD, we can clearly recognize the 20th century (more precisely: 1970s) technology on the separate PCB. It holds four transistors, most likely germanium-based, and a number of resistors. These are typical components of an astable multivibrator, the kind of circuit used to make the lights in Data's head blink. |
| The graphic that is seen behind Geordi La Forge was originally created for "Silicon Avatar" and also appeared in "Conundrum". | "Silicon Avatar" |
 "Conundrum" |
  |
The graphic in an HD close-up. |
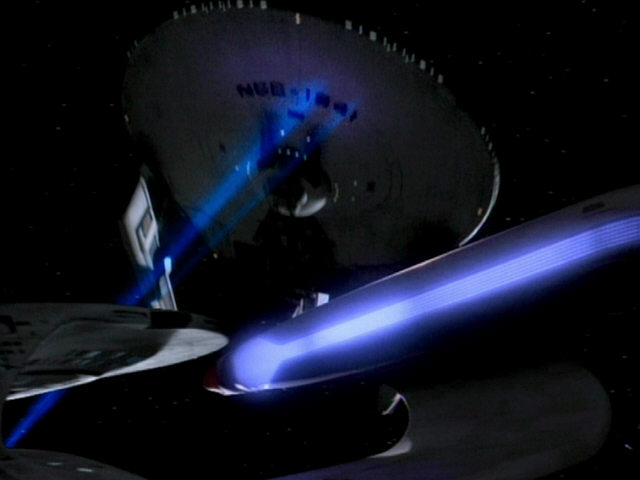
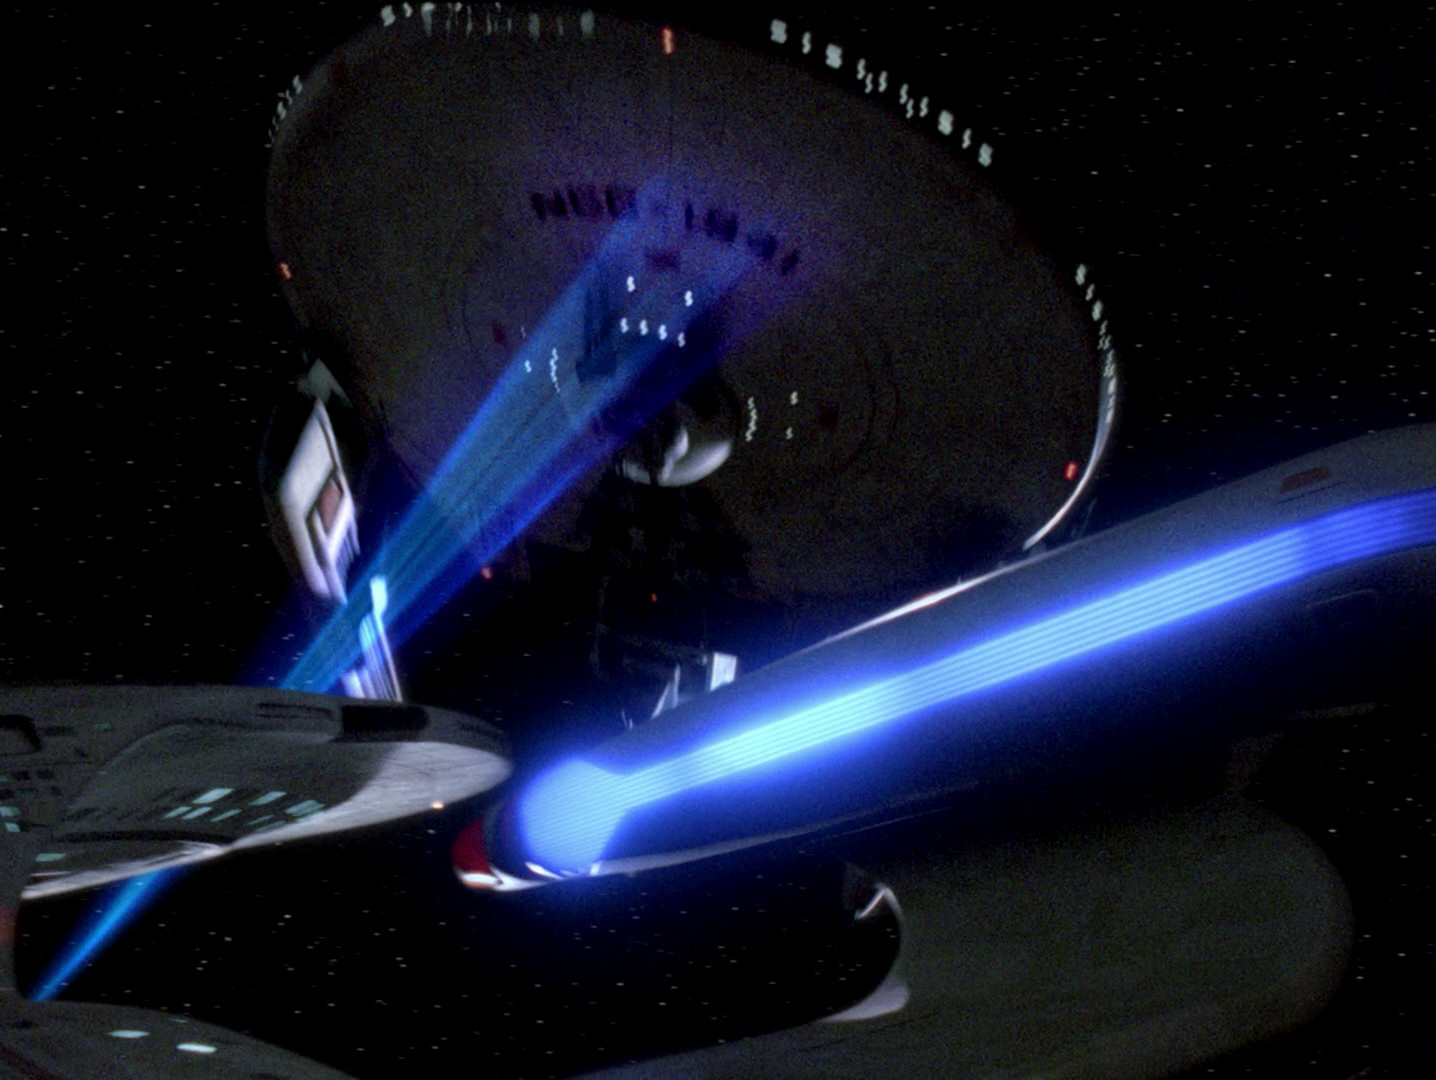
| The USS Bozeman is on a collision course with the USS Enterprise-D. | 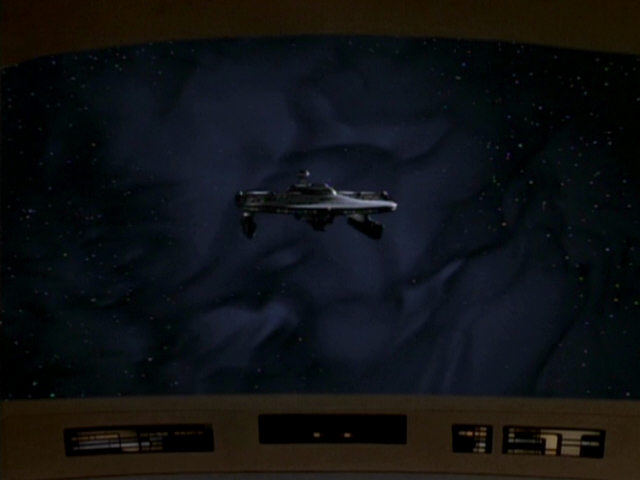 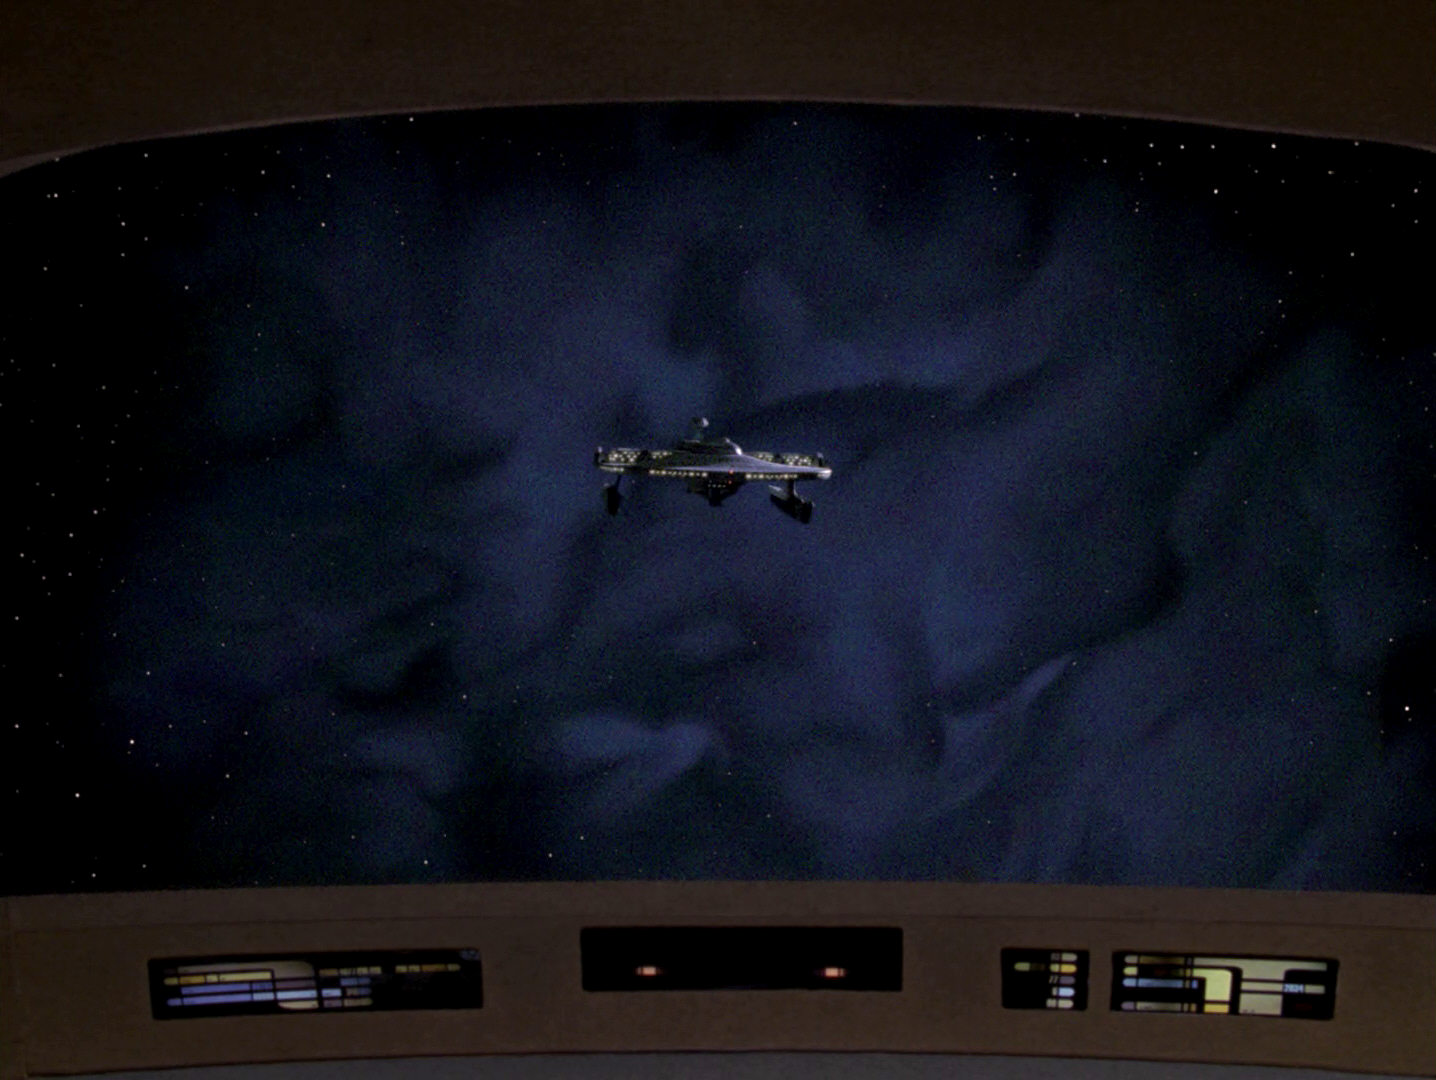 |
The sequence in HD. | ||
| The mirror in Riker's quarters has also been made opaque to hide the reflection of the camera team. | 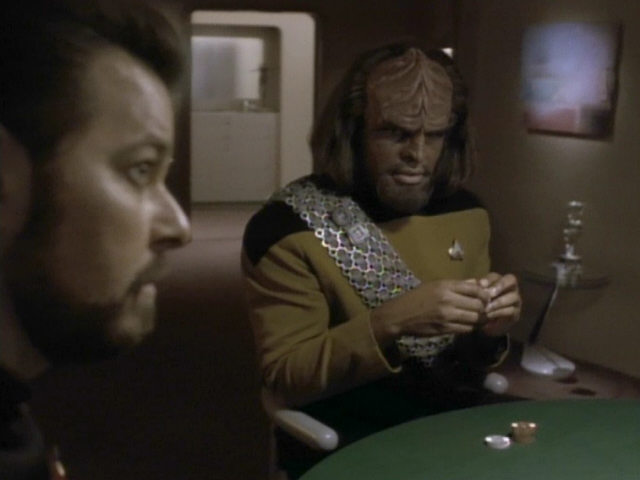 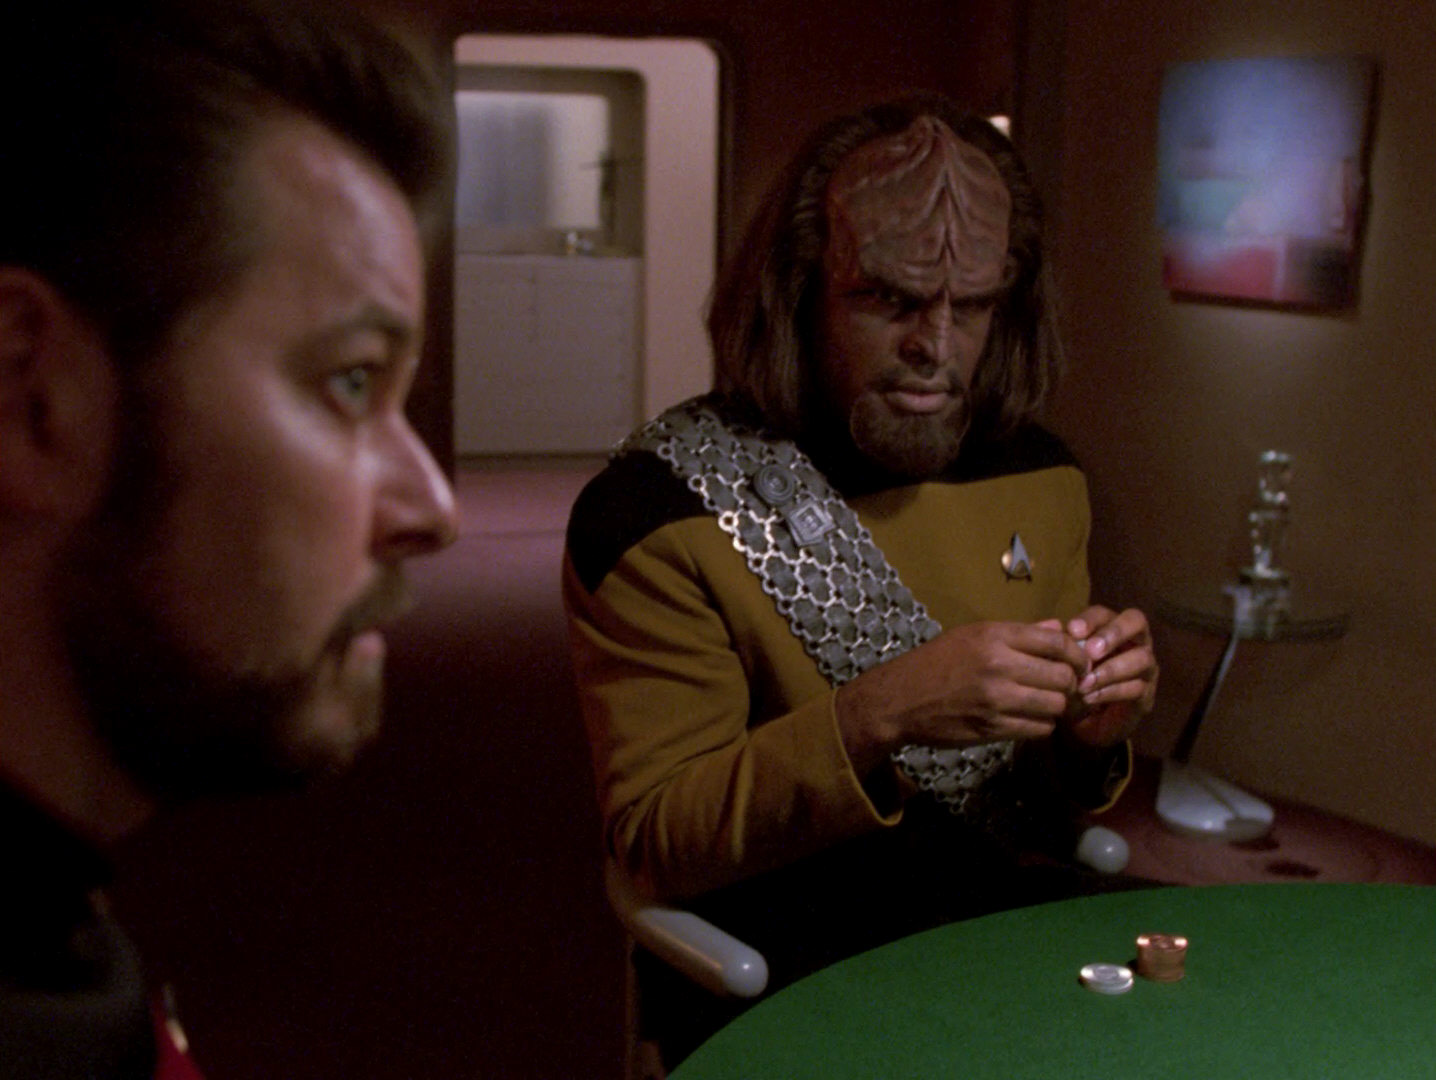 |
We can see the blind mirror even better in HD. | ||
| As can be seen when comparing this screenshot from the episode with shots of the large medical light/display from previous seasons, the set pieces have mostly been left untouched. |  "The Dauphin" |
 "In Theory" |
  |
No changes |
 "Tin Man" |
||||
| The optical scanner is seen in action in this shot. The orange lights were added in post production. | 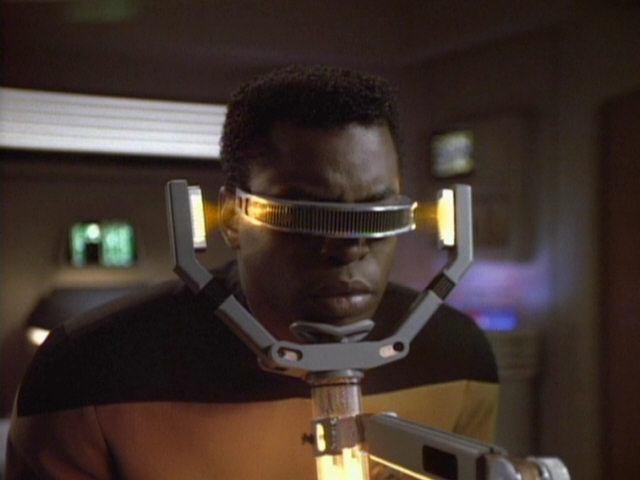  |
A good look at the prop in HD. | ||
| Five rows of threes are seen in this animated LCARS display. It will be revealed later in the episode that Data was responsible for the appearance of multiple 3s towards the end of the episode. | 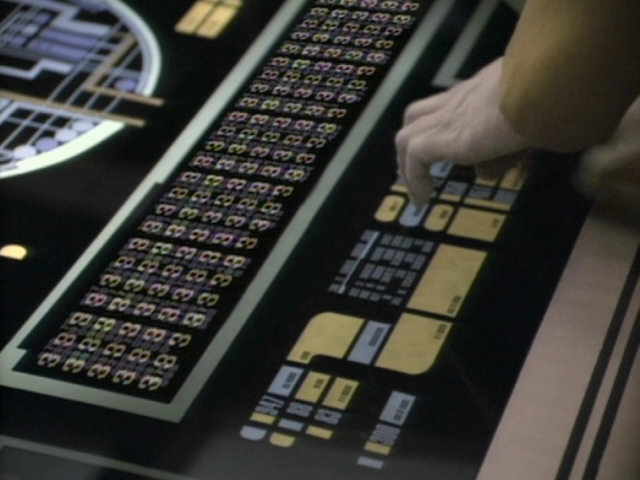 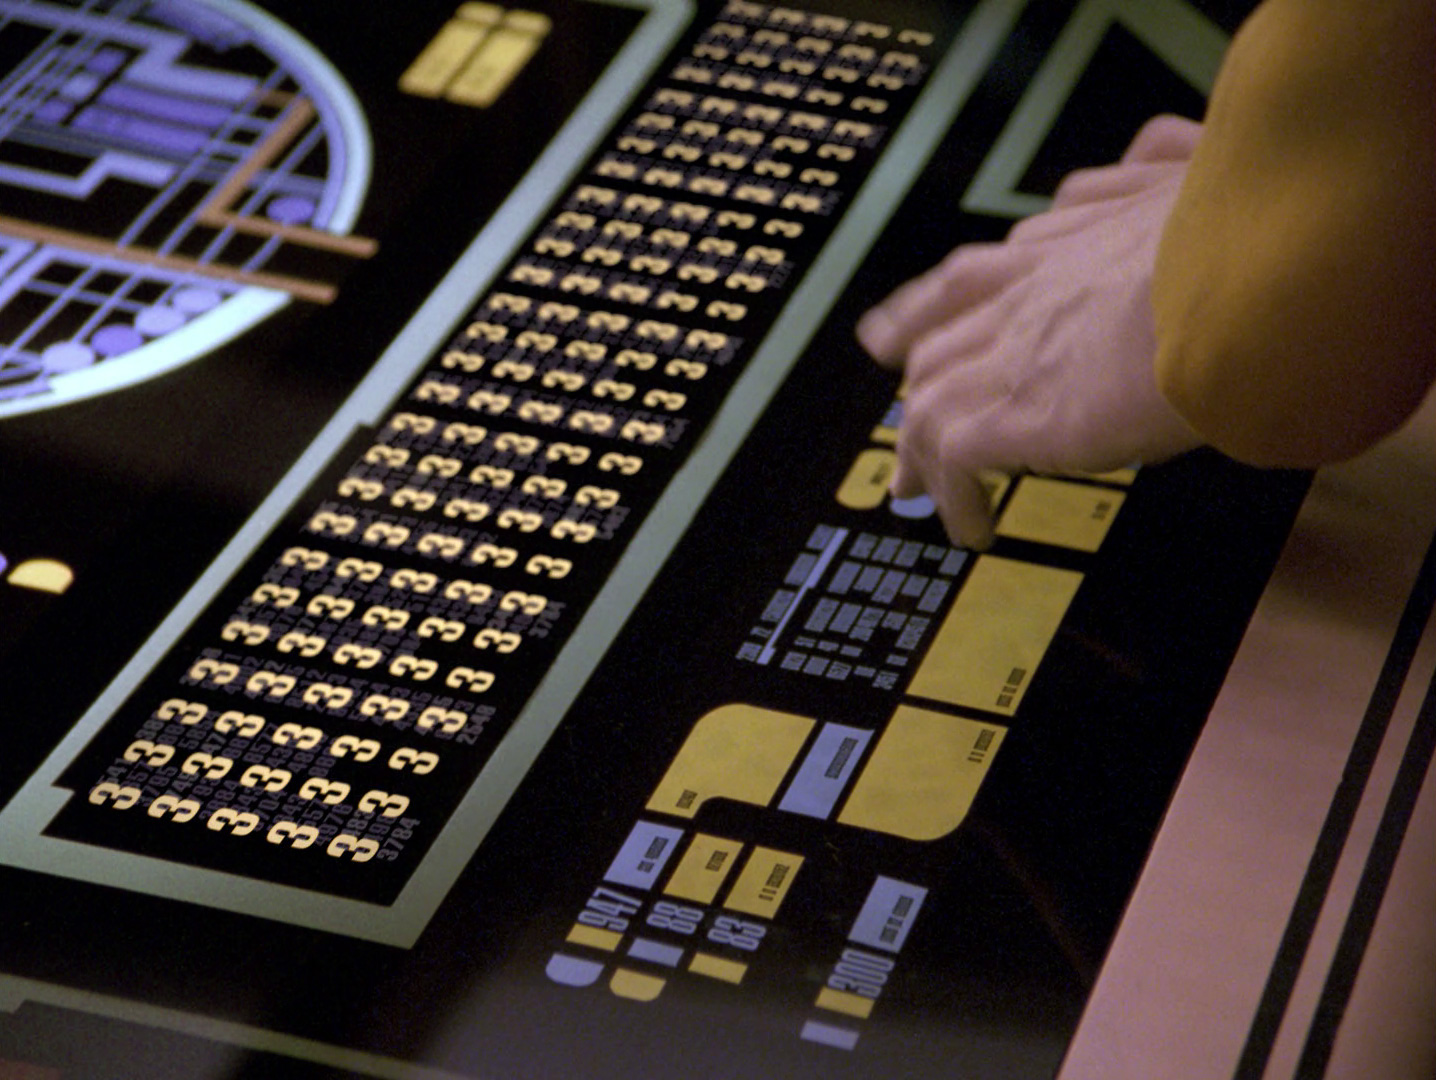 |
The graphic was reconstructed for TNG-R. | ||
| In the original version of the episode, the USS Bozeman freezes for a few frames before it resumes its course towards the USS Enterprise-D. | 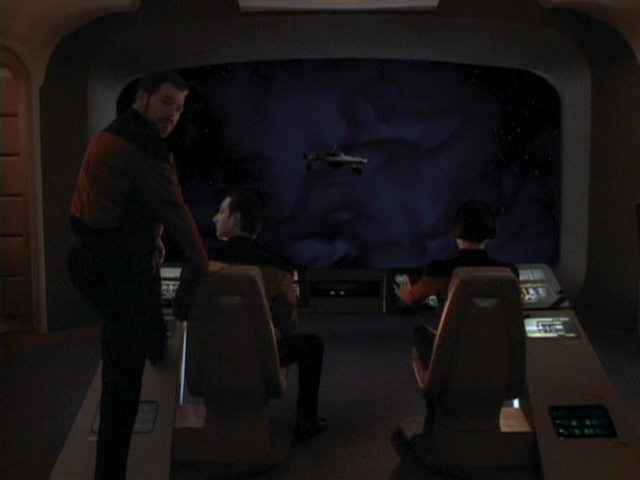 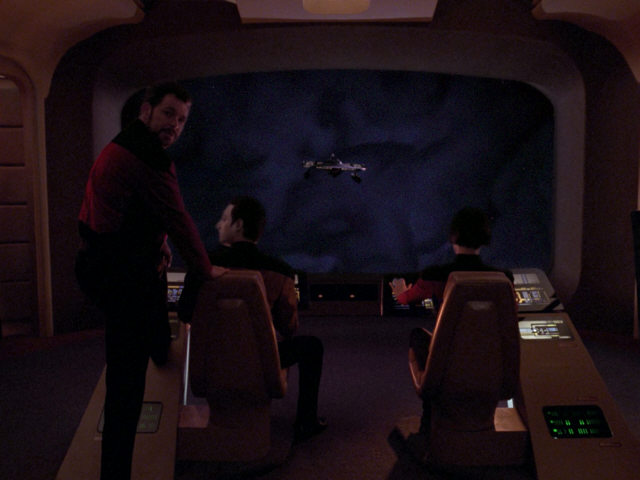 |
The Bozeman's approach is smooth in TNG-R. We can see some piece of equipment on the right that was already present in the original episode but is better visible now. |
||
| The ops console can be seen up close in this screenshot. | 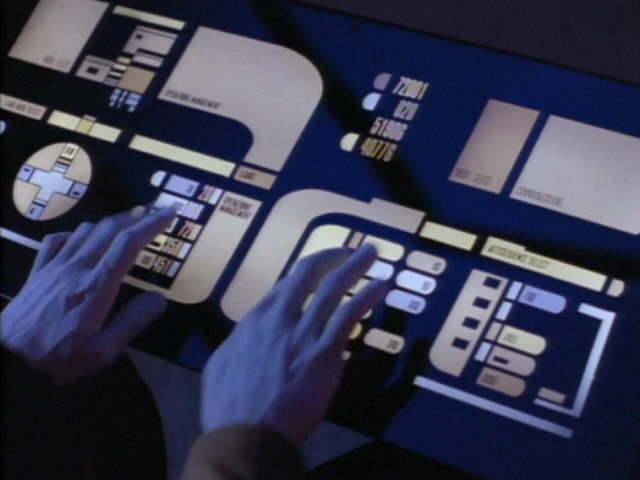 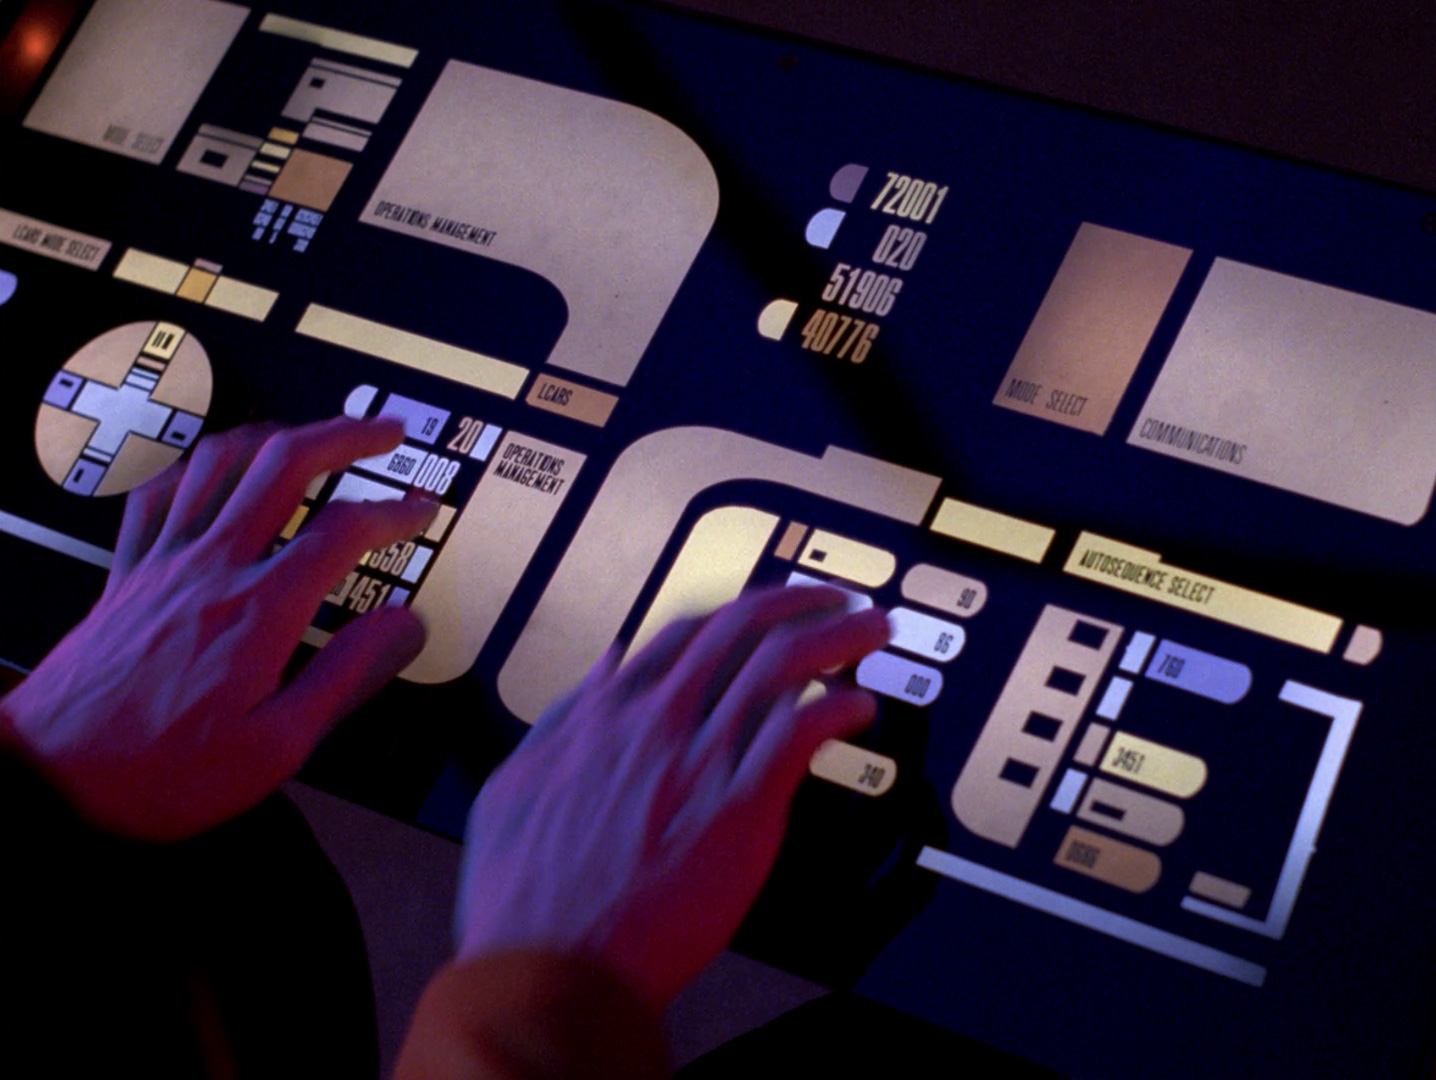 |
A good look at the console layout in HD. | ||
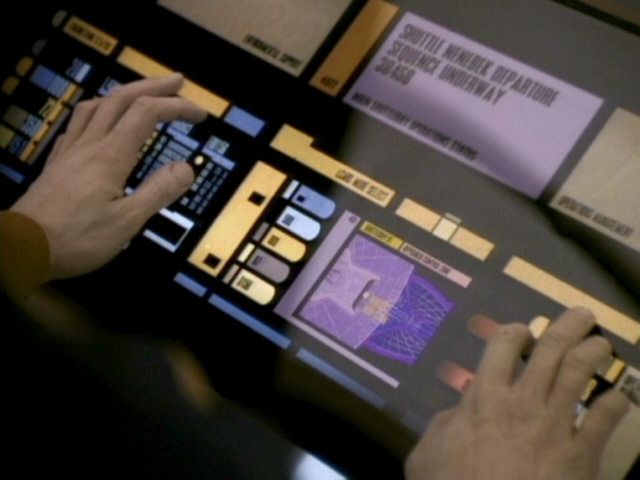
| The large doors of the main shuttlebay open, causing a decompression of the bay. The main shuttlebay had not been seen in its entirety before but an LCARS display from "Final Mission" suggested that the set was already seen in that episode. Here, the enormous set was created using a miniature, complete with two Type-6 shuttles. | 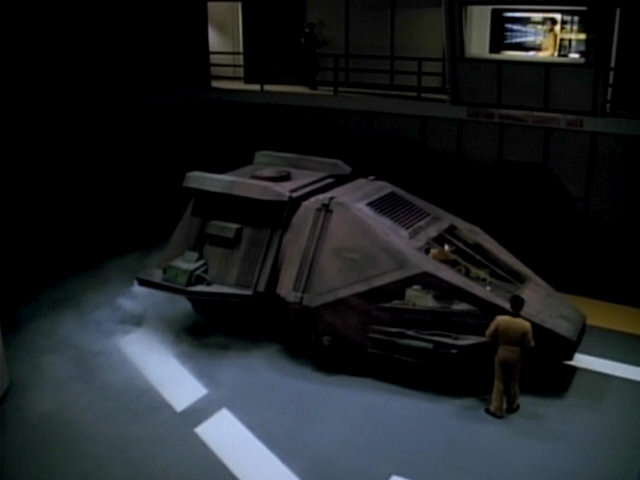 "Final Mission" |
 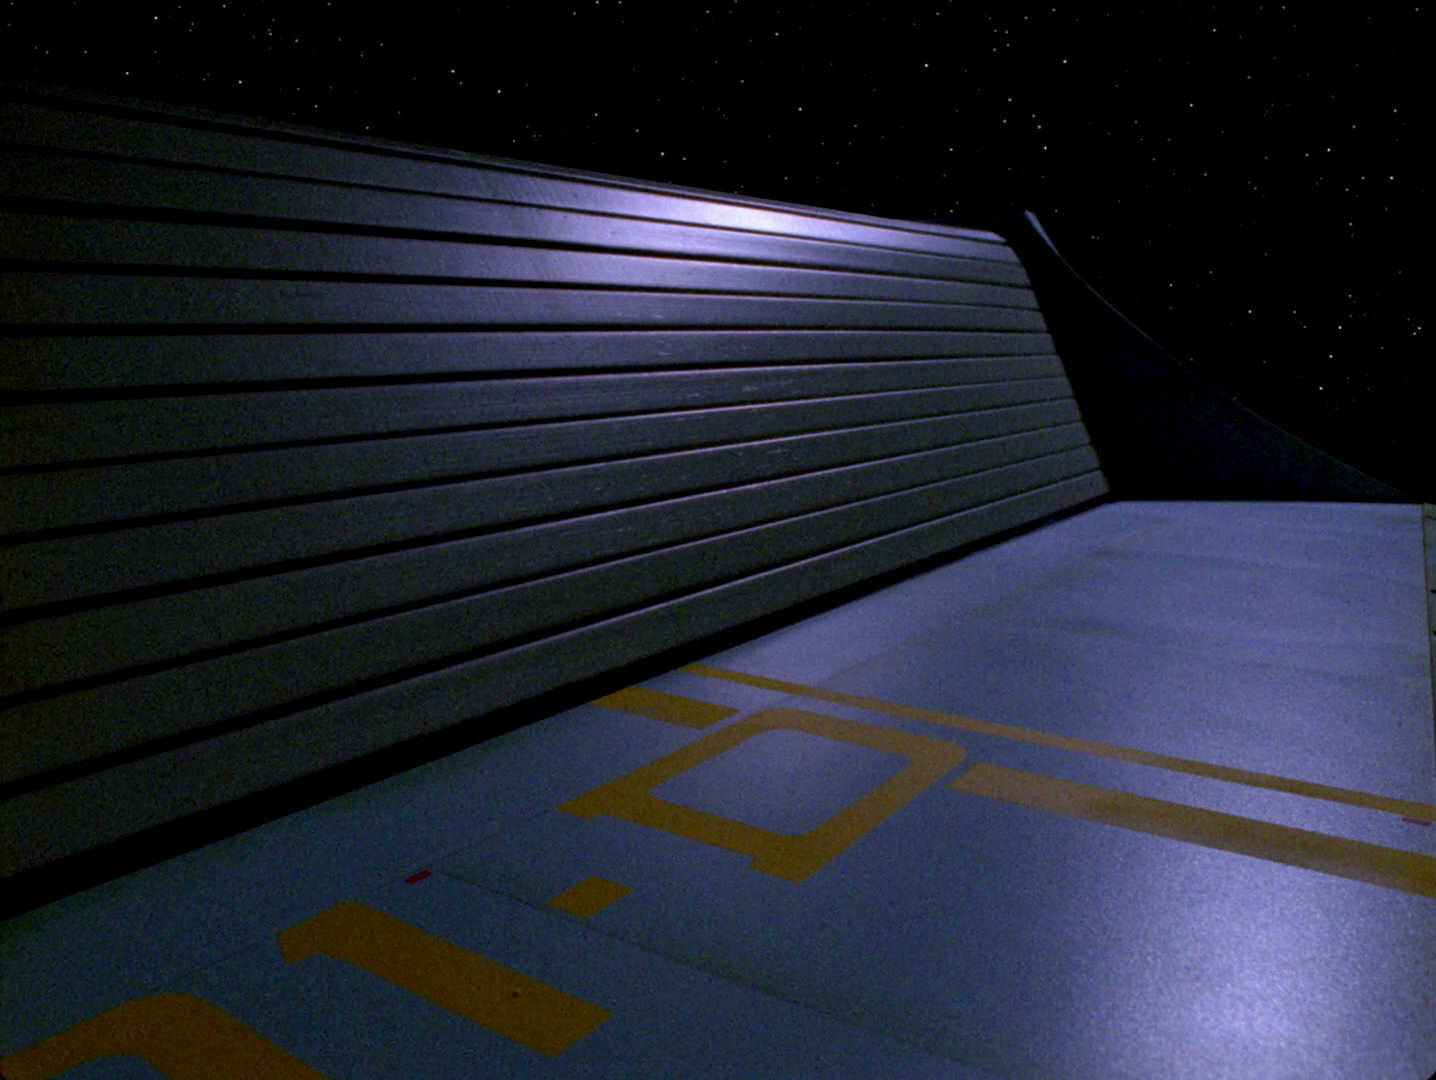 |
The scene in HD. | |
 "Final Mission" |
  |
|||
  |
||||
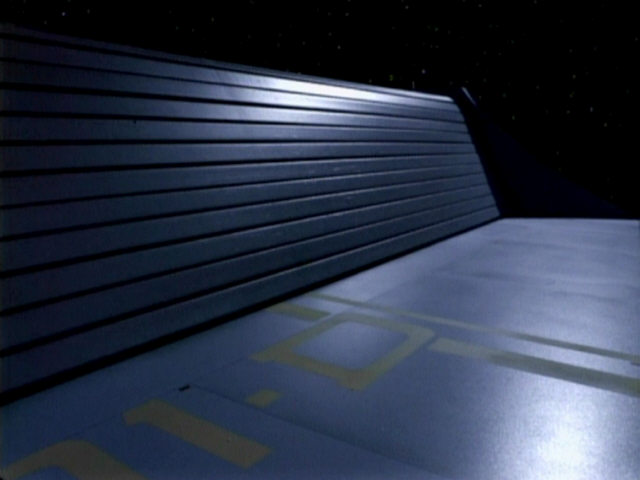
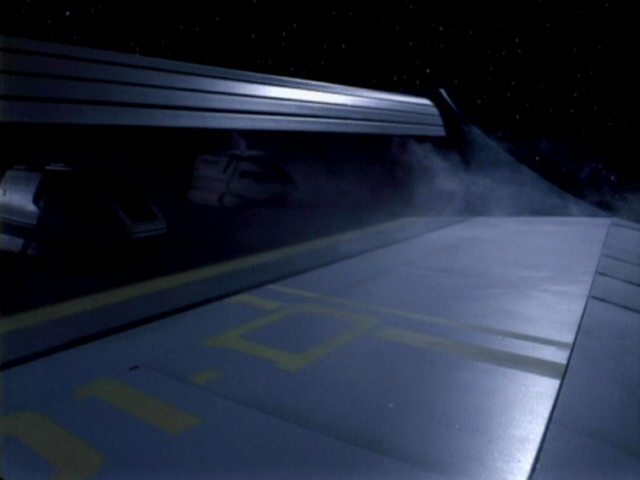
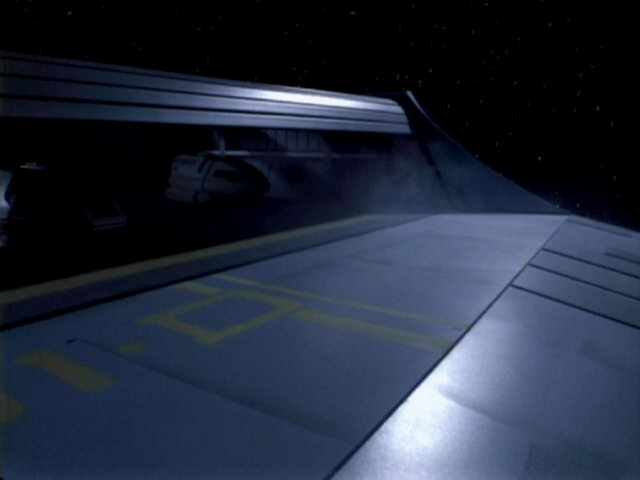
| Due to the decompression of the main shuttlebay, the USS Bozeman steers clear of the USS Enterprise-D and the temporal loop is finally broken. | 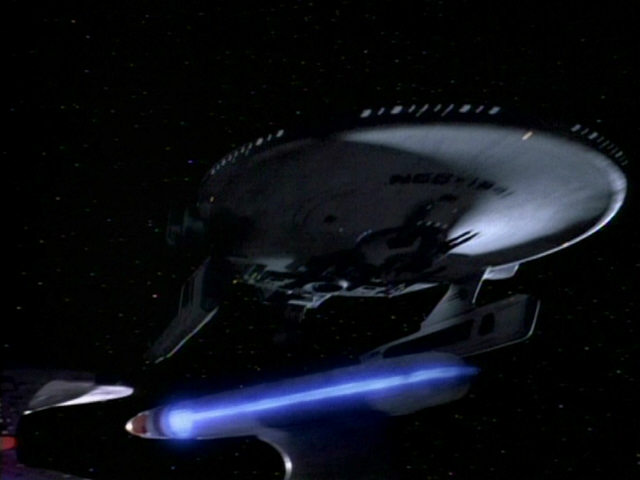 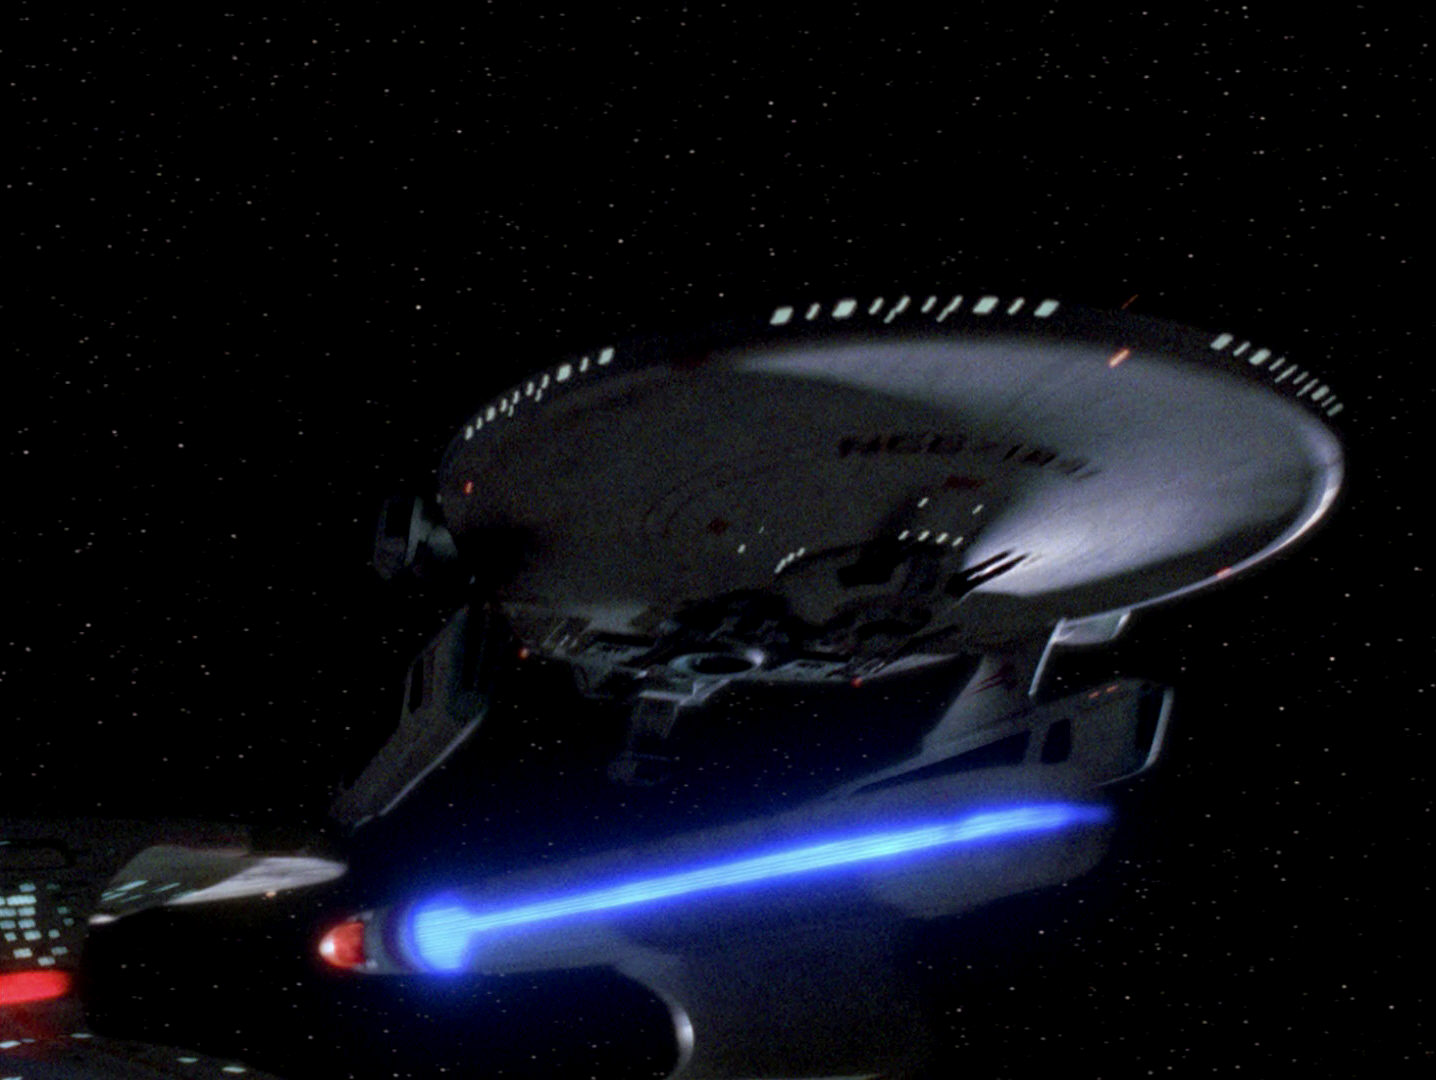 |
The shot in HD. | ||
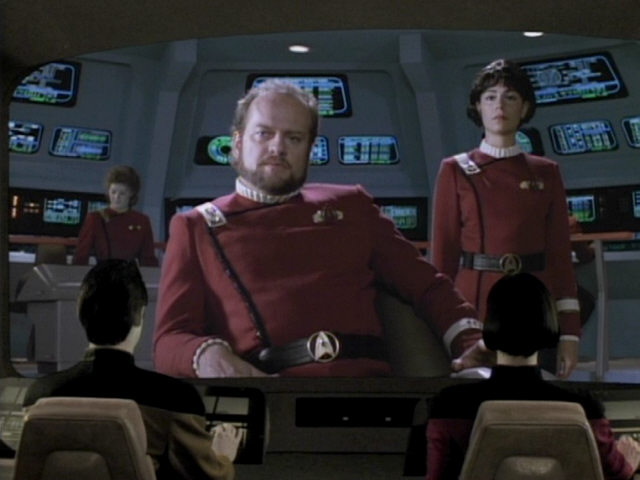
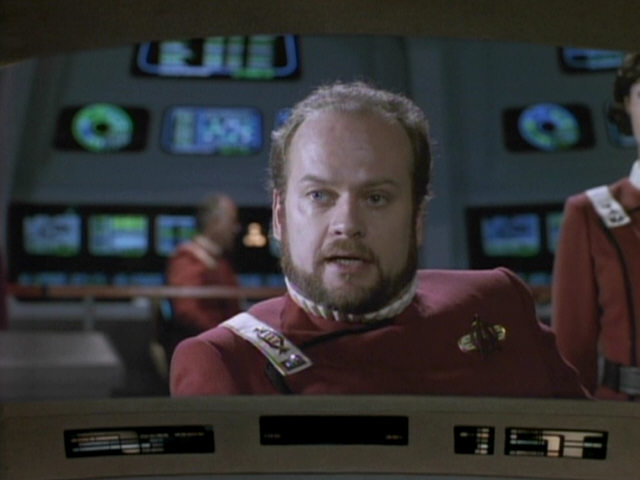
| The bridge of the USS Bozeman is a redress of the set which was originally created as the USS Enterprise bridge for the first Star Trek film. The set was modified countless times over the course of Star Trek: The Next Generation. It last appeared as a lab within the genome colony on Moab IV in "The Masterpiece Society". The set last appeared as the bridge of a Federation ship in "The Best of Both Worlds II", where it was used as the battle bridge of the USS Enterprise-D. Re-Used Starship Interiors |
 "The Best of Both Worlds II" |
 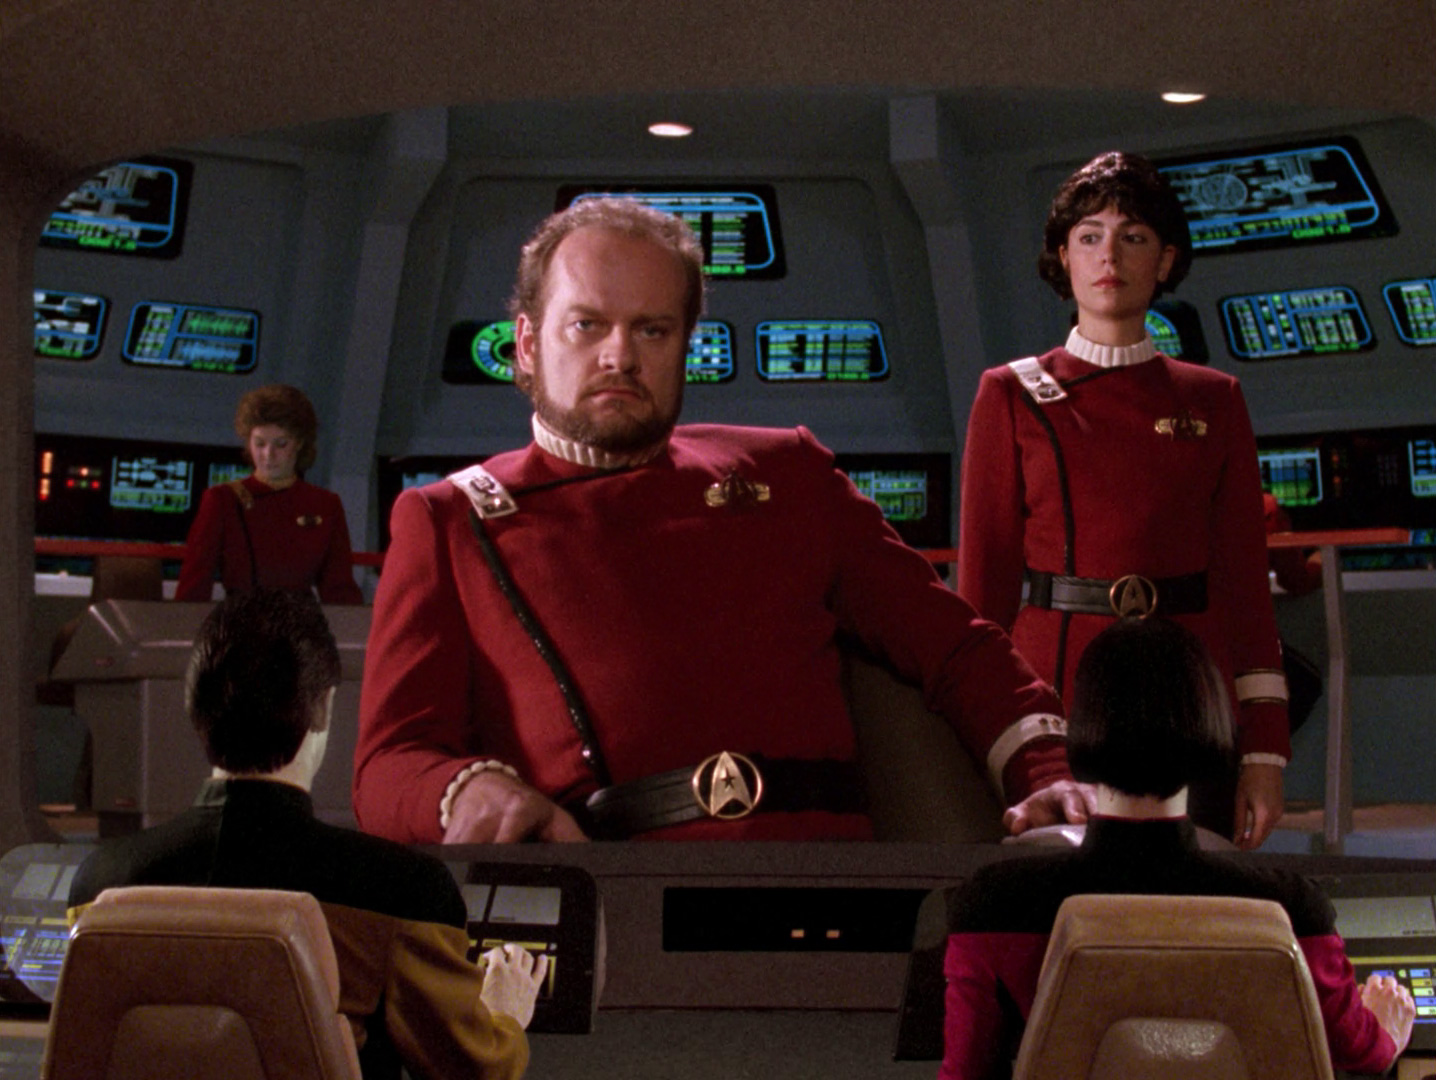 |
The set (and the old uniforms) in HD. | |
 "The Masterpiece Society" |
  |
|||
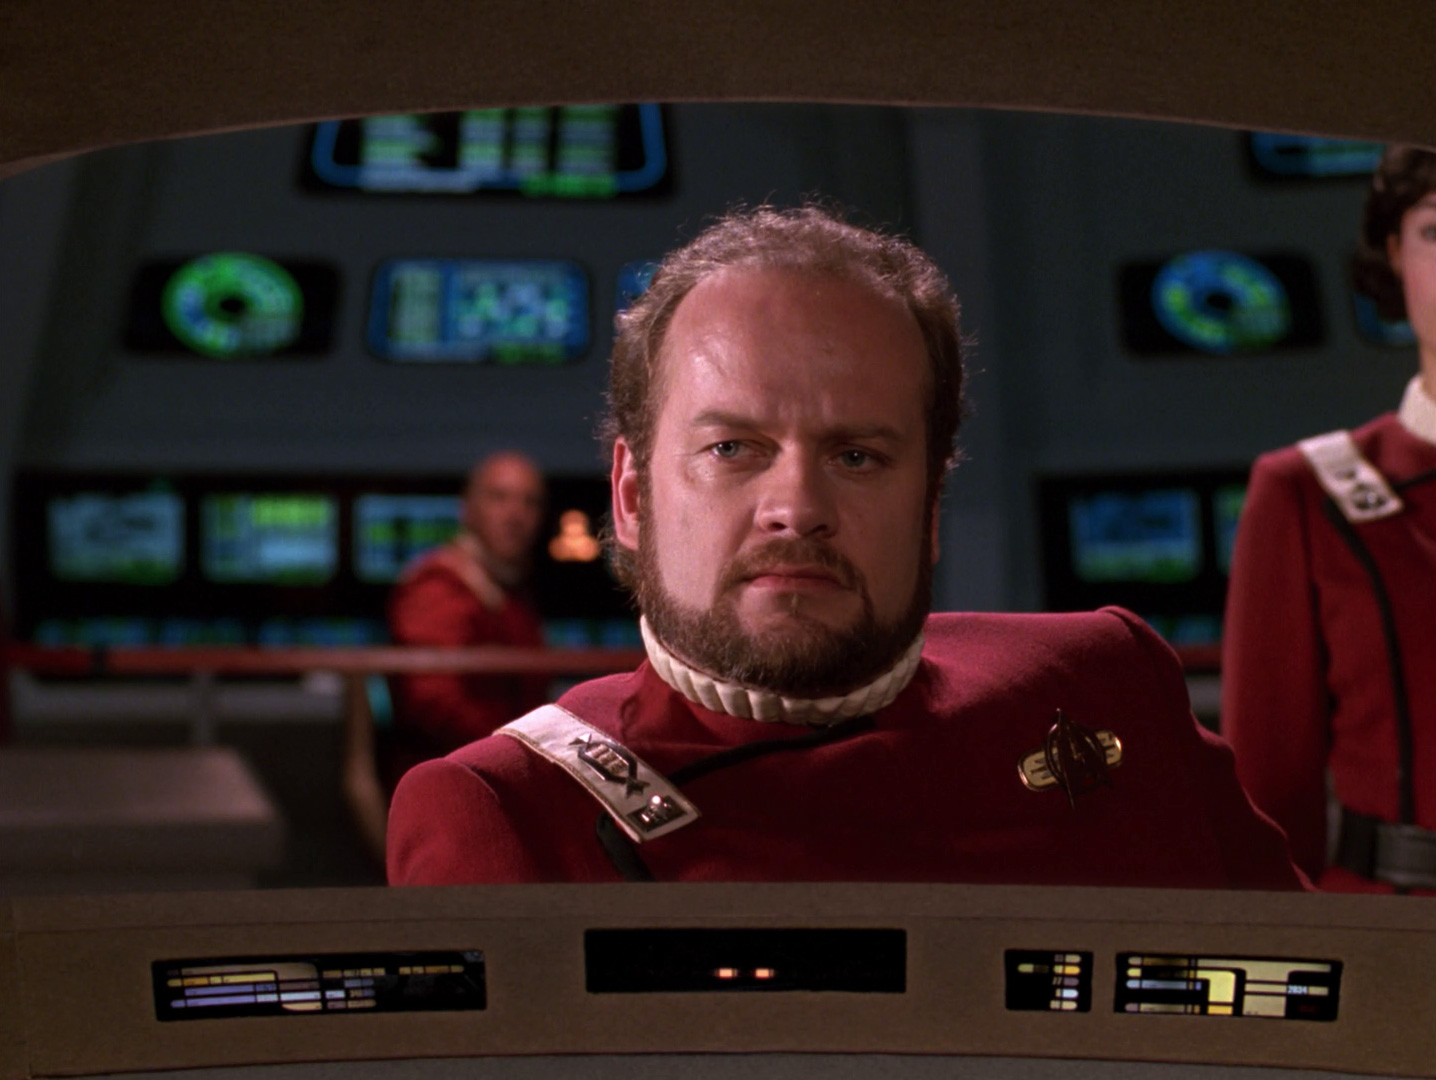
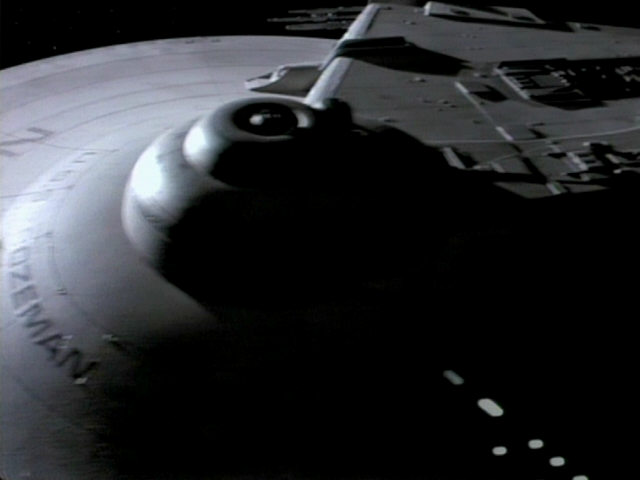
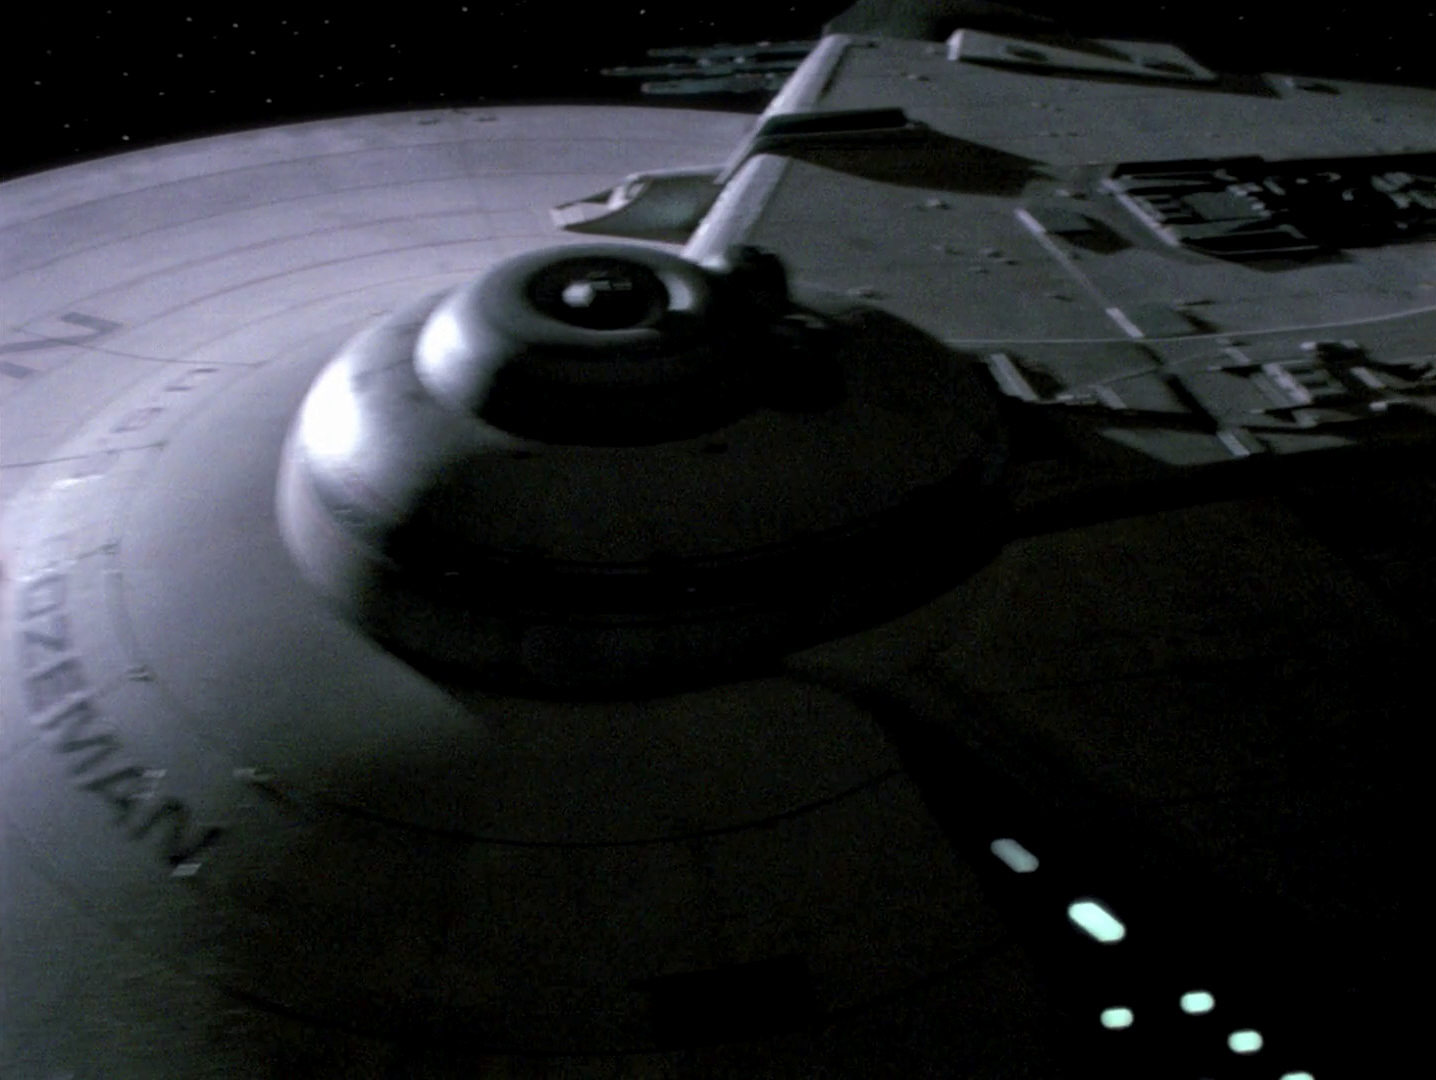
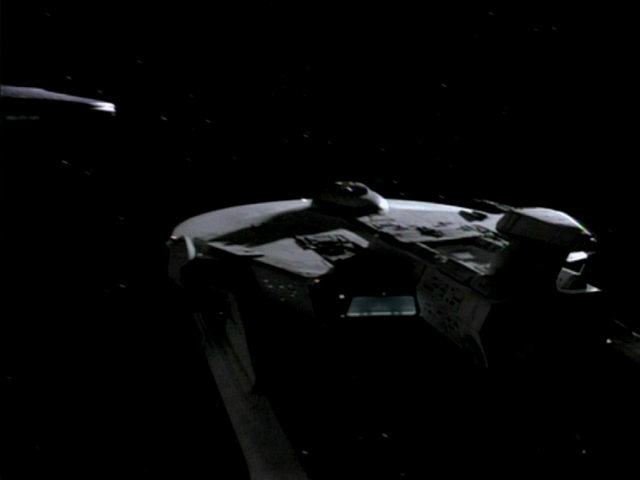
| The USS Bozeman is welcomed to the 24th century by the USS Enterprise-D. The Soyuz class model is a redress of the Miranda class model which first appeared as the USS Reliant in "Star Trek II: The Wrath of Khan". The model last appeared up close in "Night Terrors" as the USS Brattain. Incidentally, the saucer section with the bridge dome was filmed from a very similar angle in that episode, so the modifications made to the bridge dome for the re-use in "Cause and Effect" can be seen easily. Miranda Class Variations |
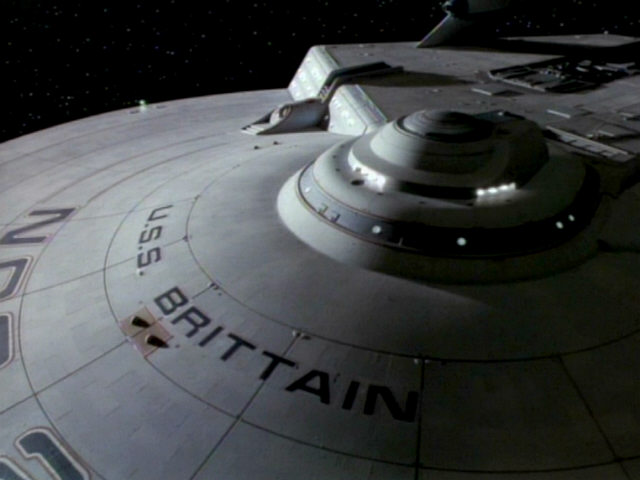 "Night Terrors" |
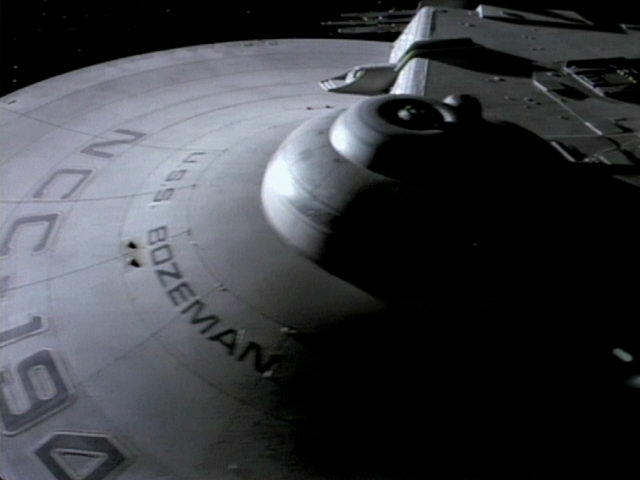 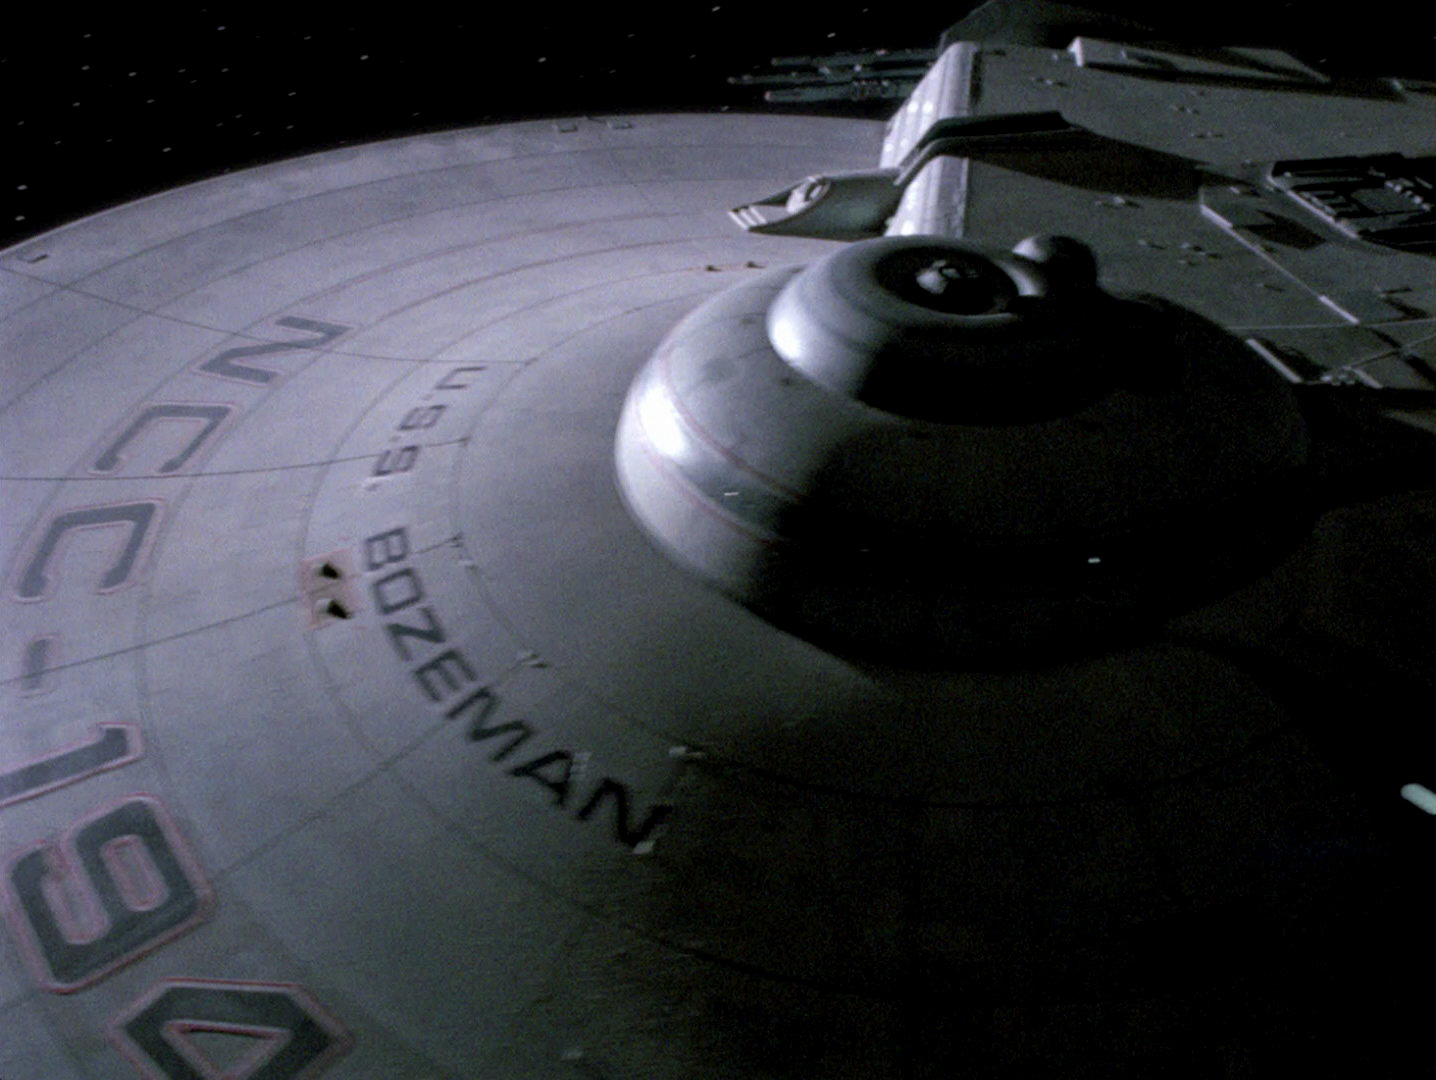 |
Details of the USS Bozeman in HD. | |
  |
||||
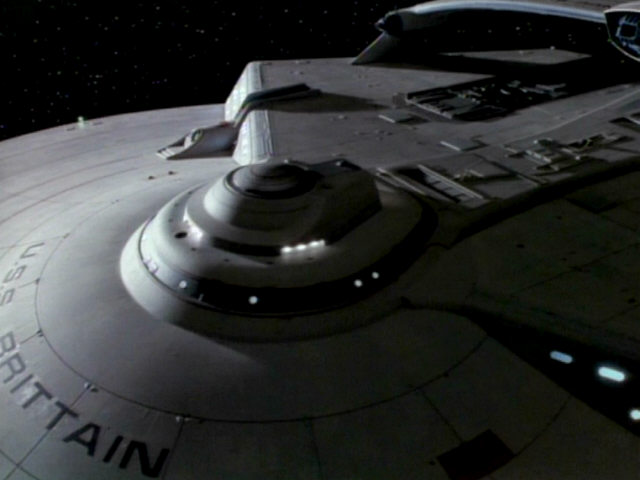 "Night Terrors" |
  |
|||
  |
||||


