


Observations in TNG: "The Battle"
A joint project with TrekCore, by Jörg Hillebrand and Bernd Schneider
 Here are some observations about sets, props, make-ups and visual effects in TNG: "The Battle" without a specific theme, and a comparison of the original TV release (TNG) with the remastered episode (TNG-R).
![]()
"The Battle" HD Screencaps @ TrekCore
| Description TNG | Other caps | Comparison TNG to TNG-R | Description TNG-R | |
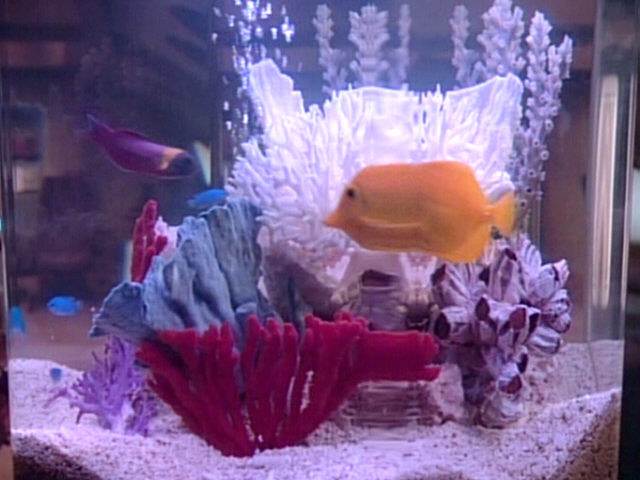
| The fish tank only appeared in Picard's quarters in "The Battle", "Where Silence Has Lease" and "Pen Pals". It was also seen in Wesley's quarters in "The Dauphin" and in Dr. Stubbs's guest quarters in "Evolution". Its final appearance was in Troi's quarters in "The Survivors". | 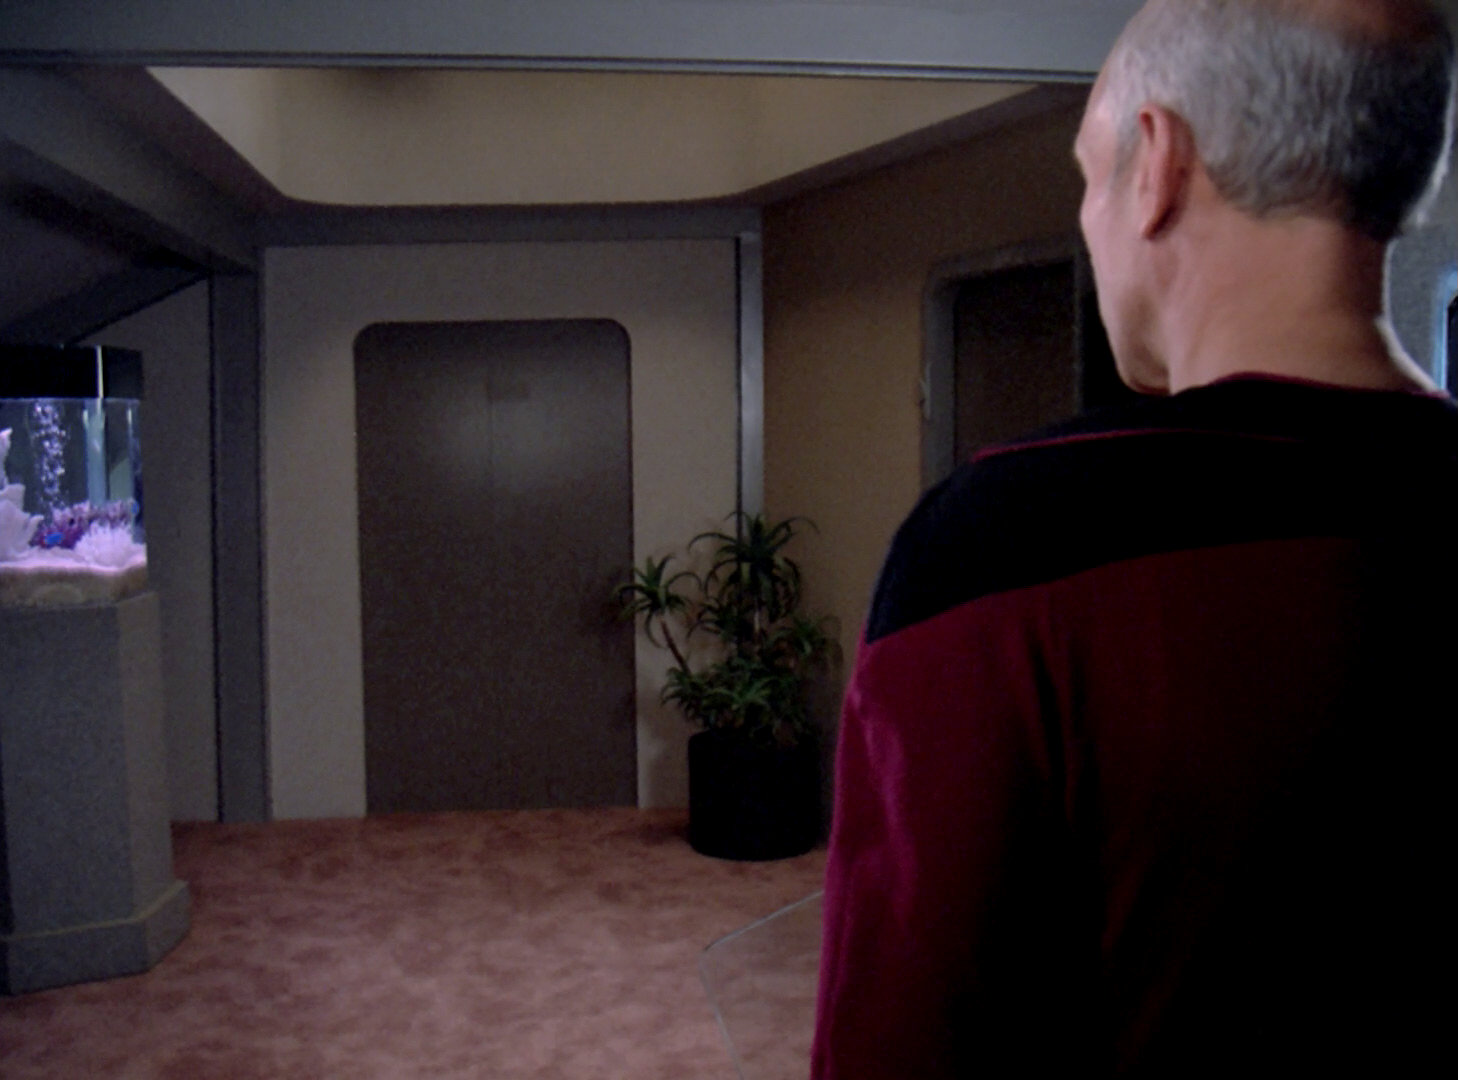 "Where Silence Has Lease" |
  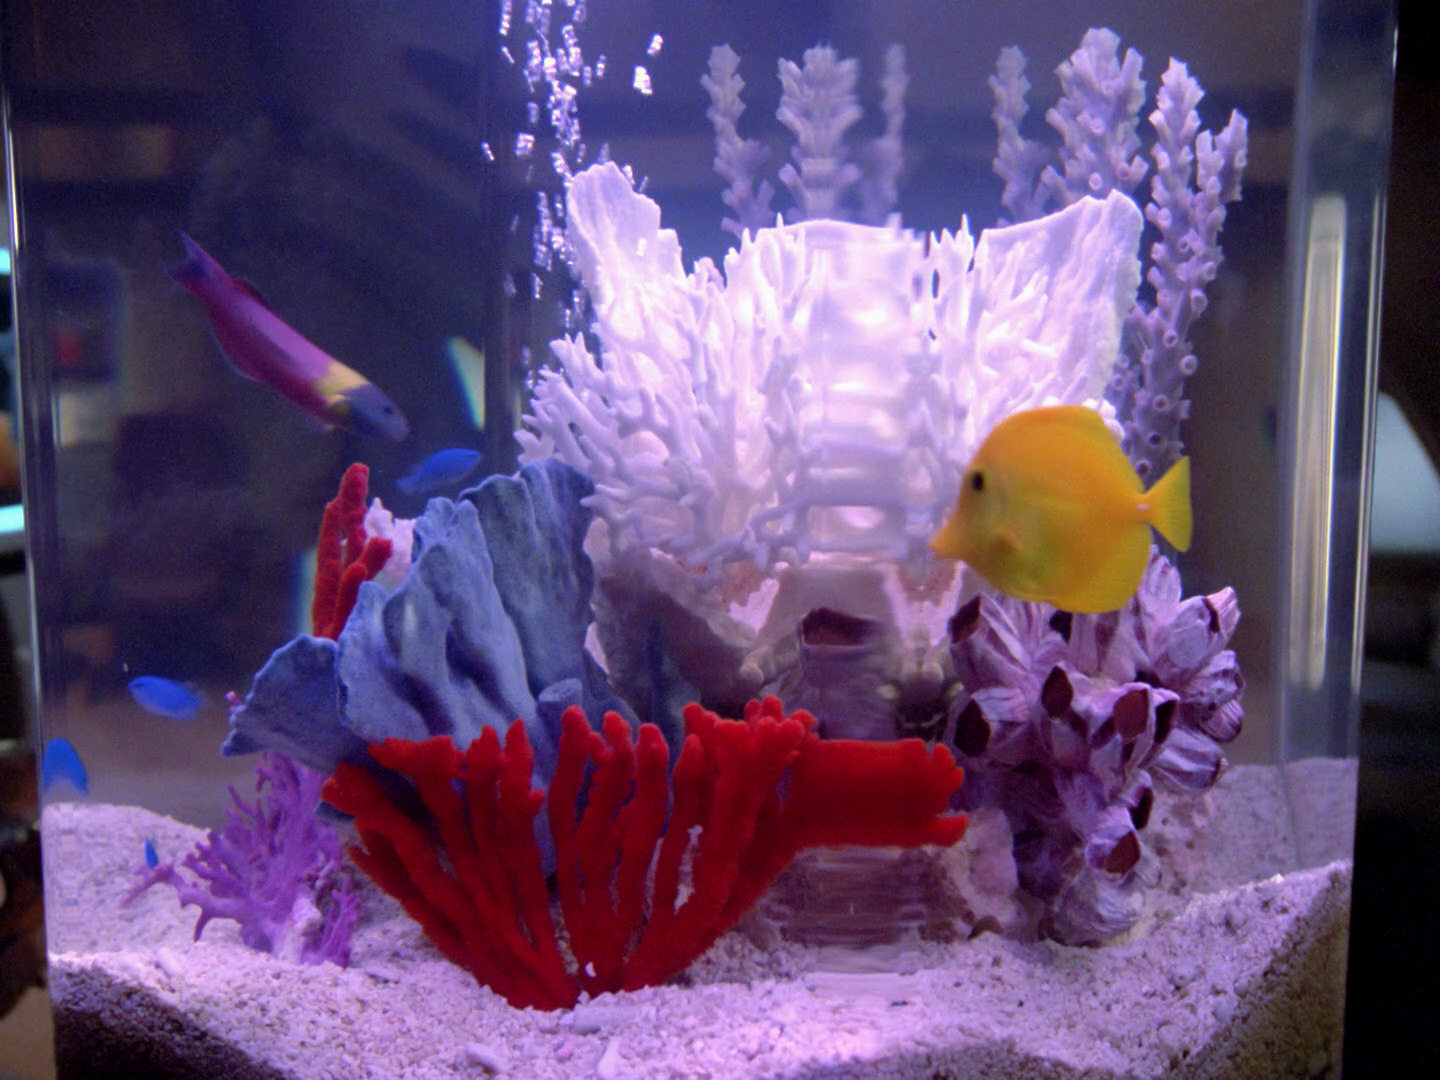 |
The fish tank in HD. | |
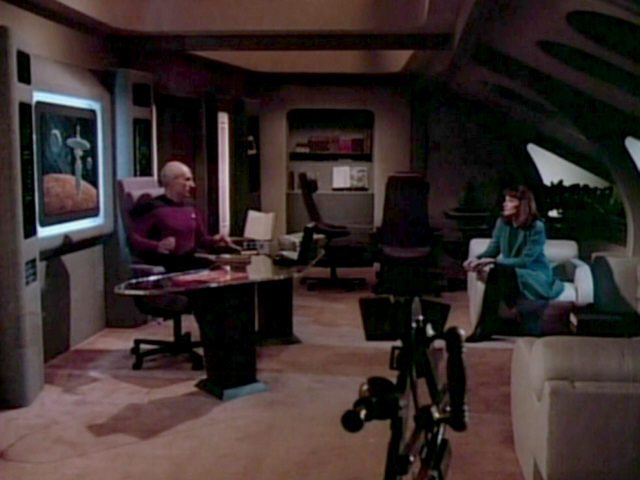
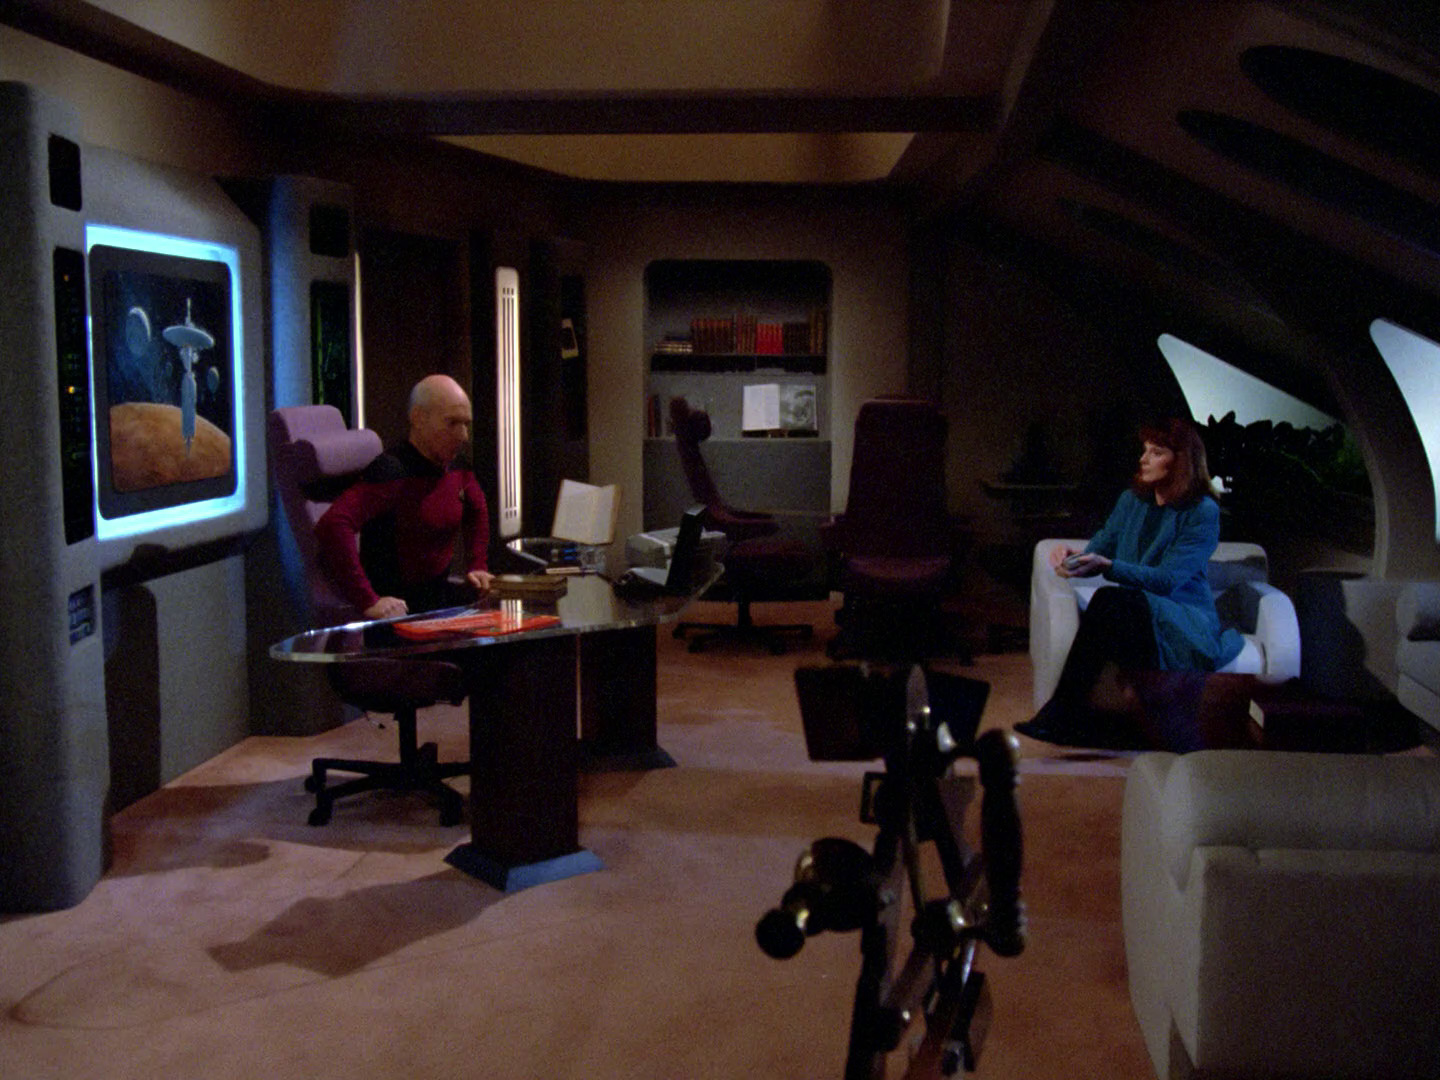
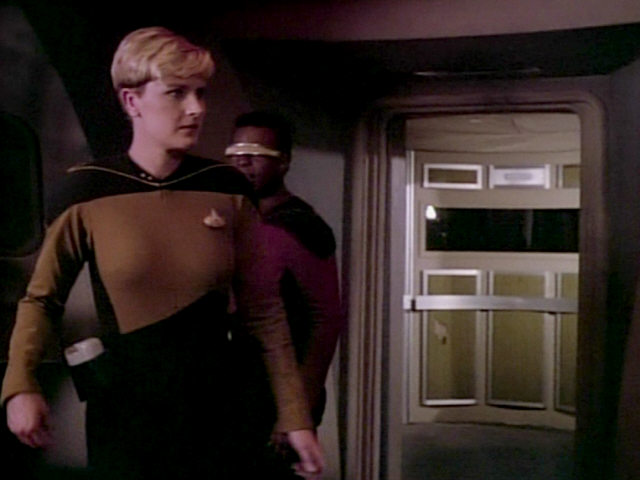
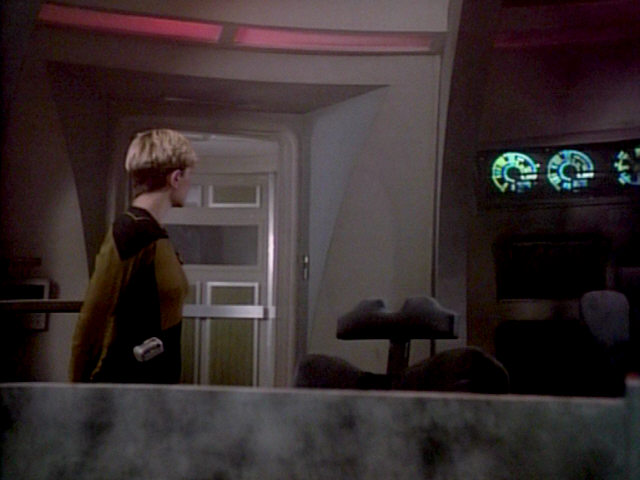
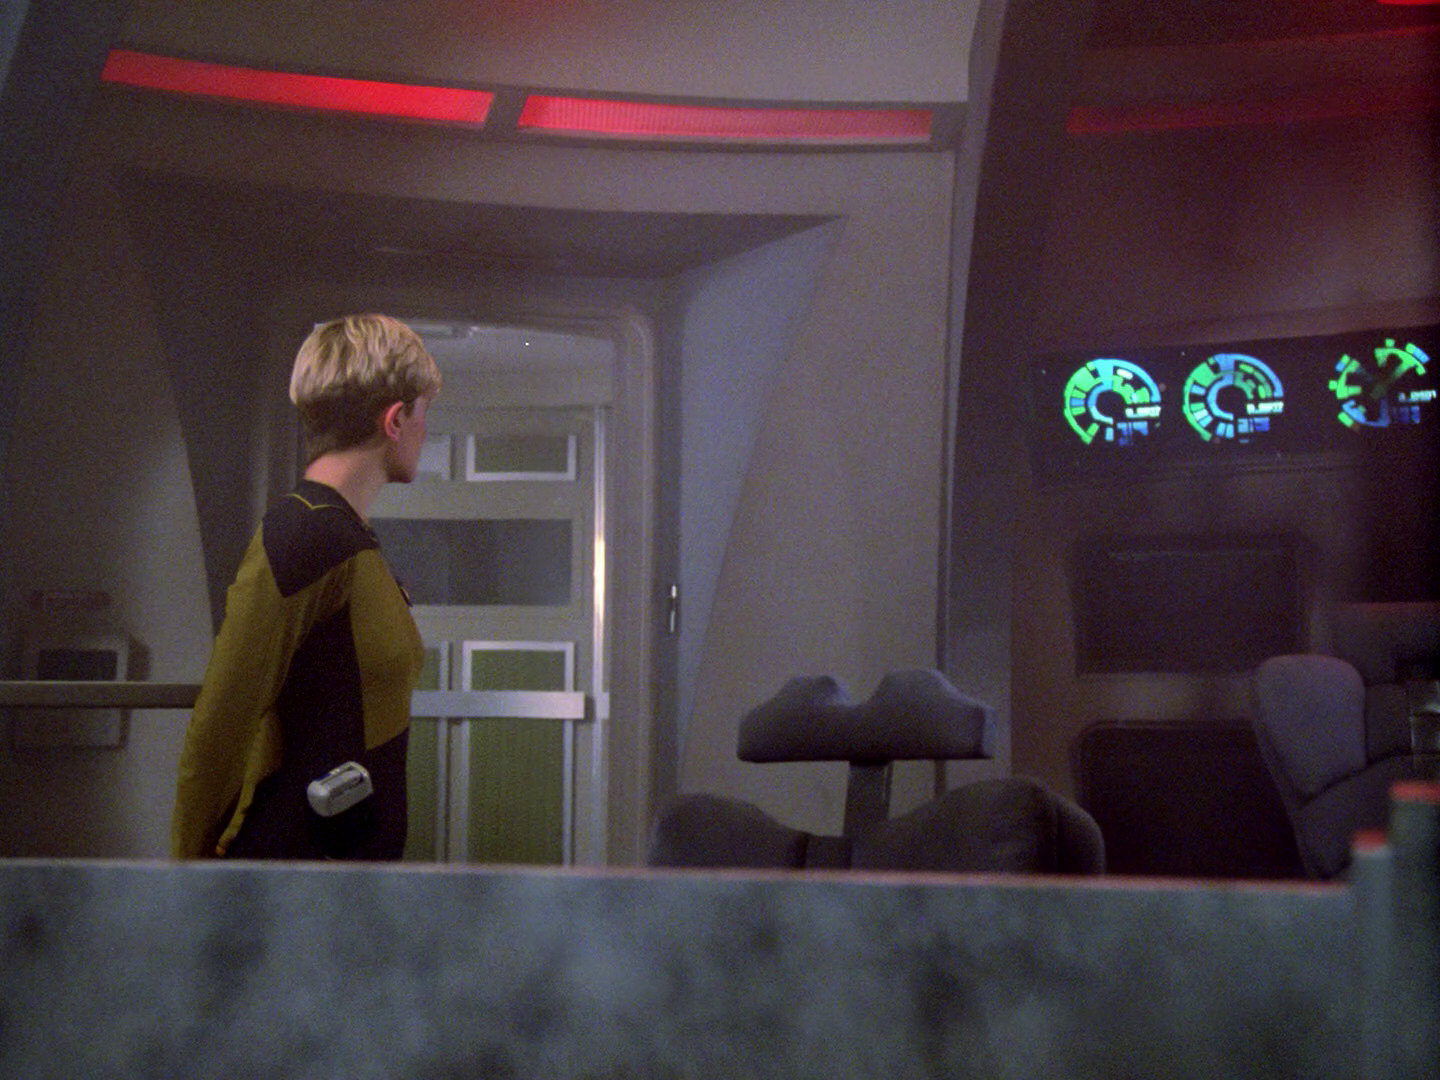
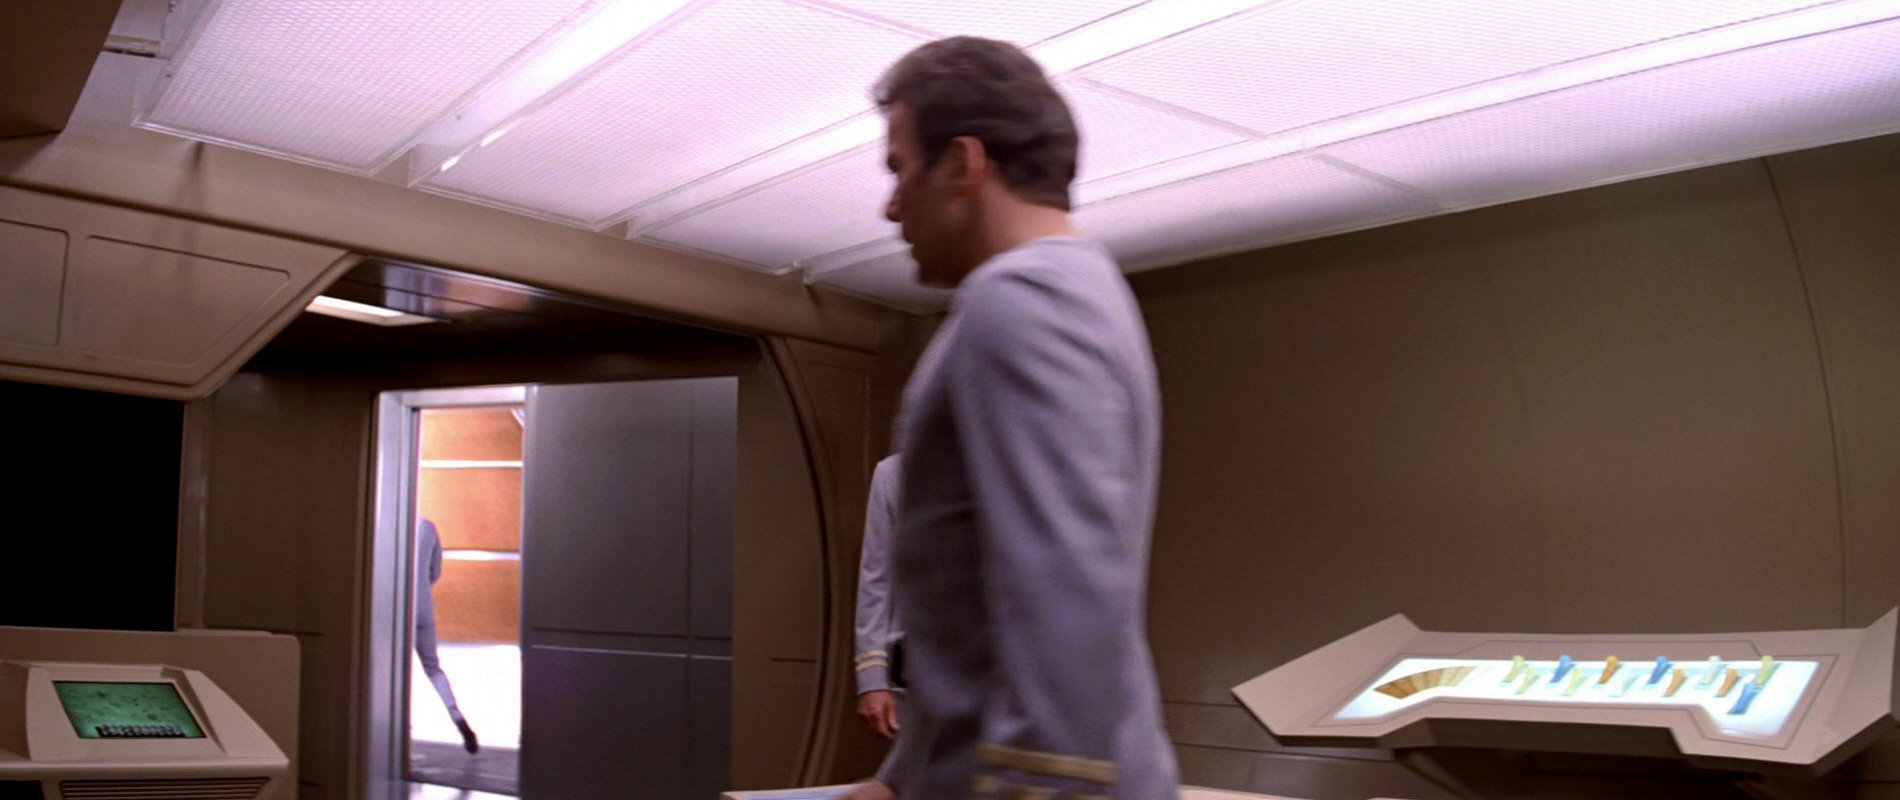
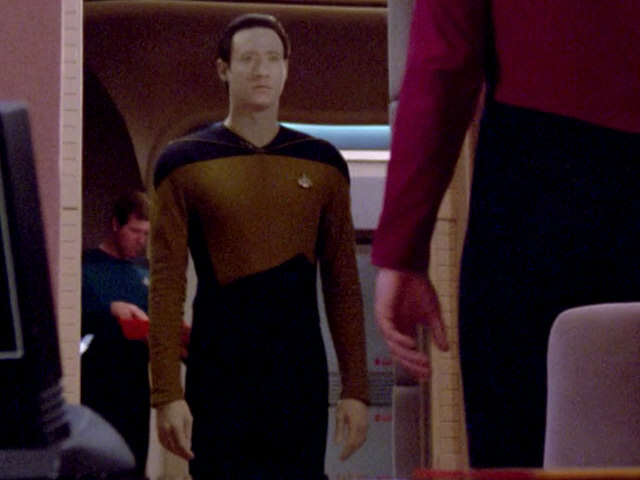
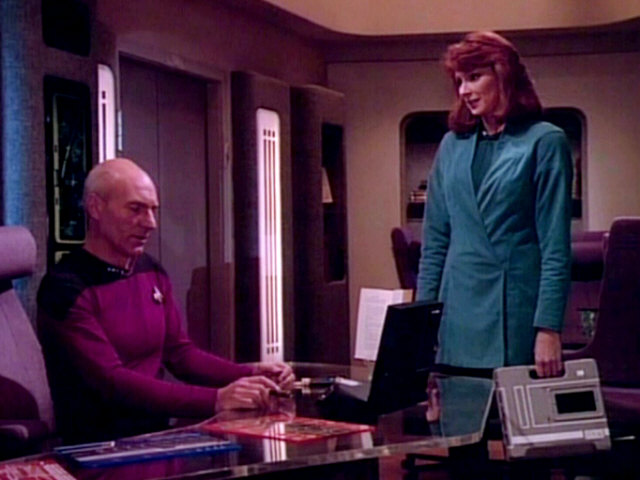
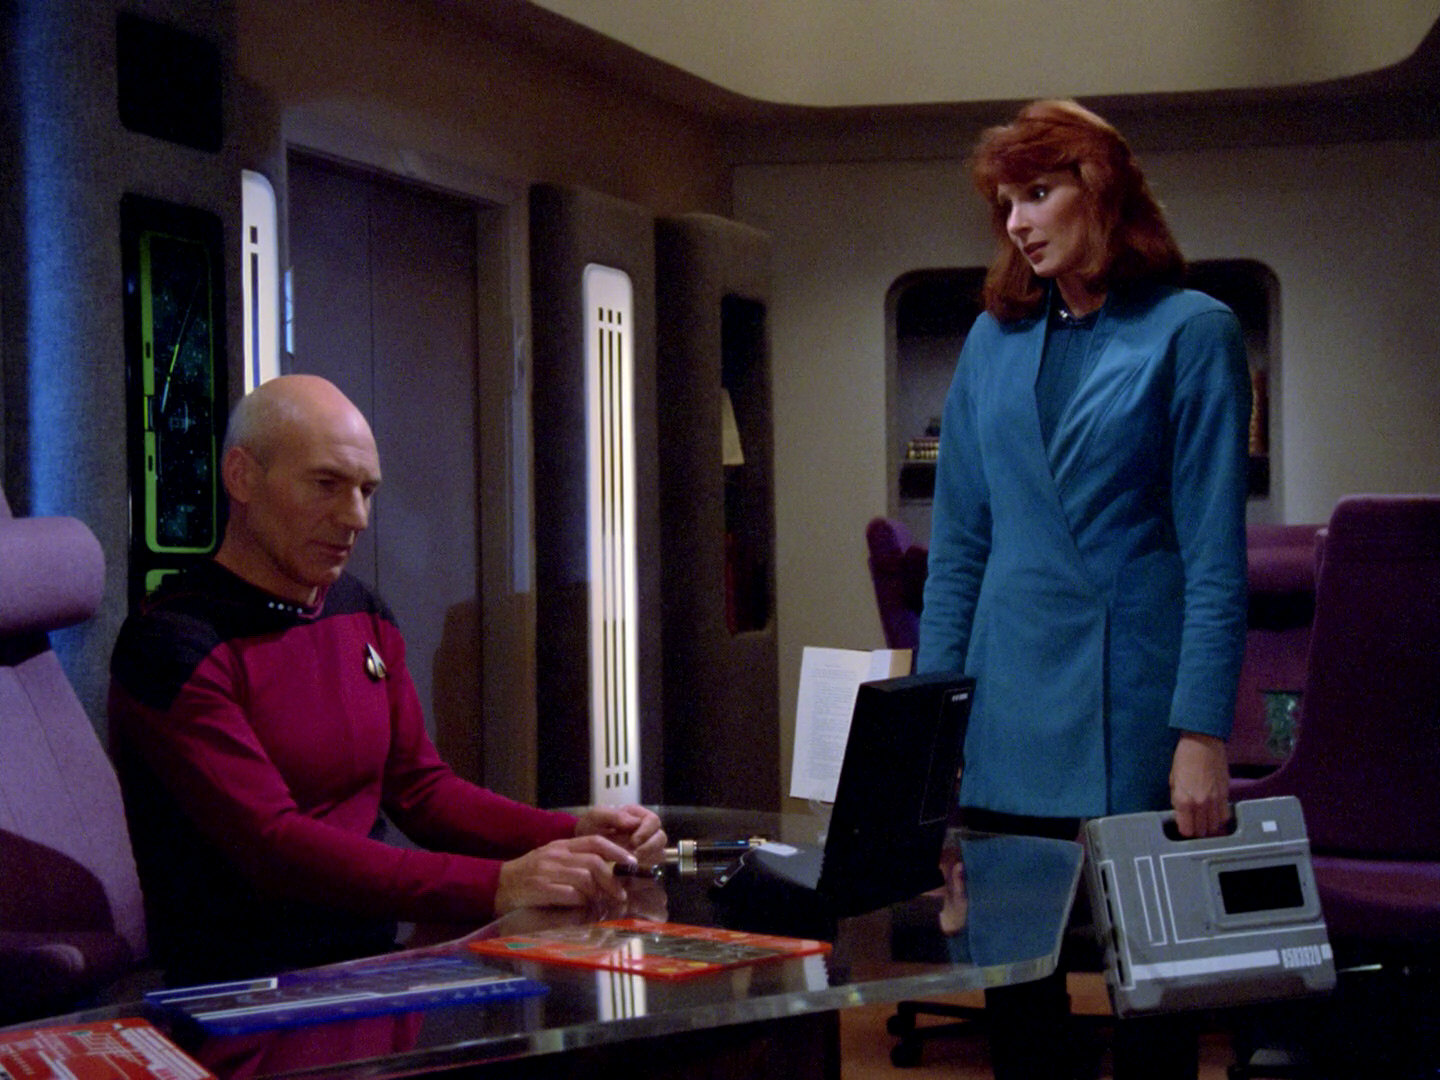
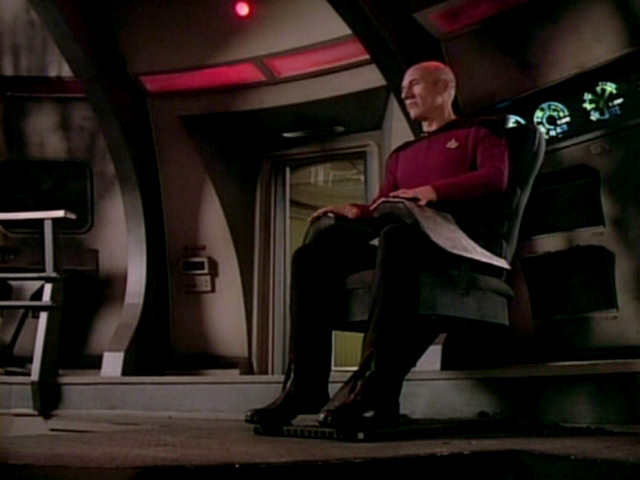
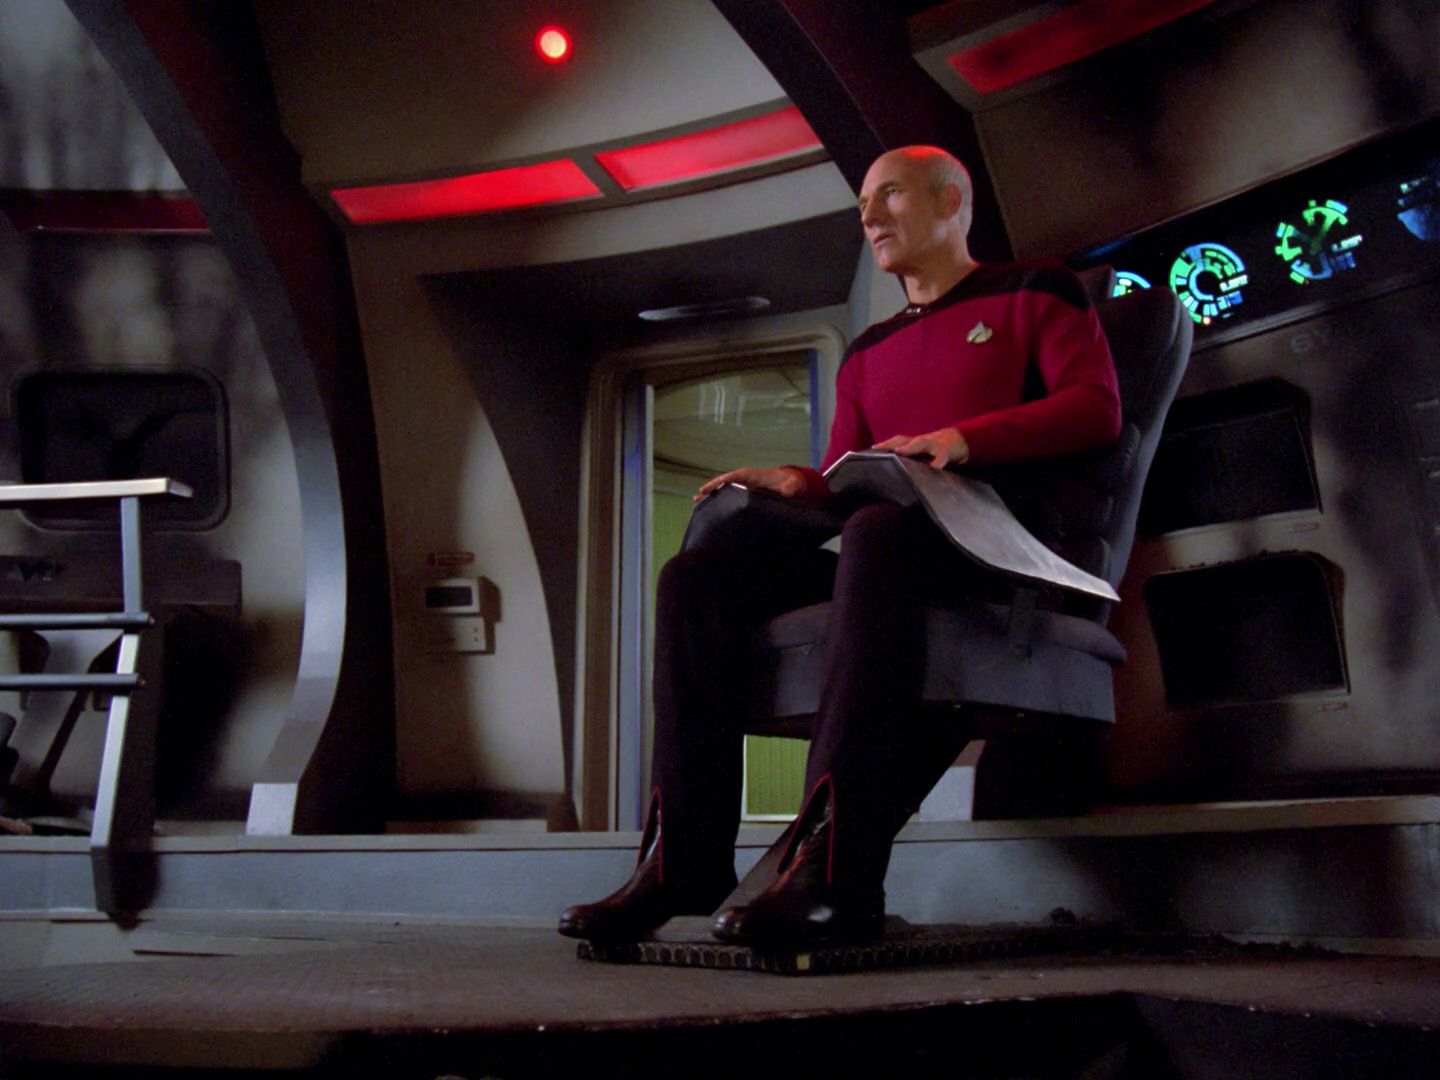
This is the first appearance of Picard's crew quarters. The set features a number of book shelves. Whenever the set was redressed as guest quarters for high-ranking guests, Picard's Shakespeare books and his sextant are present. Most of the furniture would also be present in all later appearances of Picard's quarters. The large starbase painting created by Rick Sternbach is also seen for the first time. The desk would change a little over the course of the series. The four light columns (two flanking each door) only appear in Picard's quarters in this episode and in "Angel One". Two were re-used in the lounge already in "The Neutral Zone" (and later in "The Outrageous Okona") and the other two permanently became part of Ten Forward in the second season. |
 "The Icarus Factor" |
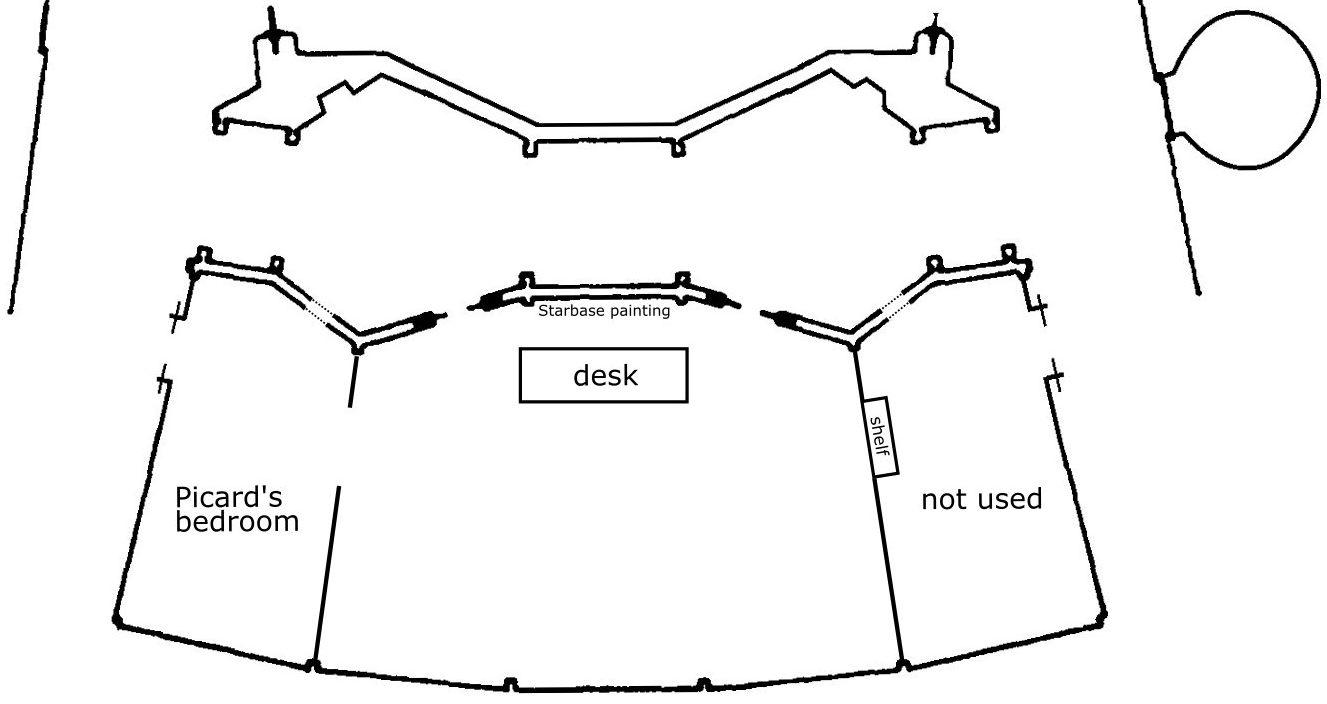 Picard's quarters floorplan |
  |
A better look at the set in HD. |
| When the door to Picard's quarters opens, it reveals a wall with a painting. Normally, the corridor set should be visible through the open door. | 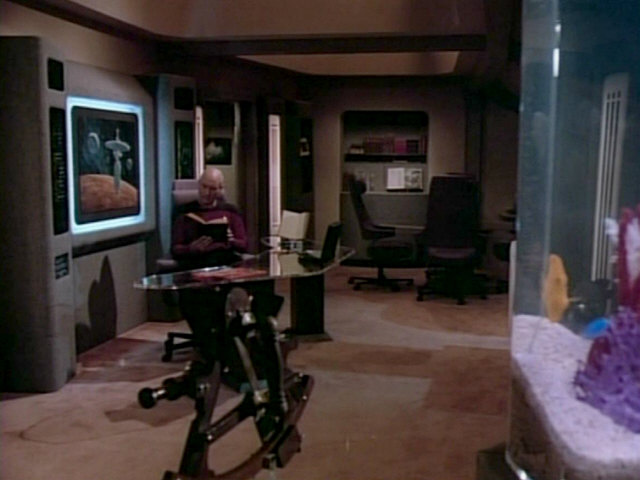 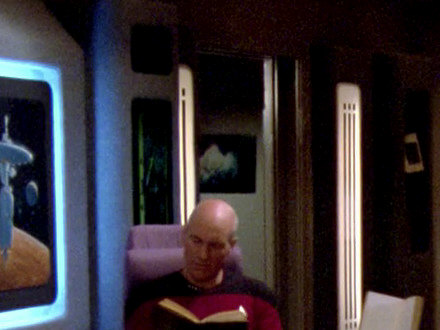 |
The painting is better visible in HD. | ||
| This sickbay door is the starboard observation lounge door when the sickbay is set transferred into the observation lounge. A short beige corridor is located behind this door. |  "Code of Honor" |
 |
No changes | |
| Wesley's infamous provisional "uniform" debuts in this episode, after he had worn civilian clothing in all previous episodes. The three stripes represent the three Starfleet divisions command (red), operations (yellow) and science (blue). | 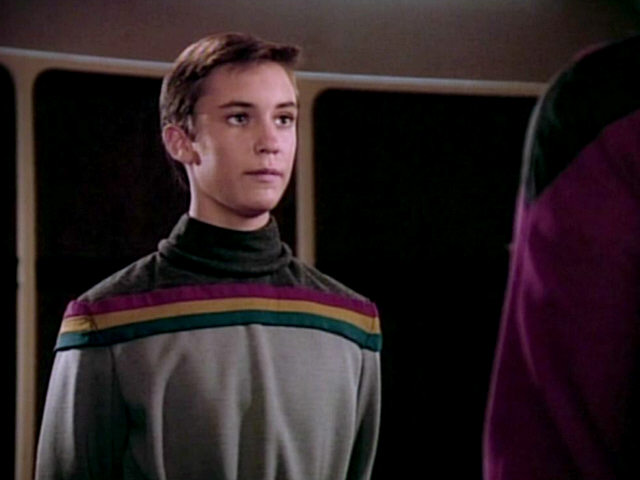 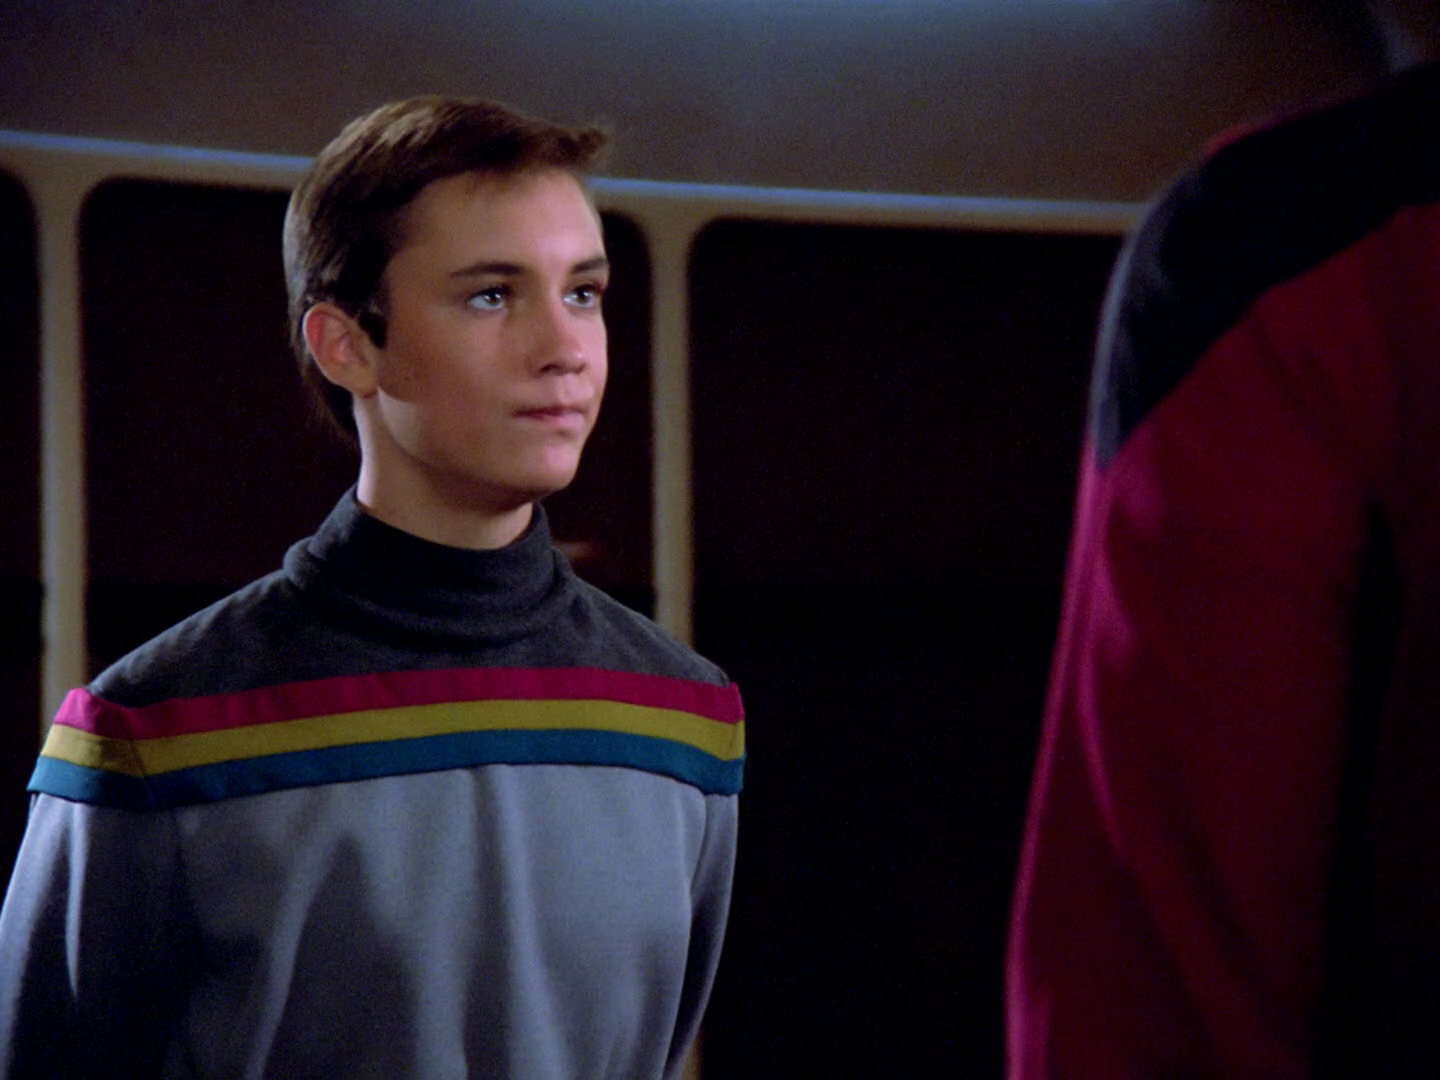 |
Wesley's sweater in HD. | ||
| A good look at Troi's intricate hairstyle in season 1. | 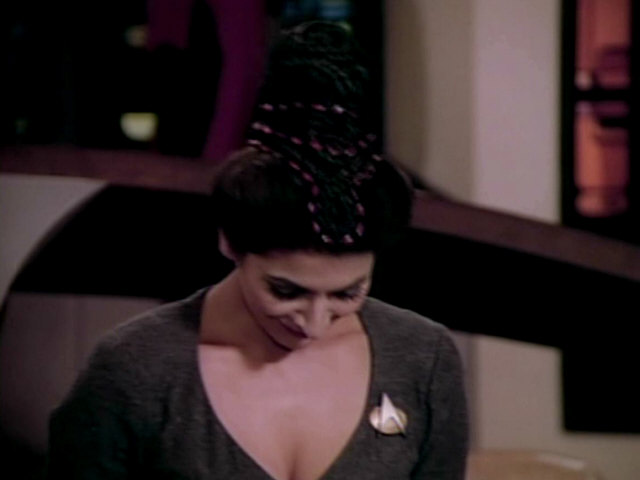 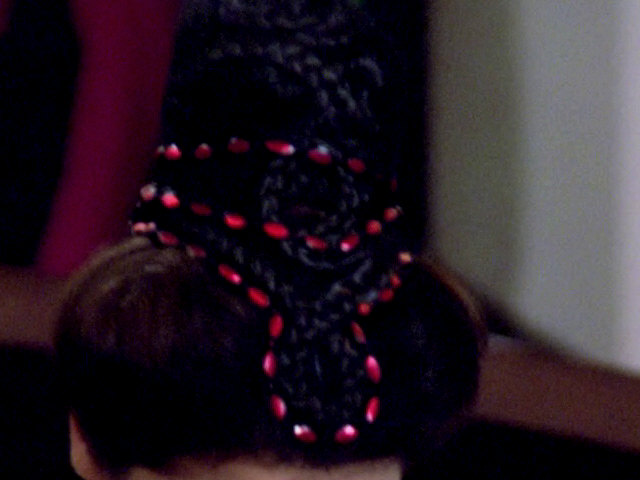 |
A better look is possible in HD. | ||
| A microphone briefly pops into view in this shot. | 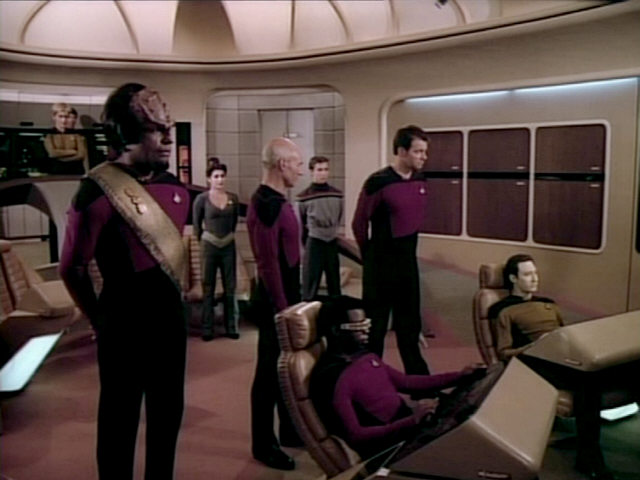 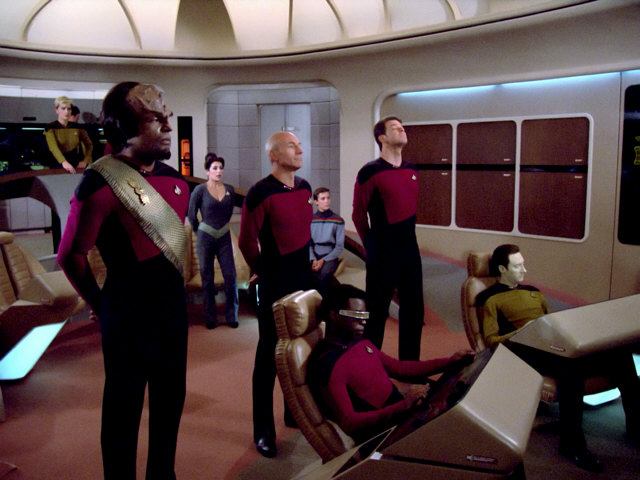 |
Then microphone is still visible in TNG-R. | ||
| Worf is standing next to Picard at the front of the set in this scene, just as seen in the previous screen cap. Only in the shot of Picard directly before the Ferengi beam-over, he's suddenly at the tactical console next to Yar again. This is because a shot from earlier in the episode was re-used. |  |
No changes | ||
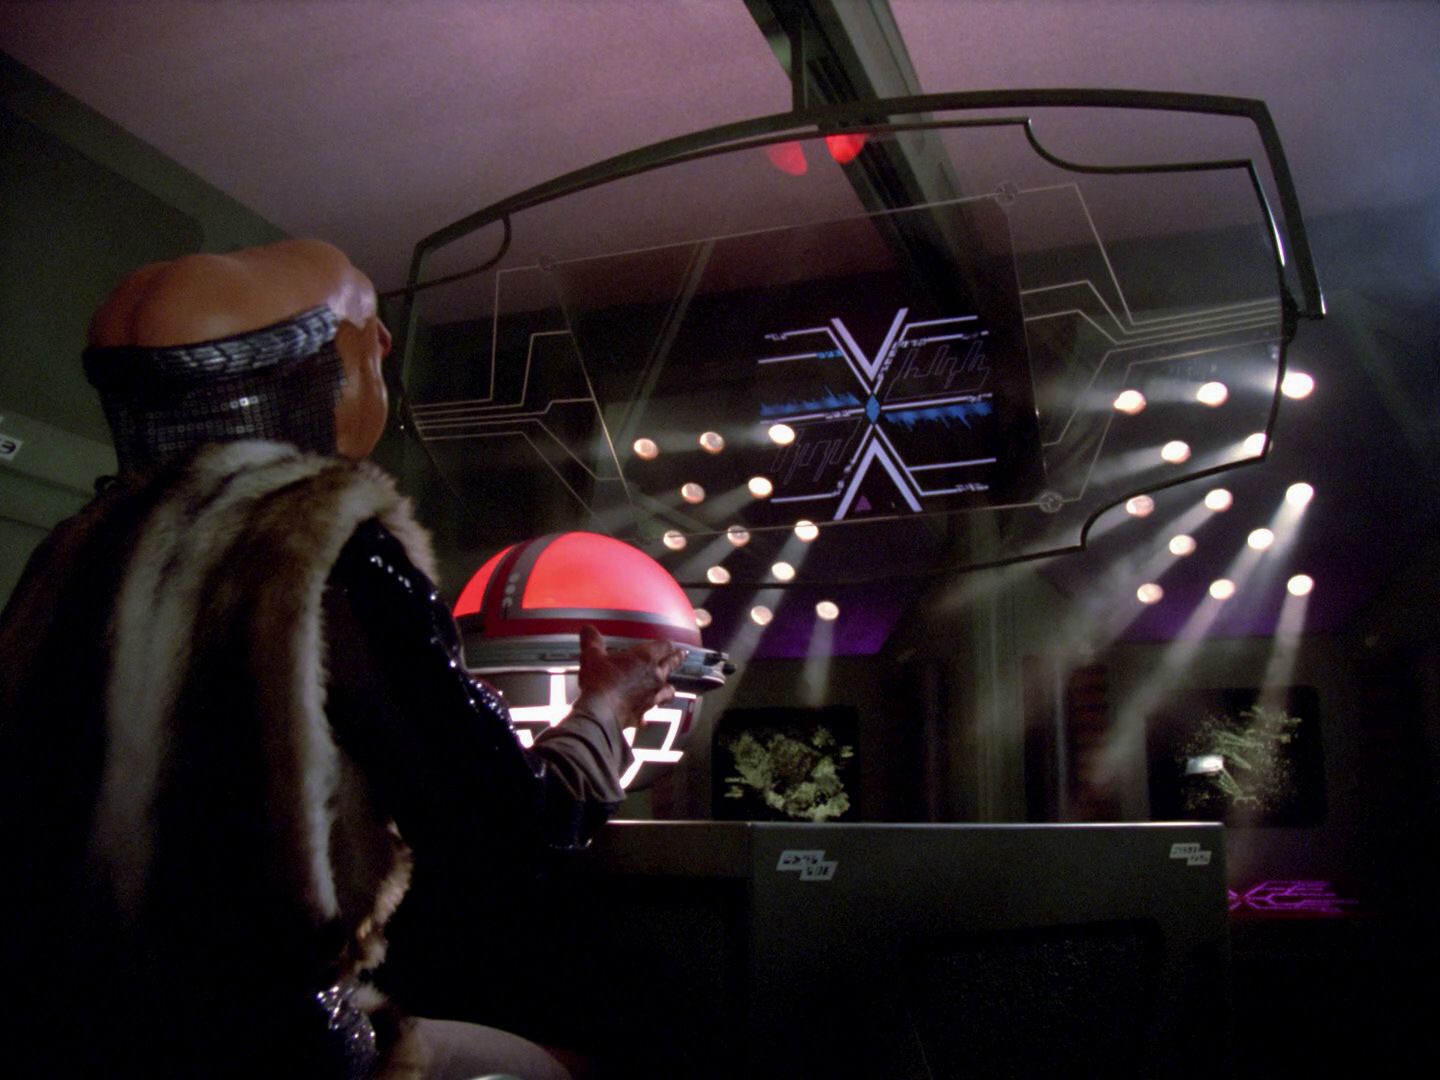
| The Ferengi transporter effect, as already seen in "The Last Outpost". | 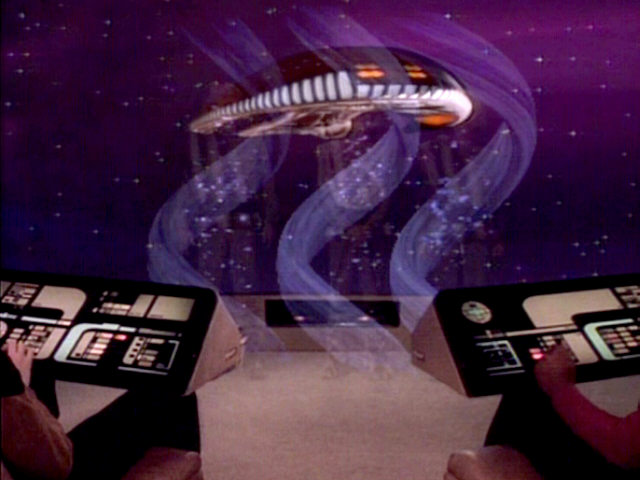 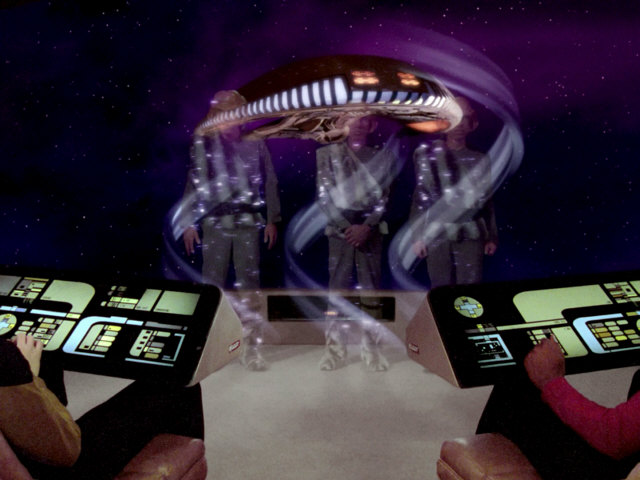 |
The effect was faithfully reconstructed for TNG-R. | ||
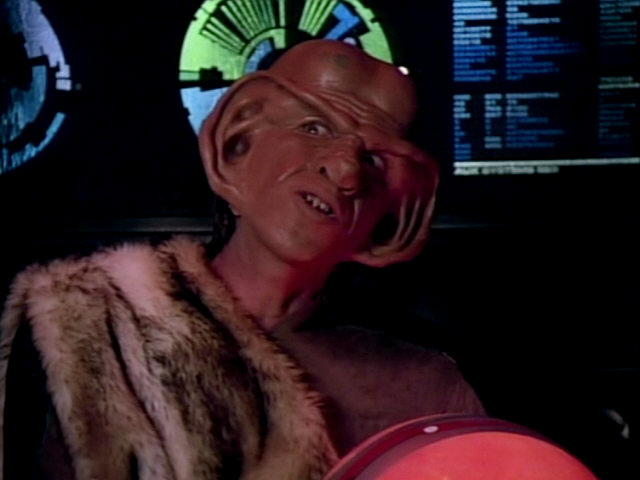
| This is the last appearance of the original furry Ferengi uniform and the metallic headgear. The headpiece is made from the same fabric as the 21st century soldier uniforms from "Encounter at Farpoint". The decorative top part of the headgear later appeared as part of Brull's Gatherer jacket in "The Vengeance Factor". | 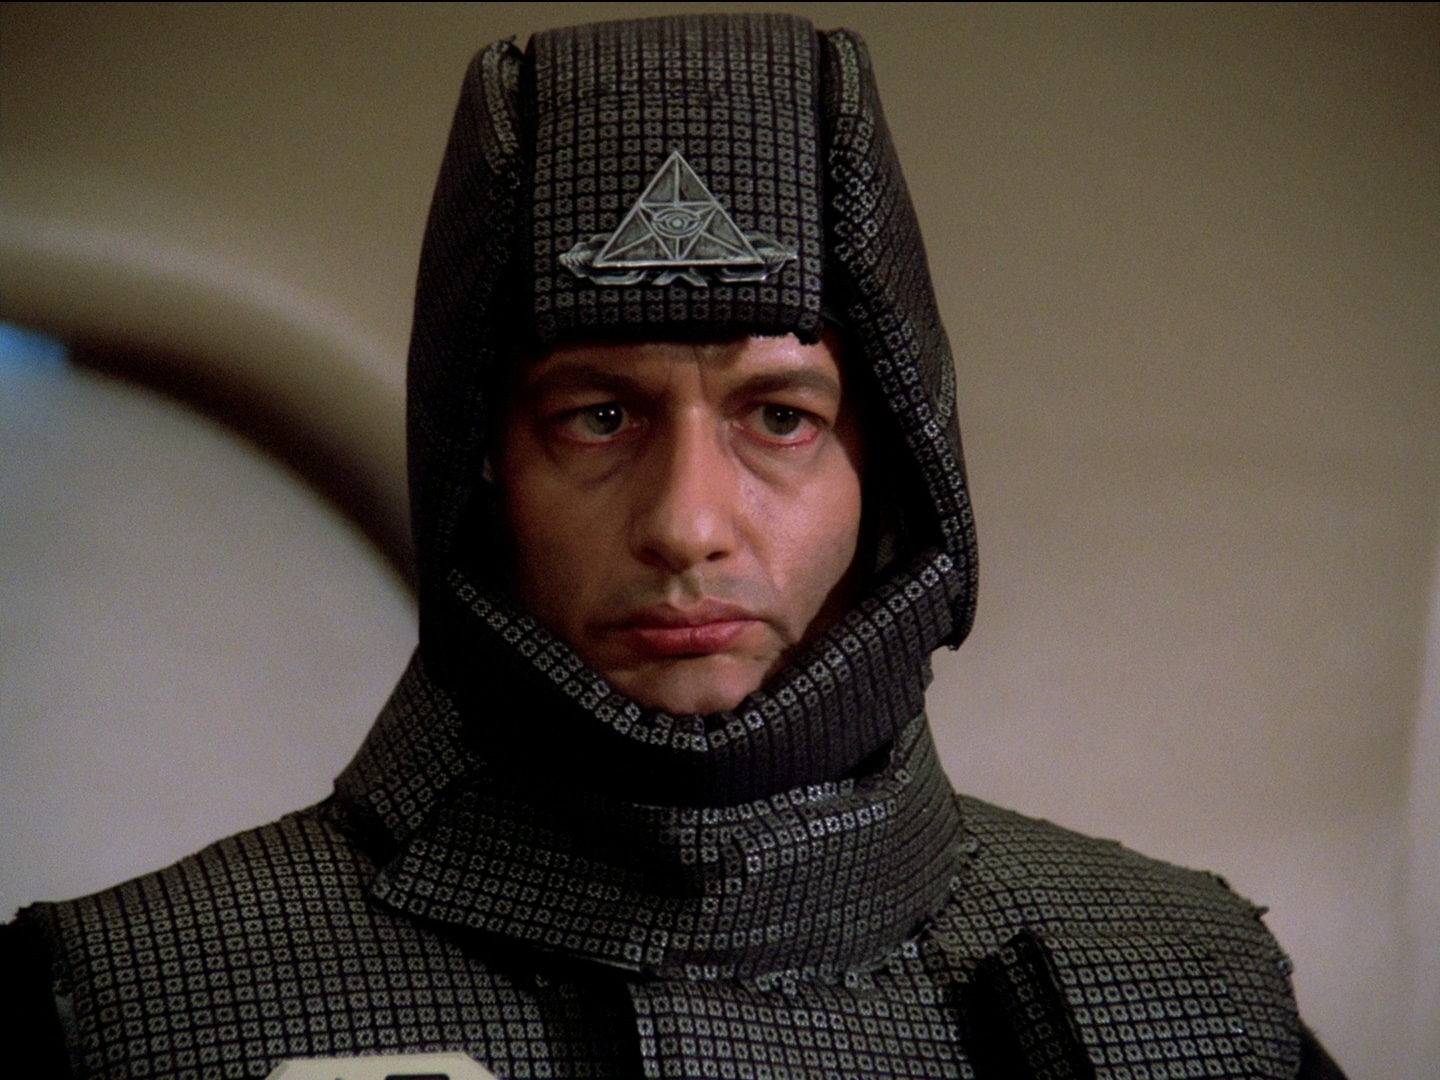 "Encounter at Farpoint" |
 "The Vengeance Factor" |
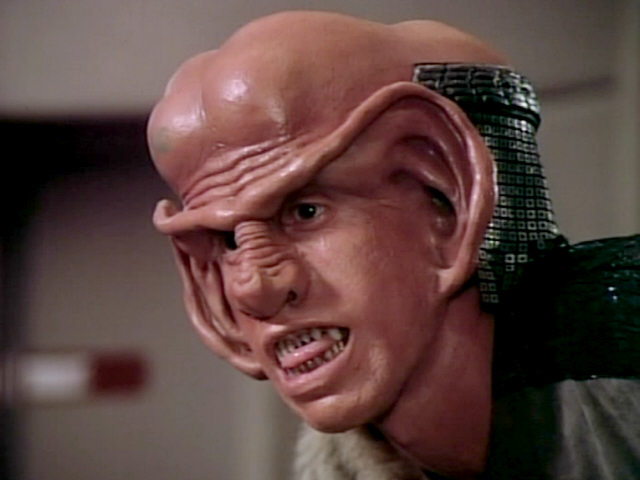  |
A close-up of the head gear in HD. |
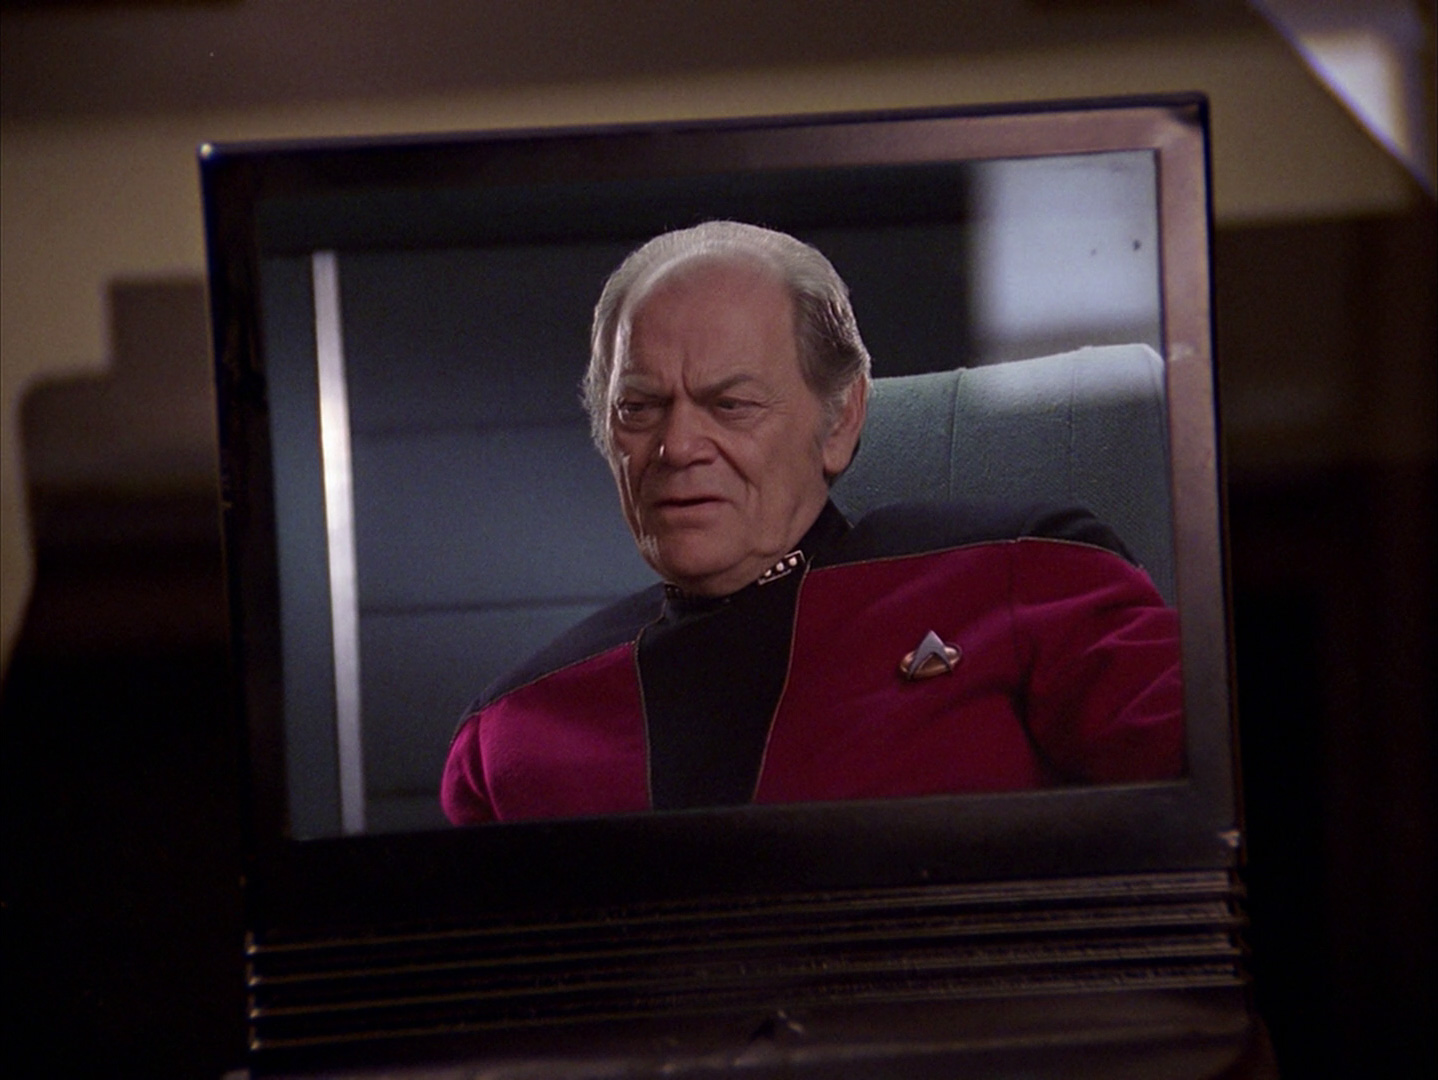
| The USS Stargazer. Picard's old ship was originally meant to be a Constitution class. But then it was decided to go for a new miniature, based on the yellow model with the registry NCC-7100 in Picard's ready room. The actual Stargazer was given the registry NCC-2893 though. Decades later, a model of the Stargazer appears in Admiral Picard's quantum storage in PIC: "Remembrance". | 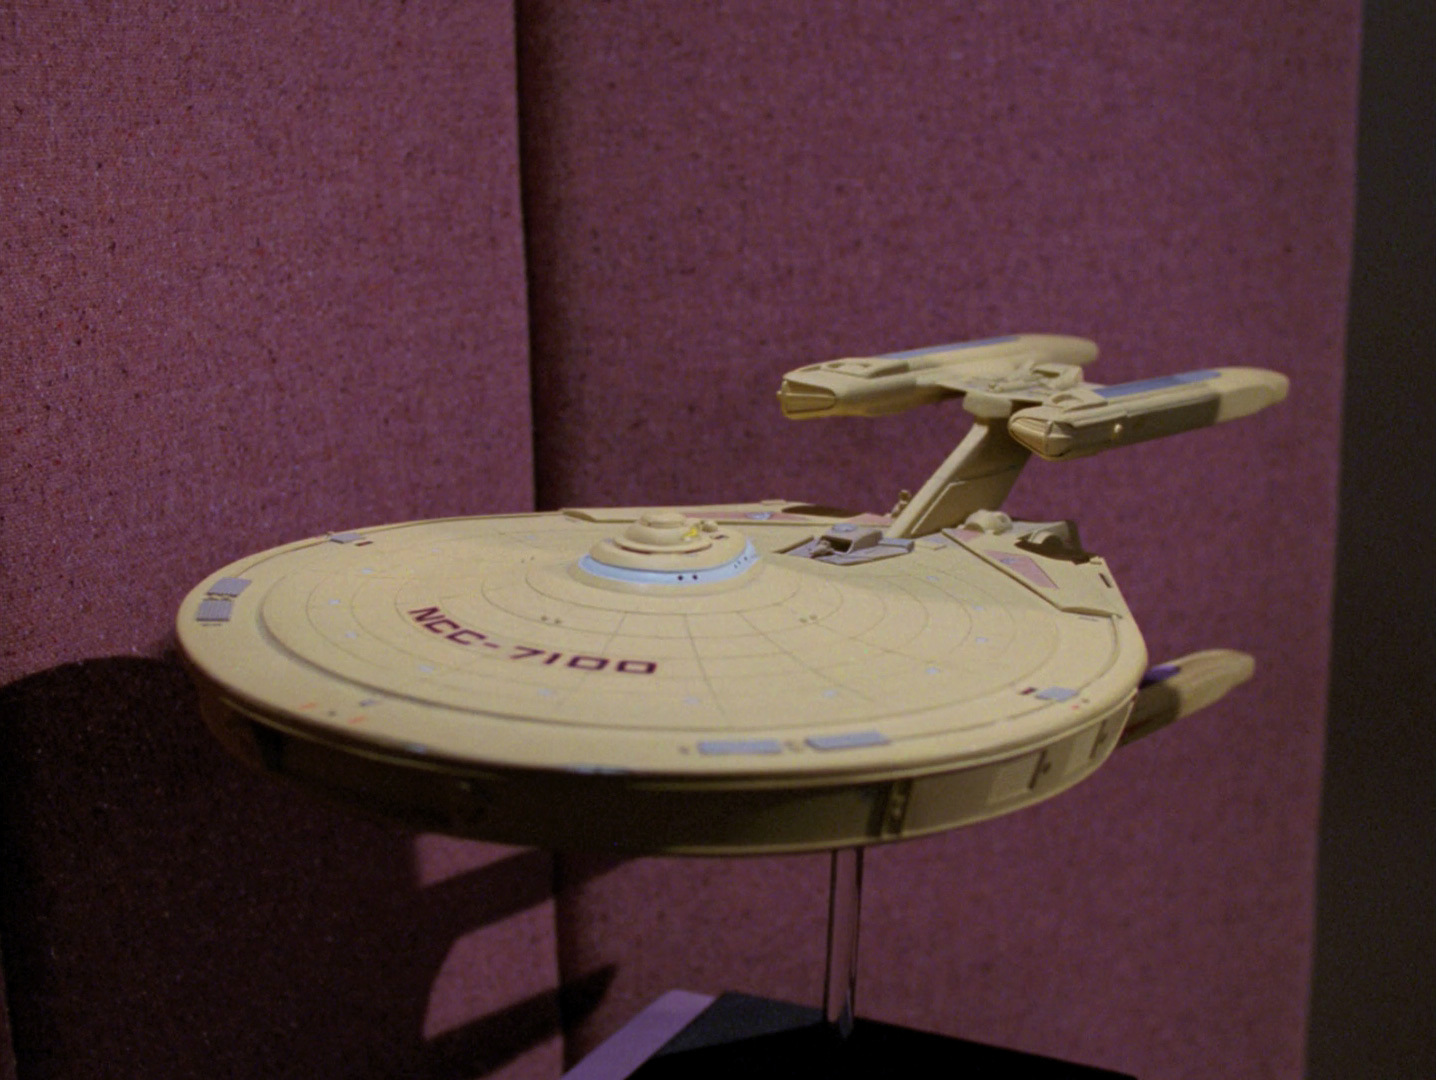 "Who Watches the Watchers" |
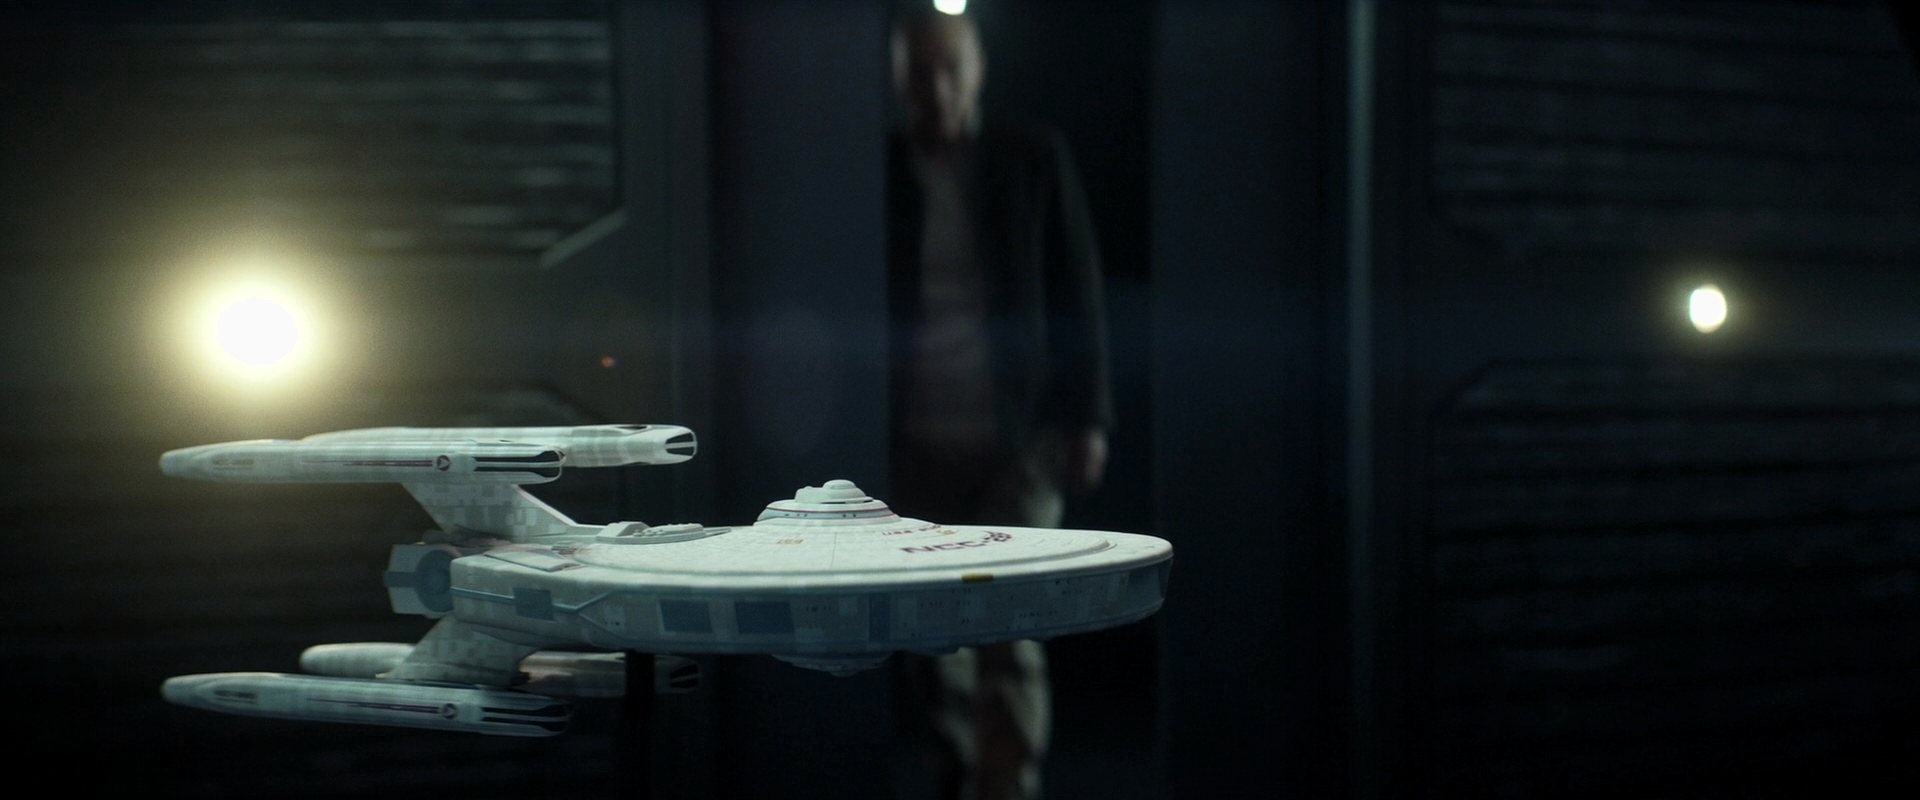 PIC: "Remembrance" |
  |
Thanks to the high resolution of the remastered episode, the numbers "2" and "3" can be read on the starboard shuttlebay doors on the saucer section of the USS Stargazer. |
| Ships of the old Constellation class also appear in "Peak Performance" and "Redemption II". | 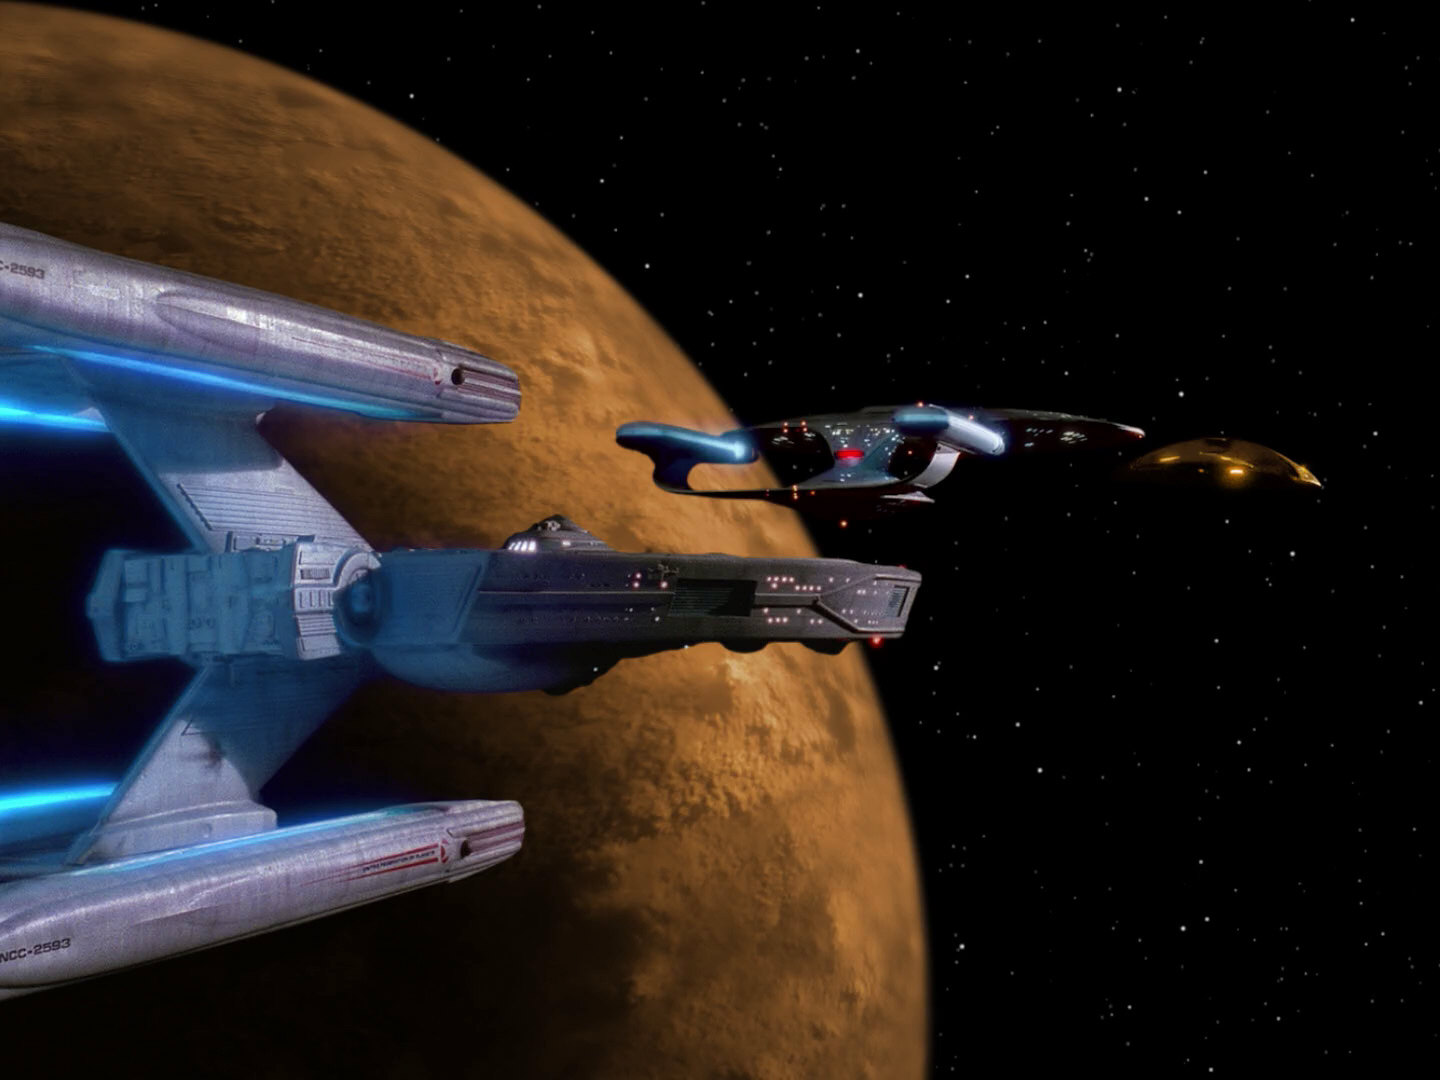 "Peak Performance" |
 "Redemption II" |
||
| When Picard demonstrates the Picard maneuver in the observation lounge, he uses what looks remarkably like a modern day pen. | 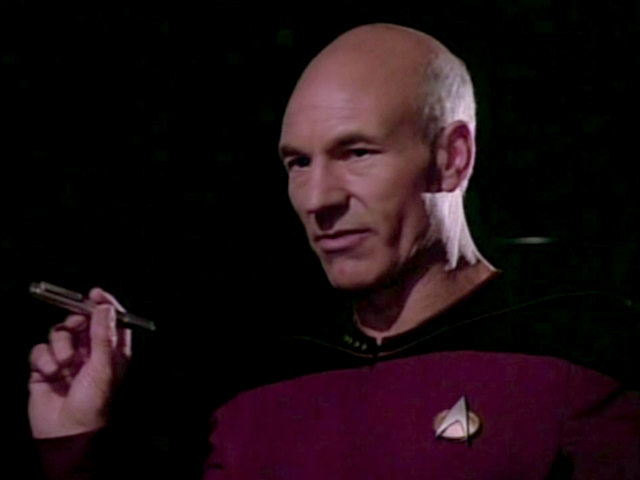 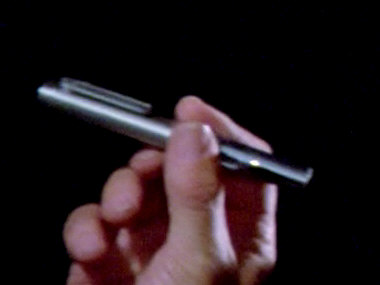 |
Yes, this is some sort of pen. | ||
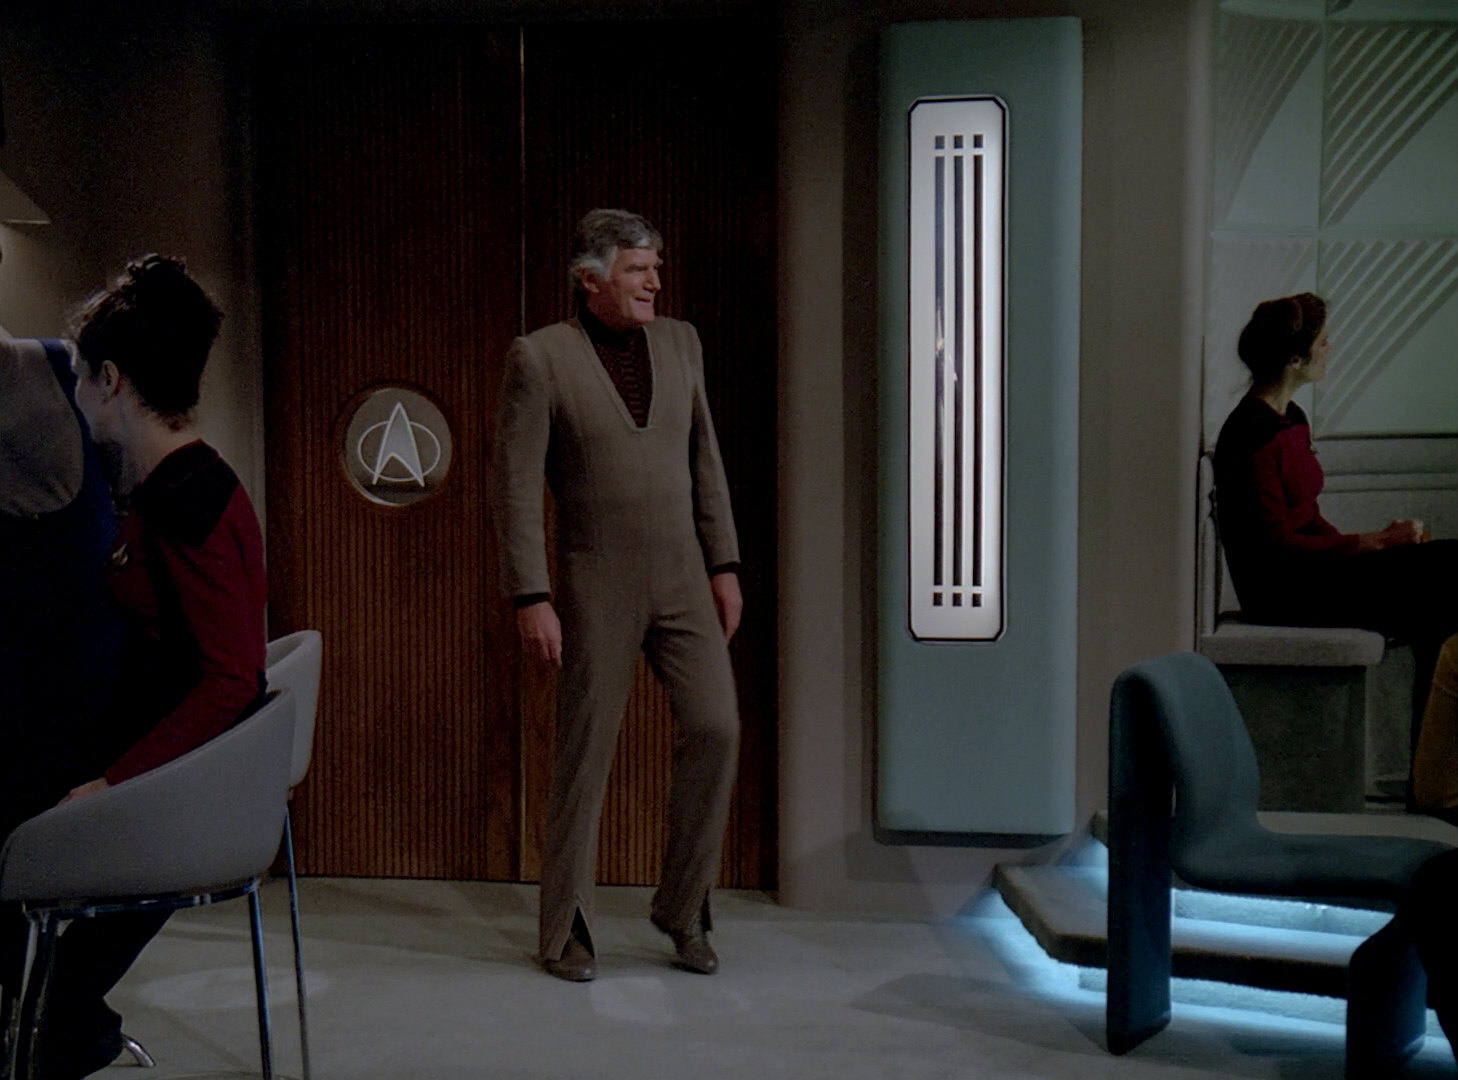
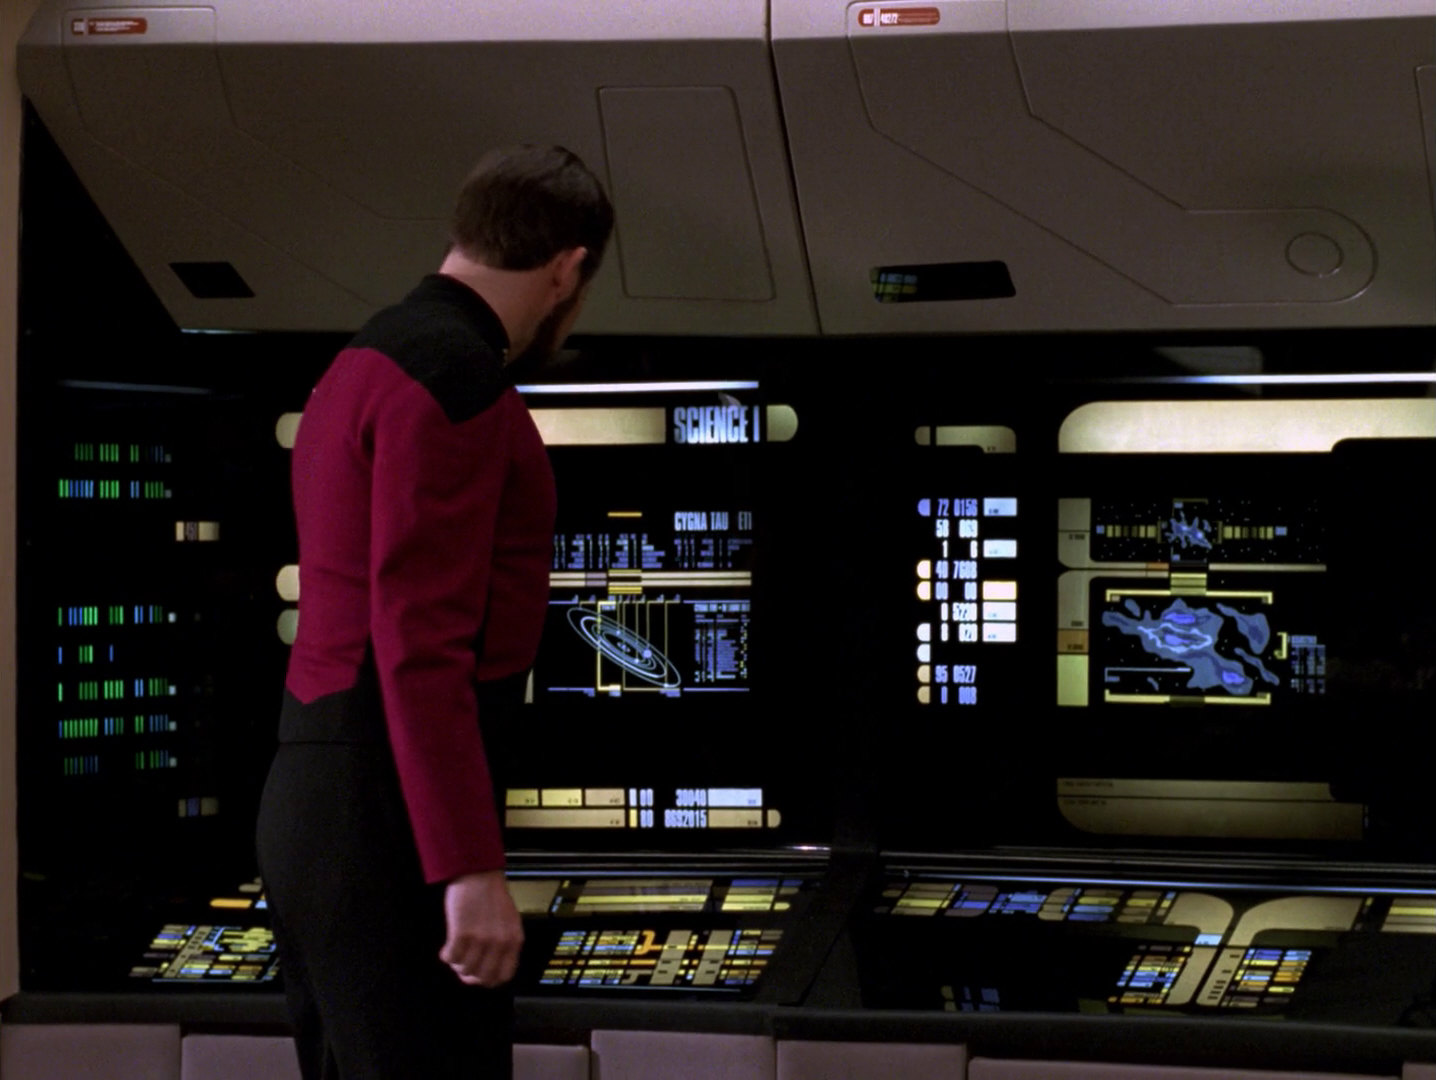
| One new addition to the observation lounge appears in "The Battle": LCARS buttons on the table. There were no buttons in previous episodes such as "Haven". In "The Last Outpost", only the central holographic projector featured buttons. | 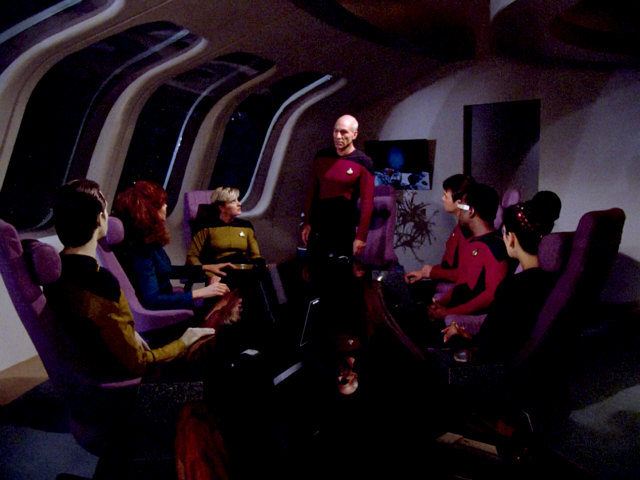 "Haven" |
 |
No changes | |
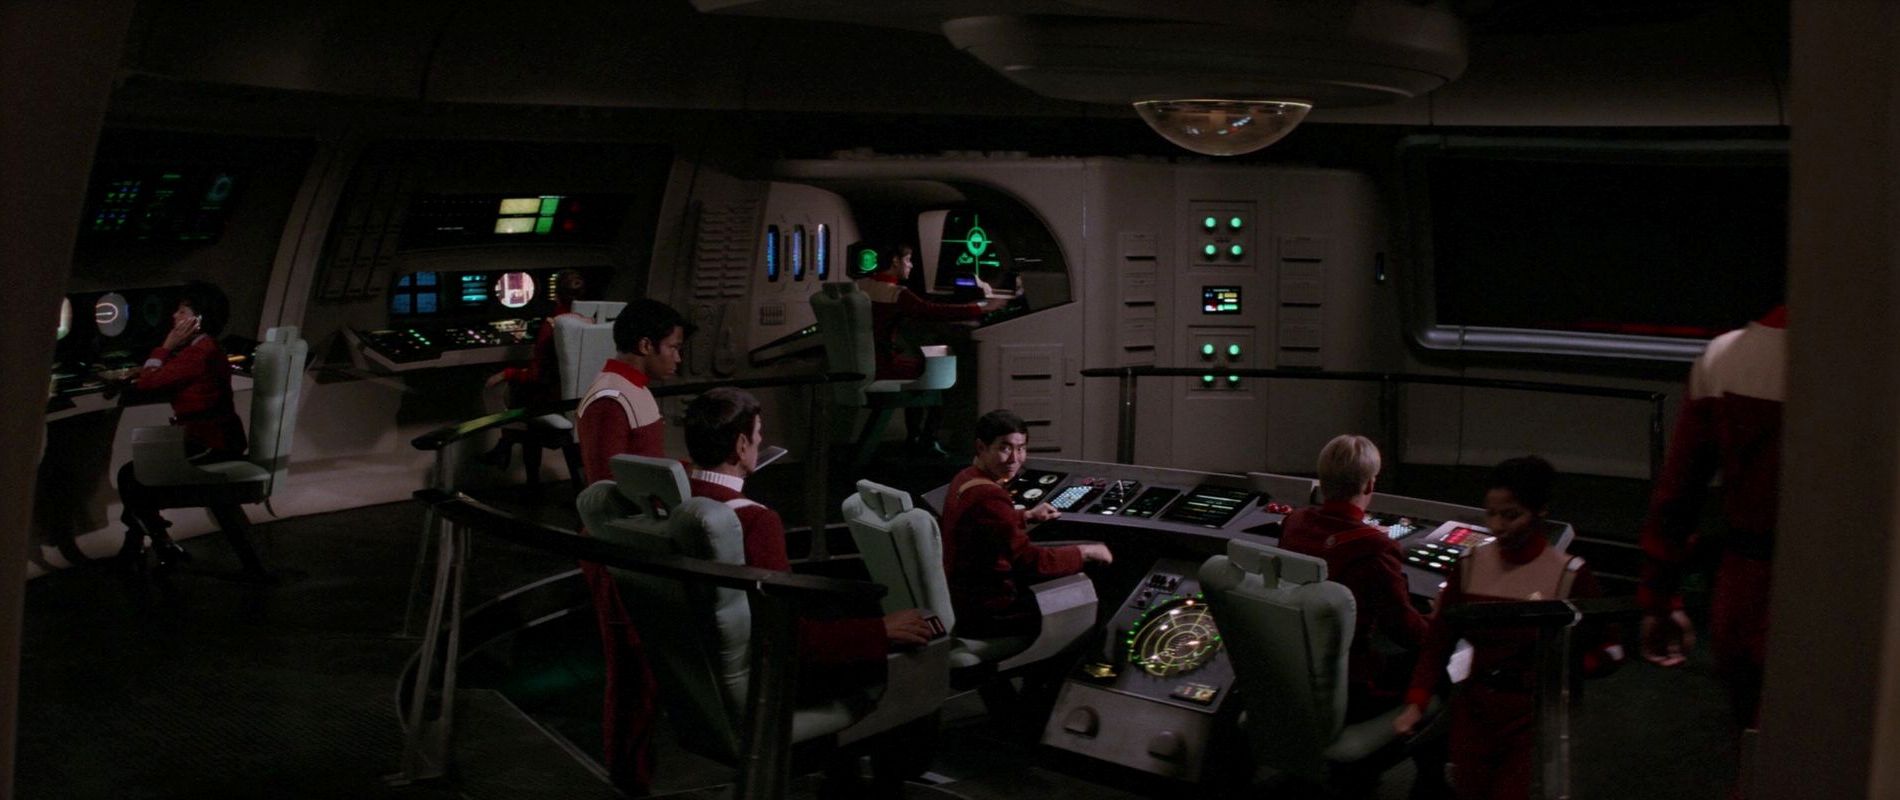
| The bridge of the USS Stargazer is, like the battle bridge in "Encounter at Farpoint", a redress of the USS Enterprise bridge, as previously seen in the first four Star Trek films. As can be seen, the LCARS graphics from "Star Trek IV: The Voyage Home" are still in place. Re-Used Starship Interiors |
 "Star Trek I" |
 "Star Trek II" |
 |
No changes |
 "Star Trek IV" |
 "Encounter at Farpoint" |
|||
| A good look at the saucer of the Stargazer. | 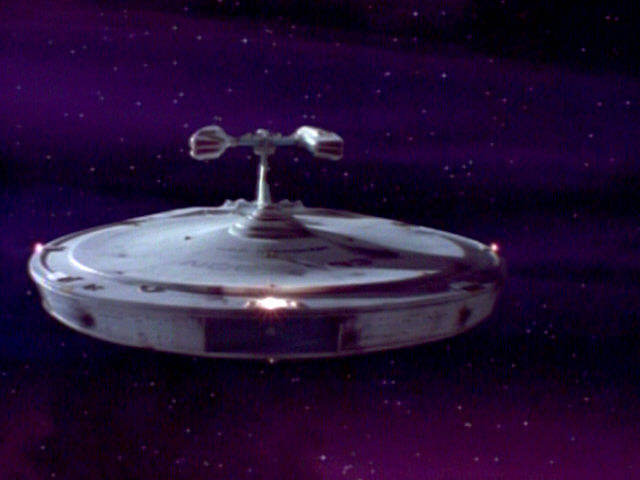 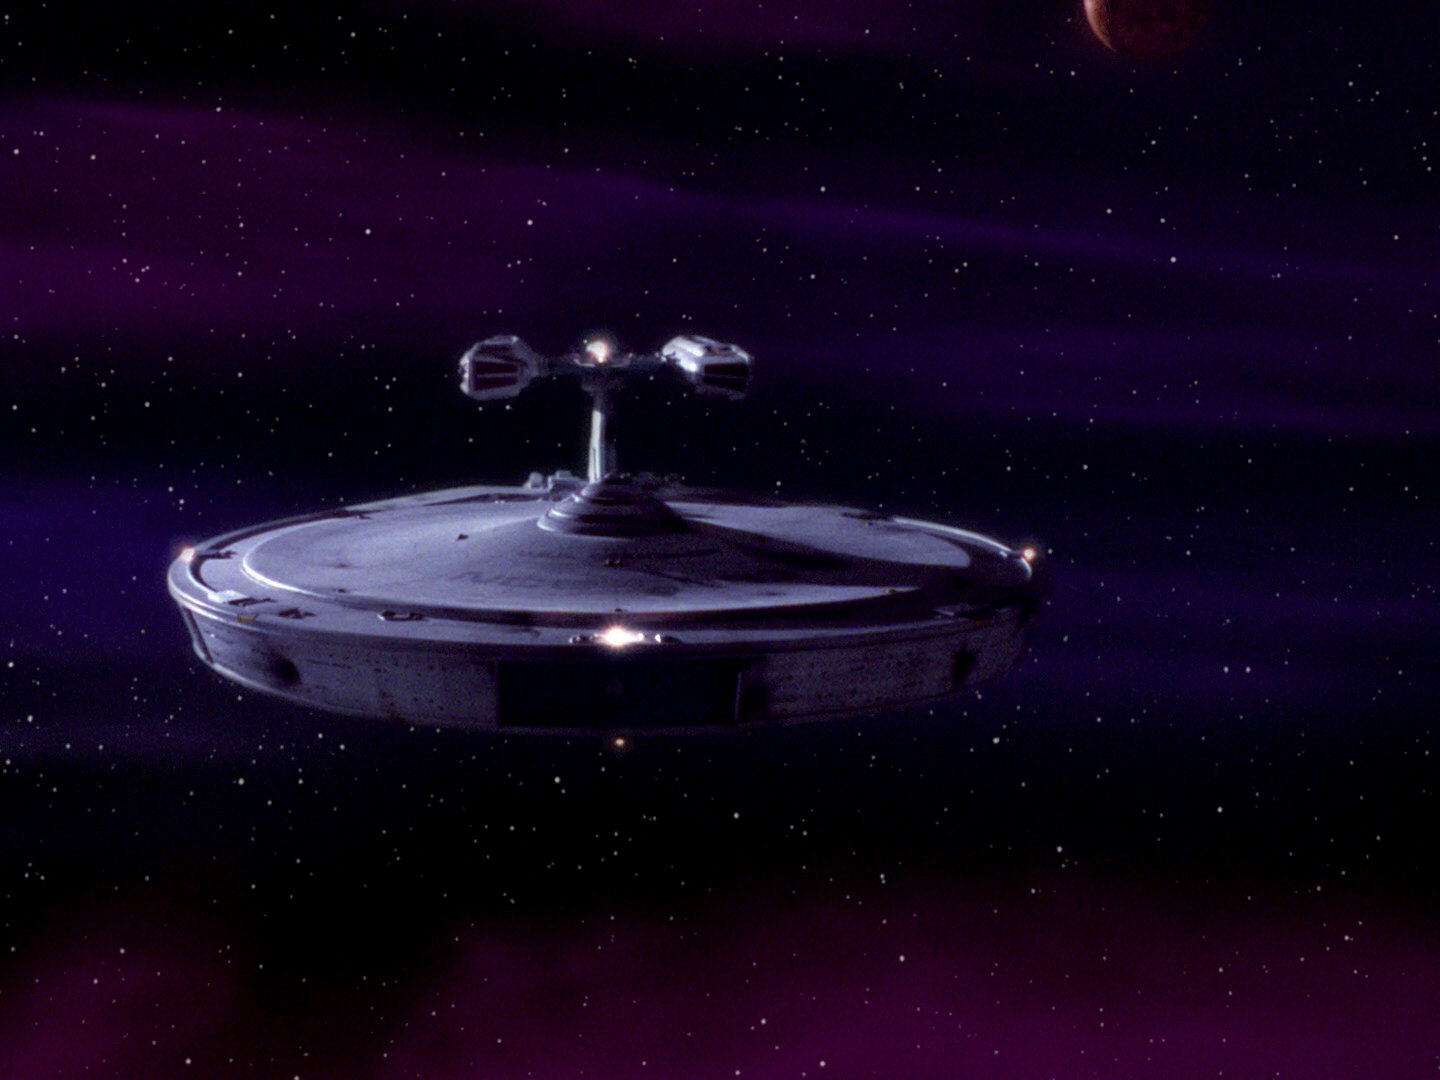 |
No changes to the Stargazer (still the physical model, no CGI). | ||
| The USS Stargazer turbolift is also identical to the USS Enterprise turbolift from the first four films. |  "Star Trek I" |
 "Star Trek II" |
 |
No changes |
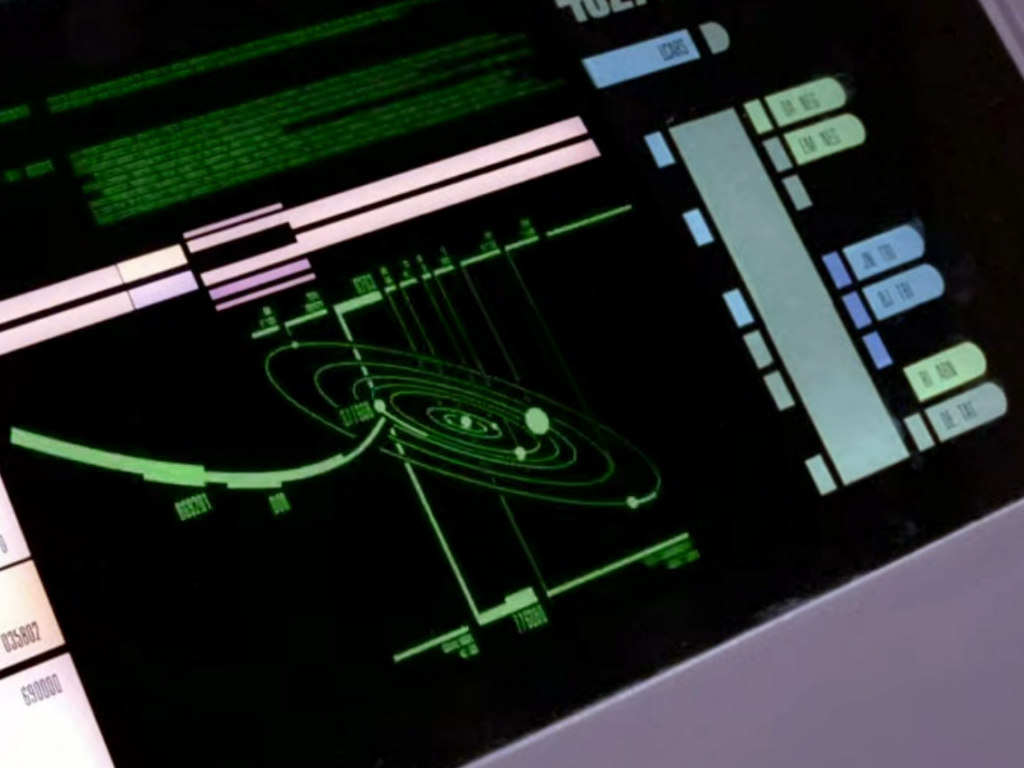
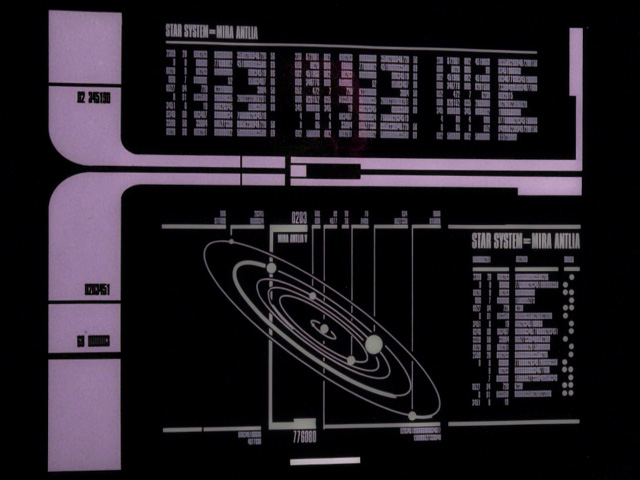
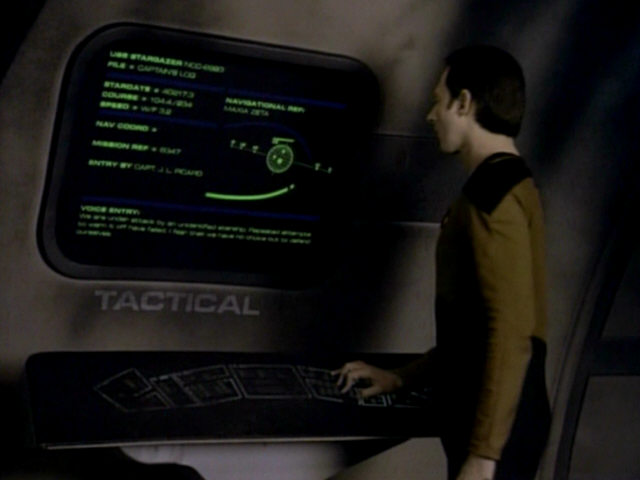
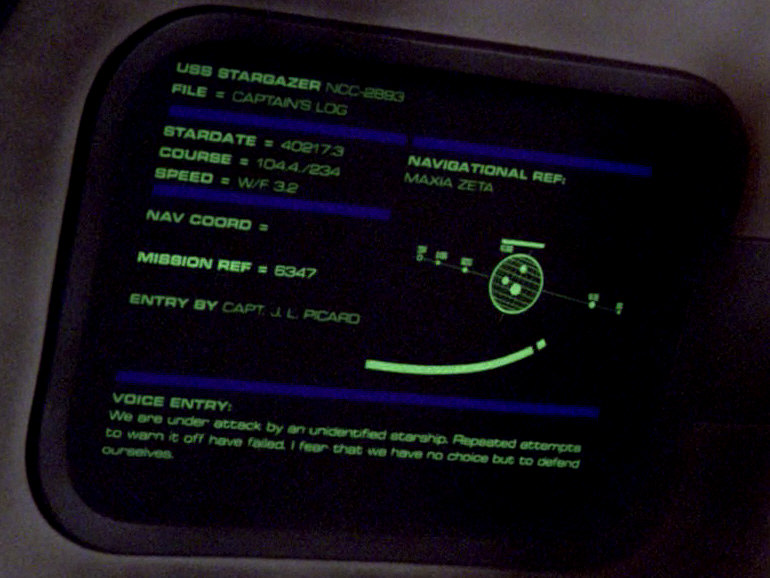
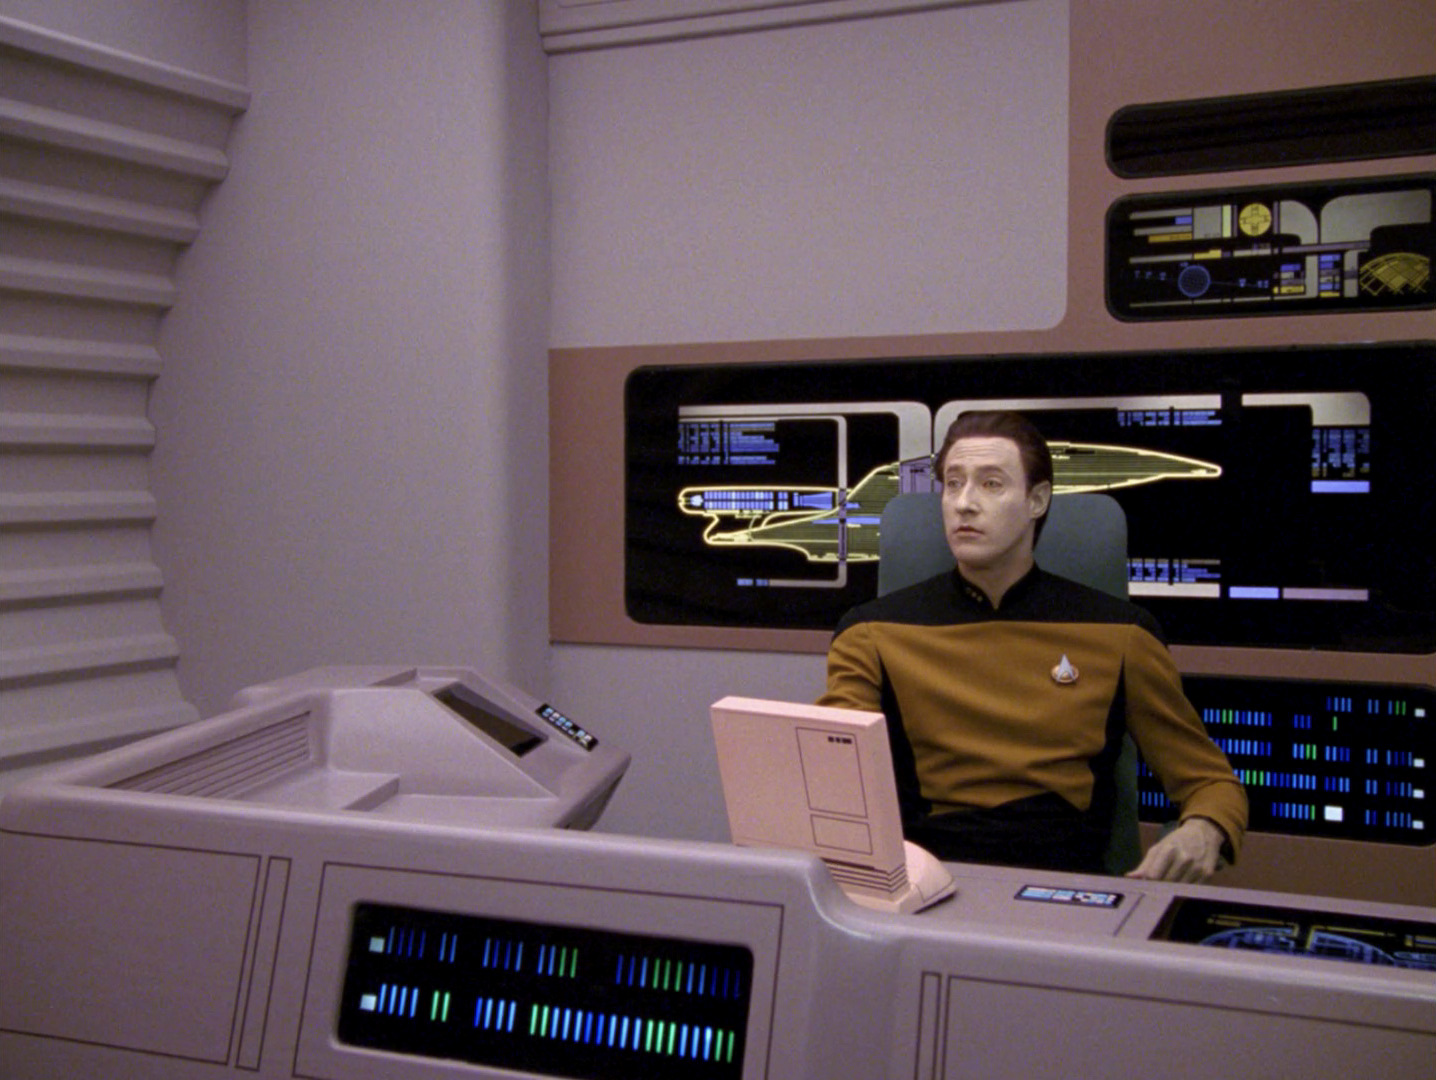
Data reviews Picard's last log entries on the Stargazer, which consist of five pages of graphics and text. The graphic of the Maxia Zeta star system was slightly modified and appeared again as a graphic of an unnamed star system in "Datalore", the Mira system in "Conspiracy" and the Tau Cygna system in "The Ensigns of Command". |
 "Datalore" |
 "The Ensigns of Command" |
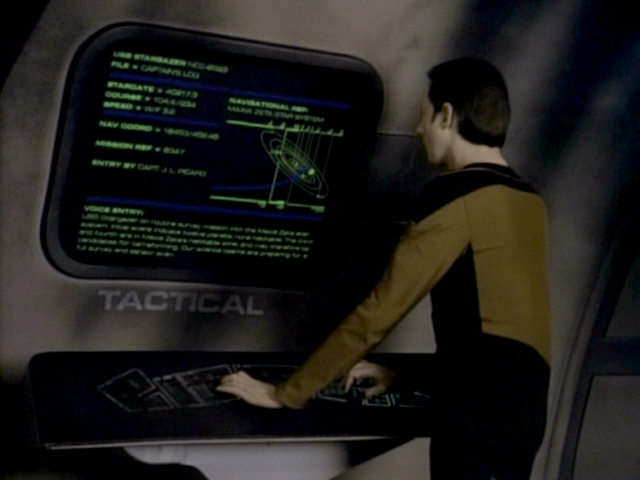  |
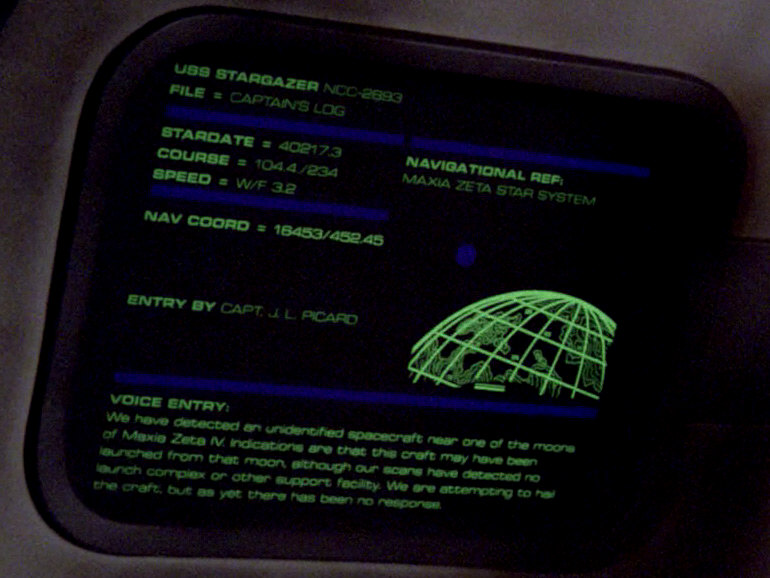
We can now read the transcripts of Picard's log entries: Page 1: "USS Stargazer on routine survey mission into the Maxia Zeta star system. Initial scans indicate twelve planets, none habitable. The third and fourth are in Maxia Zeta's habitable zone, and may therefore be candidates for terraforming. Our science teams are preparing for a full survey and sensor scan." Page 2: "We have found an unidentified spacecraft near one of the moons of Maxia Zeta IV. Indications are that the craft may have been launched from that moon although our scans have indicated no launch complex or other support facility. We are attempting to hail the craft but as yet, there have been no replies." Page 3: "We are under attack by an unidentified starcraft. Repeated attempts to warn it off have failed. I fear that we have no choice but to defend ourselves." |
 "Conspiracy" |
||||
| The graphic of Maxia Zeta IV is later seen in "Conspiracy" when Data reviews library computer data. | 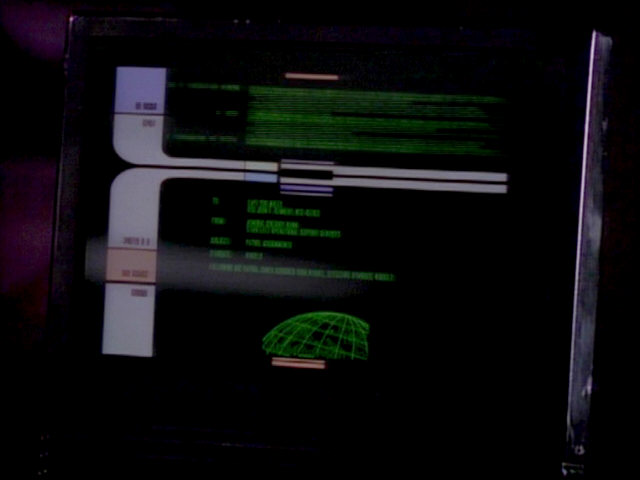 "Conspiracy" |
  |
||
| A graphic of the tactical display also returns in "Conspiracy". It reappears earlier in Data's quarters in "Datalore" on an LCARS display above Data's desk. This graphic would be located there until the end of the series. | 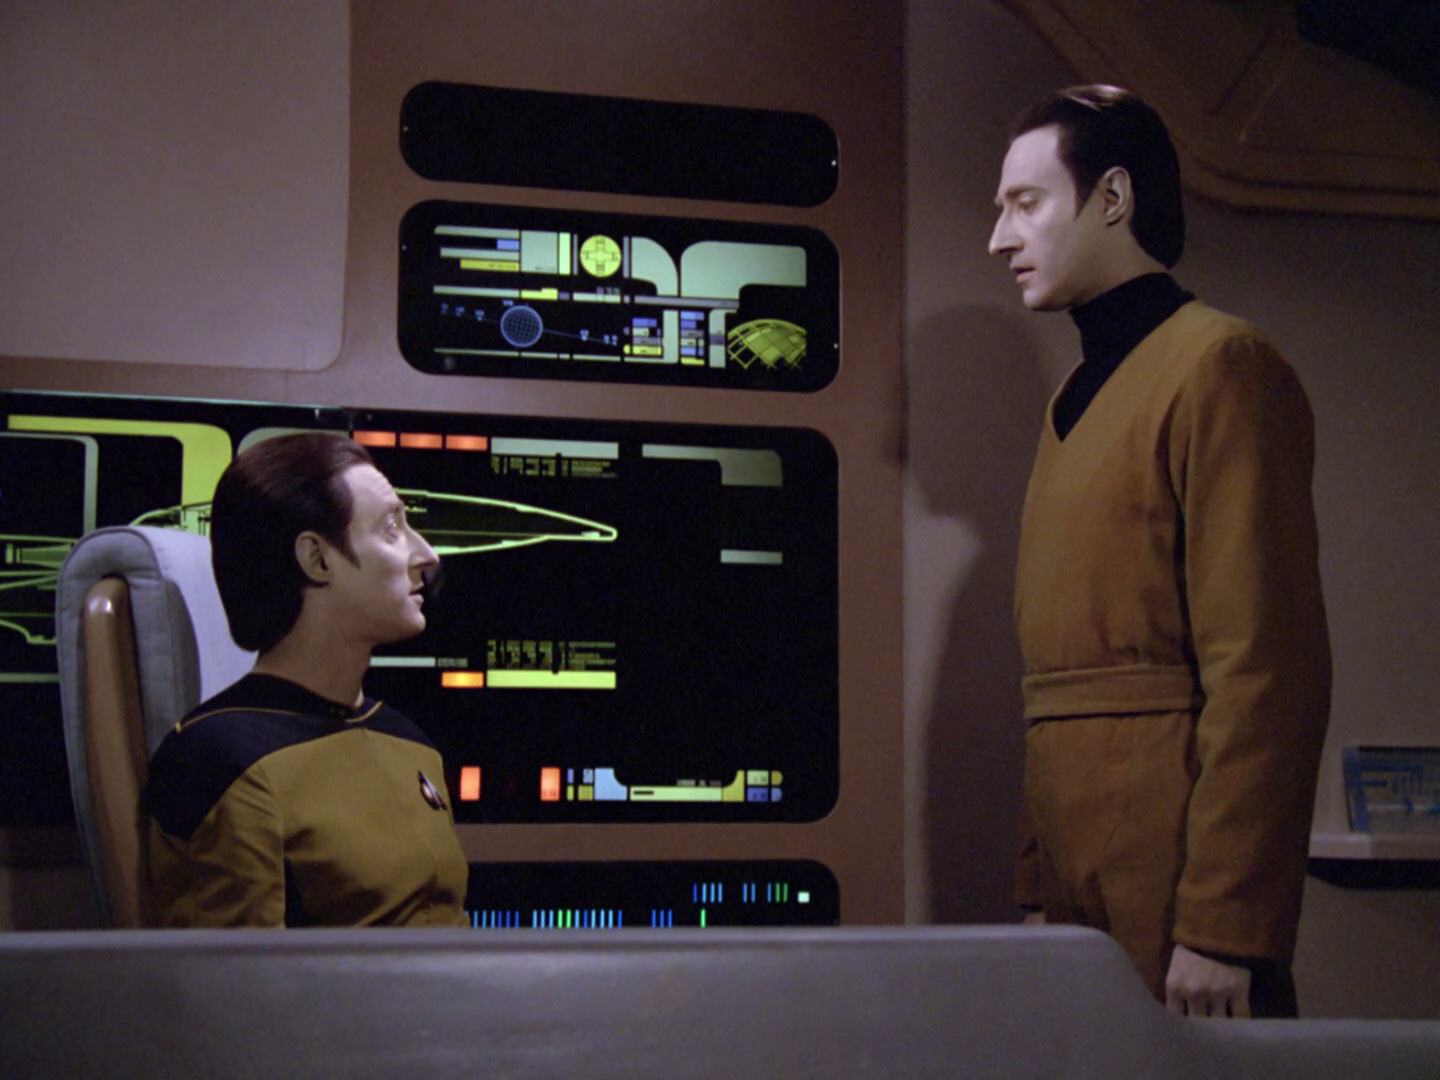 "Datalore" |
  |
||
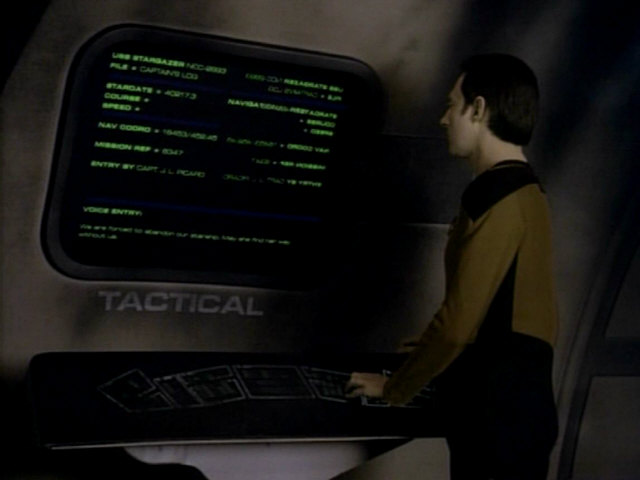
| In the original episode, the fourth page from the USS Stargazer's captain's log didn't contain a graphic. | 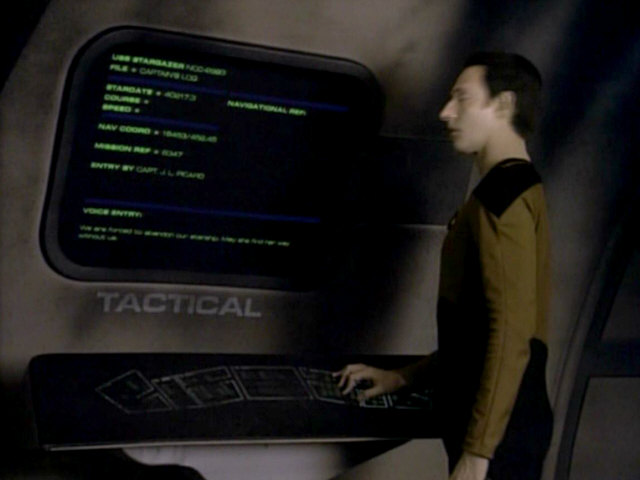 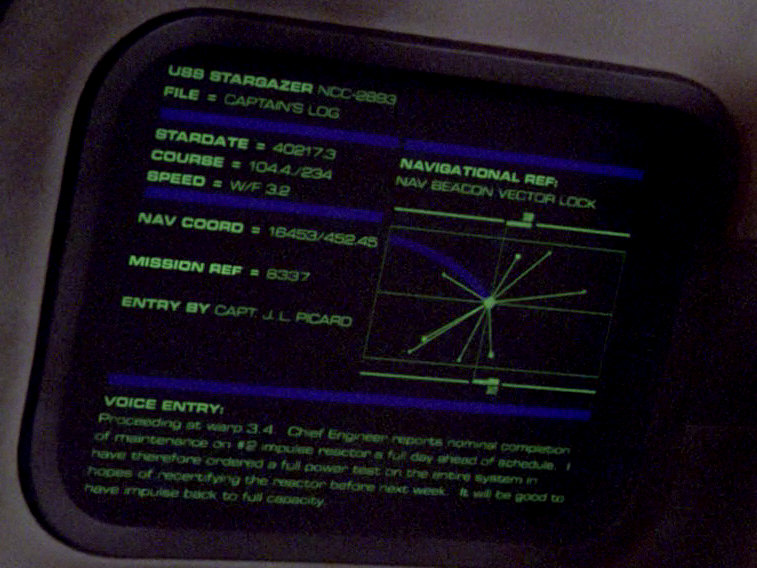 |
In TNG-R, page 4 features a new graphic. The text at the bottom was also changed, as the originally displayed text ("We are forced to abandon our starship. May she find her way without us.") isn't discovered and mentioned by Data until a little later in this scene. The new text on page 4 is: "Proceeding at warp 3.4. Chief engineer reports nominal completion of maintenance on #2 impulse reactor a full day ahead of schedule. I have therefore ordered a full power test to the entire system in hopes of recertifying the reactor before next week. It will be good to have impulse back to full capacity." |
||
Oddly, in the original version of this episode, the area on the fifth and last page of the USS Stargazer's captain's log, normally occupied by a graphic, was instead filled with the text on the left half of the log page, only mirror-inverted. Mike Okuda: "The mirrored text was because our visual effects team felt that the graphic I had provided wasn't busy enough." |
 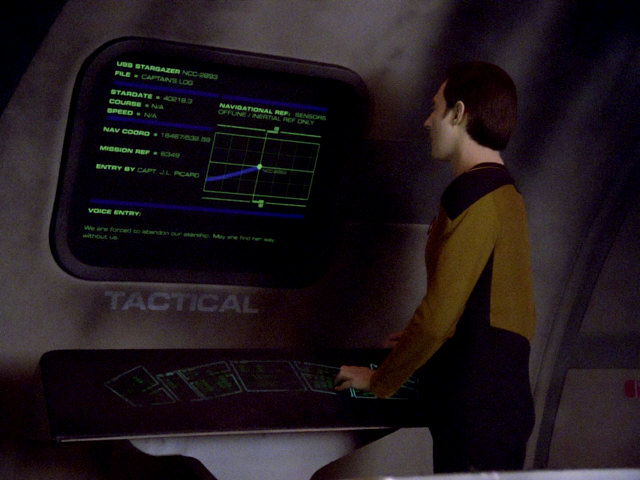 |
This mistake on page 5 was corrected for TNG-R and a new graphic is seen here, instead. The text on page 5 (formerly also on page 4) is: "We are forced to abandon our starship. May she find her way without us." Mike Okuda: "For the remaster, I didn't want to repeat the mirroring because it would be much more obvious in HD, so I added graphic elements to honor their judgement." |
||
| This shot nicely demonstrates how the bridge set was modified between "Encounter at Farpoint" and "The Battle" and how it originally looked in "Star Trek: The Motion Picture". |  "Star Trek I" |
 "Encounter at Farpoint" |
  |
The bridge set in HD. |
| The same console in 1982, when "Star Trek II: The Wrath of Khan" was filmed, and 1987 in "The Battle". |  "Star Trek II" |
 |
No changes | |
| The bridge chairs also have not changed a lot between the first Star Trek film and this episode. | 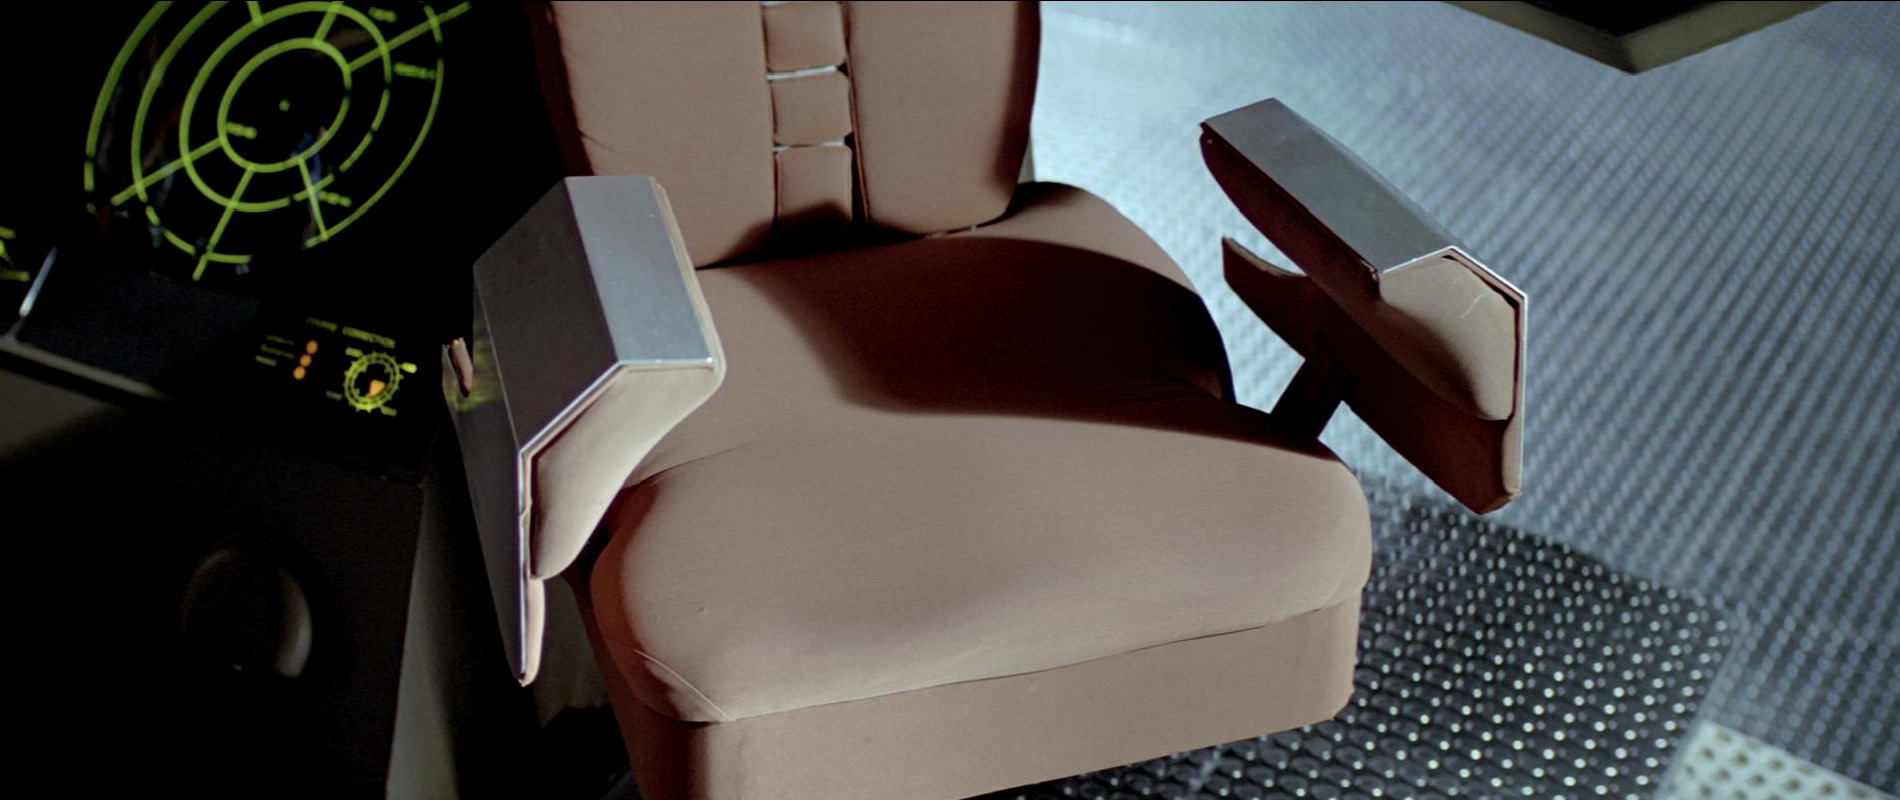 "Star Trek I" |
 |
No changes | |
| Picard's quarters aboard the USS Stargazer are a redress of Captain Kirk's quarters first seen in "Star Trek: The Motion Picture". The set was later used for the junior officers aboard the USS Enterprise-D and also appeared as rooms on the SS Tsiolkovsky in "The Naked Now". |  "Datalore" |
 |
No changes | |
| The desk seen behind Picard was originally located in Kirk' quarters in "Star Trek: The Motion Picture" and "Star Trek II: The Wrath of Khan". Only a small portion (featuring the small monitor) was seen in the films, however. Much more of it can be seen in "The Battle". When Kirk's quarters set was modified before "Datalore" to become Data's quarters, the desk was taken out of the wall niche and placed at the center of one end of Data's quarters, where it would remain until the end of the series. The desk later appeared in "Distant Origin" as a Voth medical console/table. Re-Used Props - Furniture |
 "Star Trek I" |
 "Data's Day" |
  |
Picard's quarters in HD. | This small, possibly Meso-American sculpture, in Picard's Stargazer quarters is the first indication of him being interested in archeology. Sculptures of a similar style appear in his Enterprise-D quarters in "Bloodlines" and in his Château Picard study in Star Trek: Picard. | 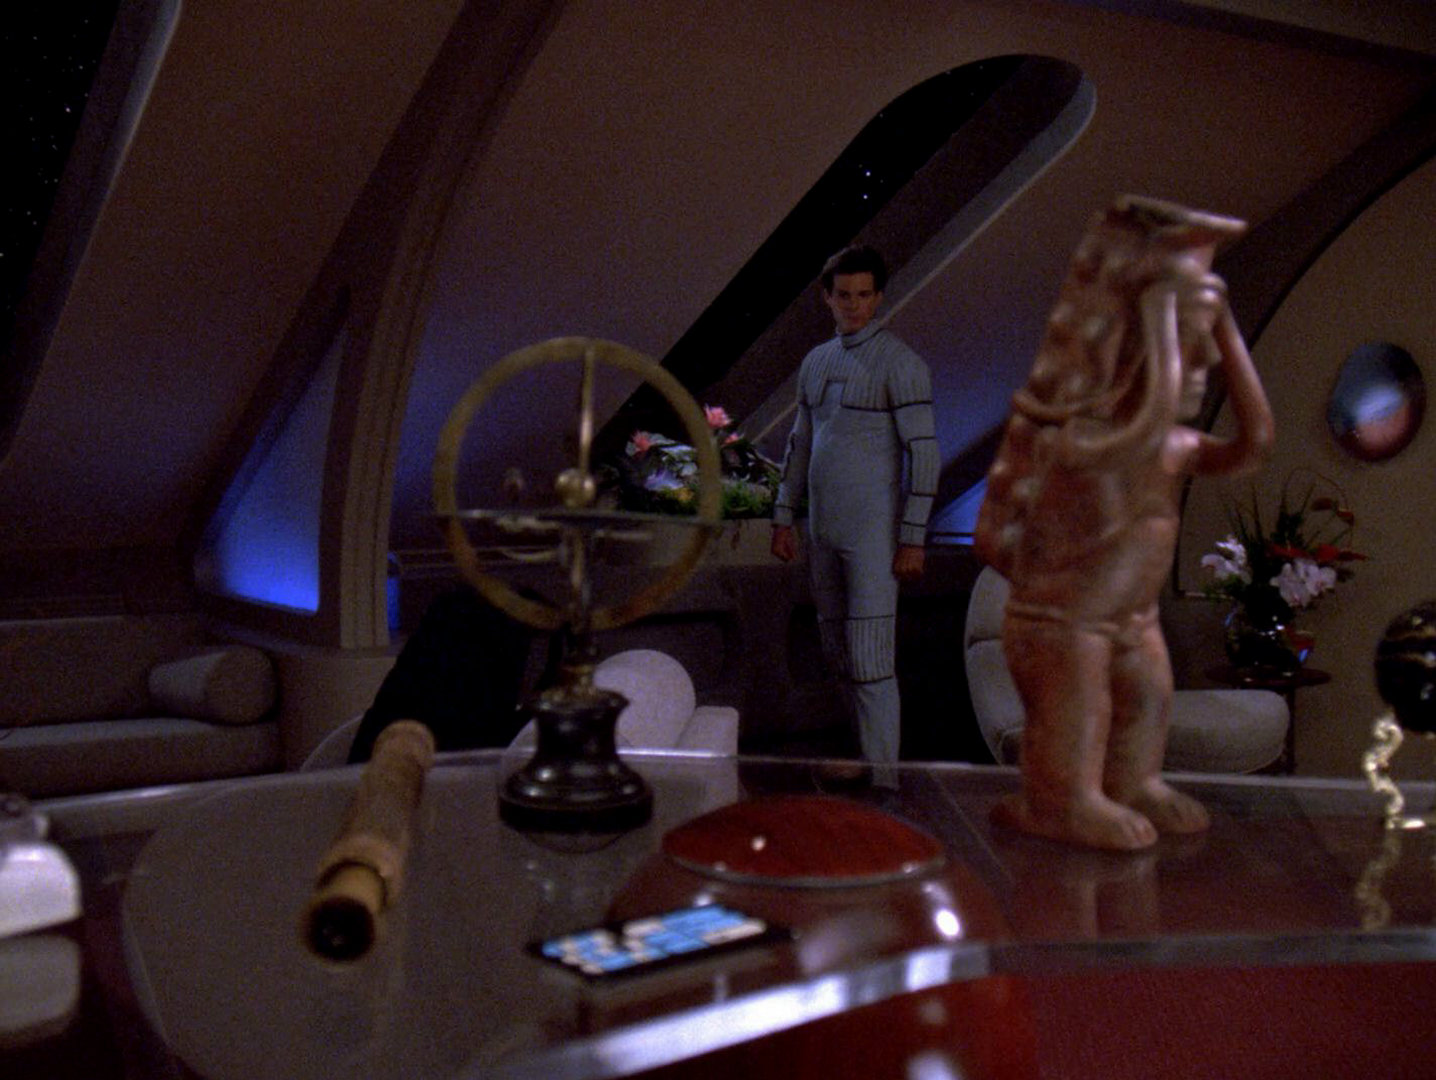 "Bloodlines" |
 PIC: "Stardust City Rag" |
| According to the script, Picard holds an old diploma in his hands in this scene. In "Conundrum", a similar transparent Starfleet Academy diploma, this time belonging to Commander Riker, is seen. | 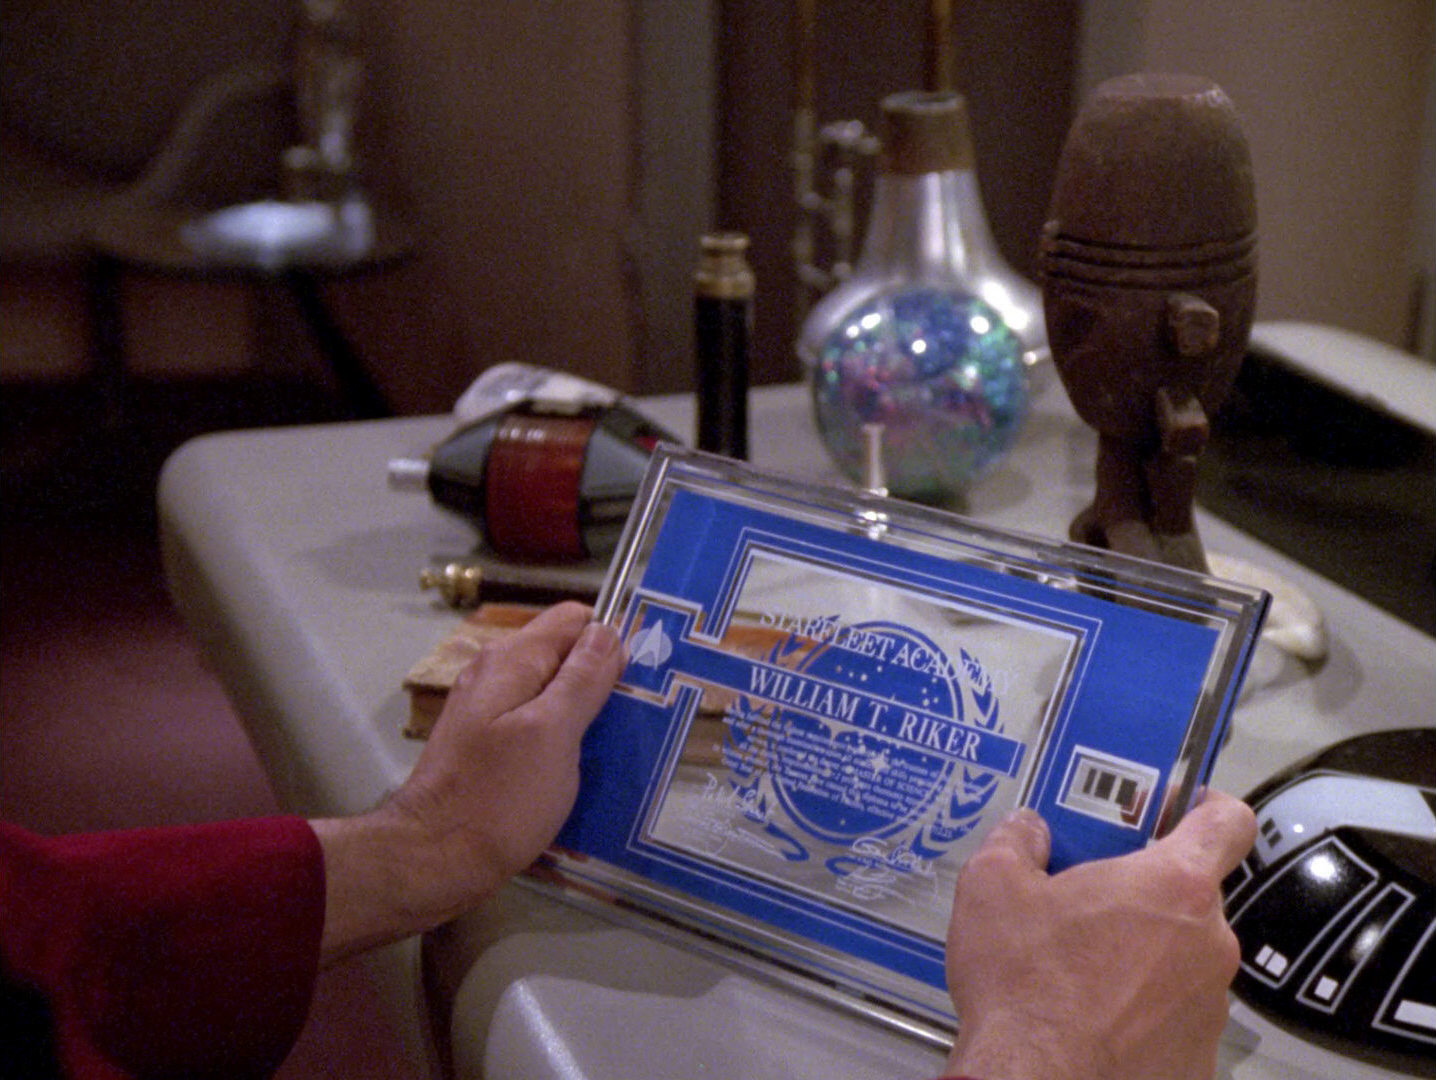 "Conundrum" |
 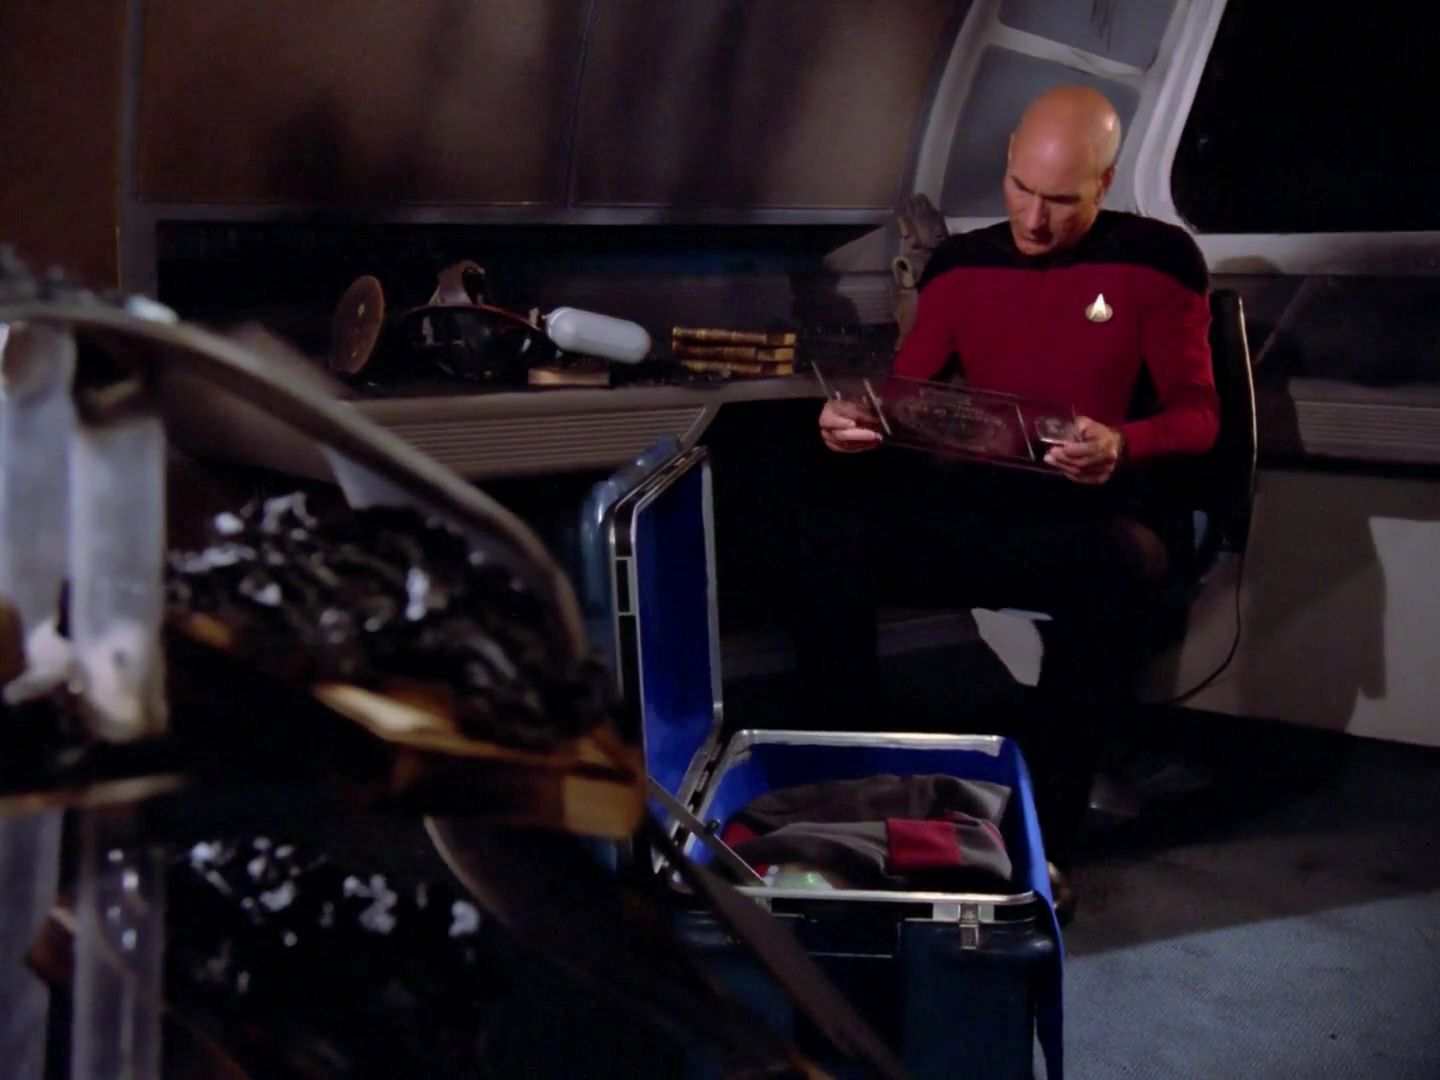 |
Now, in HD, Picard's name can actually be read on the diploma. | |
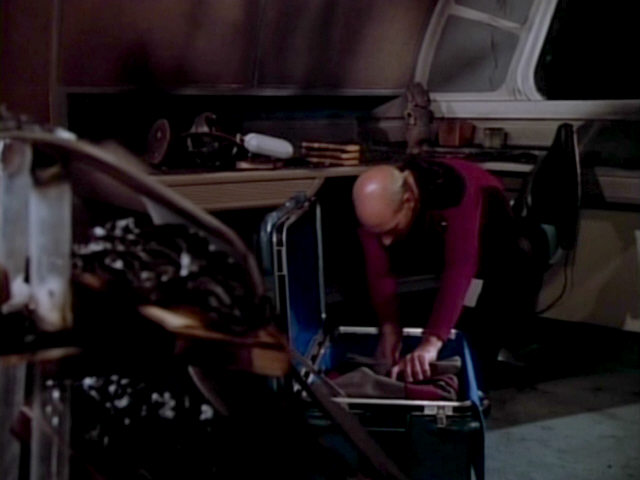
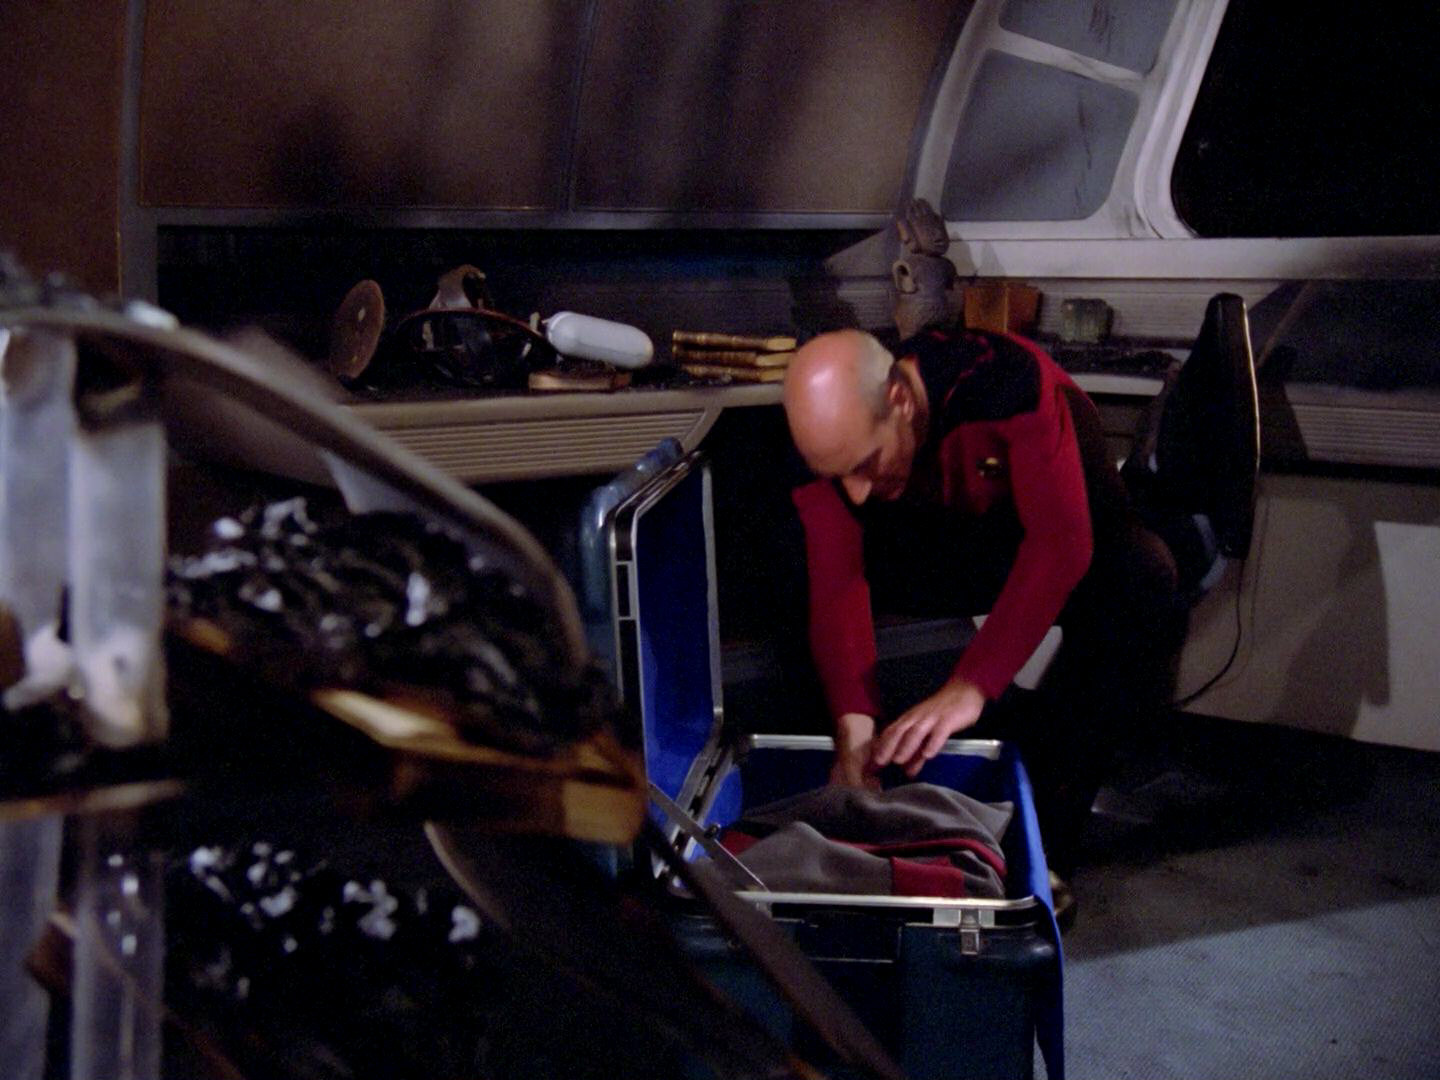
| We can see what is supposed to be Picard's old uniform in the storage box. | 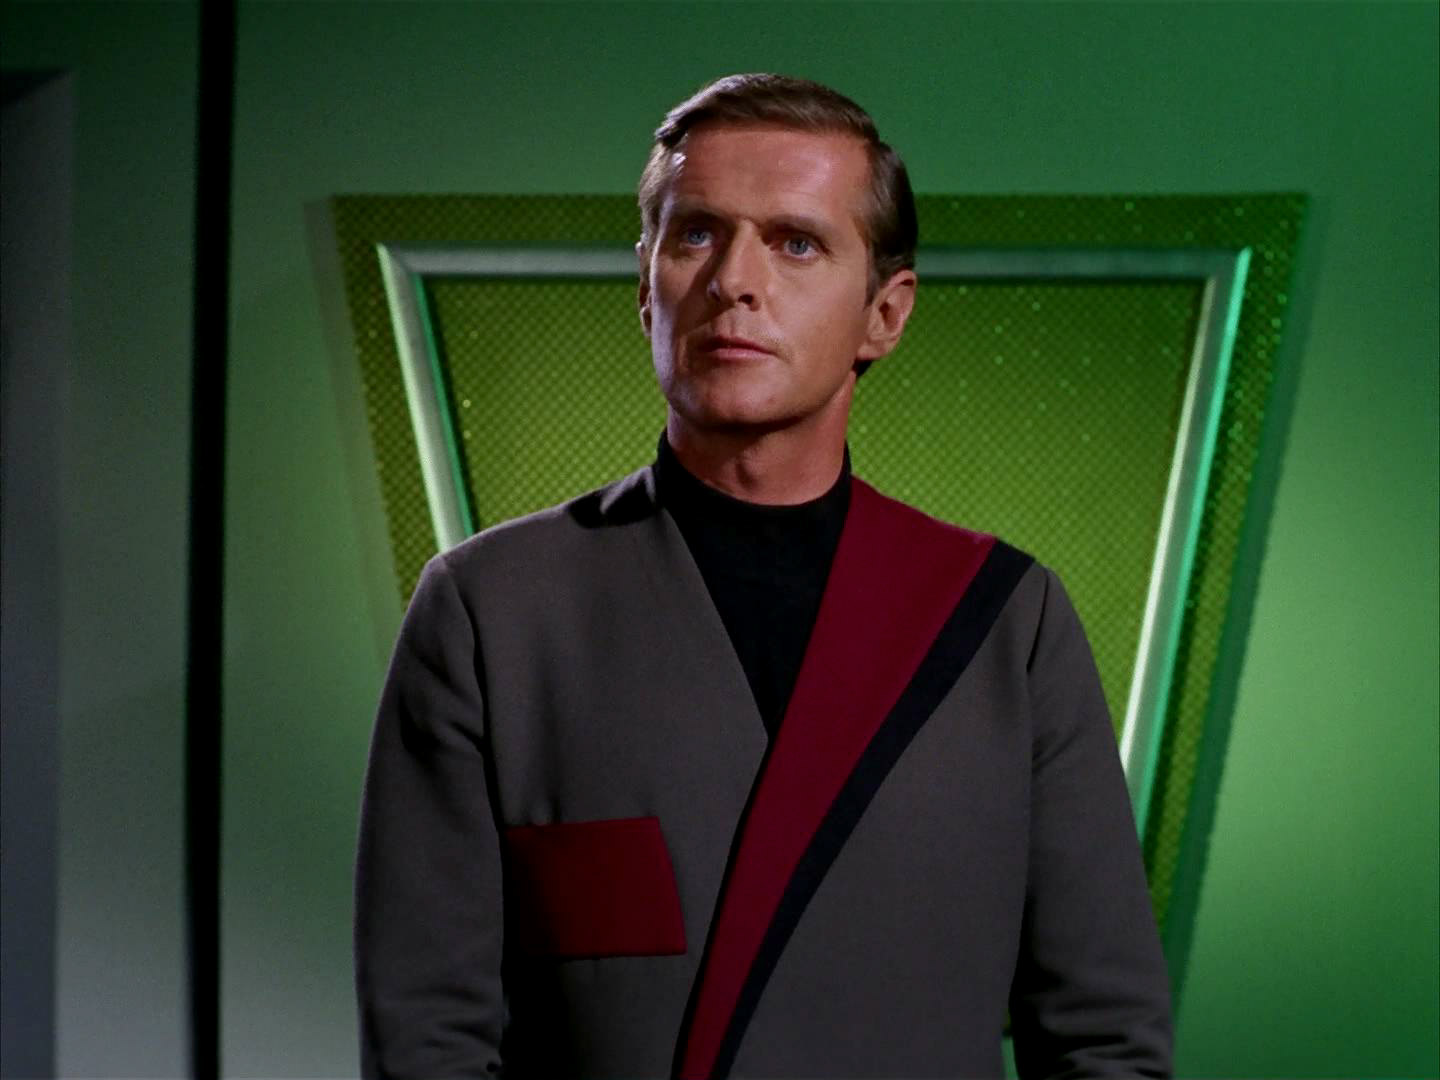 TOS: "Is There in Truth No Beauty?" |
 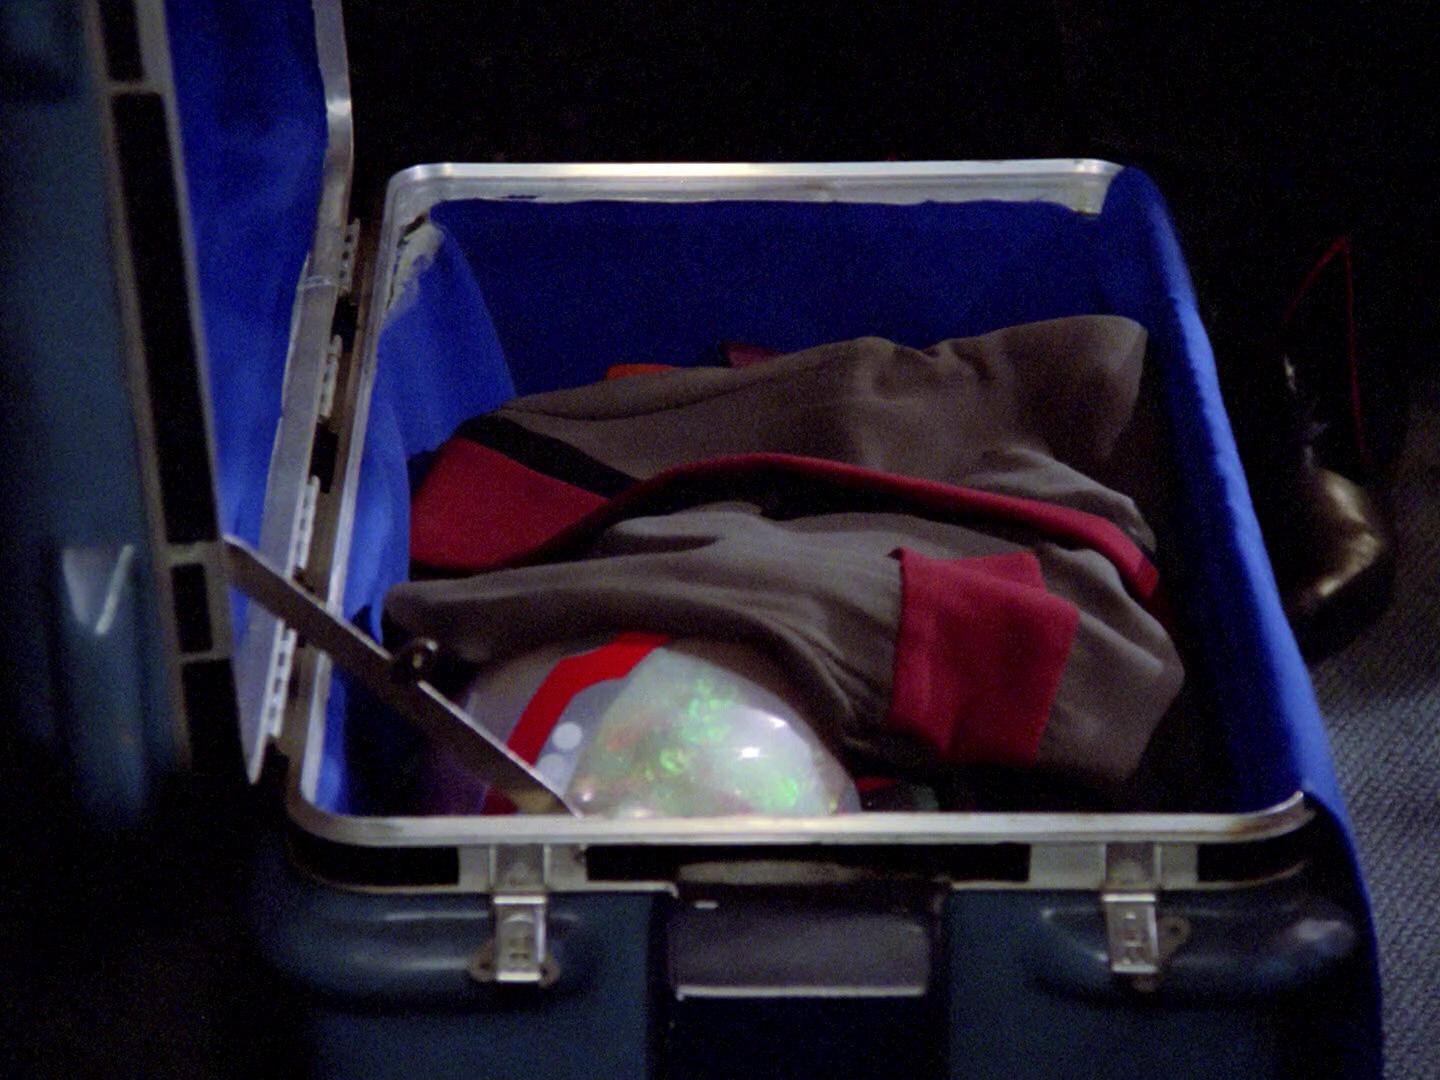 |
The HD shot reveals that this is the uniform of Larry Marvick from TOS: "Is There in Truth no Beauty?". | |
| The central Ferengi console was seen again as a Ferengi console in "Bloodlines". | 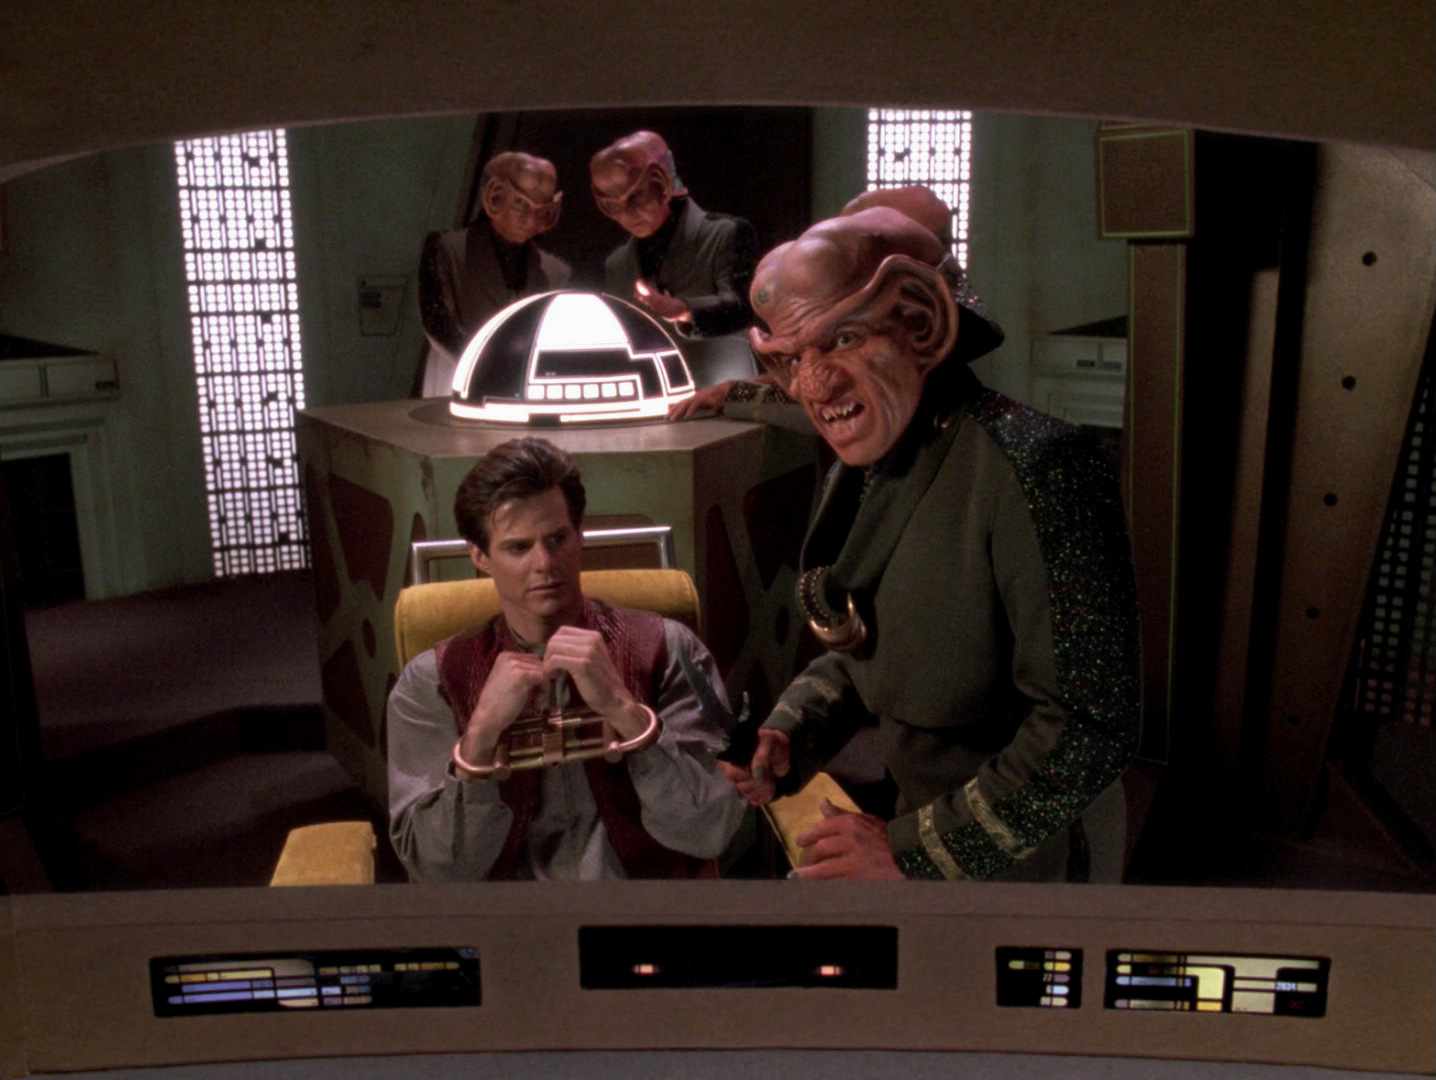 "Bloodlines" |
  |
The details of the transparent display are better recognizable now. | |
| The two consoles behind DaiMon Bok were originally seen in main engineering aboard the USS Enterprise in "Star Trek II: The Wrath of Khan". They reappeared in "Star Trek IV: The Voyage Home" onboard the Klingon Bird-of-Prey Bounty. After "The Battle" those two consoles were reused countless times, most often on alien starships. | 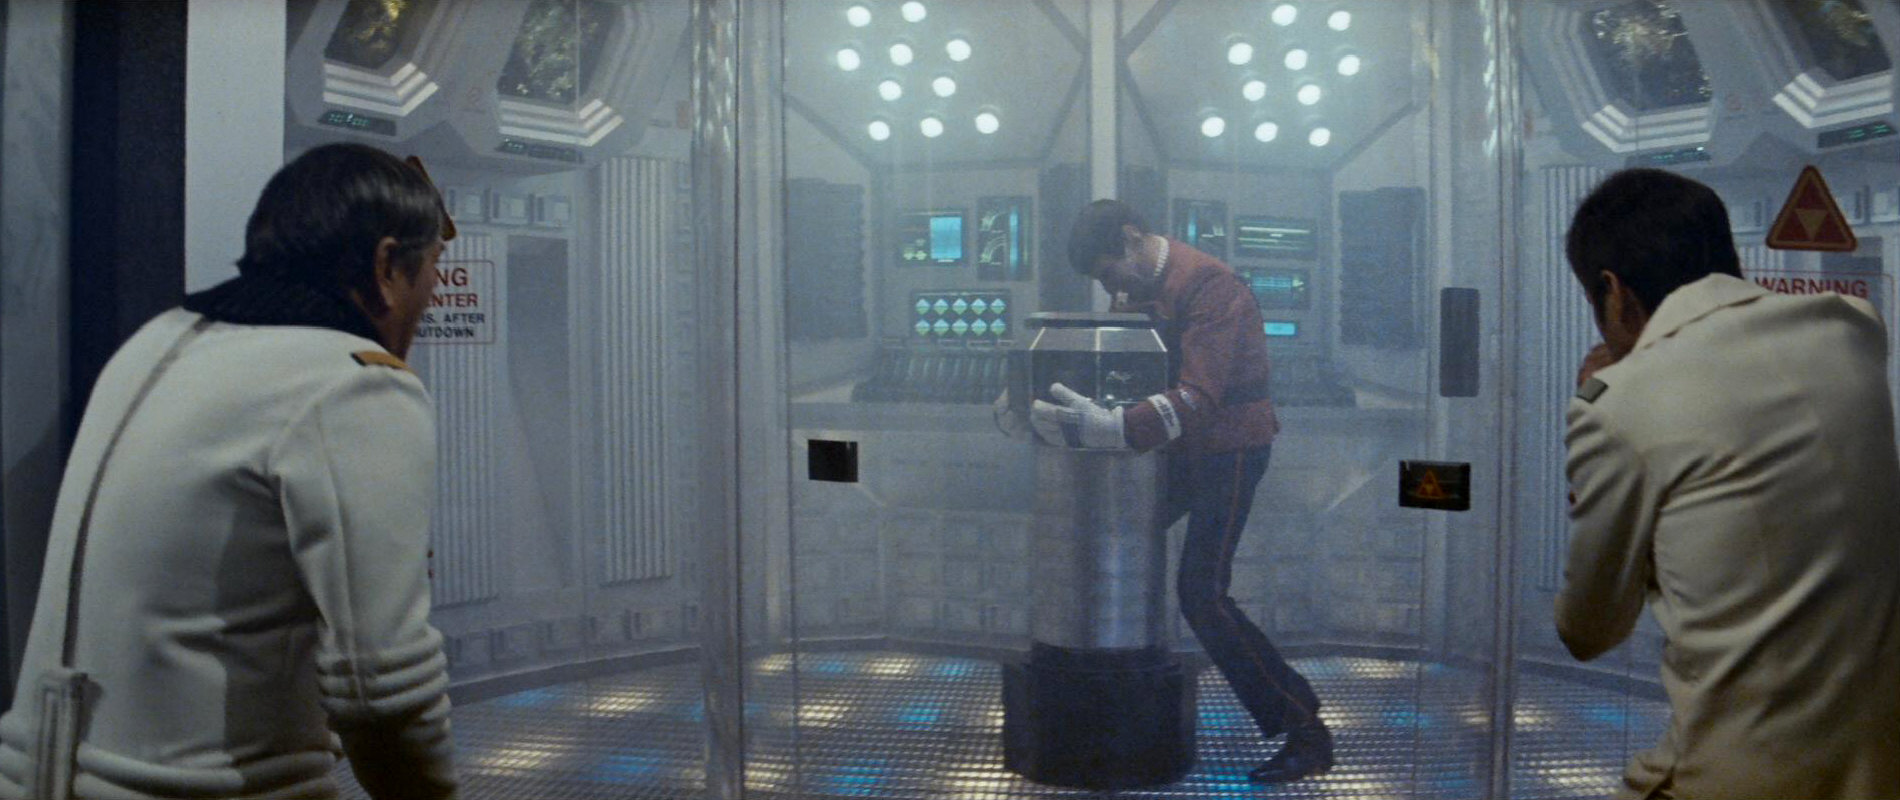 "Star Trek II" |
 "Star Trek IV" |
||
| The same two consoles now appear at the other side of the set, again behind DaiMon Bok. | 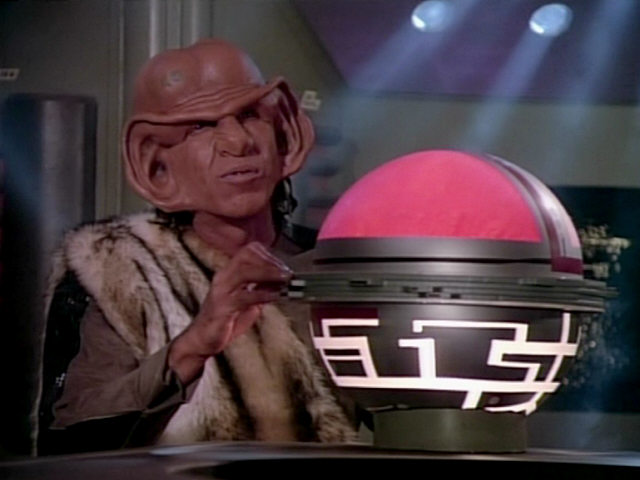 |
No changes | ||
| The comparison shots show what this part of Captain Kirk's former quarters set looked like in previous episodes and films. |  "Star Trek I" |
 "The Naked Now" |
 |
No changes |
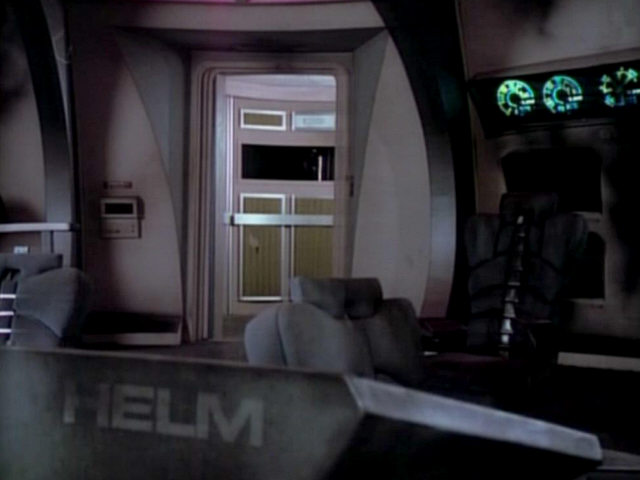
| The battle bridge emergency turbolift door, opposite to the ready room, is permanently standing open in this shot. |  "Encounter at Farpoint" |
  |
A closer look at the open turbolift door in HD. | |
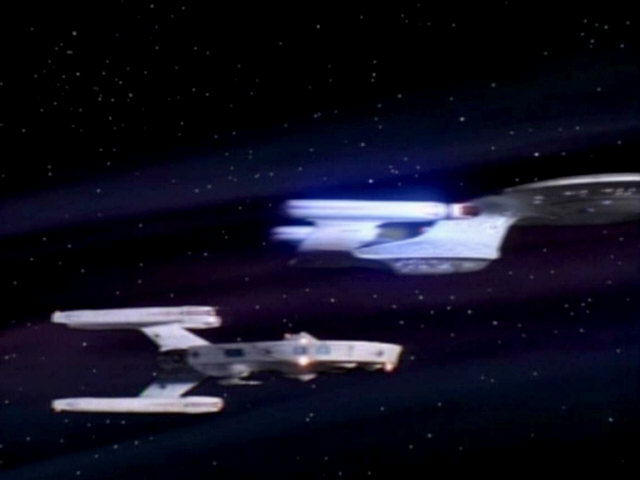
| The Stargazer is towed by the Enterprise-D. | 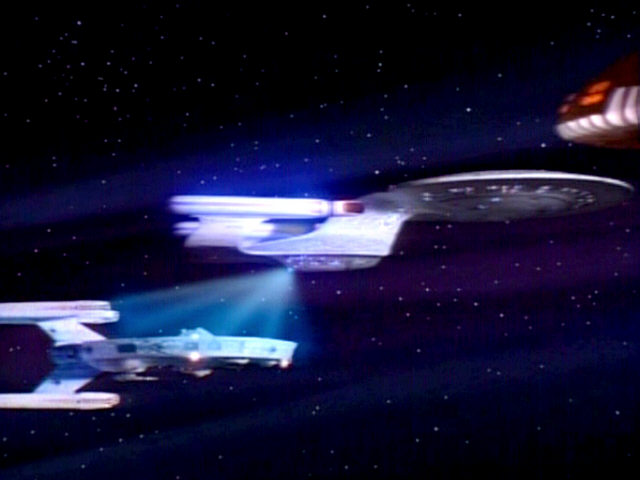 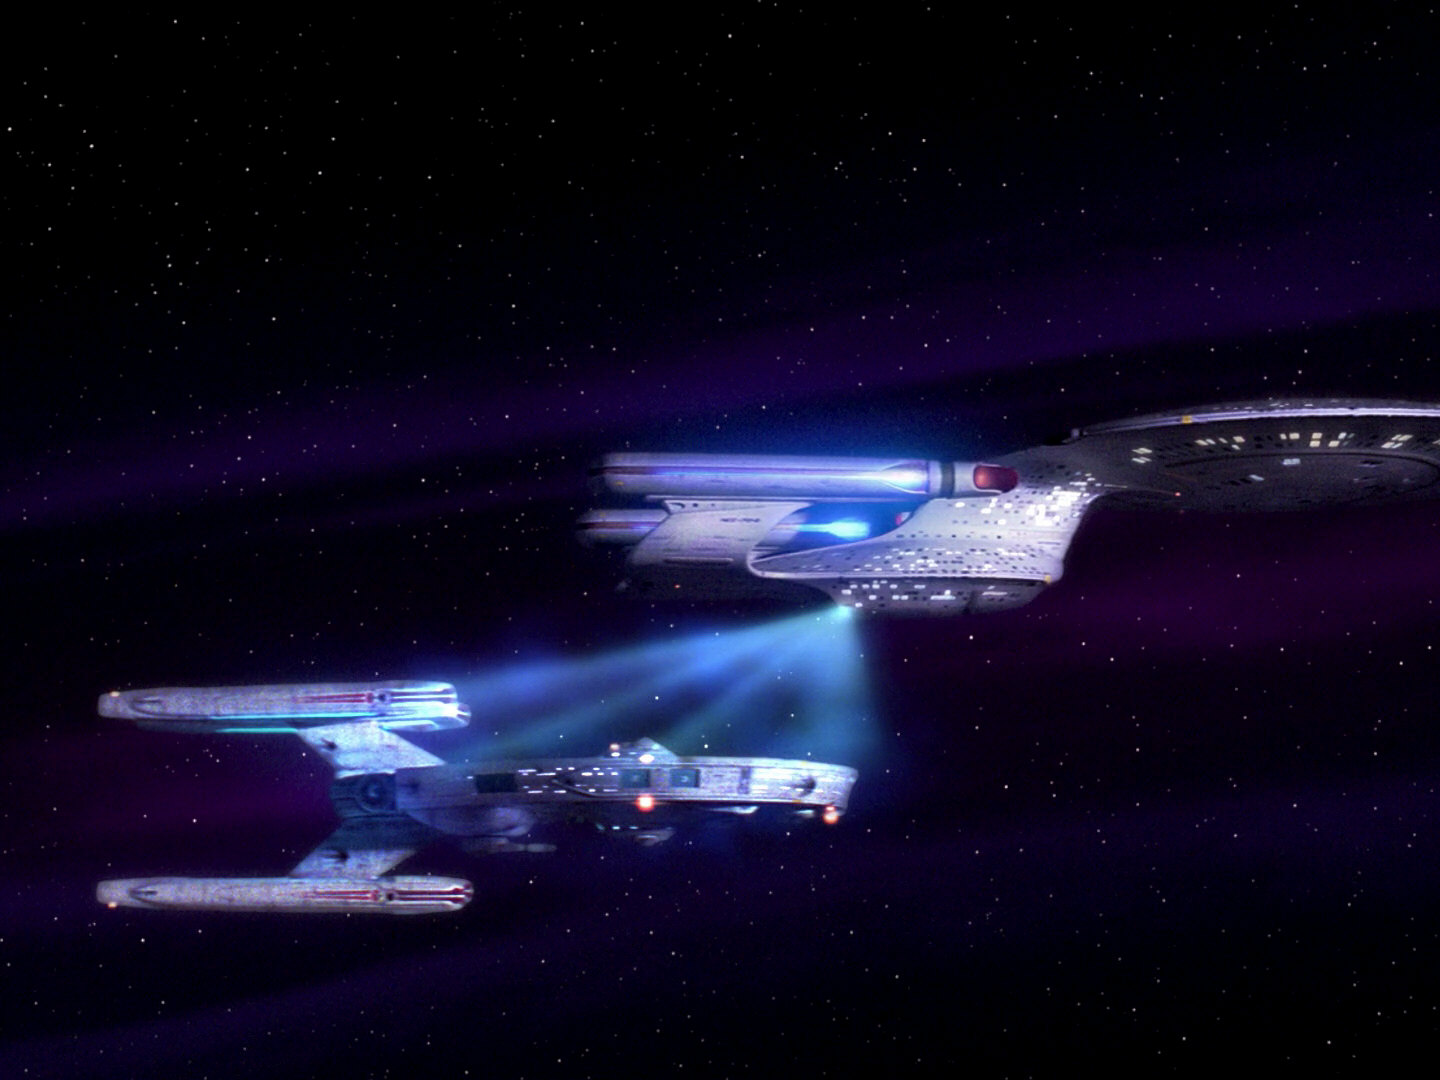 |
The tractor beam looks almost exactly the same in HD. | ||
| Screws holding the LCARS display are very noticeable in this shot. | 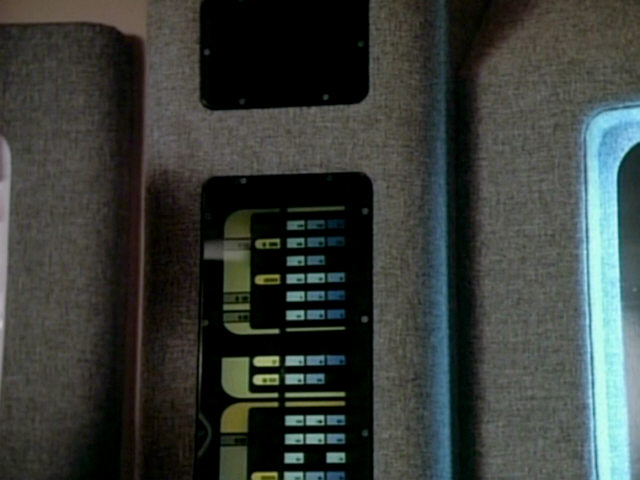 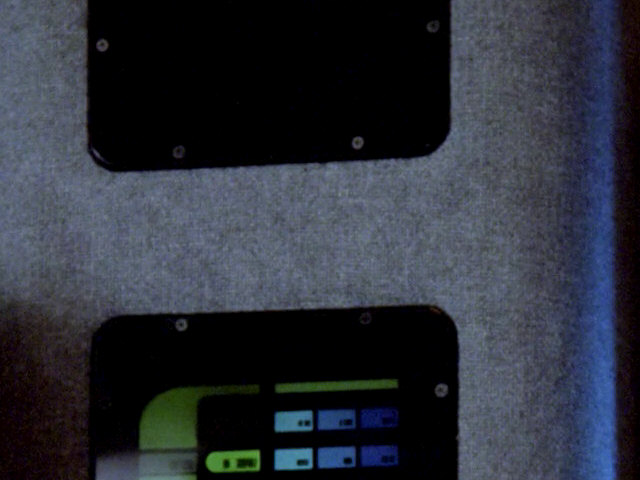 |
We can make out the slots of the screws in HD. | ||
| This shot of the desktop monitor in Picard's ready room was re-used in a few TNG episodes, such as "The Best of Both Worlds " and "The First Duty". Variations of the TNG Desktop Monitor |
 "The Best of Both Worlds" |
 "The First Duty" |
  |
The reconstructed shot in HD. |
The transparent Ferengi interface was achieved in a similar way as the three Vulcan computer screens Spock uses during his memory test at the beginning of "Star Trek IV: The Voyage Home". In the text commentary to the film, Mike Okuda explains how this effect was created: "Spock's 'transparent' computer screens were ingeniously created with ordinary video monitors that faced upward. Carefully positioned clear plastic sheets reflected the images, making them appear to be magically projected onto transparent computer screens." The hole at the center of the Ferengi console, where the video monitor projecting the image of the Ferengi interface was hidden, can clearly be seen in this shot. A similar technique was seen only once more, namely in the TNG Season 1 episode "We'll Always Have Paris", in the Café des Artistes. |
 "Star Trek IV" |
 "We'll Always Have Paris" |
 |
No changes |
| In contrast to "Lonely Among Us", the outside of Dr. Crusher's medical case, in use till the end of season 5, is no longer illuminated in "The Battle". The colorful side buttons and LCARS display were only ever seen turned on once, in "Lonely Among Us". |  "Lonely Among Us" |
  |
The medical case in HD. | |
If we compare the inside of the medical case in "Lonely Among Us" and "The Battle", we can see that only the hypo, the 20th century thermometer and one scanner (yellow button) have been carried over, the rest is new and everything has been rearranged. Note the stone plate with fossils next to Picard, indicating an interest in paleontology. It already appeared in his ready room in "Encounter at Farpoint" and "Haven". |
 "Lonely Among Us" |
  |
||
| The sensor pads, designed by Rick Sternbach, make their first appearance here. This type of sensors were also seen in "The Child", "The Survivors", and "The Schizoid Man". Rick Sternbach: "The neural pads were made from pieces of styrene plastic sheet with bits from different model kits, pretty common science fiction prop technique. As the series progressed, a lot of these sorts of props got outfitted with blinking or cycling LEDs." |
 "The Child" |
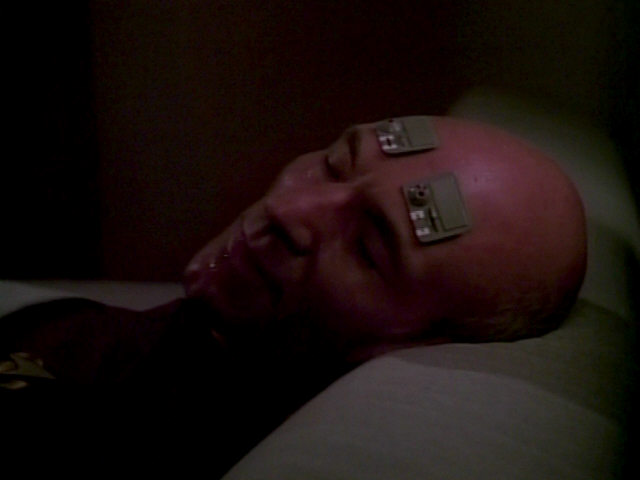 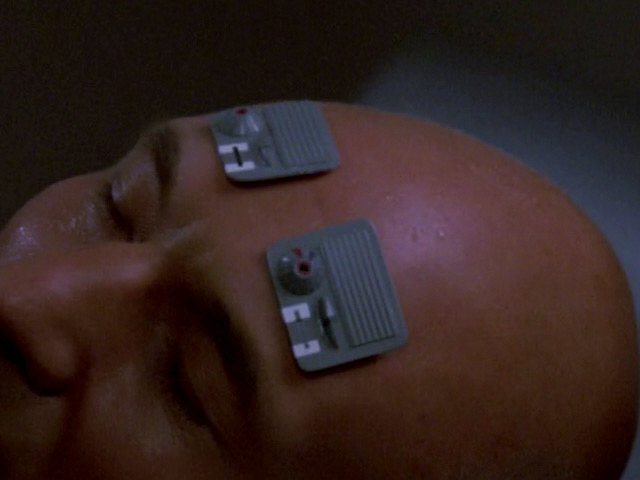 |
More details of the pads are recognizable in HD. | |
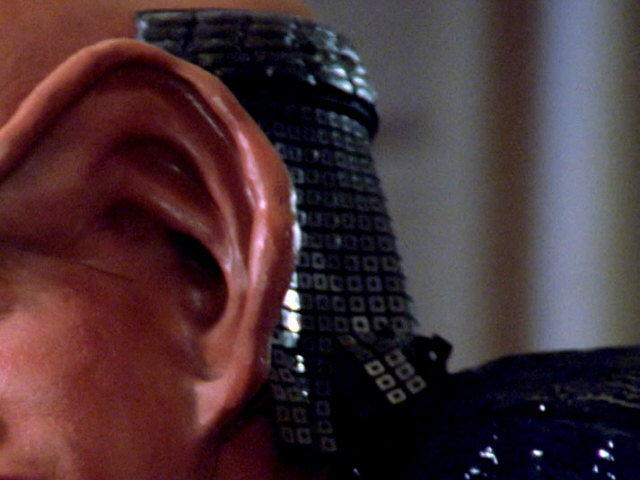
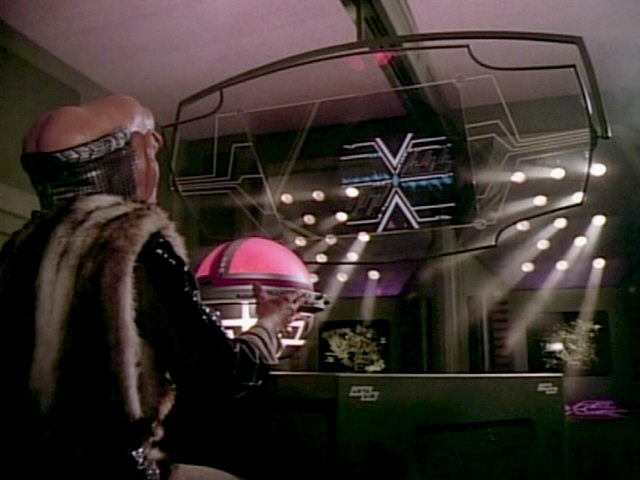
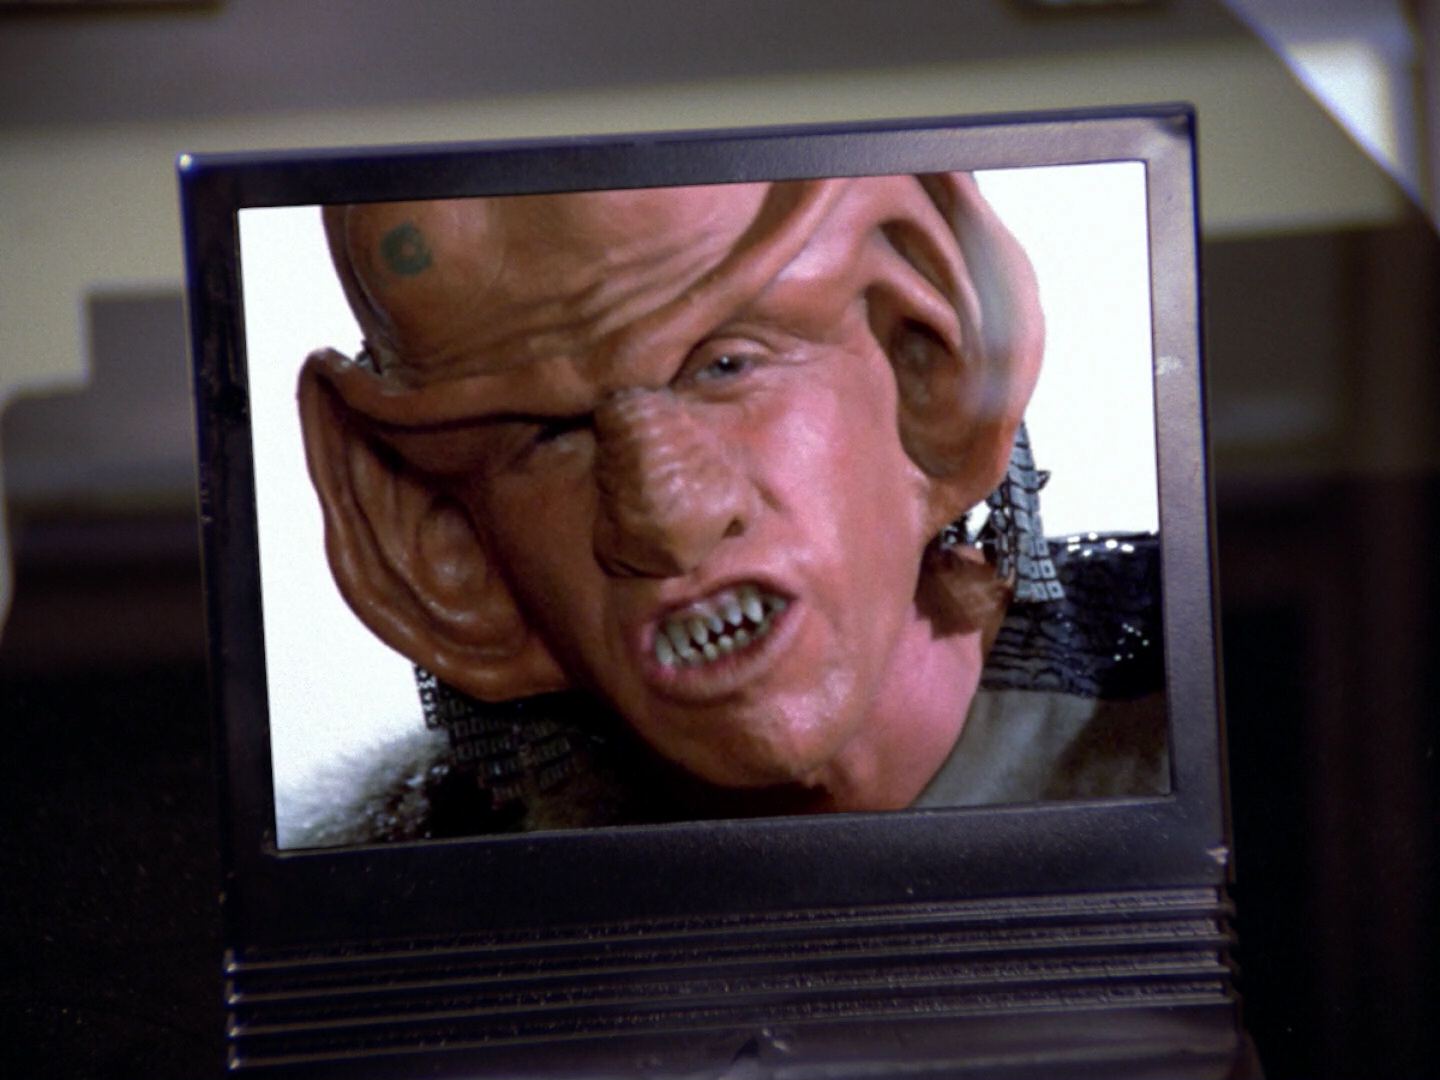
| The Ferengi make-up normally does not feature visible ear holes. |   |
Close-up of the ears in HD. | ||
| The illusionary Stargazer crew member seem to wear no rank insignia. |   |
TNG-R confirms: no rank pips. | ||
| "The Battle" is the first of four episodes in which the Constellation class model in Picard's ready room is replaced by a silver Constitution class model, previously seen in Riker's quarters in "Haven" and "Lonely Among Us". |  "Lonely Among Us" |
  |
A close-up of the model in HD. | |
| The PADD designed by Rick Sternbach appears again after "Lonely Among Us". | 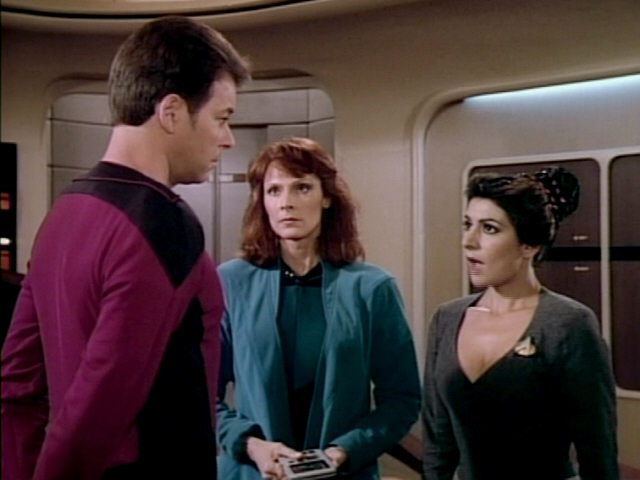 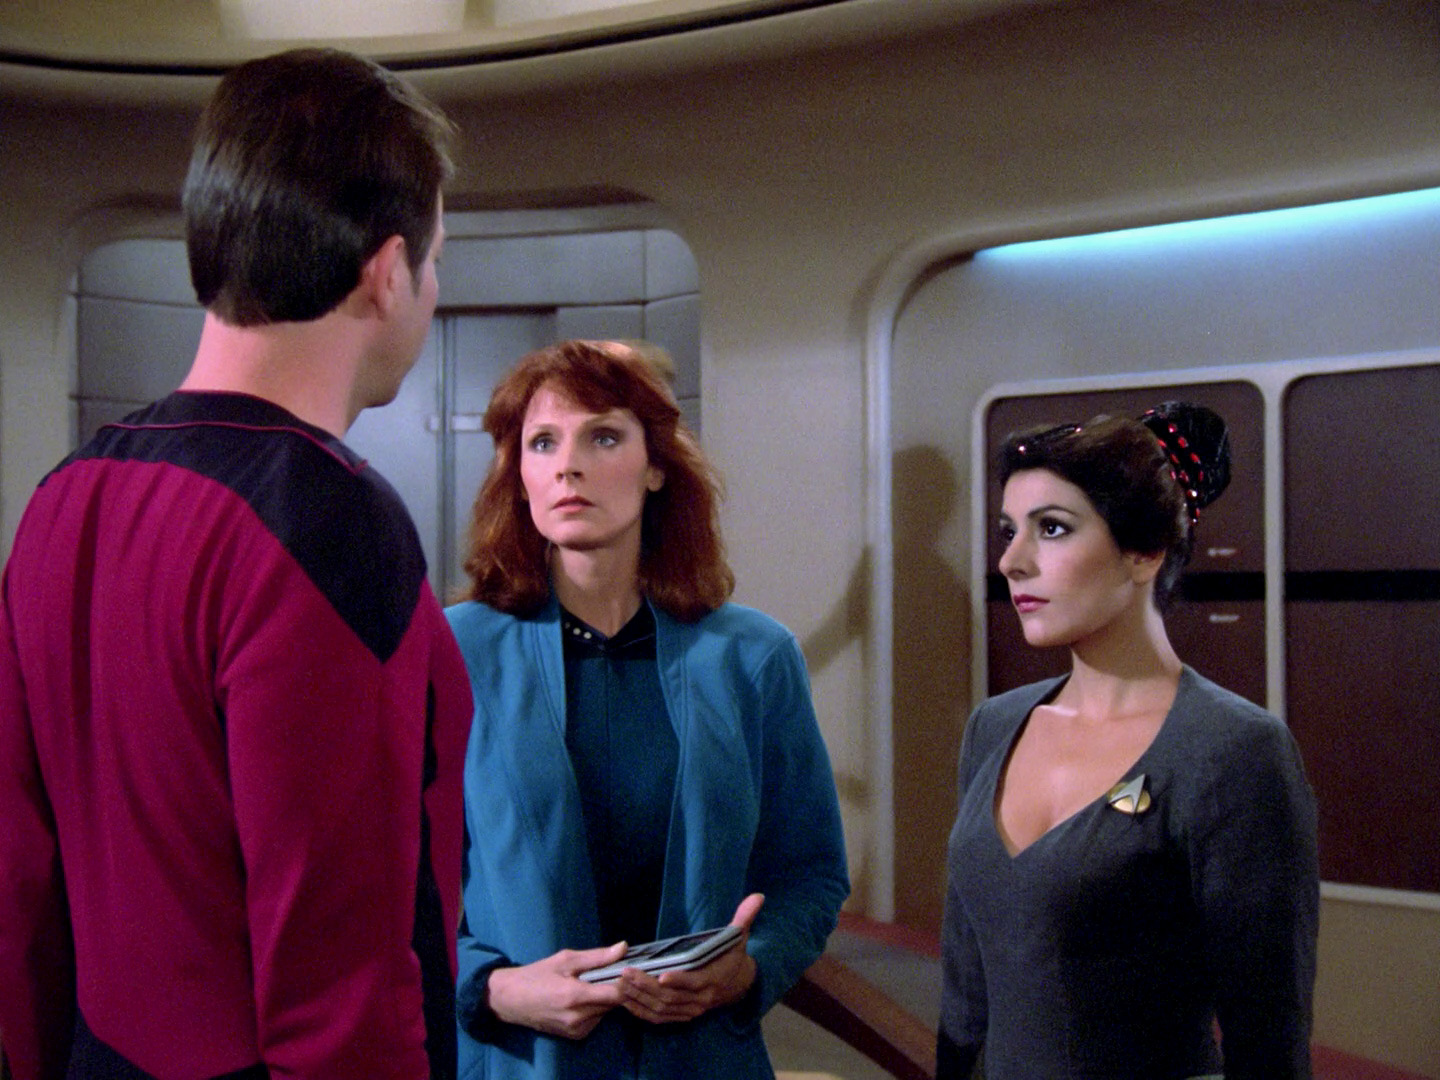 |
A close-up of the PADD in HD. | ||
| The shots show the differences between the same set in "Star Trek: The Motion Picture" and "The Battle". | 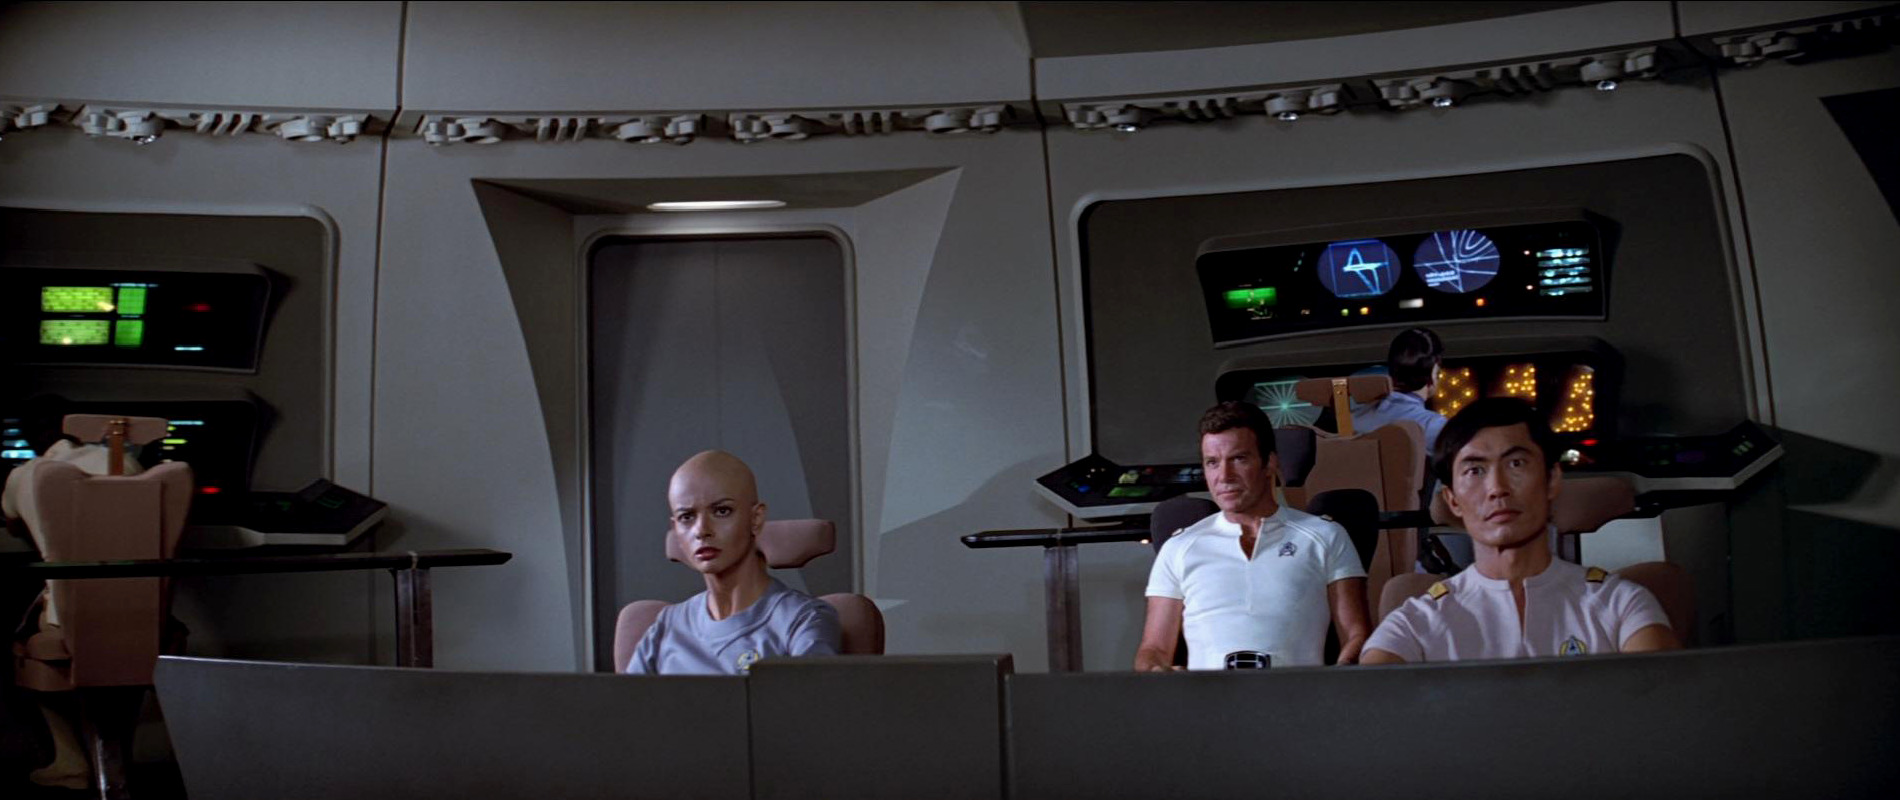 "Star Trek I" |
  |
The bridge set in HD. | |
| A nice close-up of the graphics originally created for "Star Trek IV: The Voyage Home". The very same graphics are visible on the screen cap from the film. |  "Star Trek IV" |
 |
No changes | |
| These caps illustrate that the same 23rd century LCARS display that was created for the bridge of the USS Enterprise-A in "Star Trek IV: The Voyage Home" was re-used on the USS Stargazer bridge. | "Star Trek IV" |
 |
No changes | |
| These head-on shots nicely illustrate how the bridge has changed over the years. | 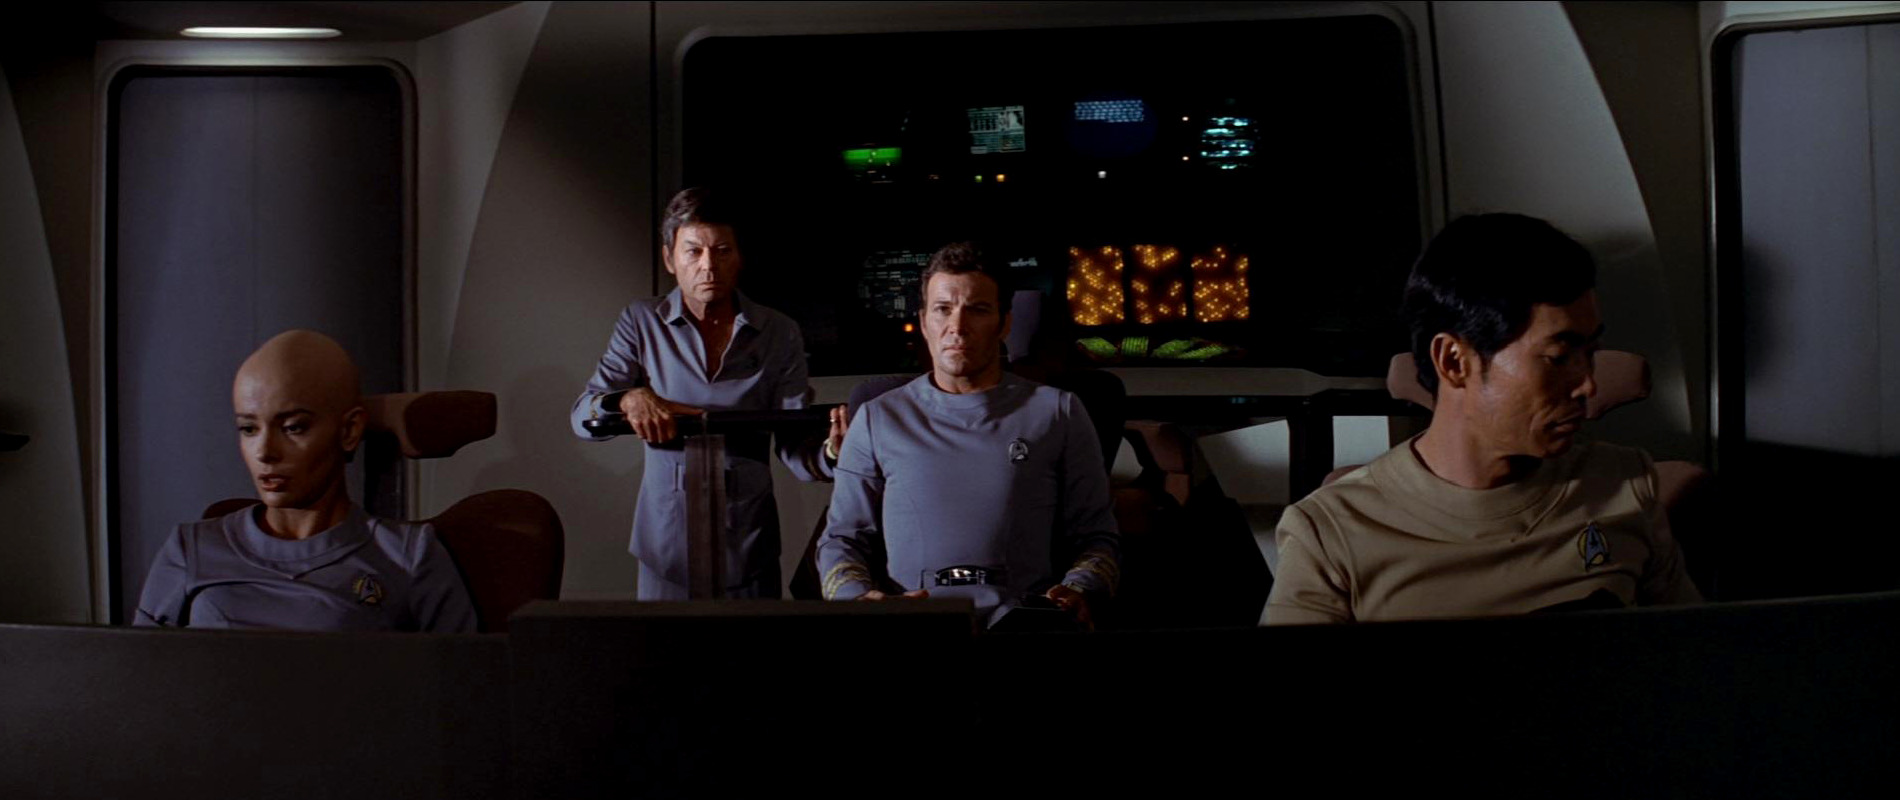 "Star Trek I" |
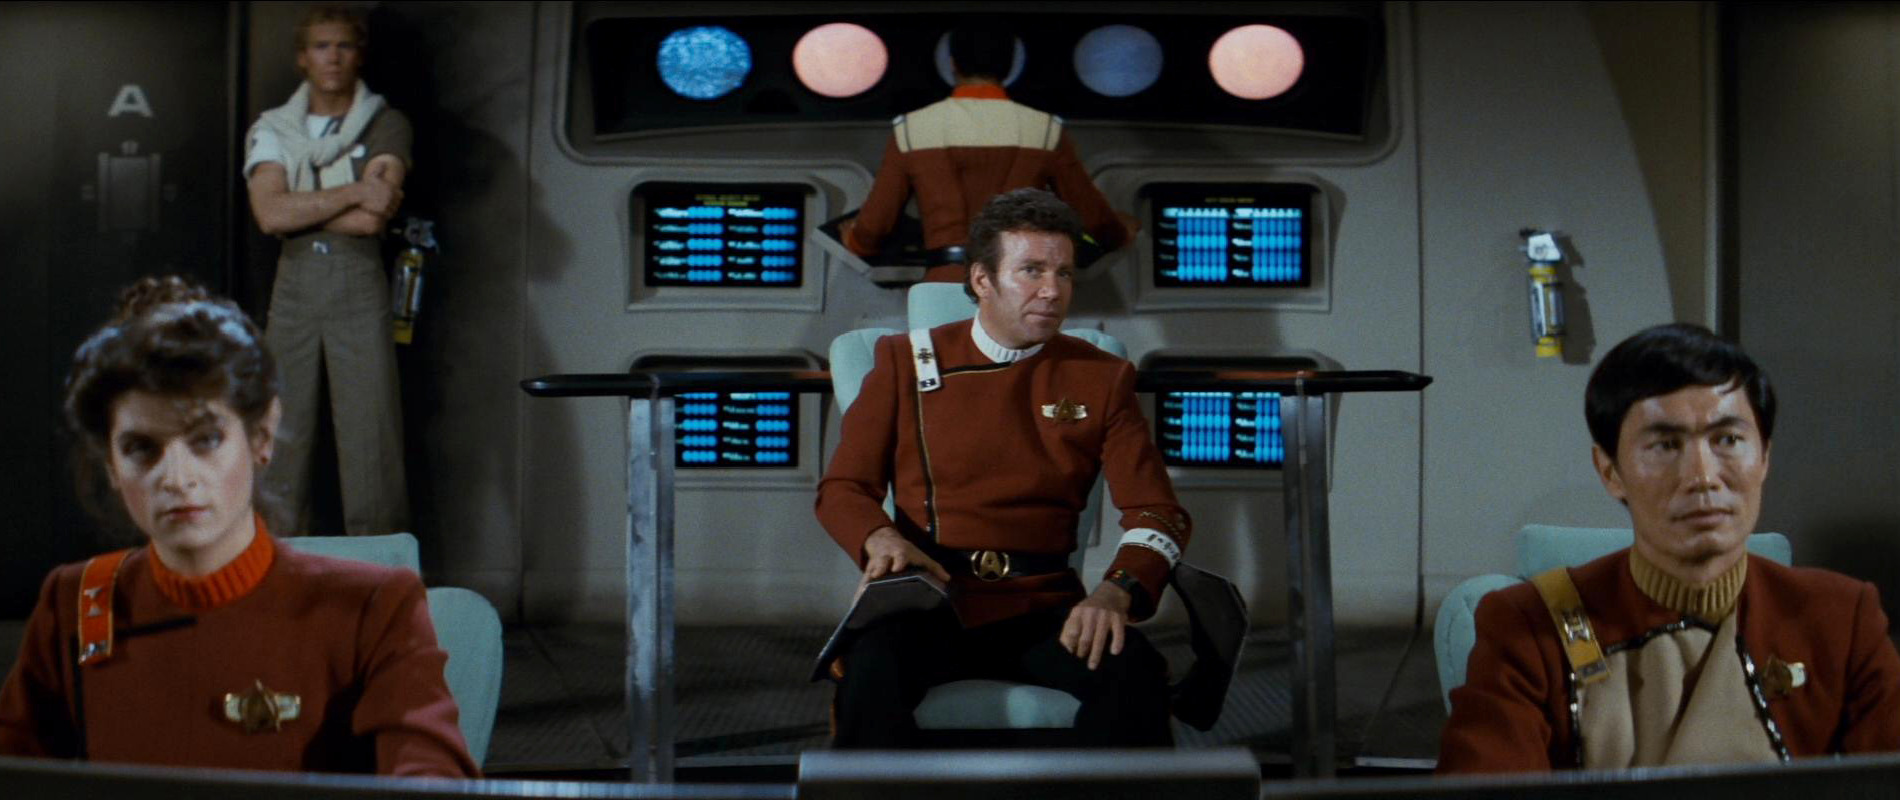 "Star Trek II" |
  |
The bridge set in HD. |
| Another shot from "Star Trek II: The Wrath of Khan" shows how the bridge was modified when it was re-used on TNG after "Star Trek IV: The Voyage Home". There is no corresponding shot from "Encounter at Farpoint" as the camera was positioned almost entirely on the left side of the bridge (when facing the turbolifts) while it was mainly positioned on the right side in "The Battle". |  "Star Trek II" |
 "Encounter at Farpoint" |
 |
No changes |
| A blooper: Only in this one shot the headrest of the starboard station chair on the Stargazer bridge is missing. It is consistently present at every other point before and afterwards. | A few seconds earlier |
 |
No changes | |
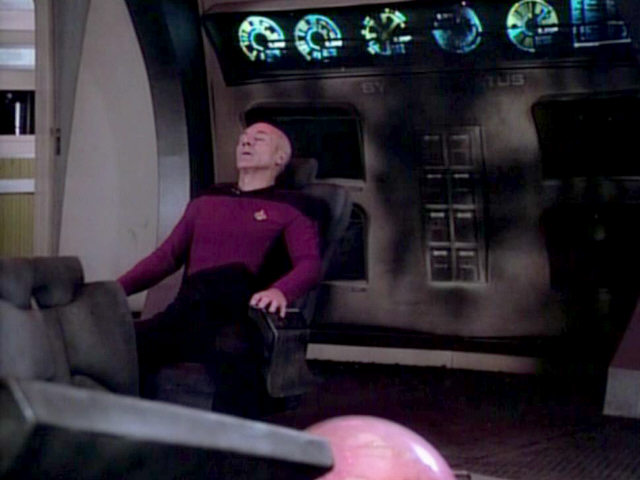
| Picard once again performs the maneuver named for him. | 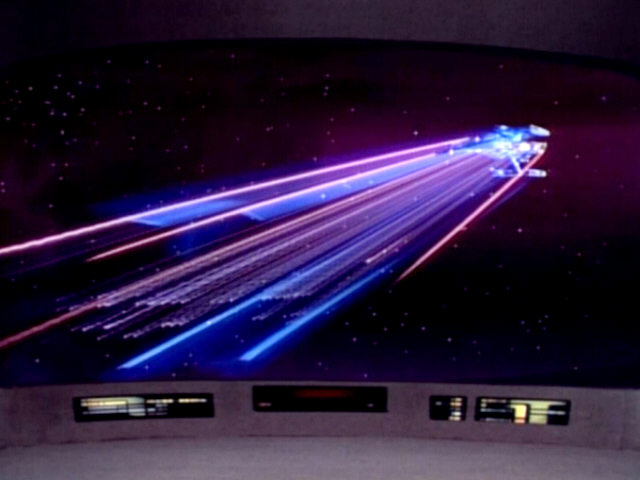 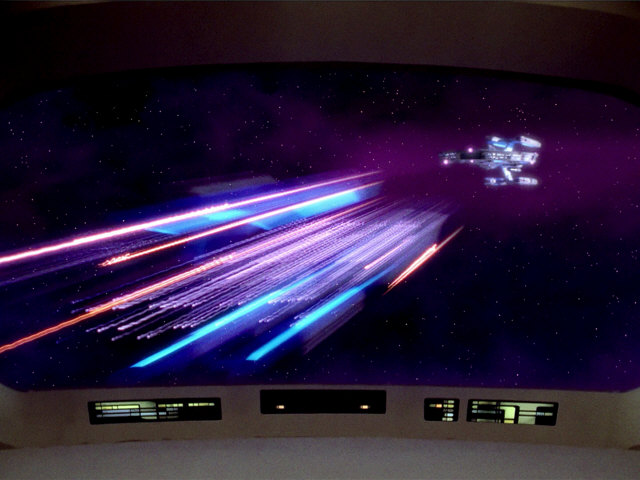 |
The effect was recomposited to look exactly as in the original episode. | ||
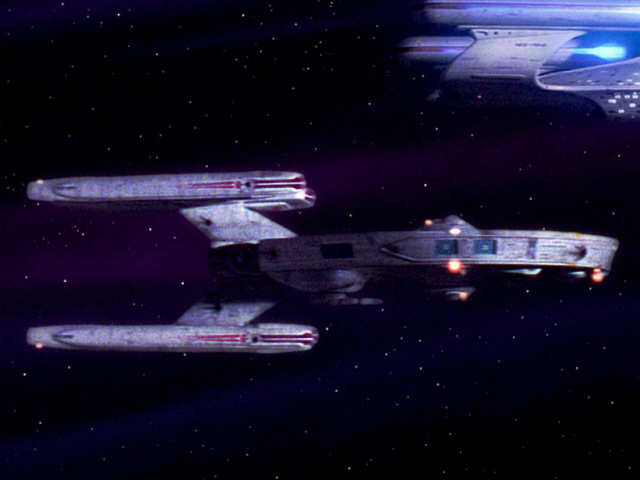
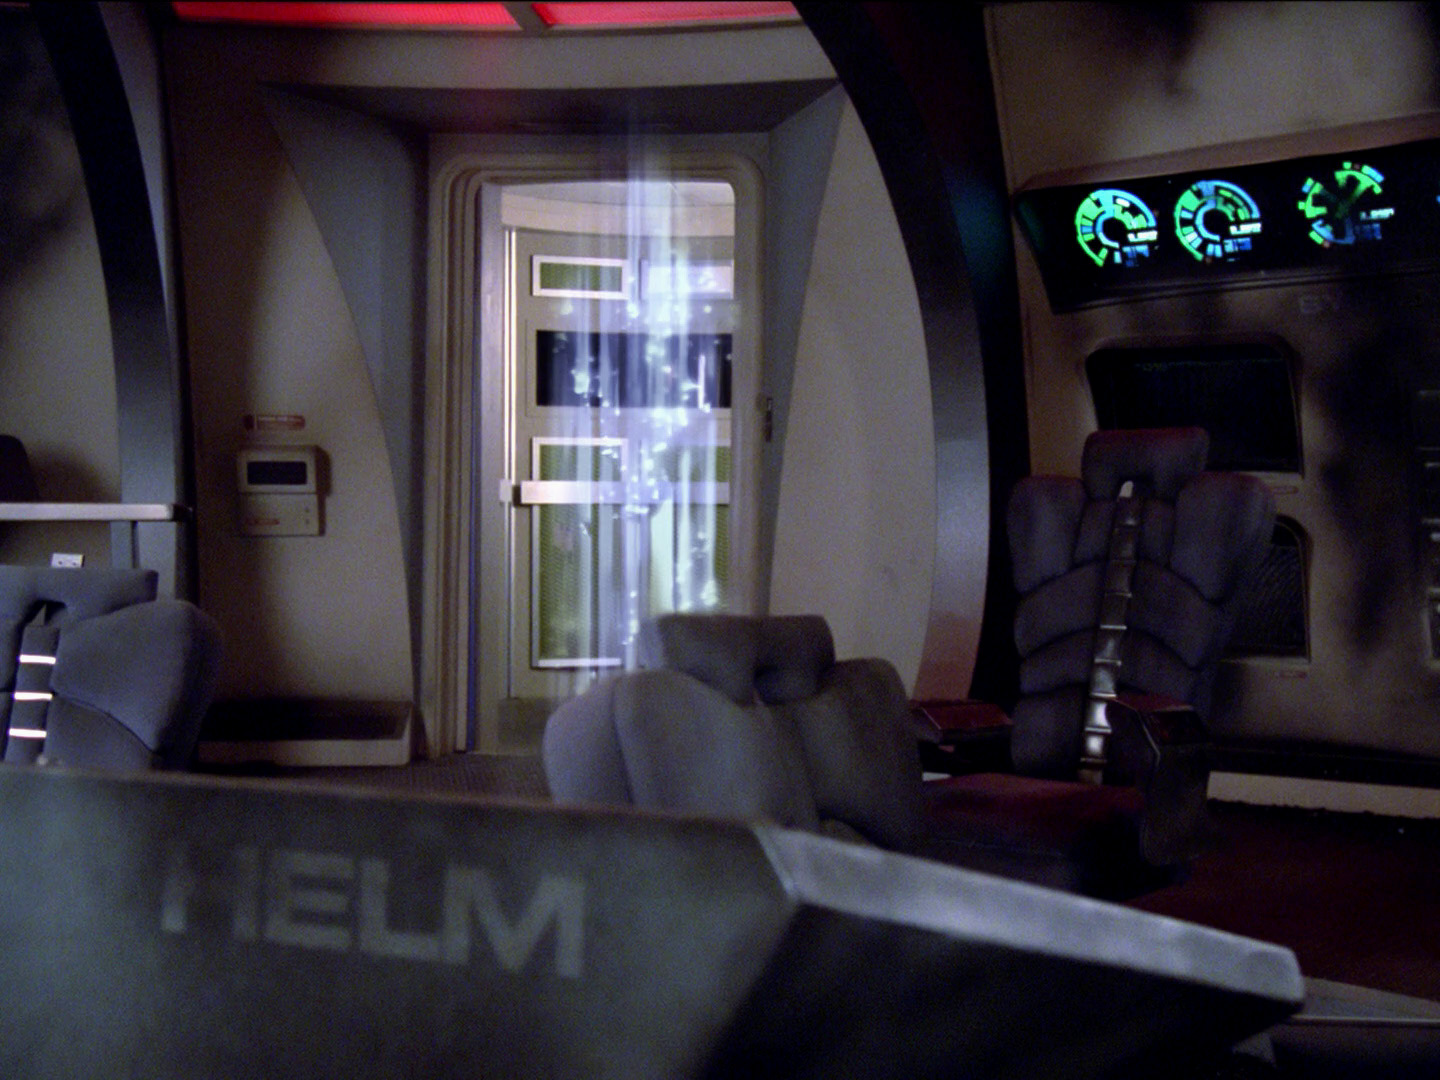
| The Enterprise uses the tractor beam to stop the Stargazer. The beam originates in the torpedo bay though. | 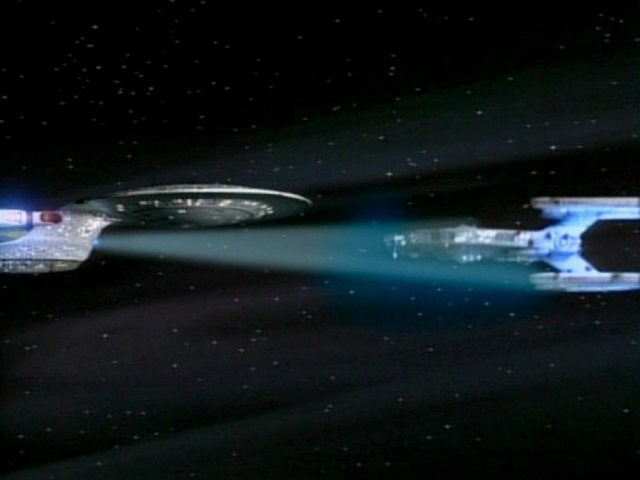 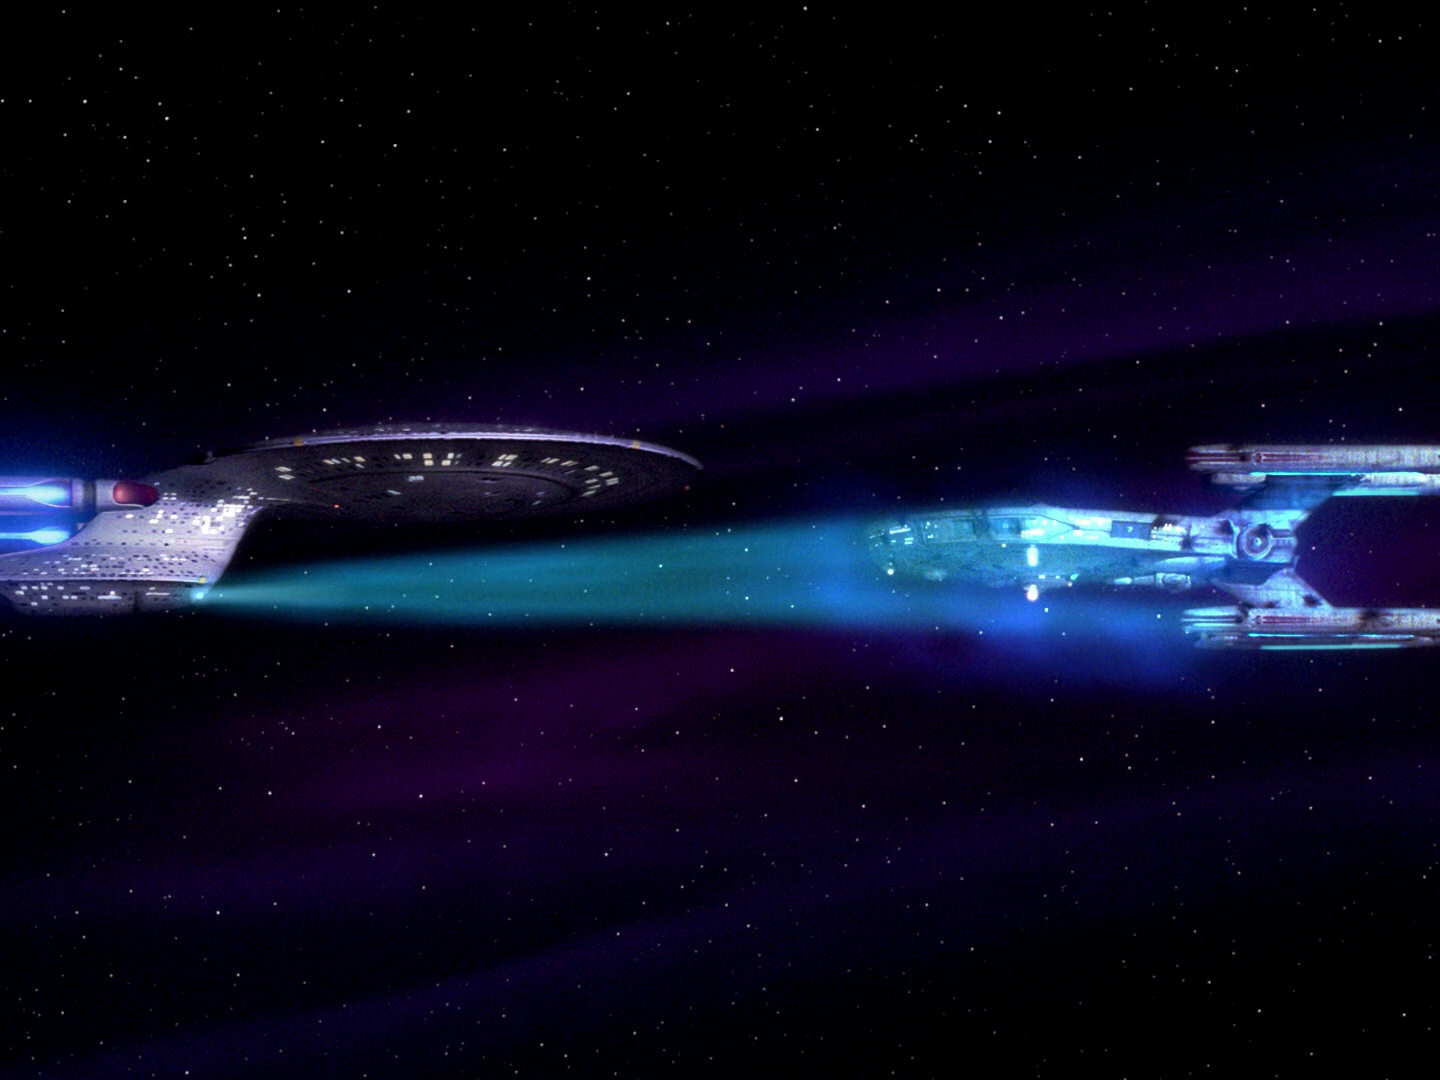 |
The origin of the tractor beam was moved down to the bottom of the secondary hull where it belongs. Also, note that he numbers on the doors of the two port shuttlebays (6+7) in the main hull of the USS Stargazer can be seen. |
||
| Another comparison shot, this time from "Star Trek: The Motion Picture". |  "Star Trek I" |
  |
The bridge set in HD. | |
| The battle bridge main viewscreen (now on the Stargazer) was slightly modified between "Encounter at Farpoint" and this episode. | 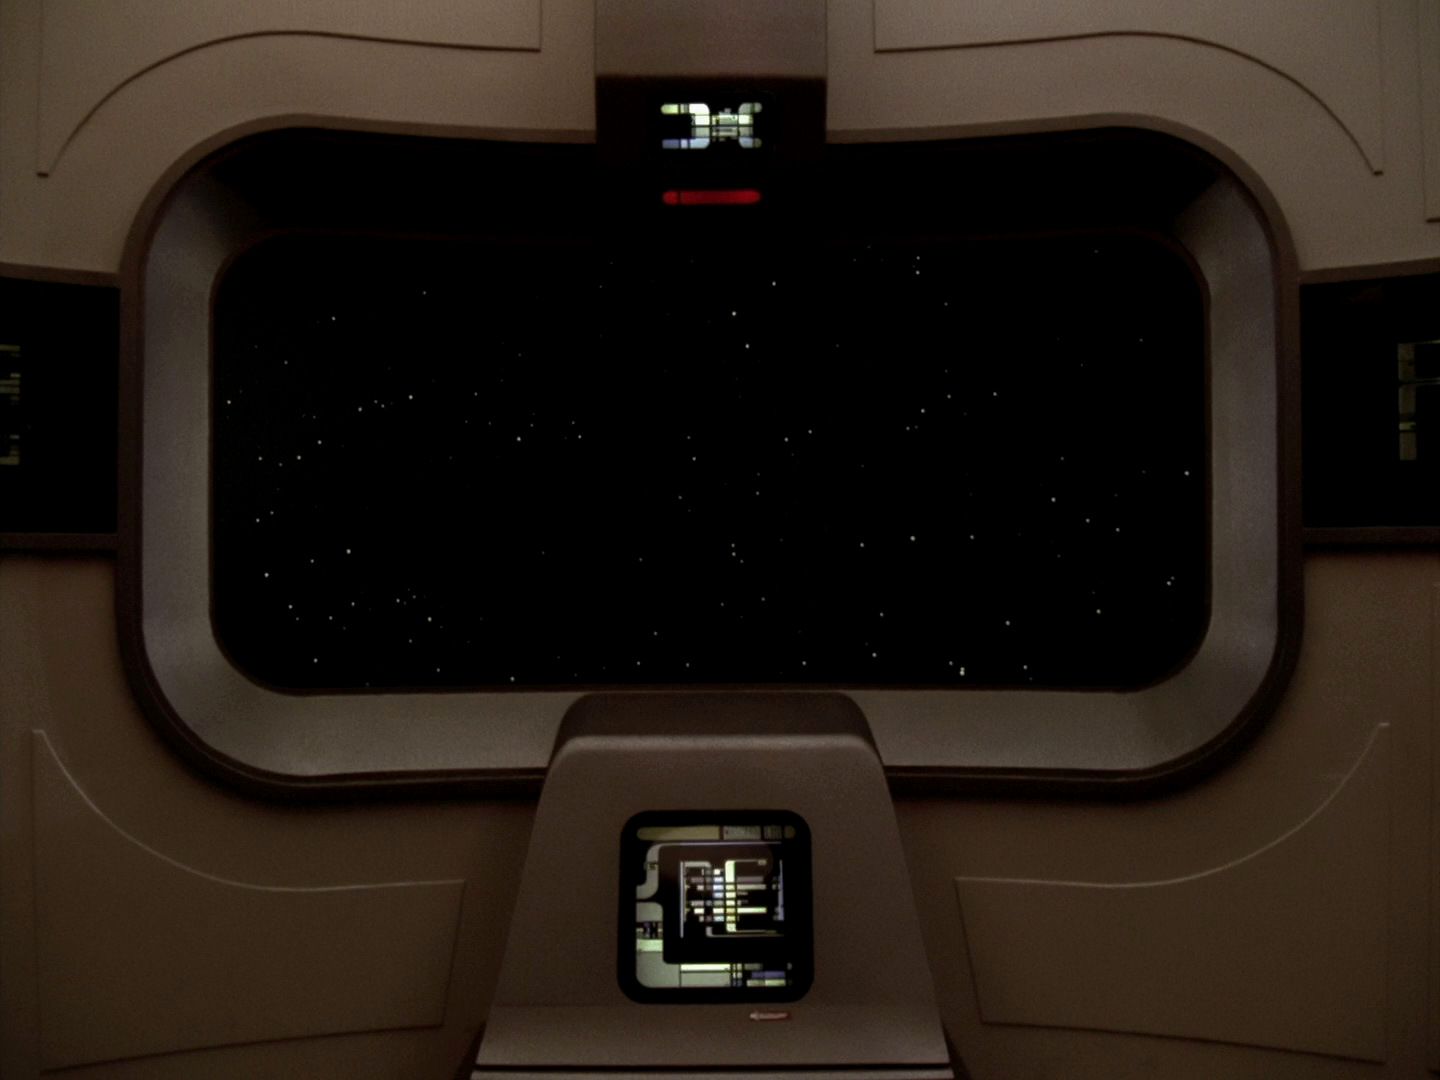 "Encounter at Farpoint" |
 |
No changes | |
| This shot shows how extensively the front part of the bridge was modified when it the set was re-used as the USS Enterprise-D battle bridge in "Encounter at Farpoint". While the aft section of the bridge remained nearly the same, the front half was decreased in size. The main viewer was moved closer to the Captain's chair, a new forward wall was erected and the front left part of the bridge was turned into the ready room seen in "Encounter at Farpoint". The door to the ready room can be seen to the left of the main viewer. The ceiling light has remained unchanged. | 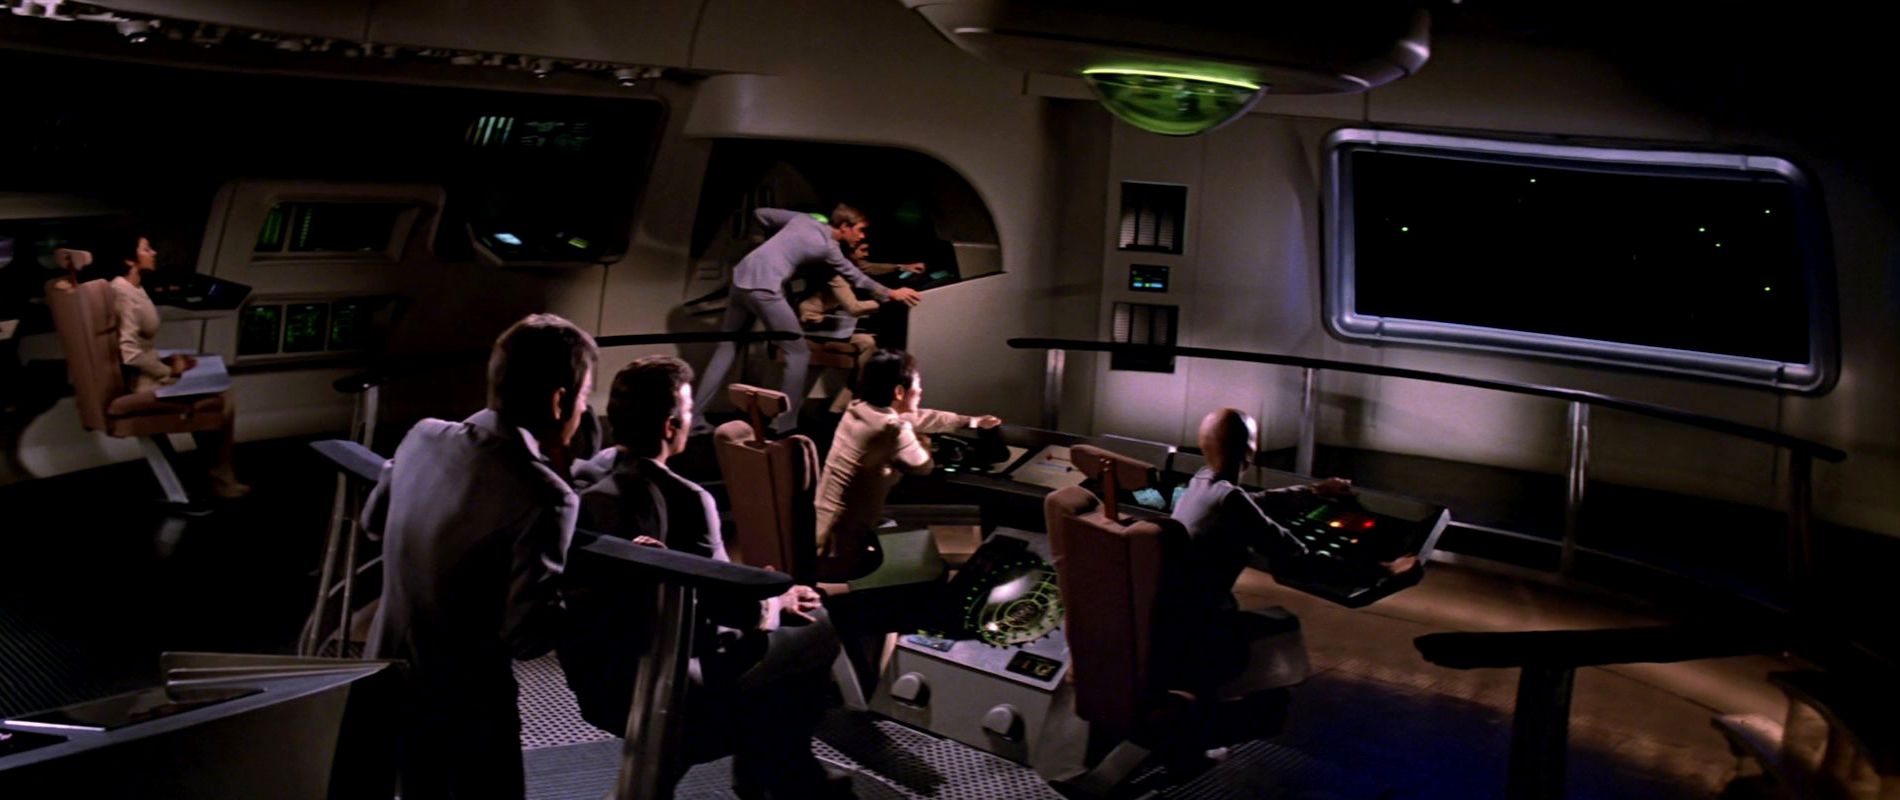 "Star Trek I" |
 "Star Trek II" |
 |
No changes |
Credits
Thanks to Trek BBS user MickJo1701 for spotting the fixed tractor beam, to Twitter user Ryan Thomas Riddle for finding the origin of Picard's old uniform and to Facebook user Sean Mcn for correcting the observation about the visible microphone.


