


Observations in TNG: "Home Soil"
A joint project with TrekCore, by Jörg Hillebrand and Bernd Schneider
 Here are some observations about sets, props, make-ups and visual effects in TNG: "Home Soil" without a specific theme, and a comparison of the original TV release (TNG) with the remastered episode (TNG-R).
![]()
"Home Soil" HD Screencaps @ TrekCore
| Description TNG | Other caps | Comparison TNG to TNG-R | Description TNG-R | |
| Velara III will be re-used as Dytallix B in "Conspiracy" and the planet on which Starbase 73 is located in "Up the Long Ladder". Re-Used Planets in TNG |
 "Conspiracy" |
   |
The planet was completely rebuilt for TNG-R. | |
| The shadow of some equipment can be seen in the original version of the episode. | 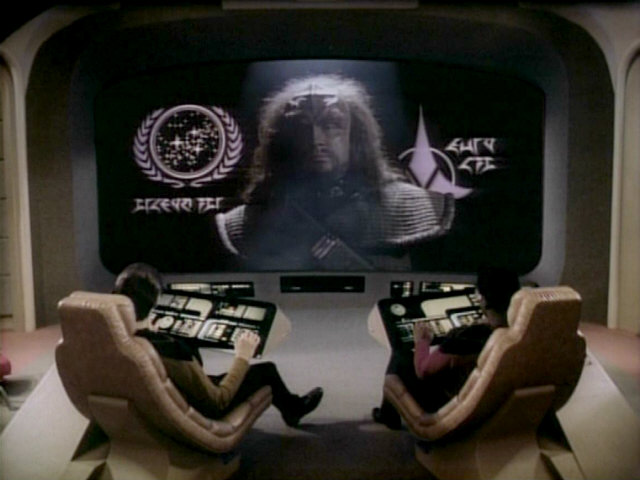 "Heart of Glory" SD |
 "Heart of Glory" HD |
  |
In HD, the piece of equipment itself comes into sight on the left side of the still. Curiously, in "Heart of Glory" the same object was visible in the same location in the original footage, and was digitally erased for TNG-R. |
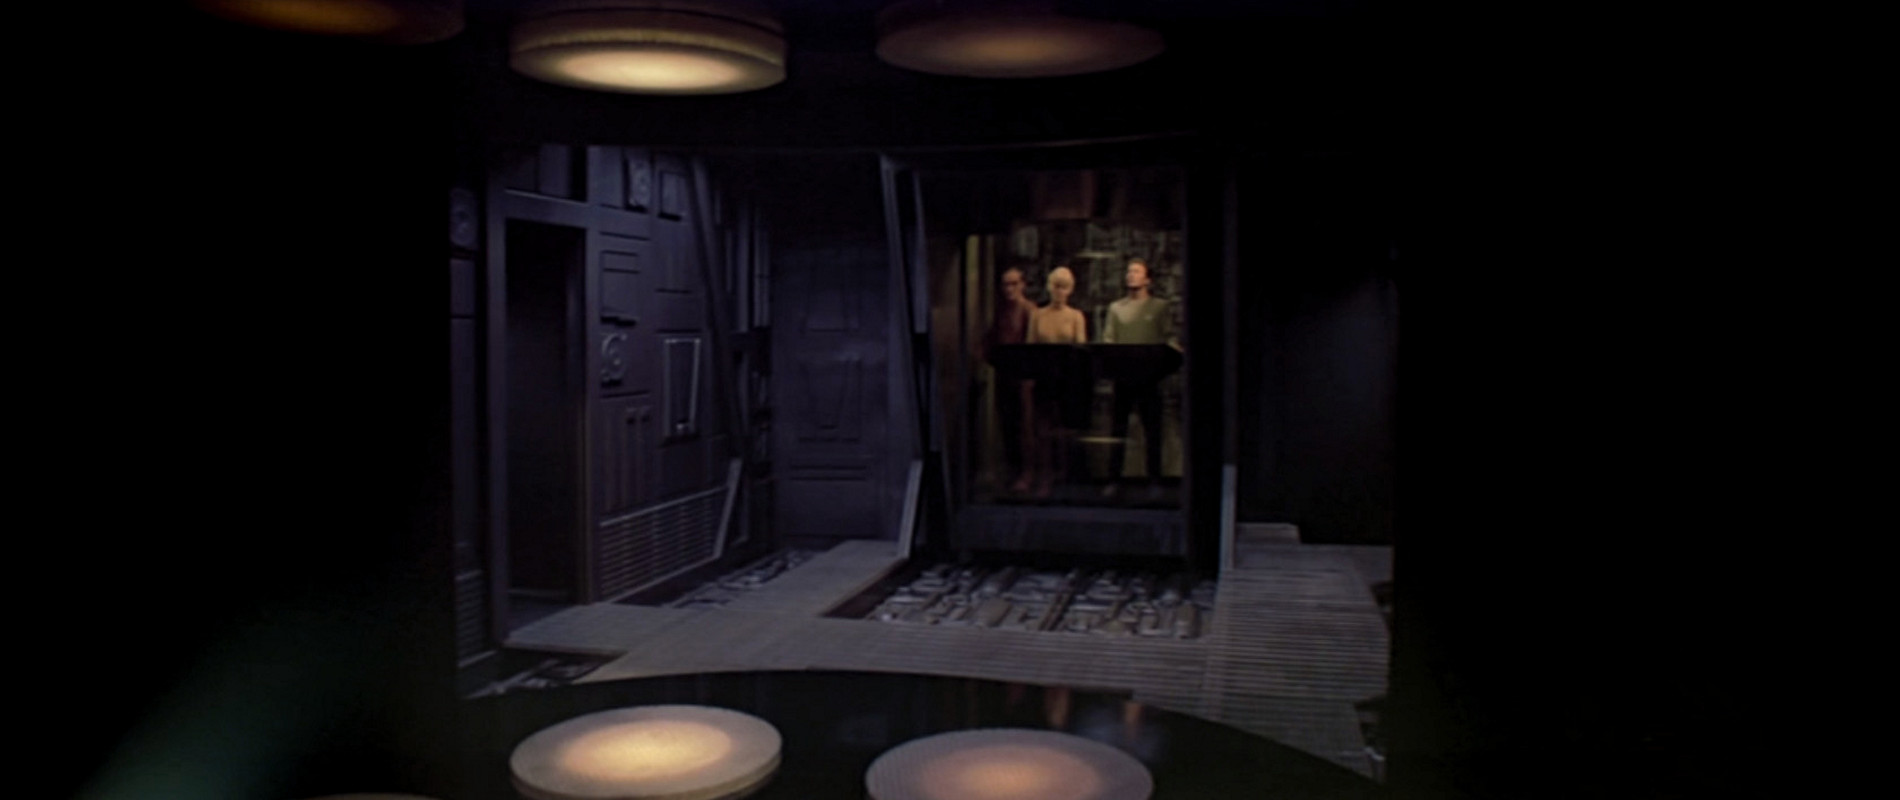
| An exterior view of he terraforming station. | 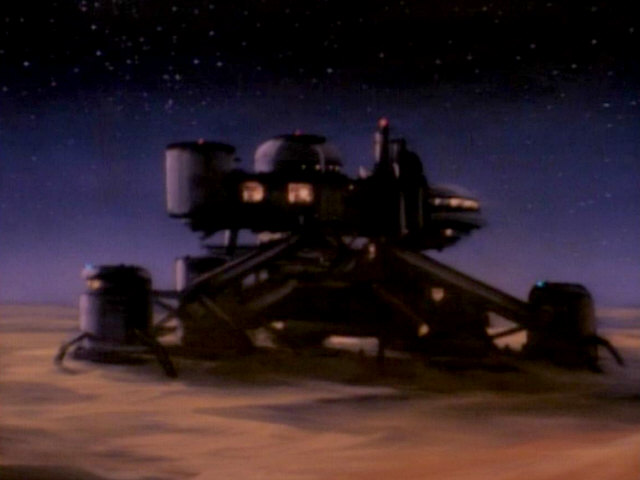 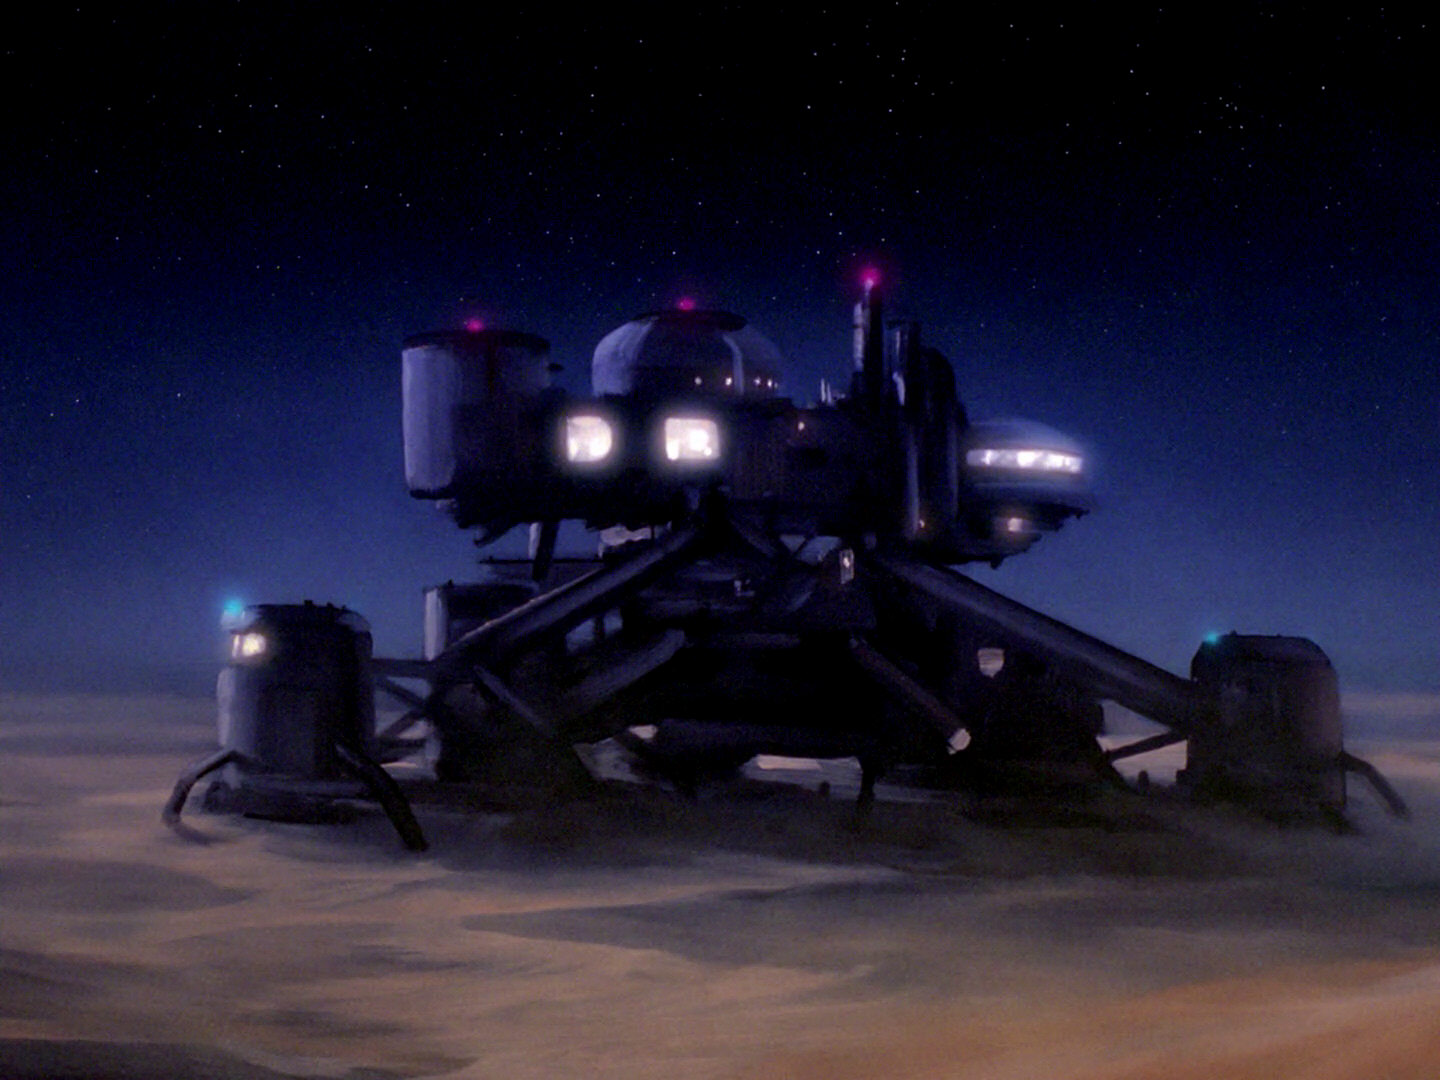 |
The lights behind the windows of the terraforming station are much brighter now. | ||
| The two consoles Malencon and Bensen are working on were created for "11001001" where they were seen in the Starbase 74 command center. Consoles Built for Star Trek |
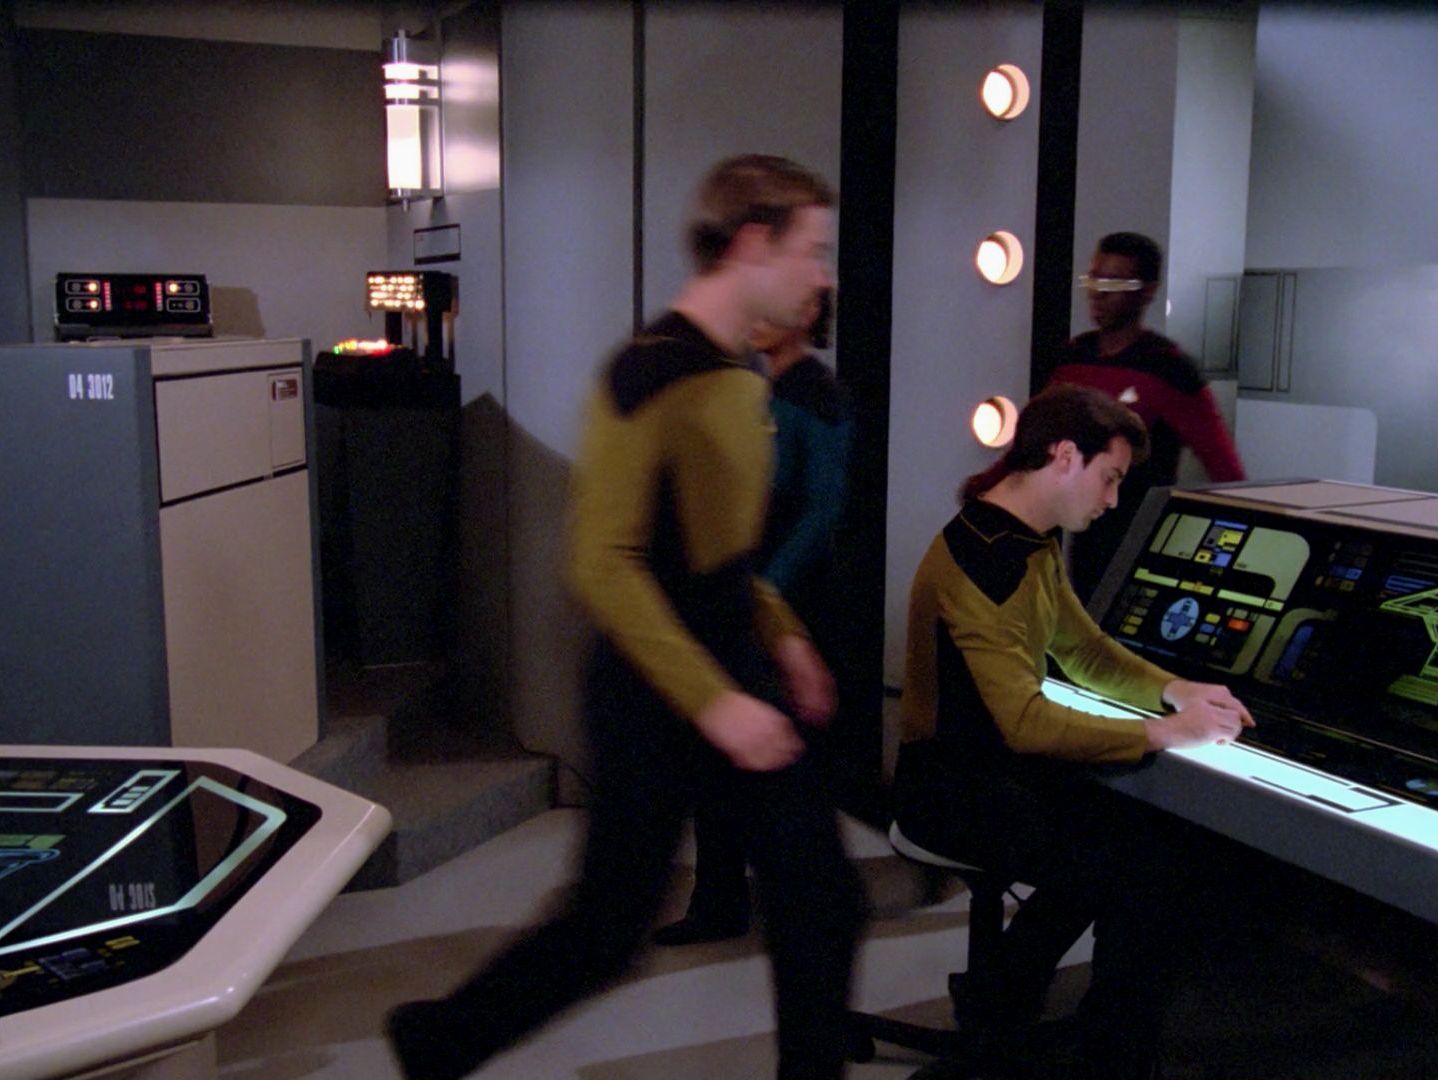 "11001001" |
 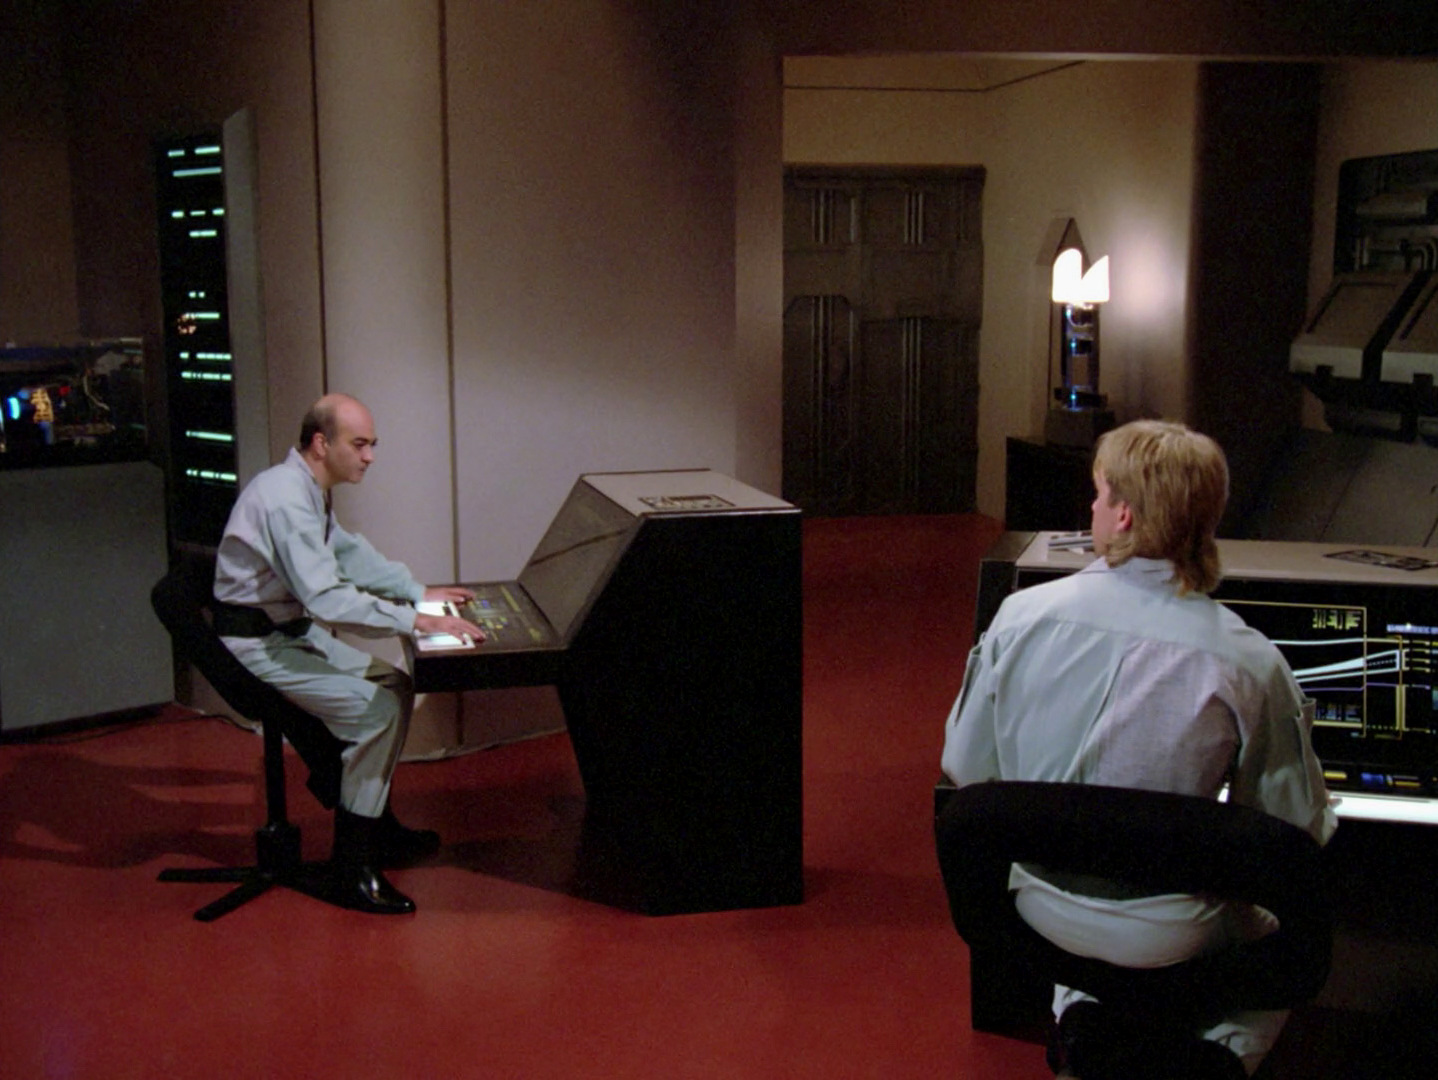 |
The consoles in HD. | |
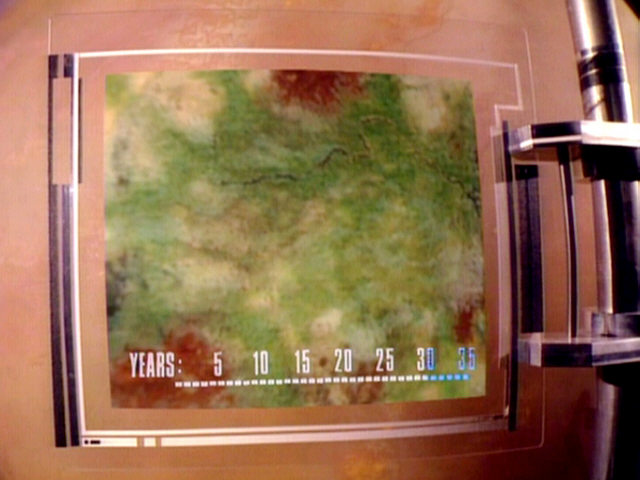
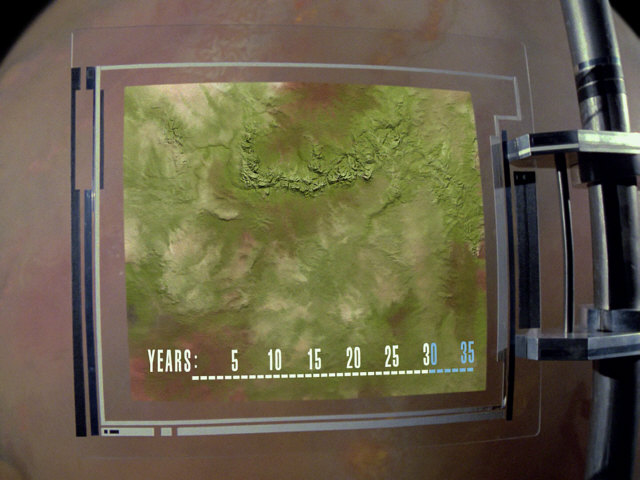
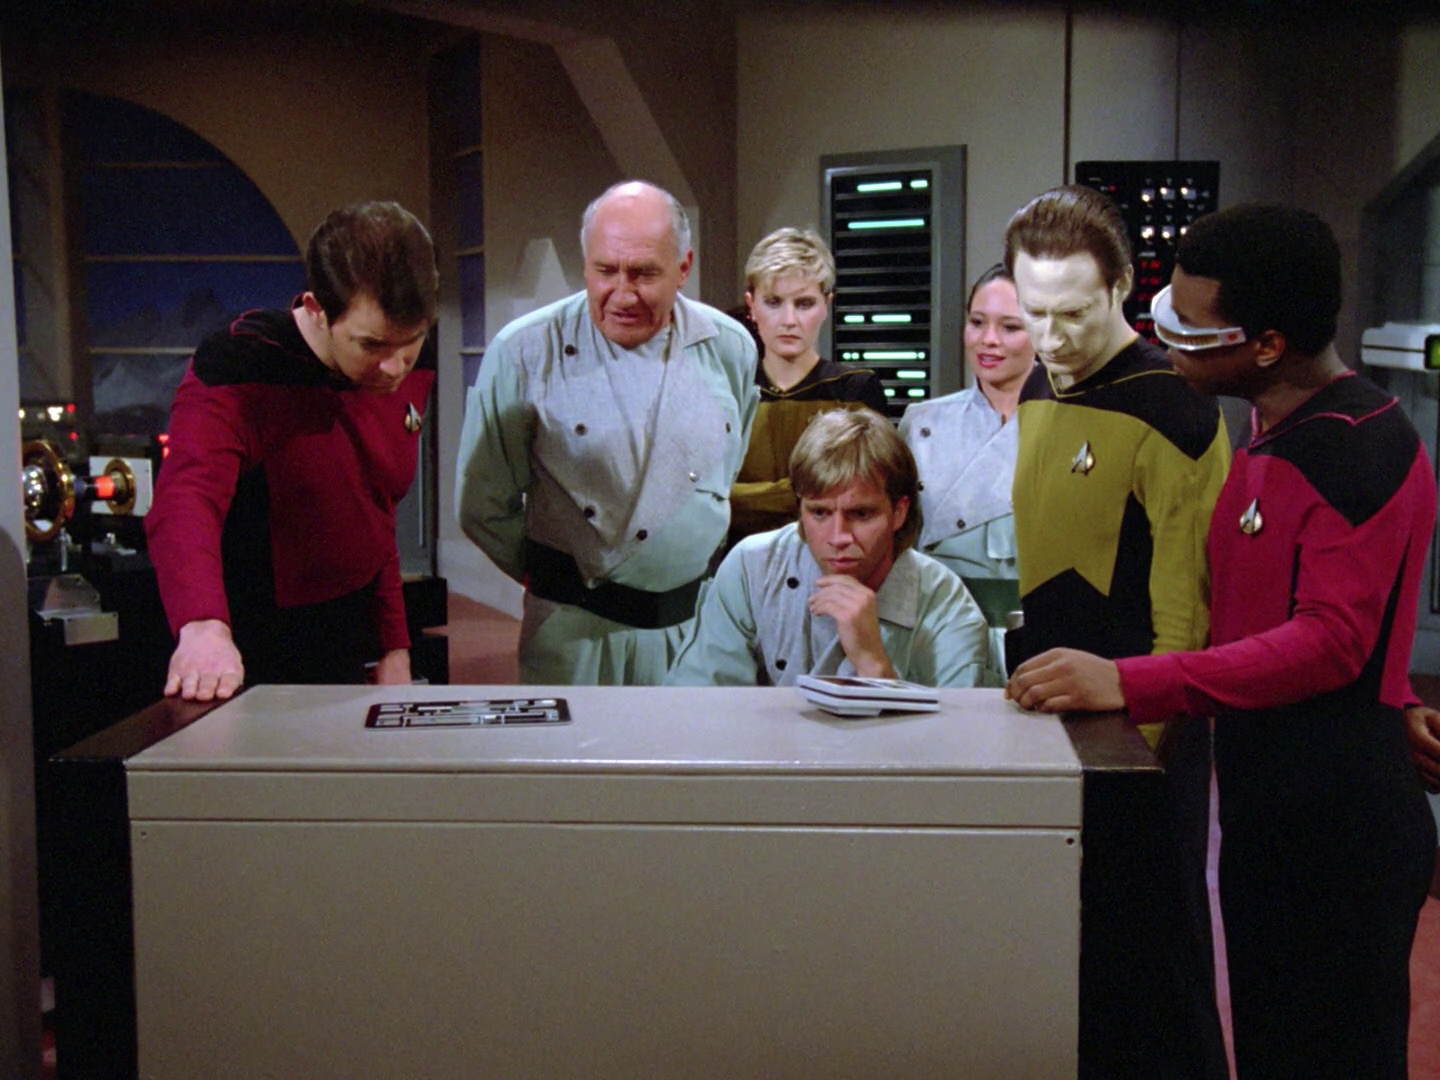
| Luisa Kim uses a transparent display that can be moved across the surface of the globe of Velara III to show the planet's future. | 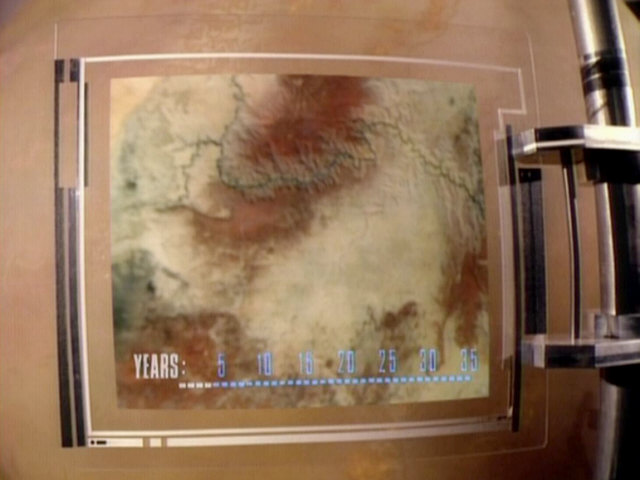 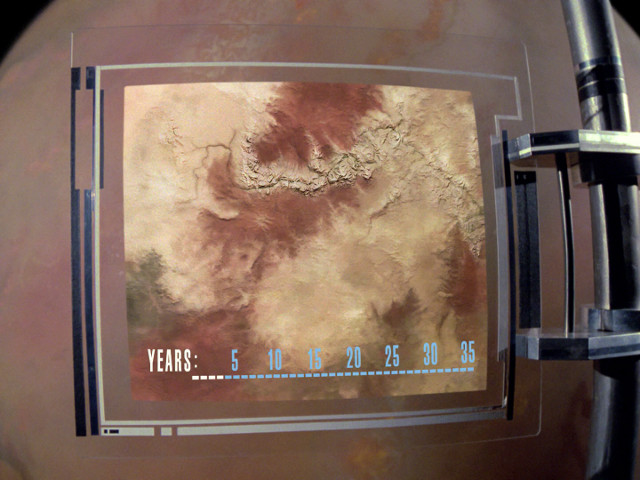 |
The animation of the planet surface was redone for the remastered version of the episode and looks very crisp now. | ||
  |
||||
| The small PADD with an extension on the back side, holding the lights to illuminate the display or the batteries to power the lights, appears again after it was previously seen in "Lonely Among Us". | 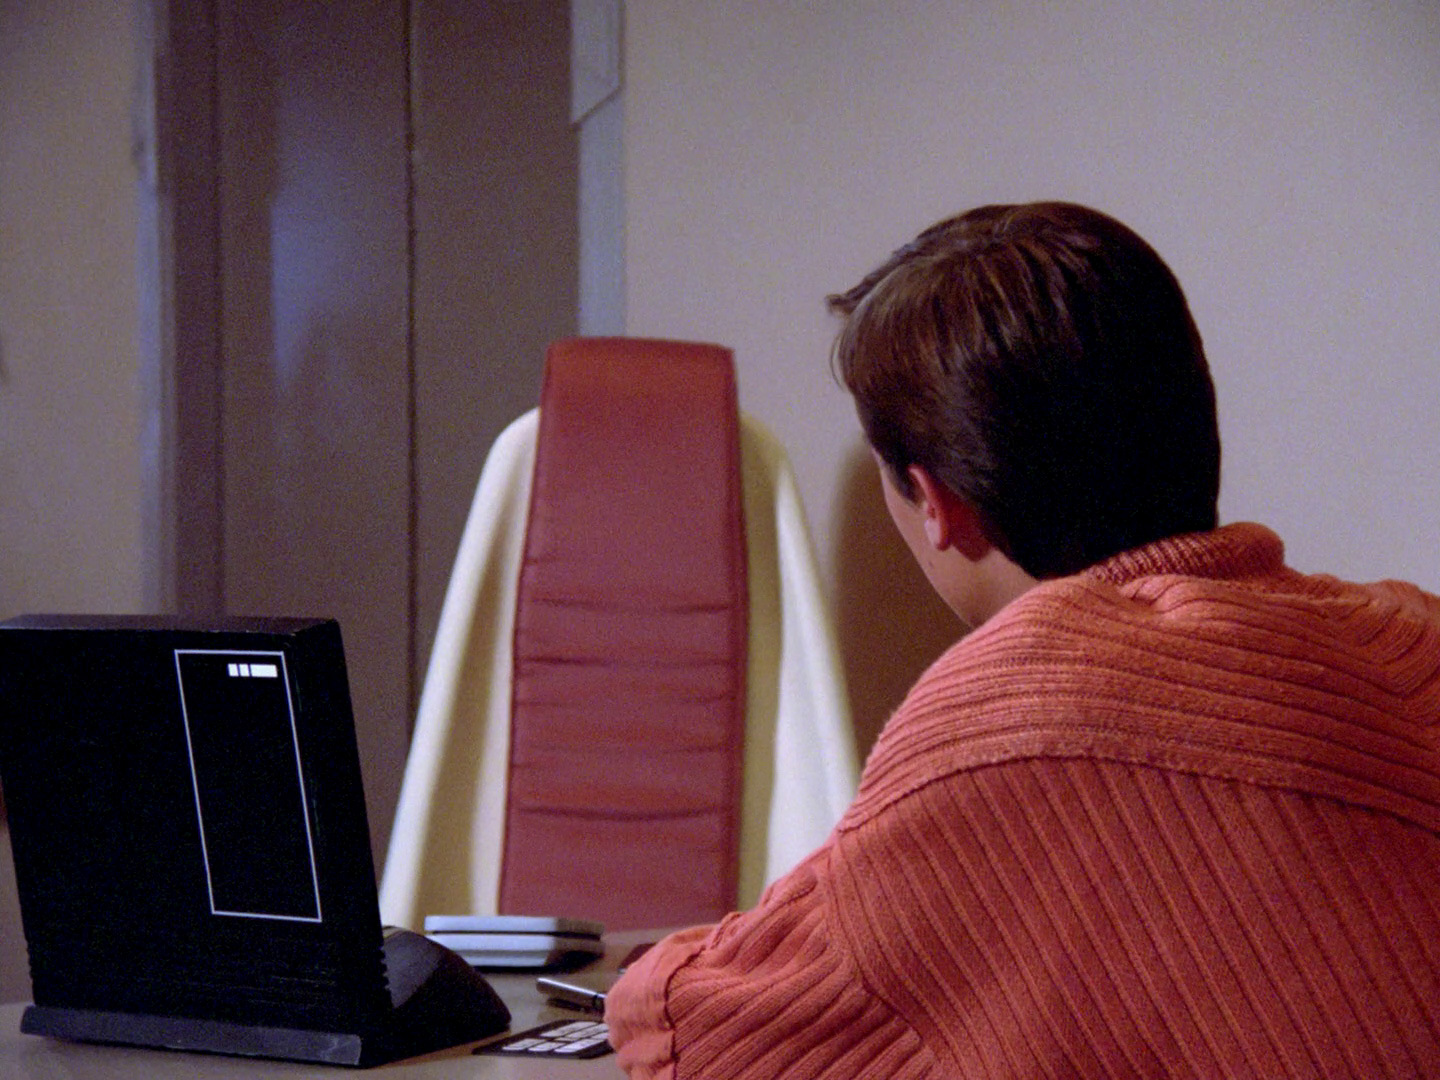 "Lonely Among Us" |
  |
The set and the PADD in HD. | |
| Consoles like the one behind Counselor Troi were also seen in Doctor Soong's laboratory in "Datalore". | 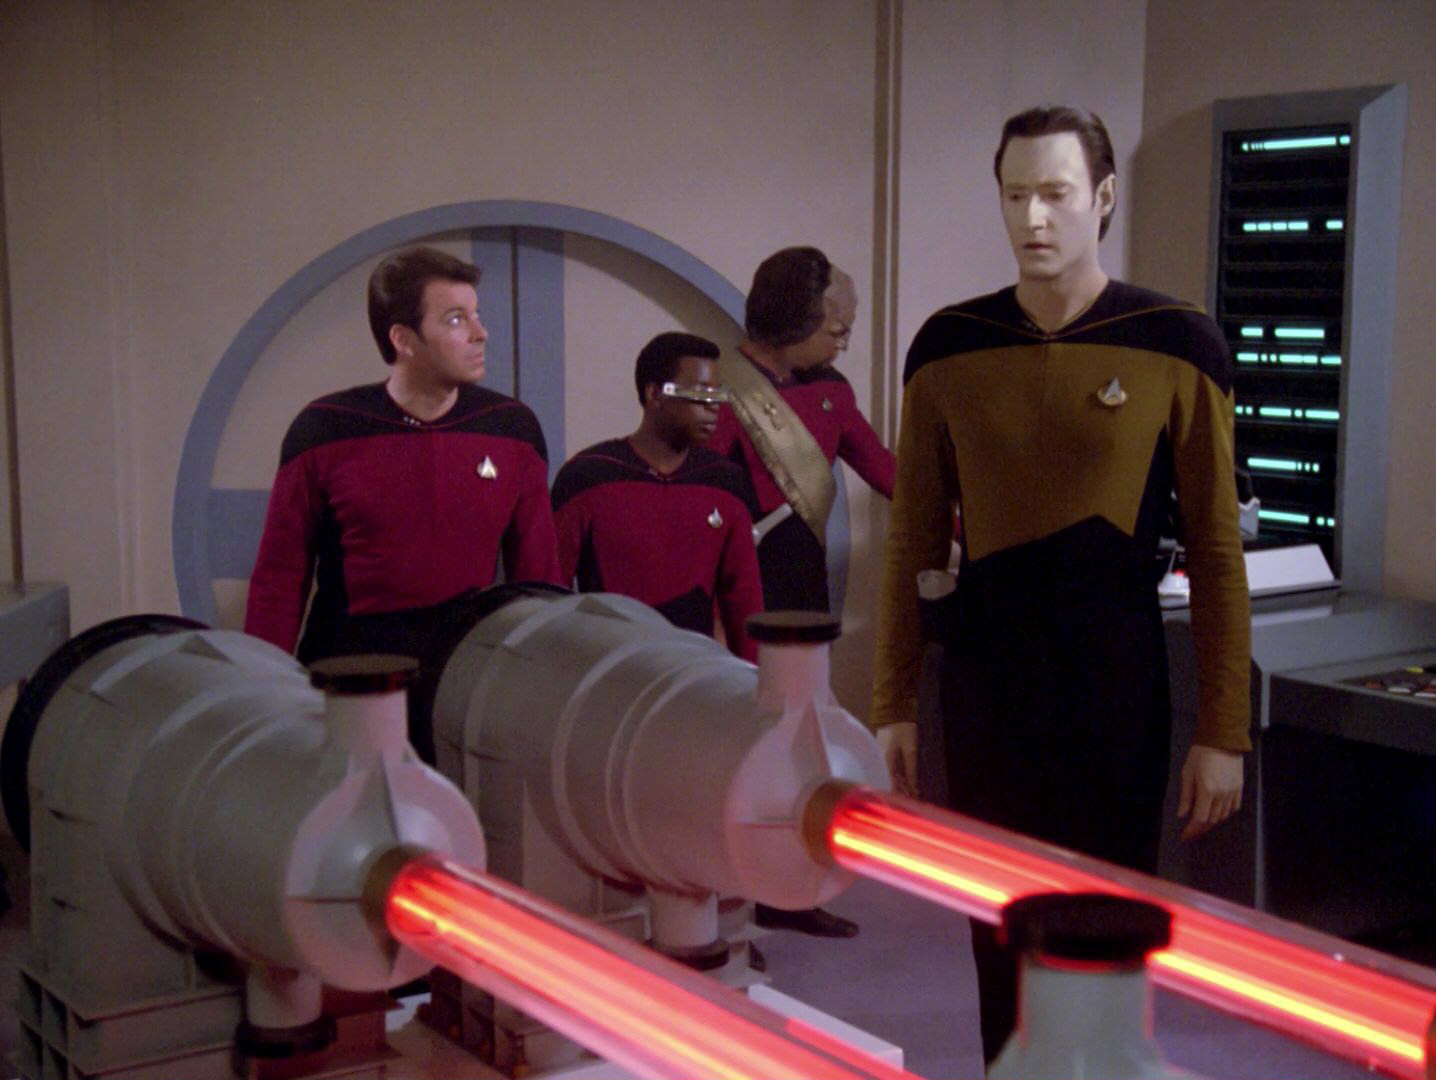 "Datalore" |
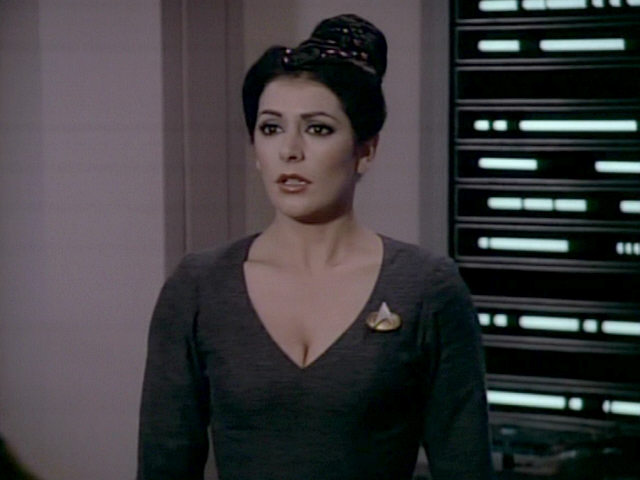 |
No changes | |
| Behind Geordi, four transparent cylinders can be seen. They are connected by two metallic plates, one on the bottom and one on top of them. These cylinders contain water and another liquid which is not soluble in water and is also heavier than water. When the cylinders are turned around, the other liquid slowly pours down to the bottom of the water-filled cylinder. These little devices are sold as toys. In later episode, those four cylinders reappear in Doctor Crusher's lab in several episodes, including "Sarek", "The Quality of Life" and "Lower Decks". In the last episode, the tiny pink bubbles of the water-insoluble liquid can be seen trickling down the cylinder. | 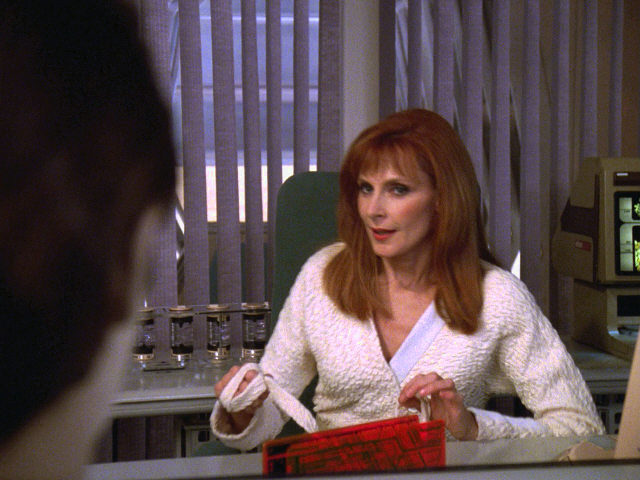 "The Quality of Life" |
 "Lower Decks" |
  |
A better look at the cylinders in HD. |
| The console above the door was previously seen in "11001001" where it replaced the smaller central console of the USS Enterprise-D pool table, seen in the Starbase 74 office. | 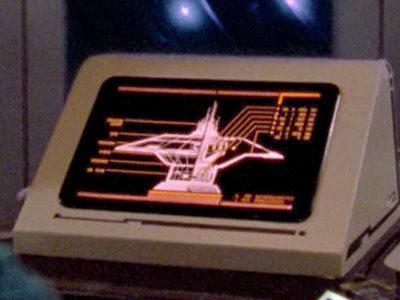 "11001001" |
  |
A close-up of the console in HD. | |
| The chair in the hydraulics lab of the terraforming station was previously seen on the bridge of the Excelsior in "Star Trek III: The Search for Spock". | 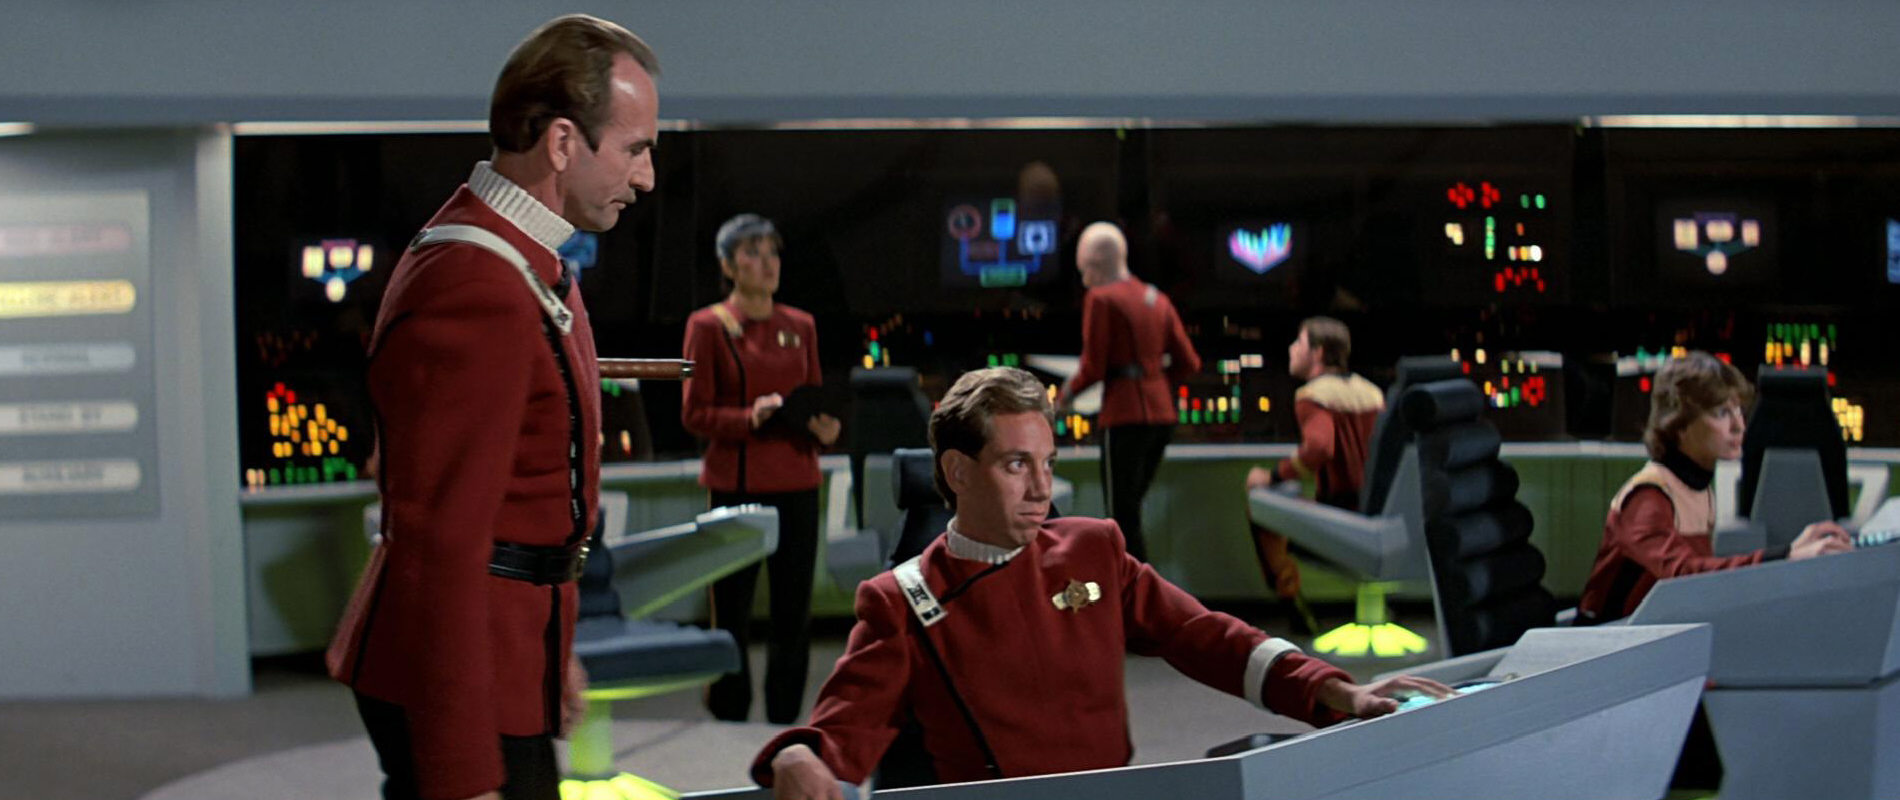 "Star Trek III" |
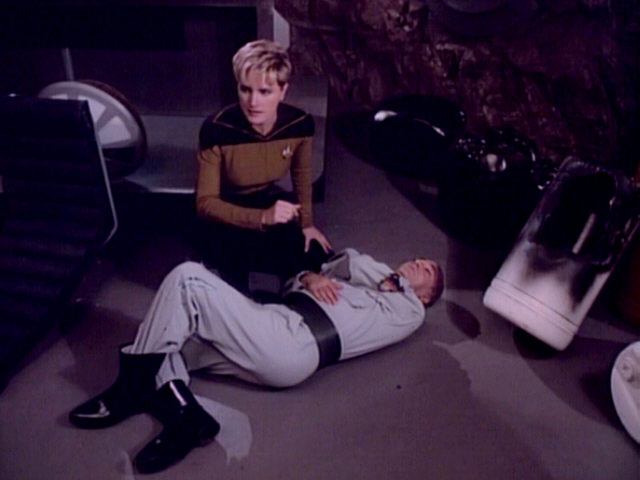 |
No changes | |
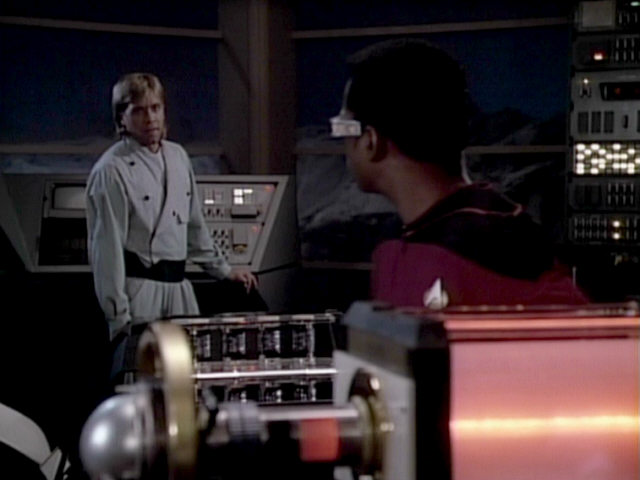
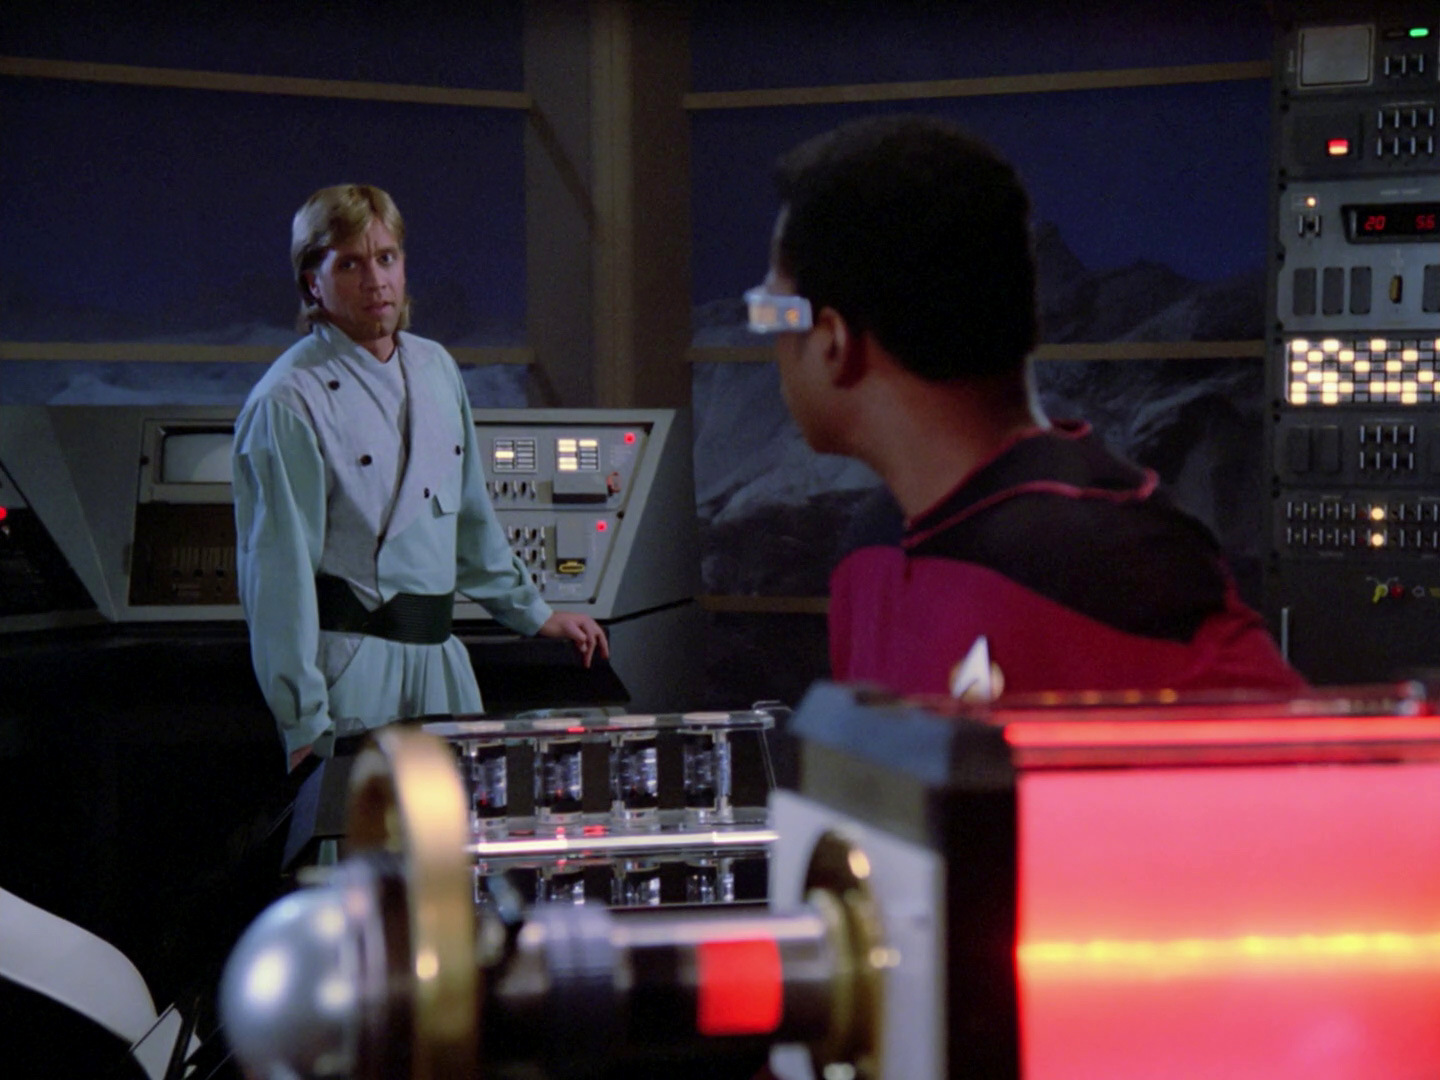
| Geordi investigates the lab on Velara III. | 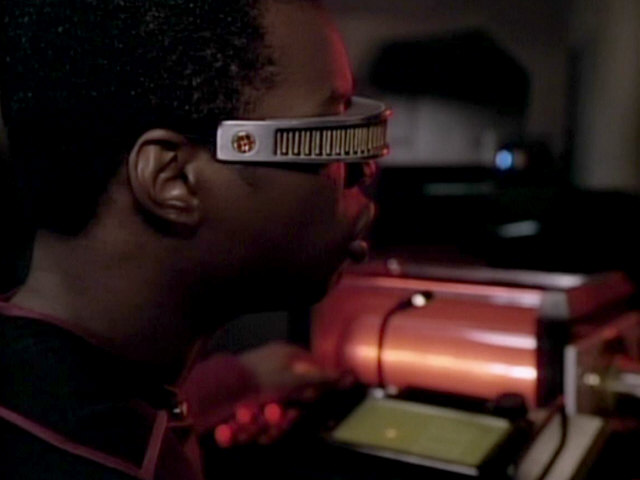  |
The HD version reveals that Geordi's VISOR is attached to LeVar Burton's ear with a thin piece of transparent string. The gray putty seen in previous episodes is no longer in place. | ||
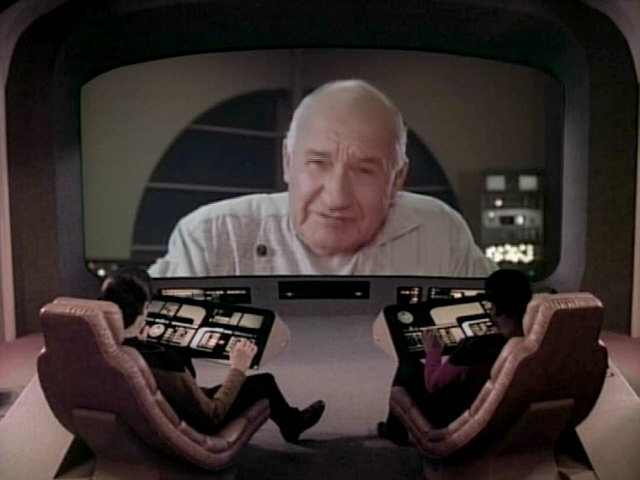
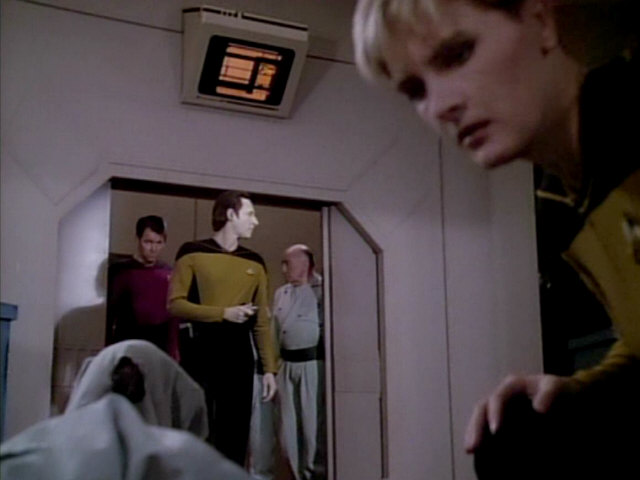
| In this episode, the medical lab, adjacent to Doctor Crusher's sickbay office, is finally fully revealed. In this shot, the transparent double-door to sickbay can be seen behind Picard. A microscope is seen on a desk in the darkly lit sickbay set. Another door can be seen to the right; this door leads to the curved part of the main corridor set. The transparent spreadsheet (first seen in "Angel One") can be seen on the left. A biobed monitor, normally attached to the biobeds, hangs from the ceiling. | 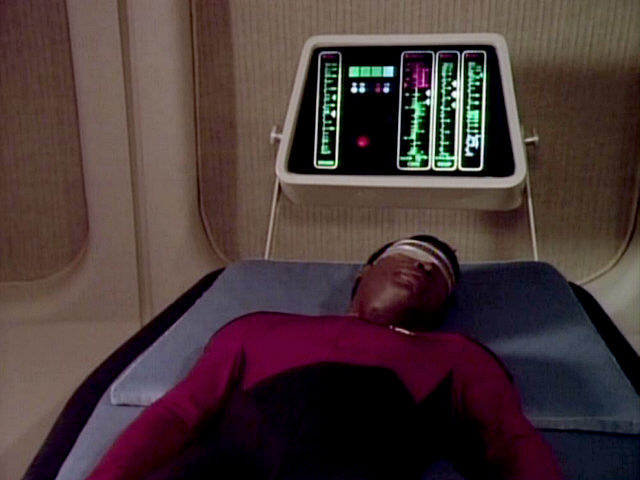 "The Naked Now" |
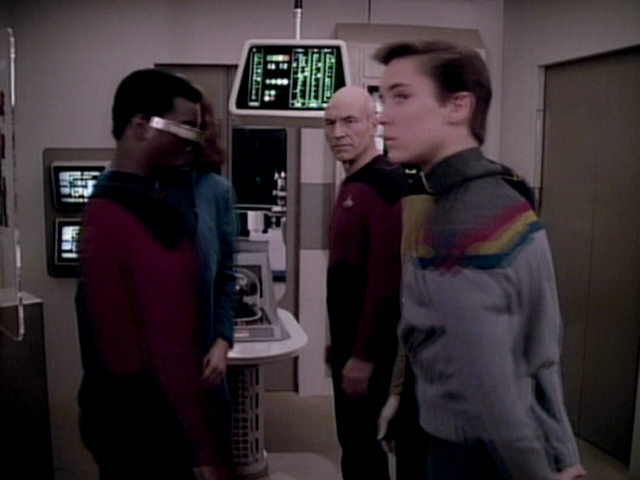 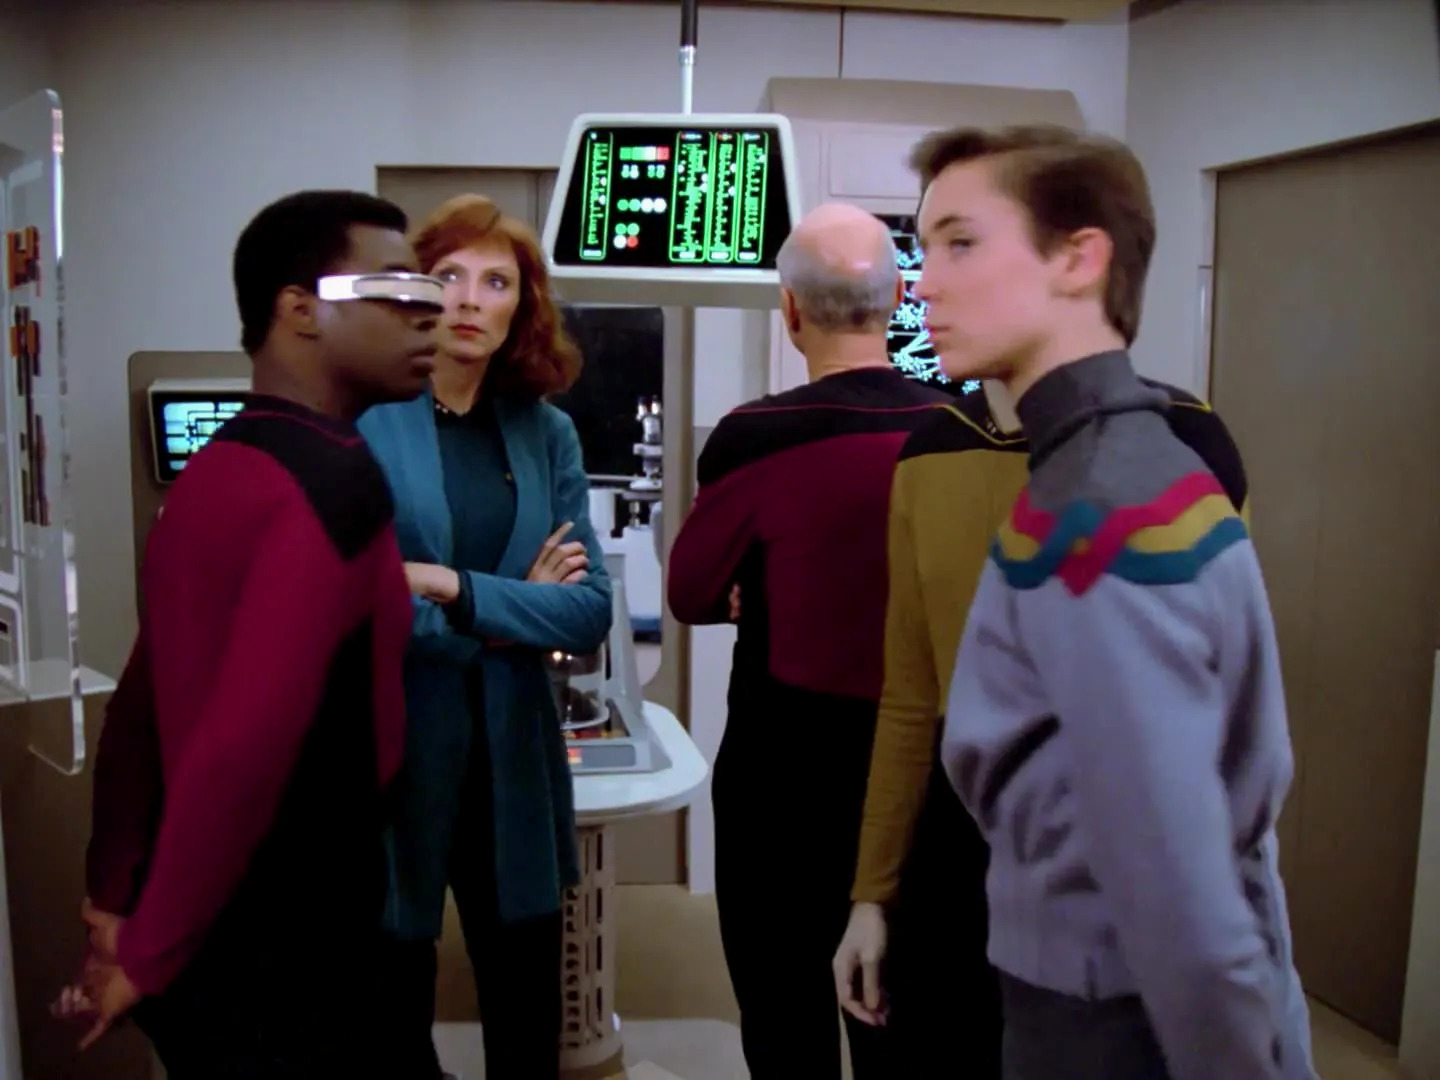 |
The set and display in HD. | |
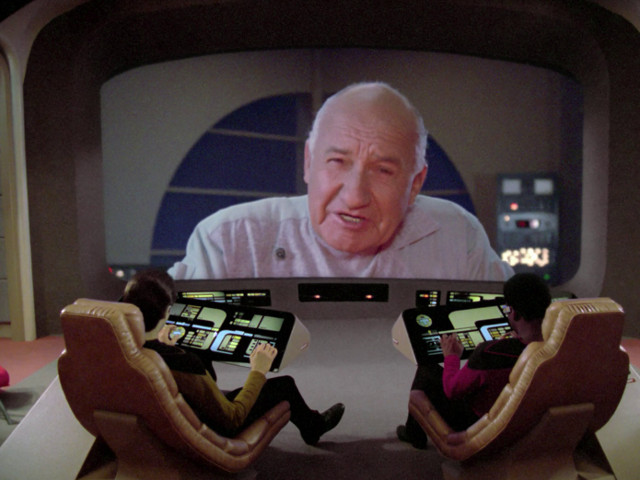
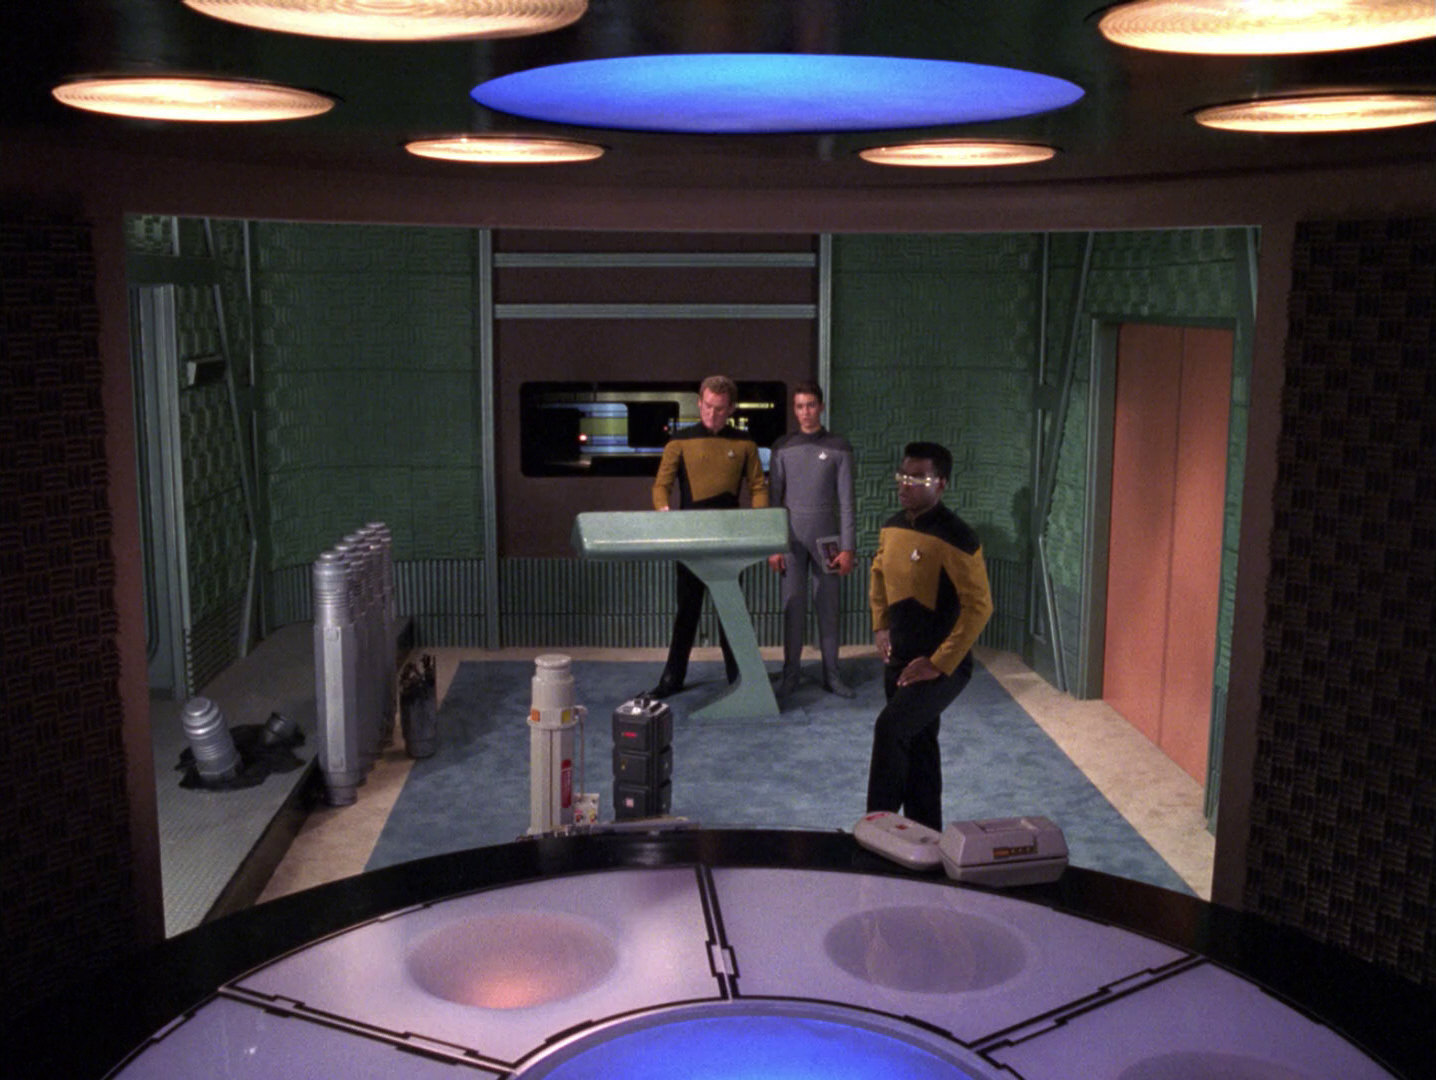
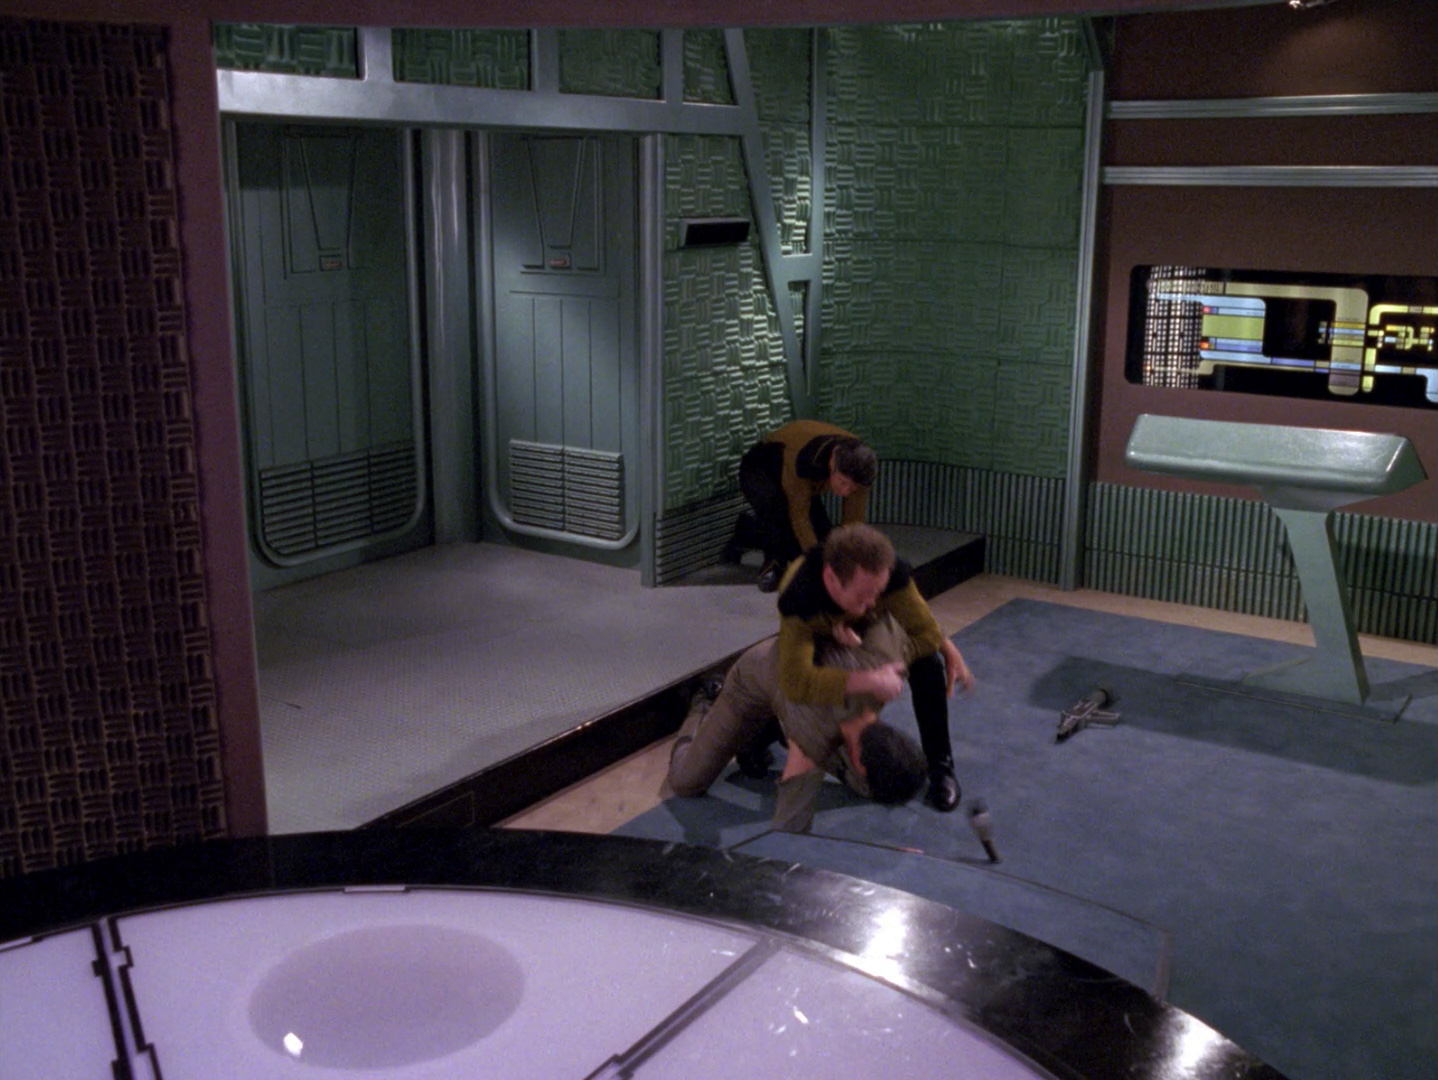
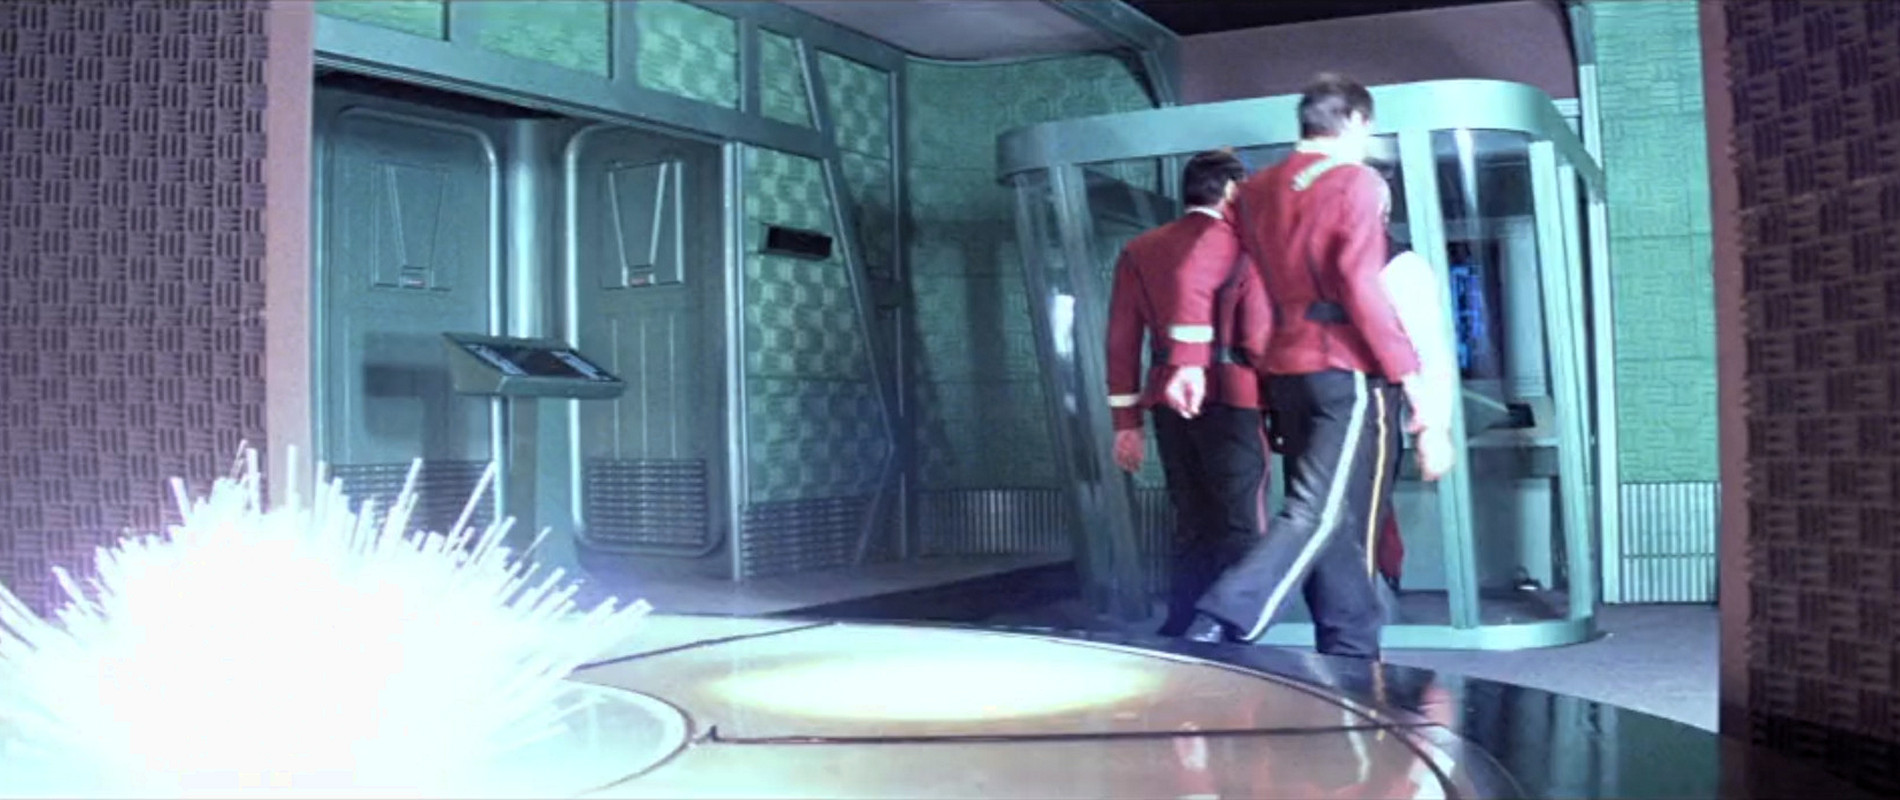
This shot reveals the other side of the roughly triangular medical lab. To the left, two wall mounted consoles can be seen that are similar to the walls that cover the corridor set doors in main engineering. A third door can be seen which leads to the short, straight transporter room corridor. Through this door, Picard and Riker entered the weapons room in "11001001". This is also the original transporter room door as seen in "Star Trek I-III". The large opening to the right, with the large viewscreen in the adjacent room, actually leads to the transporter room. For this shot, the wall behind the transporter console was removed, to create an opening between the medical lab and transporter room sets. The large monitor is hiding the transporter room doors. The original transporter room, as seen in the first three Star Trek films, was larger, since the transporter console was hidden in an alcove behind a protective transparent material. Before TNG started, the length of the set was shortened and the new double doors, which are much closer to the transporter platform, were added. This created enough space for the medical lab, which would double as several other sets in future episodes. When the USS Enterprise-D transporter room had to be transformed into the USS Enterprise-A transporter room for "Star Trek V: The Final Frontier" and "Star Trek VI: The Undiscovered Country", the wall behind the transporter console was removed and the alcove thus recreated and the transparent partition was put in place again. That way, the set could easily be transformed into a version that resembled the original transporter room more closely. The doors, however, were not changed back, so in the last two TOS films, the transporter room is entered through the TNG double doors. |
 "Star Trek I" |
 "The Ensigns of Command" |
 |
No changes |
 "The Hunted" |
 "Star Trek V" |
|||
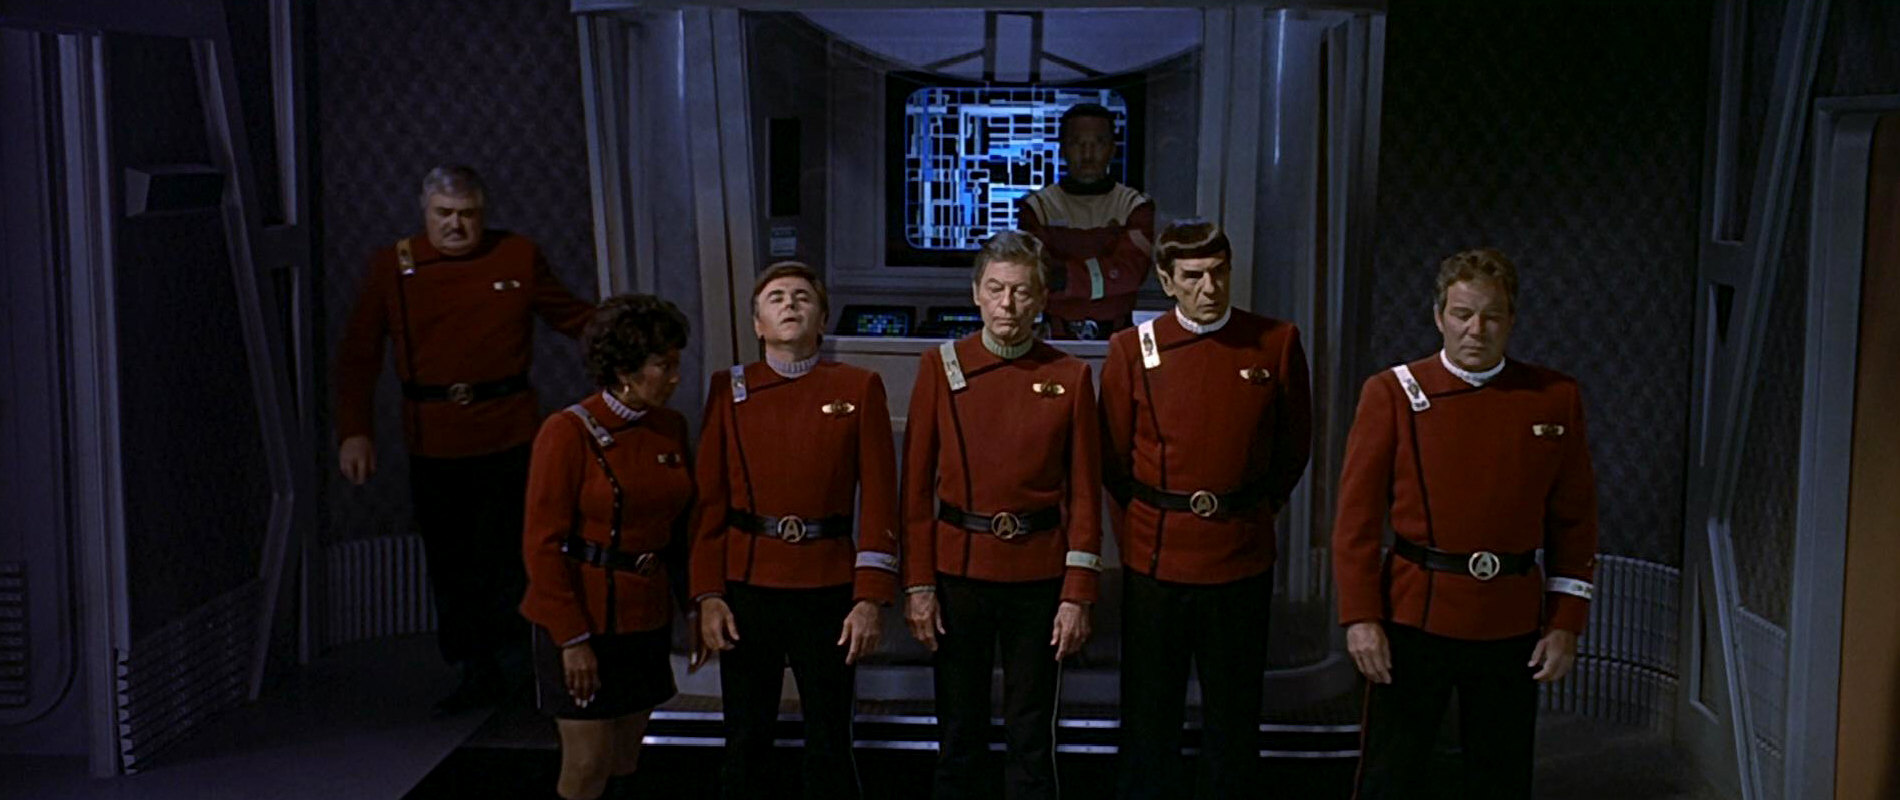 "Star Trek VI" |
||||
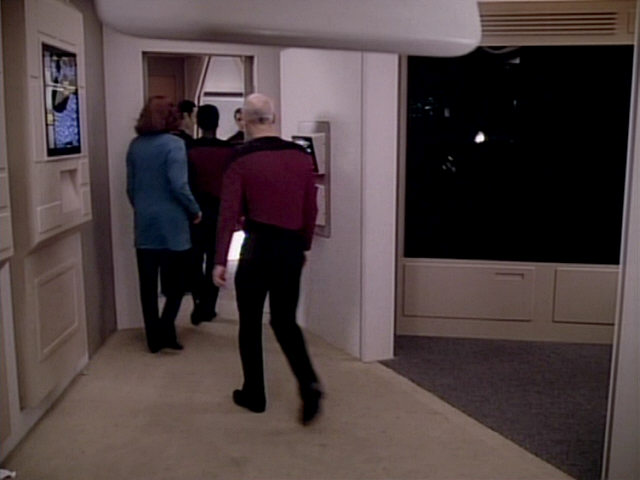
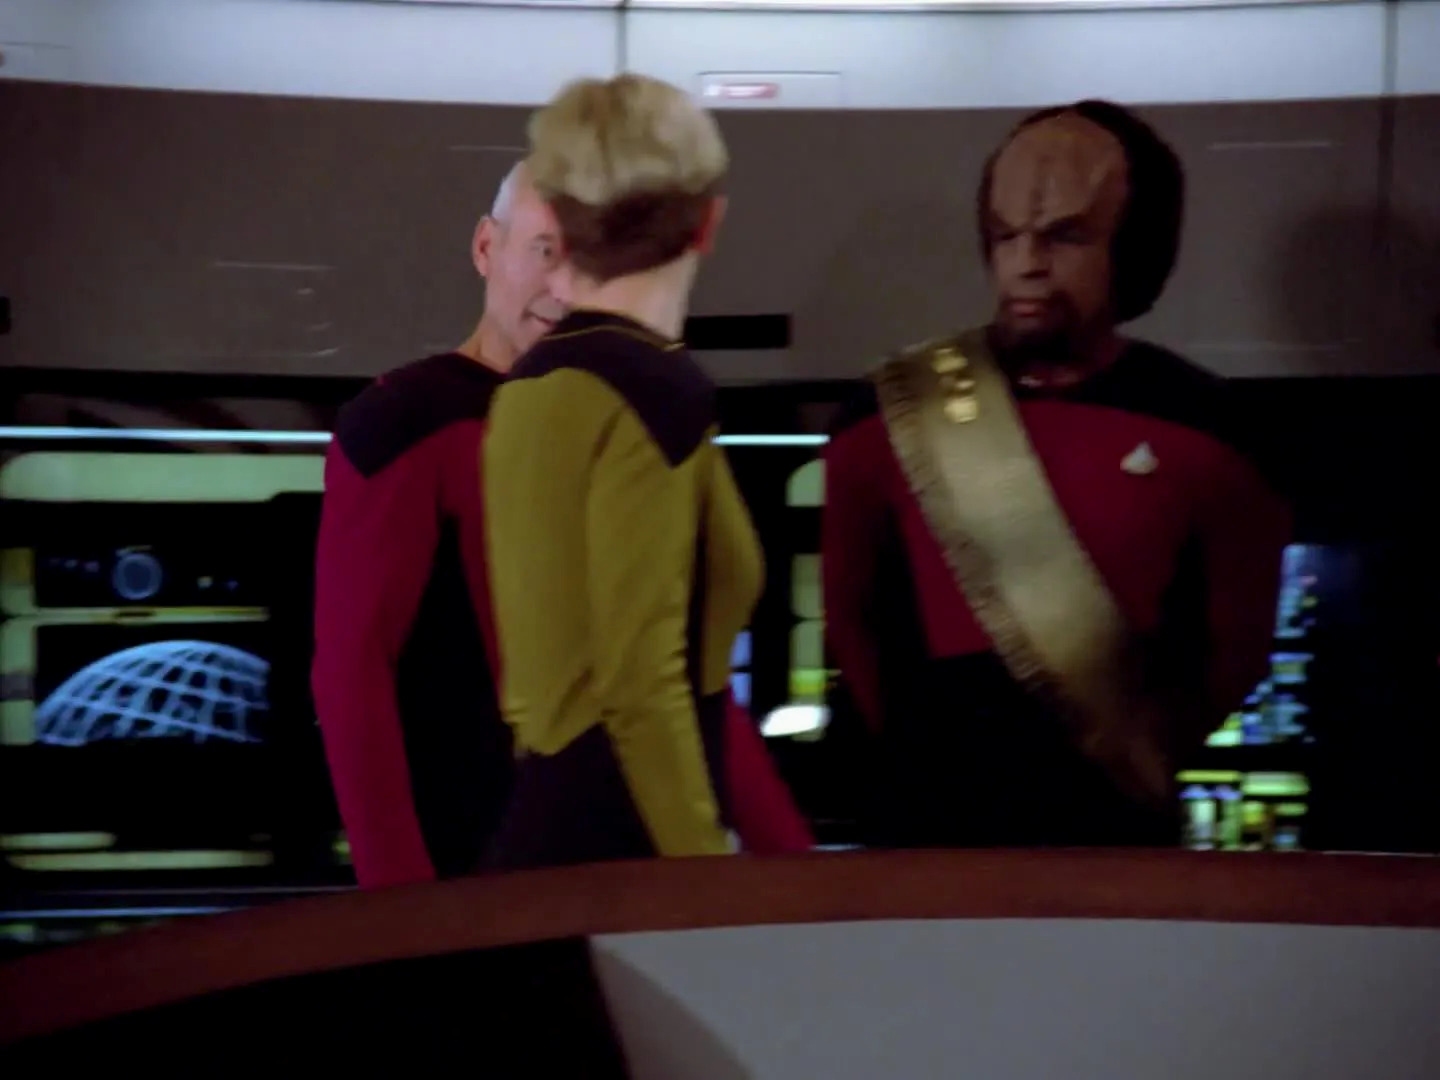
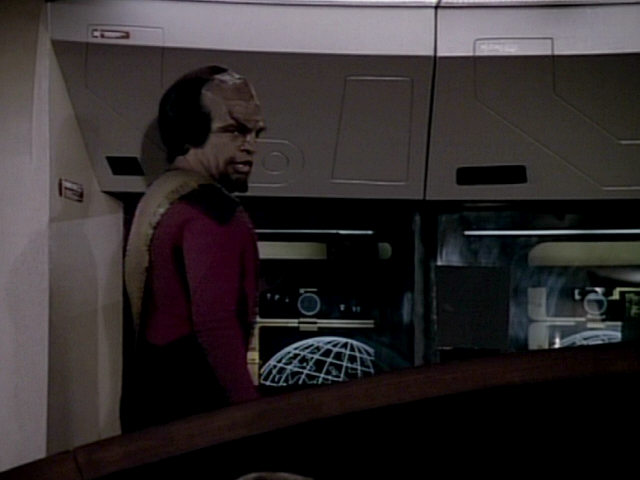
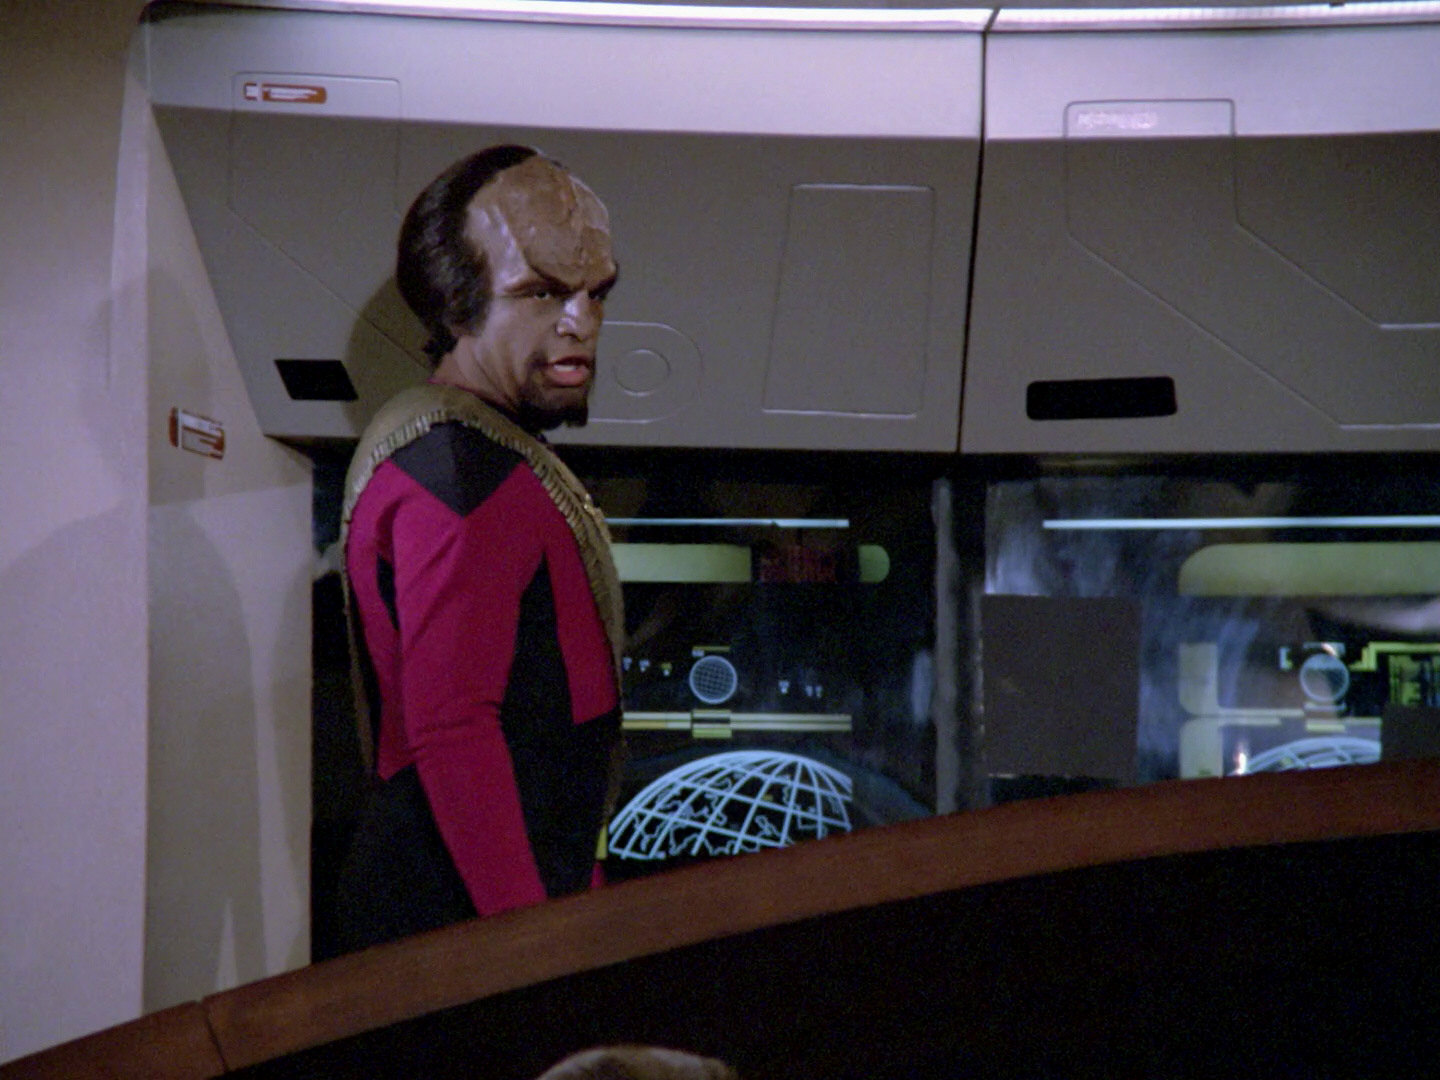
| When the crew exit the medical lab set, they use the door that leads to the short transporter room corridor (as can be seen by the structural support next to the door in the background, which is slanted at the top). When the camera angles changes to the corridor, the crew members are seen leaving the set through the other door that leads to the curved part of the main corridor set (no slanted structural supports). | 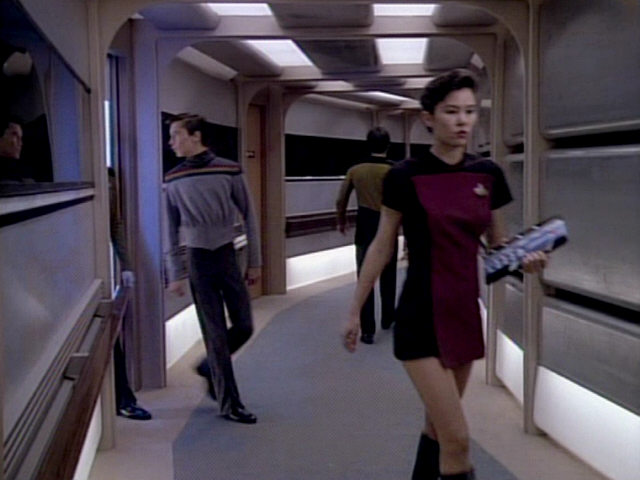 |
|||
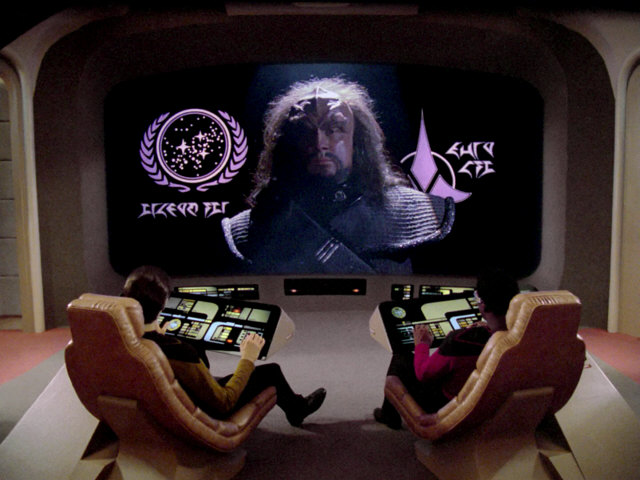
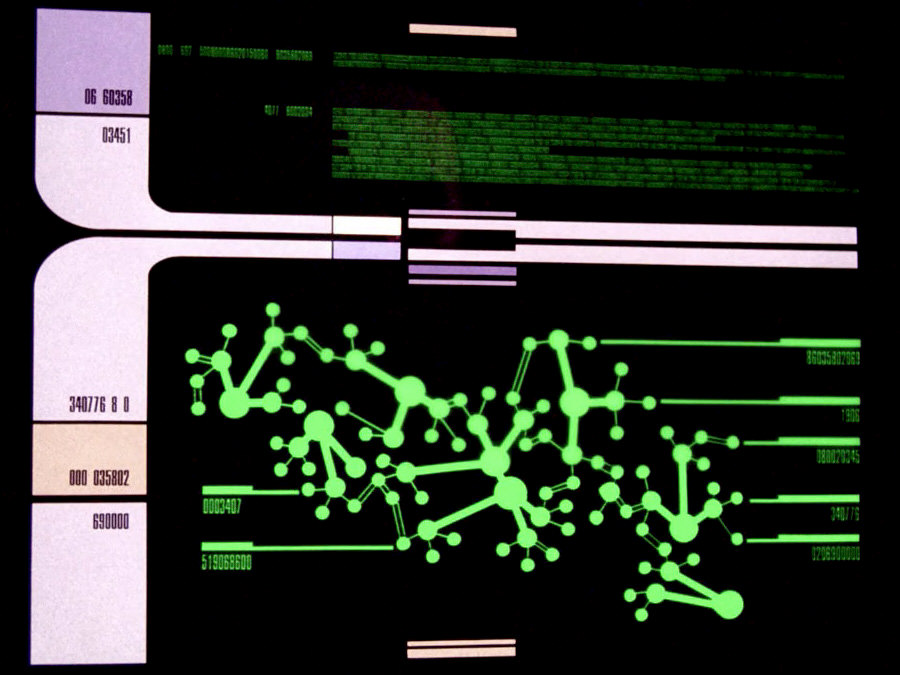
| The same graphic originally appeared in "The Last Outpost", where it depicted Delphi Ardu IV, and later in "Too Short a Season", where it represented Persephone V. A black cardboard square is also very noticeable in this shot. Re-Used Graphics |
 "The Last Outpost" |
  |
We can make out some more details of the graphic in HD. Also note the very obvious black cardboard cover on the console to the right. | |
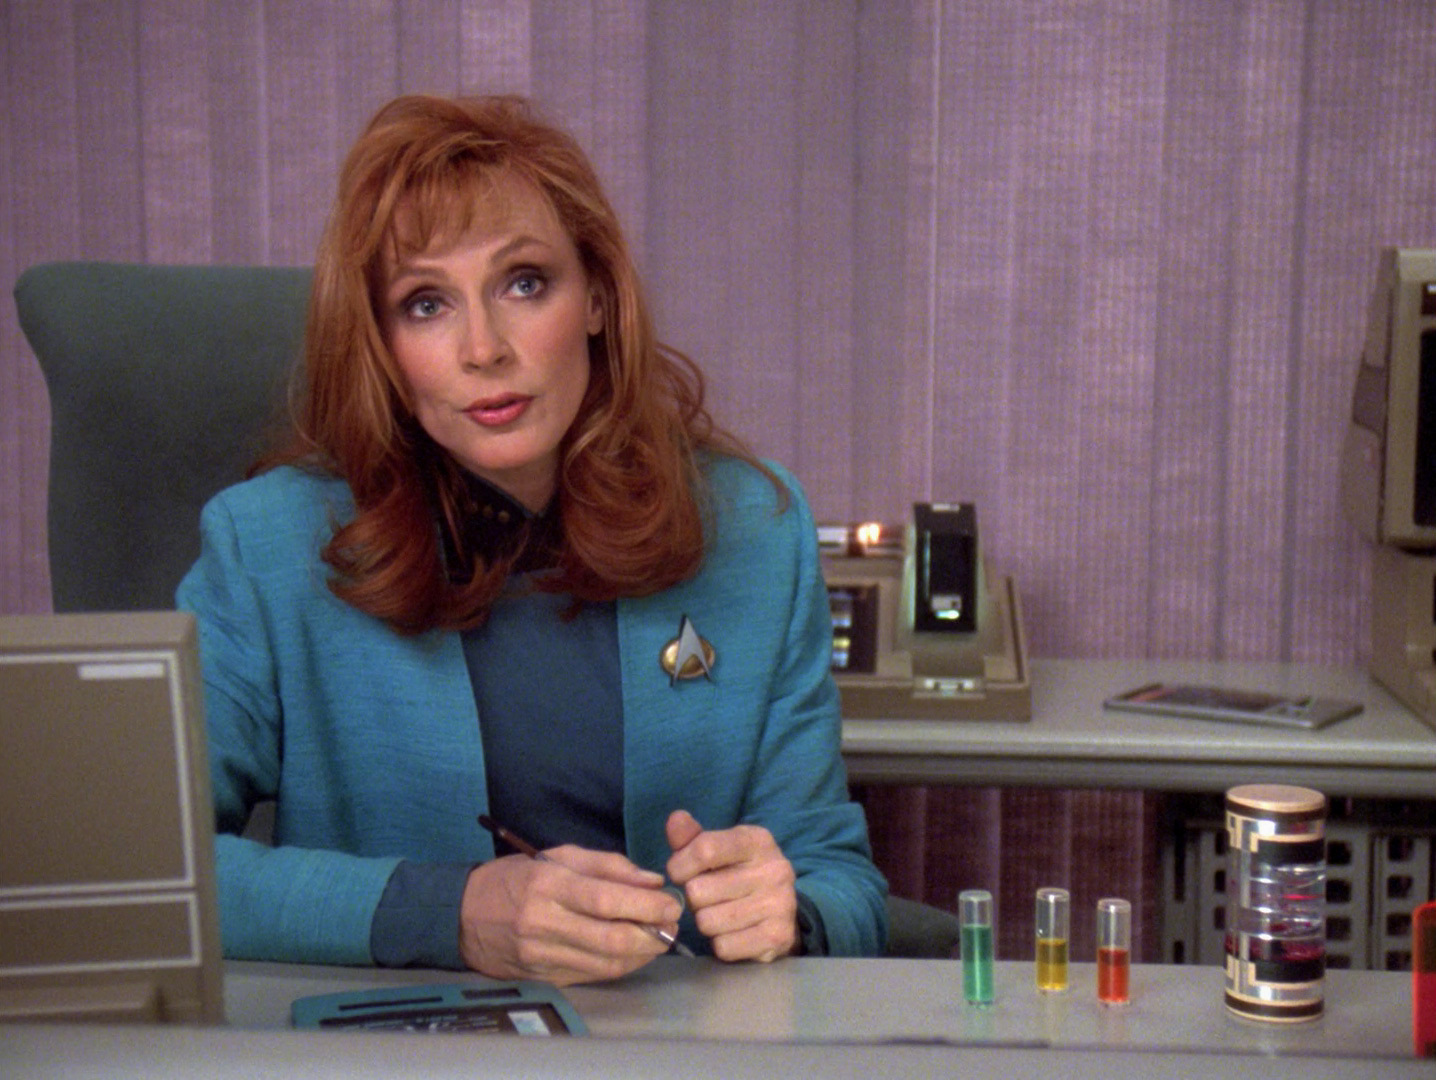
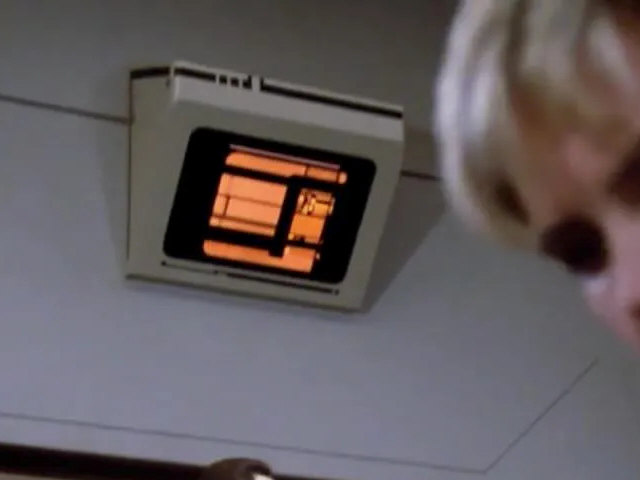
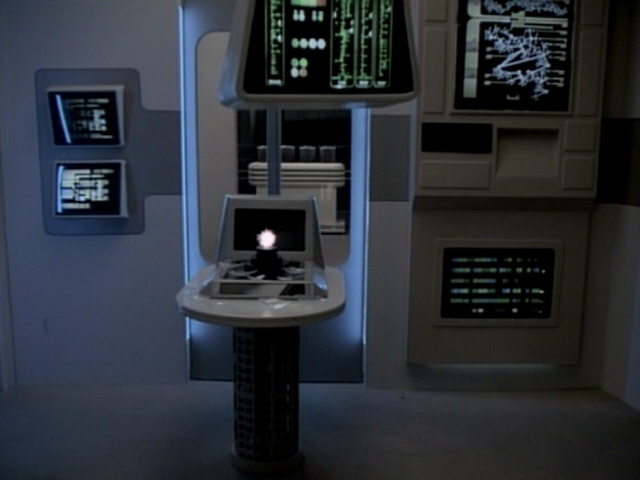
| The shot of the desktop monitor is very similar to another shot of the prop, first seen in "The Battle". The latter was later re-used in several episodes, like "The First Duty" and "The Best of Both Worlds I". Variations of the TNG Desktop Monitor The table in the background is definitely not the observation lounge table. |
 "The Battle" |
  |
The monitor in HD. | |
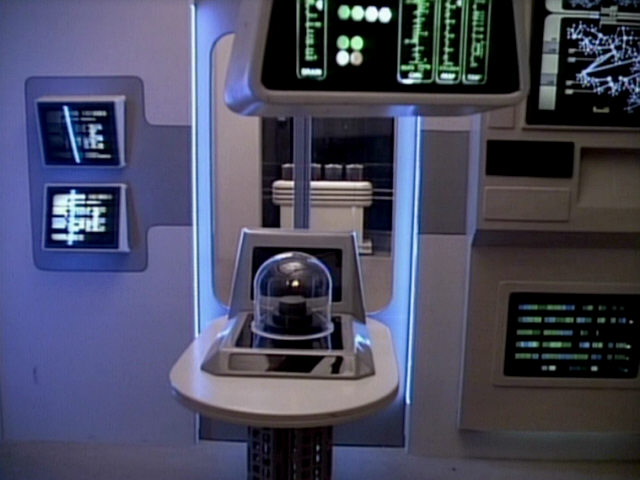
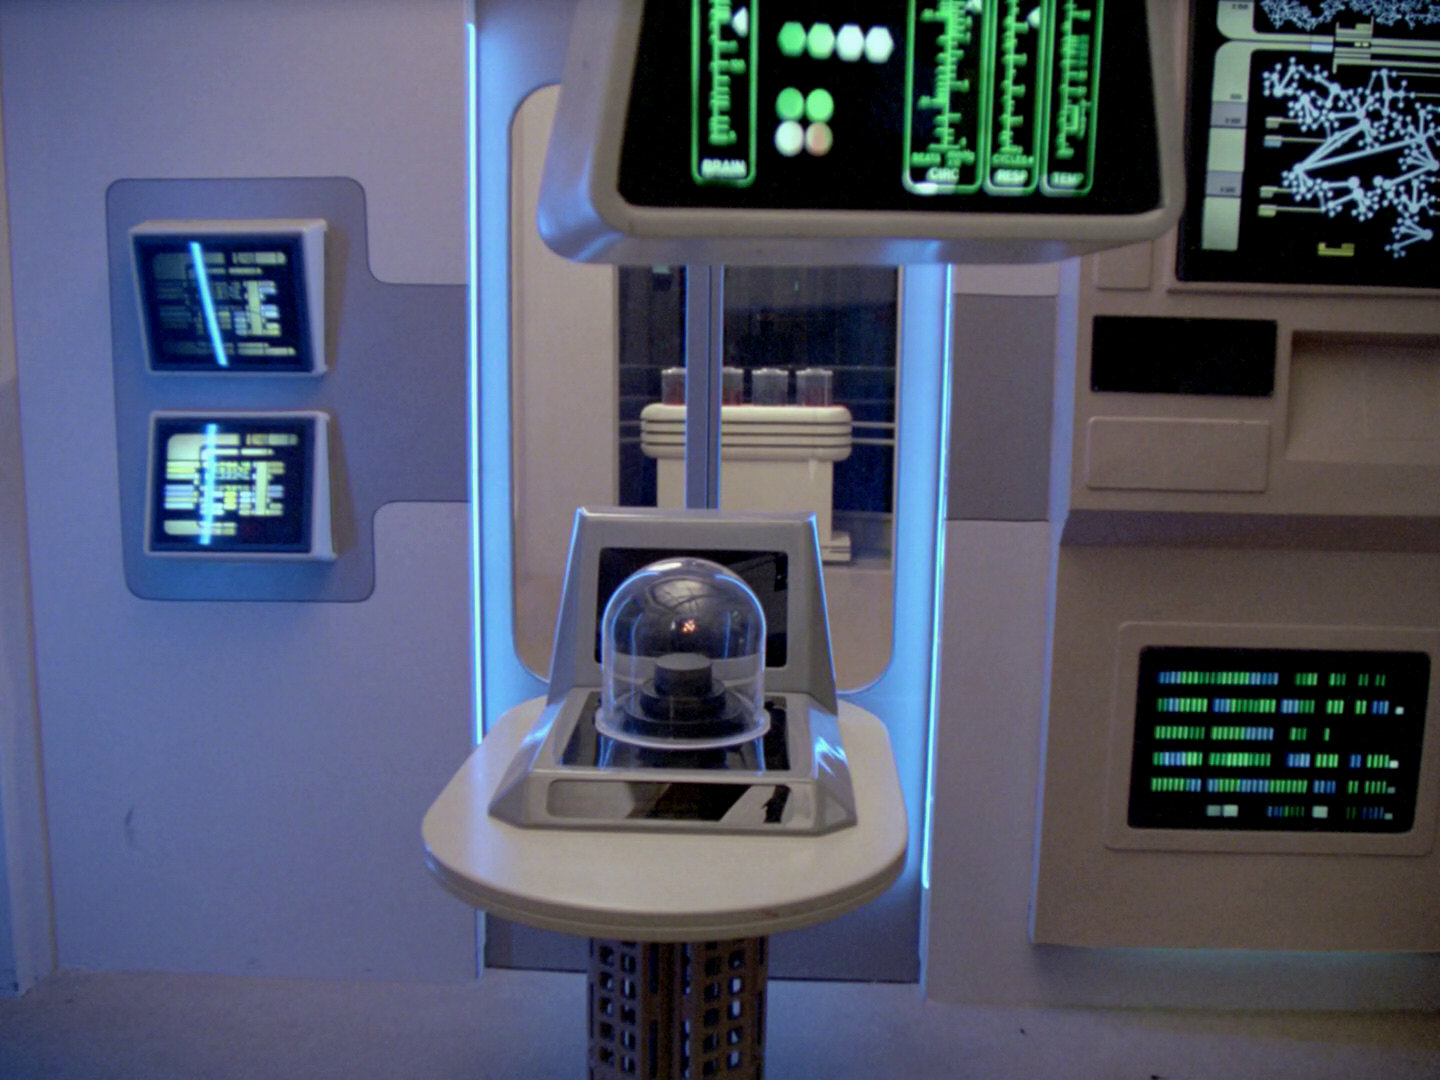
| A nice close-up of the season 1+2 MSD in main engineering. | 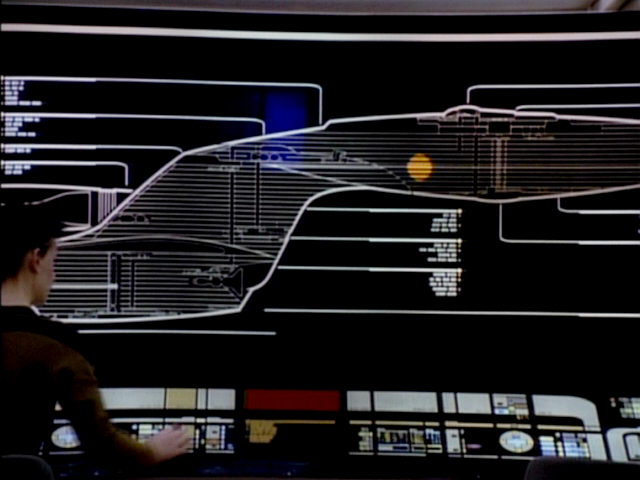 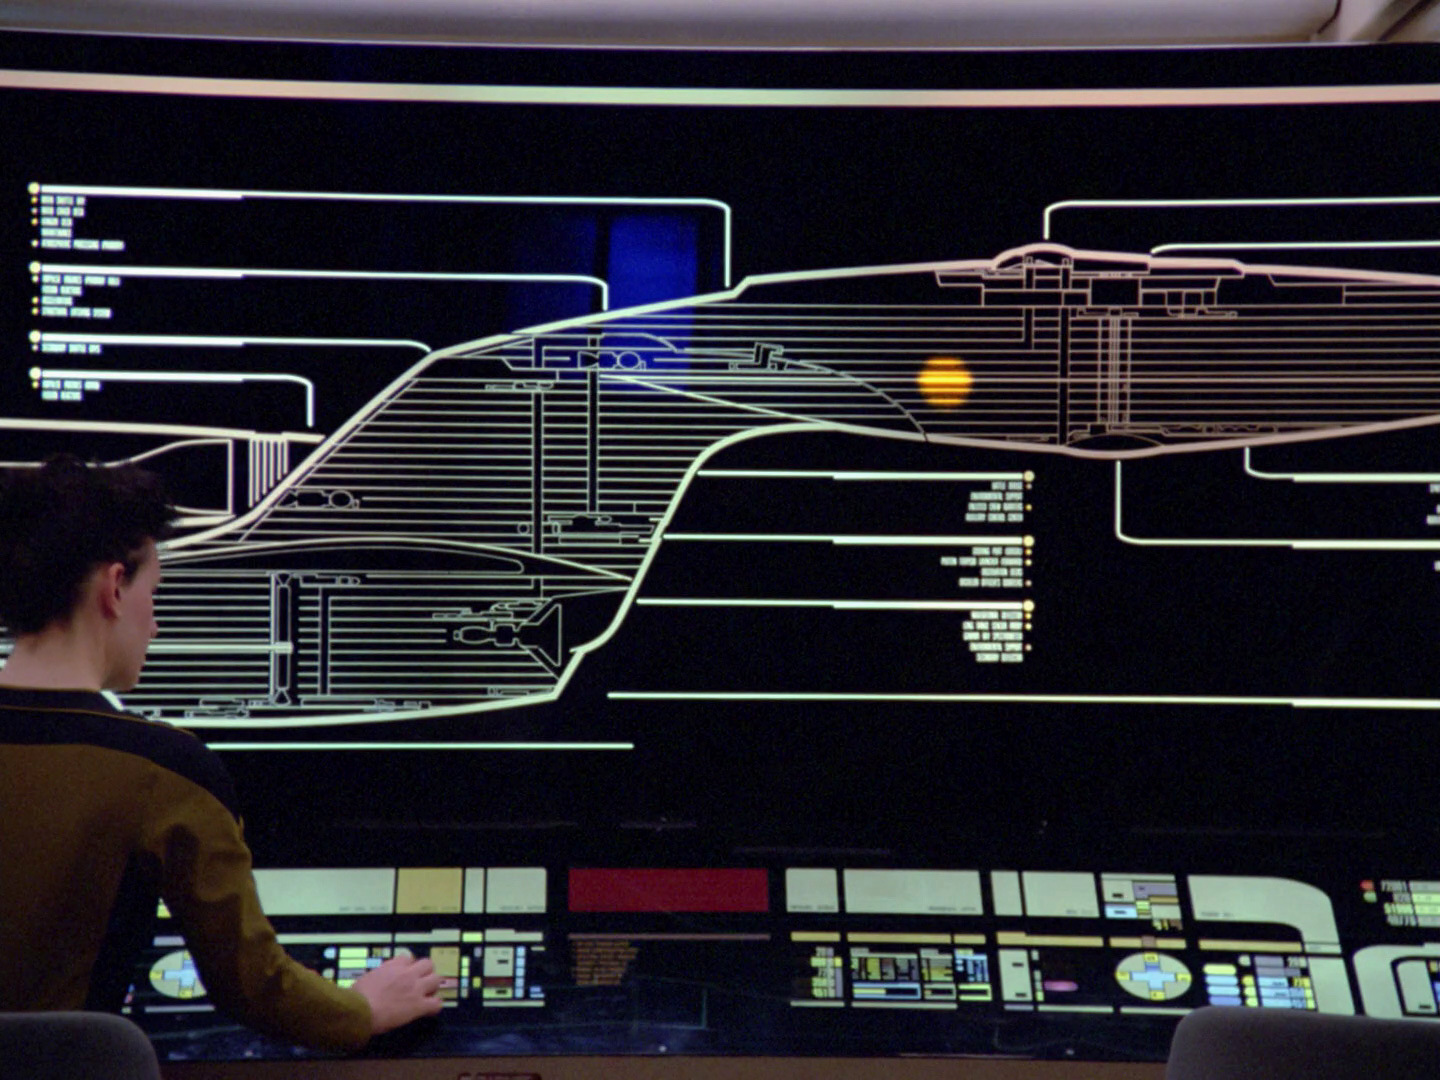 |
A better look at the MSD in HD. | ||
| An unobstructed shot of the medical lab, showing sickbay in the background. The four glass pods that held Lore's body parts in "Datalore" have now become regular sickbay set dressing. The biobed monitor hanging from the ceiling can be seen a little better here. This part of the set was previously seen in "Angel One". | 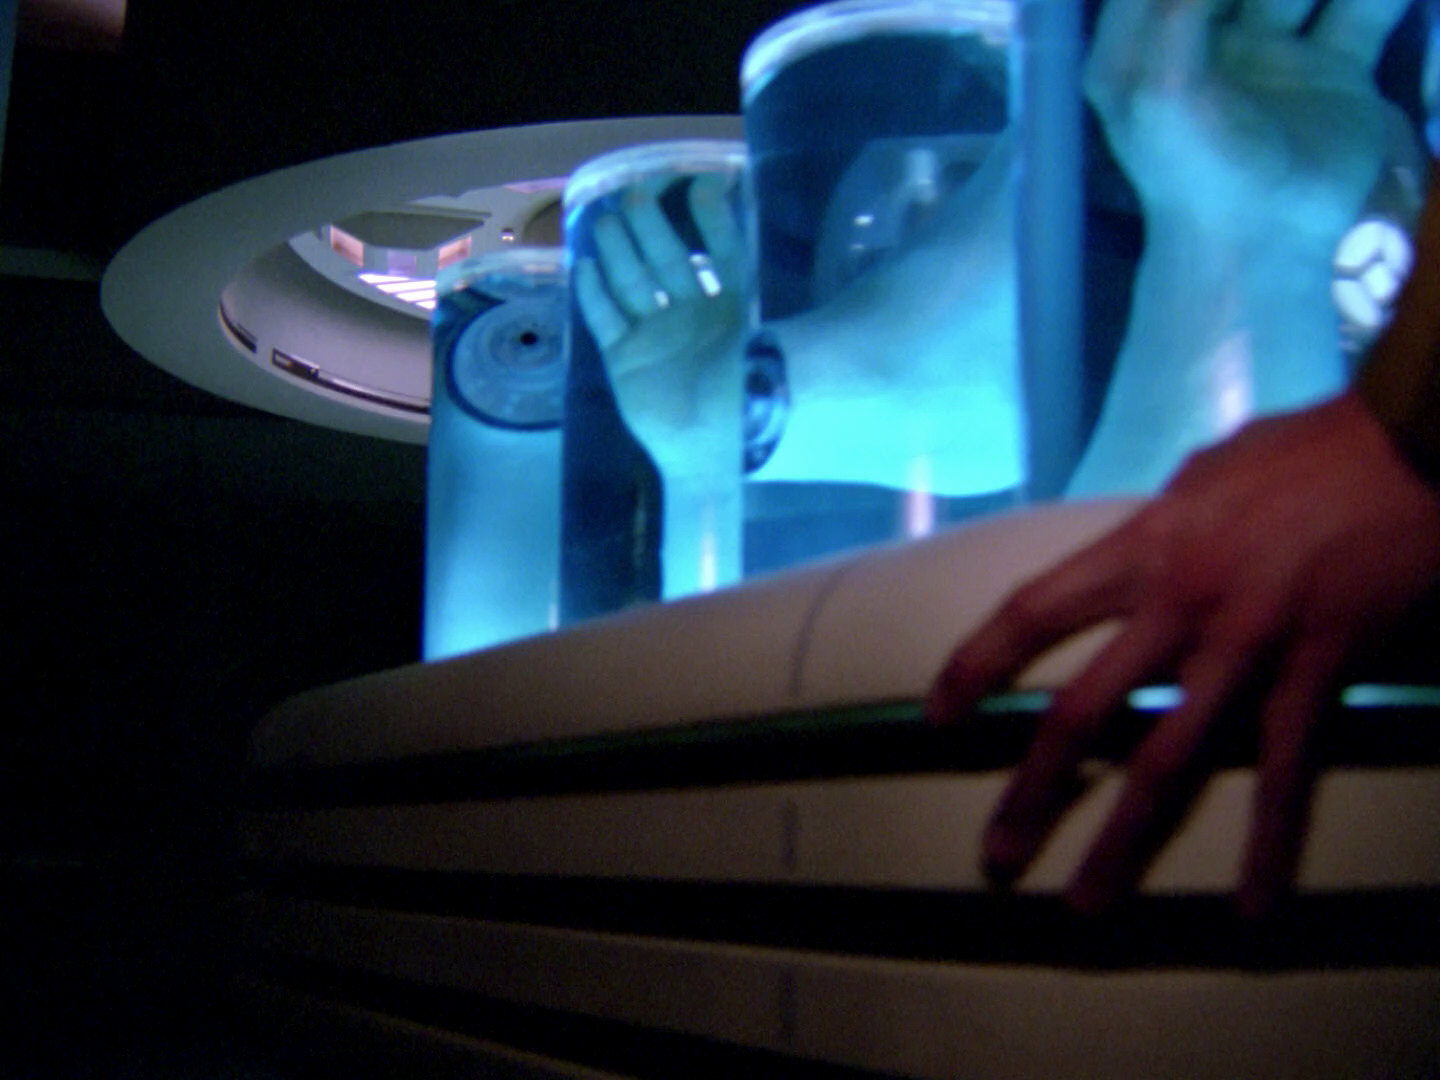 "Datalore" |
  |
A better look at the lab in HD. | |
| Riker seems to use a control interface hidden behind a wall panel in this shot (as evidenced by the shining light). This console is not seen up close and never appears again. According to the script, "He opens a wall panel near the door, finds the right switches." | 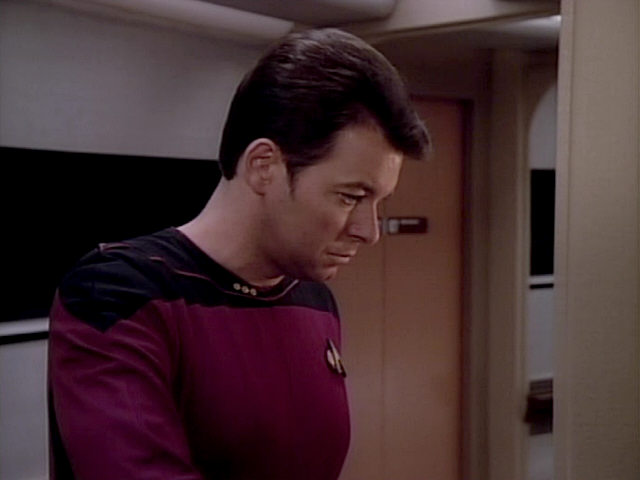 |
No changes | ||
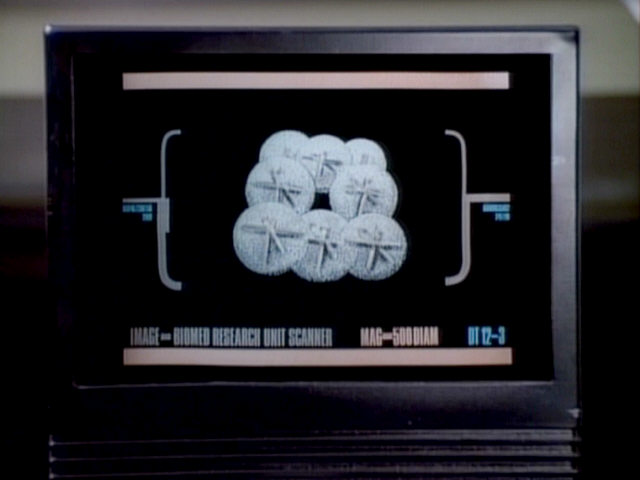
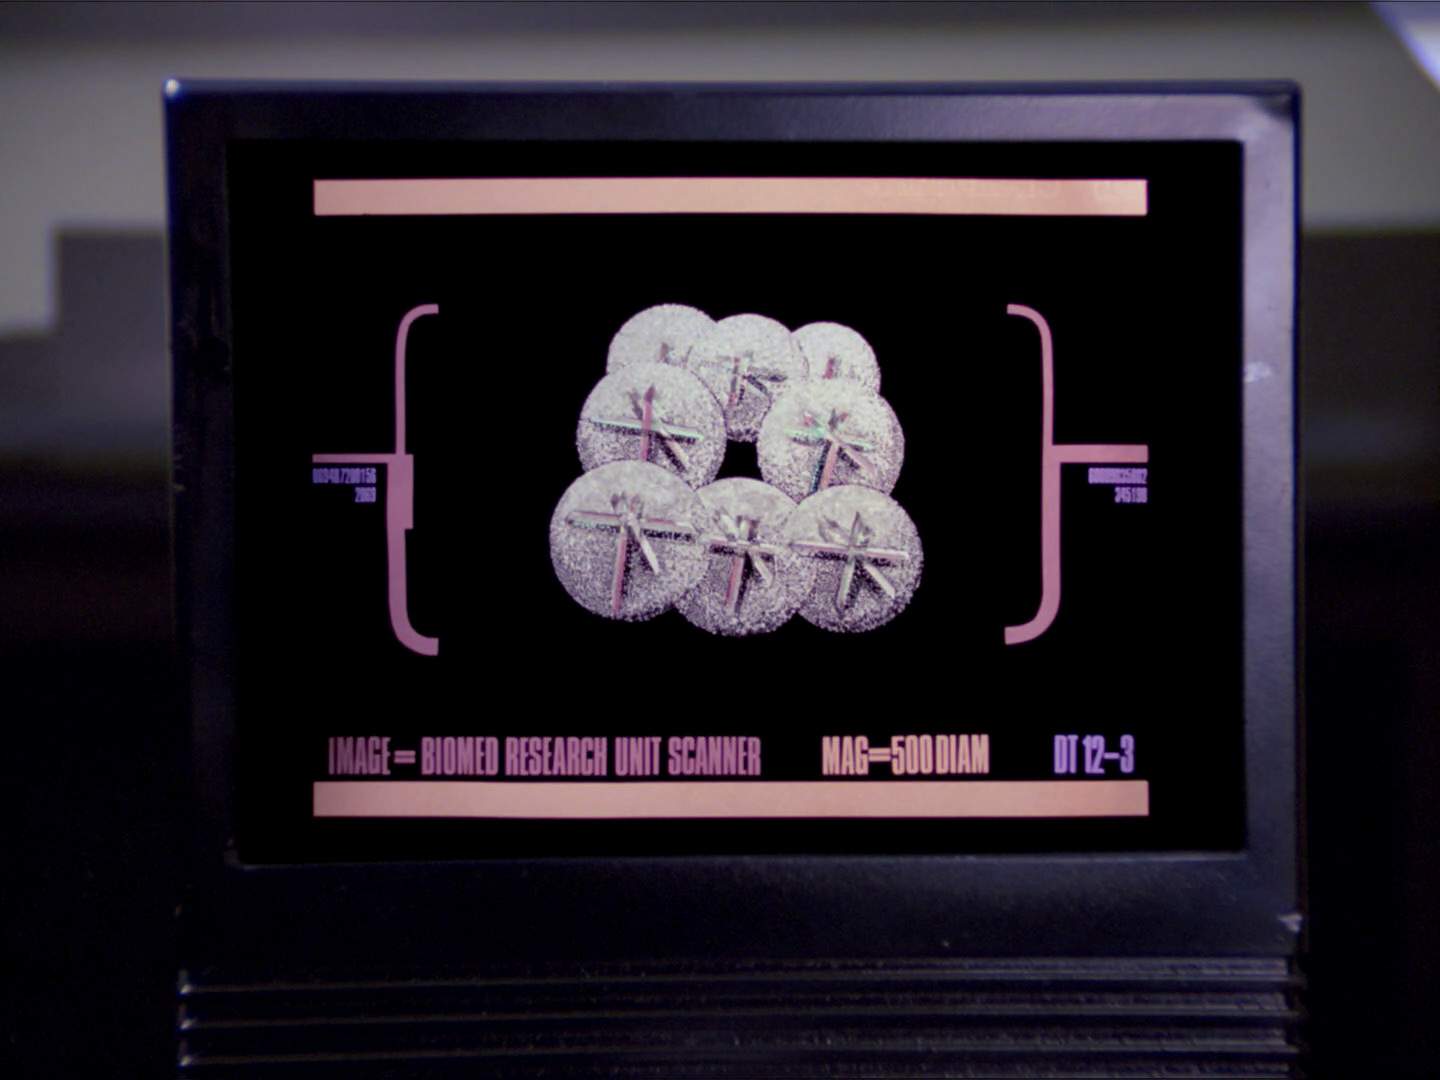
| The graphic on the right LCARS display is a slightly enlarged and modified re-use of the Psi 2000 virus/polywater graphic from "The Naked Now". |  "The Naked Now" SD |
 "The Naked Now" HD |
 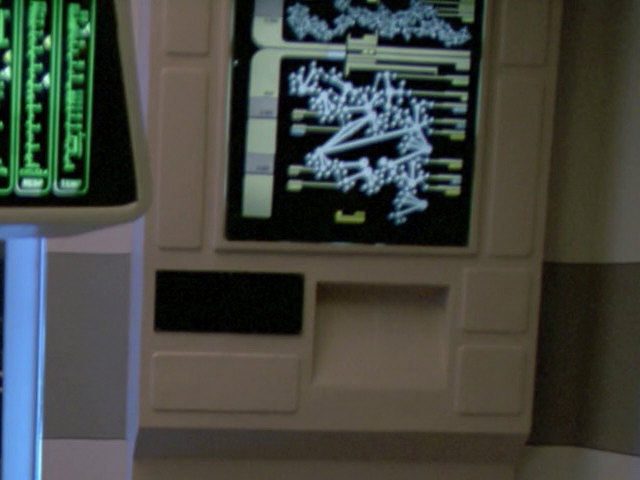 |
The display is out of focus, but we can see in HD that the graphic from "The Naked Now" forms the upper half of the one from "Home Soil". |
| The transparent spreadsheet is fully seen in this shot. | 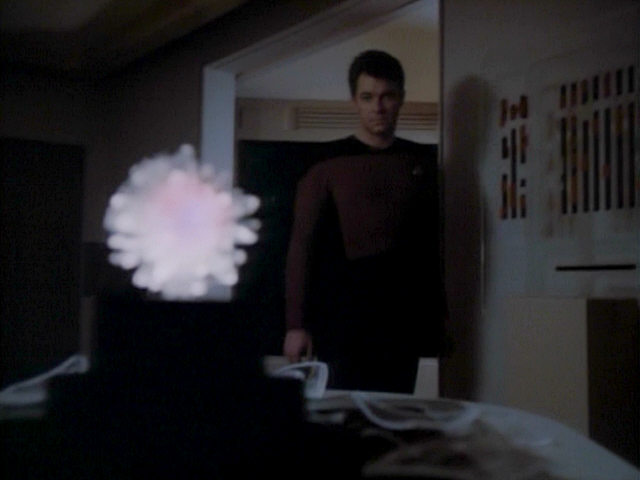 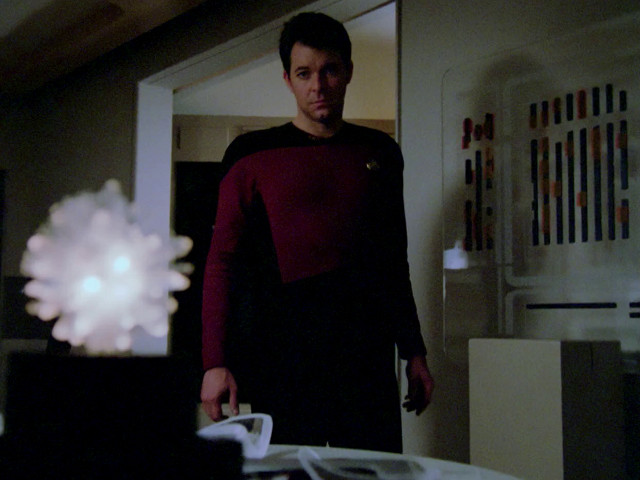 |
Due to the limited depth of field the crystal doesn't look sharper in HD. | ||
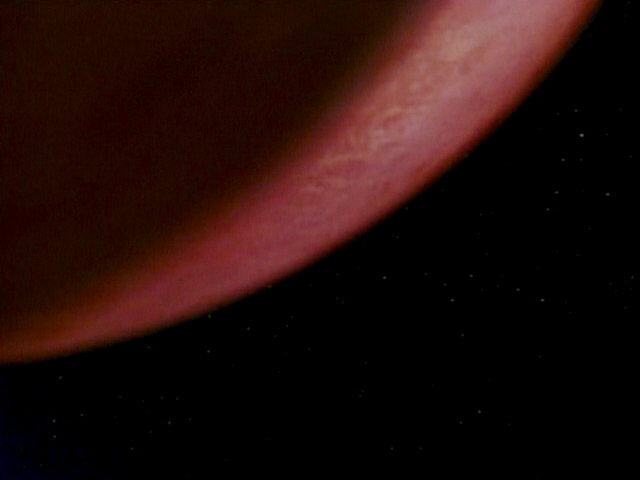
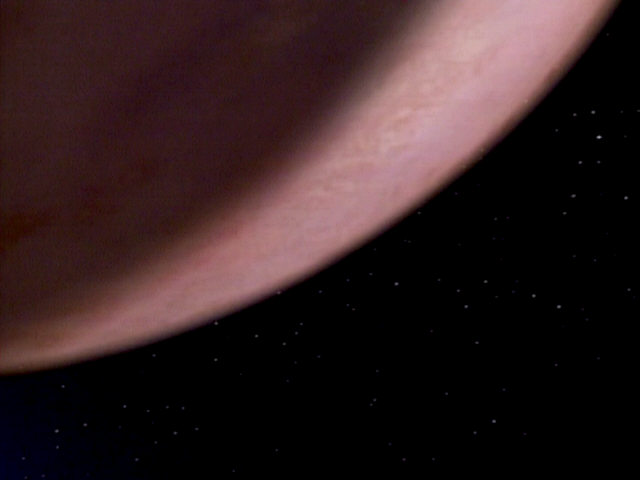
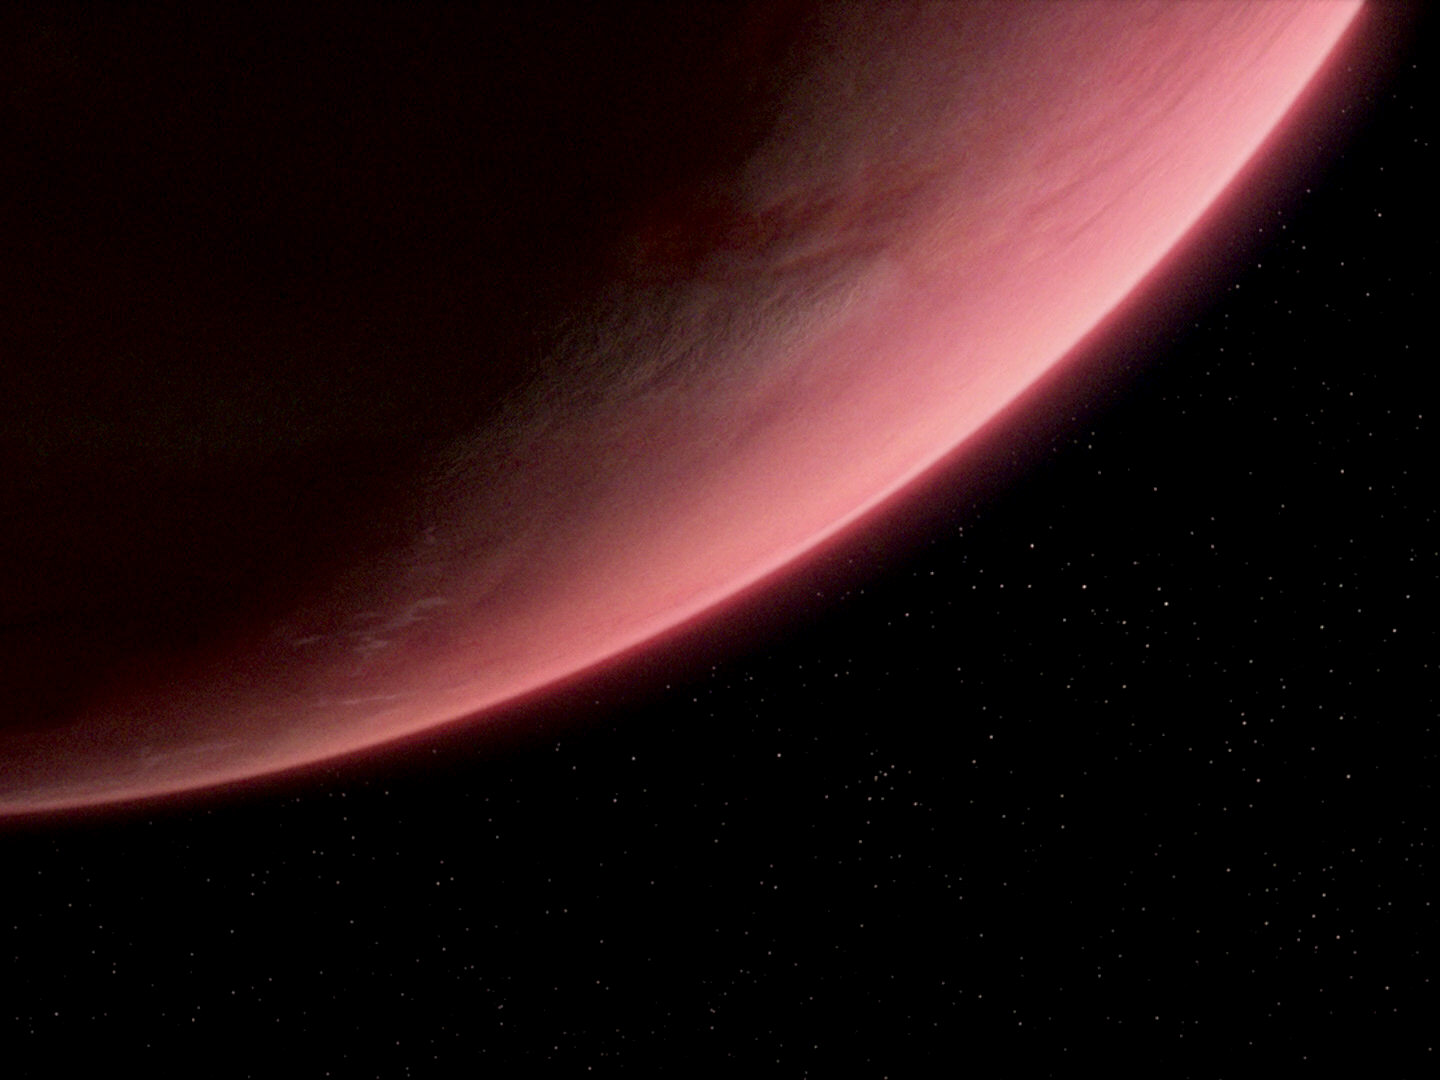
| When the Enterprise departs, Velara III looks like a gas planet, unless this is supposed to be Velara's central star. | 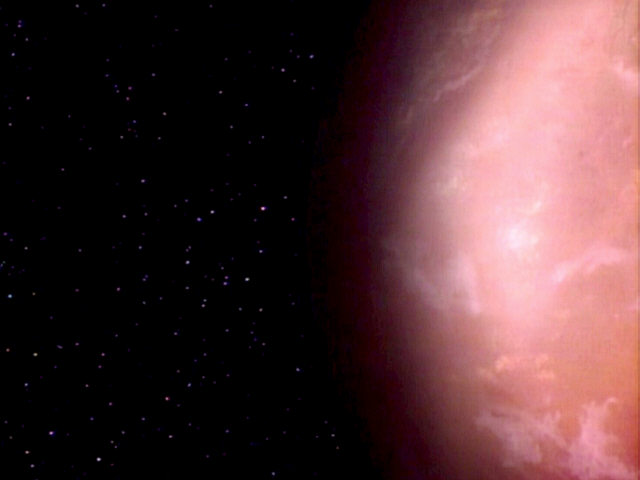  |
This problem was fixed in TNG-R. Velara III is a solid planet now. | ||
Credits
Thanks to Russell Christiansen for the bit about the chair from the Excelsior.


