


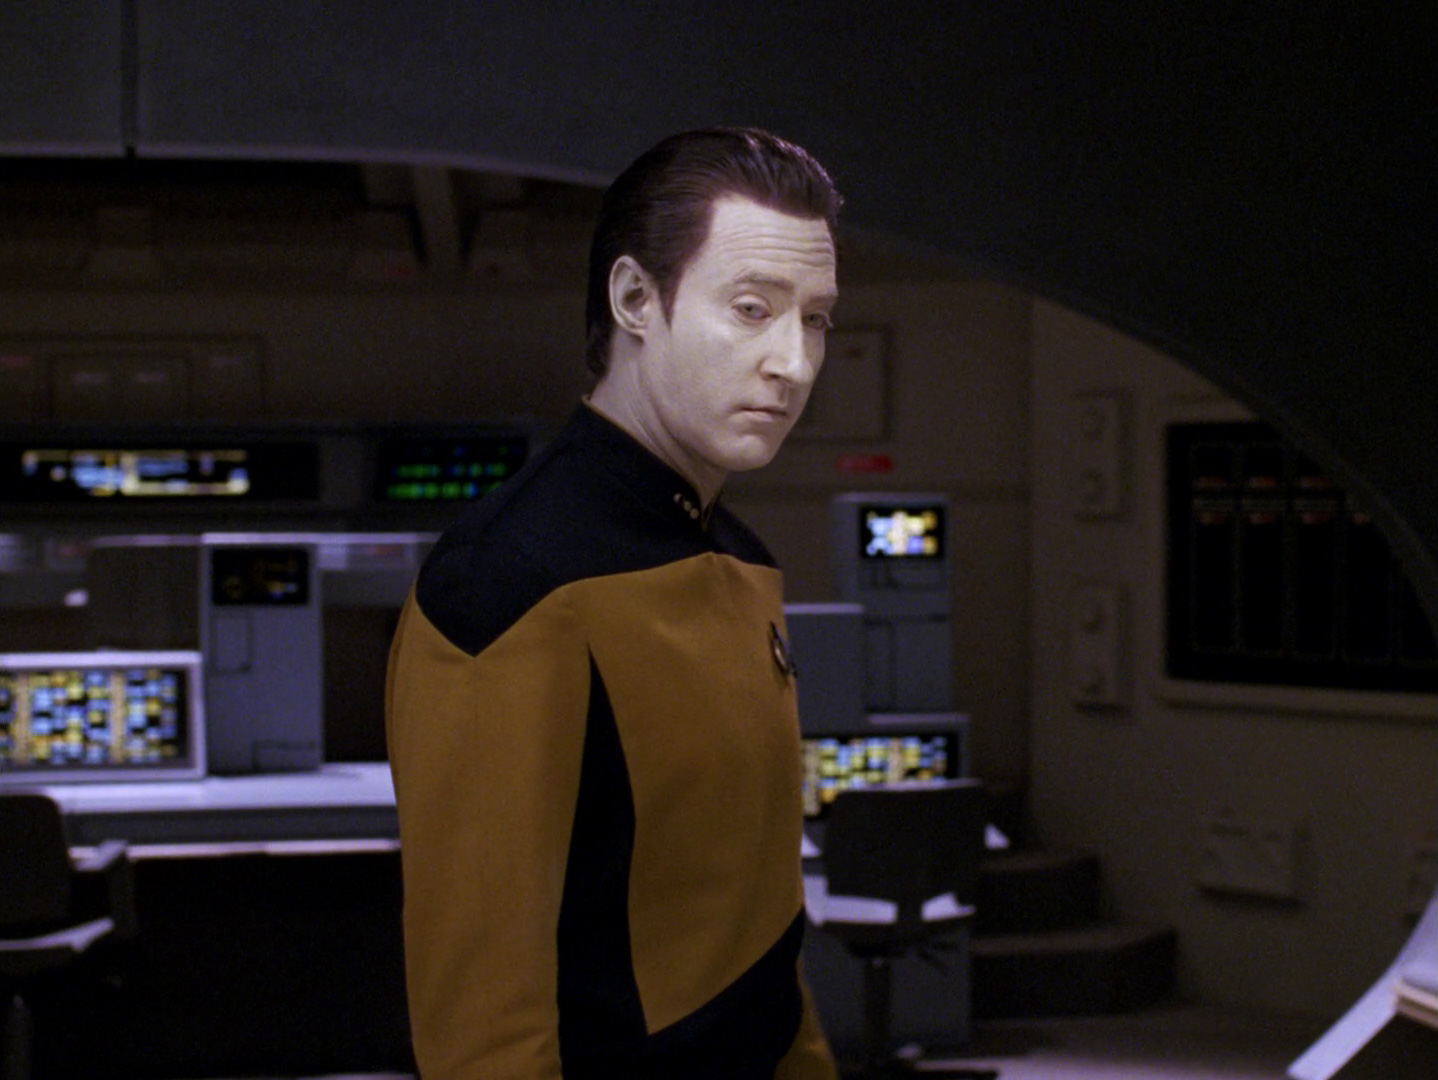
Observations in TNG: "I, Borg"
A joint project with TrekCore, by Jörg Hillebrand and Bernd Schneider
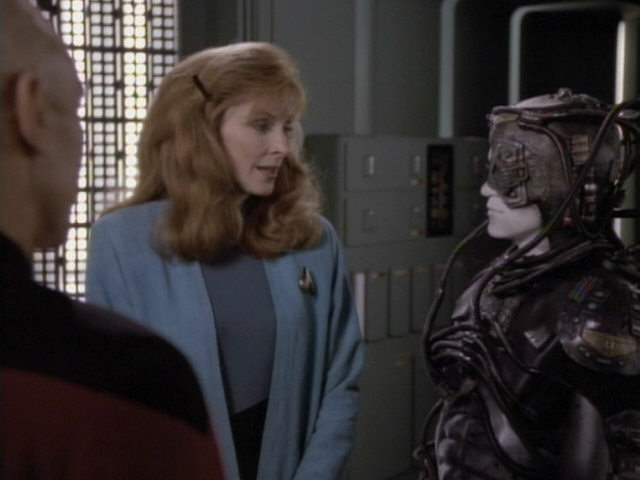
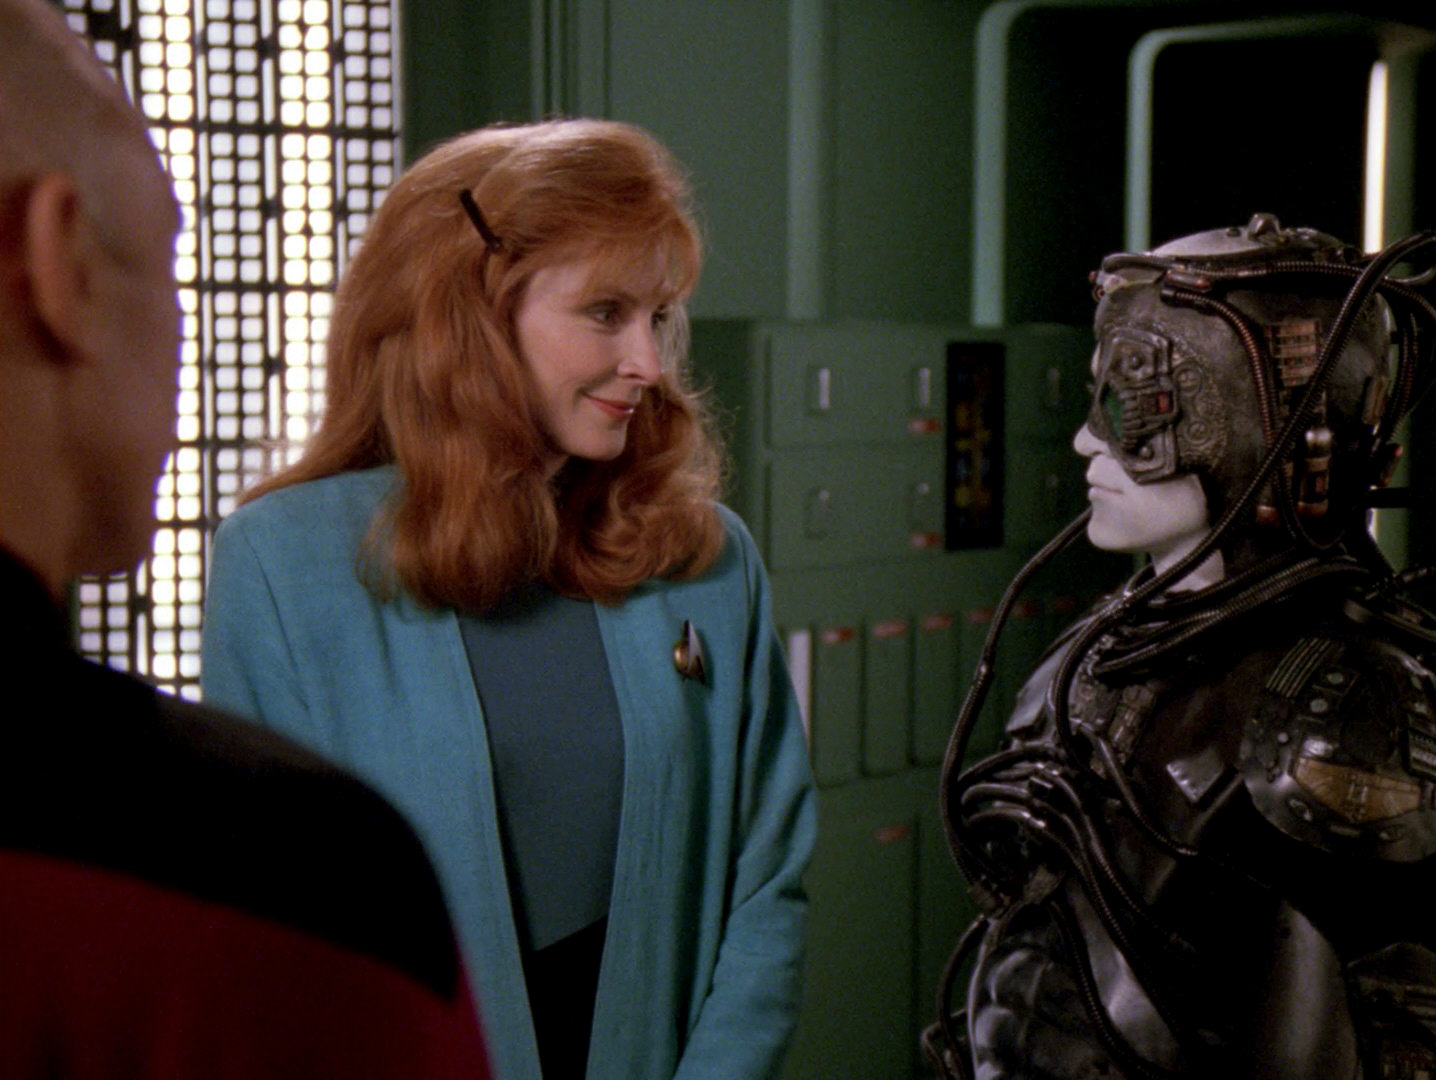
 Here are some observations about sets, props, make-ups and visual effects in TNG: "I, Borg" without a specific theme, and a comparison of the original TV release (TNG) with the remastered episode (TNG-R).
![]()
"I, Borg" HD Screencaps @ TrekCore
| Description TNG | Other caps | Comparison TNG to TNG-R | Description TNG-R | |
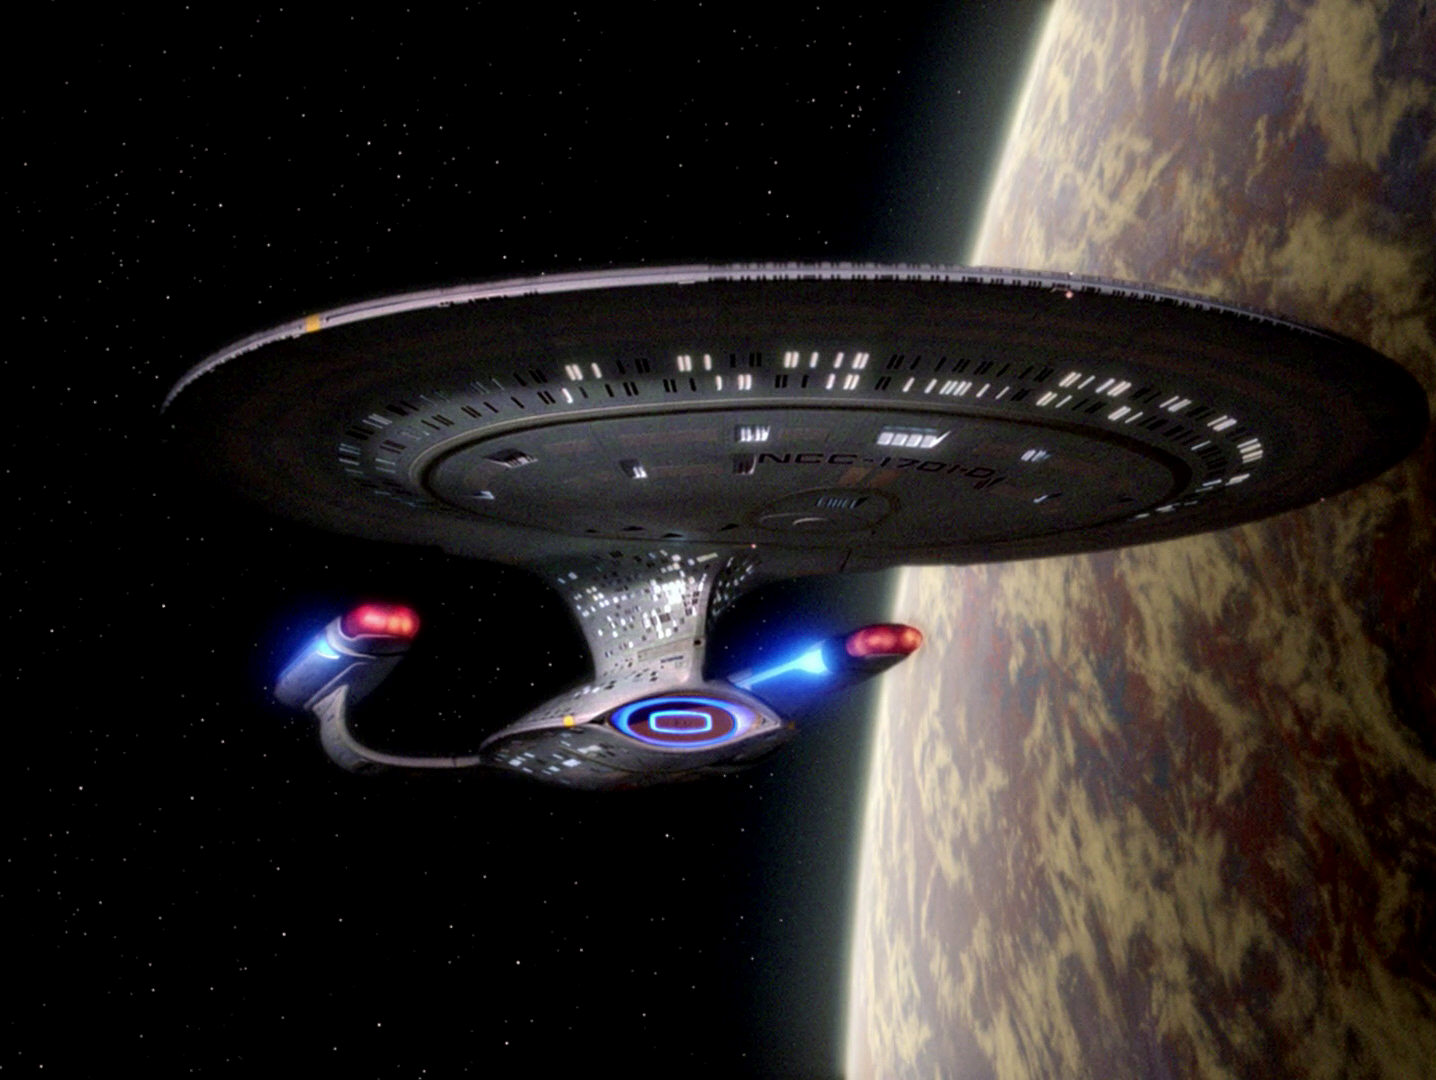
| The often reused Enterprise-D flyby shot. Enterprise Flybys in TNG and TNG-R |
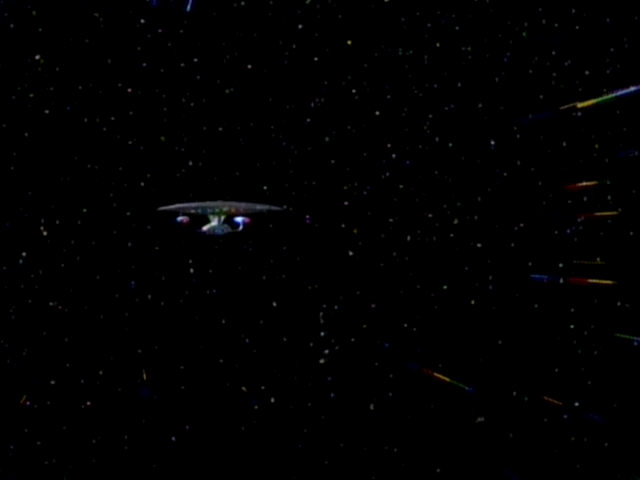  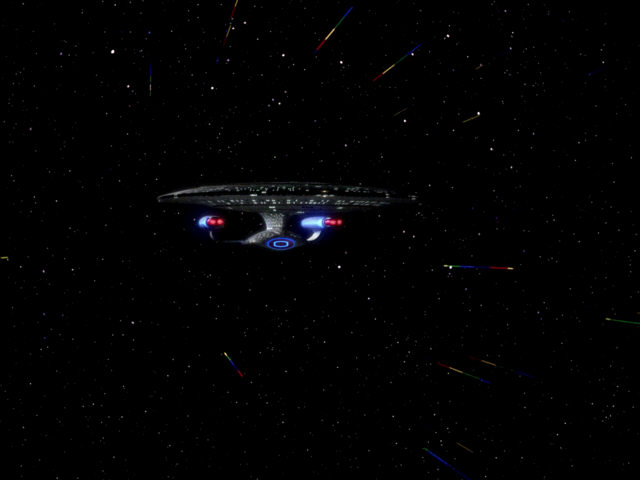 |
The shot could not be located for the remastering and was replaced with a CG model for this episode. | ||
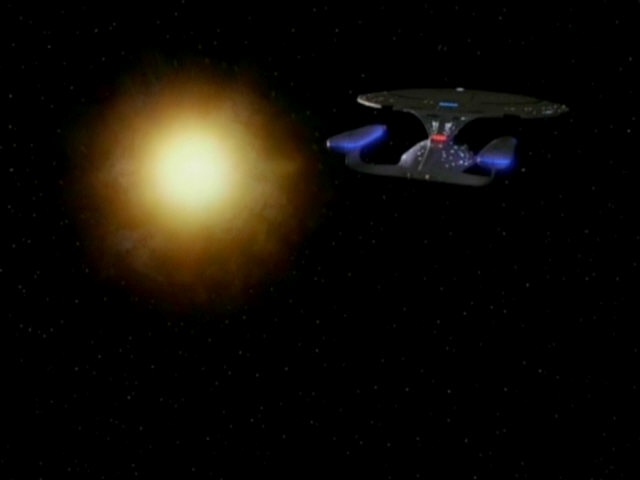
| A fiery sun in the Argolis Cluster is seen on the main viewscreen of the USS Enterprise-D. |  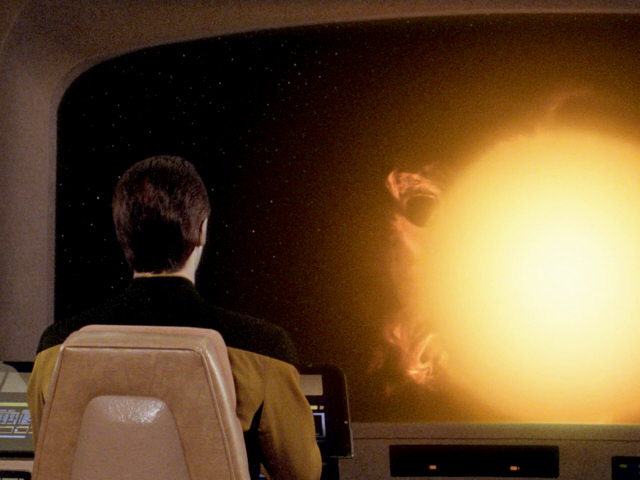 |
The effect was recreated for TNG-R. | ||
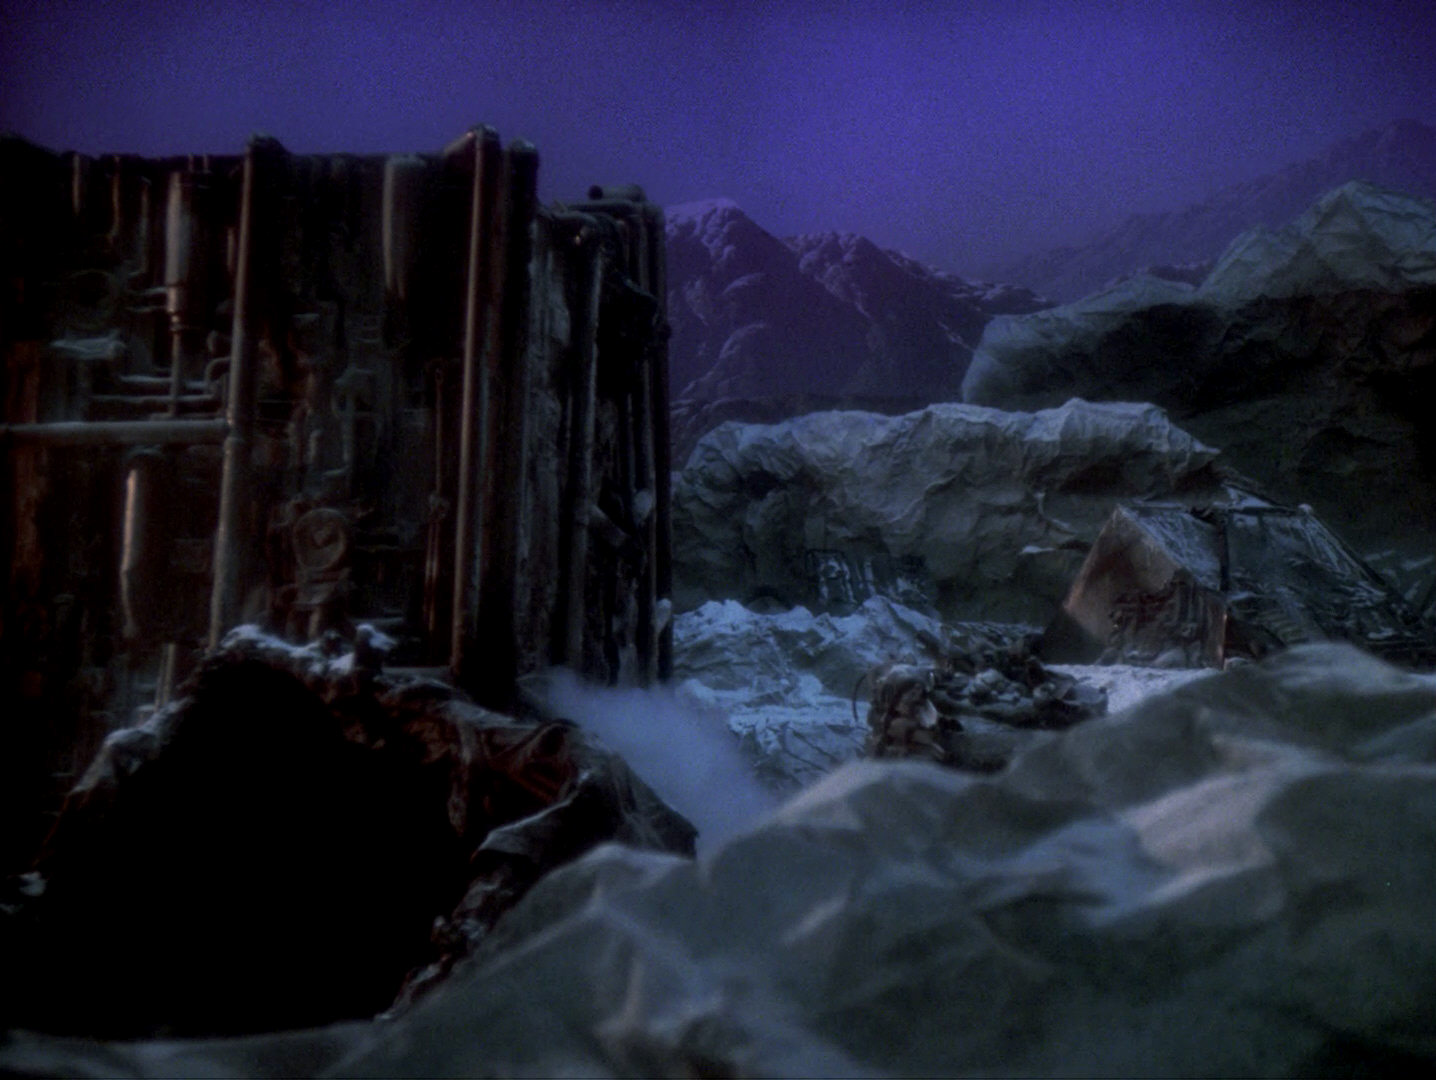
| The mountains in the background of the planet in the Argolis Cluster are clearly a painted backdrop. | 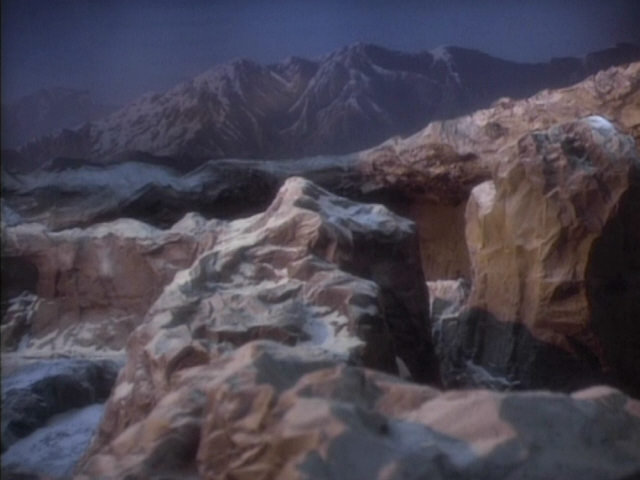 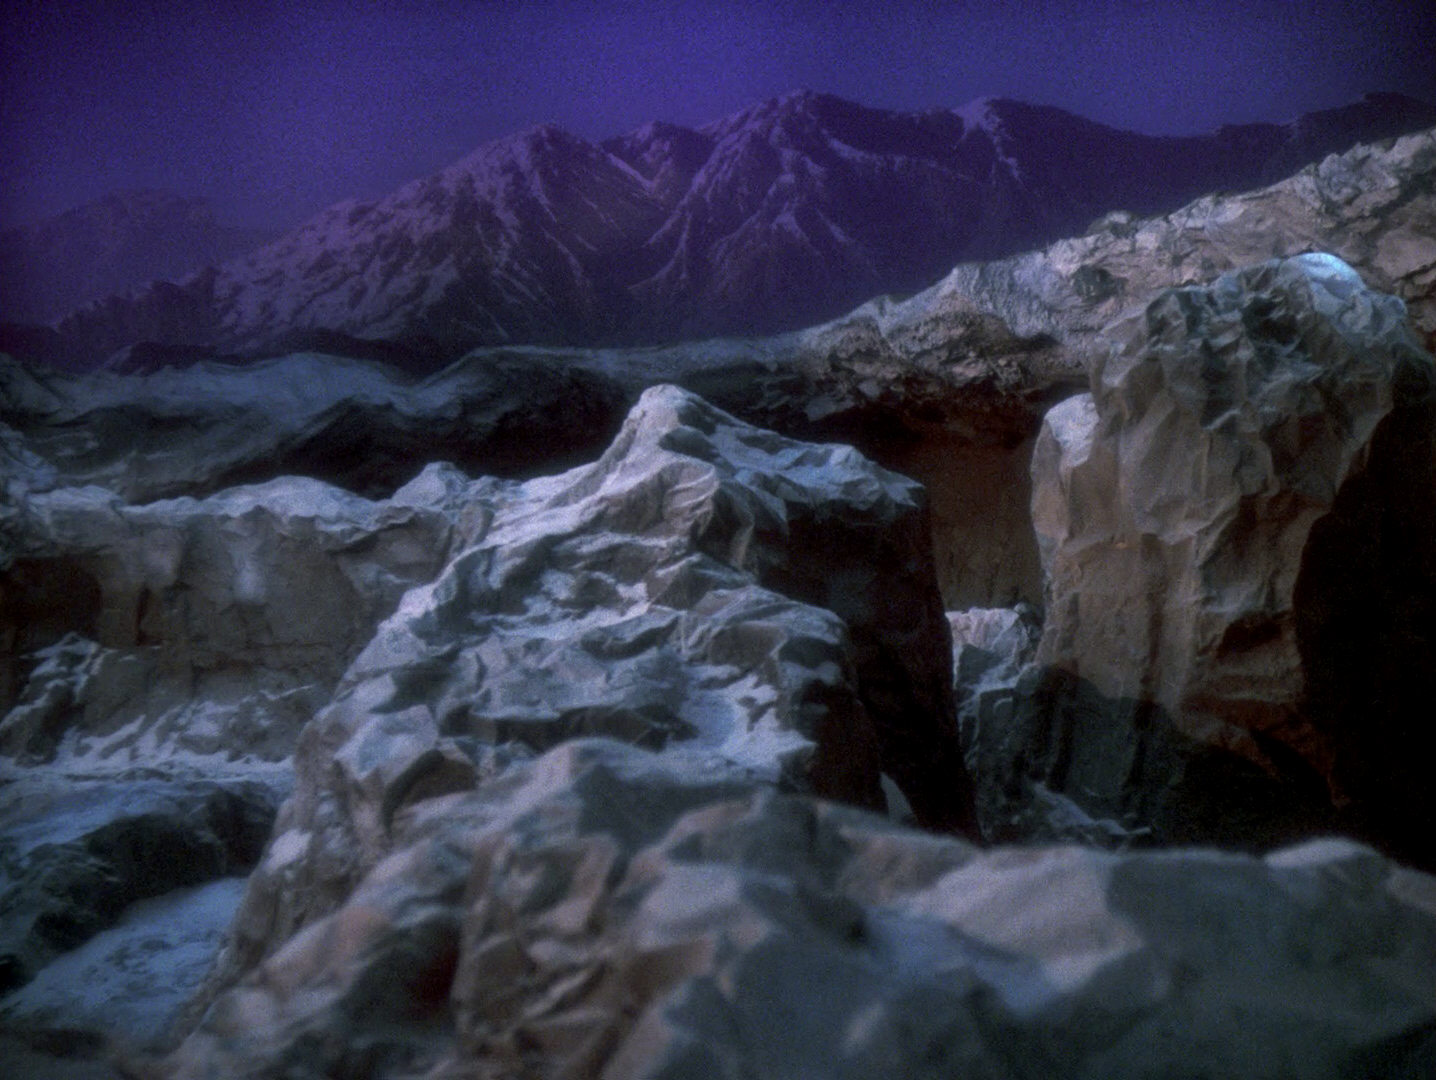 |
The backdrop remained the same in TNG-R. | ||
| The outer hull paneling of the Borg scout ship features a shape, which is normally known on TNG as a transporter test cylinder. Similar wall panels where seen inside the Borg cube in "Q Who". | 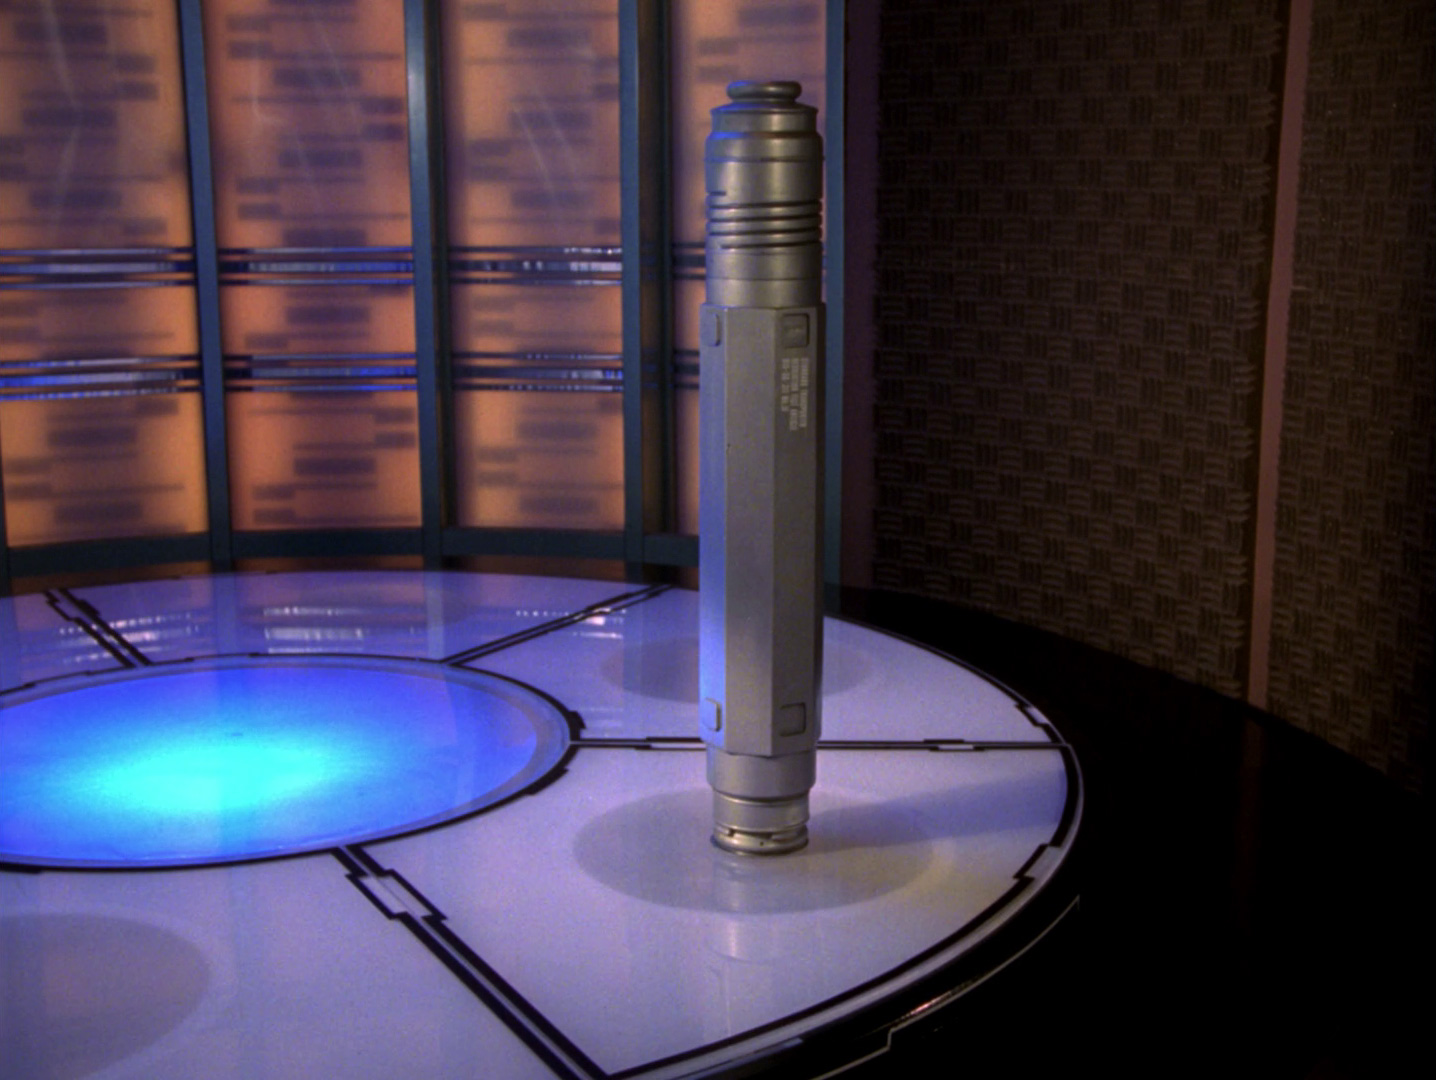 "The Ensigns of Command" |
 "Q Who" |
  |
The Borg ship in HD. |
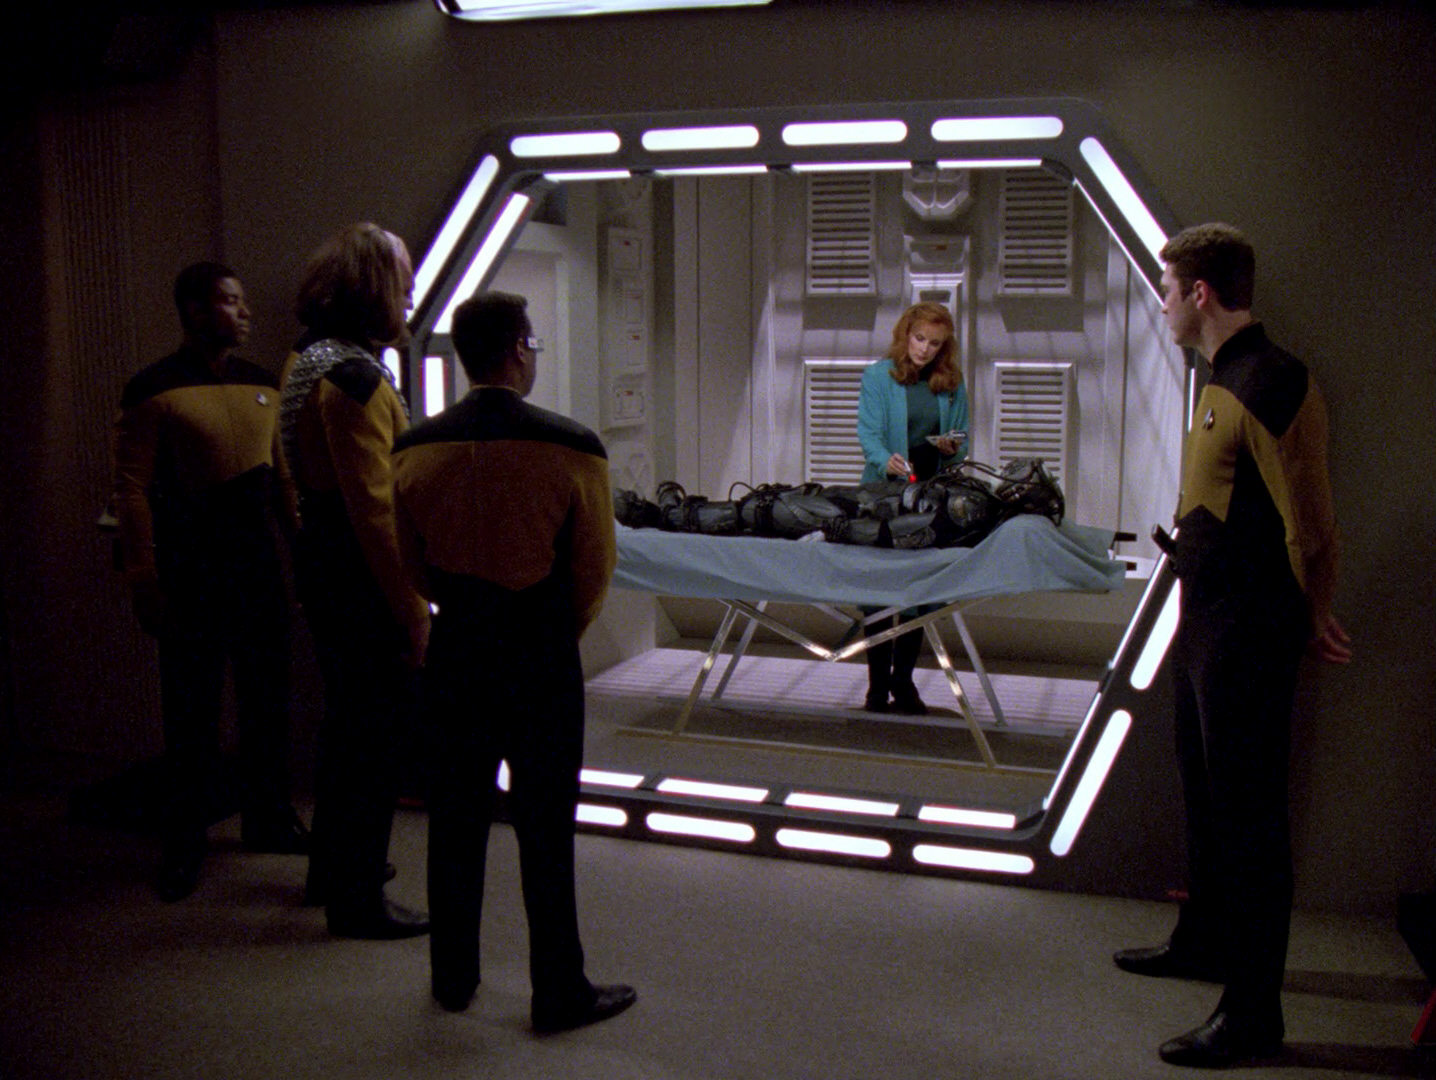
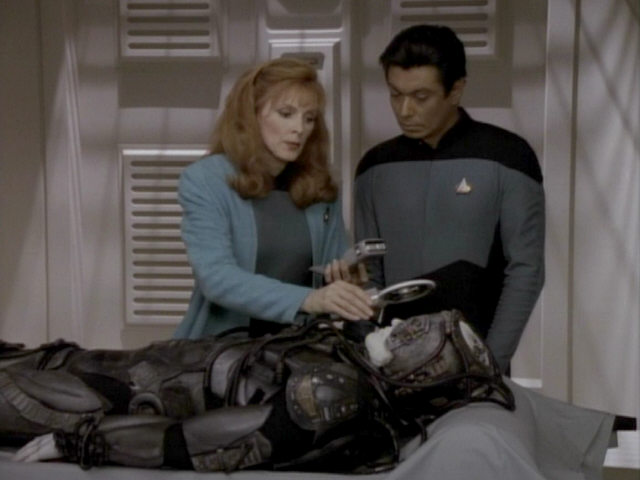
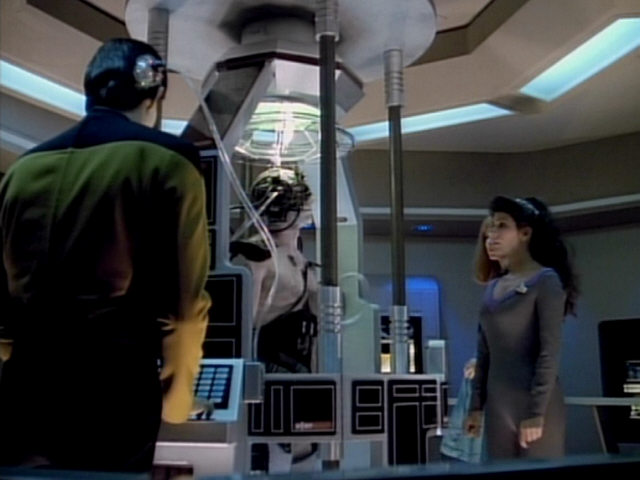
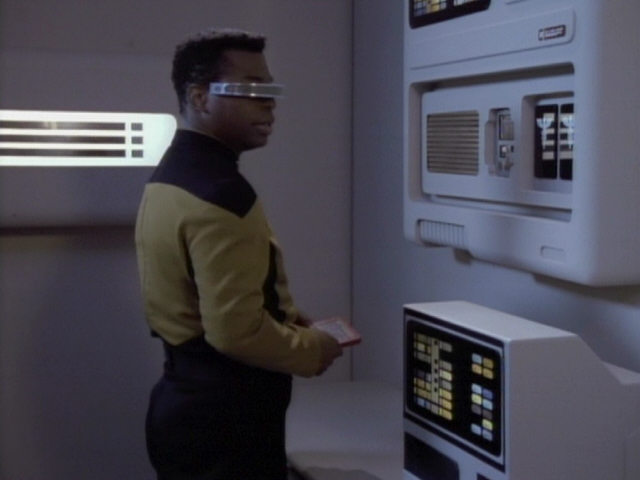
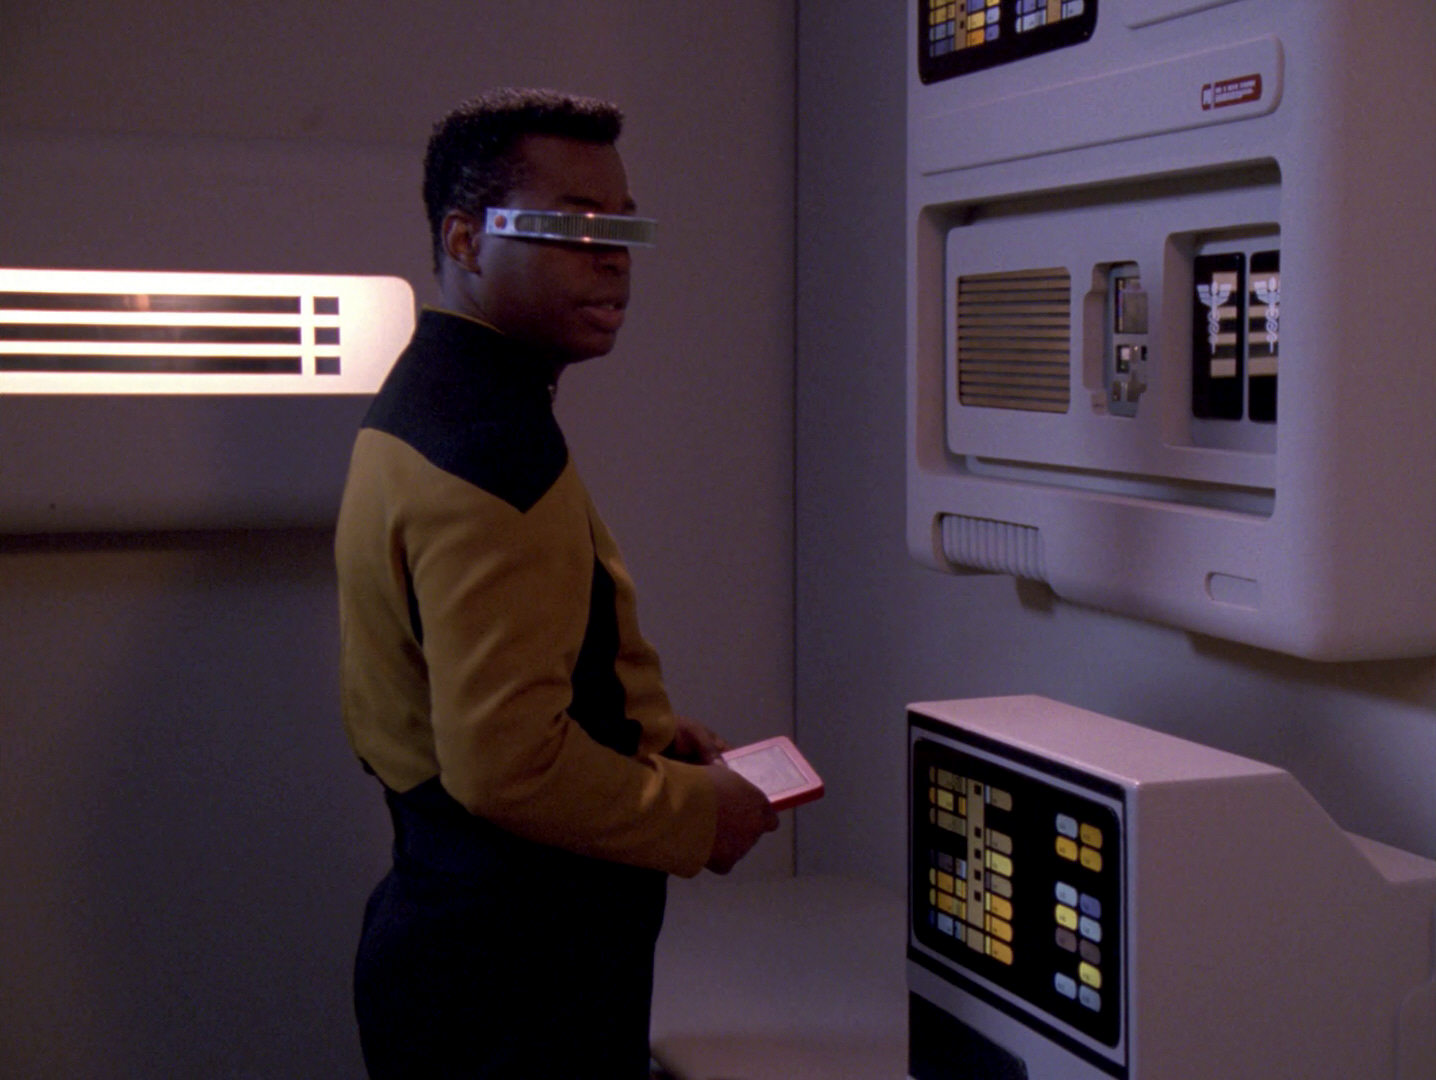
| Doctor Crusher's new medical case debuts in this episode. It would be used by Doctors Crusher and Bashir in many future TNG and DS9 episodes. | 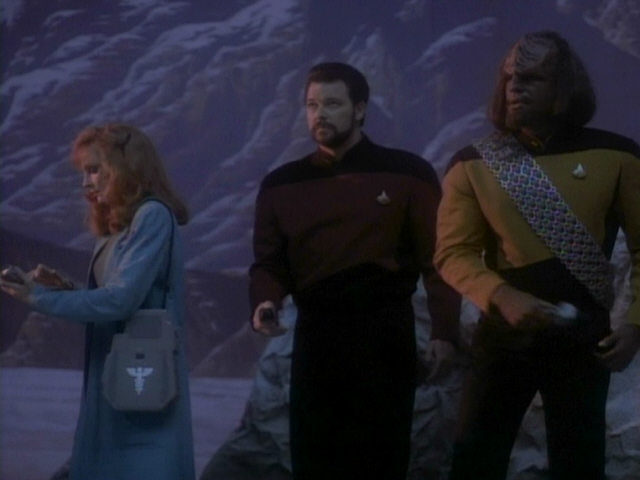 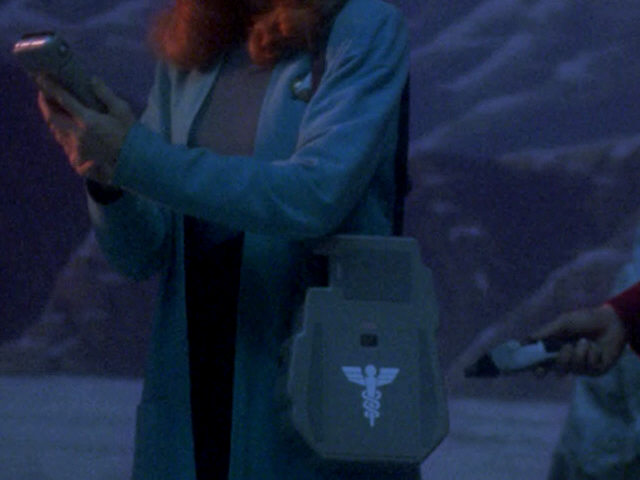 |
An HD close-up of the medical case. | ||
| A fold in the painted mountain backdrop can be seen in this screenshot. | 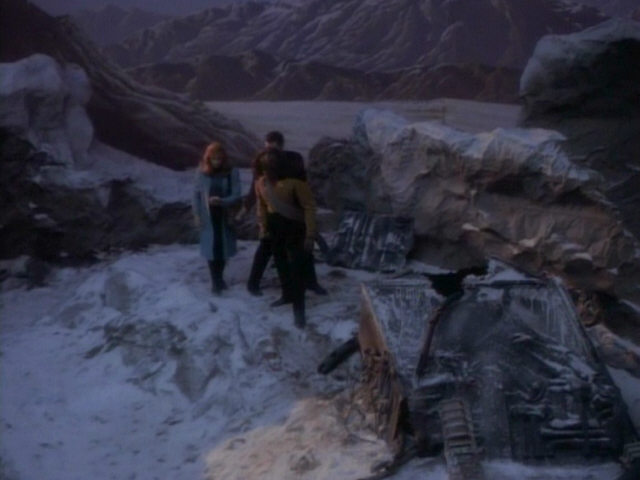 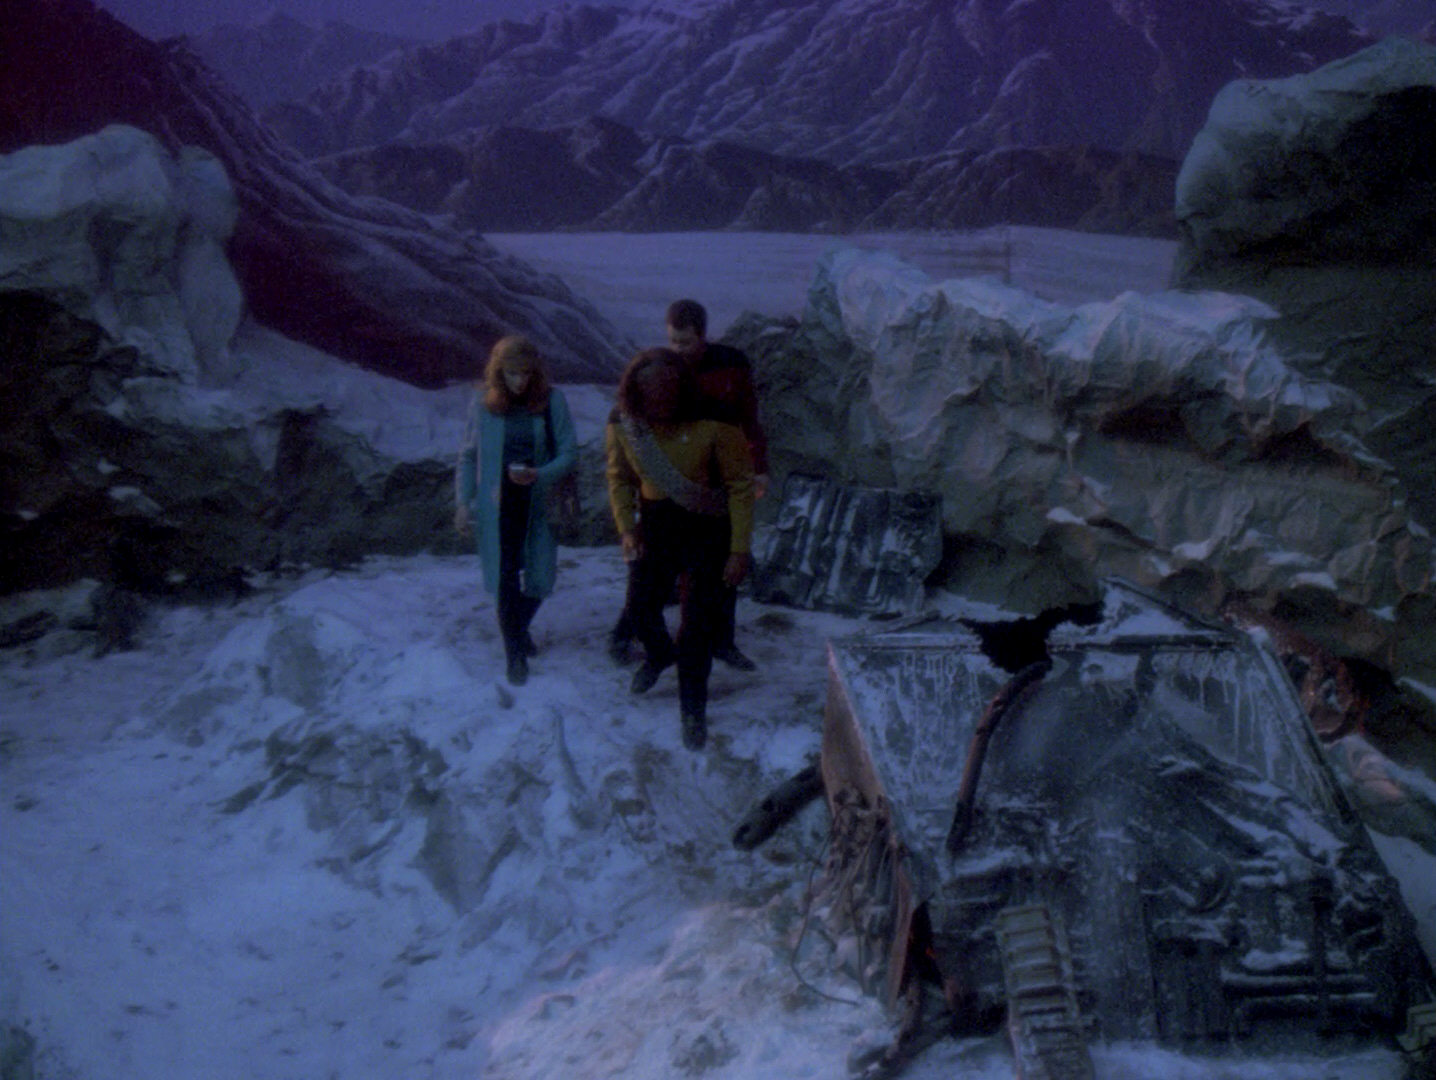 |
The imperfection in the backdrop is still visible in TNG-R. | ||
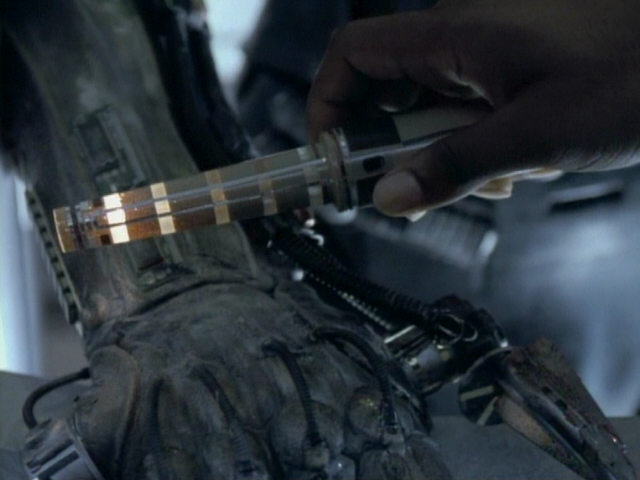
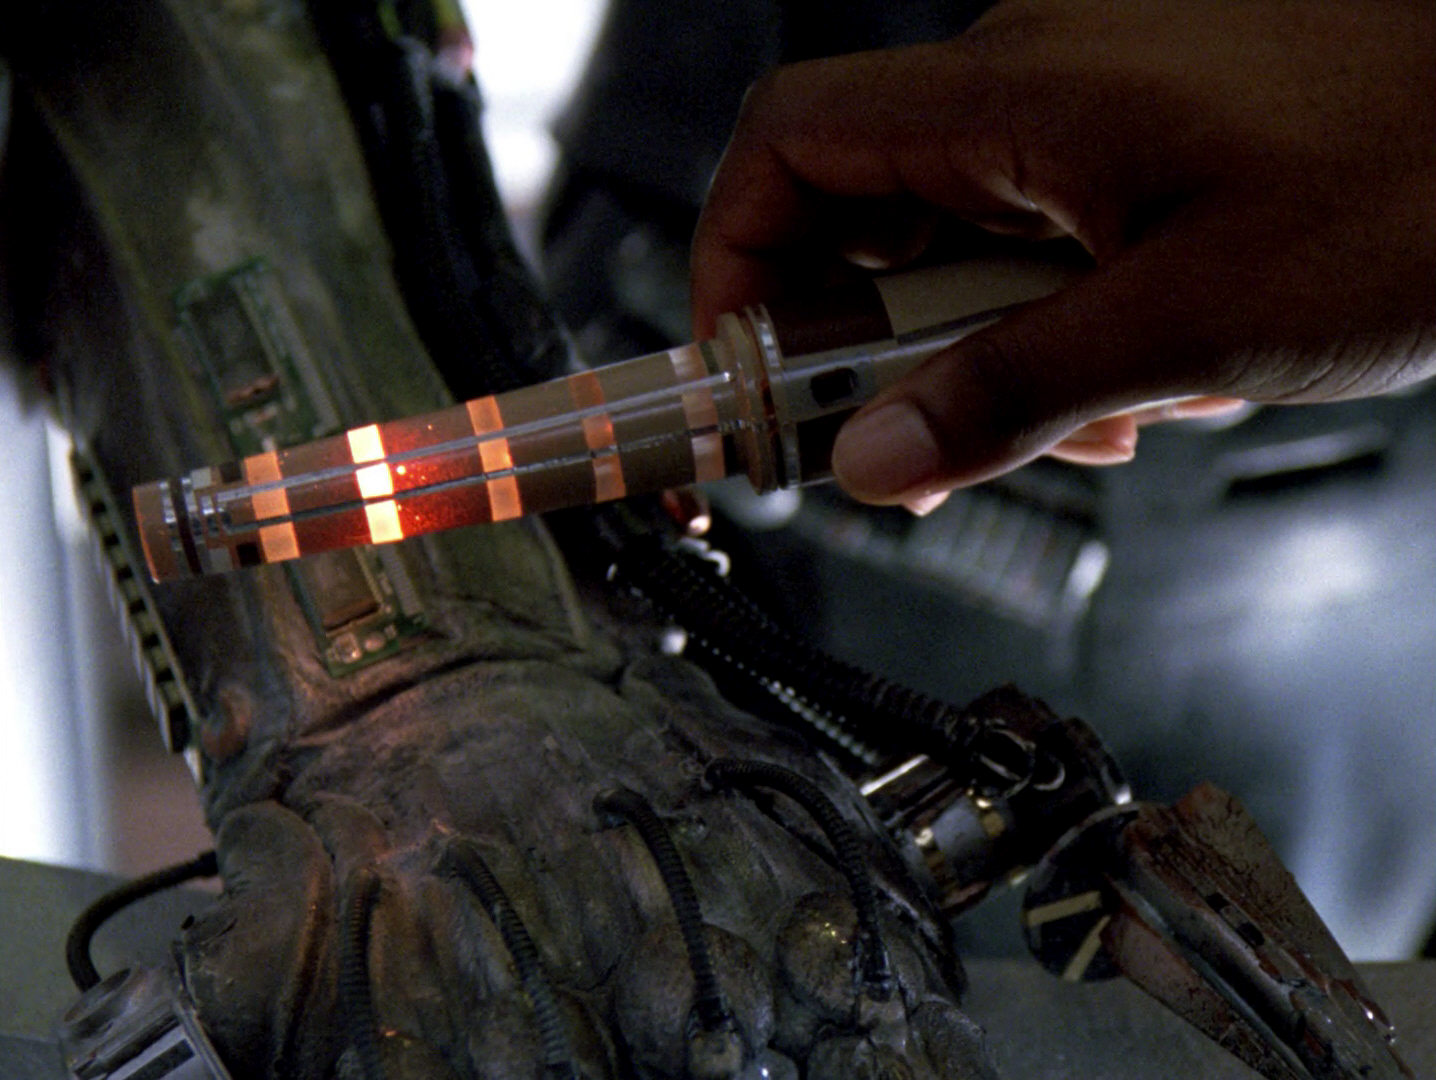
| This medical tool was previously seen in "A Matter of Time". In that episode, it emitted a red light. | 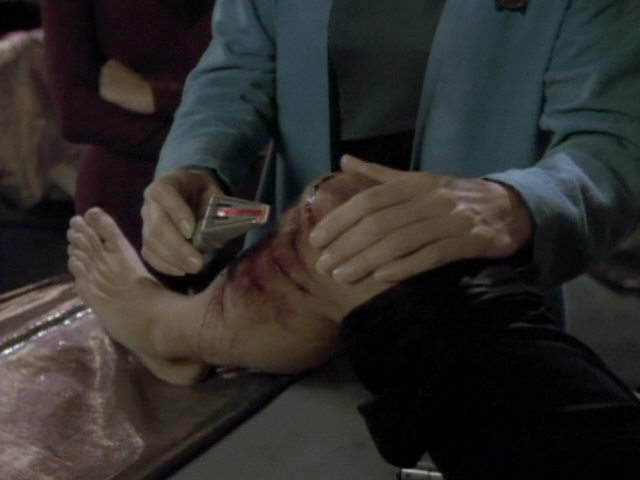 "A Matter of Time" |
  |
An HD close-up of the prop. | |
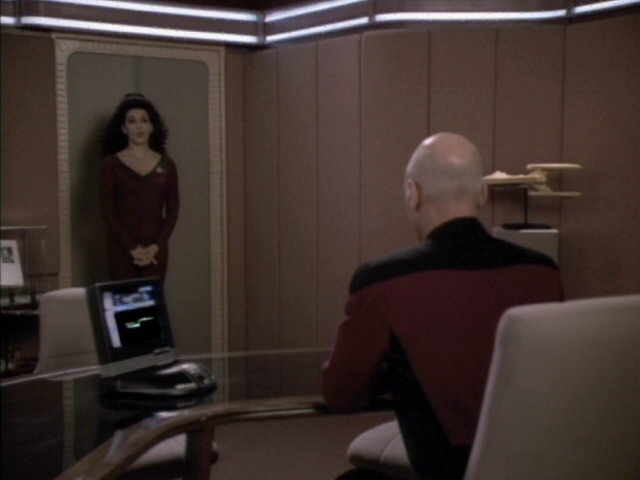
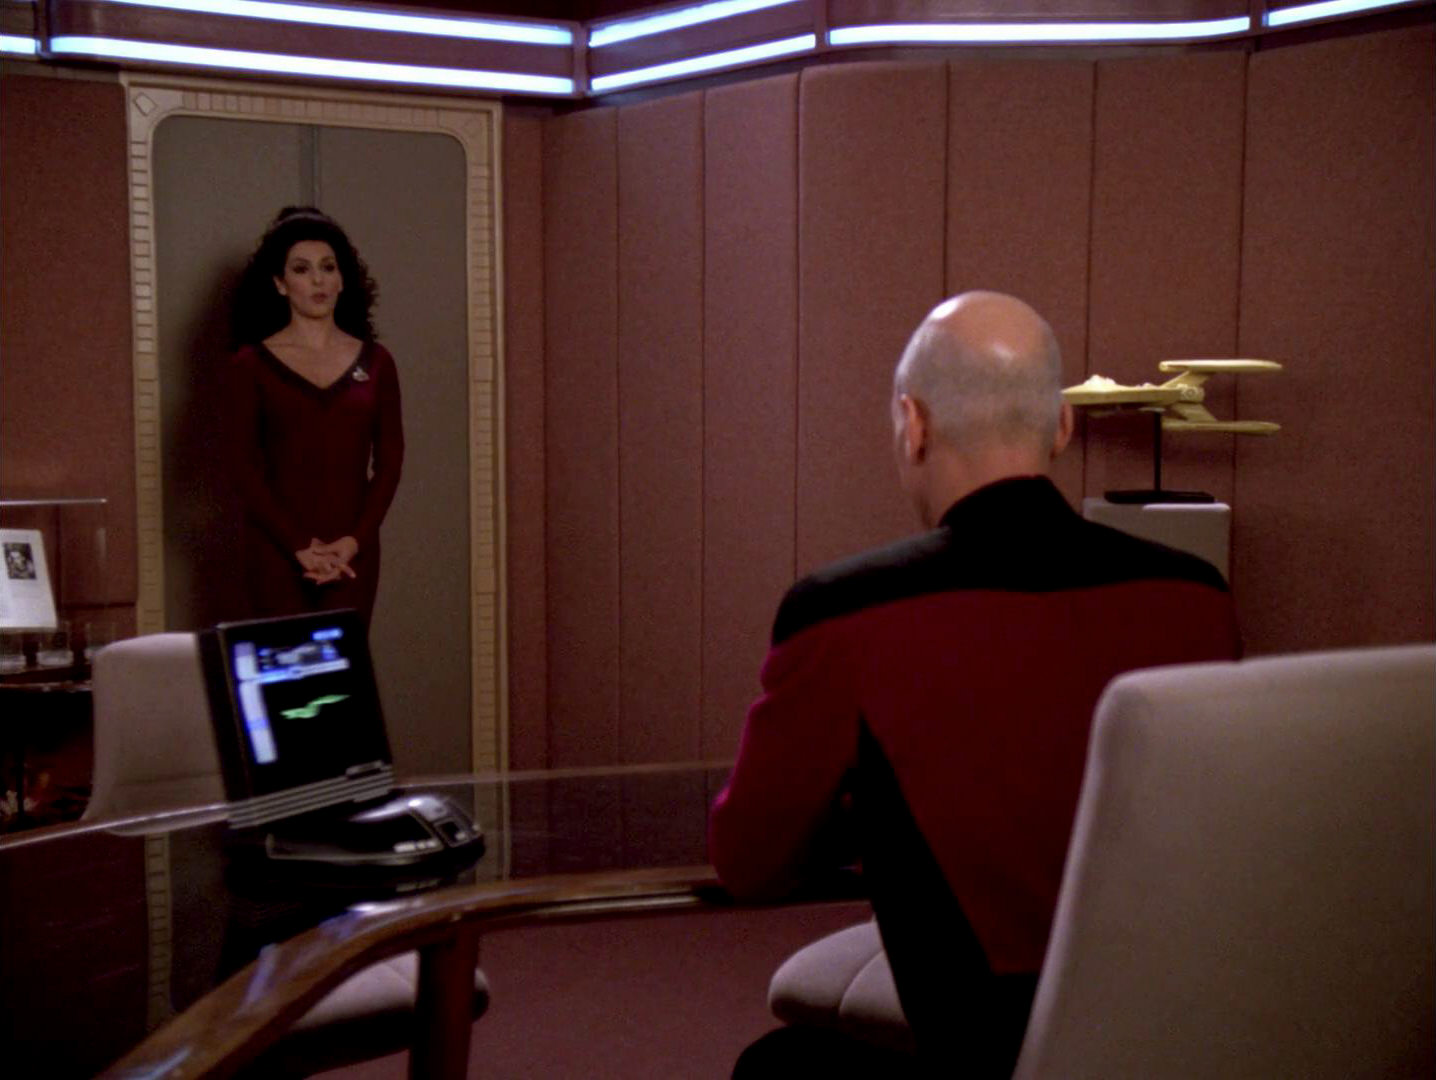
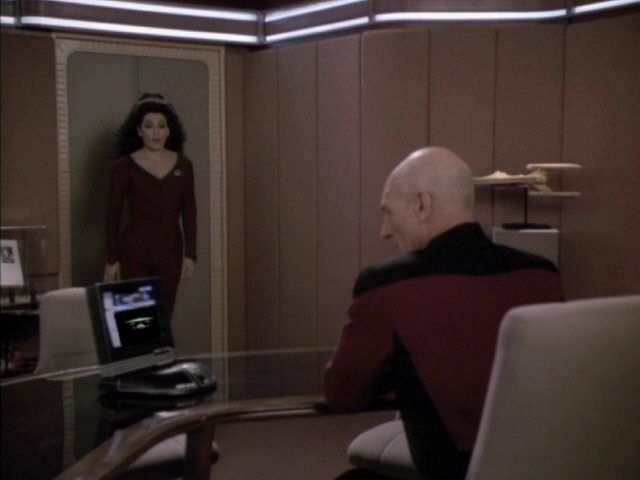
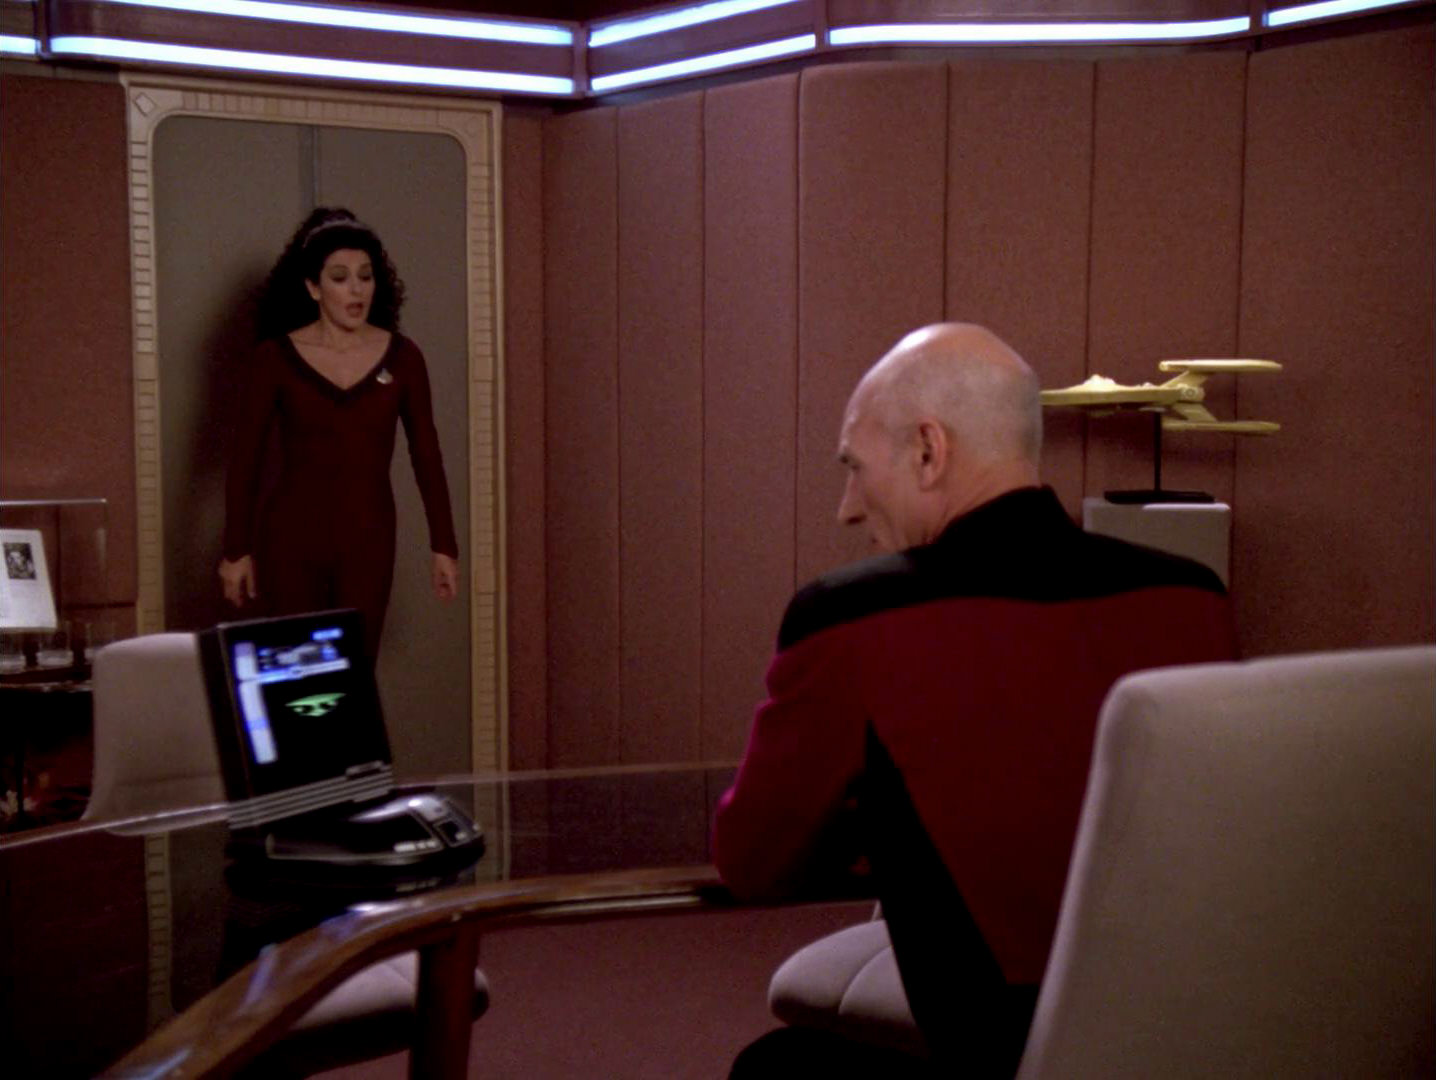
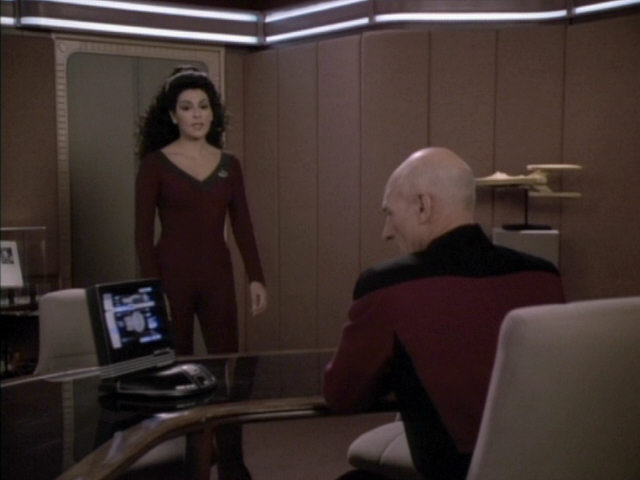
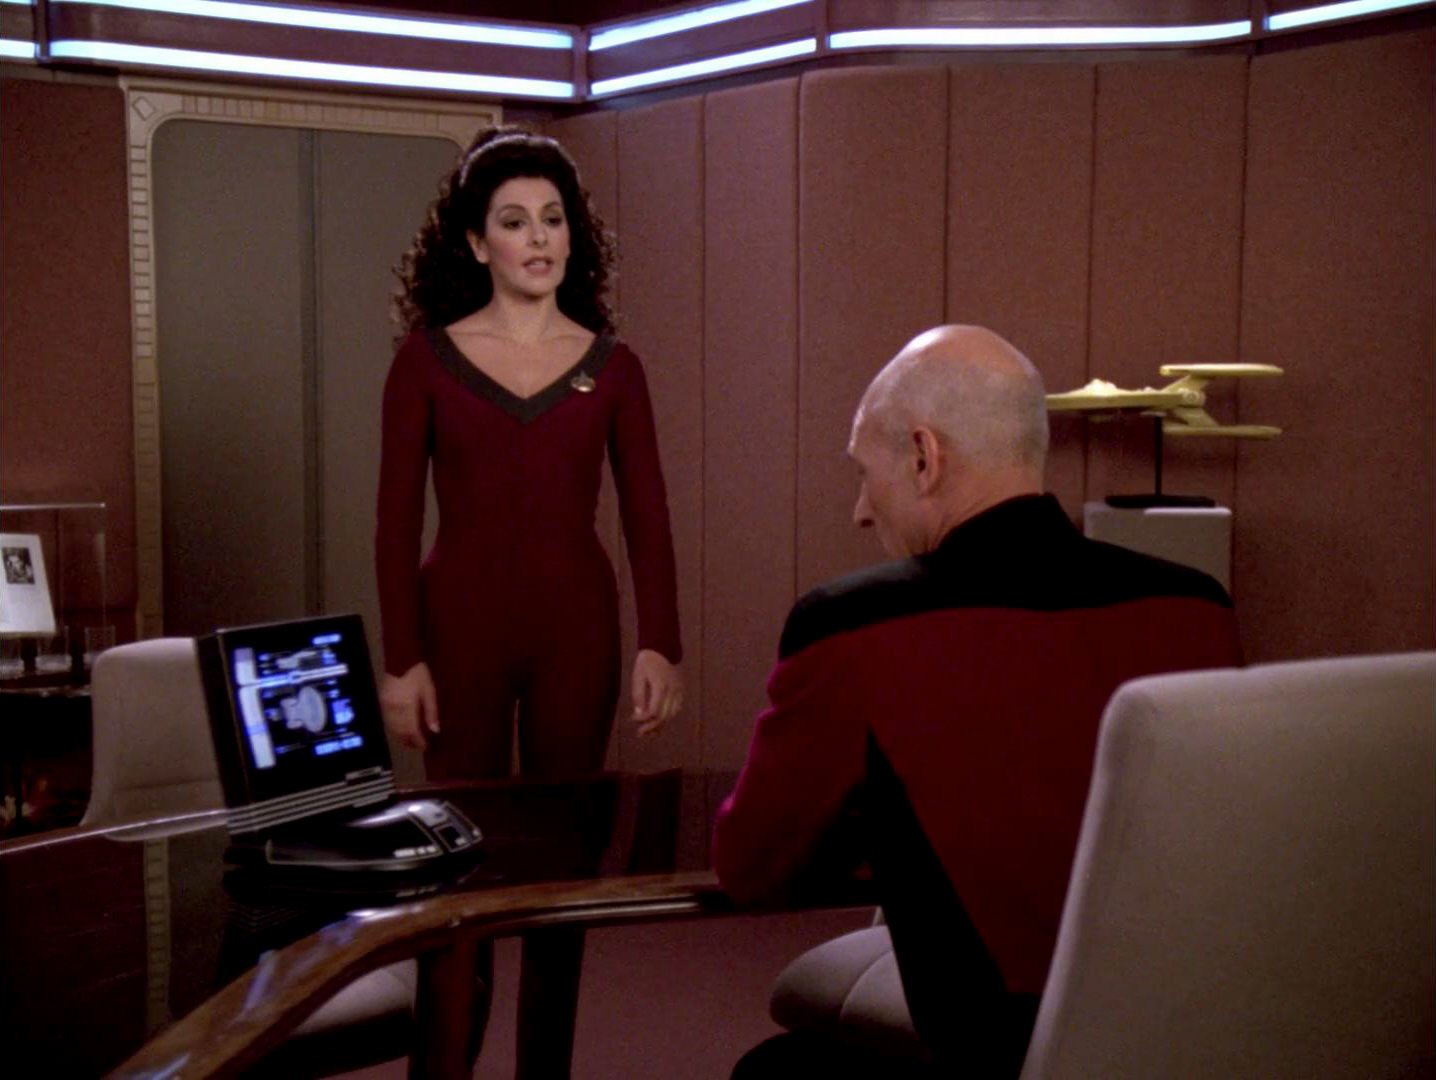
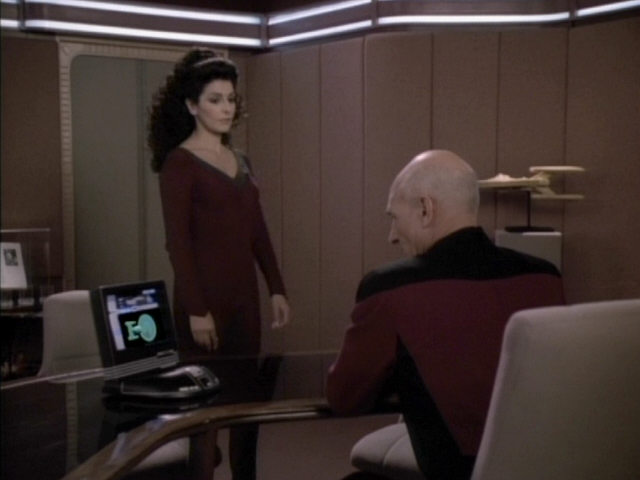
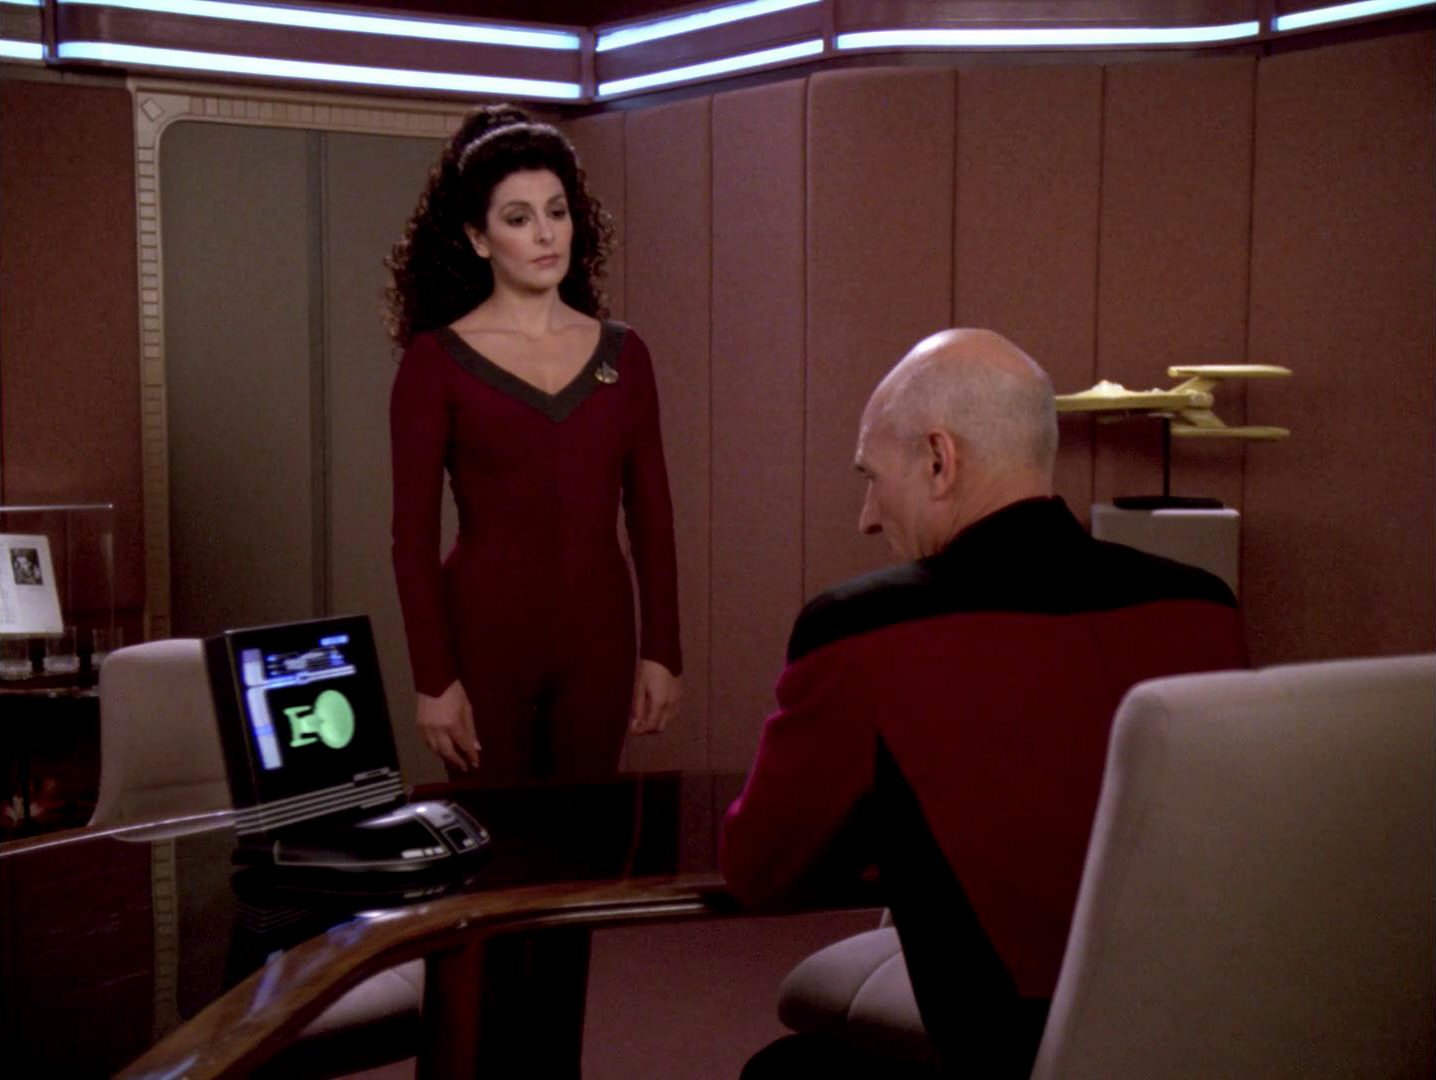
| Picard looks at an animated graphic of the USS Enterprise-D on his desktop monitor. The graphic features a top, bottom, side and aft view of the USS Enterprise-D. In the original version of the episode, it was very clearly visible that this graphic was added in post production. This becomes especially clear when the graphic briefly switches back to the static graphic of the USS Enterprise-D which was displayed on the prop on set. | 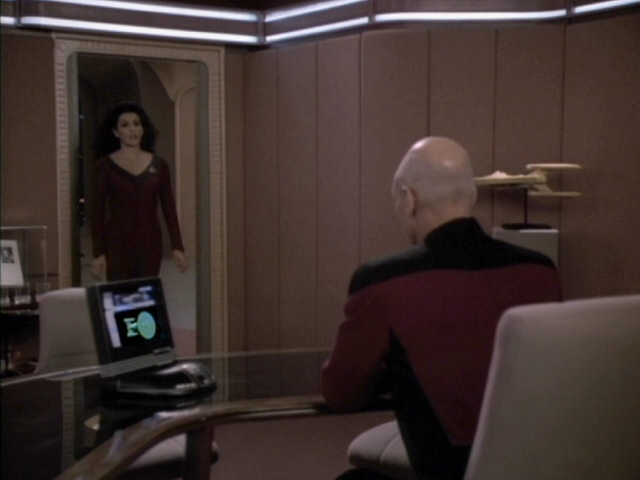 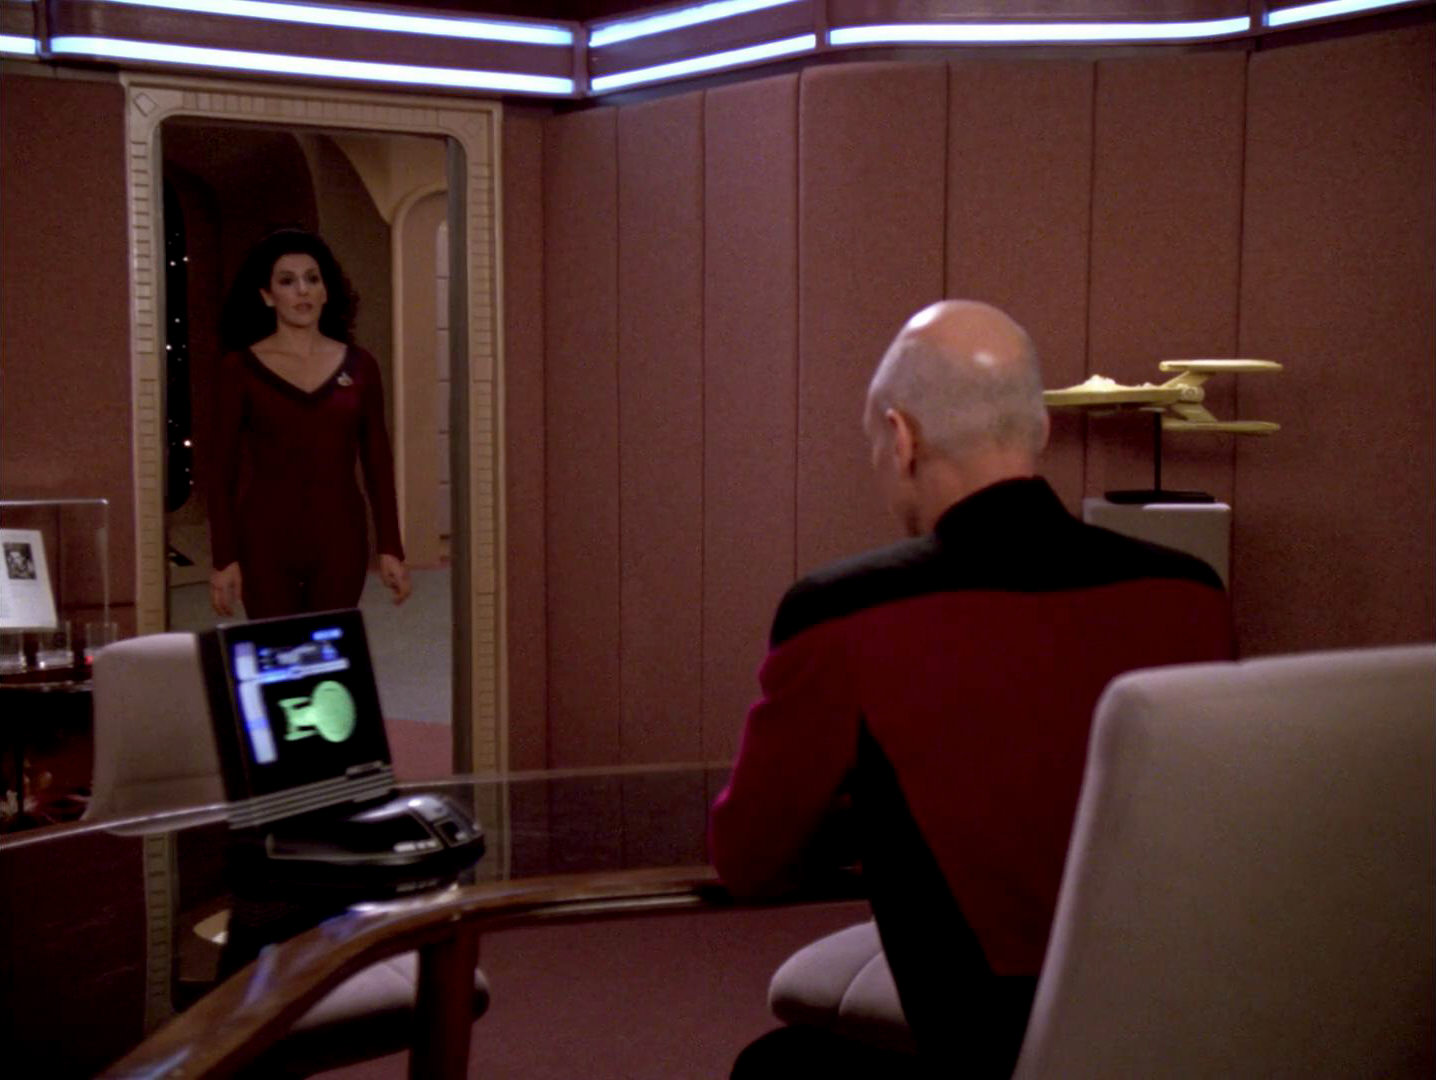 |
The sequence in TNG-R. | ||
  |
||||
  |
||||
  |
||||
  |
||||
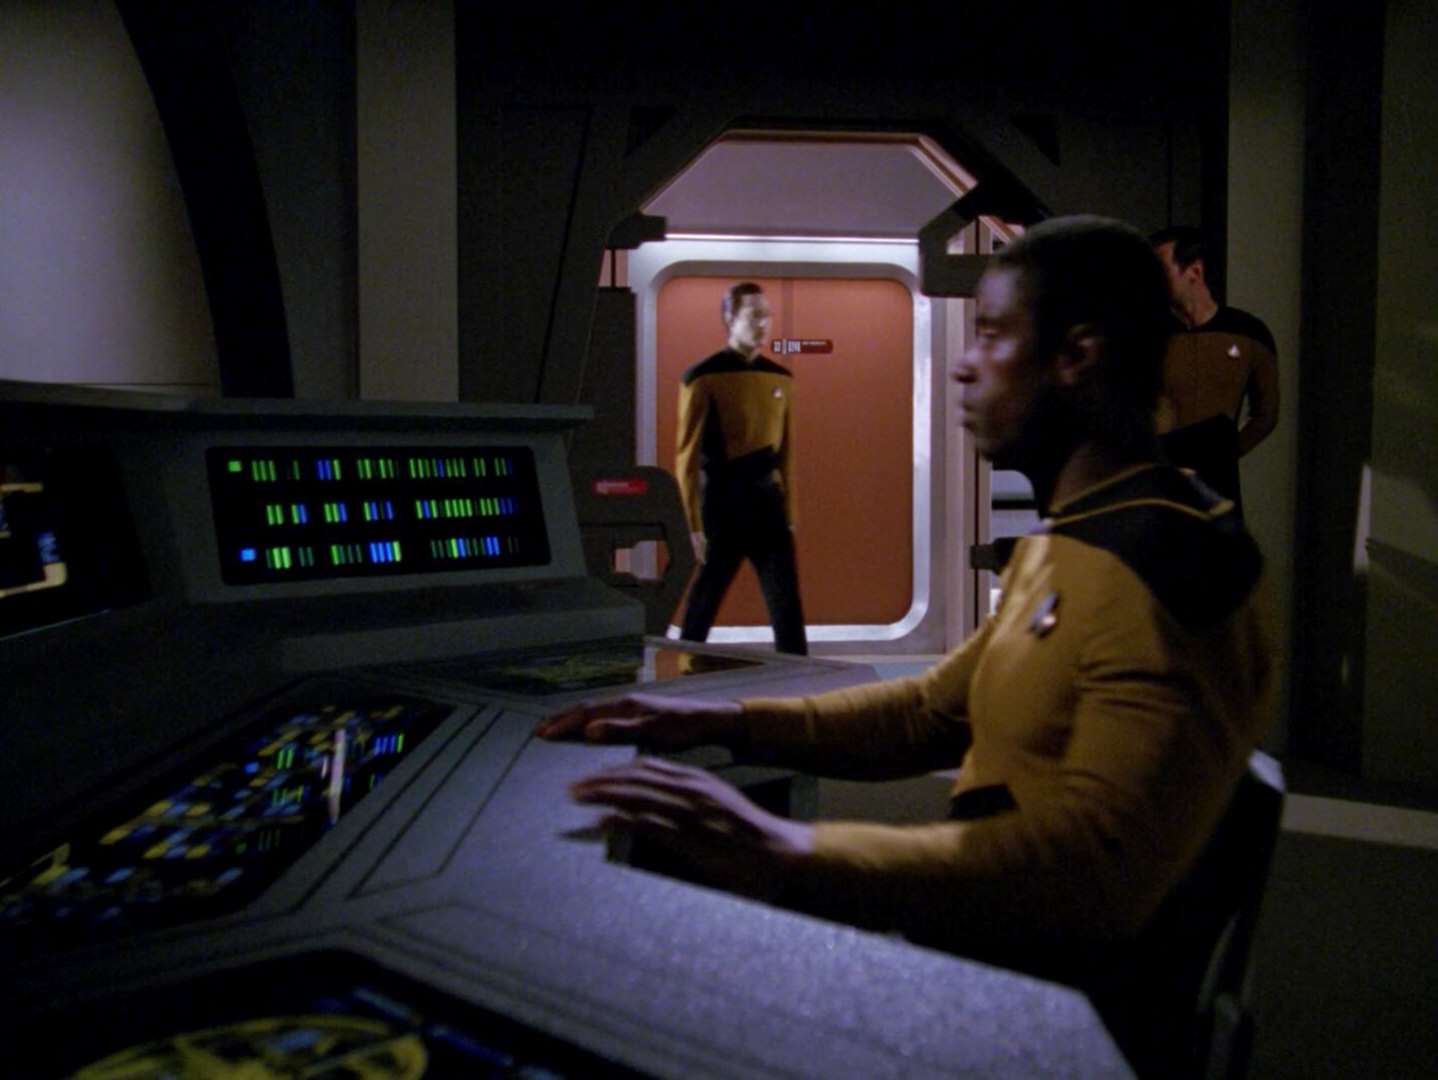
The brig was last seen in the season 3 episode "The Most Toys". As can be seen, this part of the set has not been changed noticeably. A microphone briefly pops into view above La Forge. |
 "The Most Toys" |
  |
The brig in HD. No microphone is visible. | |
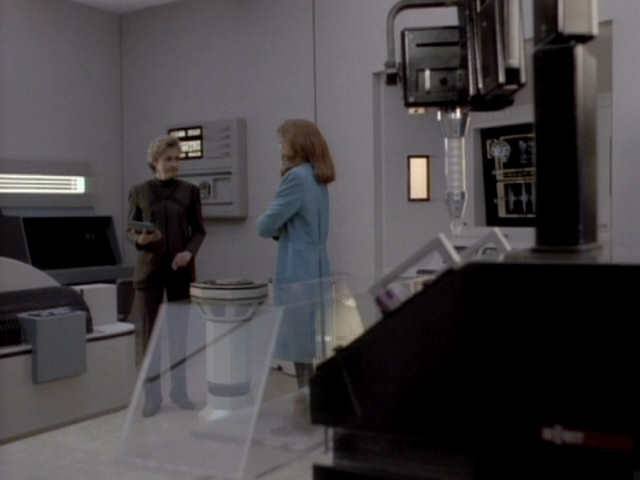
| Although Doctor Crusher uses the new medical case earlier in the episode, Nurse Martinez is still seen using the old one. |  |
No changes | ||
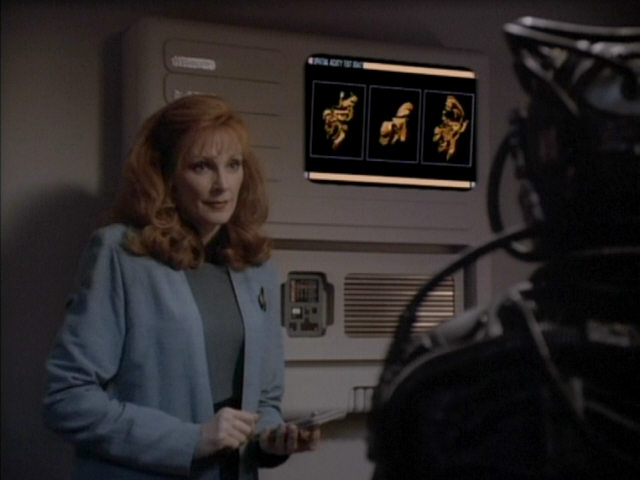
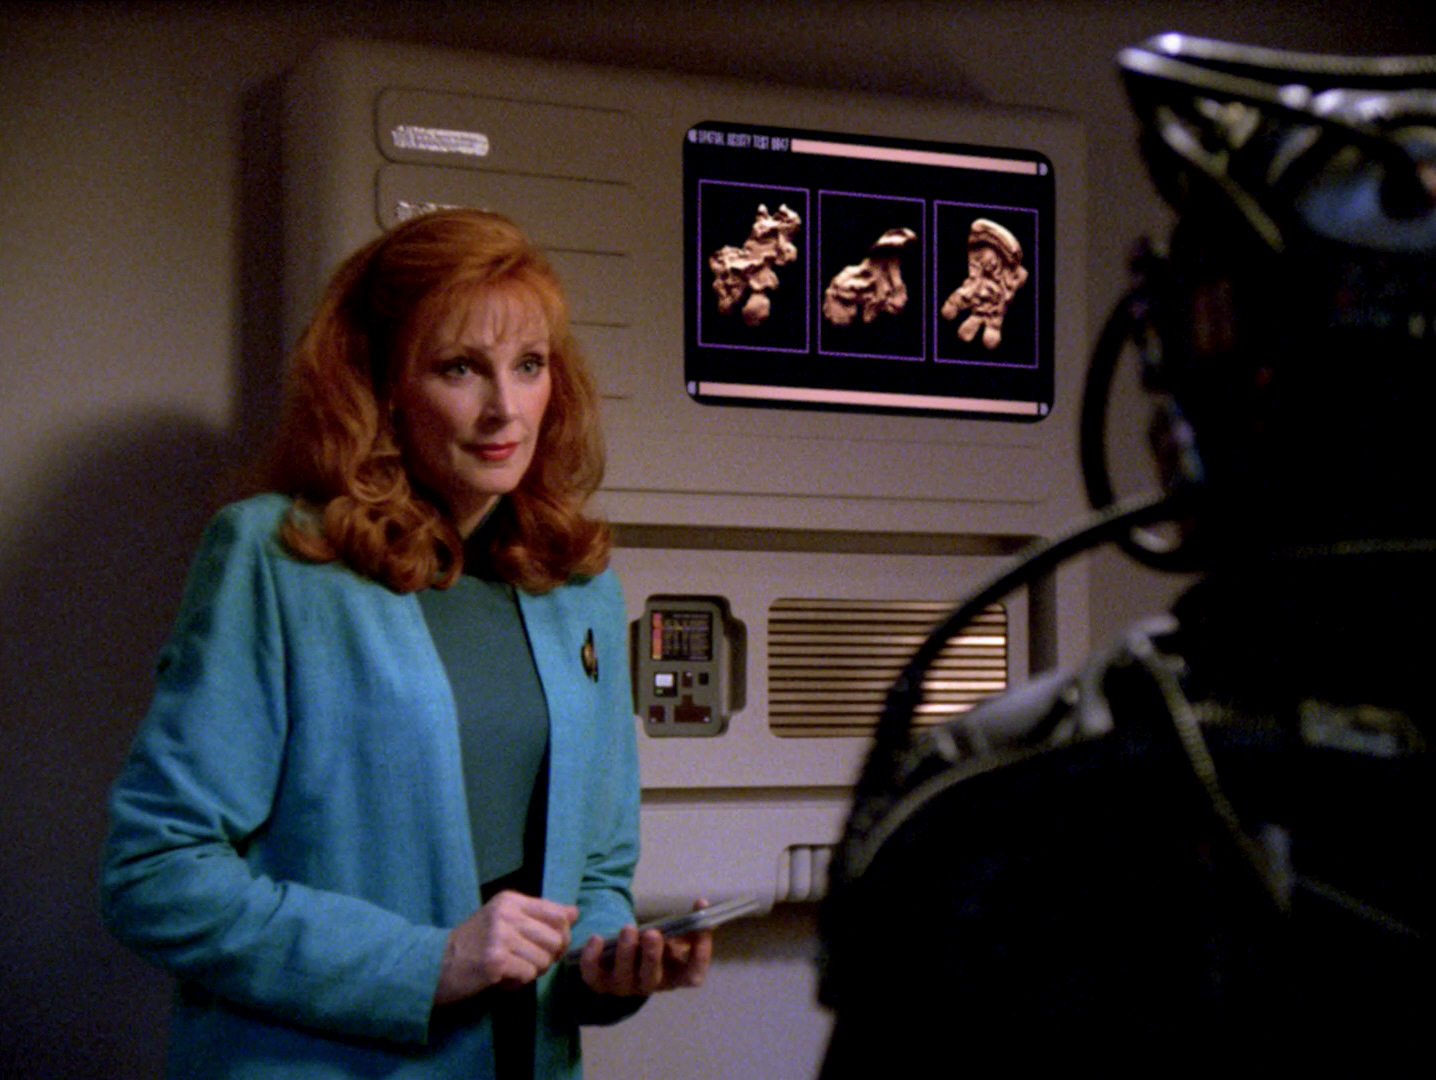
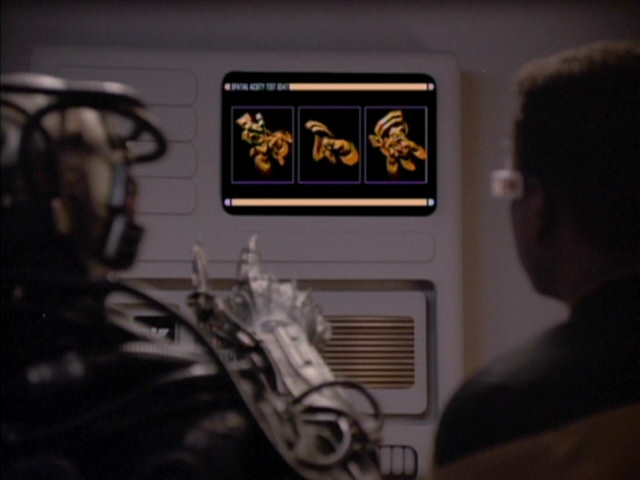
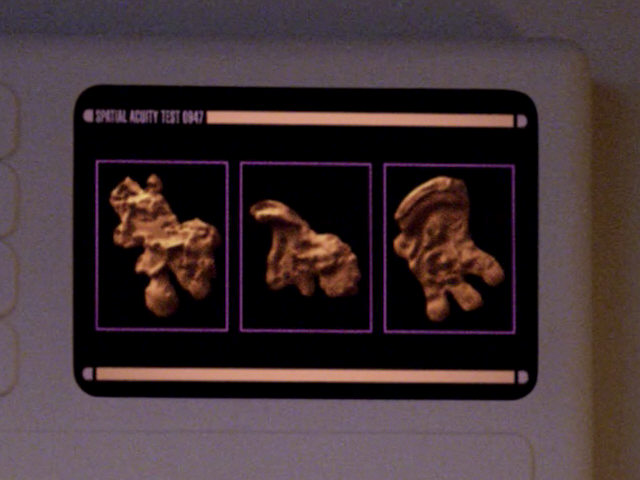
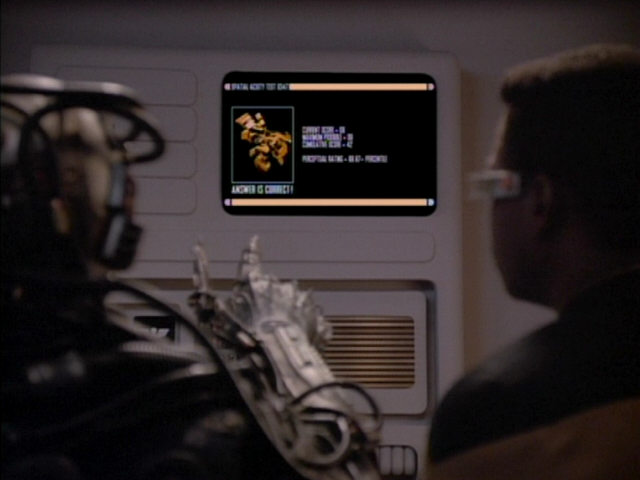
| Crusher used the same medical scanner on Riker in "Shades of Gray" and will use it to scan Picard in "The Inner Light". | 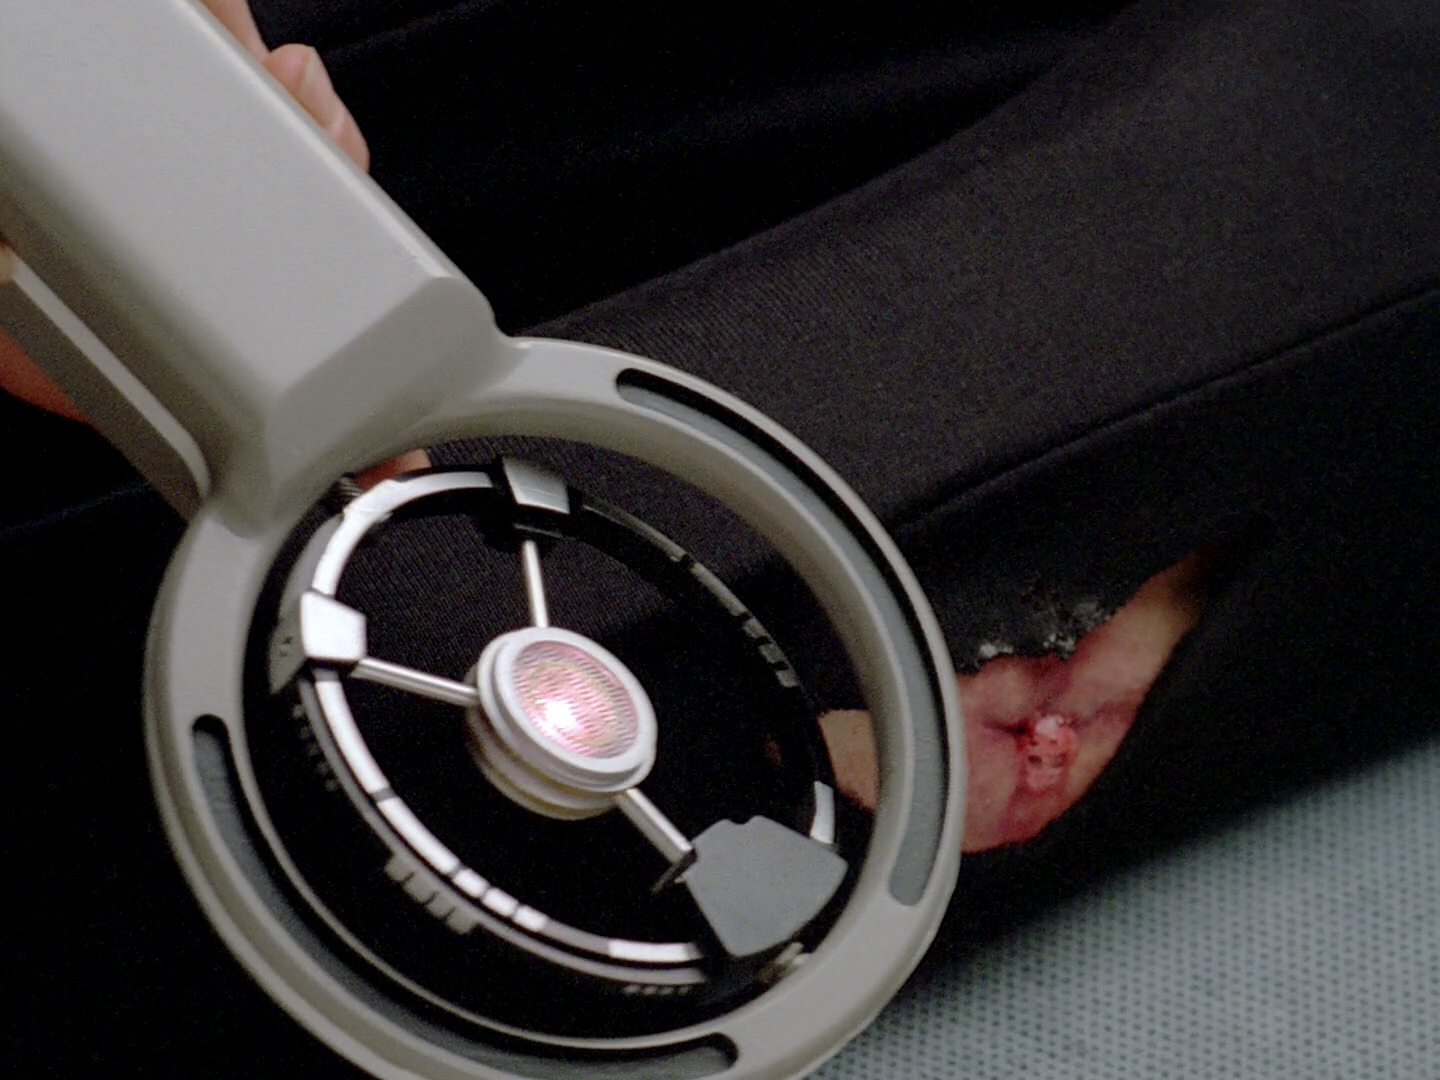 "Shades of Gray" |
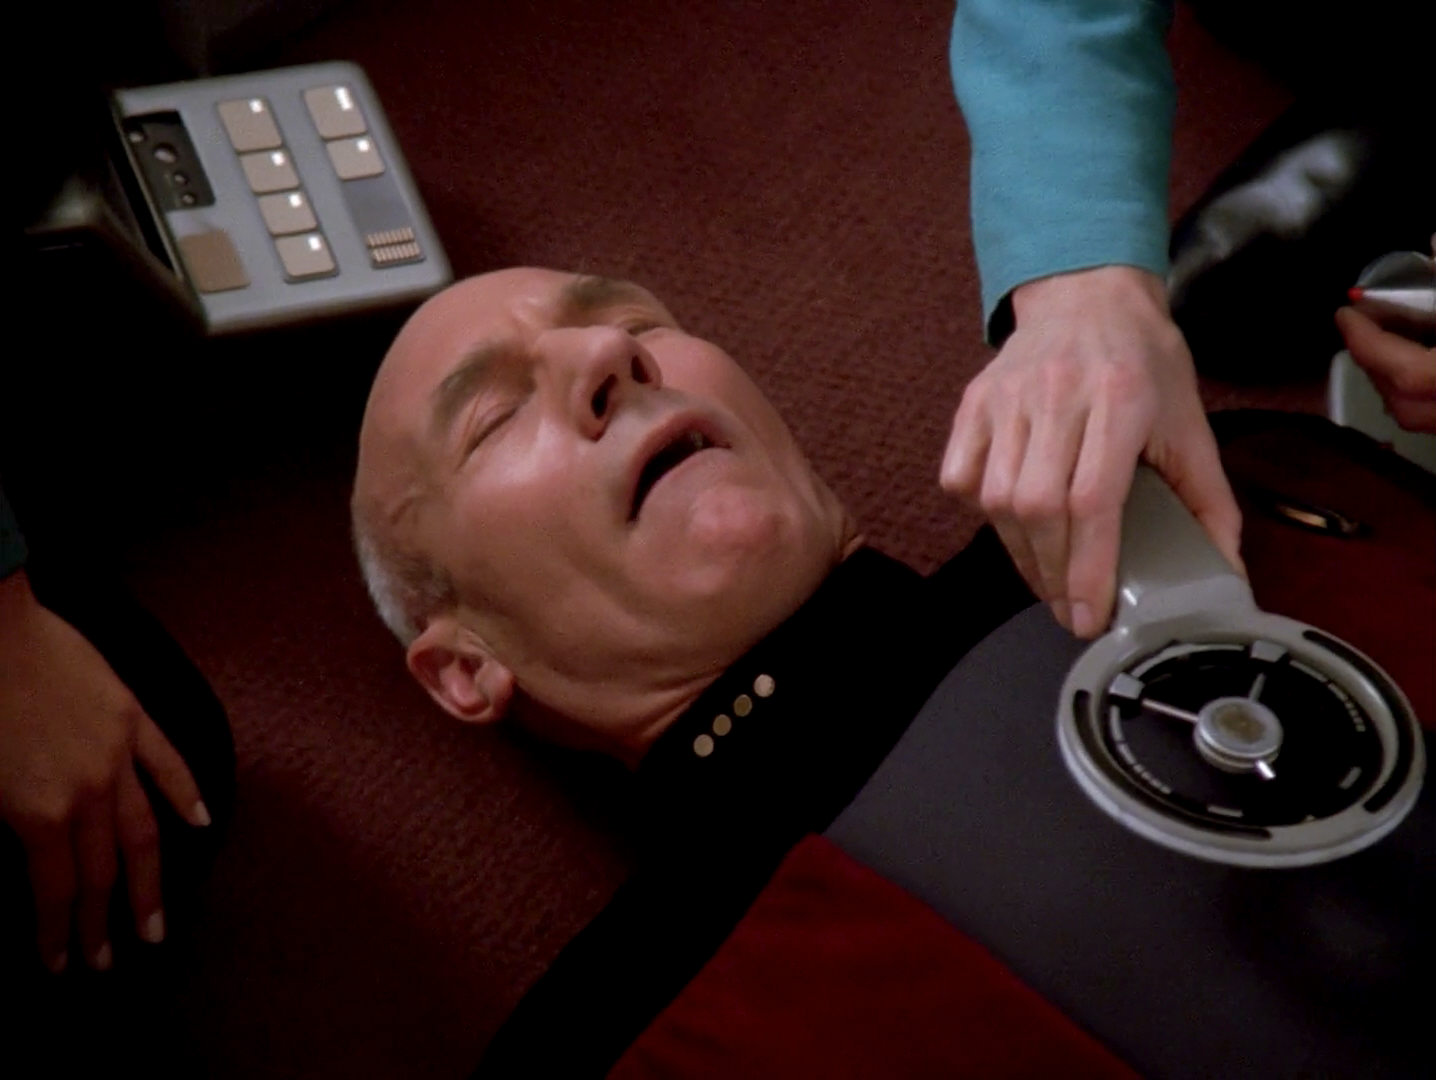 "The Inner Light" |
 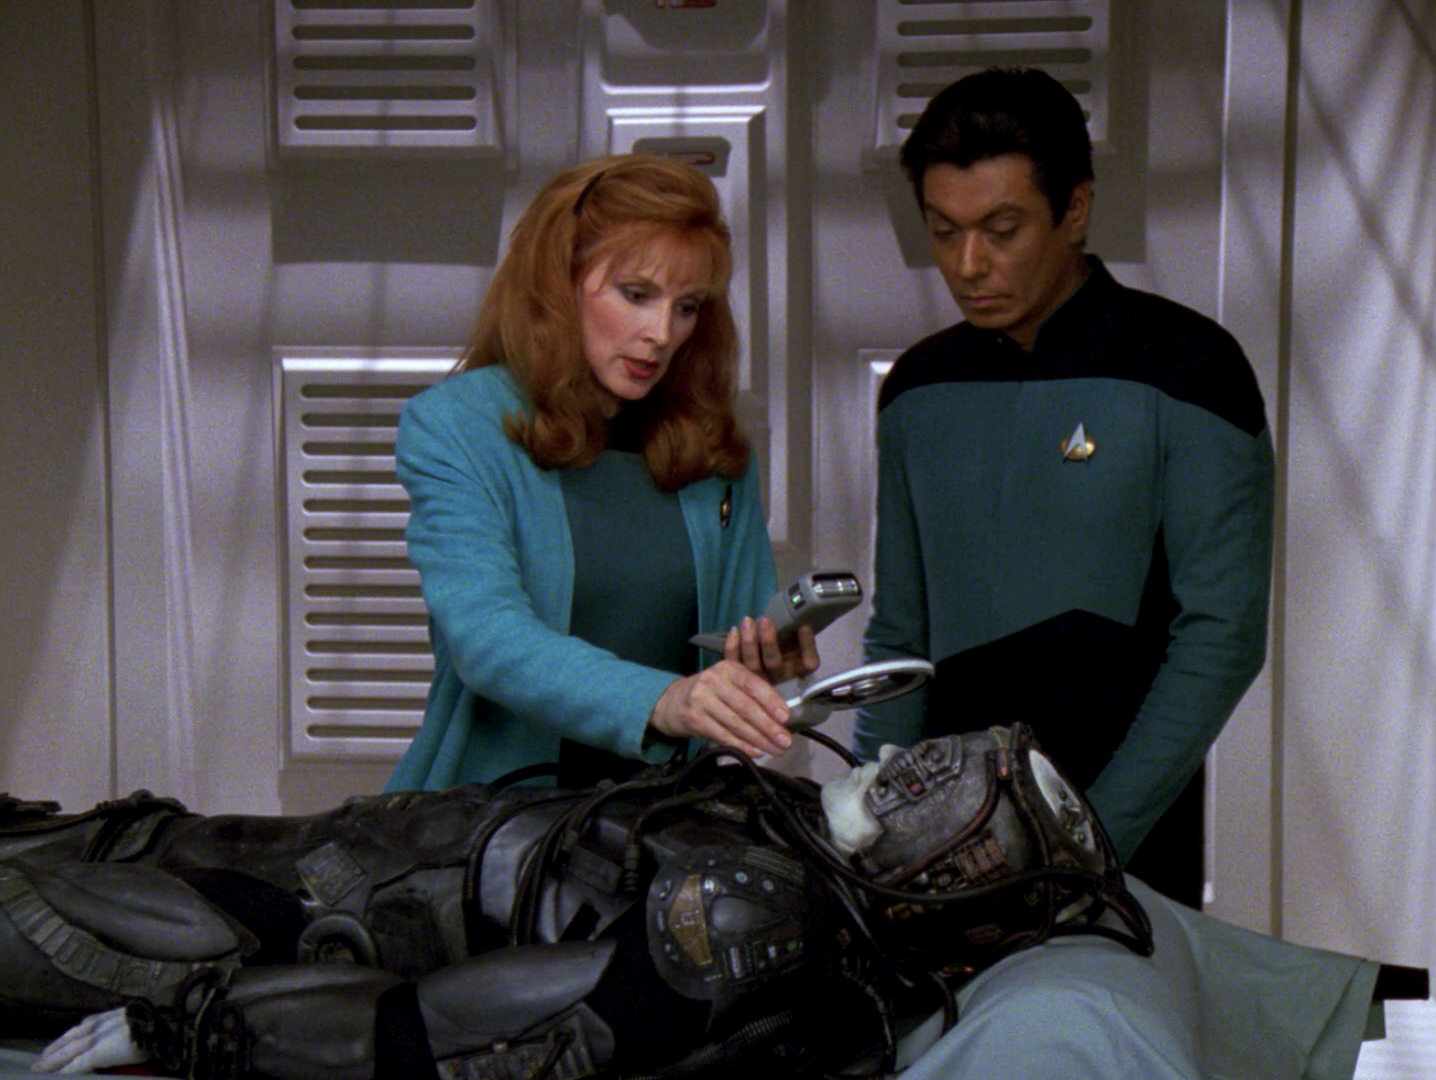 |
The tools in HD. |
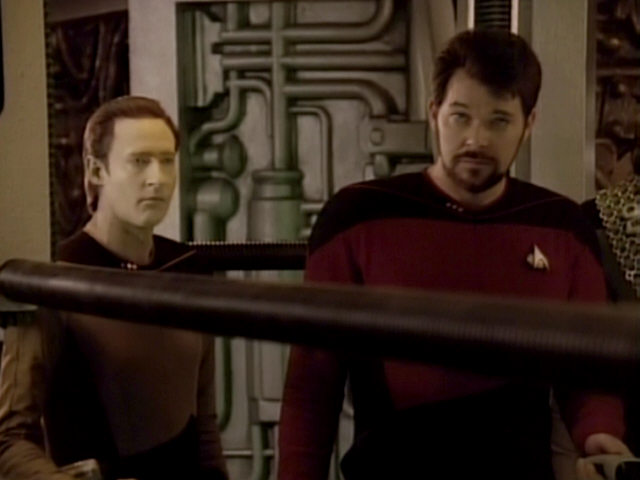
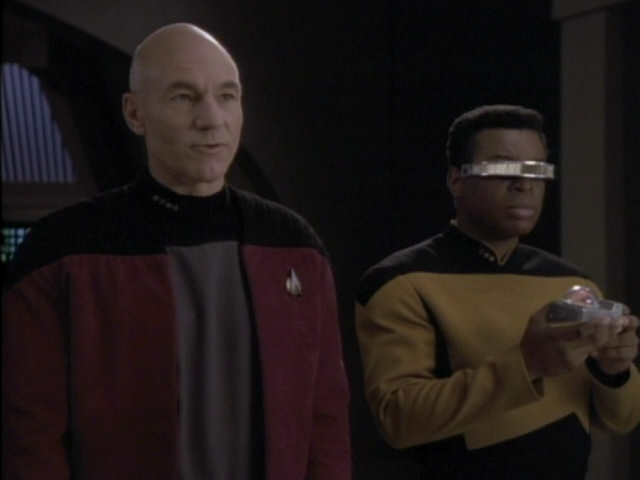
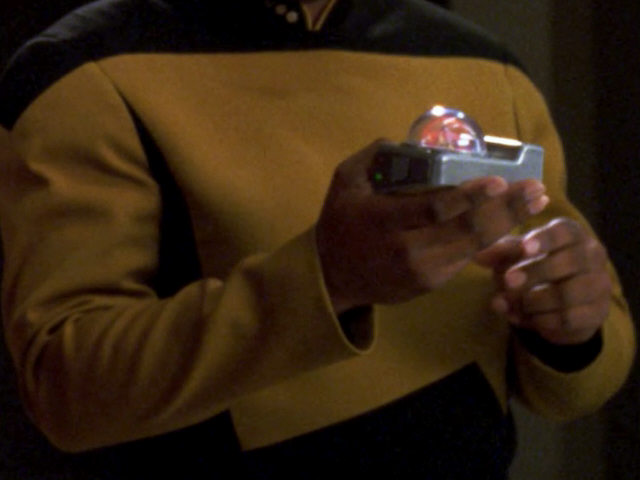
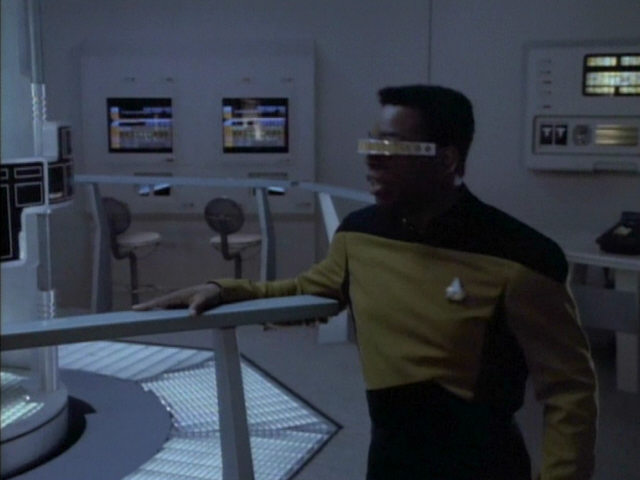
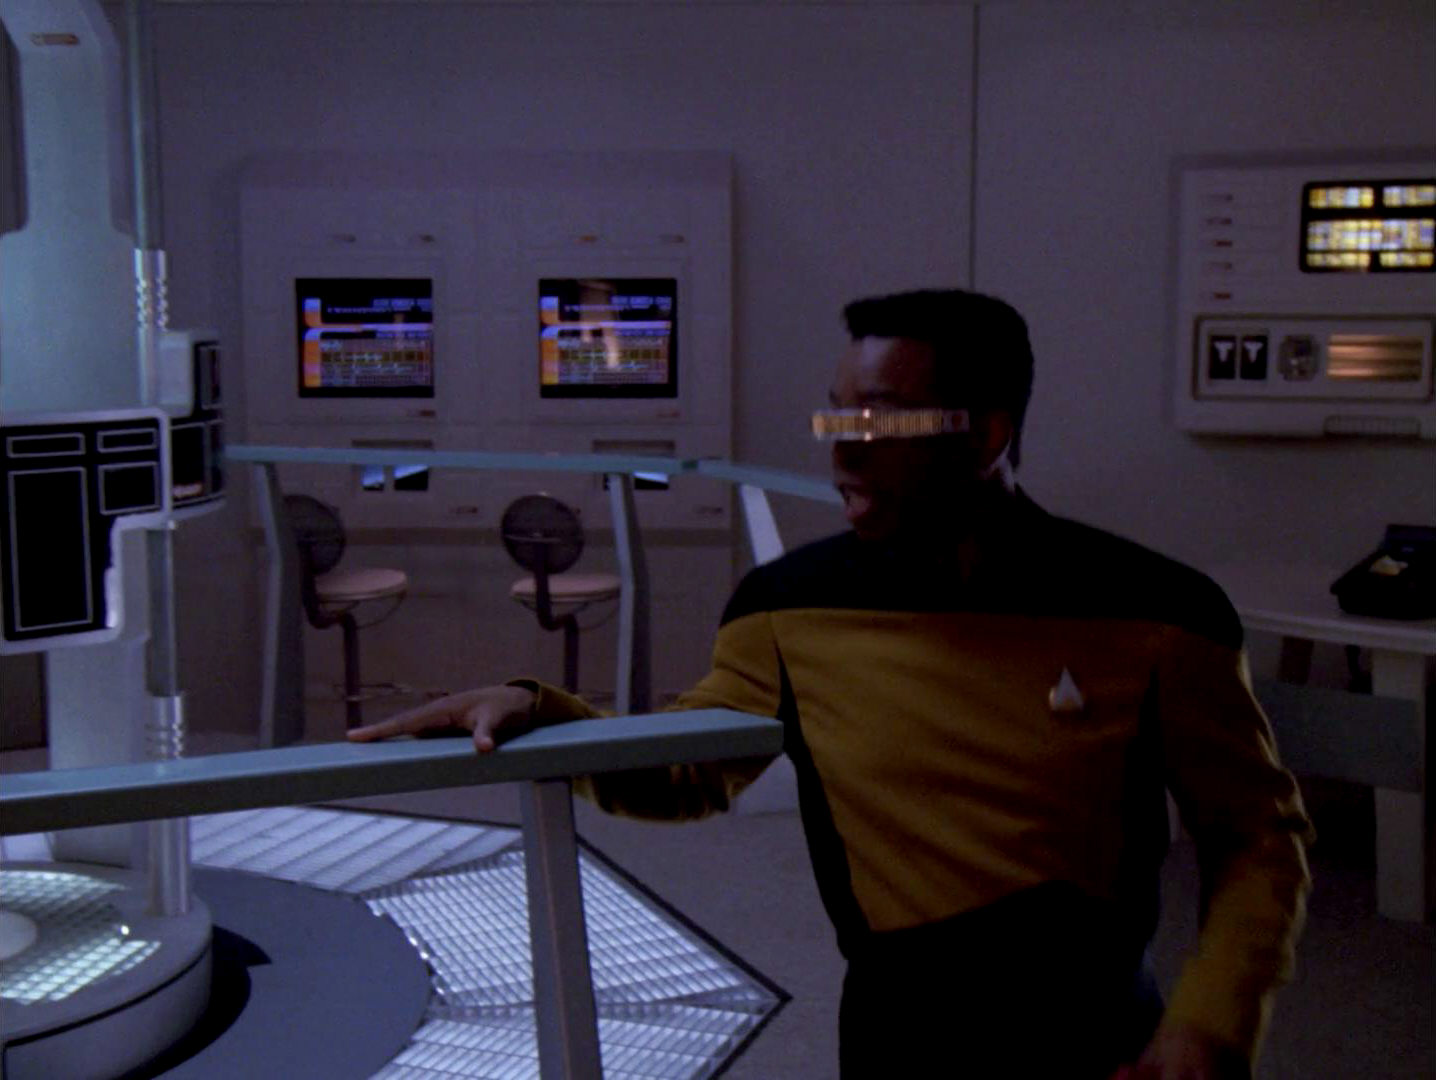
| The portable damping field generator Geordi is holding in his hands in this scene will later reappear on Star Trek: Voyager. In "Dreadnought", it is used as a communications scrambler and in "Living Witness" it is identified as an EMH backup module. | 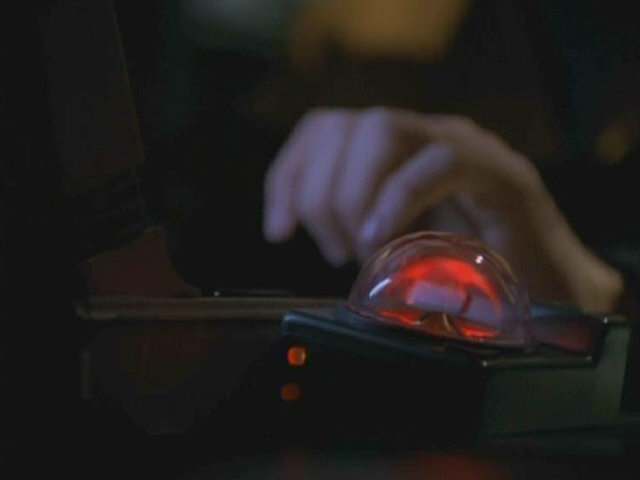 VOY: "Dreadnought" |
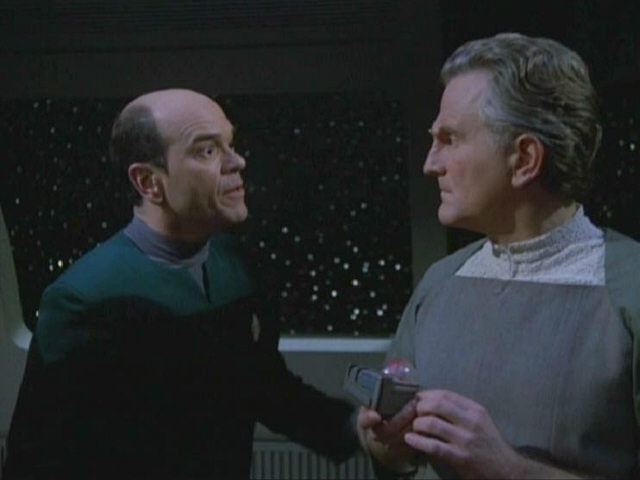 VOY: "Living Witness" |
  |
|
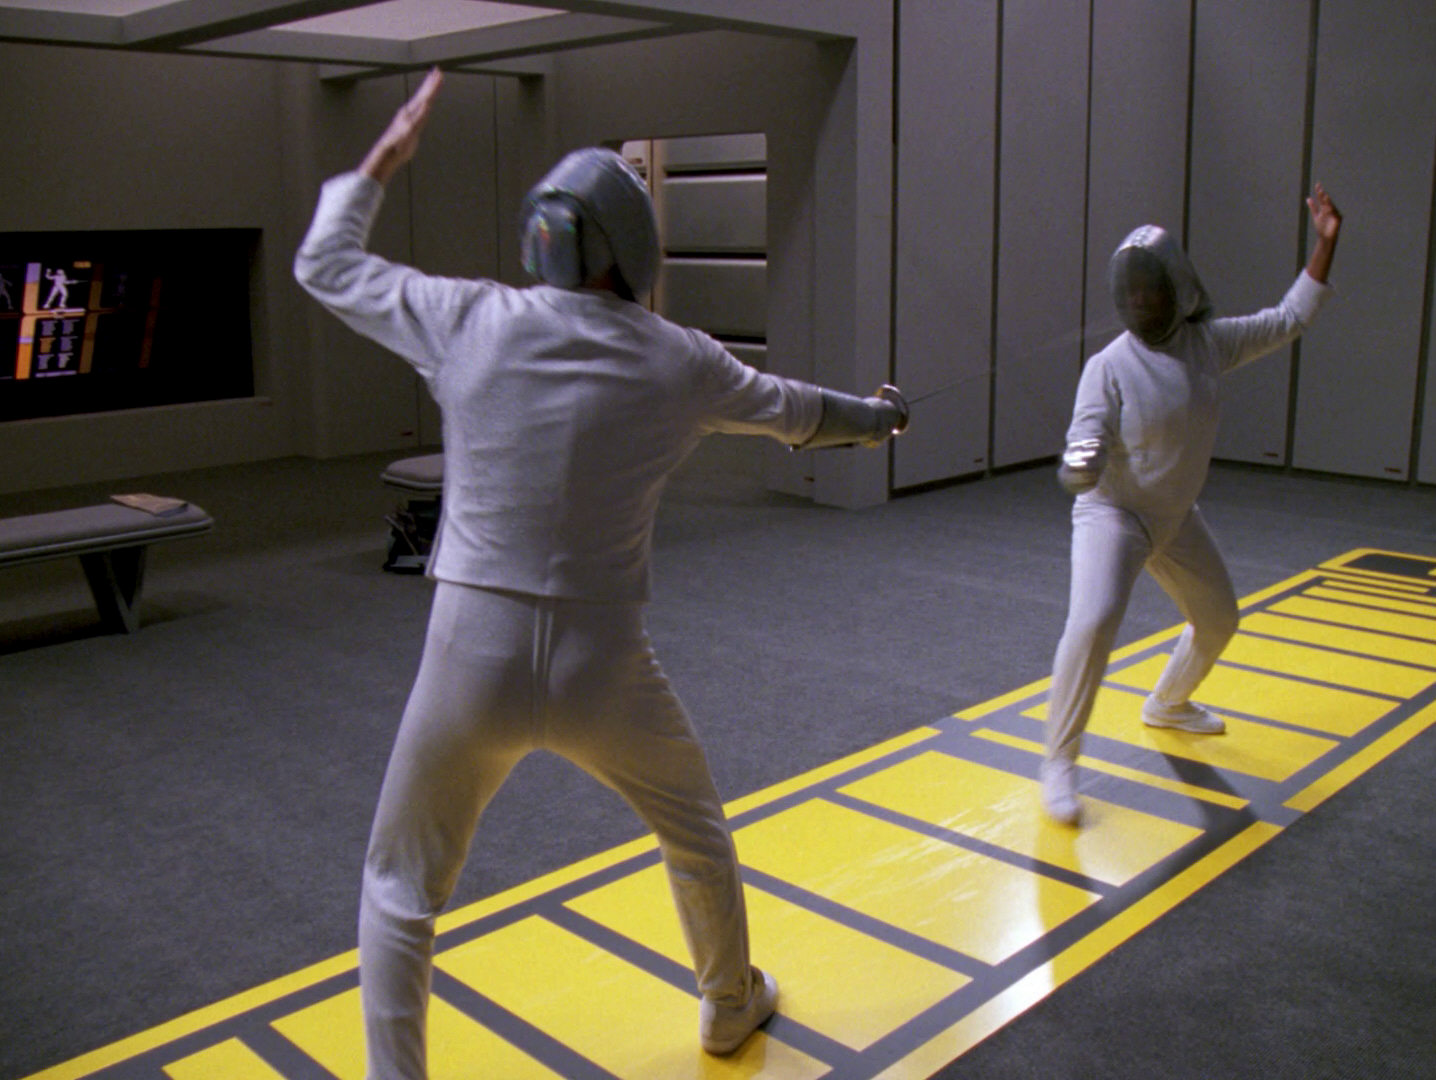
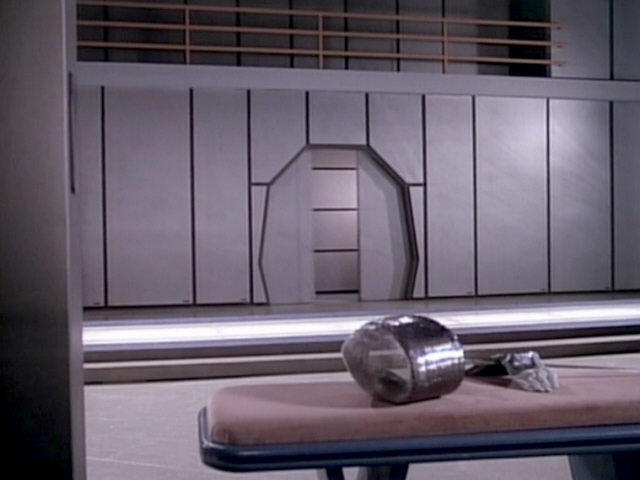
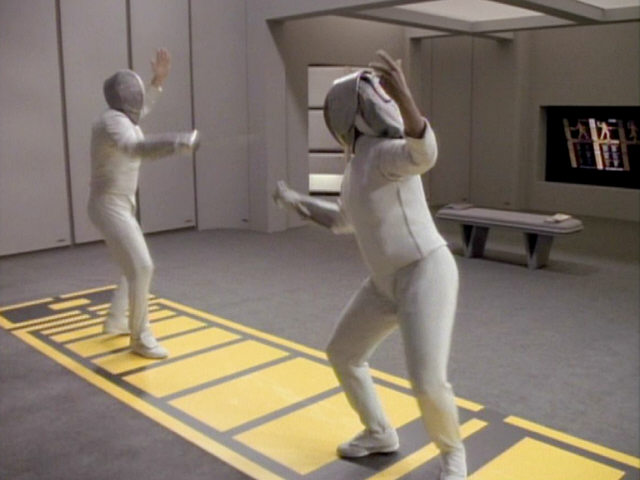
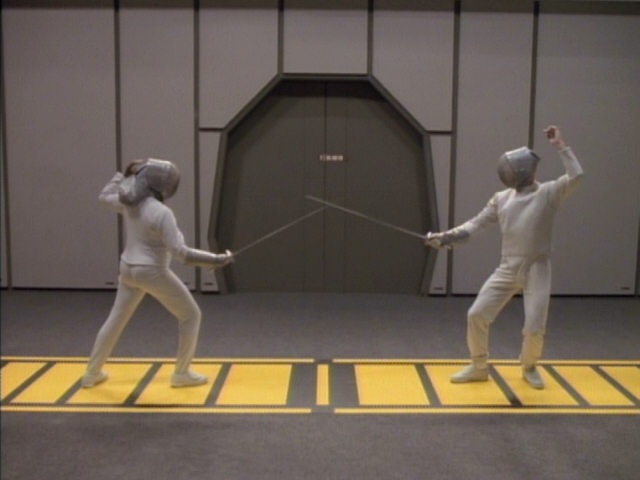
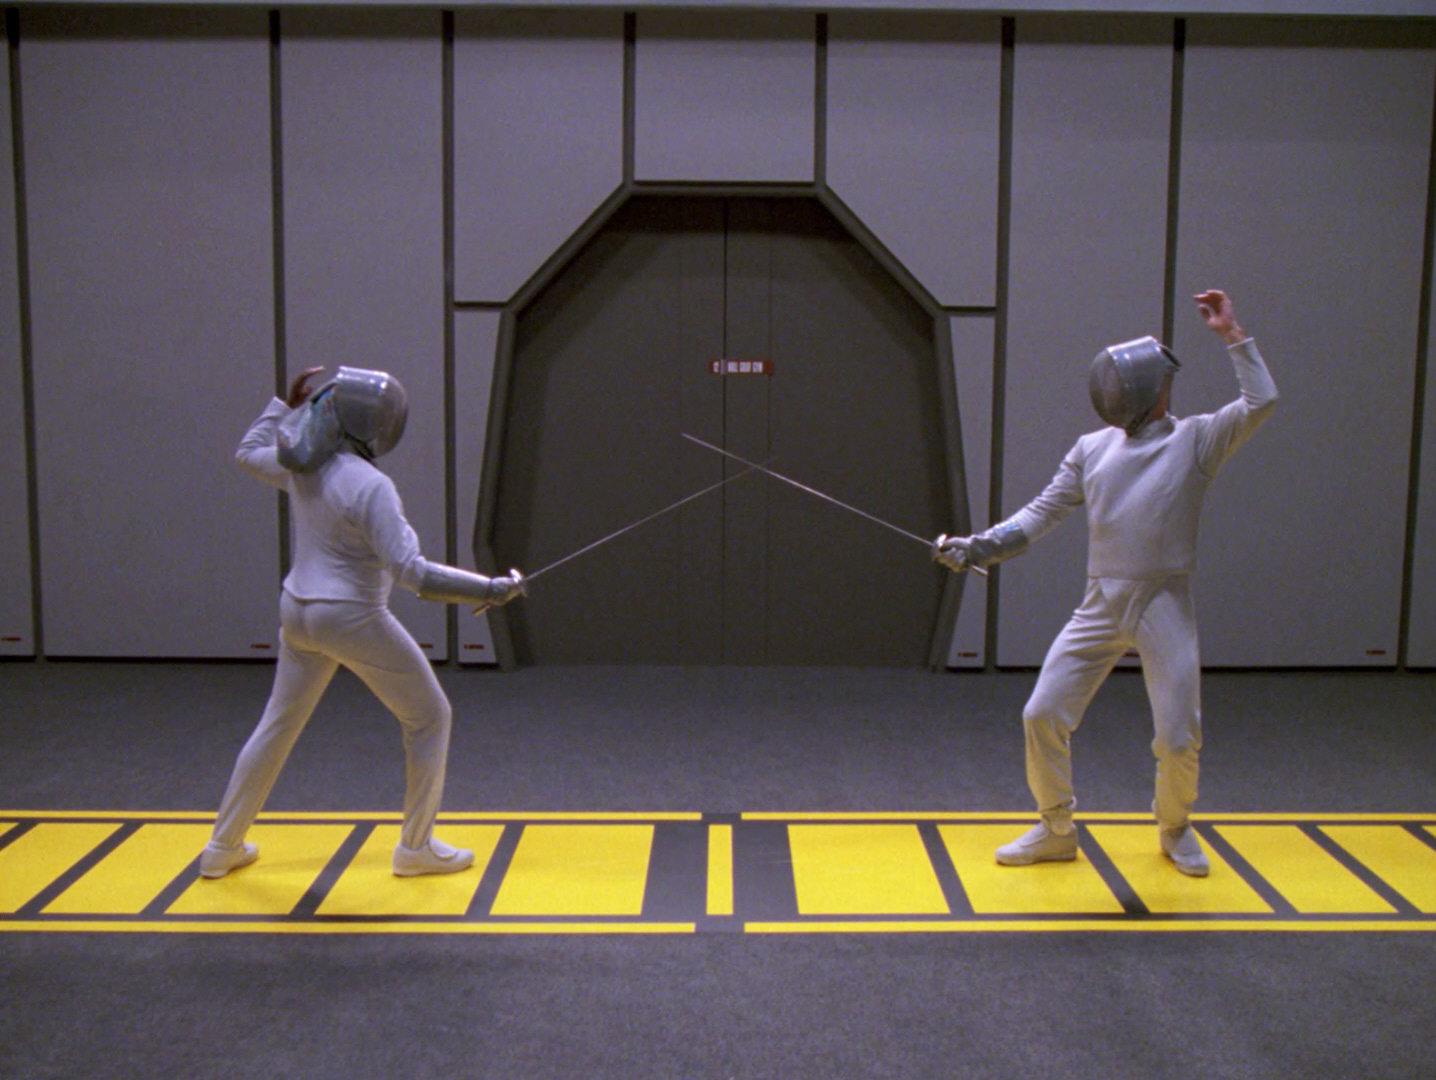
| The gymnasium with a fencing piste last appeared in "We'll Always Have Paris". As can be seen, the back wall is basically still the same, while the wall featuring the LCARS displays has changed considerably. | 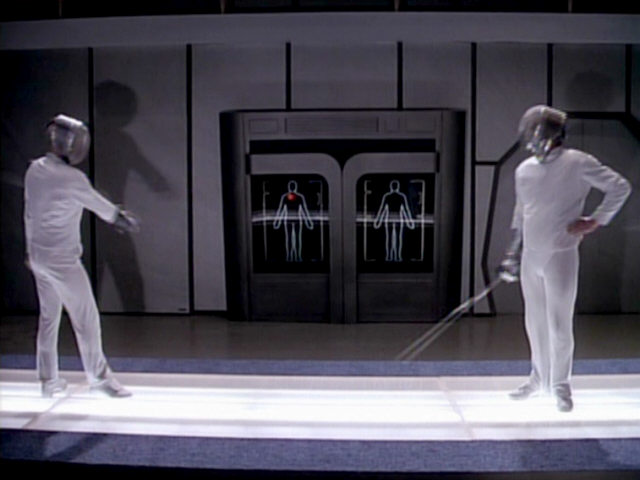 "We'll Always Have Paris" |
  |
The fencing piste in HD. | |
 "We'll Always Have Paris" |
  |
|||
  |
||||
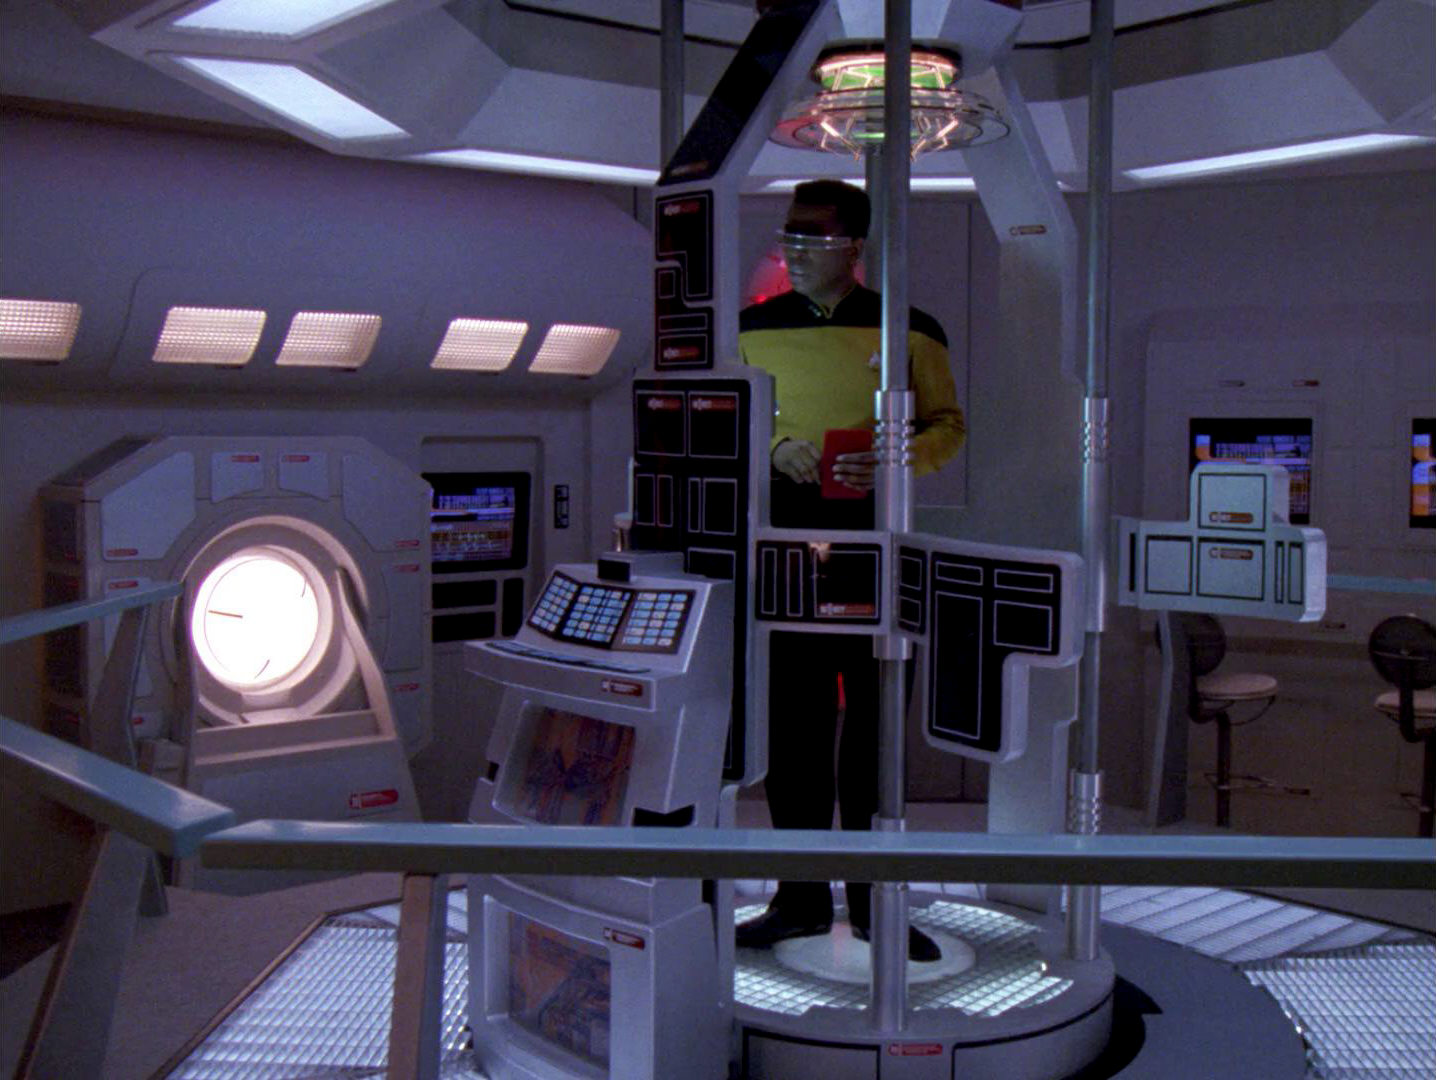
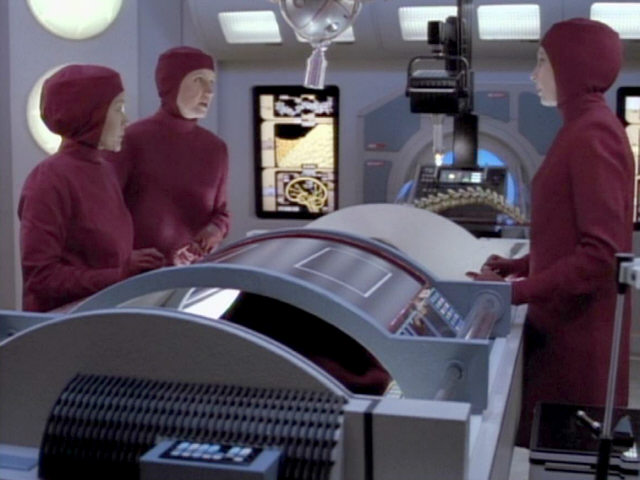
The section of the brig that features the control consoles can be seen in this screenshot. Like in earlier appearances of the set, the back wall is a re-use of the set which was originally used as the bridge of the USS Enterprise in the first four Star Trek films. After many modifications and re-uses, the set last appeared as the bridge of the USS Bozeman in "Cause and Effect". When comparing the brig set here with earlier appearances, it can be seen that the large console, which was still located in the background on an upper level in "The Hunted" and "Déjà Q", has been moved down, as it was in "The Most Toys". The room also features much less consoles in that episode and here. |
 "The Hunted" |
 "The Most Toys" |
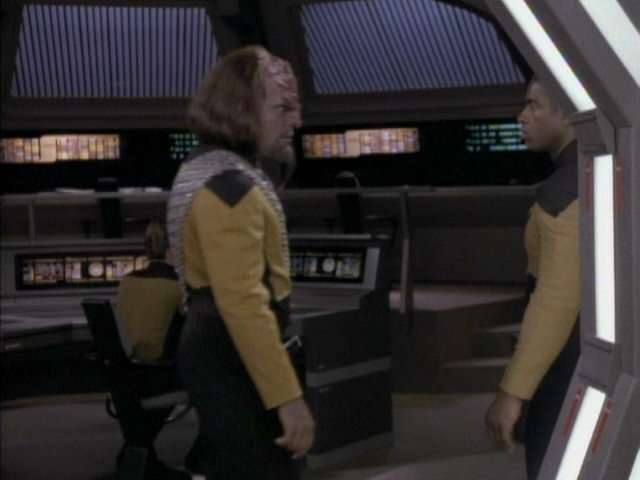 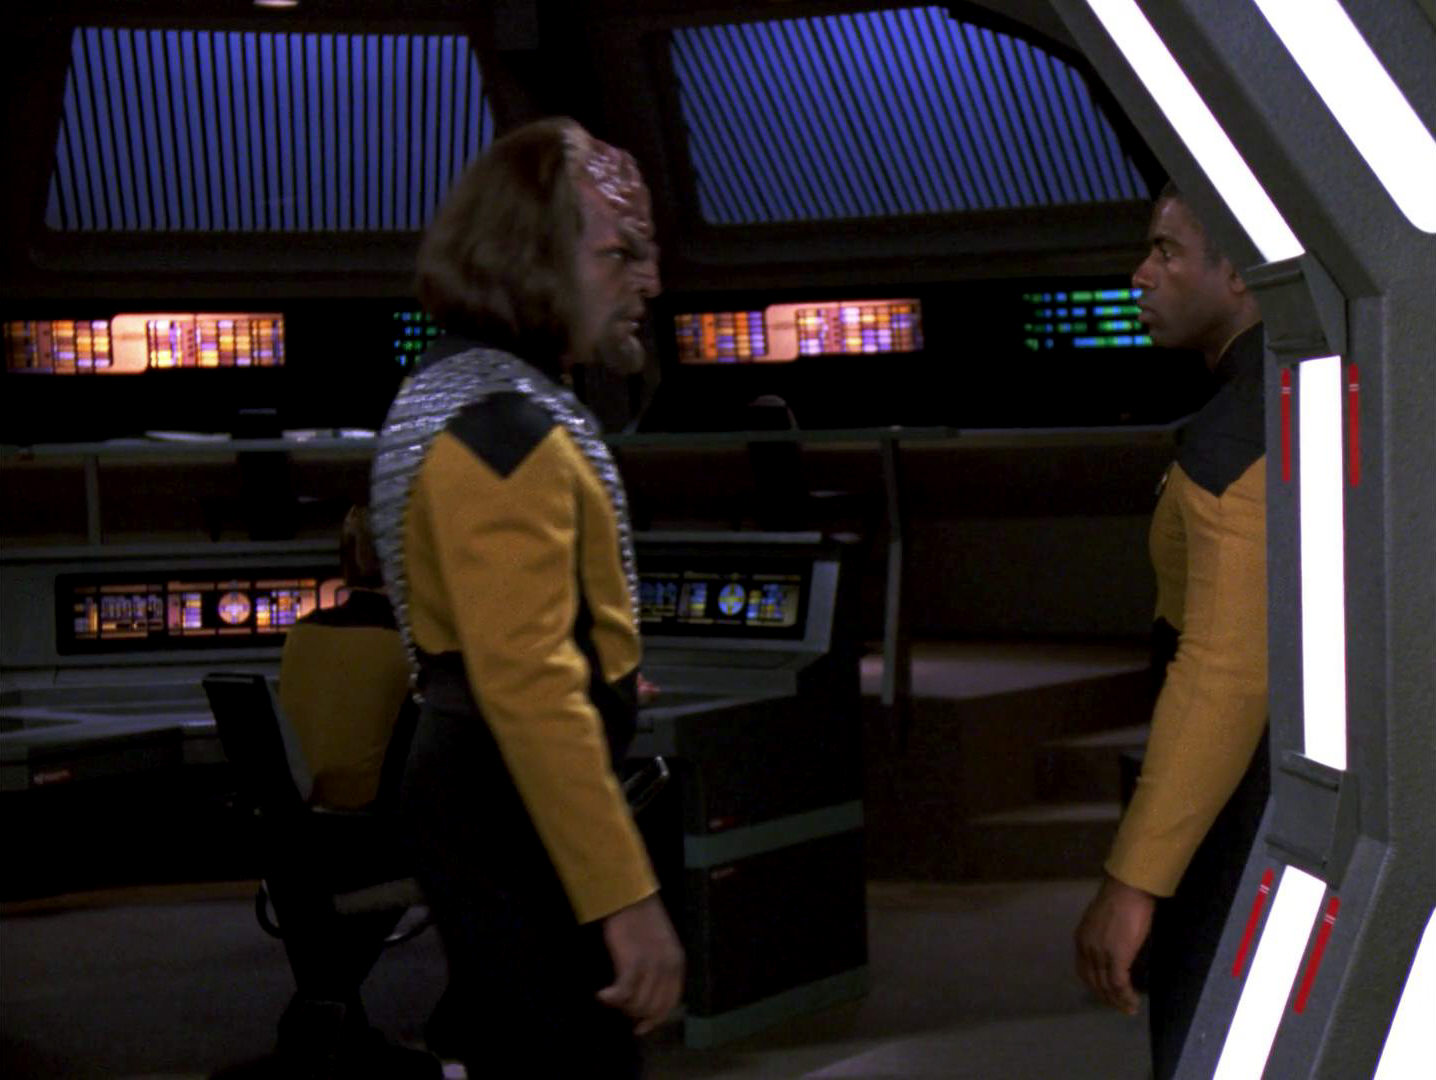 |
The brig in HD. |
 "Déjà Q" |
 "Cause and Effect" |
|||
| The console displayed on the science lab monitor here is still the same that was displayed on the large monitor in the medical lab in "Ethics". |  "Ethics" |
  |
A look at the wall display in HD. | |
| The science lab (with the large central lift, originally created for the cybernetics lift in "The Offspring") last looked like this in the season 4 opener "The Best of Both Worlds II". The set had appeared since then in "Brothers" and "Ethics", though. Between the last appearance of the set, in "Ethics" and this episode, one major modification has been made: The two wall monitors behind La Forge and the two monitors to the left and right of the large console with the big light source in the middle now feature monitors that display animated graphics. In all previous appearances, these wall displays featured static backlit graphics. |  "The Best of Both Worlds II" |
 "Ethics" |
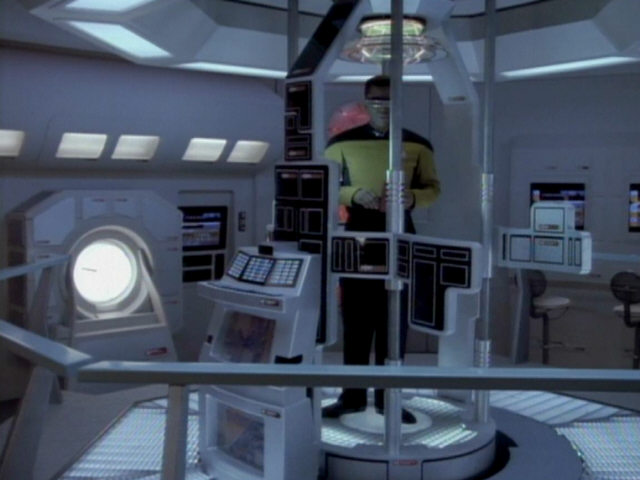  |
The science lab in HD. |
 "The Best of Both Worlds II" |
 "Ethics" |
  |
||
| A small black console can be seen on a desk behind Geordi in the second screenshot. This console was originally seen in Dr. Ira Graves's lab in "The Schizoid Man" and also appeared in sickbay in "The Vengeance Factor". |  "The Schizoid Man" |
 "The Vengeance Factor" |
||
Wall consoles like this one have been seen in sickbay since the beginning of season 3. Although they were added to the science lab set for "Ethics", they can be seen much better here. In that episode, the wall panels did not yet feature the two medical caducei seen here. The small console on the table was first seen in the brig in "Déjà Q". |
 "Déjà Q" |
 "The Nth Degree" |
  |
The consoles in HD. |
 "Ethics" |
||||
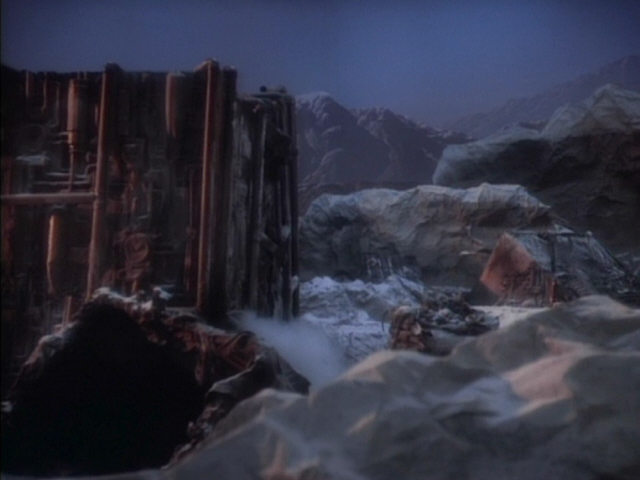
| The USS Enterprise-D in orbit of a moon in the Argolis Cluster. The moon appeared as many other planets in earlier and later episodes, like "The Survivors" (Delta Rana IV) and "The Outcast" (J'naii homeworld). Re-Used Planets in TNG |
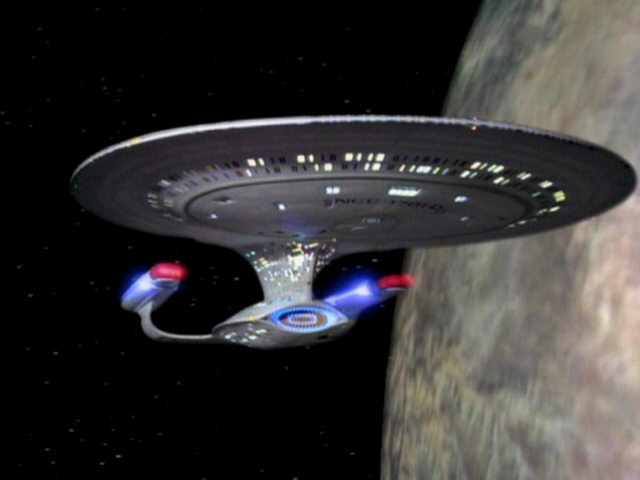  |
A new (and more colorful) planet can be seen in the remastered episode. | ||
| The aforementioned wall console is seen again in this scene. In this appearance, the normally static upper LCARS terminal now features animated graphics of various shapes. | 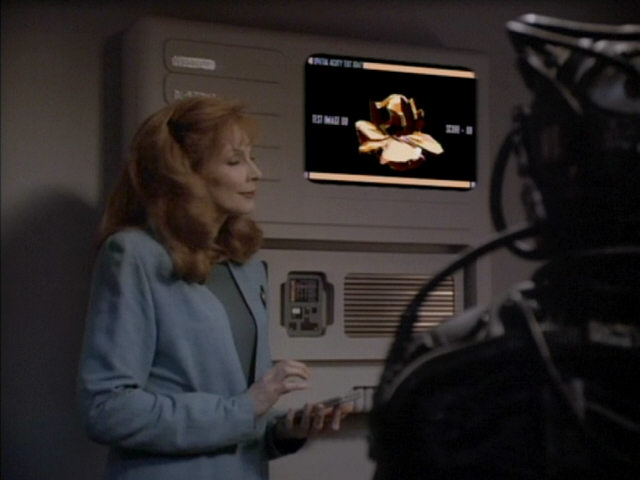 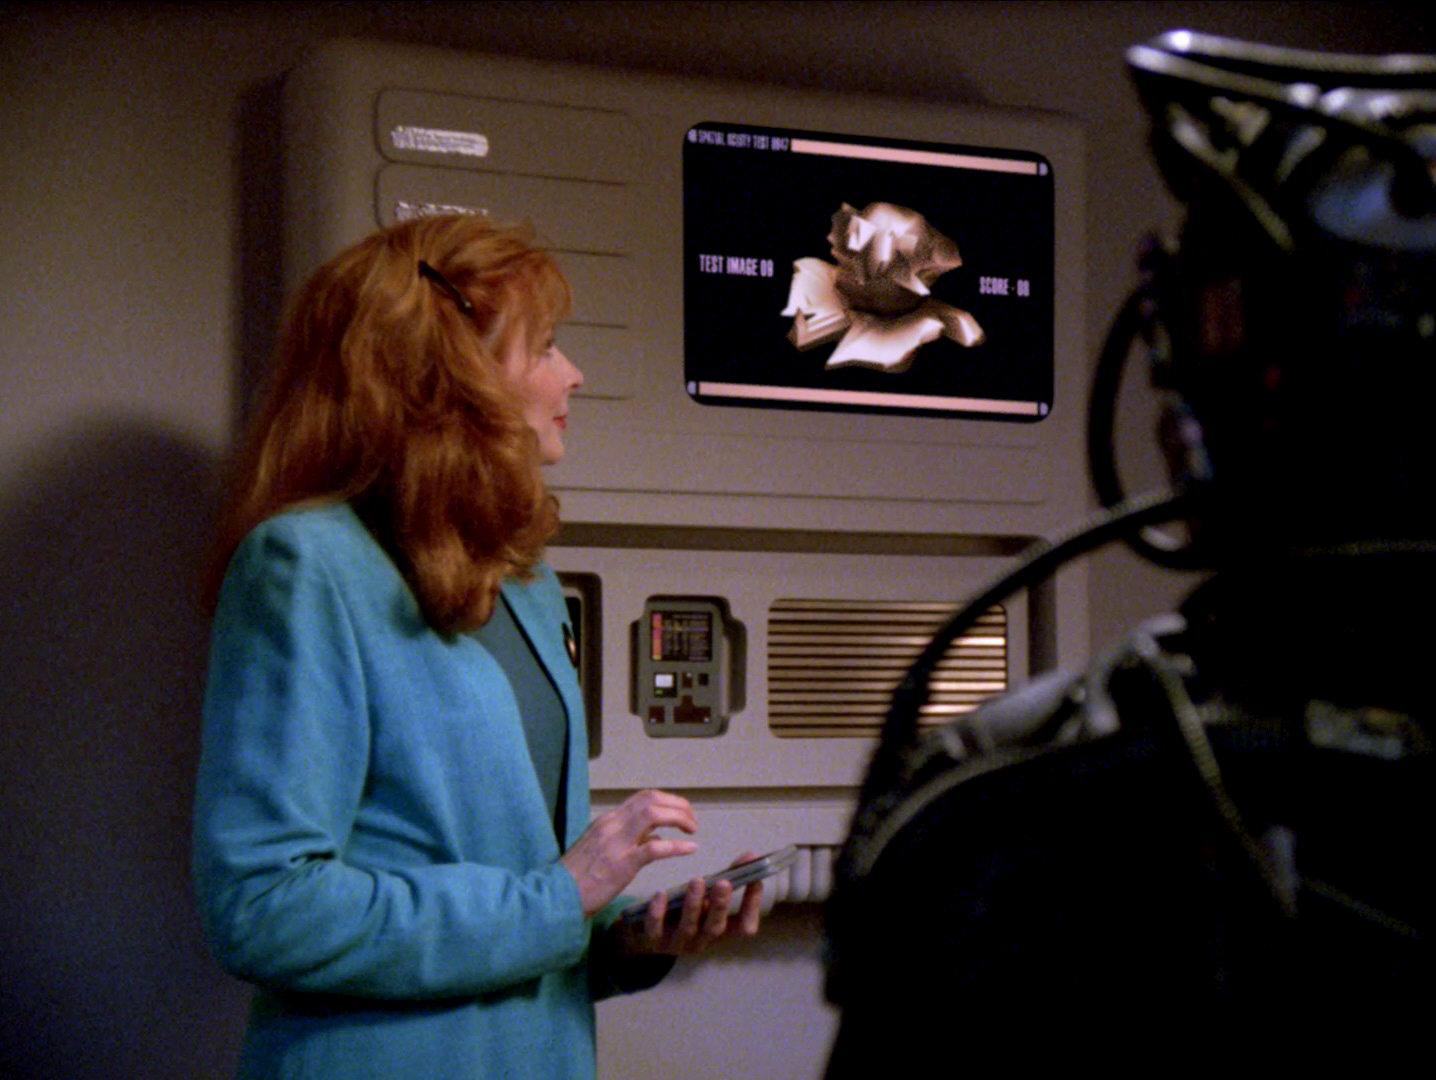 |
The LCARS animation was rebuilt from scratch for TNG-R. | ||
  |
||||
  |
||||
  |
||||
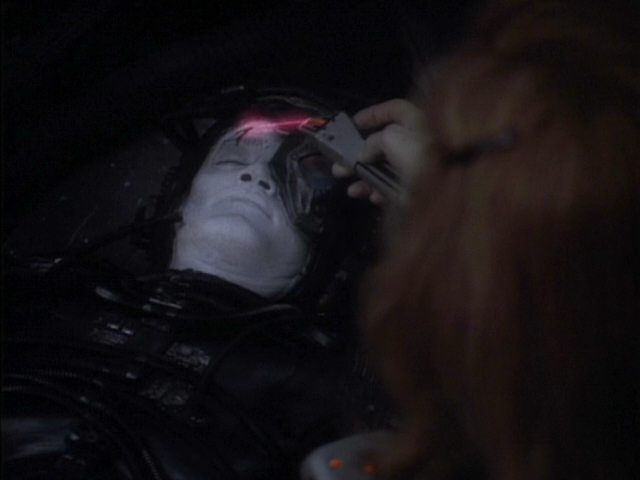
| When Hugh's eyepiece is removed, two blue LED lights can be seen. This is one of the early examples of a blue LED on TNG. | 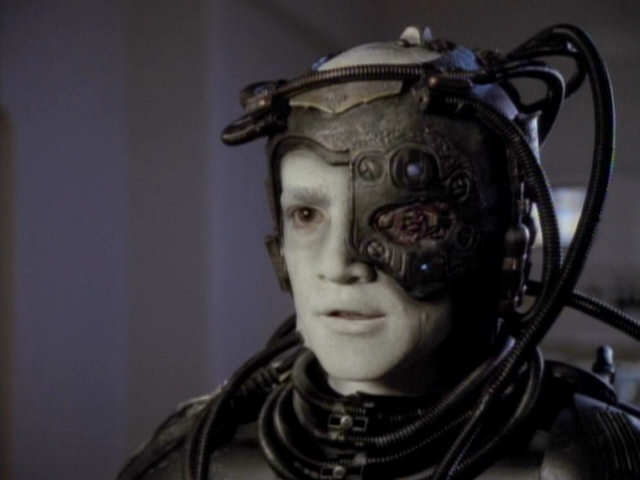 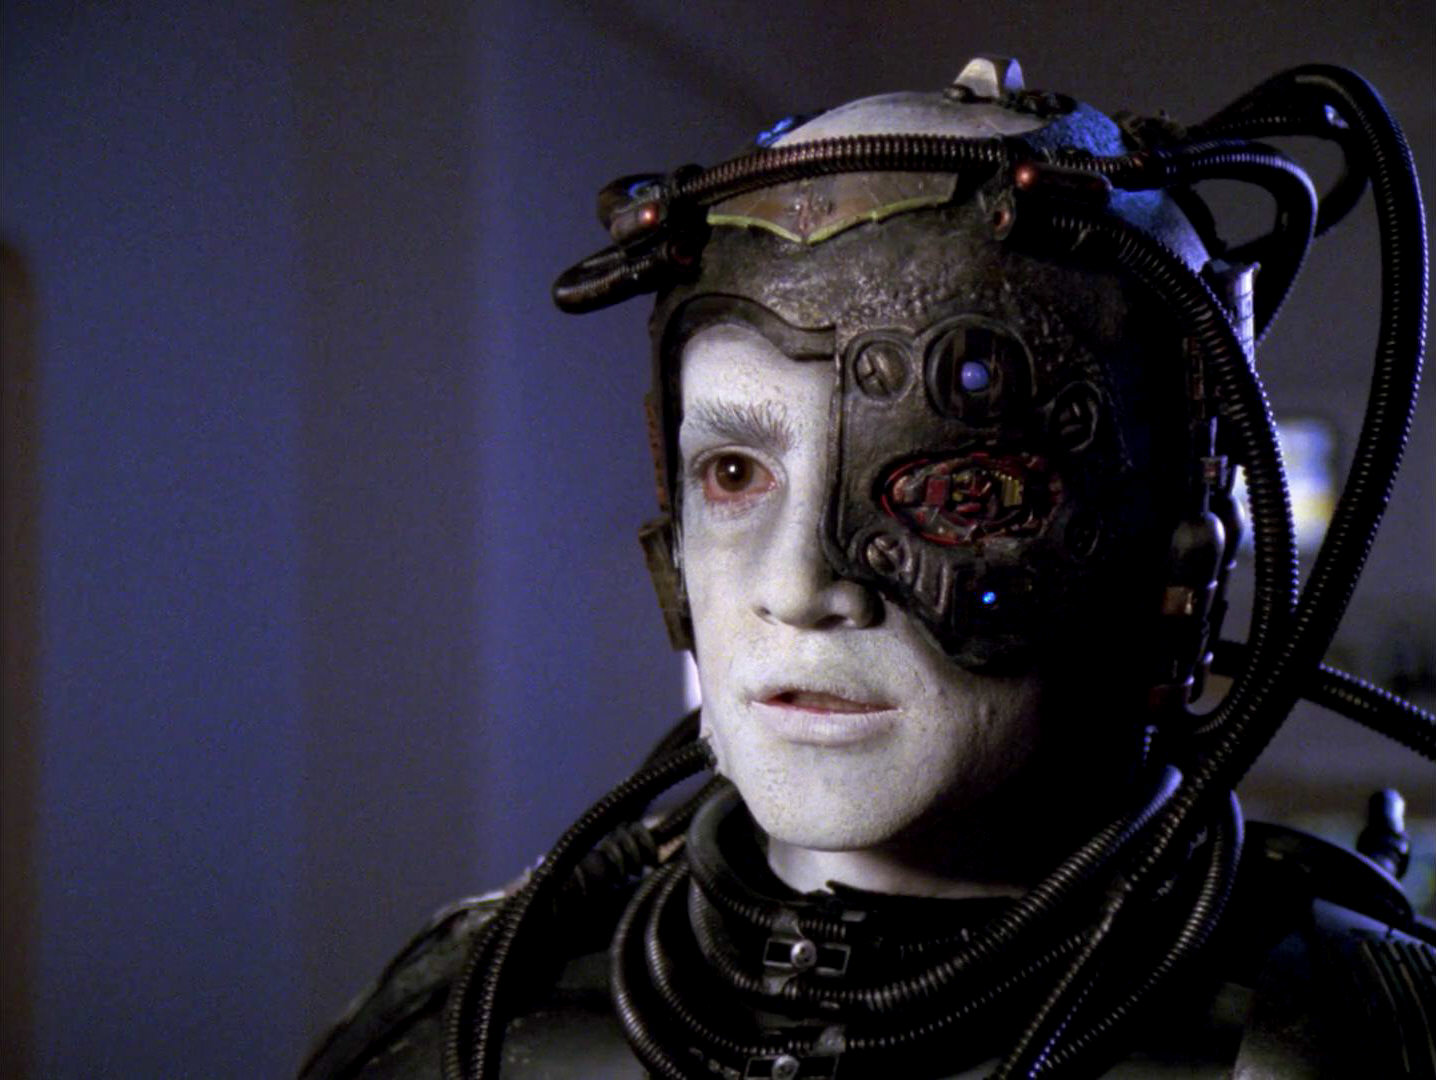 |
A good look at Hugh in HD. | ||
| The USS Enterprise-D, still in orbit of an unnamed moon in the Argolis Cluster. | 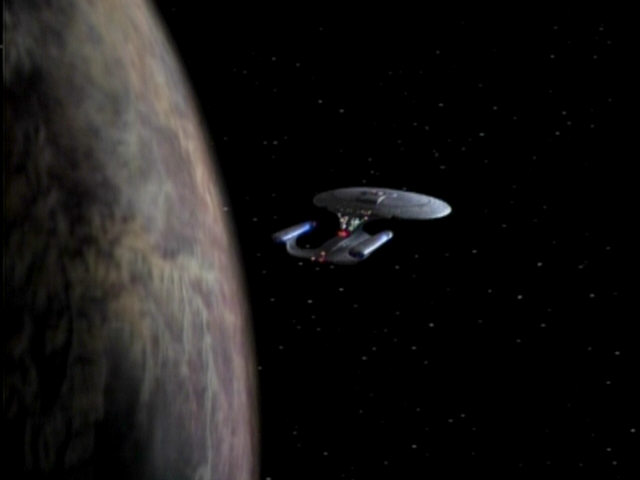 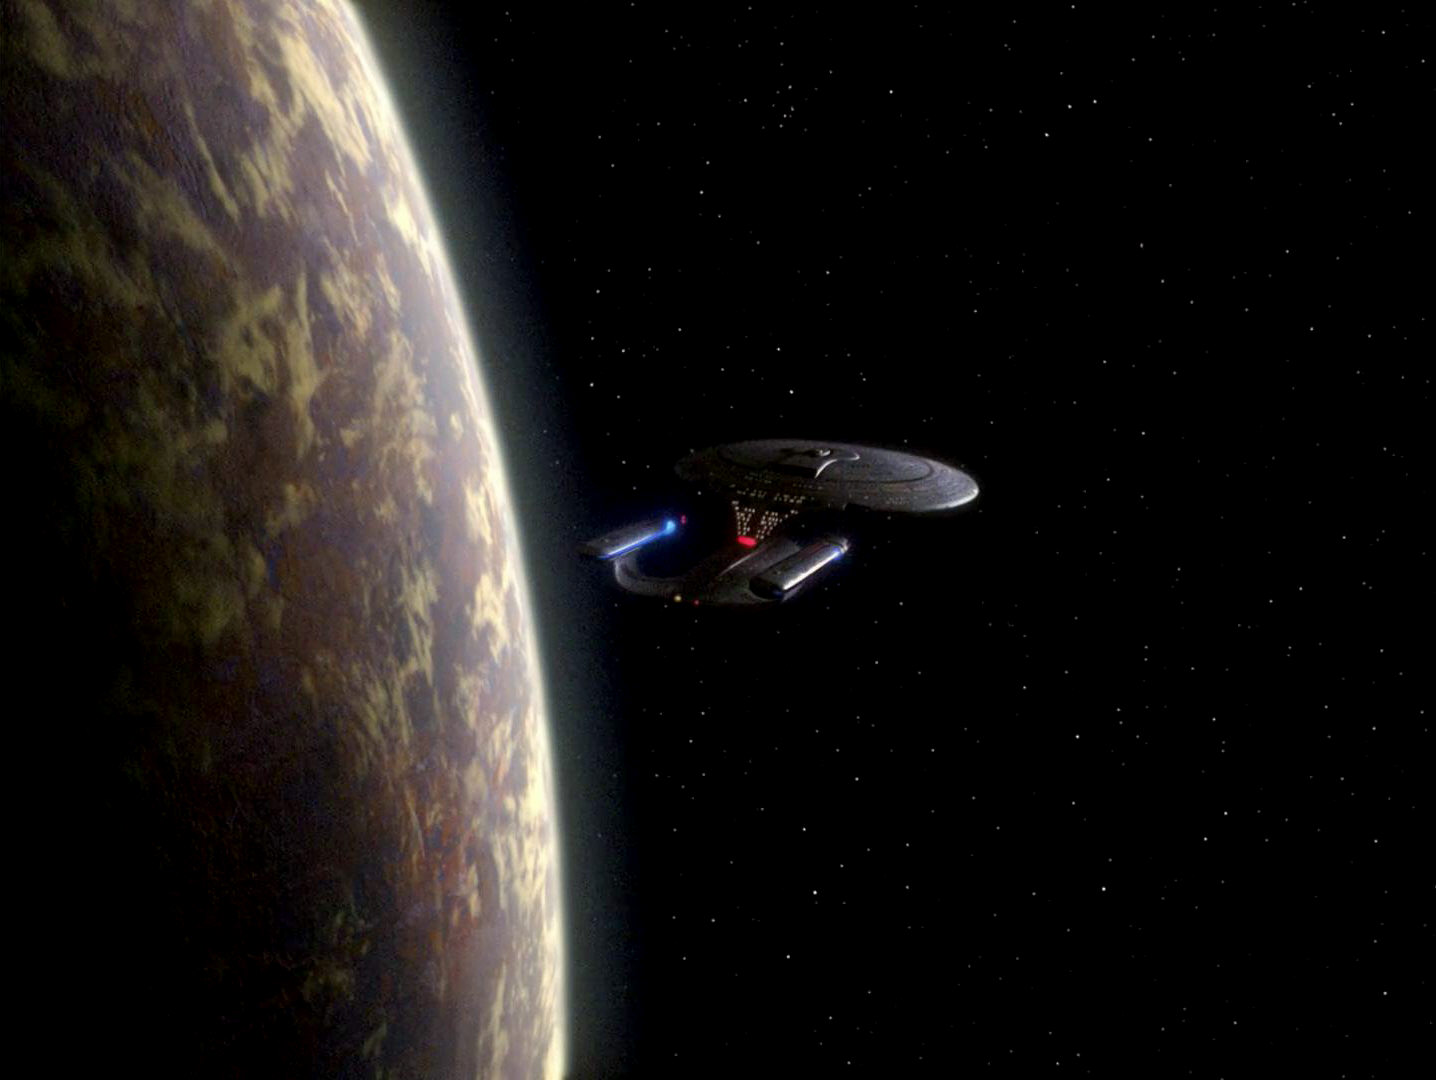 |
Another look at the new planet. | ||
| A nice close-up of an engineering tool often used by La Forge. It was first used by Sulu in the third Star Trek film. | 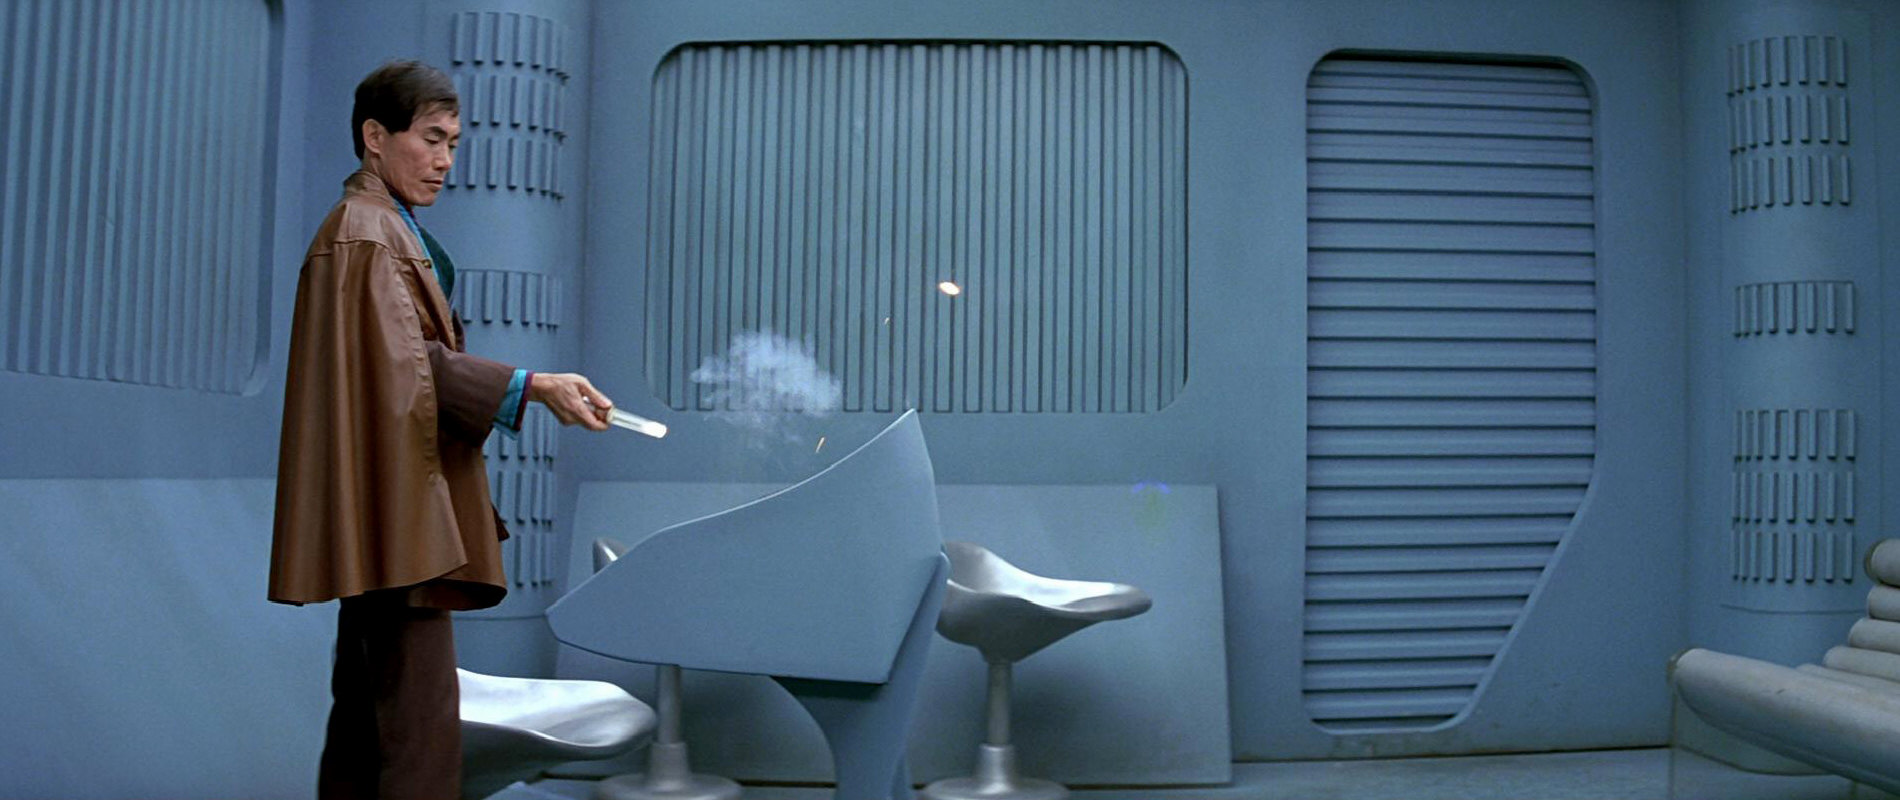 "Star Trek III" |
  |
The tool and the RAM module in HD. | |
| We can see a 20th century RAM module in Hugh's arm. | 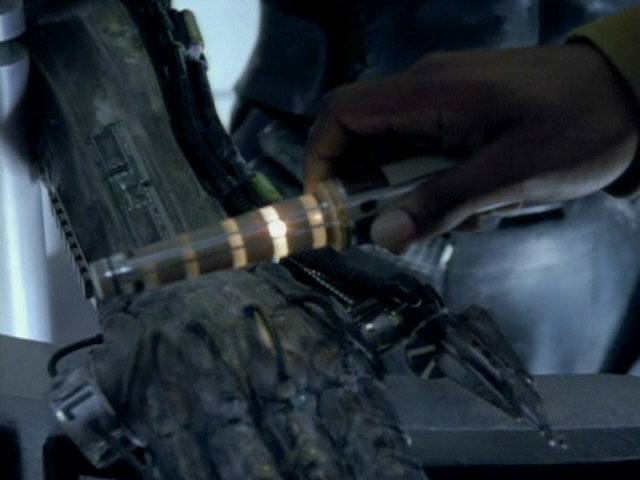 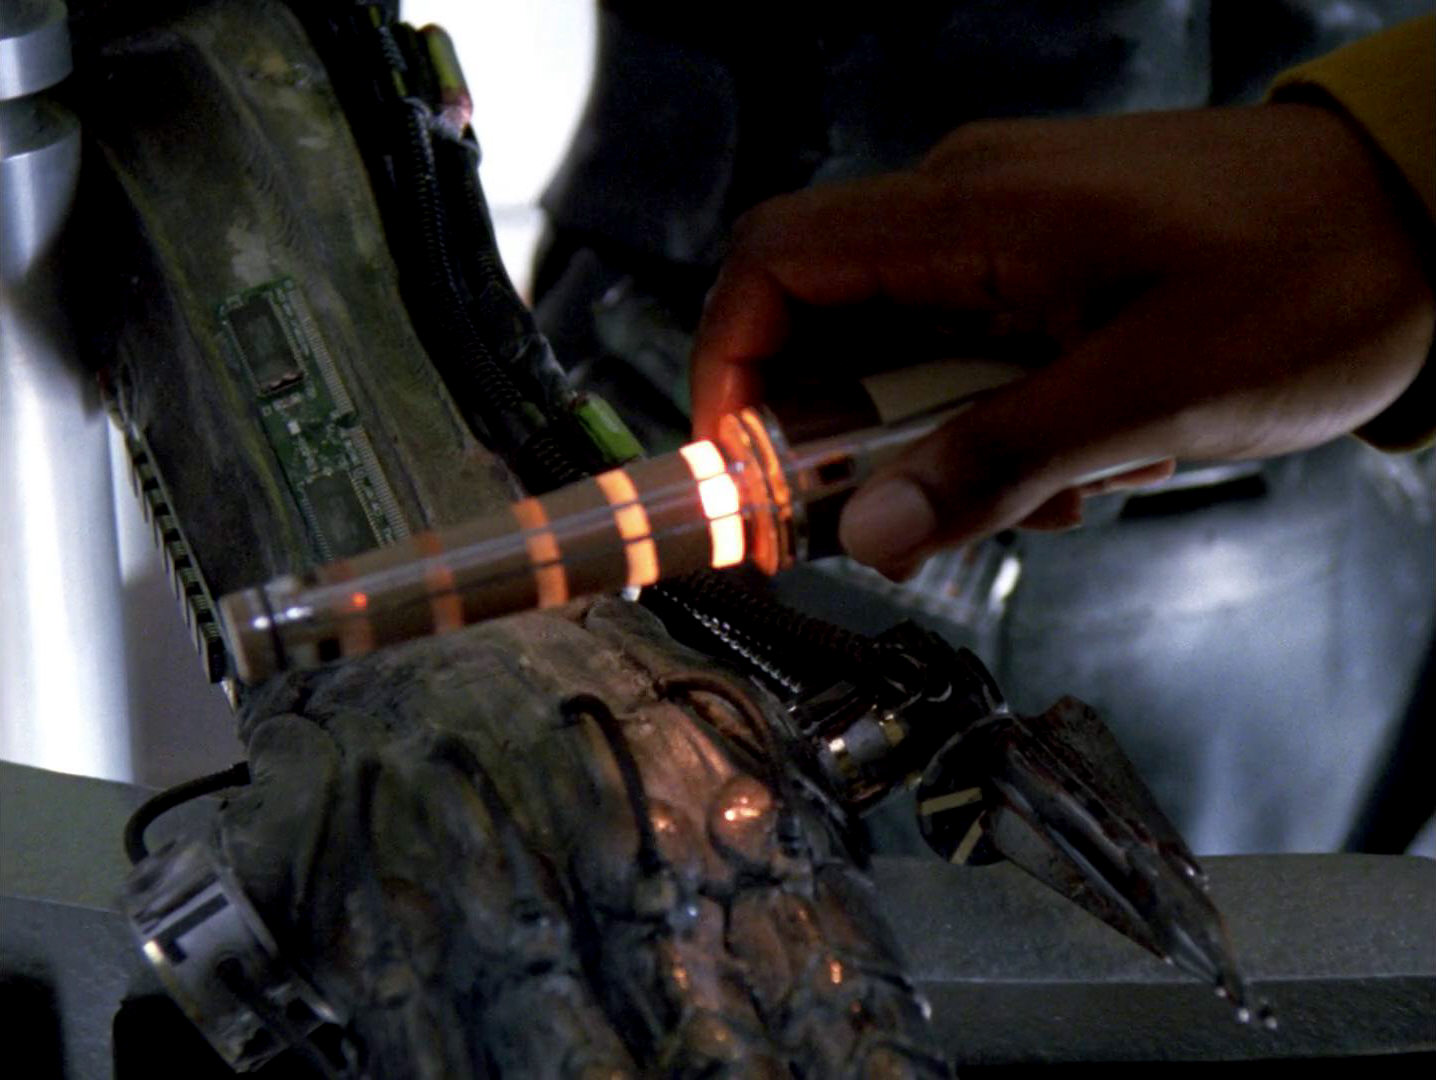 |
|||
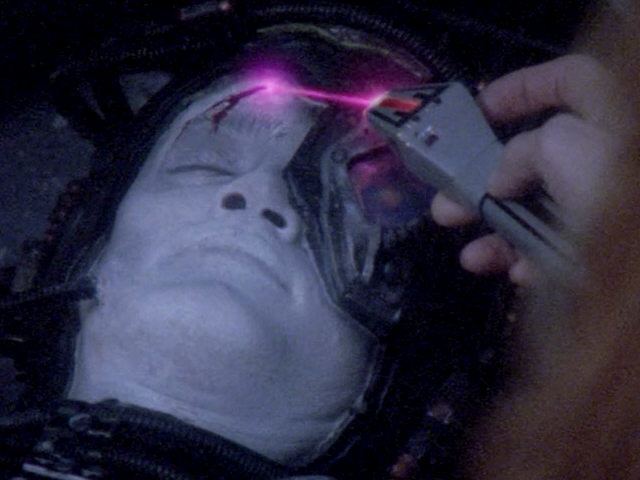
| Hugh's colorful Borg eyepiece can be nicely seen in this screenshot. | 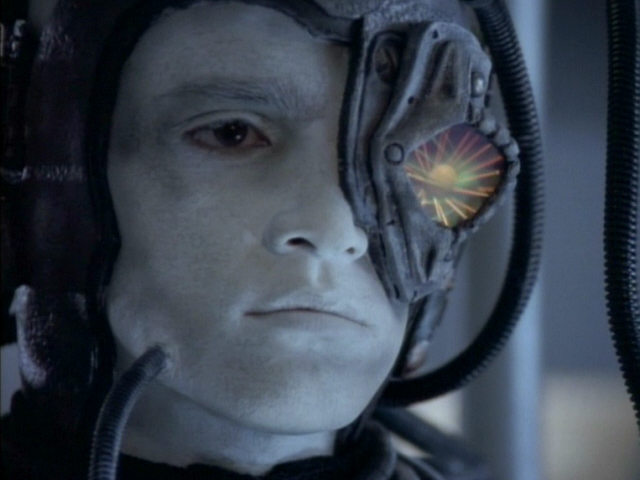 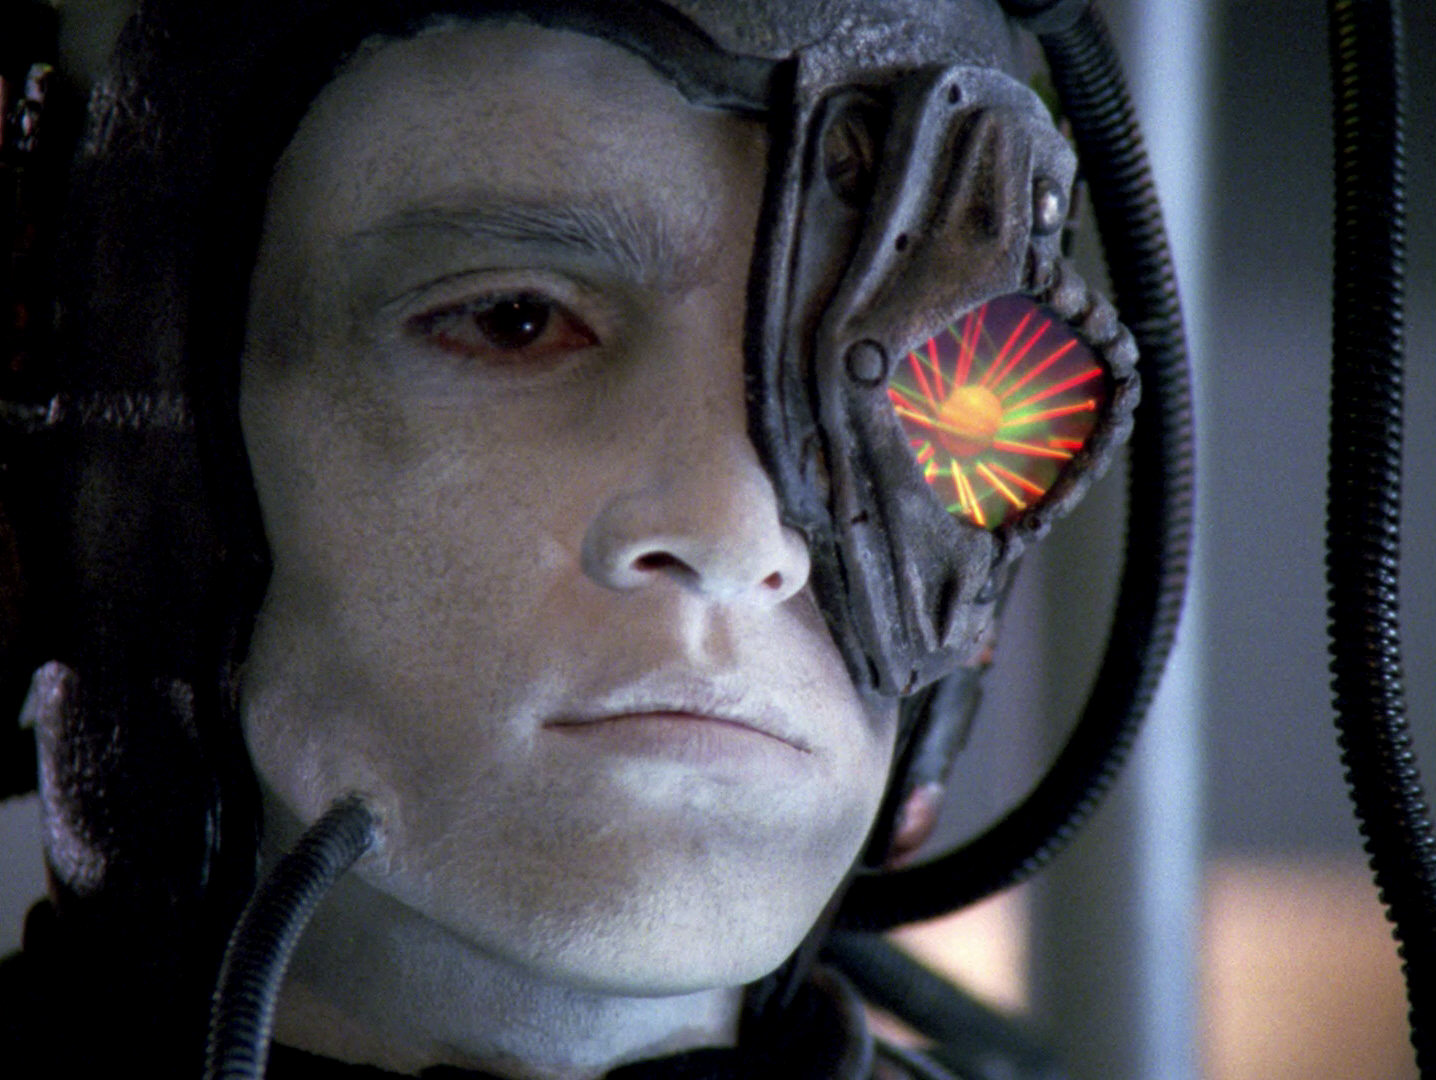 |
The eyepiece in HD. | ||
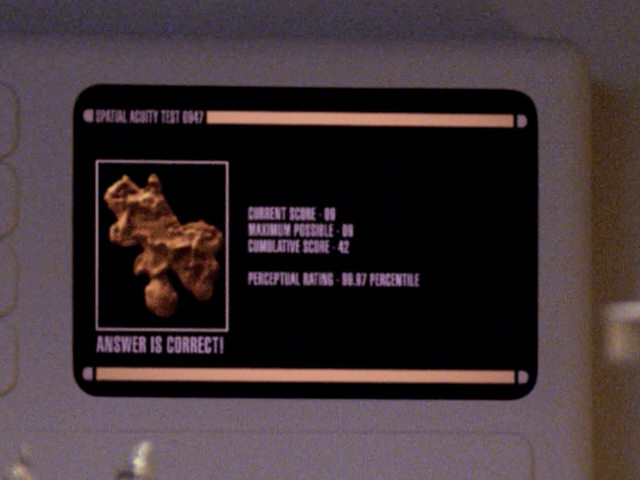
| The LCARS display of the topographic anomaly features two very visible occurrences of the 47. | 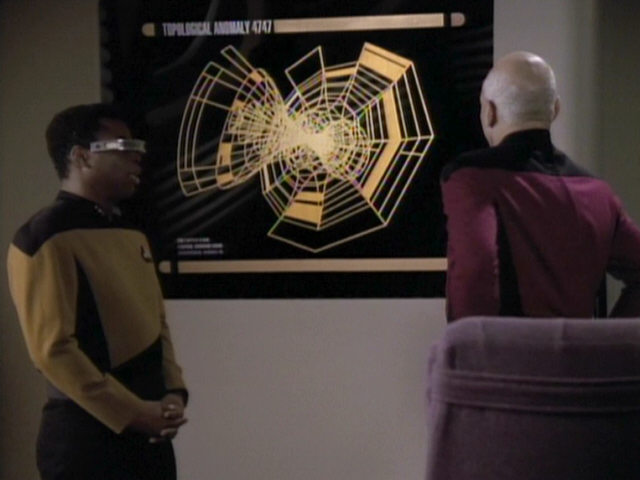 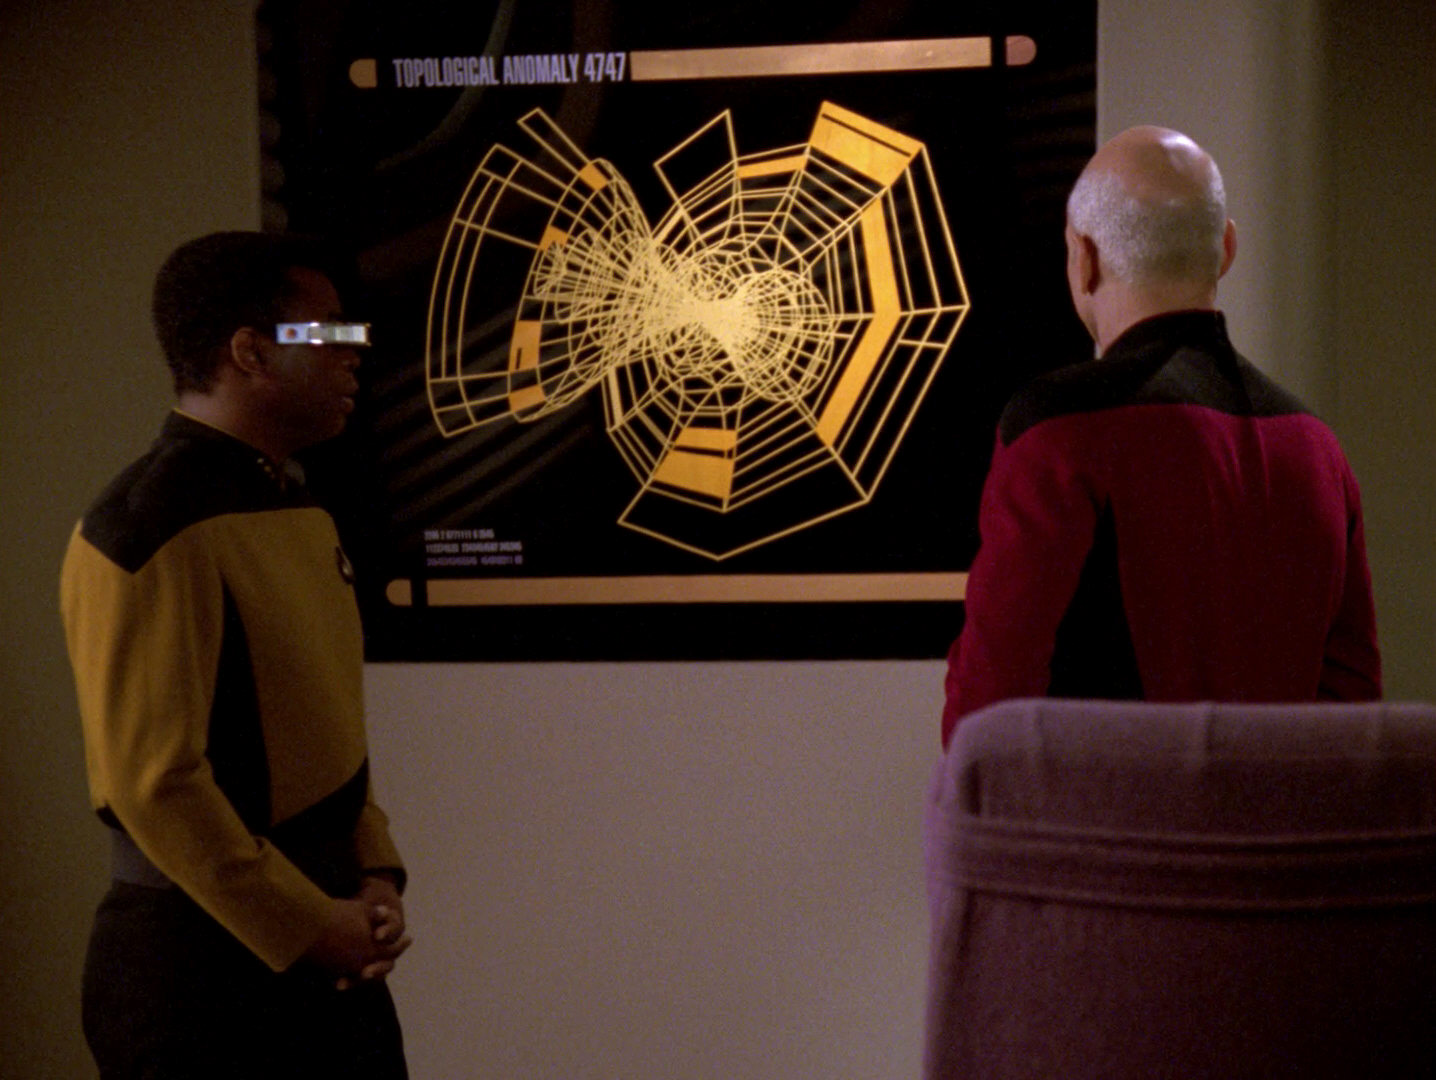 |
A look at the LCARS display in HD. | ||
| The final shot of the USS Enterprise-D in orbit of the unnamed moon seen in this episode. Like the previous two shots, this footage has been seen in several earlier episodes. | 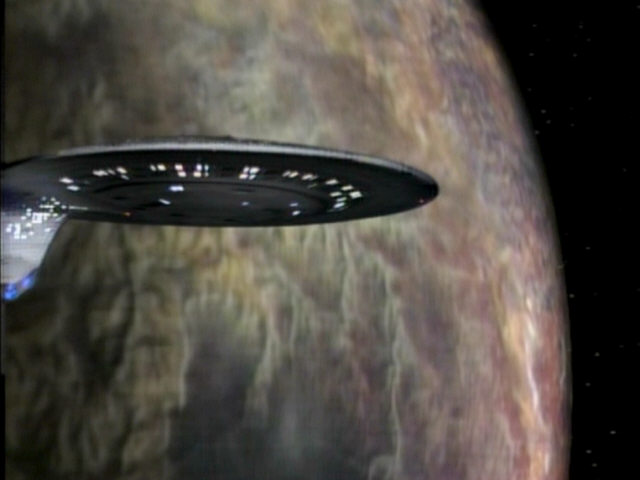 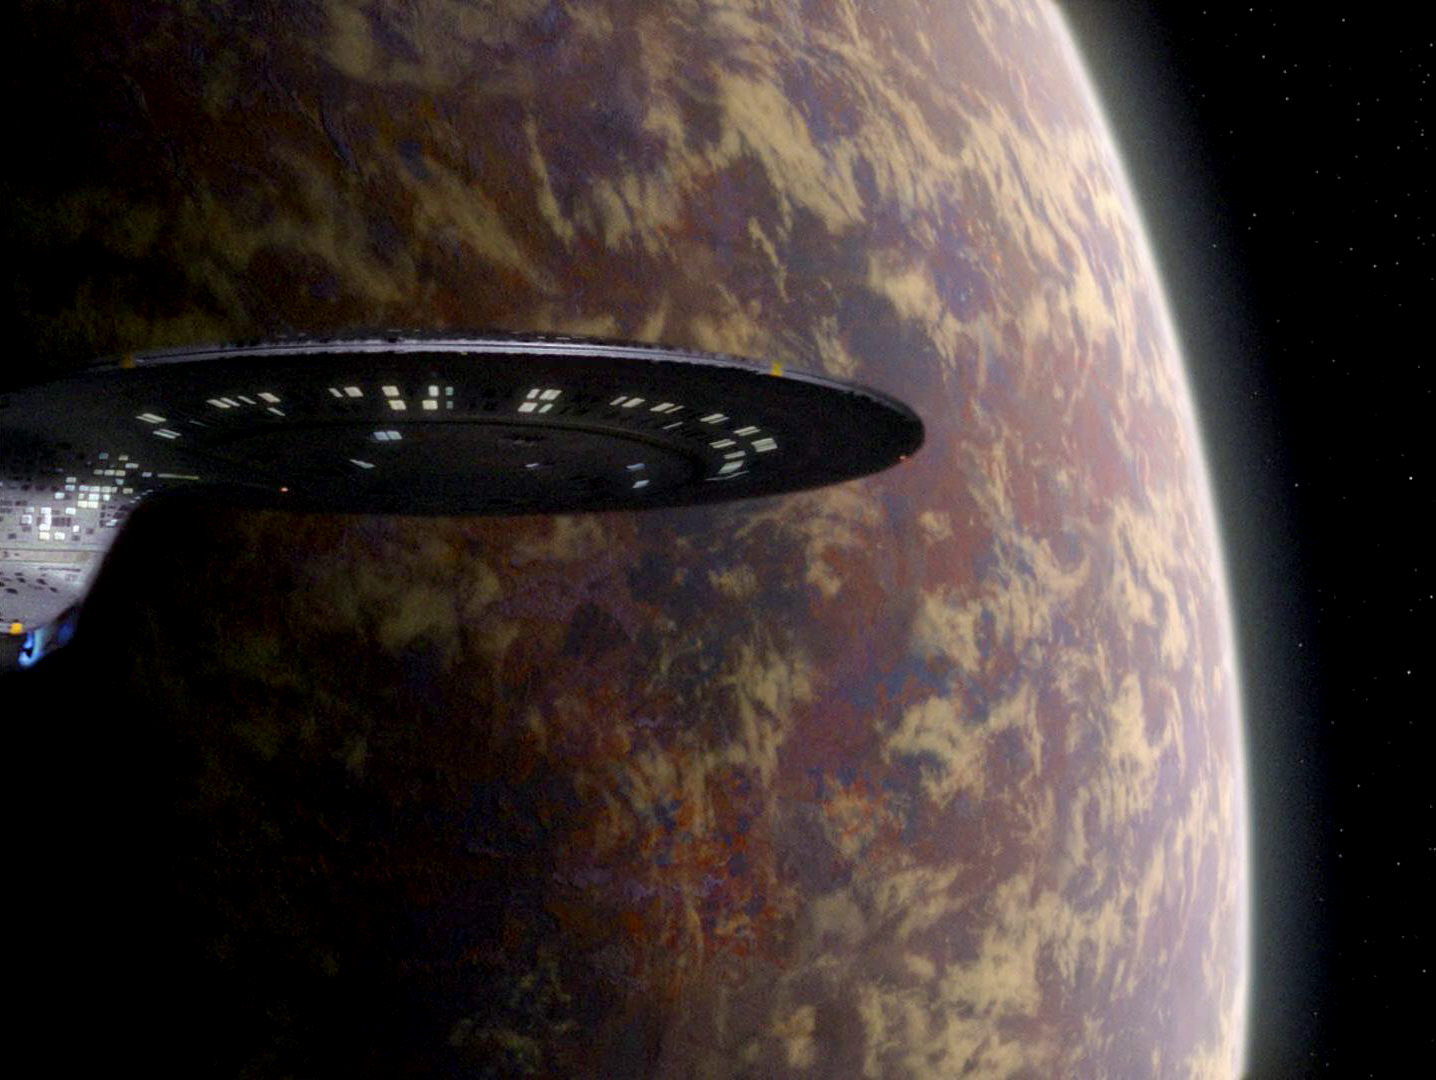 |
The new HD shot. | ||
| When Picard's fish, Livingston, was last seen as closely as here, in "Devil's Due", the fish still was a radial firefish. Here, it is a red lionfish. Spot the Difference |
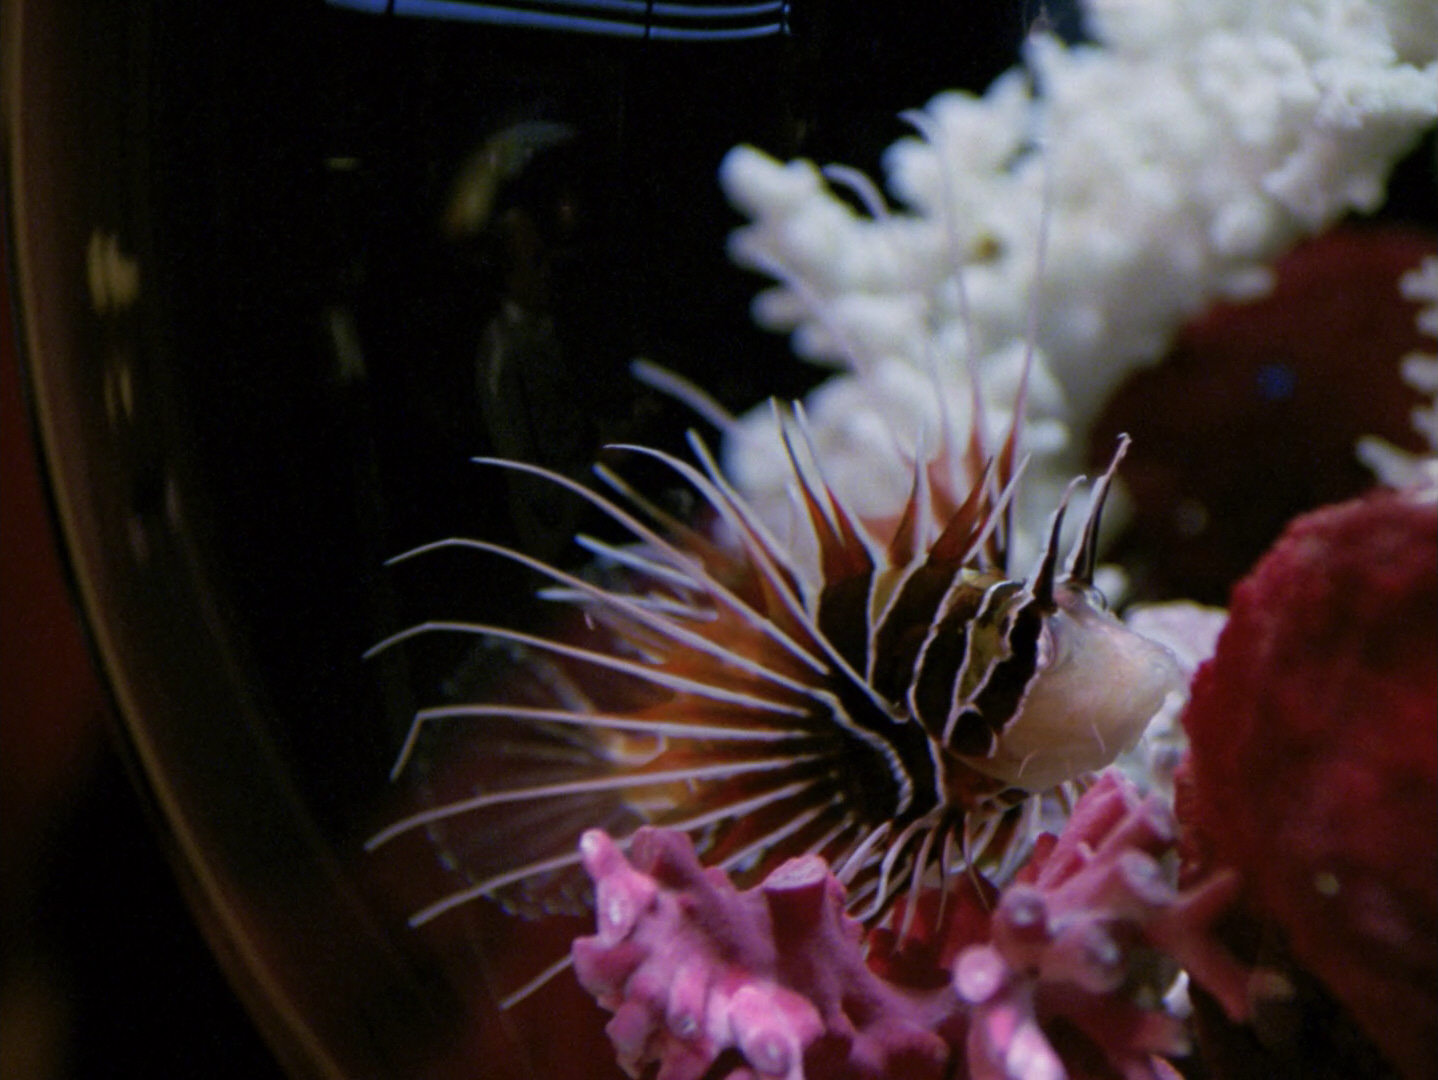 "Devil's Due" HD |
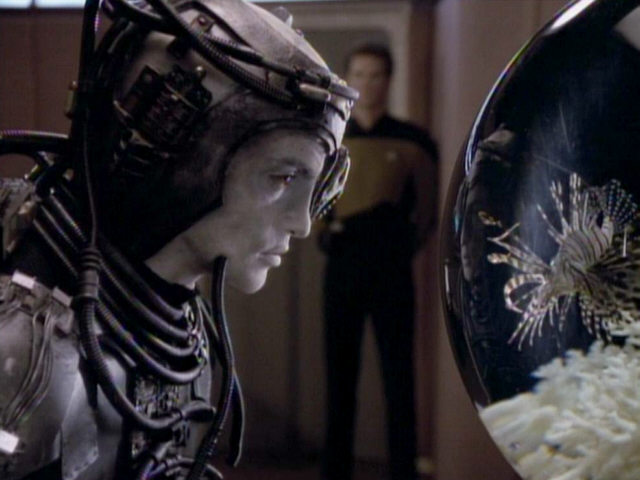 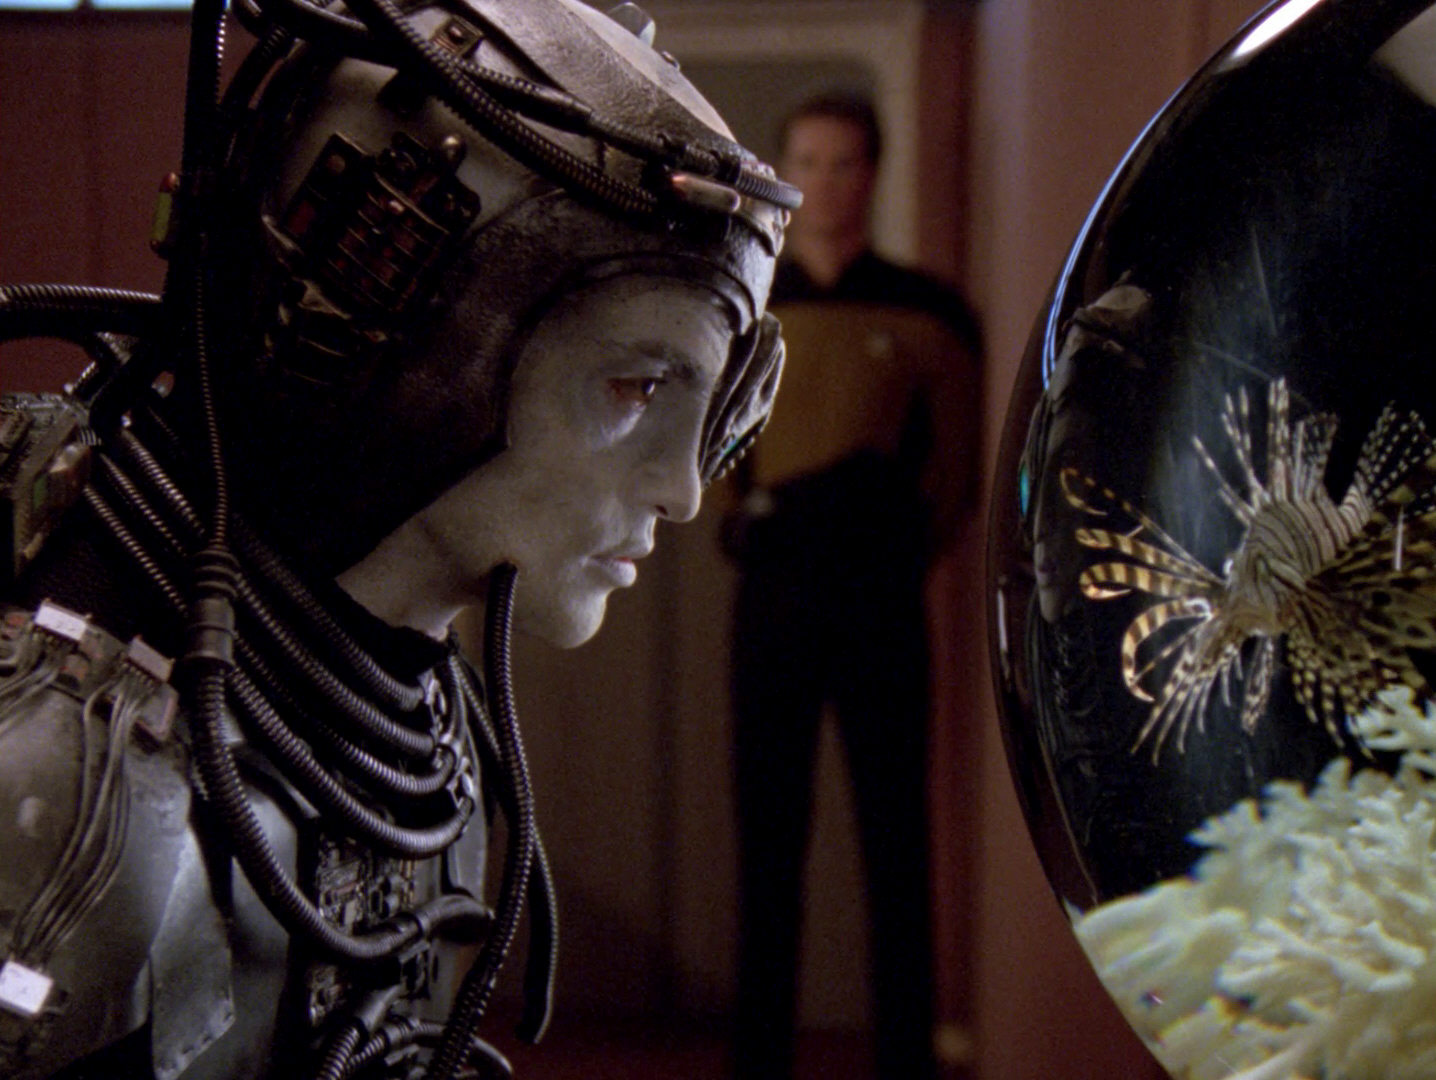 |
A good look at Livingston in HD. | |
| The wall console in the side entry to the transporter room was modified slightly since it was last seen. The banks of isolinear chips are now hidden behind a removable cover. Until now, the chips have always been exposed. This modification was made for "Cost of Living" when this part of the set doubled as an "engineering side room". | 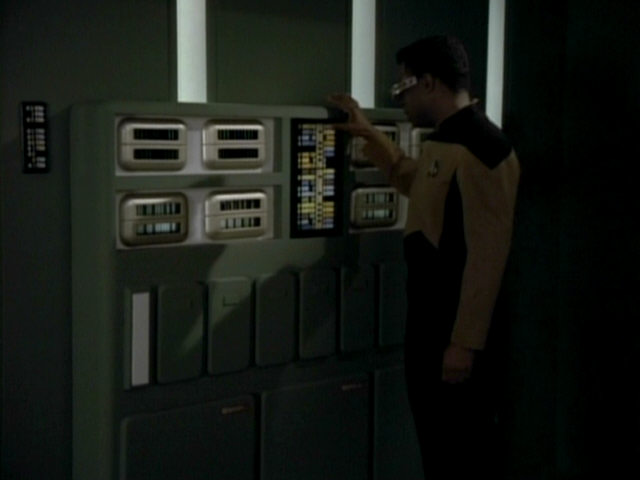 "Power Play" |
 "Cost of Living" |
  |
The console in HD. |
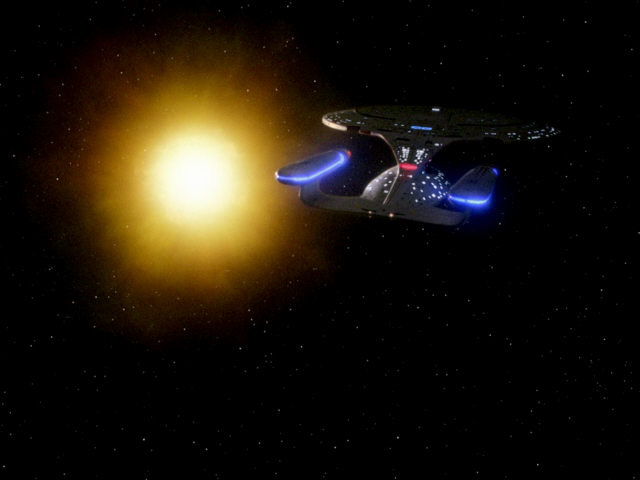
| The USS Enterprise-D flies slowly way from the camera towards a sun in the Argolis Cluster. | 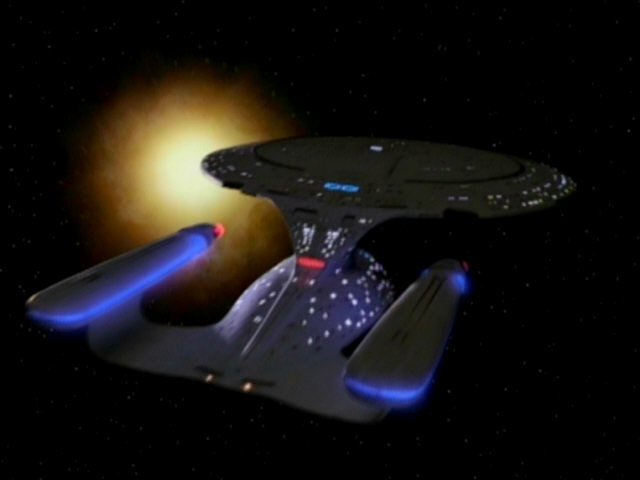 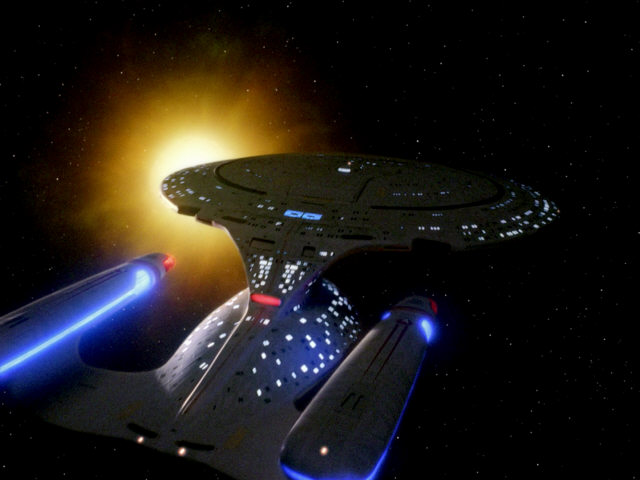 |
The scene as it appears in the remastered episode. | ||
  |
||||
| As can be seen in these two screenshots, the Borg disintegration and transporter effect are slightly different. This was also the case in "Q Who". When the dead Borg disappears in "The Best of Both Worlds I", however, no green effect was used. | 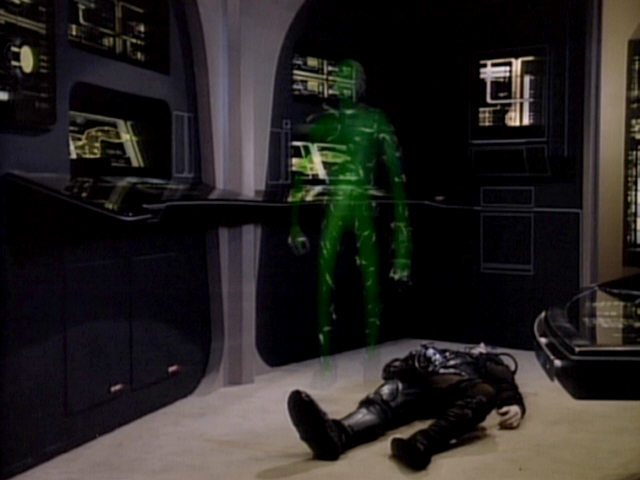 "Q Who" |
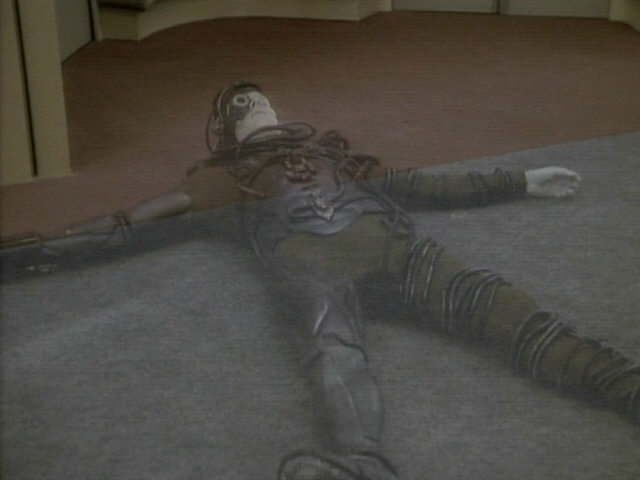 "The Best of Both Worlds I" |
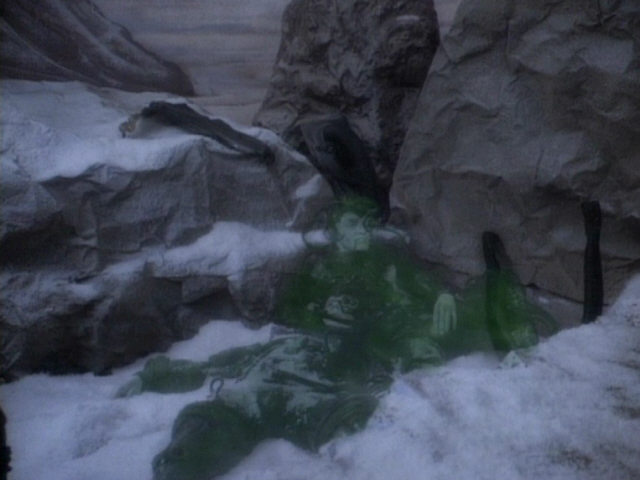 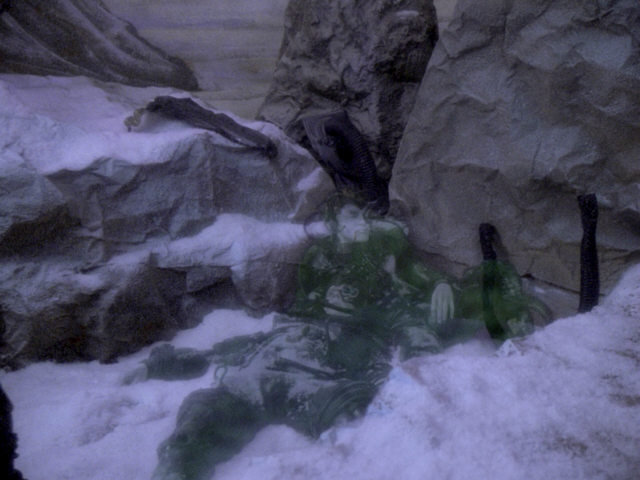 |
The reconstructed effect in TNG-R. |
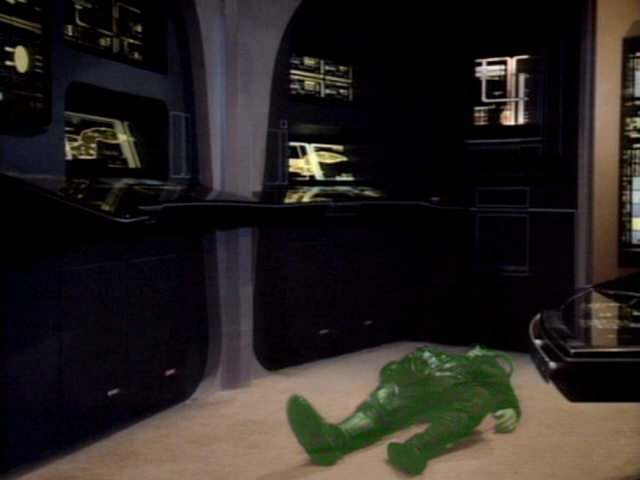 "Q Who" |
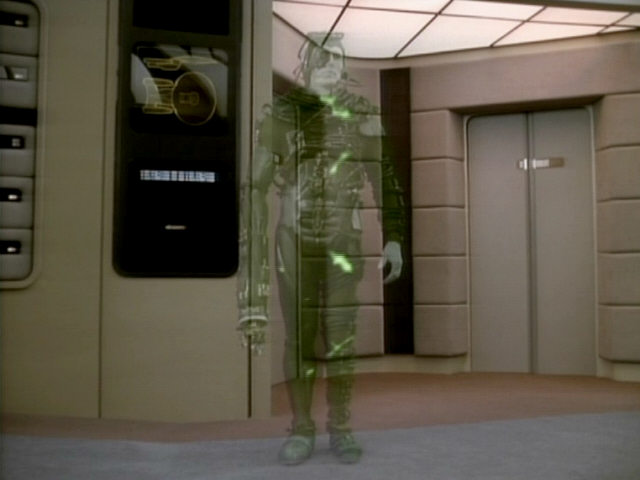 "The Best of Both Worlds I" |
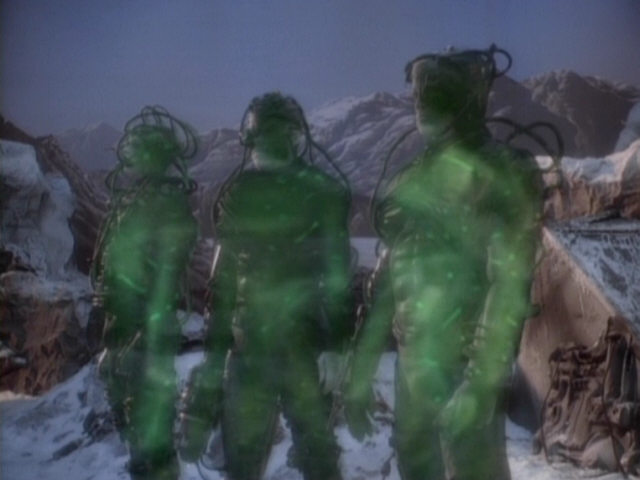  |
||
| The exposed brain of this dead Borg is unusually graphic for TNG. | 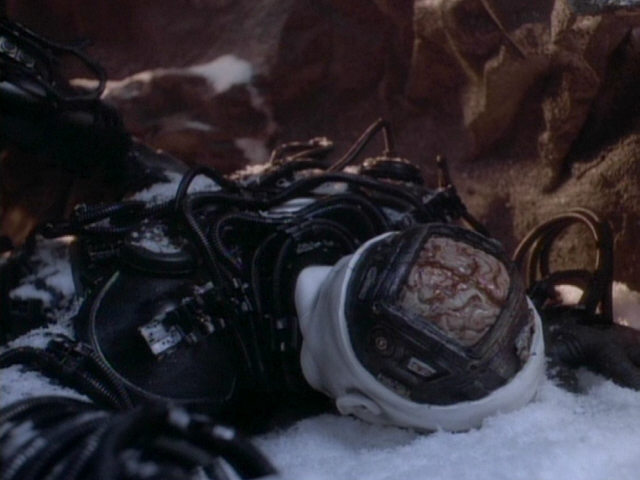 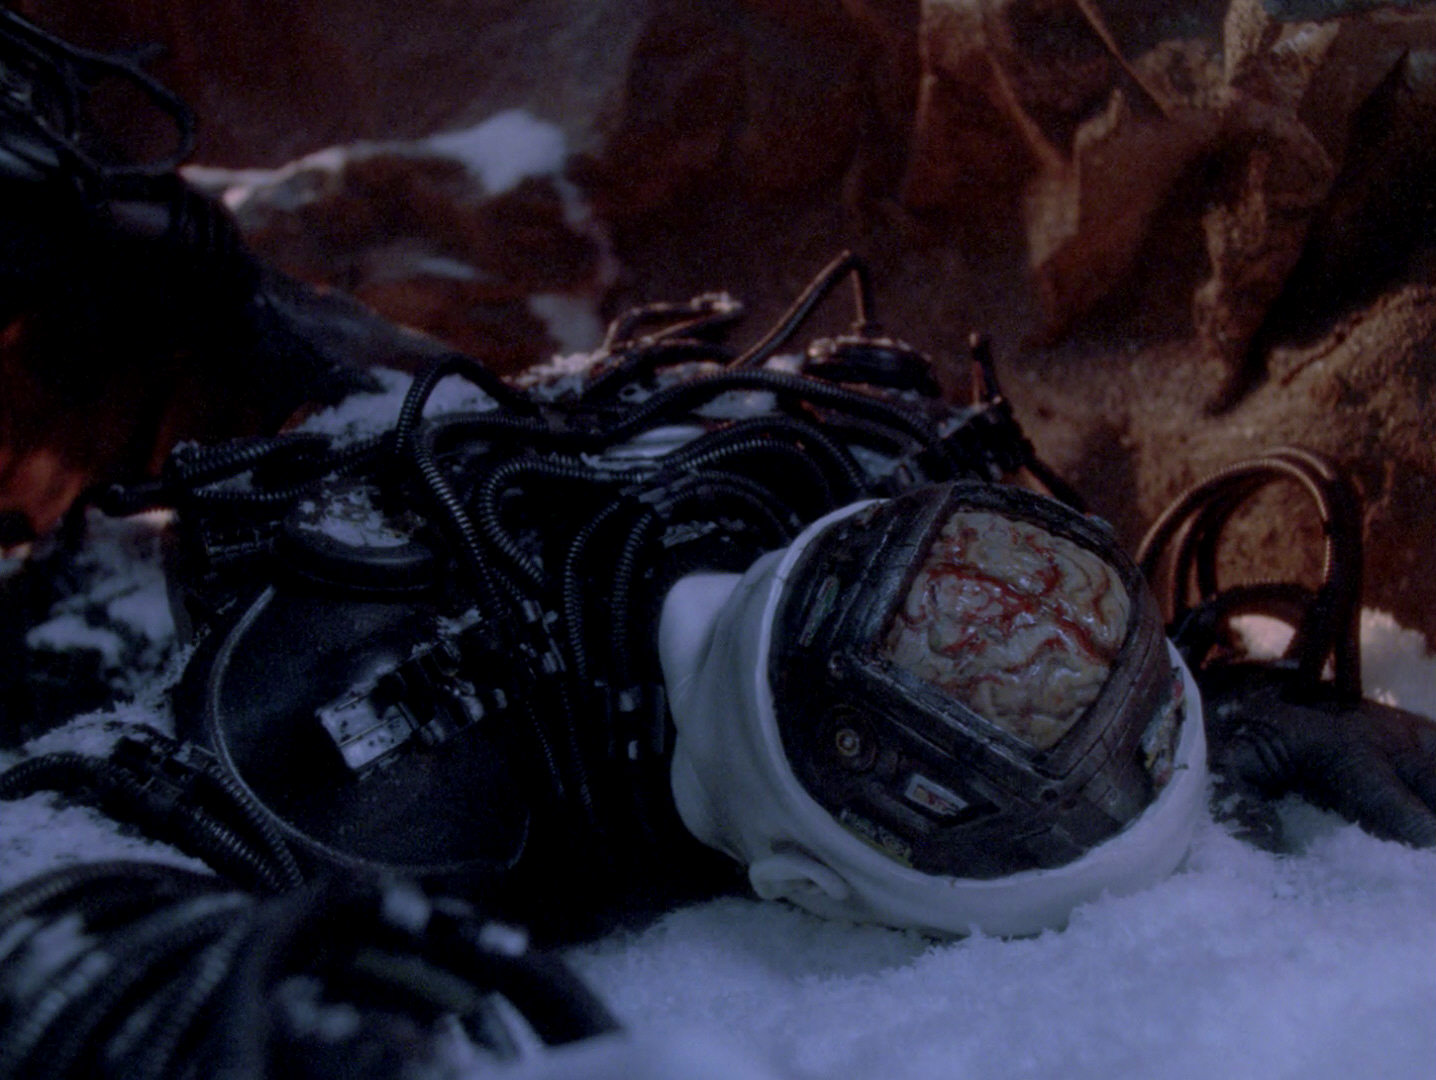 |
A close-up of the brain in HD. | ||


