


Model Kit Reviews
This is a small gallery of my starship models, along with reviews of the model kits. All of them are polystyrene injection kits. The marks for the model kits range from 0=lousy to 10=excellent. The time expenditure refers to the completion of the model according to the instruction sheet, with necessary filing and puttying. Paint drying periods are not included. Usually more than a week is required to finish any of the following starship models.
AMT/Ertl
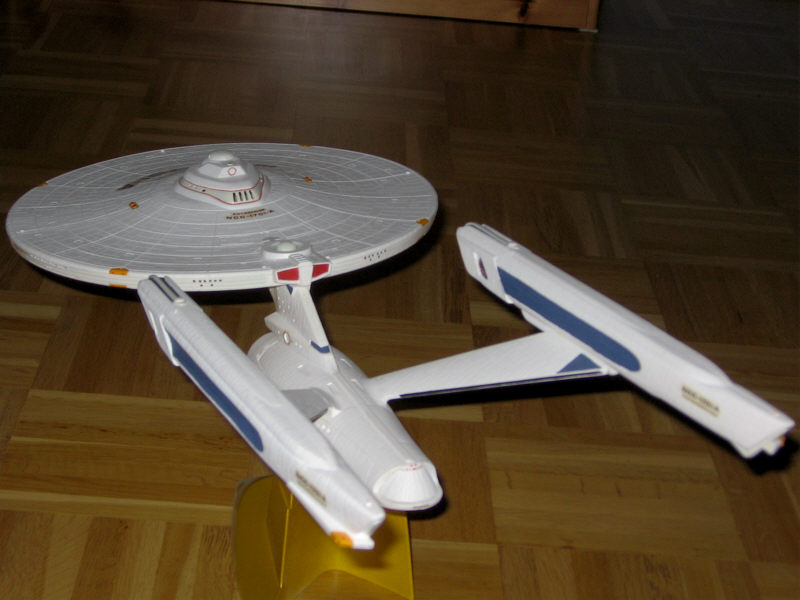
Enterprise-A (AMT/Ertl No. 6876)
I was spoiled by the excellent quality of HO scale railroad model kits when I began work on my first starship model, the Enterprise-A, in 1991. It became a huge disappointment. The reproduction of the ship is poor, and the fitting accuracy of the kit is a disaster. The warp pylons do not have any support inside the engineering hull and can only be fixed with highly elastic two-component glue. The engineering hull, pylons and nacelles have to be adjusted with a complicated construction of rubber bands, adhesive tapes and books while the glue is hardening. I am sure that many Enterprise-A kits make their way straight from the shop to the garbage, and it is simply impertinent to claim the kit is suited for children. The totally unnecessary window insets in the saucer are yet another major annoyance. They need a lot of filing to fit in at all, and finally gaps of more than 1mm on each side have to be filled and filed smooth. Many hours of work for a detail which in fact isn't visible as one. Some details are inaccurate, the most striking deviation is the lower sensor dome, which is much too small and should be replaced. I took a table tennis ball which has about the correct curvature and cut out a segment of the required size (one could take the Reliant dome as well).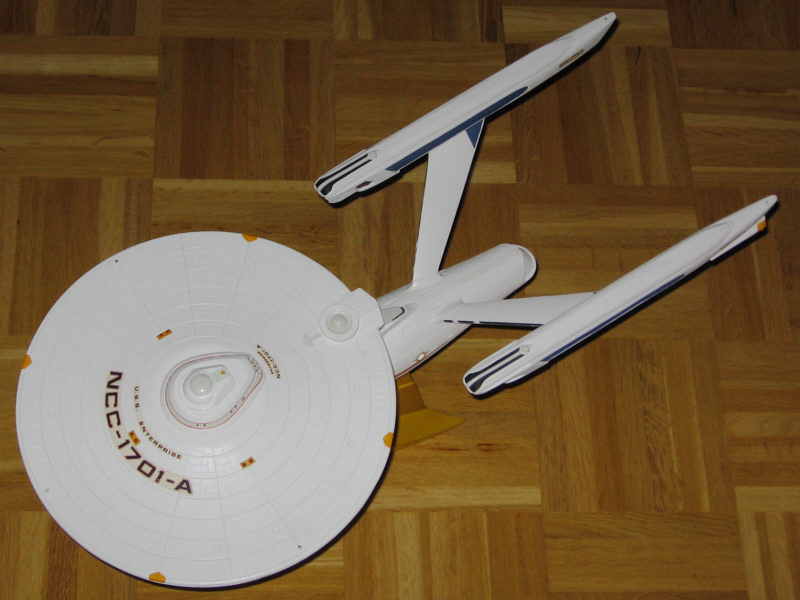
Painting the model is comparatively easy, however, I strongly recommend to throw away or better burn the painting instructions as provided by AMT. They were still completely wrong in the third edition of the kit which was released on the occasion of "Star Trek VI: The Undiscovered Country". The same applies to the decals. The decal sheet is a new edition, but is still wrong. The "NCC-1701-A" on the saucer top should be considerably larger and the "Enterprise" below the shuttlebay is missing. One should expect that the people of AMT/Ertl care at least a little bit about the kit itself and not only about a new design for the box and instruction sheet.
Rating
Reproduction: 4
Fitting: 0
Instructions: 1
Time expenditure: 27 hours
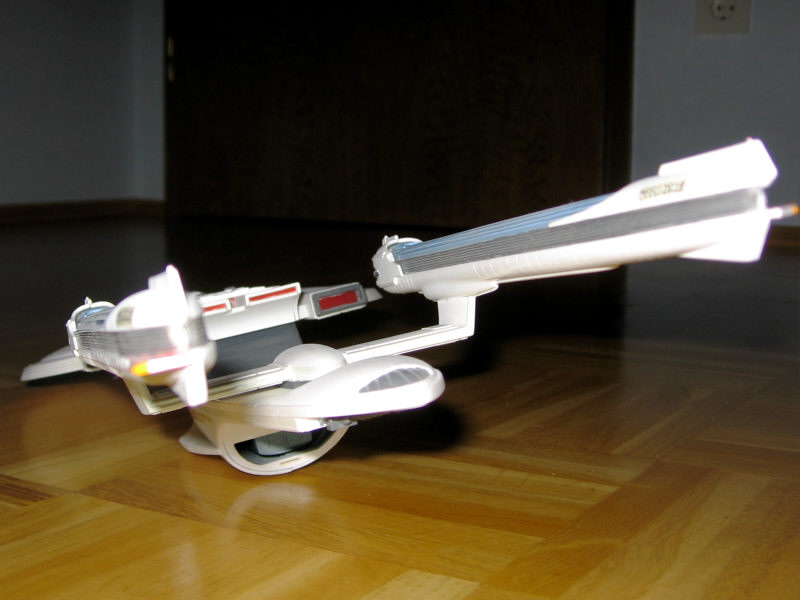
Enterprise-B (AMT/Ertl No. 8762)
Being a modification of the Excelsior kit, the Enterprise-B is a tiny model. Still, it may look impressive, provided it is not placed next to the massive Enterprise-A. Fortunately, the overall fitting is fair, and no puttying is required. So the painting and applying the decals is the most nerve-racking process. A more detailed schedule for cementing and painting than for other models is necessary. Moreover, masking the tiny details that have to be painted either duck egg blue or in several shades of gray is often impossible. I didn't paint the hull plates, and I masked only the most important contrasting shapes. By the way, I would use aircraft blue instead of duck-egg blue if I were to paint it again, since the latter exhibits too little contrast to the basic hull color of white or very light gray.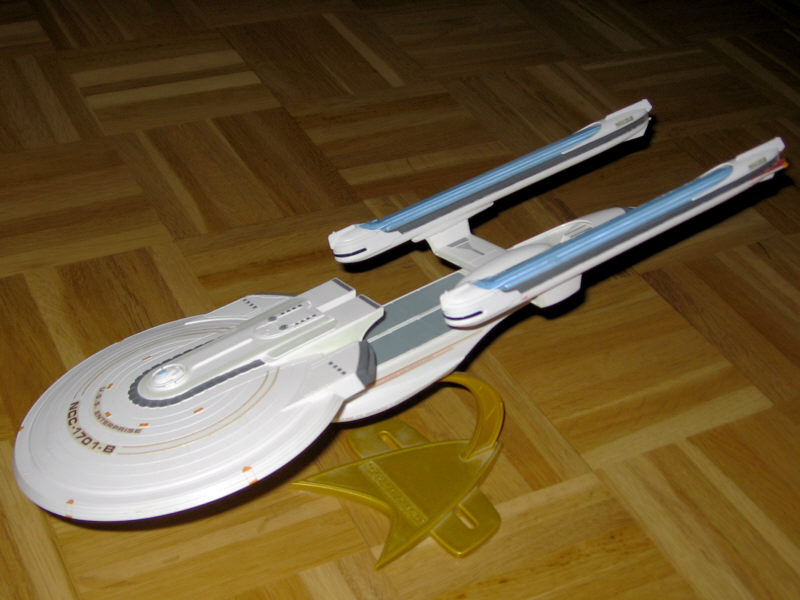
It seems AMT/Ertl does not want to spend much polystyrene for display stands. This applies in particular to the one for the Enterprise-B, which is so thin that the model shakes at the slightest air movement. Even worse, the display stand rips apart the seam between the two engineering hull halves after some time. While the damage to the model itself is rather small, the display stand has to be enforced to compensate for the movement of the hull halves and stabilize the model. This display stand is an engineer's nightmare.
Rating
Reproduction: 5
Fitting: 5
Instructions: 7
Time expenditure: 25 hours
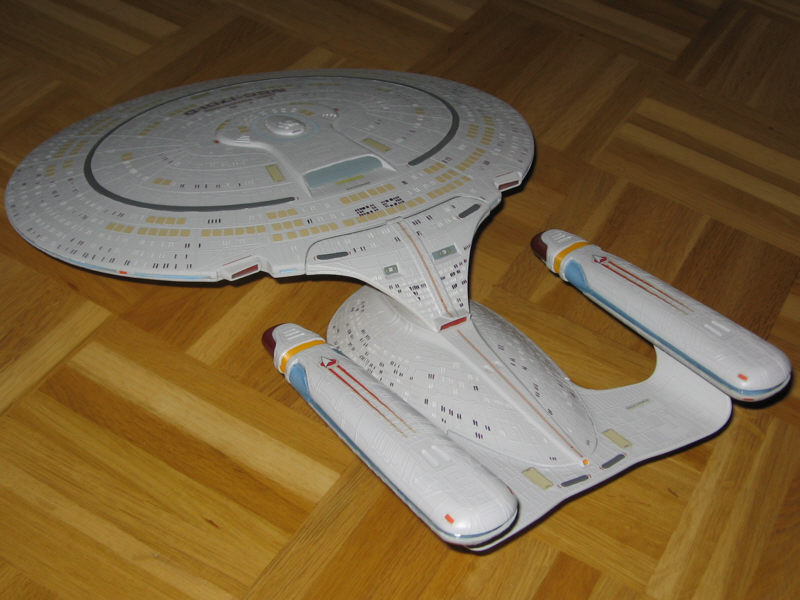
Enterprise-D (AMT/Ertl No. 6619)
The Enterprise-D is among the few AMT starship kits that can be assembled without major trouble. Still, AMT may have some problems with their (old) moulds, since the warp nacelles are oblique when test-fitted to the pylons. I recommend to file the pylon tips rather than trying to bend the pylons. Generally speaking, the model needs very little filing and no puttying. However, painting all the phaser strips, the 400 lifeboats and thousands of windows is very fatiguing. I could not believe that many advanced modelers additionally painted all the tiny hull plates until I saw such an incredibly detailed model. The hull plate seams of the AMT model are raised, although they should be deepened, which makes the surface look less realistic than on other models. However, painting would have been be even more difficult once they had been filed down, so I didn't try it. A satisfying result can be achieved with relatively few time expenditure. With some more patience and carefulness it is possible to make the Enterprise-D look close to the studio model despite its small scale.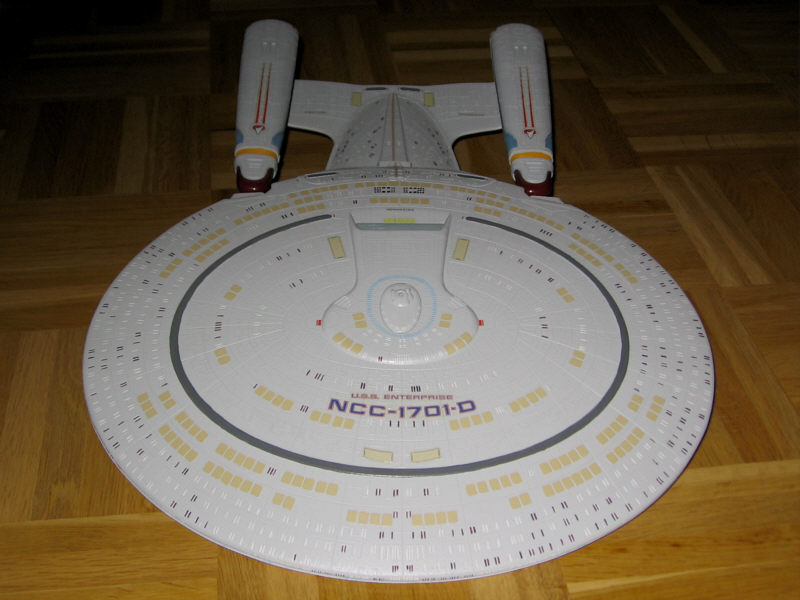
Rating
Reproduction: 6
Fitting: 4
Instructions: 6
Time expenditure: 22 hours
Defiant (AMT/Ertl No. 8255)
The Defiant is labeled as "snap-together" kit, and the few parts (17) suggest it is very easy to build. This must be a joke. After the top and bottom half have been connected, gaps of more than 2mm remain which is far from being acceptable, no matter if it's snap- or cement-together. Putty is actually the most important ingredient for this kit, although not mentioned anywhere in the instructions. The quality of the mould and the level of detail, on the other hand, is much better than of previous AMT/Ertl kits I built. The overall reproduction of the USS Defiant is correct, only the position of the deflector housing should be a few millimeters lower. I renounced this rather complicated additional work.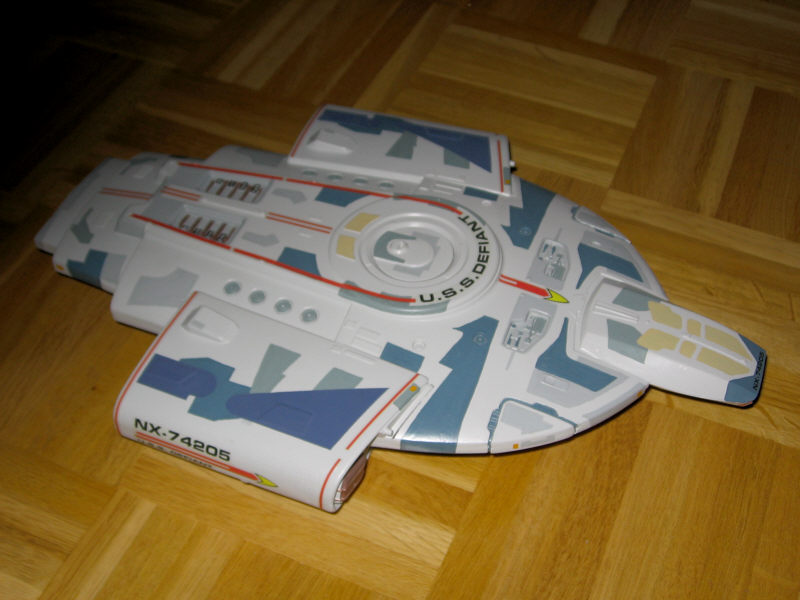
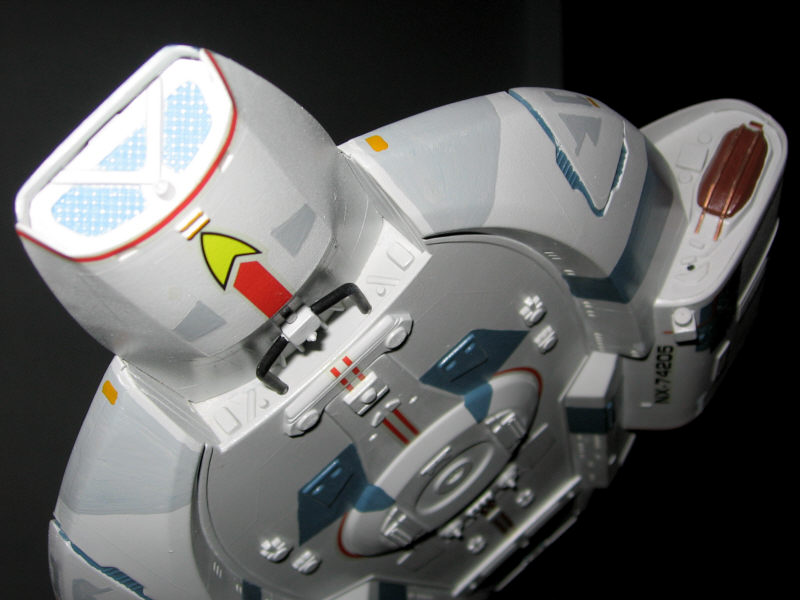
Painting has to be done especially carefully, because the hull is very even and the required blue, green and gray colors are a strong contrast to the overall light gray. I painted the hull partially without masking, but I would not do it this way again. I recommend to mask and paint every layer separately and wait a day before masking the next one. In this case painting will take more than one week, but the result will be much better. Alas, while my quite dark blue matches the color on the studio model, I chose a too dark green and silk gloss instead of matte. The contrast is even stronger than it should be, and my Defiant looks a bit toy-like. Finally, it is worth mentioning that the Defiant is among the few models with a stable display stand.
Rating
Reproduction: 6
Fitting: 1
Instructions: 5
Time expenditure: 18 hours
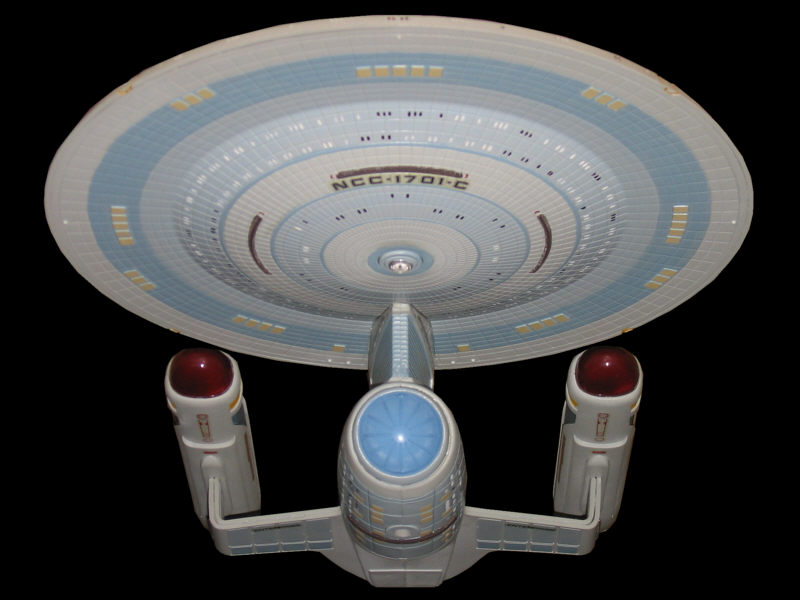
Enterprise-C (AMT/Ertl No. 8001)
The Enterprise-C is one of the very few starship model kits that can be recommended to beginners. It is also one of the best researched kits by AMT/Ertl. Provided the model is carefully painted, it may look very close to the actual studio model. The most annoying flaw, which regrettably cannot be corrected, is the much too wide stern section and shuttlebay. Since this error also shows up in any available Ambassador-class diagram, it is highly recommended to use only the studio model images for reference. Building the model requires about 19 hours, 1h for preparation of parts, 1h for cementing, 1h for masking, 14h for painting and 2h for decals.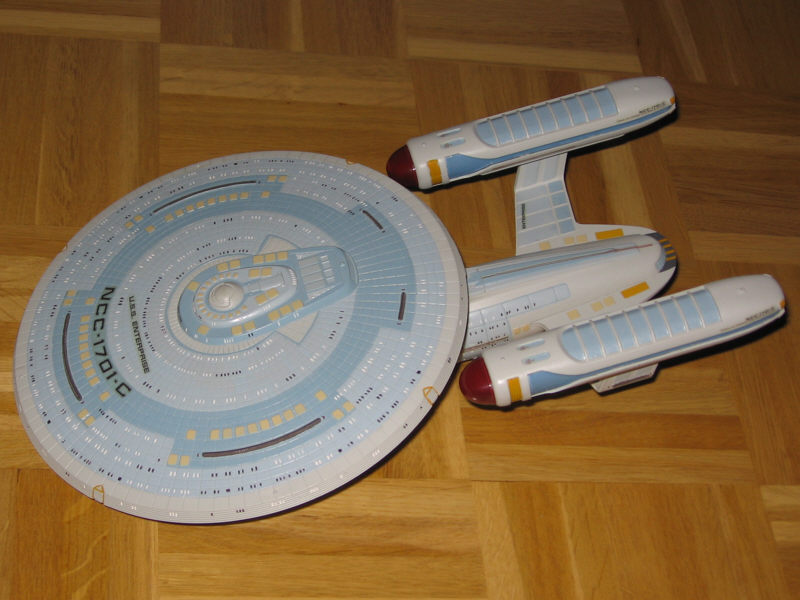
Rating
Reproduction: 6
Fitting: 6
Instructions: 6
Time expenditure: 19 hours
Building the Enterprise-C - full review
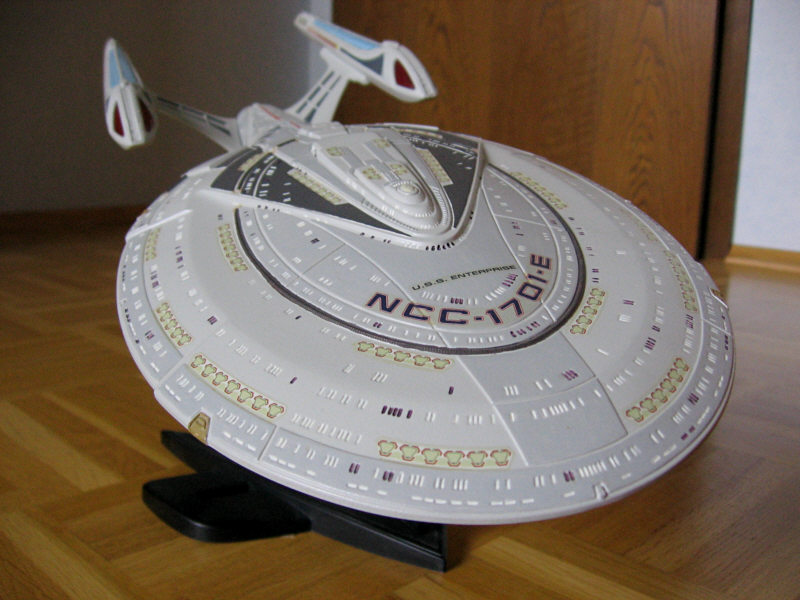
Enterprise-E (AMT/Ertl No. 6326)
The Enterprise-E is rather easy to build compared to many other AMT Star Trek model kits, the assembly difficulties of which range from hard to impossible. It is quite small, but well detailed. If you are careful in preparing the parts, cementing, painting and applying the decals, you will get an excellent model. It is important to ignore the AMT painting sheet in order to get an exact reproduction of the ship. Work will take you some 25hours, 5h for preparation of parts, 2h for cementing, 1h for masking, 15h for painting and 2h for decals.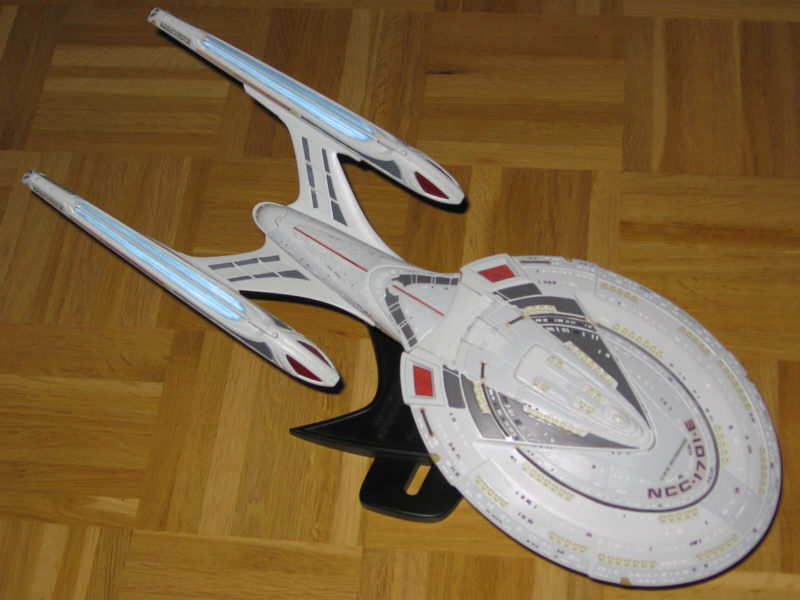
Rating
Reproduction: 7
Fitting: 6
Instructions: 4
Time expenditure: 25 hours
Building the Enterprise-E - full review
Revell/Monogram
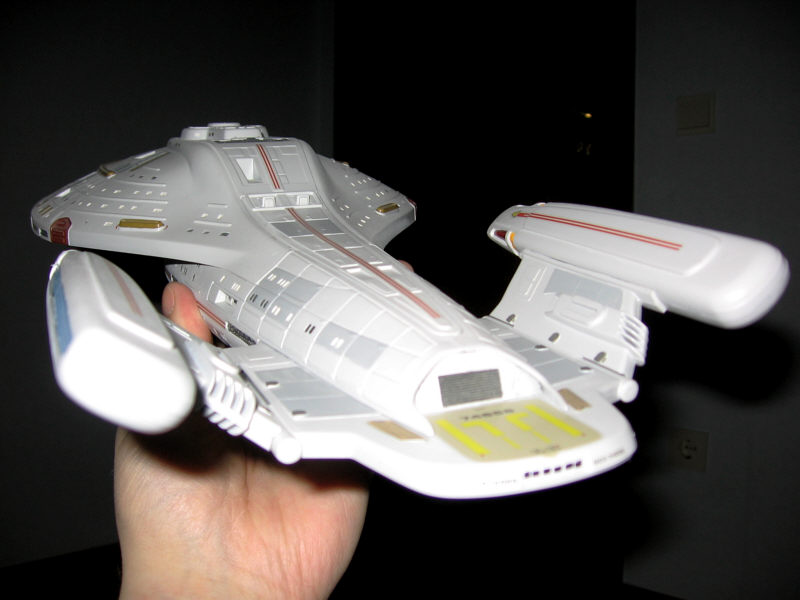
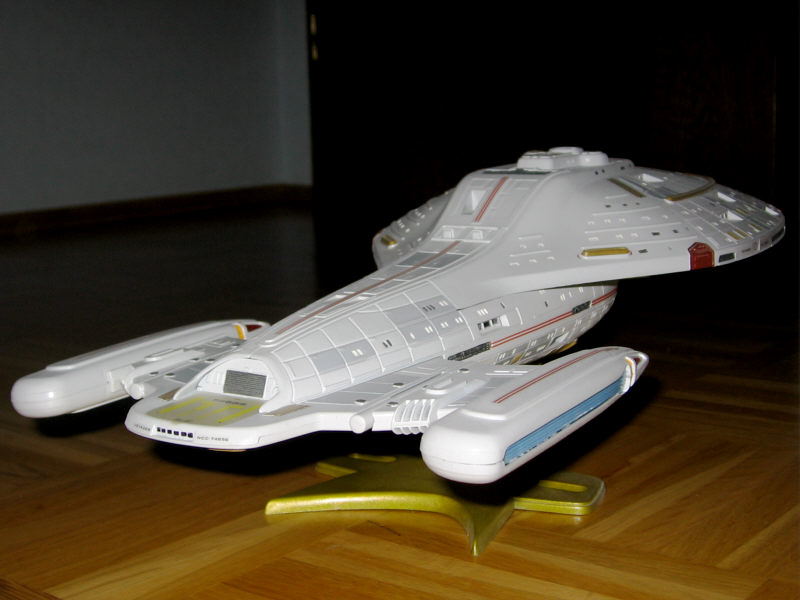
Voyager (Revell/Monogram)
This was my first Revell/Monogram Star Trek kit. The reproduction of the studio miniature is quite good. Only a couple of windows and the lifeboats on the neck are missing, as well as the raised lines at the rear ends of the nacelles. The overall quality of the parts and the fitting is much better than in the AMT/Ertl kits, maybe except for the Enterprise-E. Large areas such as the saucer top and bottom and later the saucer bottom, neck and engineering hull have to be cemented together simultaneously, so it is essential to apply a polystyrene cement or solvent with a long drying time. The most delicate work is to paint and glue the frames of the clear window insets. Once they are painted, there is hardly any area left to apply cement. Fearing that one day the windows would loosen and fall into the hull, I used additional two-component glue to fix them from inside the saucer and engineering hulls. The decals are sufficient, still, it is a pity that the revised edition with individual decals for the escape pods was released a short time after I bought the first kit.
Rating
Reproduction: 8
Fitting: 6
Instructions: 6
Time expenditure: 20 hours
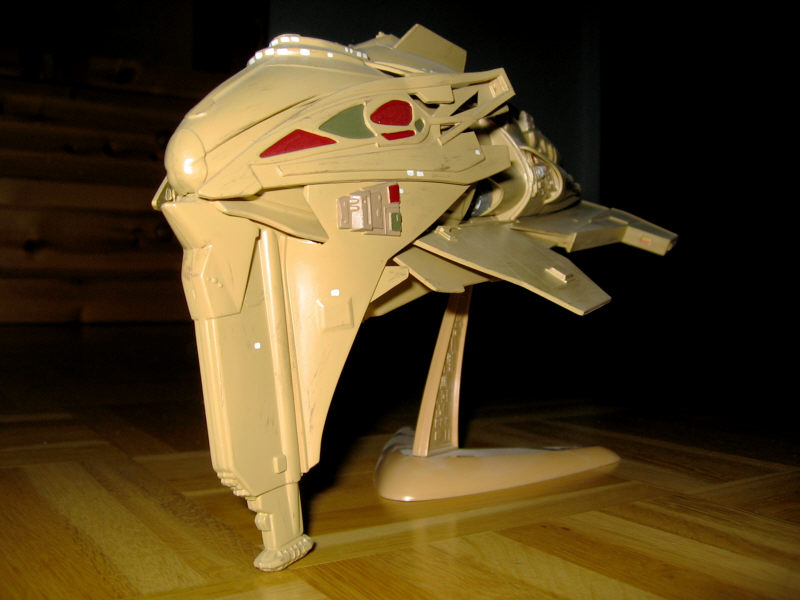
Kazon raider (Revell/Monogram)
I didn't keep a protocol of this one, but I remember that it was rather easy to put together the Kazon ship. The only difficult part was keeping the wings in the correct angle while the glue was drying. The parts of the model were originally reddish ochre. The display stand still has this color. I should have painted the Kazon raider in a somewhat darker reddish brown because this is how it looks on screen. However, what I mixed came out rather brighter than the original color. I used photos of the studio model to paint the windows, the small red decals meant for this purpose looked rather pathetic.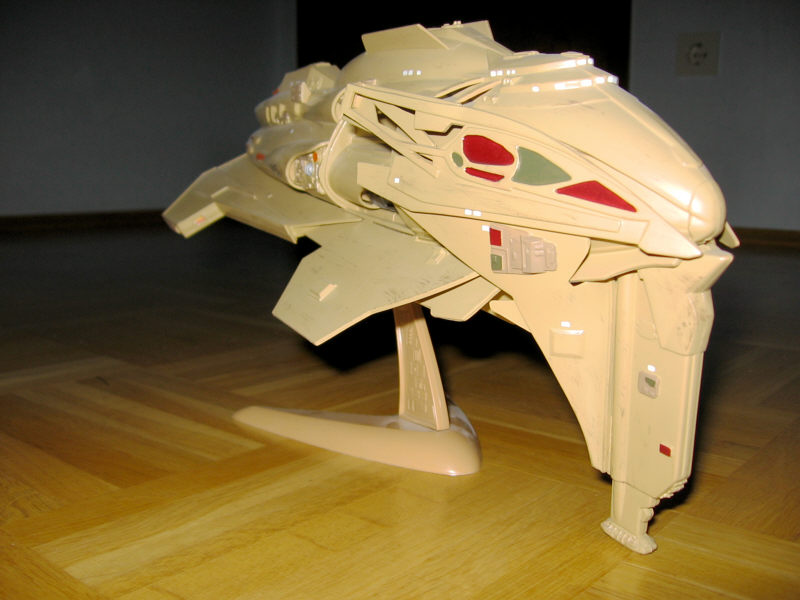
Rating
Reproduction: 8
Fitting: 6
Instructions: 6
Time expenditure: 10 hours
Bandai
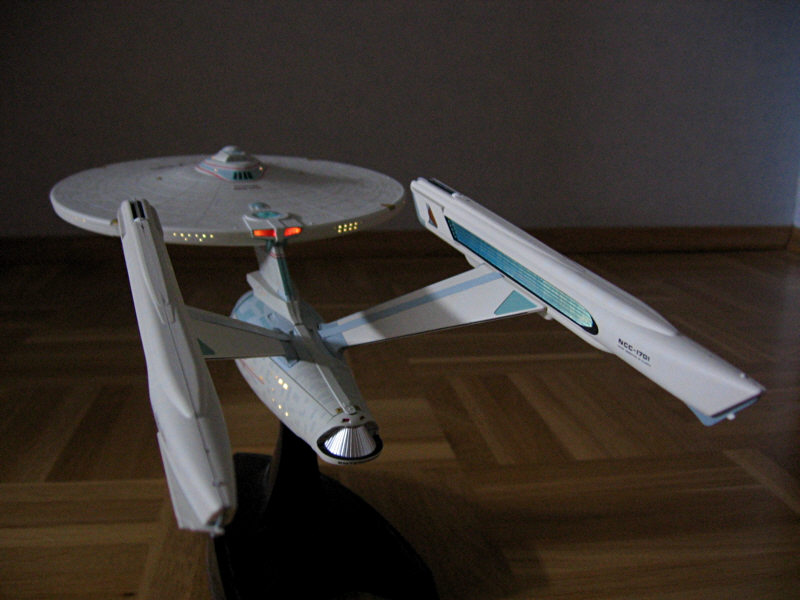
Enterprise refit (Bandai 0116192)
The Bandai Enterprise is a state-of-the art kit that makes me want to scrap the good old AMT model (top of this page). At 1/850 scale it is a lot smaller. Still, it is the most accurate kit I have seen. No glue and no paint is required, and the kit comes with a full lighting set. The fitting accuracy of most parts is amazing, considering that not only the outer surface must fit exactly together like on glue kits too, but also the plugs on the inside. While AMT kits usually leave gaps of a few millimeters, they are at most two or three tenths of a millimeter on the Bandai model. Especially putting the nacelles and the saucer together is pleasant work. The wires of the nacelle lighting run along the outer surface of the nacelle pylons and need to be covered with an included thin adhesive tape, but at this scale there was probably no other option. I was a bit skeptical about the saucer edge that consists of many convex pieces which I thought were too weak to hold together the upper and lower saucer halves, but it worked well. Only the gaps that they create in the saucer rim are a bit disturbing. The connection between the pylons and the nacelles is the only weak one, I'm thinking of fixing this with glue.


The installation of the lighting kit is easy up to the point where everything needs to be connected with each other inside the engineering hull, twelve wires altogether. Every electronics buff knows the old problem of having wires between different parts of a device, which is always a tradeoff between keeping the wires long to be able to solder them and keeping them short to fit them in at all. I didn't trust the instruction sheet and I decided to solder the wires, although it may have worked to simply wrap them around the connection rail. In either case, the necessary excess length of the twelve wires obstructs the plug between the upper half of the engineering hull and the central connector, and because of the huge clear lighting body there is almost no space left to push the wires aside. It took me like two dozen tries to put the secondary hull together, and there's still a strong tension pushing it apart, fortunately counteracted by the deflector dish and shuttlebay which do a good job clamping together the upper and the lower half.
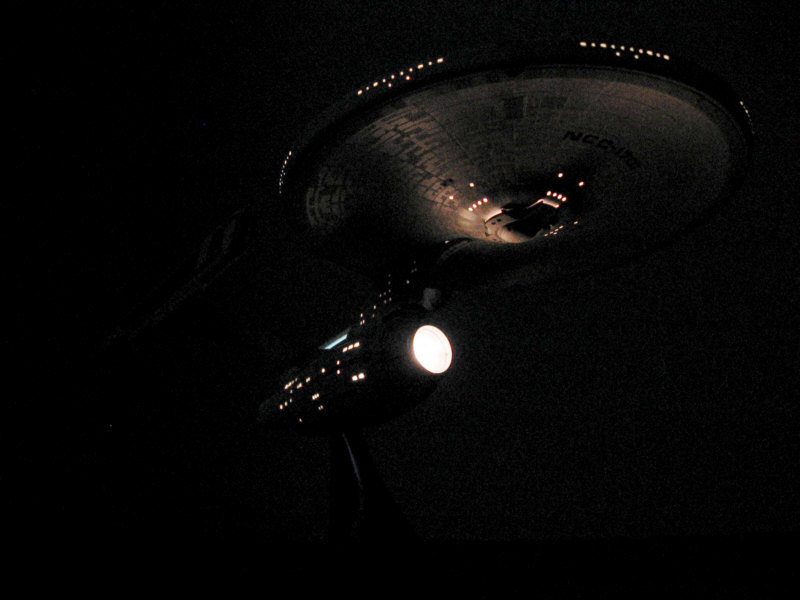
No painting is required, as all the colors and markings are already printed on the single pieces. The Aztec pattern with its slightly contrasting colors especially on the saucer is amazingly realistic and gives us much the same reflection effects as on the studio miniature. The lettering is simply perfect. The green color on the secondary hull is quite intensive. It should have been toned down a bit. The lighted model looks fine, and except for the small gaps in the engineering hull, light only shines through where it's supposed to. Overall, building this model was very close to being an enjoyable experience (actually with most models thus far, I was almost hating to build them!). And although it was twice as expensive as an AMT kit, the new Bandai standard was worth every cent of it.
Rating
Reproduction: 10
Fitting: 8
Instructions: 4
Time expenditure: 6 hours
See Also
Starship Gallery - numerous reference photos


