


Observations in TNG: "Loud as a Whisper"
A joint project with TrekCore, by Jörg Hillebrand and Bernd Schneider
 Here are some observations about sets, props and visual effects in TNG: "Loud as a Whisper" without a specific theme, and a comparison of the original TV release (TNG) with the remastered episode (TNG-R).
![]()
"Loud as a Whisper" HD Screencaps @ TrekCore
| Description TNG | Other caps | Comparison TNG to TNG-R | Description TNG-R | |
| Ramatis III was later re-used as Gamma Hromi II in "The Vengeance Factor" and Alpha Onias III in "Future Imperfect". Re-Used Planets in TNG |
 "The Vengeance Factor" SD |
 "Future Imperfect" SD |
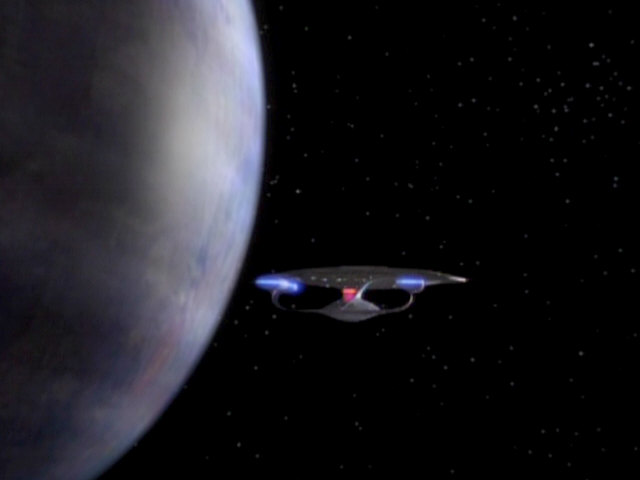   |
The planet is still the same in TNG-R. |
| The holographic projector in Picard's ready room desk only appeared in one previous episode, "The Child". After "Loud as a Whisper", it is never seen again. |  "The Child" |
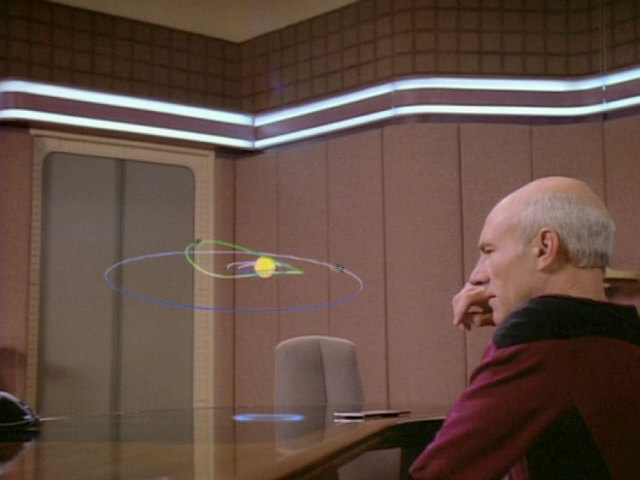 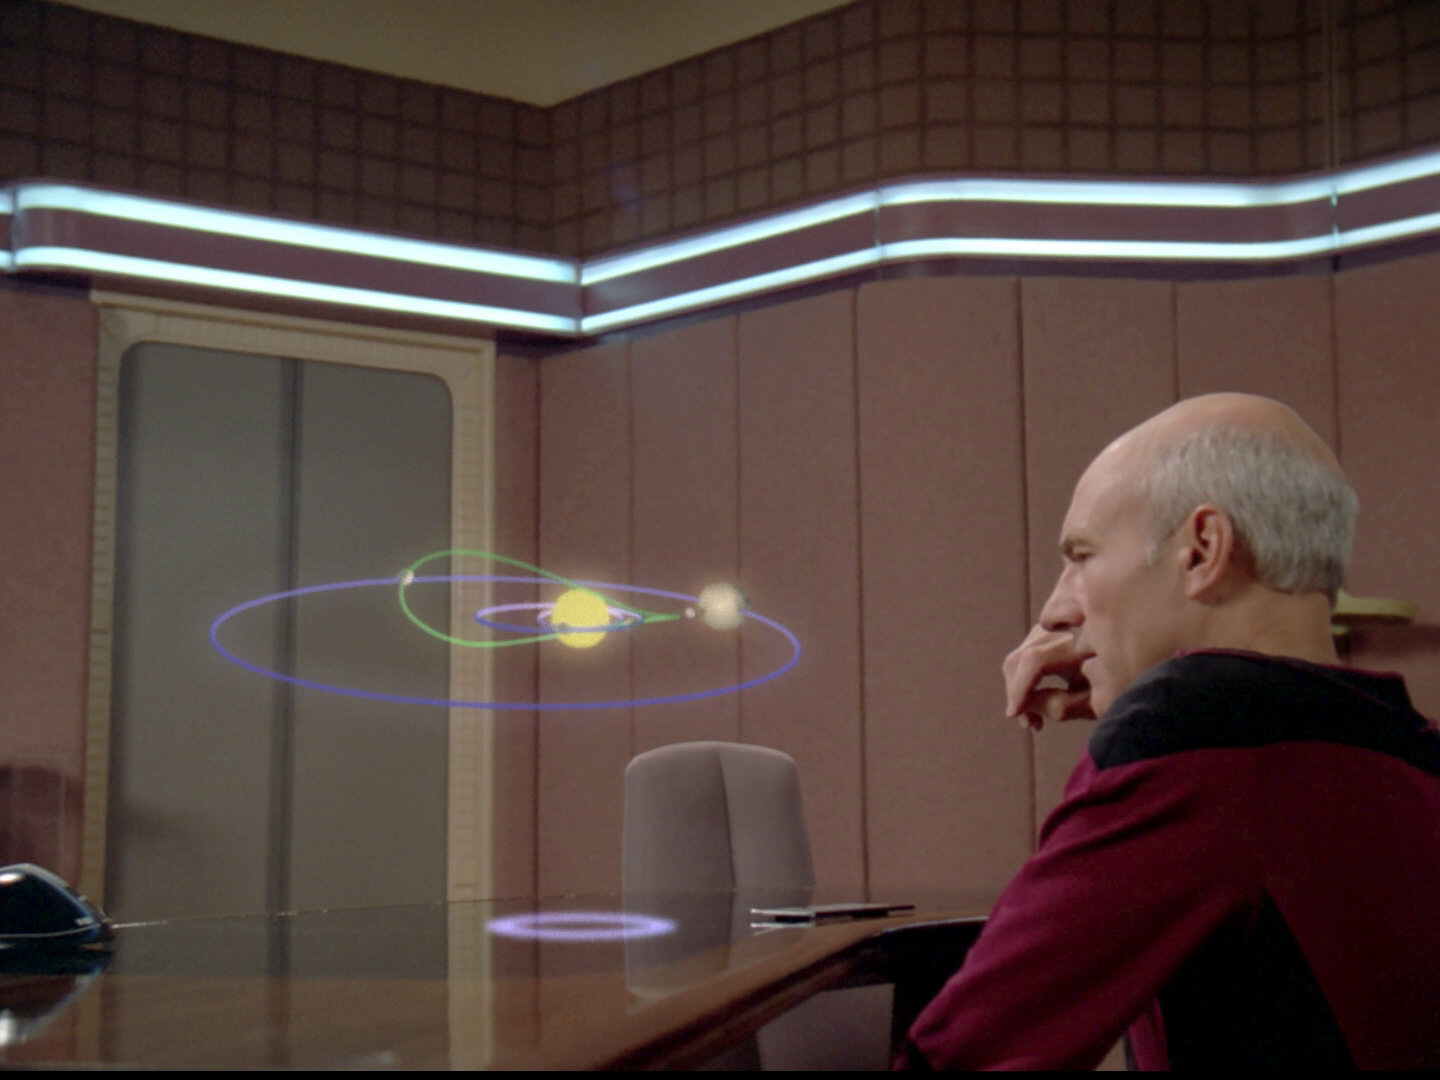 |
The projection was reconstructed for TNG-R. Note the odd framing, which leaves a black bar on the bottom. |
|
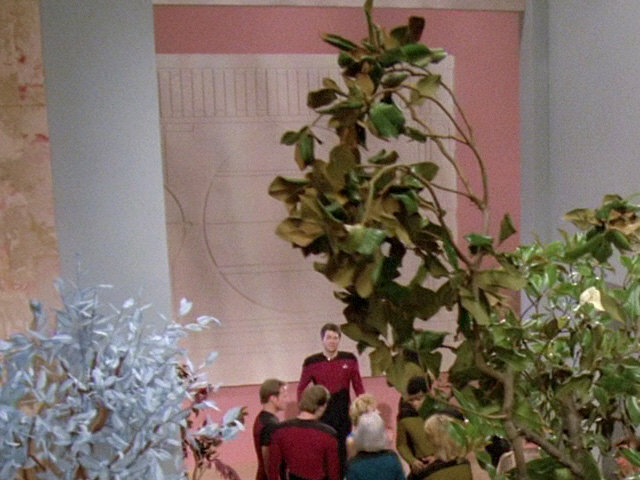
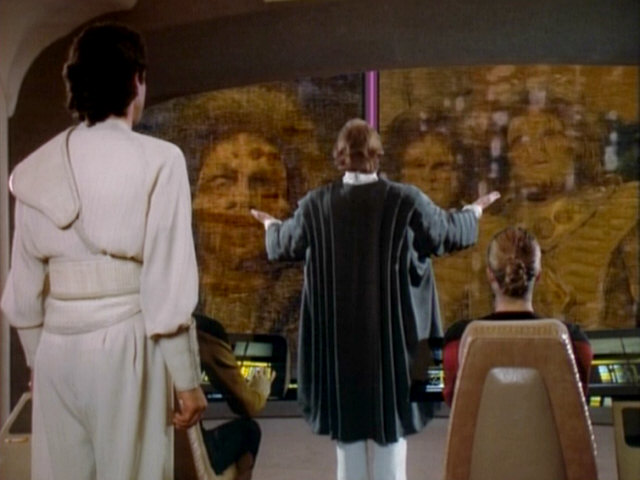
The mural or wall relief featuring circles and lines previously appeared at one end of the Farpoint Station shopping mall in "Encounter at Farpoint" and in "Justice" on Rubicun III. |
 "Encounter at Farpoint" |
 "Justice" |
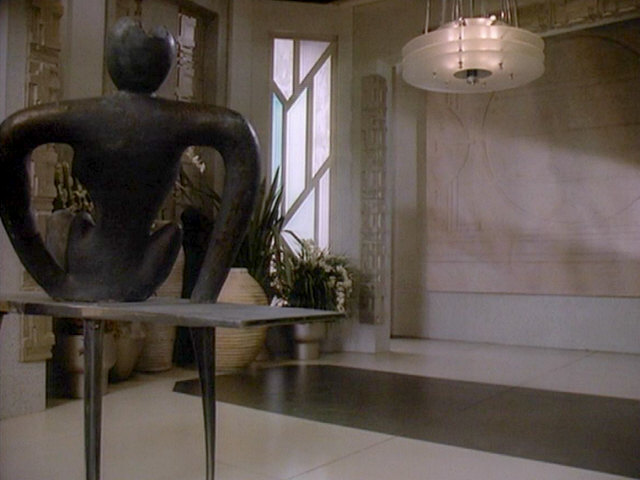 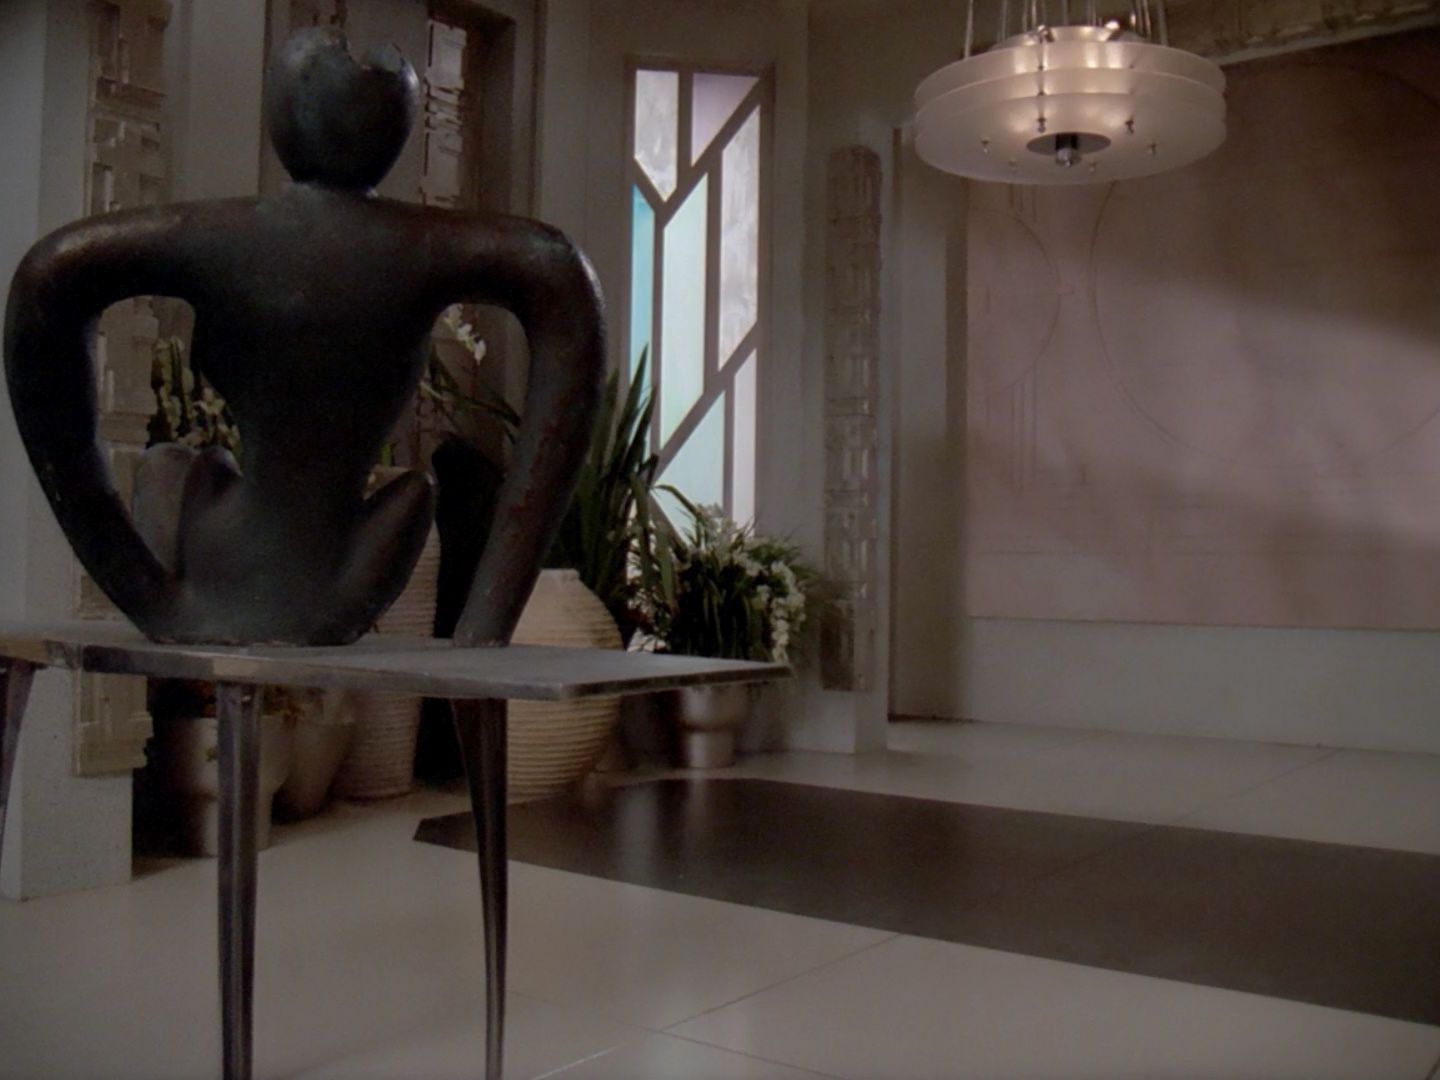 |
The wall in HD. |
The decorative wall relief consisting of tiles is later seen again on Angosia in "The Hunted", on Kataan in "The Inner Light" and on Vulcan in "Gambit II". |
 "The Hunted" |
 "The Inner Light" |
  |
|
 "Gambit II" |
||||
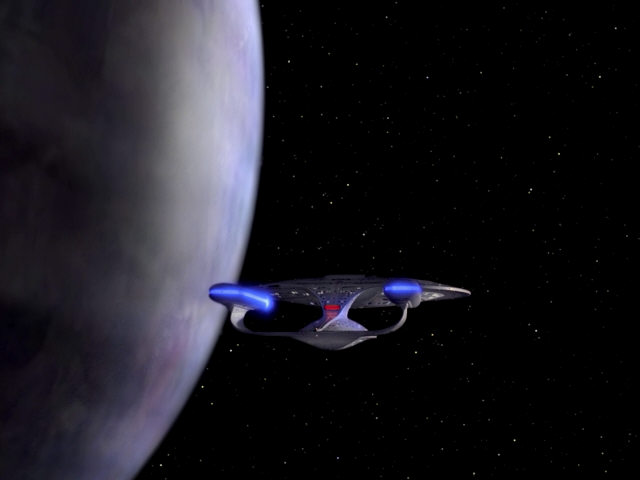
| Another shot of Ramatis III. The planet appears quite bright here. | 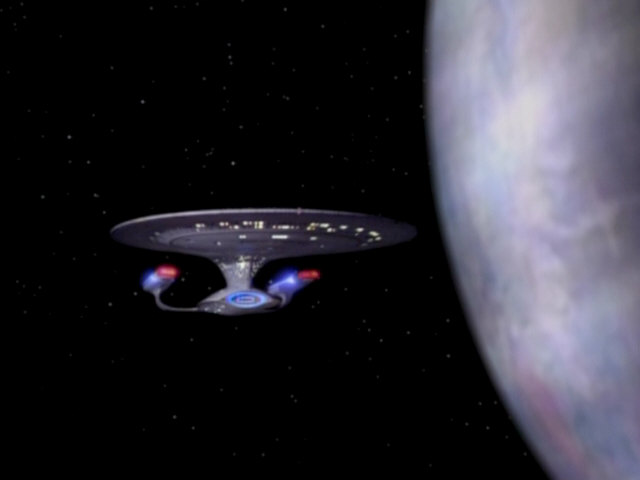 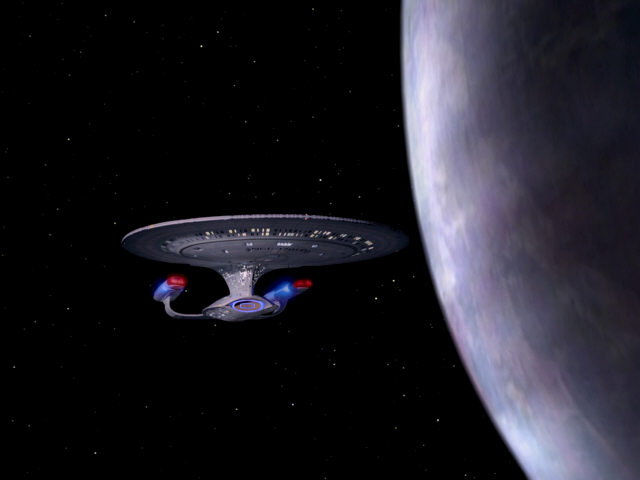 |
Once again, the planet wasn't changed for TNG-R. But it seems the shading was improved. | ||
| A very similar window is seen in the Uxbridge house in "The Survivors" in the following season. |  "The Survivors" |
  |
The window in HD. | |
| Ramatis III appears very dark in this shot. | 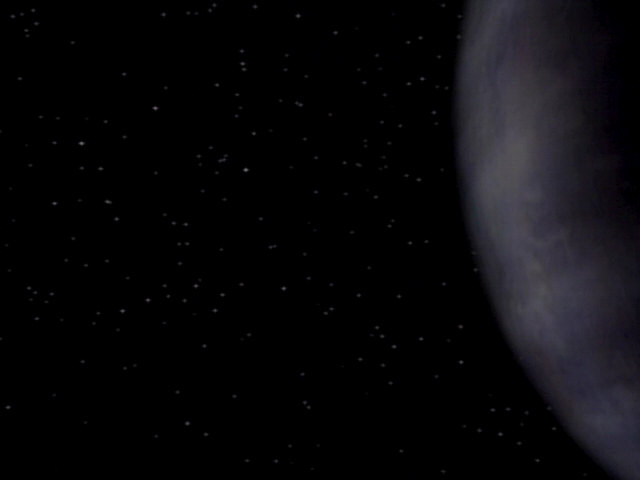 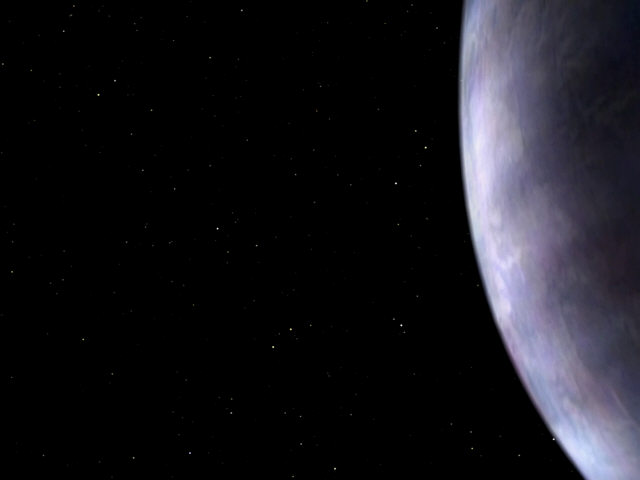 |
In HD, the brightness of the planet in this shot is in line with the other shots. | ||
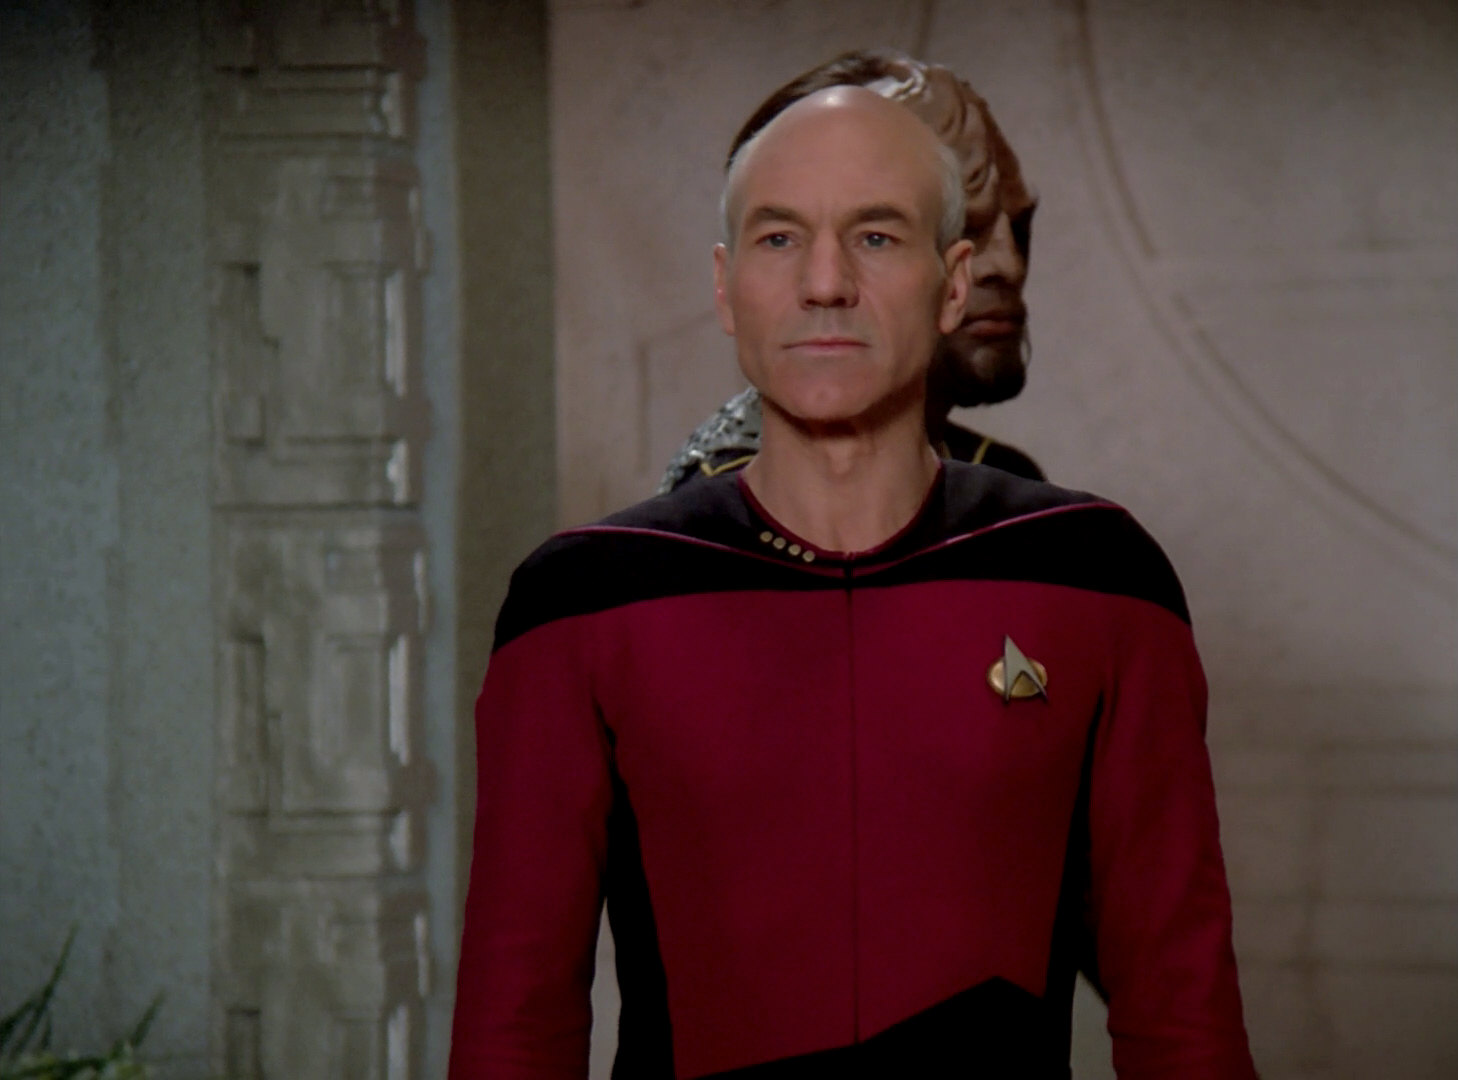
| A close look at the short corridor linking the observation lounge to the bridge. This corridor was already present in the first season. The door on the opposite side of the observation lounge led to the corridor set in the first season, as sickbay was still doubling as the observation lounge. When a completely new lounge was built for the first season, the other door was also attached to a short beige corridor like this one. |  |
No changes | ||
| Solais V as it appears on the main viewscreen. |  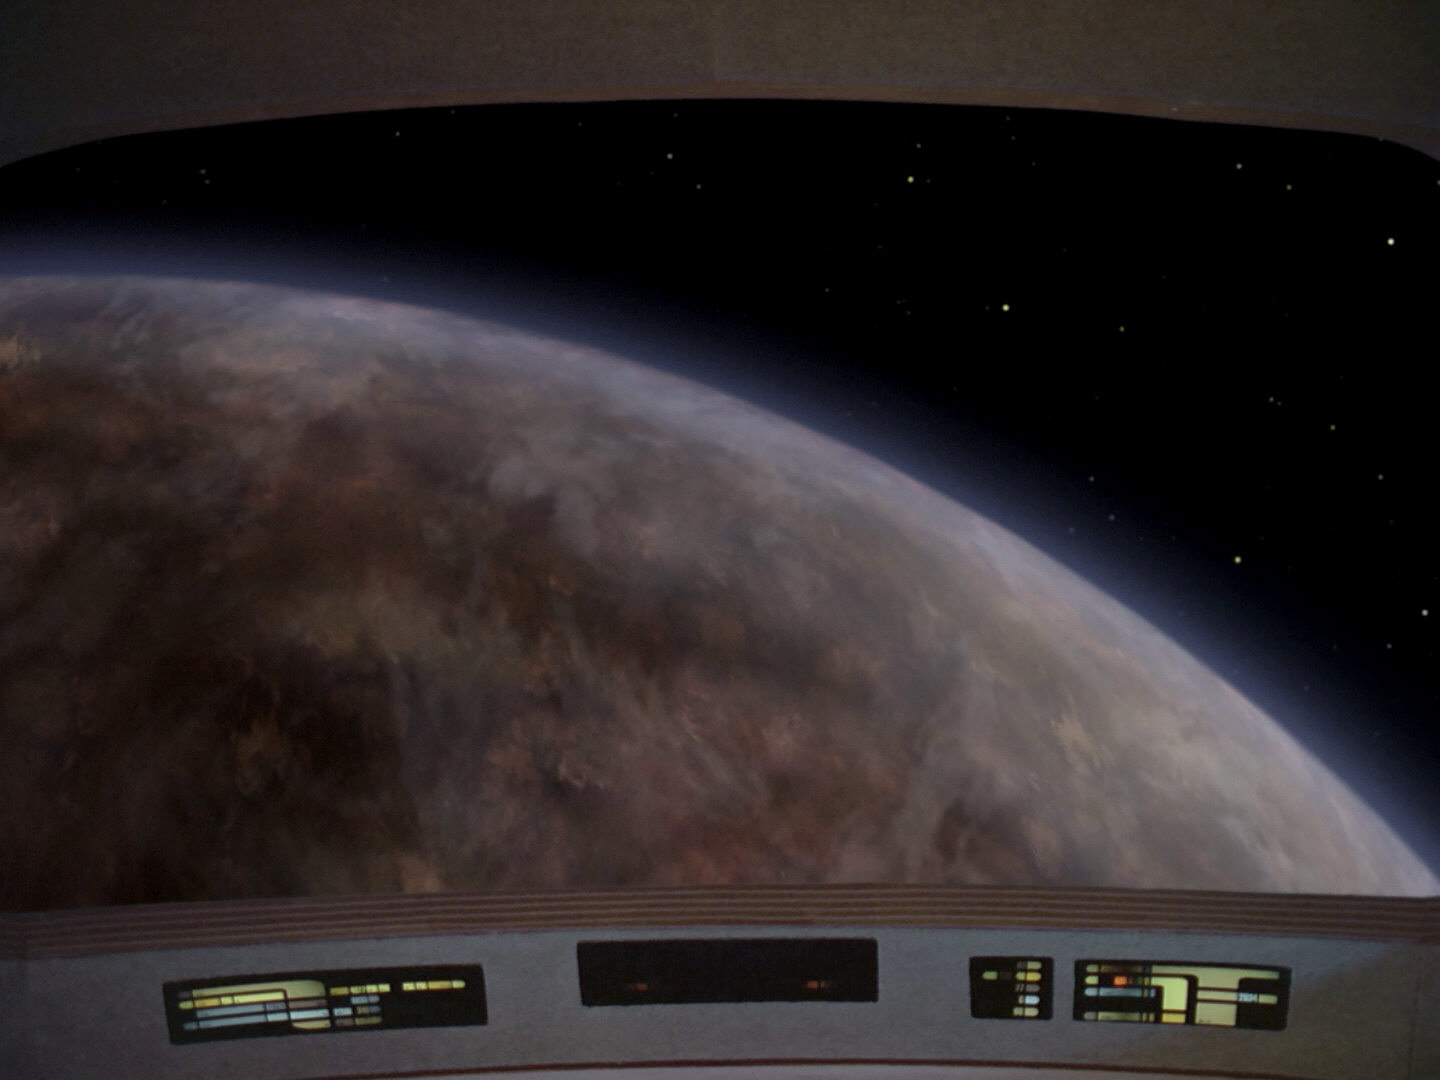 |
The planet surface was reconstructed and is much more detailed in HD. | ||
| A split screen appears in only one more episode, "The Outrageous Okona". | 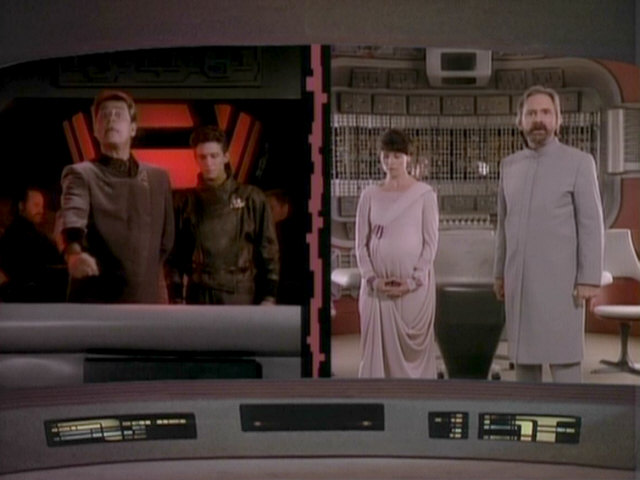 "The Outrageous Okona" |
 |
No changes | |
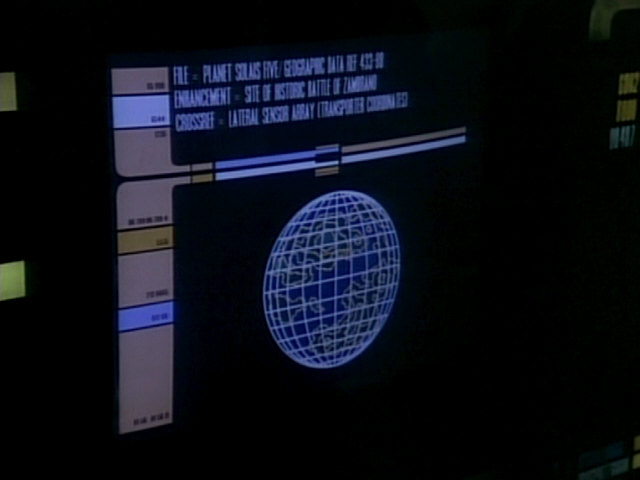
| An animation of Solais V on the bridge monitor. | 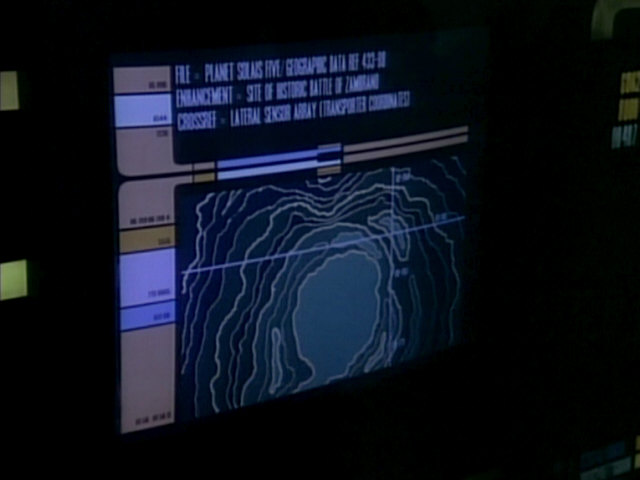 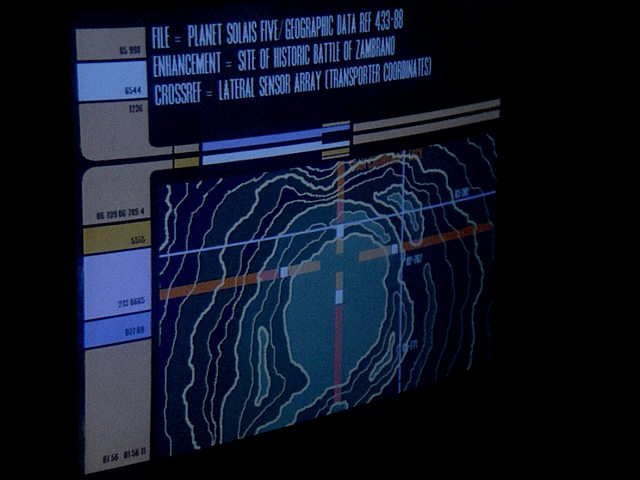 |
The animation was a video displayed on the bridge monitor, it was not added in post production. That is why the animation remains the same in TNG-R. | ||
  |
||||
  |
||||
| The USS Enterprise-D in orbit of Solais V. | 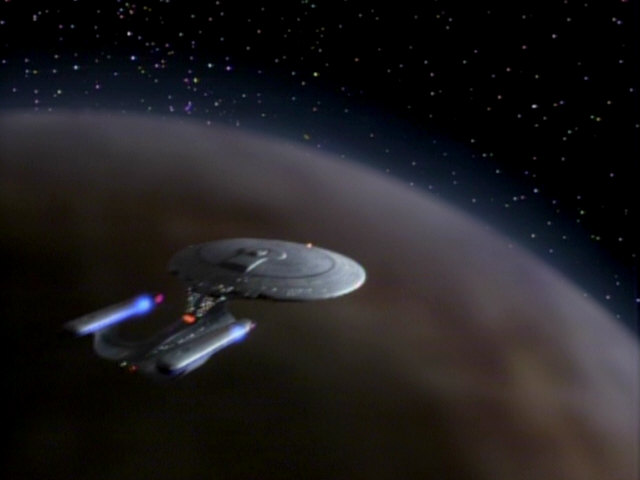 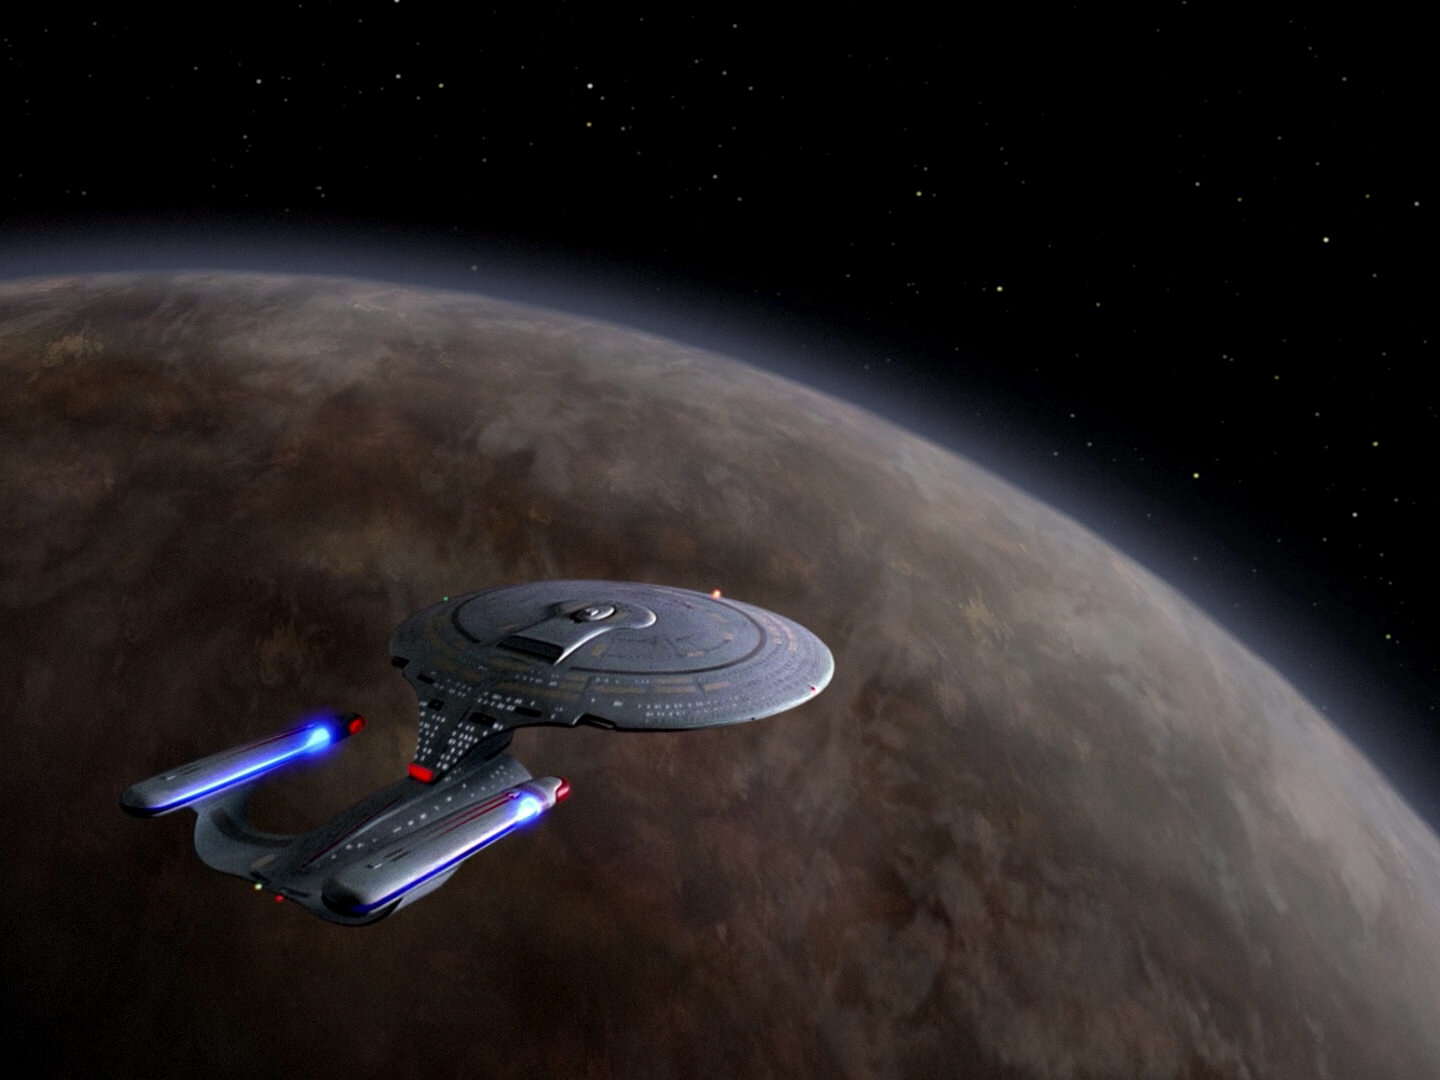 |
The planet is much more detailed in this shot too. | ||
| As the landing party materializes on the surface, the sparkle effect is missing for Worf. | 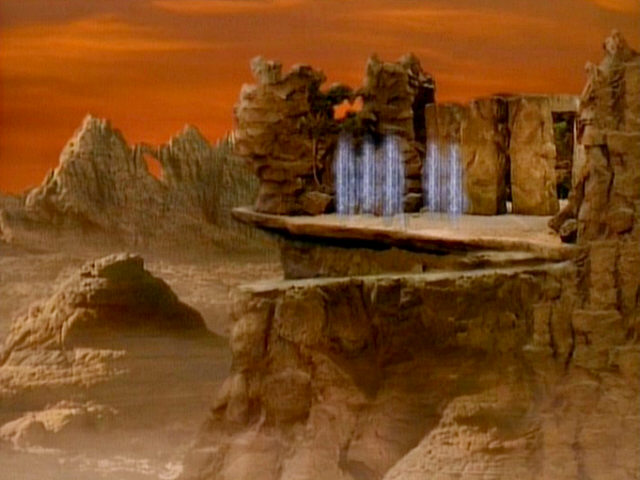 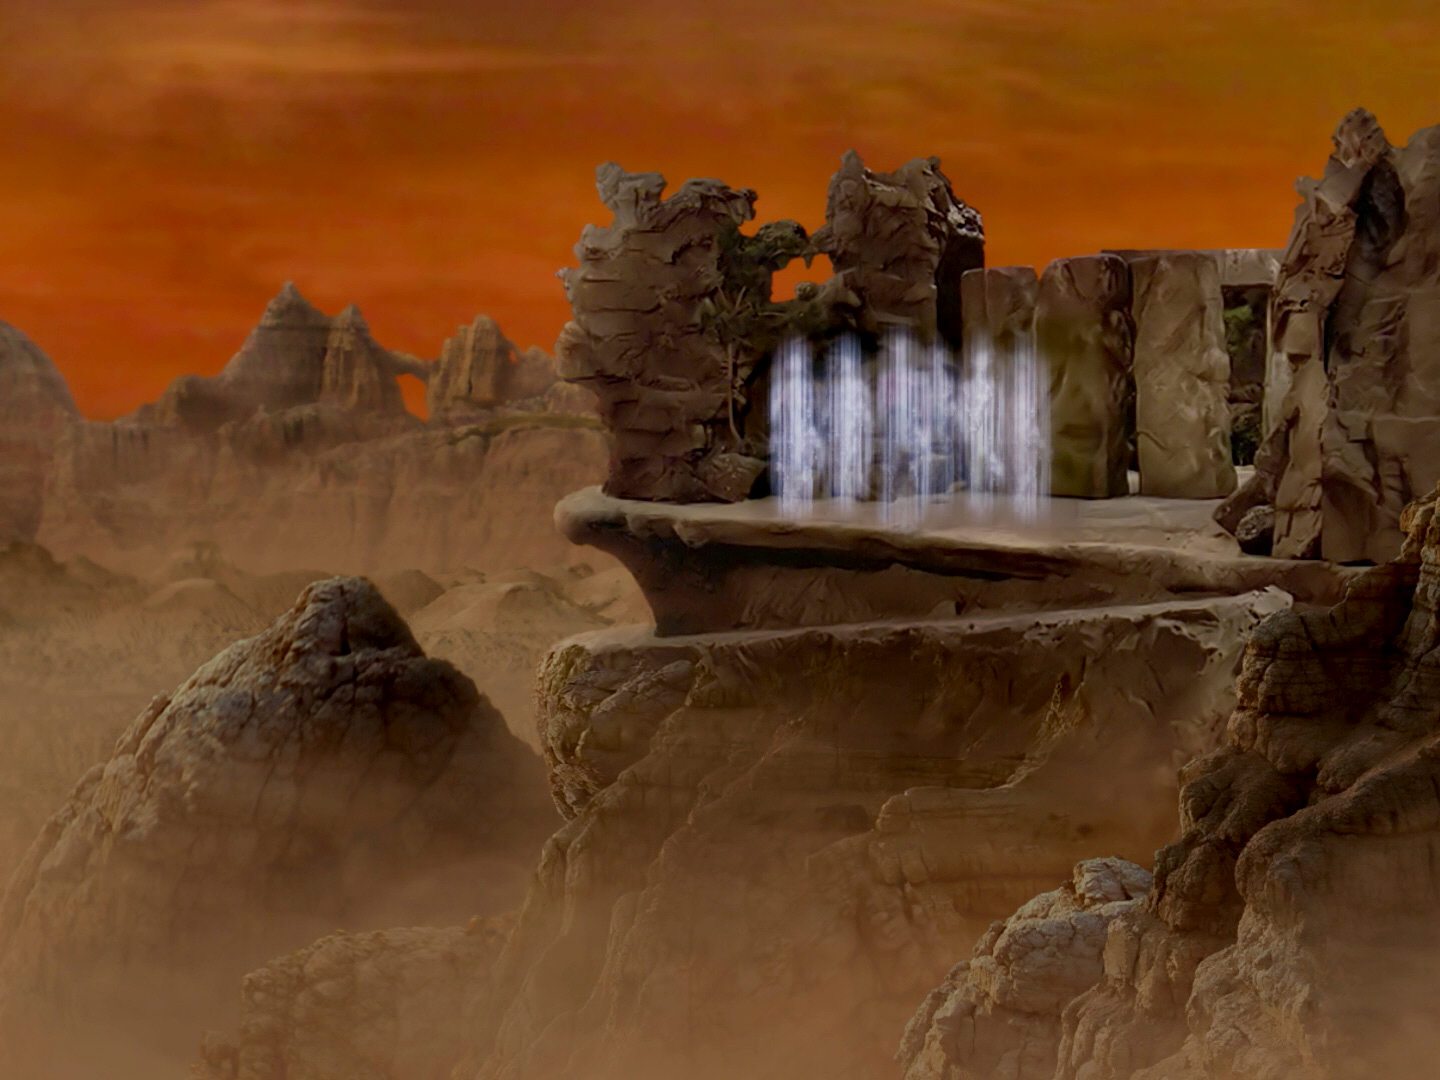 |
The sparkling effect was recreated for TNG-R, including Worf. | ||
| The planet surface shot of Solais V consists of a matte painting and live action footage. |   |
A new digital matte painting was created for TNG-R. | ||
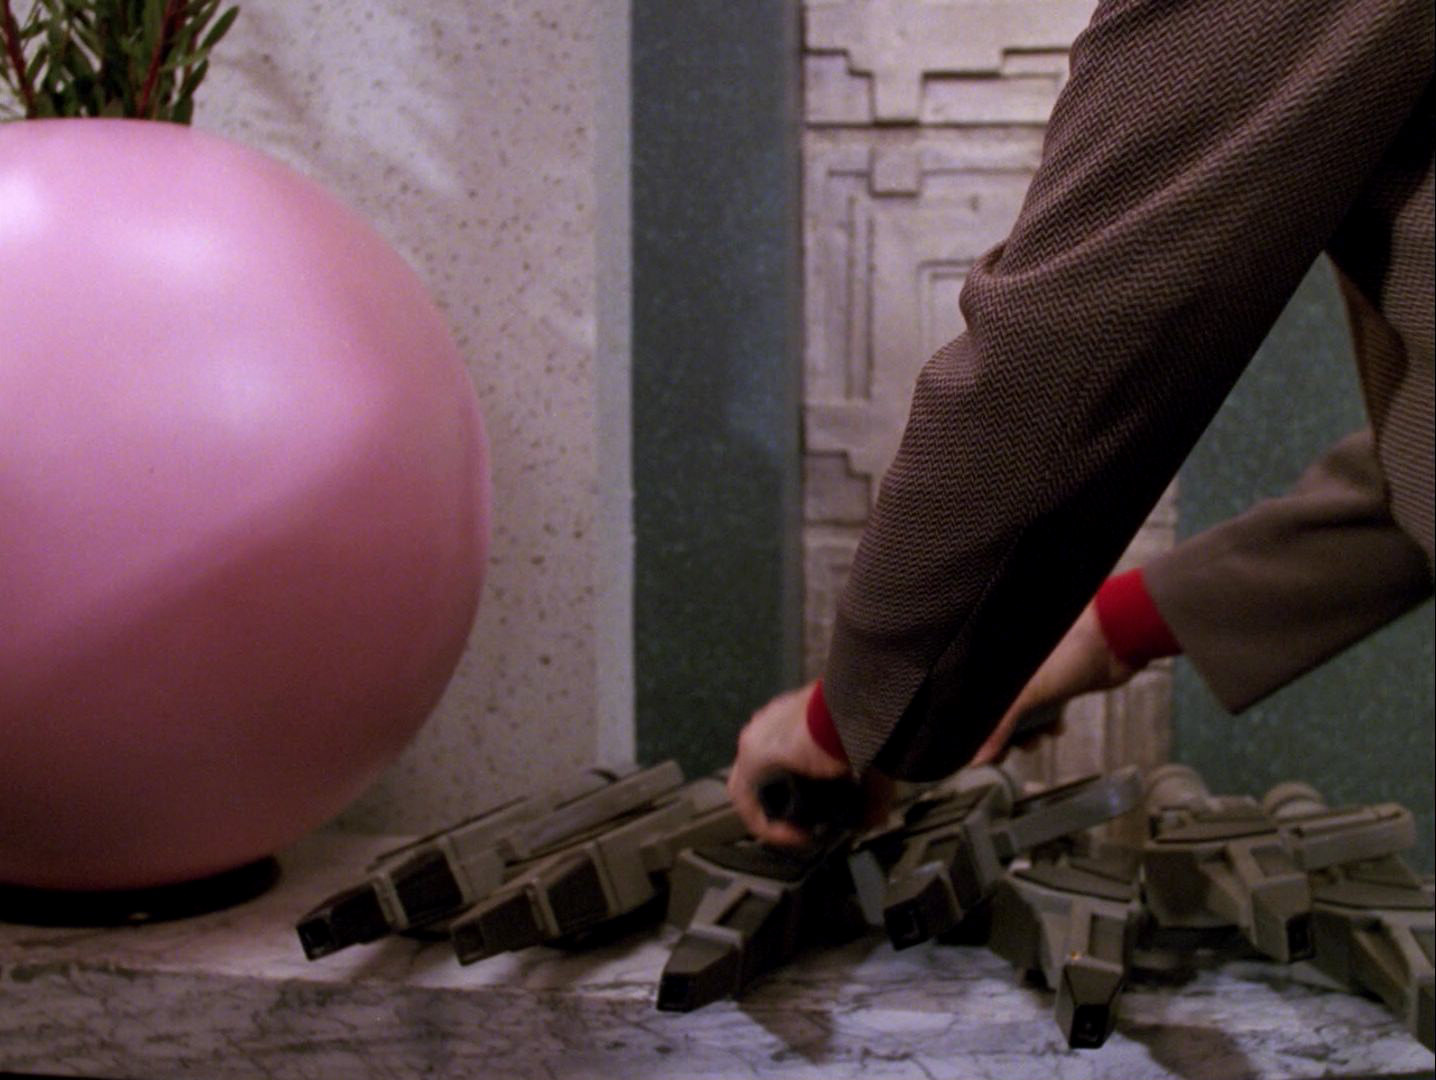
| One of the large Solari weapons in "Loud as a Whisper" shows up again a year later, as a Regalian phaser rifle in use by the Gatherers in "The Vengeance Factor". |  "The Vengeance Factor" |
 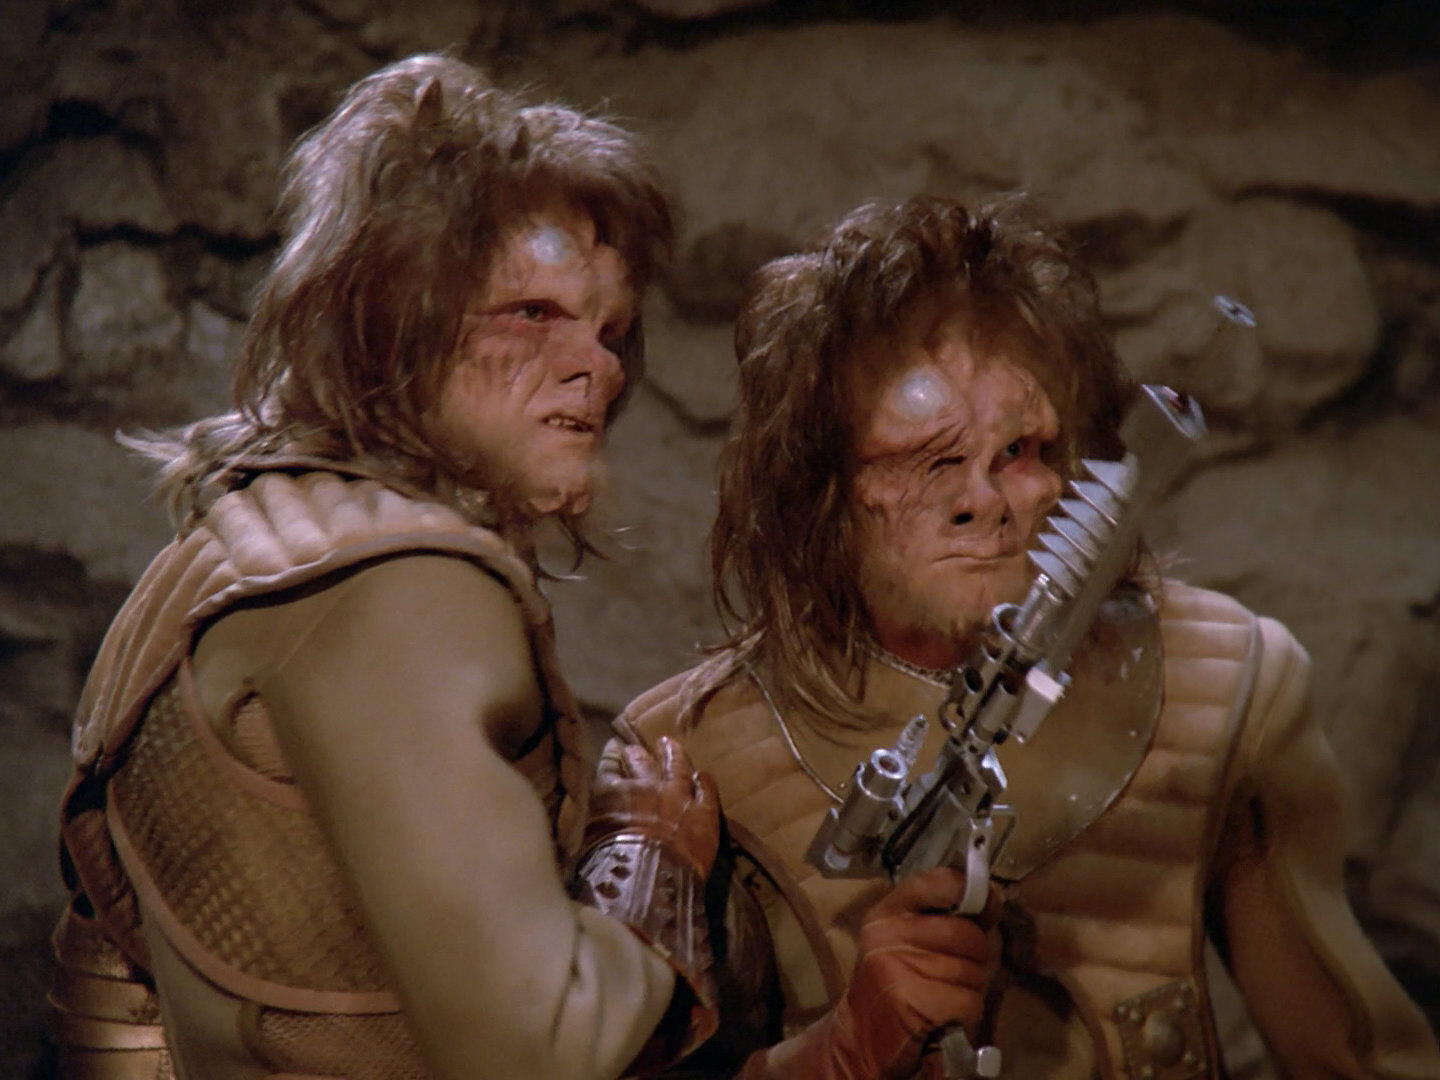 |
The weapon in HD. | |
| The effect of the dissolving bodies of the chorus and the Solari. | 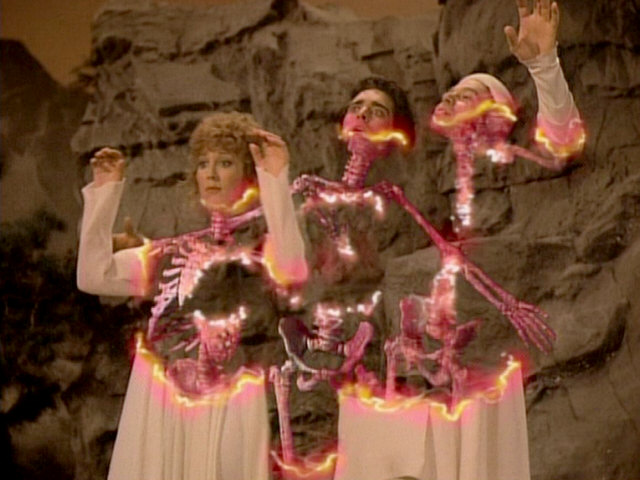  |
The effect had to be recreated for TNG-R. | ||
  |
||||
| In the original episode, this shot of Solais V appears very blurry. |  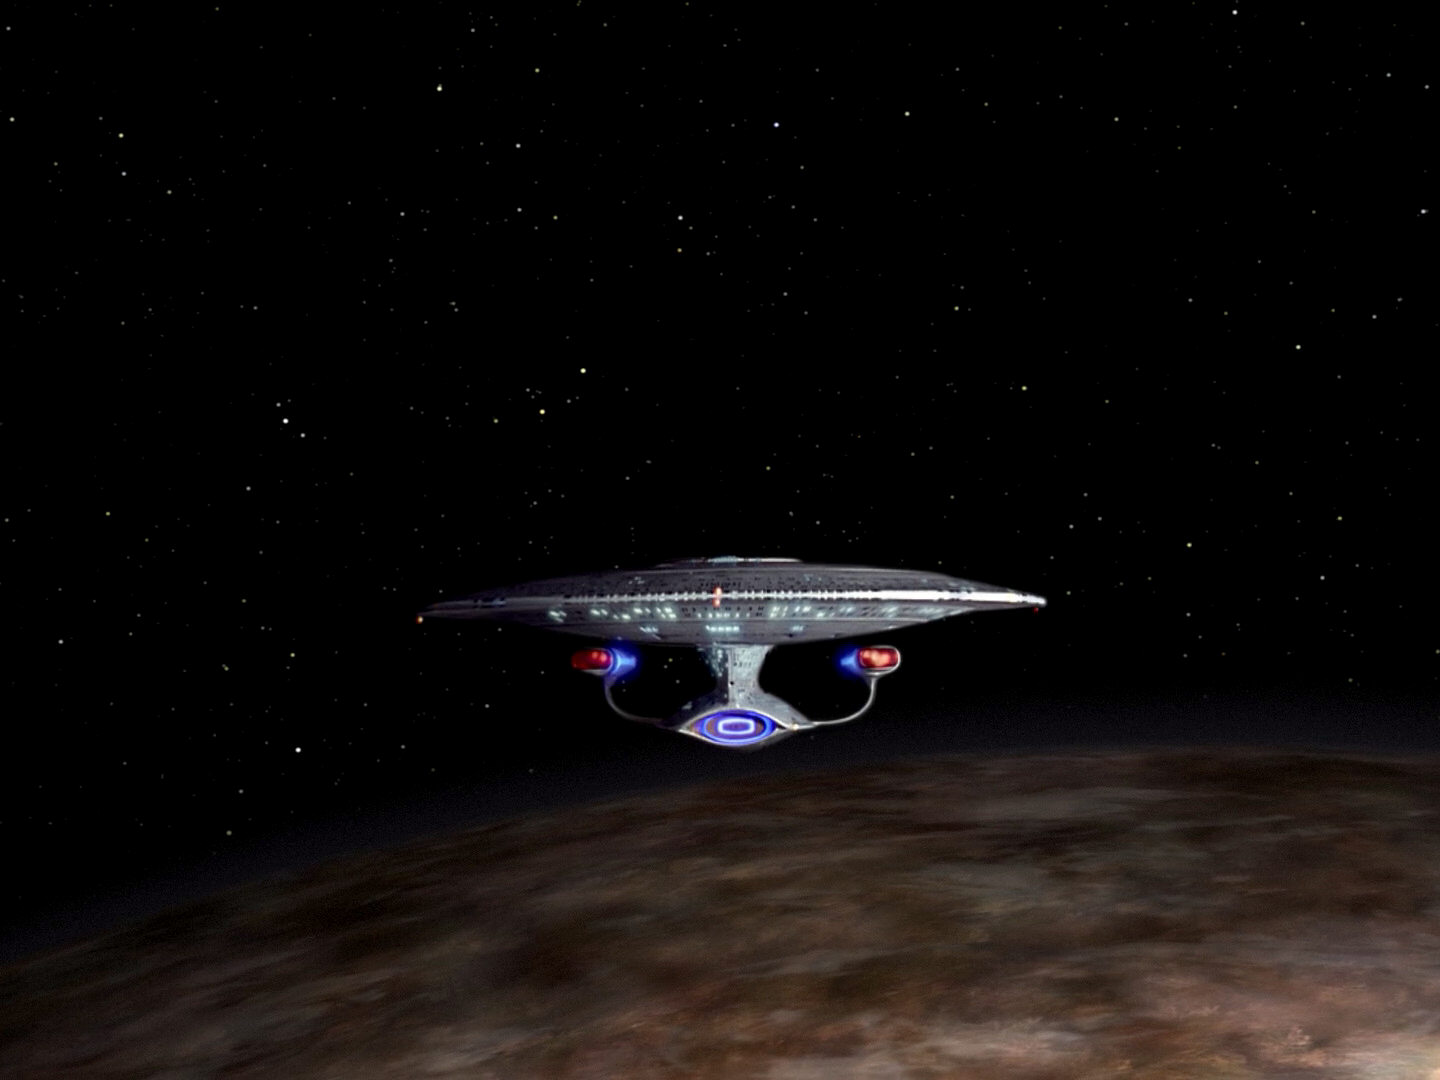 |
The surface in the corresponding HD shot is not blurred any longer. The USS Enterprise-D looks much too narrow in this shot. It seems as if the footage of the ship has been compressed horizontally. The same mistake happens again a little later in the episode. |
||
| The painting behind Deanna Troi, named Serpent's World, was created by Rick Sternbach. After it had been seen in several crew quarters in the first season, it hung in the observation lounge from the beginning of the second season until the end of season 4. Space Art in Star Trek: The Next Generation |
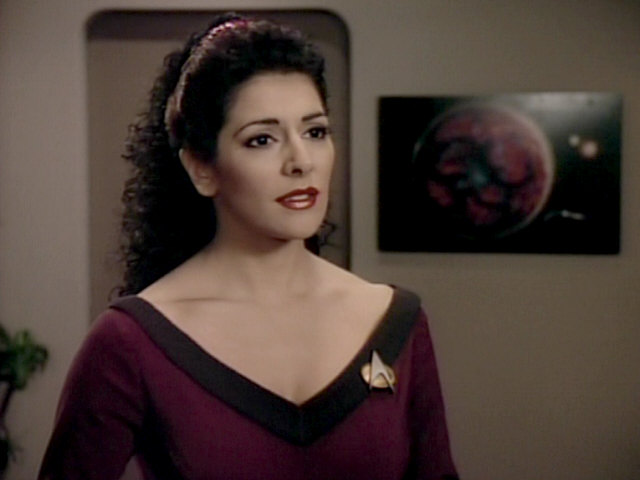 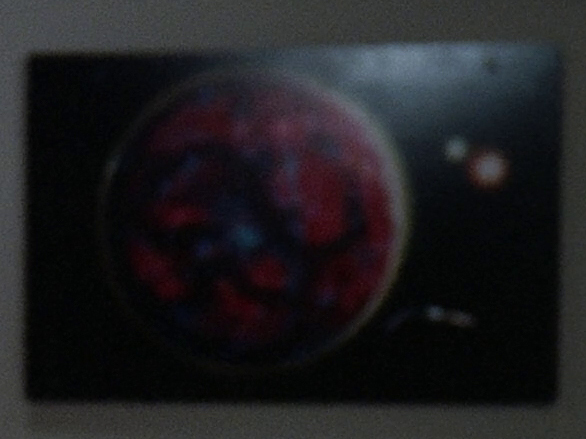 |
The painting in HD. | ||
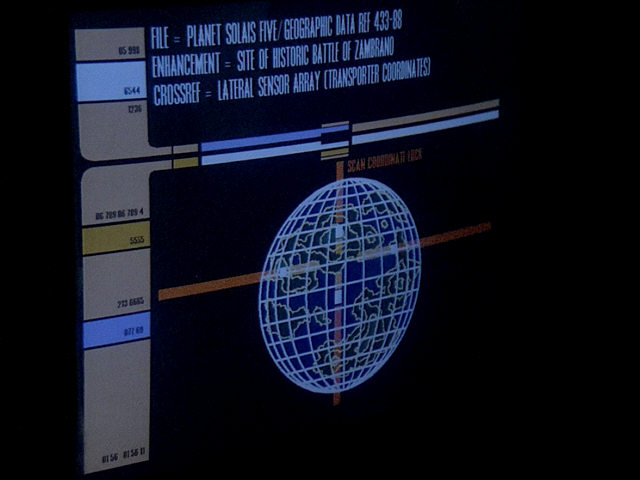
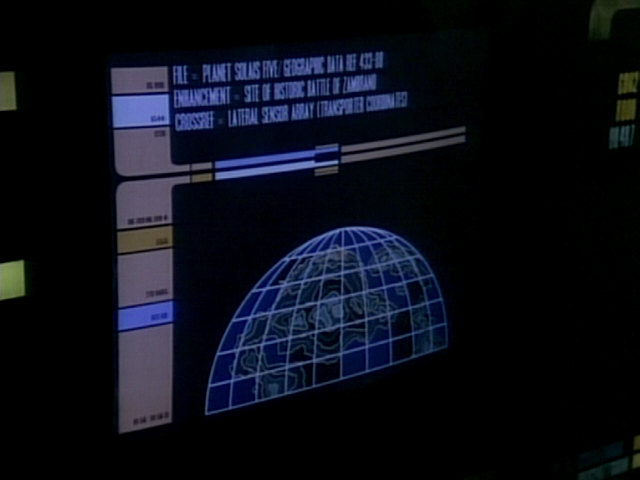
| In the original version of the episode, the text at the top of the LCARS pages was not legible. |  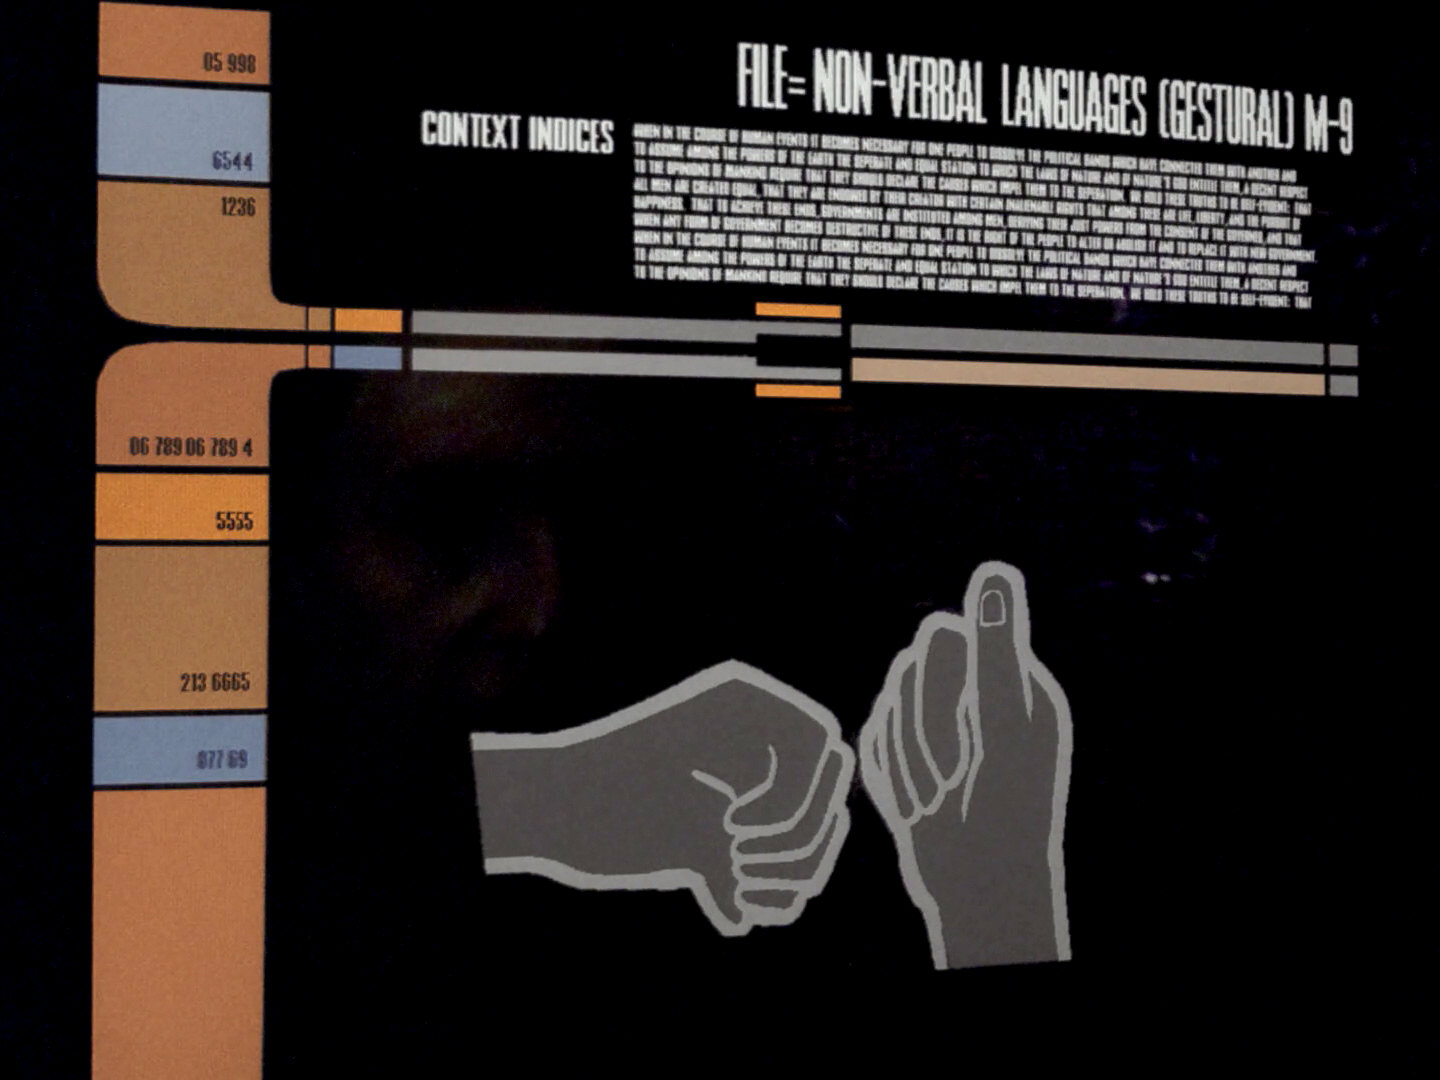 |
The text begins with the rather long sentence: "When in the Course of human events, it becomes necessary for one people to dissolve the political bands which have connected them with another, and to assume among the powers of the earth, the separate and equal station to which the Laws of Nature and of Nature's God entitle them, a decent respect to the opinions of mankind requires that they should declare the causes which impel them to the separation." The source of this text block is thus the United States Declaration of Independence. |
||
 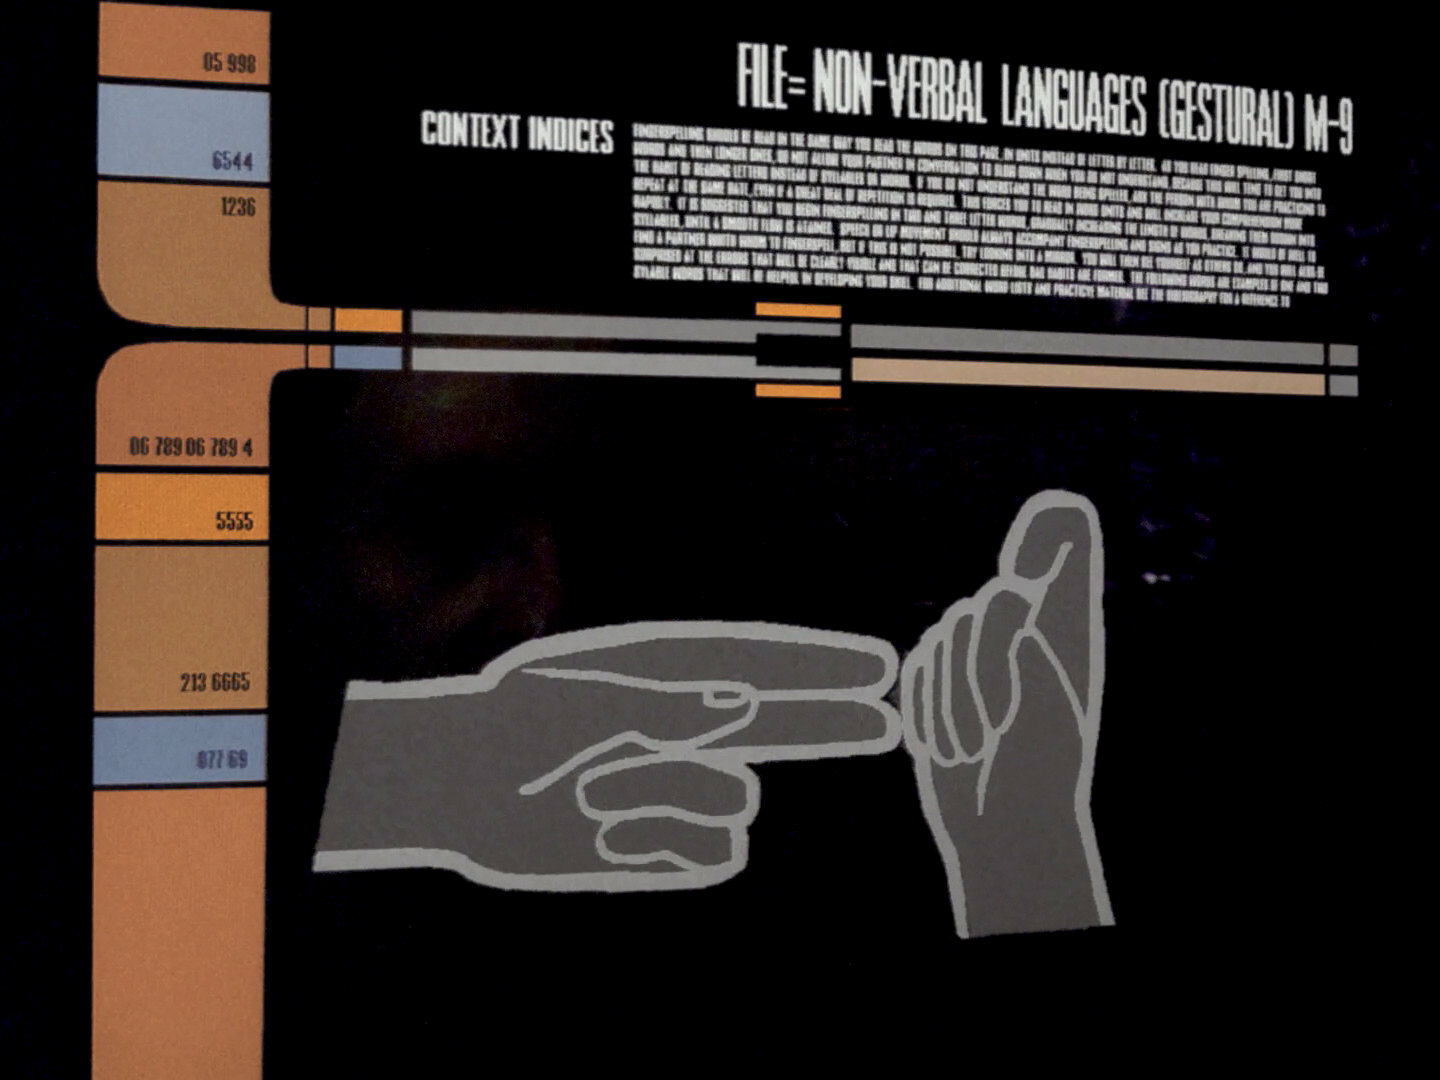 |
Text two is taken from an actual book on sign language, namely The Joy of Signing by Lottie L. Riekehof. |
|||
 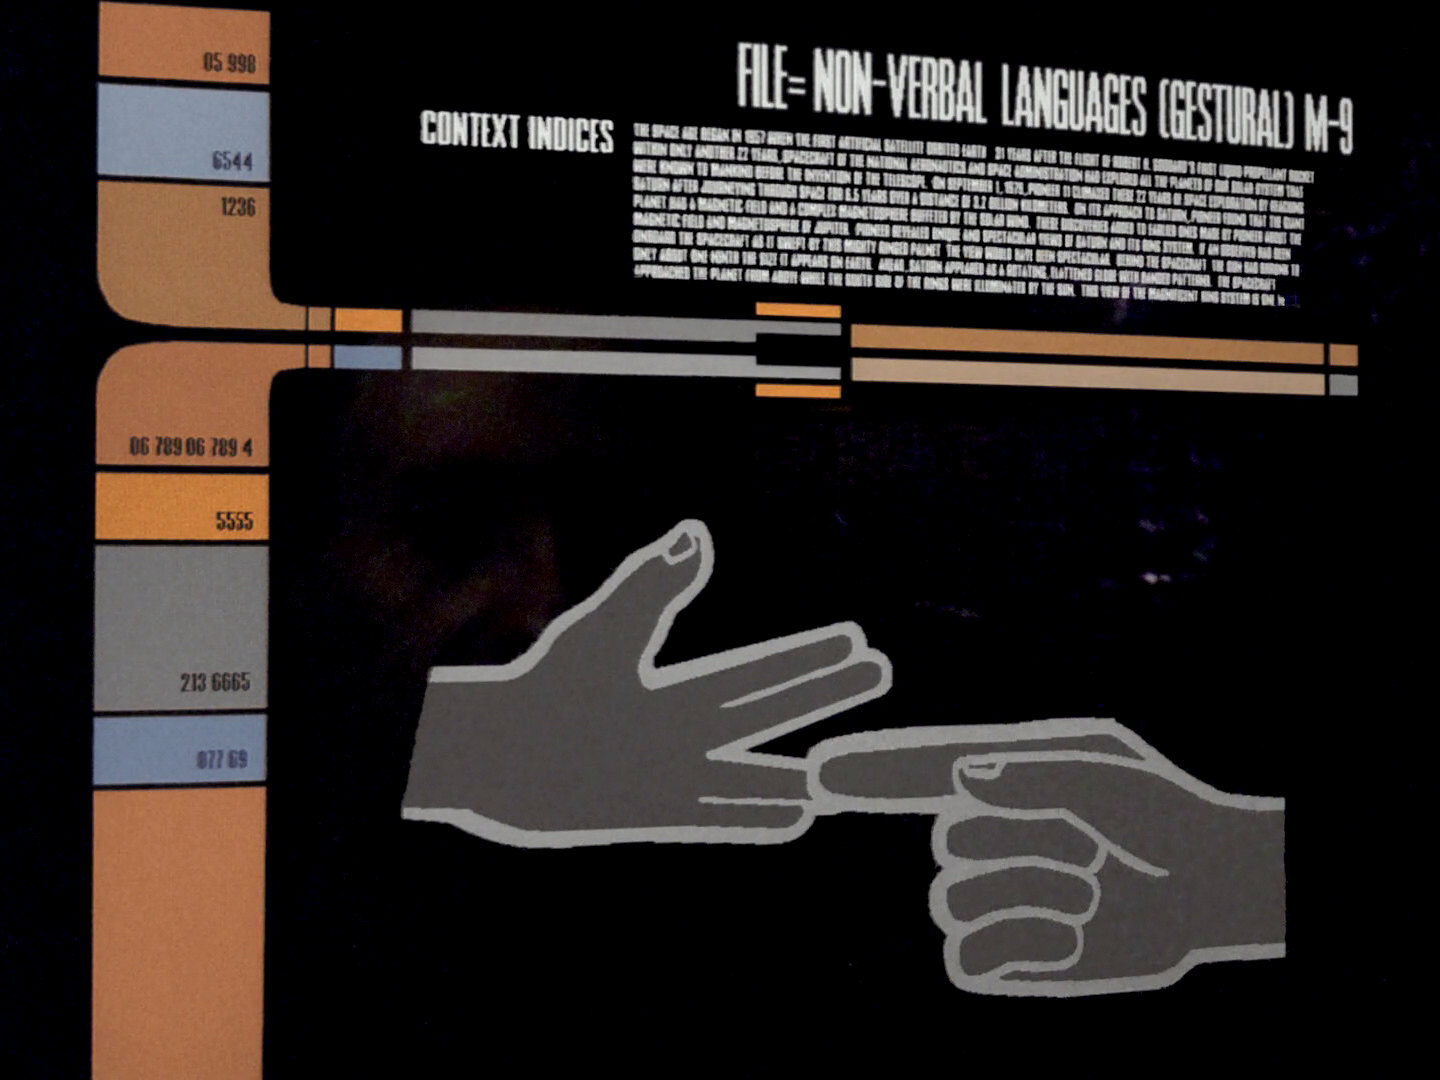 |
The third text begins with the sentence: "The space age began in 1957 when the first artificial satellite orbited Earth - 31 years after the flight of Robert H. Goddard's first liquid propellant rocket." The source of this sentence (and the following sentences) is the book Pioneer - First to Jupiter, Saturn and Beyond. |
|||
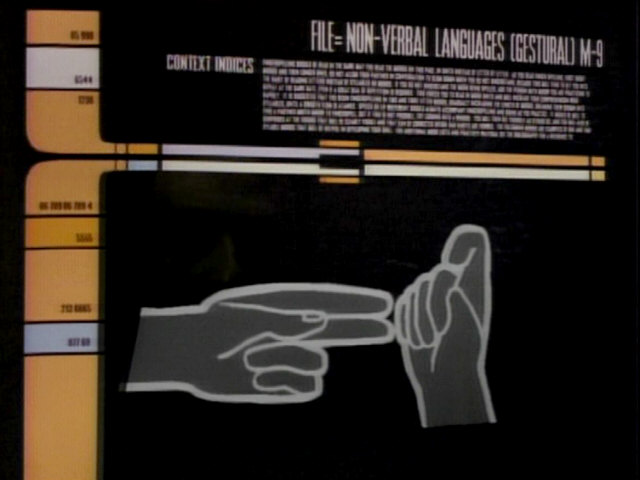
| The fictional sign language M-9 famously includes one gesture that is identical to the Vulcan salute. | 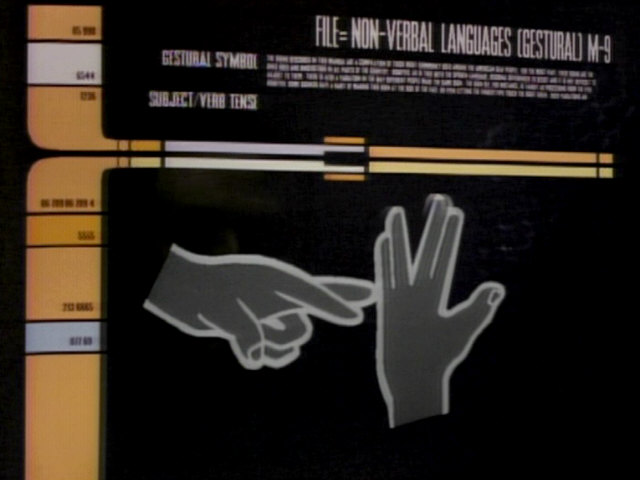 |
No changes | ||
| The cable powering the blinking lights on Geordi's temples can be seen running down his back in this shot. | 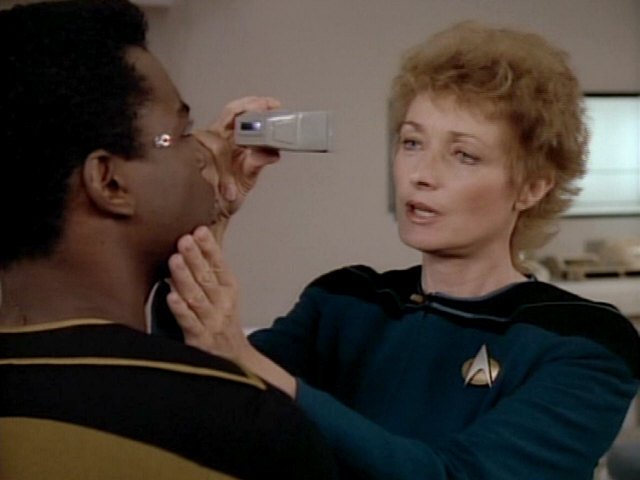  |
It is much more clearly visible in HD. | ||
| Doctor Crusher uses the same medical scanner (with small graphics of two eyeballs) when she scans Geordi's eyes in "Encounter at Farpoint". | 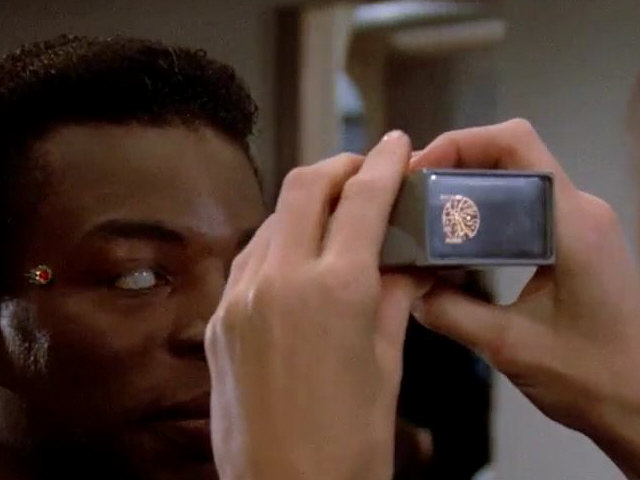 "Encounter at Farpoint" |
 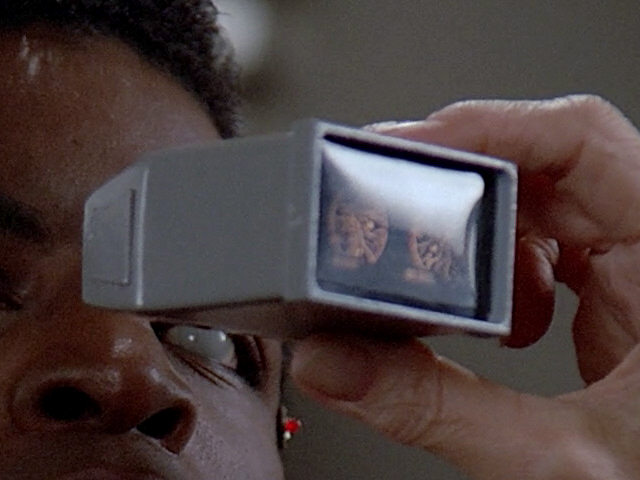 |
A close-up of this device in HD. | |
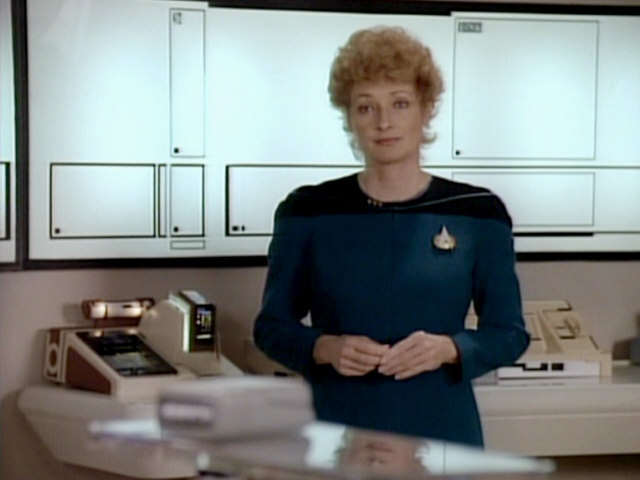
This is the first time the small biobed equipment table is seen. The large light source behind Pulaski was added to the sickbay set between seasons 1 and 2. In season 1, three smaller, numbered light sources were in the same spot instead. |
 "Haven" |
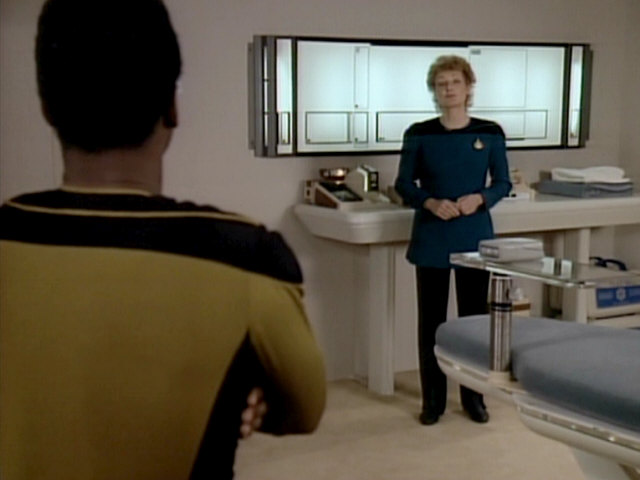  |
The set in HD. | |
 "Haven" |
  |
|||
| Another shot of Ramatis III. |  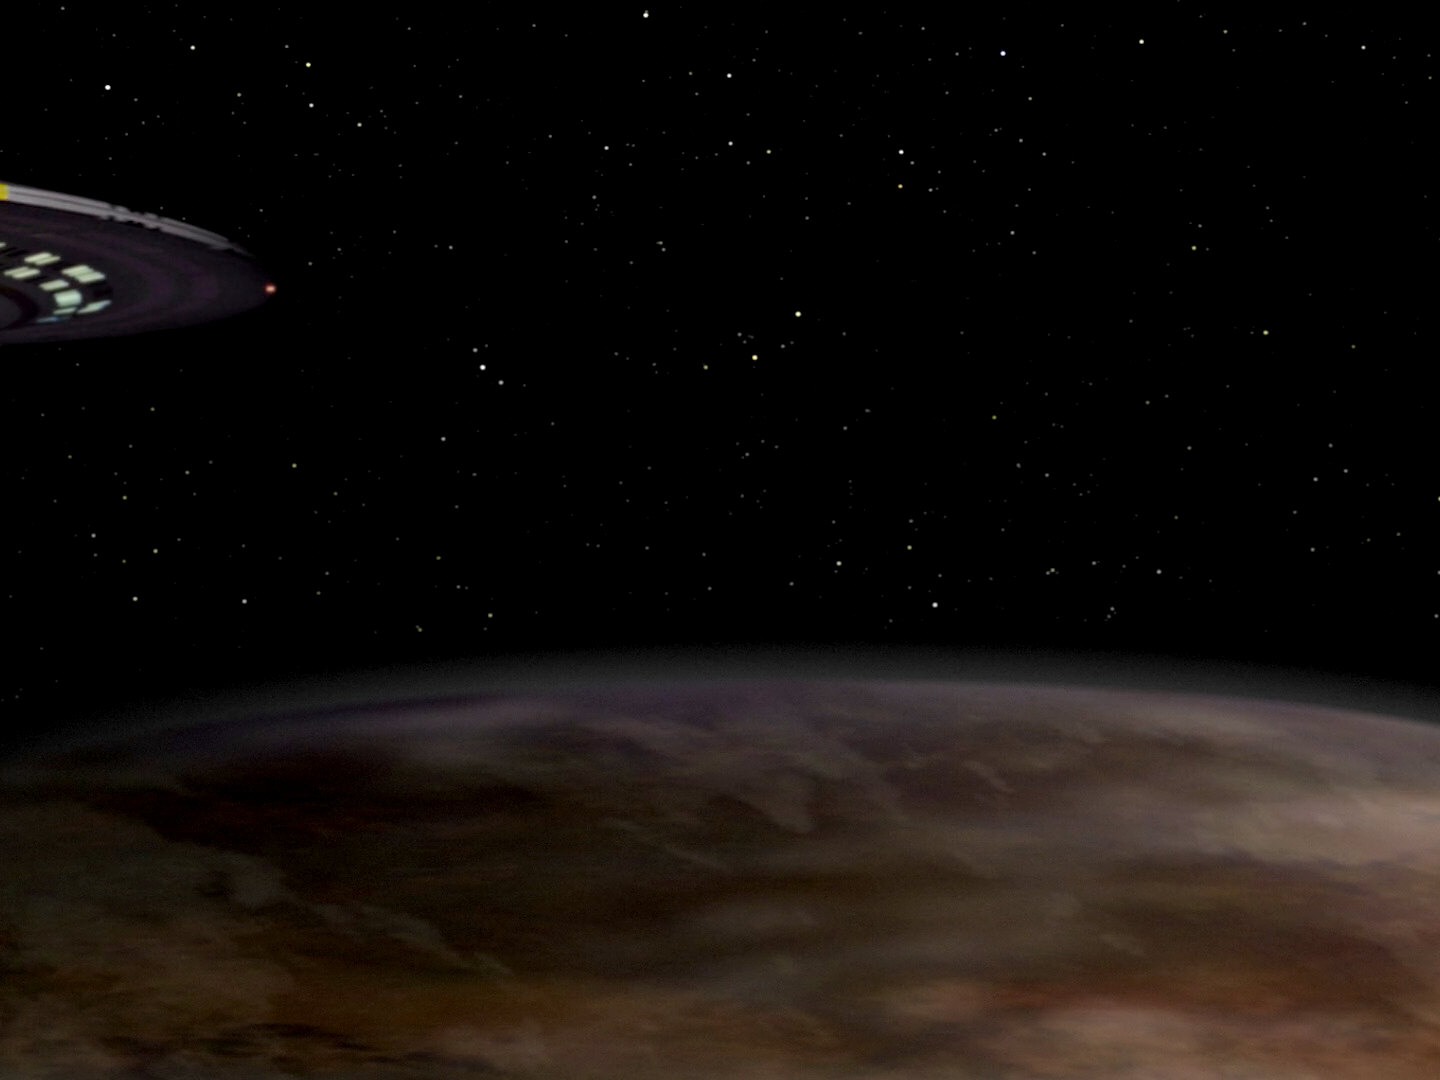 |
The planet is somewhat clearer in HD. | ||
| Riker enters the transporter room through the rarely used side entrance. The Corridor from the Transporter Room to Sickbay |
 |
The set in HD. | ||
| Like previous shots of the planet, the final shot of Ramatis III appeared very blurry in the original episode. |  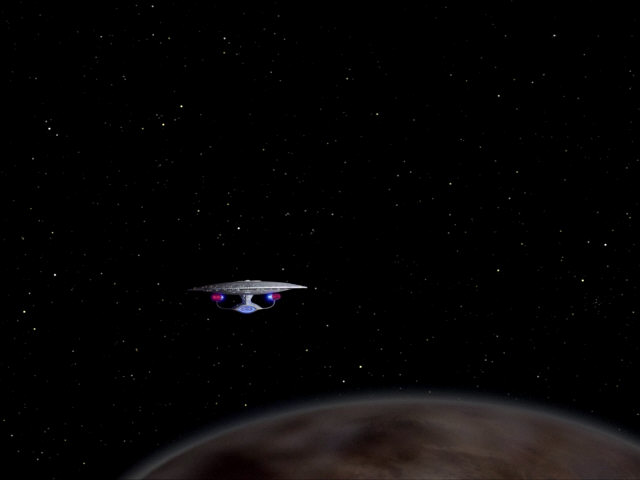 |
Once again, this shortcoming was fixed in TNG-R. | ||


