


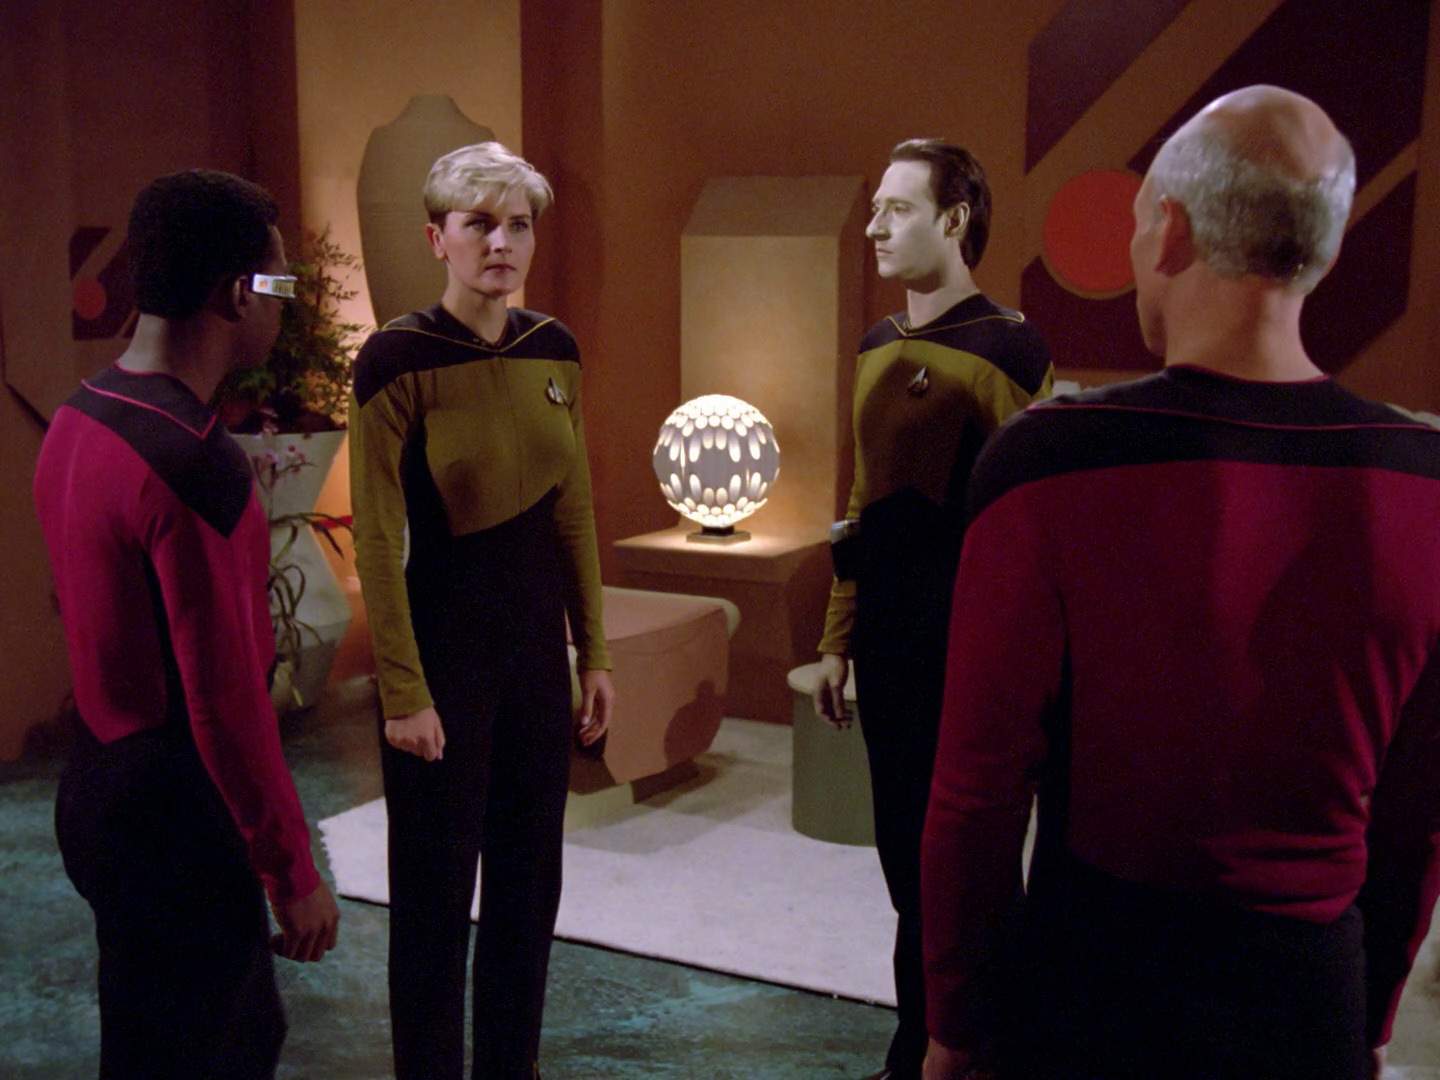
Observations in TNG: "Angel One"
A joint project with TrekCore, by Jörg Hillebrand and Bernd Schneider
 Here are some observations about sets, props and visual effects in TNG: "Angel One" without a specific theme, and a comparison of the original TV release (TNG) with the remastered episode (TNG-R).
![]()
"Angel One" HD Screencaps @ TrekCore
| Description TNG | Other caps | Comparison TNG to TNG-R | Description TNG-R | |
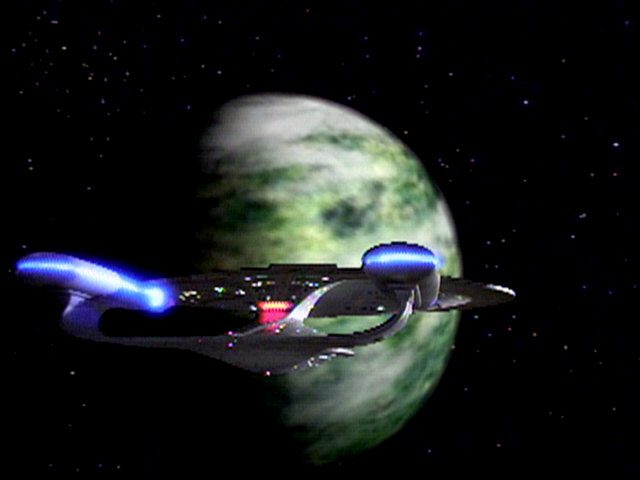
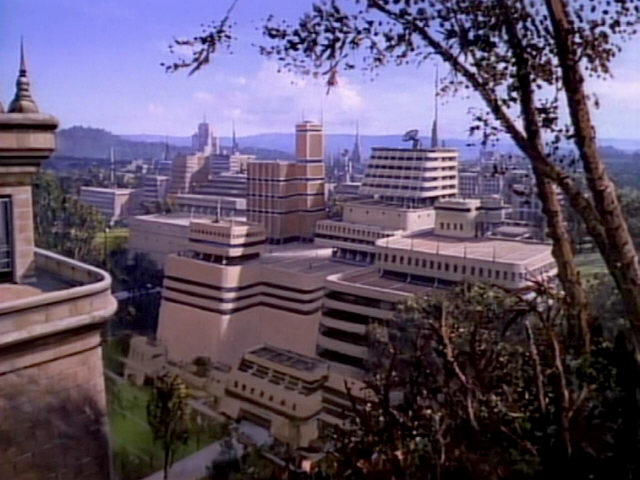
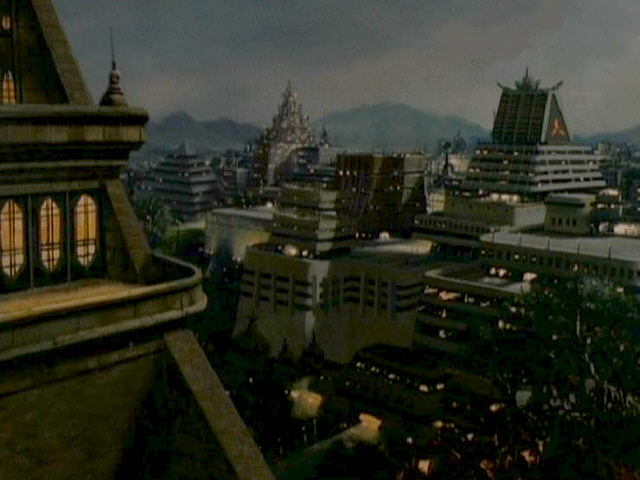
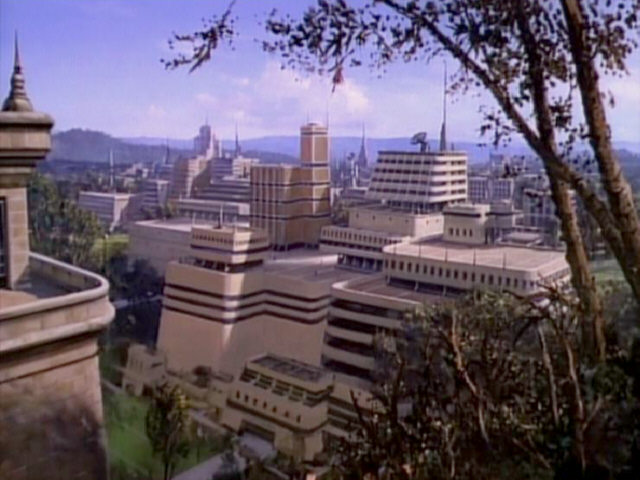
| Angel I will appear again in three more TNG episodes, namely as Minos in "The Arsenal of Freedom", Theta 116 VIII in "The Royale" and Legara IV in "Sarek". Re-Used Planets in TNG |
 "The Arsenal of Freedom" |
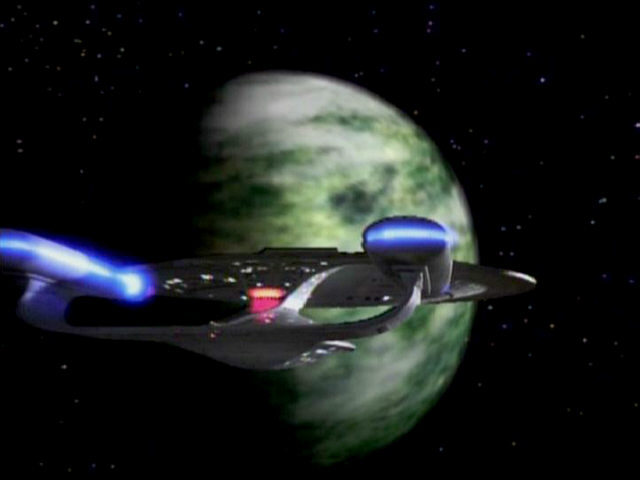  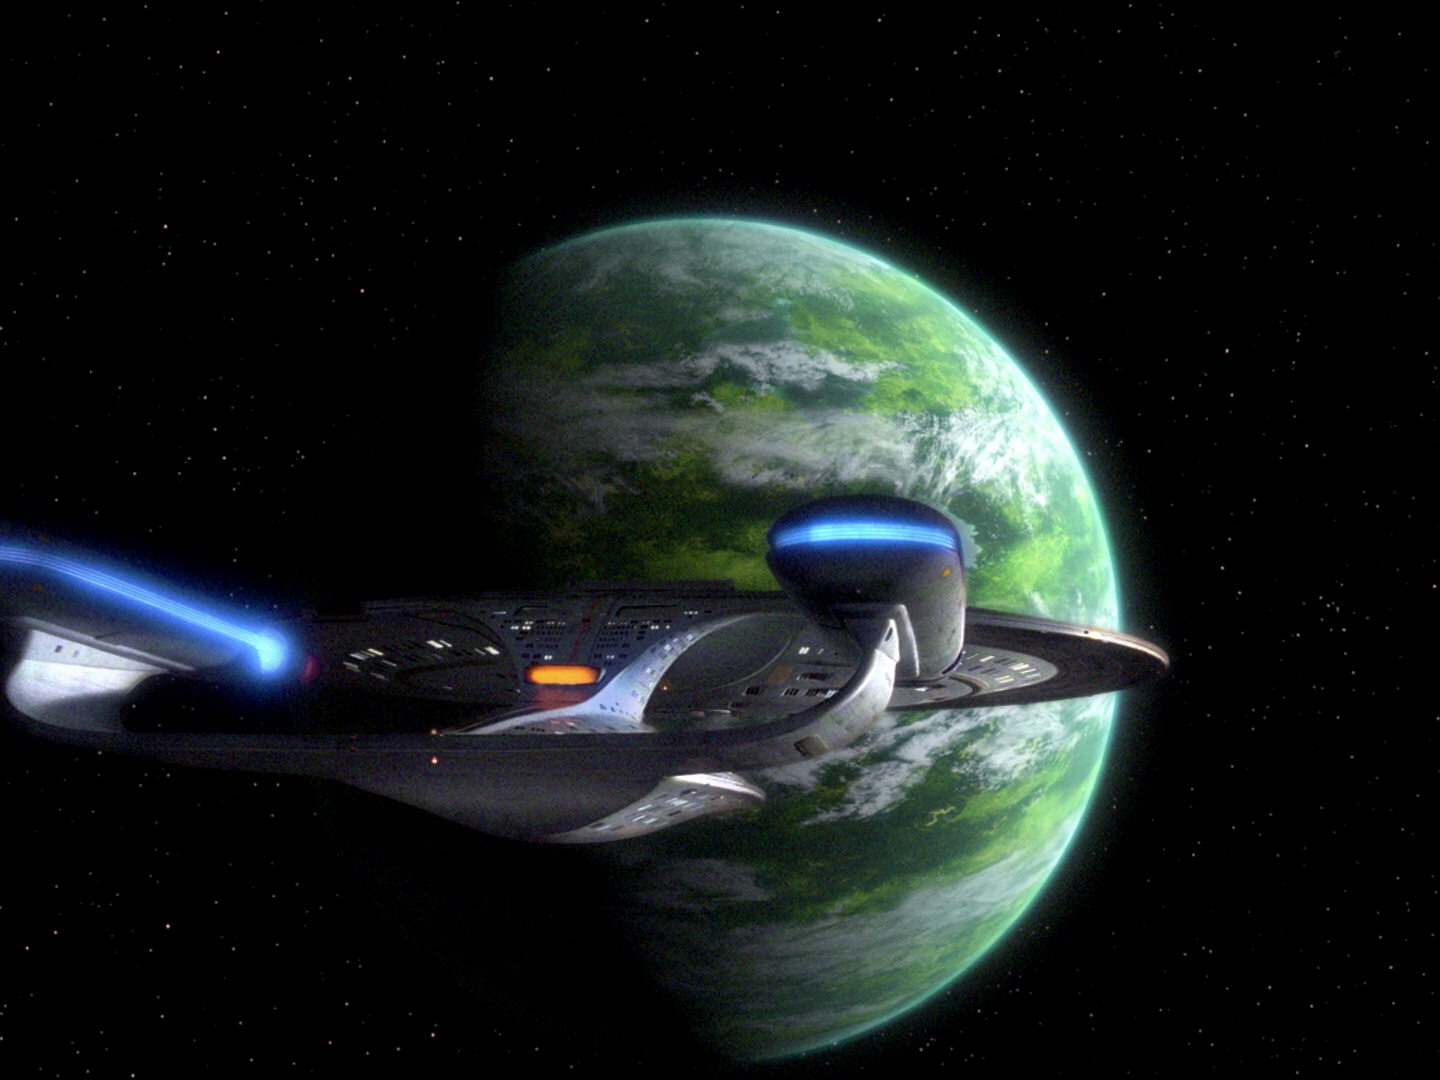 |
The planet was reconstructed for TNG-R by Max Gabl, who faithfully followed the lines of the original. | |
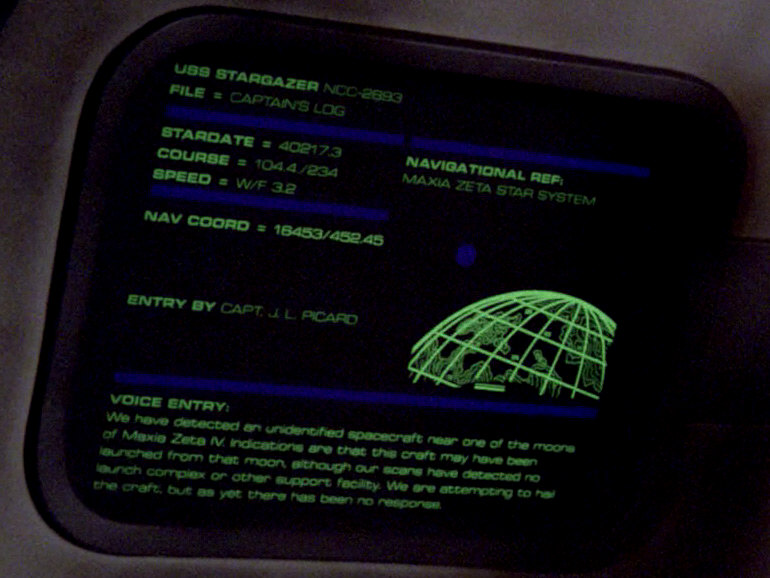
| The display graphic of Angel I got re-used in countless episodes. It first appeared in "The Battle" as a graphic showing the Maxia Zeta star system and could be seen again as a graphic of an unnamed star system in "Datalore", the Mira system in "Conspiracy" and the Tau Cygna system in "The Ensigns of Command". Re-Used Graphics |
 "The Battle" |
 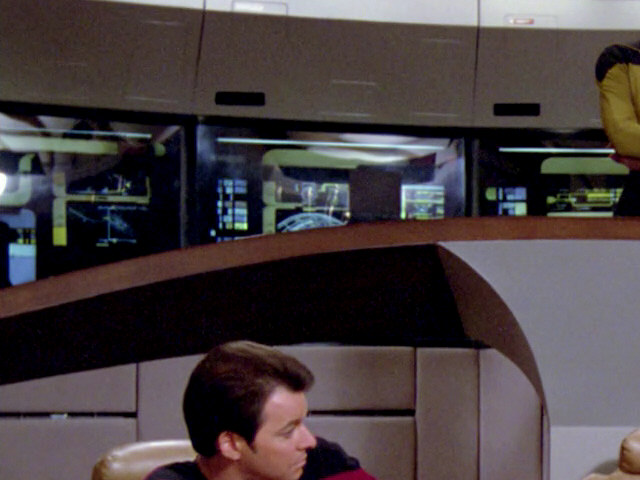 |
HD clearly shows that the graphic has a different color here. We can also see a large piece of black cardboard. | |
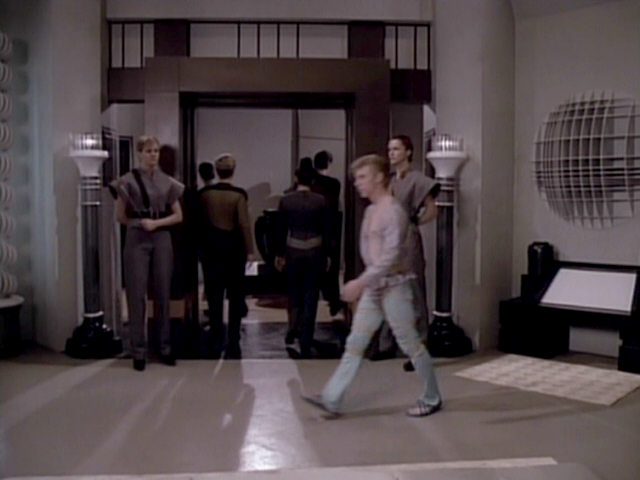
| Based on the shot showing Wesley, his friends and the landing team, it can be assumed that the holodeck door is once again located close to the transporter room, in the small alcove normally occupied by two doors and a turbolift access. The holodeck was located here in "Encounter at Farpoint" as well. When the camera position switches to the reverse shot, however, Wesley and his buddy are seen entering the holodeck from the small corridor set that first appeared in "The Big Goodbye". They are using the same holodeck as Riker in "Encounter at Farpoint" and Picard in "The Big Goodbye": room 2817 on deck 11. | 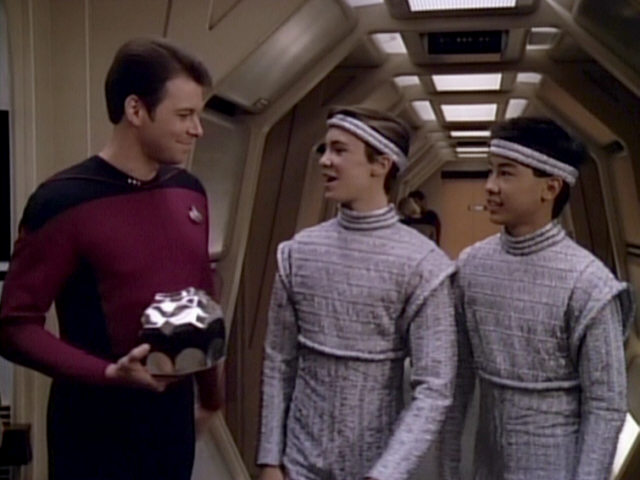 |
No changes | ||
 |
||||
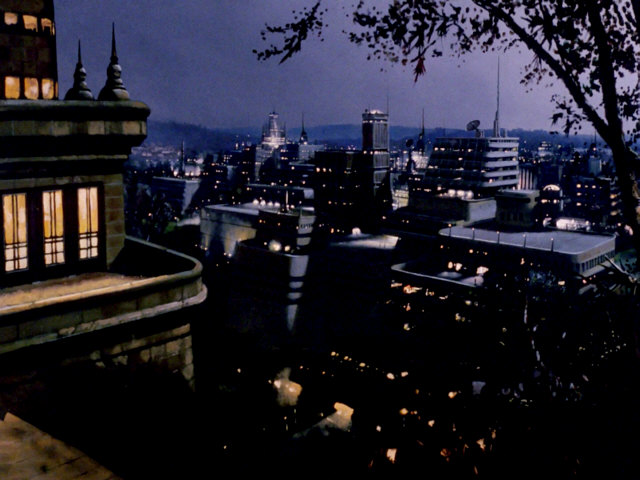
| This scenery is called the Denubian Alps. | 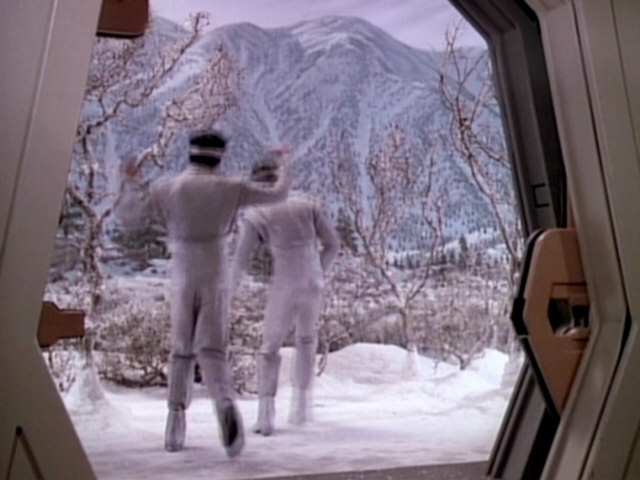  |
In HD, it becomes clearer than ever that the Denubian Alps are simply a painted backdrop. | ||
| The matte painting of the Angel I surface is re-used several times. The next appearance in chronological order will be as the Starbase 515 planet in "Samaritan Snare". The matte painting will be modified for Krios in "The Mind's Eye". Re-Uses of the Angel One Matte Painting |
 "Samaritan Snare" |
 "The Mind's Eye" |
  |
Brush strokes are recognizable in HD, giving away that this is a painting. Still, it looks stunningly realistic. |
| The round wall decoration seen in the Great Hall on Angel I appeared in later episodes as well. It first re-appeared on Qo'noS in "Redemption I", then on the Scimitar in "Star Trek Nemesis" and was finally seen in the corridor leading to the Xindi Council chambers in ENT: "The Council". Re-Used Props - Decoration |
 "Redemption I" |
 "Star Trek: Nemesis" |
  |
The set and decoration in HD. |
 "Redemption II" |
 ENT: "The Council" |
|||
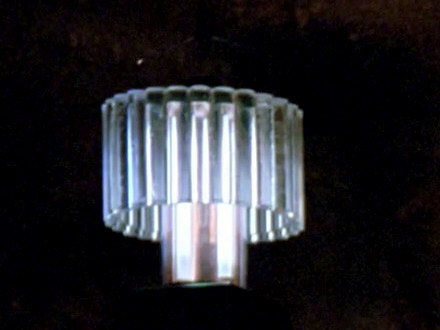
| A wall lamp (type 1), designed by Rougier, first appears in the Angel I guest quarters in "Angel One". This lamp is seen again in DS9: "The Wire" and "Let He Who Is Without Sin". Three very similar lamps are also visible in this episode, after having first appeared in "Code of Honor". Re-Used Props - Furniture |
 DS9: "The Wire" |
  |
The lamp in HD. | |
| The characteristic shape of the windows in the different rooms on Angel I also reappears in the two matte paintings commissioned for this episode. | 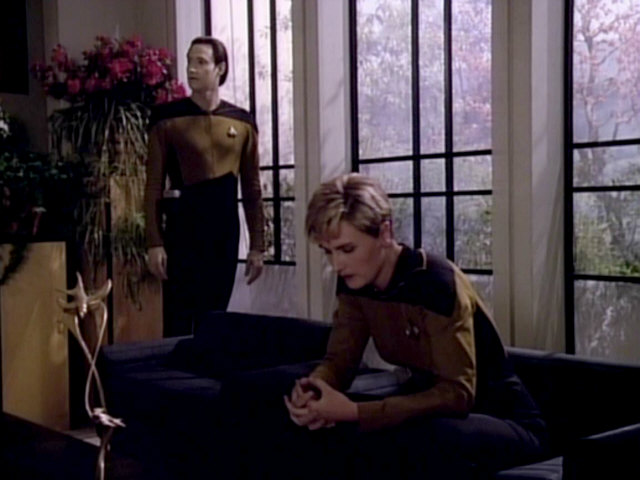 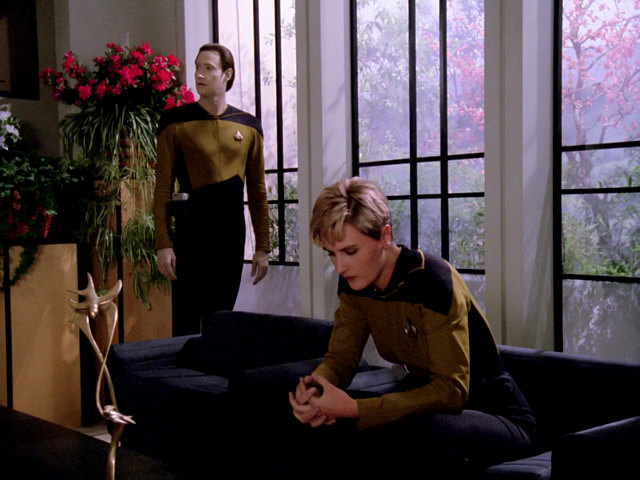 |
A closer look in HD. | ||
  |
||||
| When Wesley and his friend leave the holodeck and run into Picard and Worf, it can clearly be seen that this scene was not filmed on the regular corridor set (like the first part of the previous holodeck scene) but instead on the small holodeck-corridor set created for "The Big Goodbye". | 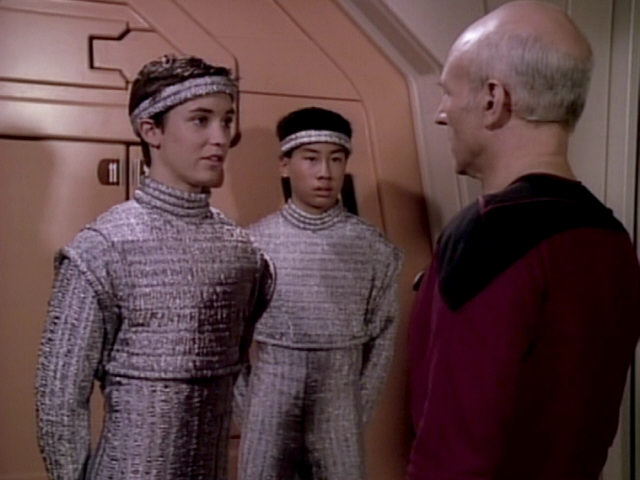 |
No changes | ||
 |
||||
| The sculpture of a snail shell was previously seen in Lwaxana Troi's guest quarters in "Haven". | 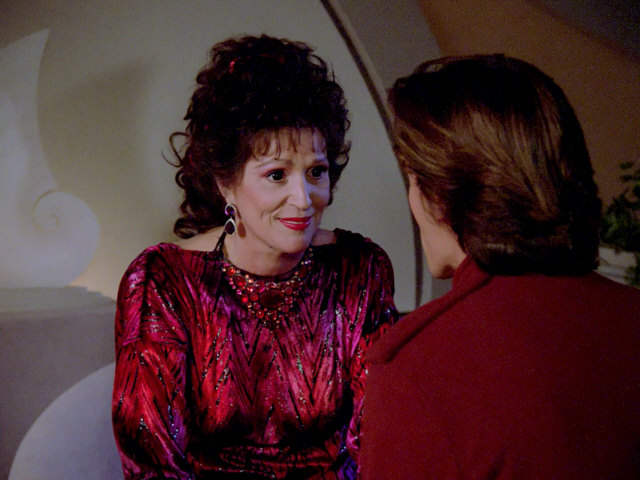 "Haven" |
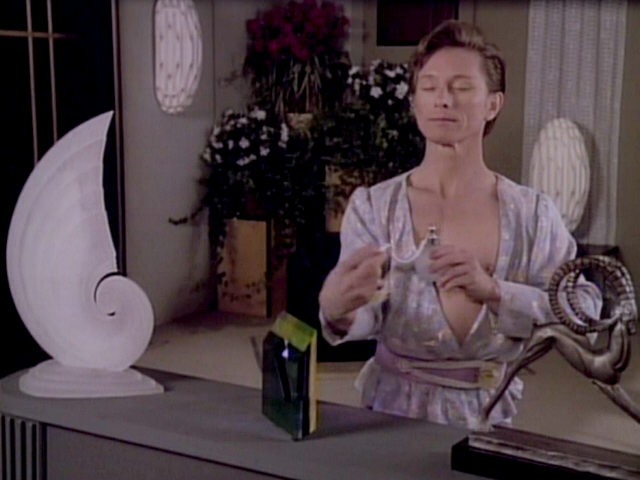 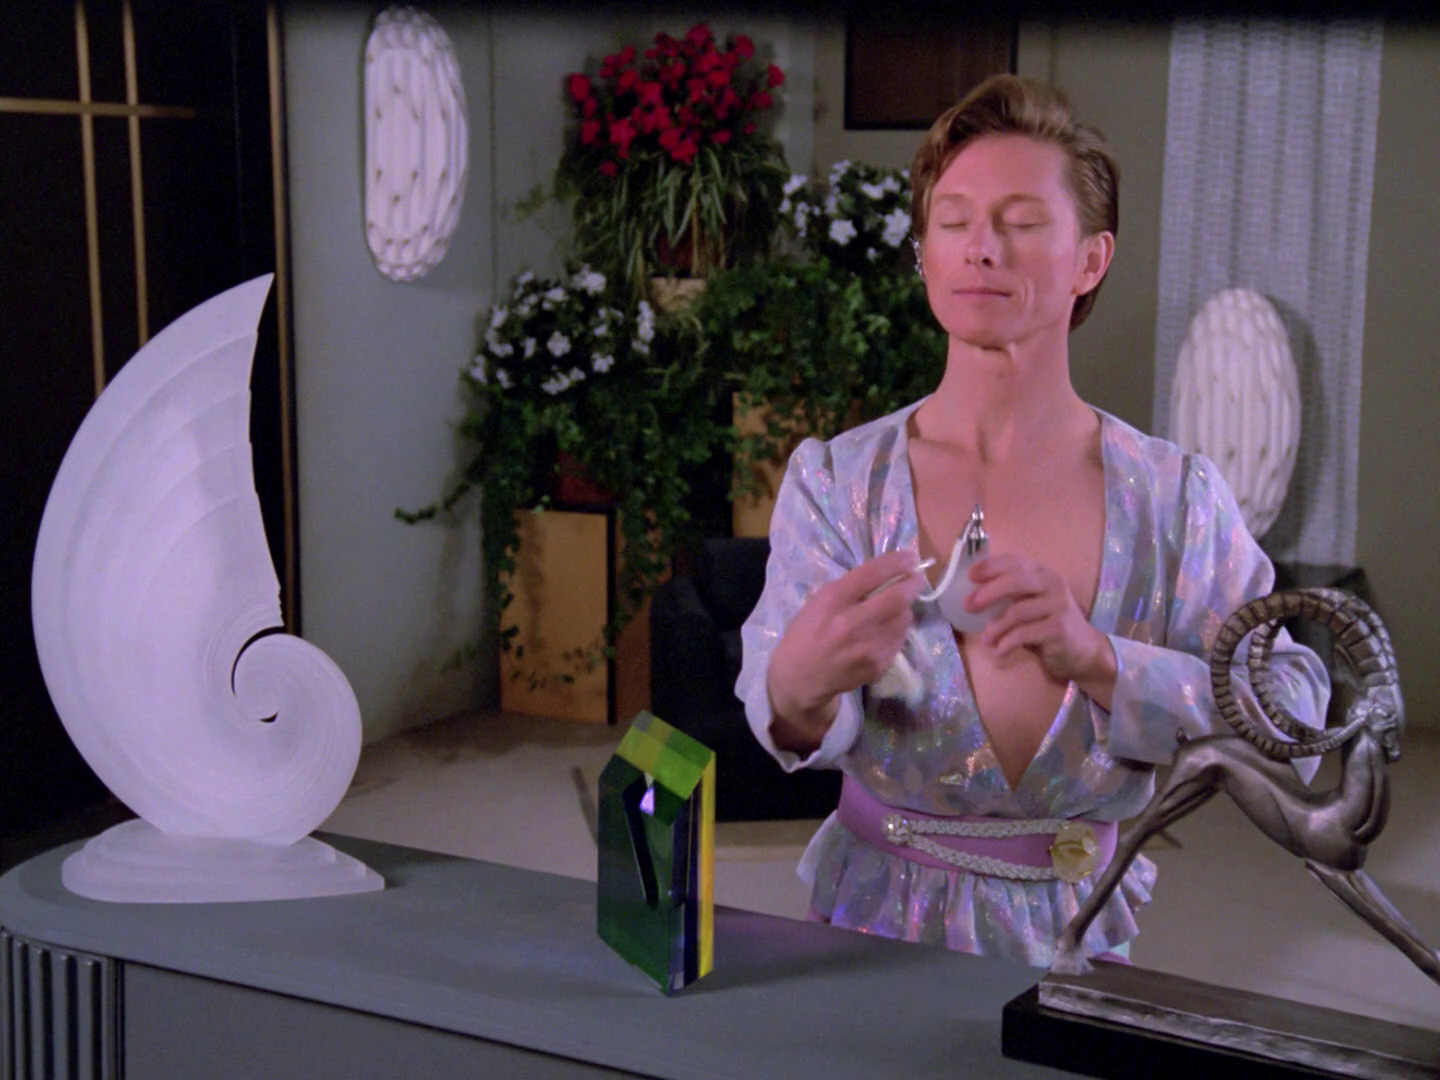 |
We can see that the shell is white or mother of pearl, rather than sandy gray. Also note the vignetting on the top of the frame, which is even more noticeable in TNG-R and therefore appears to date back to the original film. |
|
"Angel One" is the first of several season 1 episodes in which a rocky wall is seen through the window of an indoor set. The other sets are: Velara III ("Home Soil"), Aldea ("When the Bough Breaks"), Relva VII ("Coming of Age"), Ornara ("Symbiosis"), Vandor IV ("We'll Always Have Paris"). This helped to extend the set and made it unnecessary to rent a scenic backdrop ("Justice") or build a miniature city in the background ("Too Short a Season"). Mike Okuda tells us: "The background rocks, also known as a 'ground row' was part of the 1st season planet set on Stage 16, very similar to the concept for the TOS planet set. After the 1st season, the ground row was mostly removed to make more room for set construction." |
 "Coming of Age" |
  |
The backdrop in HD. | |
| The biobed monitor in the center of the picture is different from the one to the left of it. This monitor had animated life-signs: The red bars for the various lifesigns could move up and down. This special biobed monitor is seen up close in "We'll Always Have Paris". |  "We'll Always Have Paris" |
 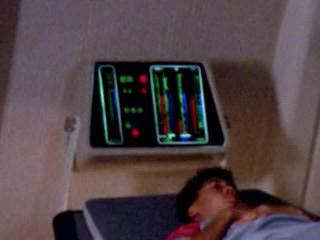 |
In the SD version of the episode, the animation was not visible at all. In the HD version, one can see the three bars increase and decrease in length. | |
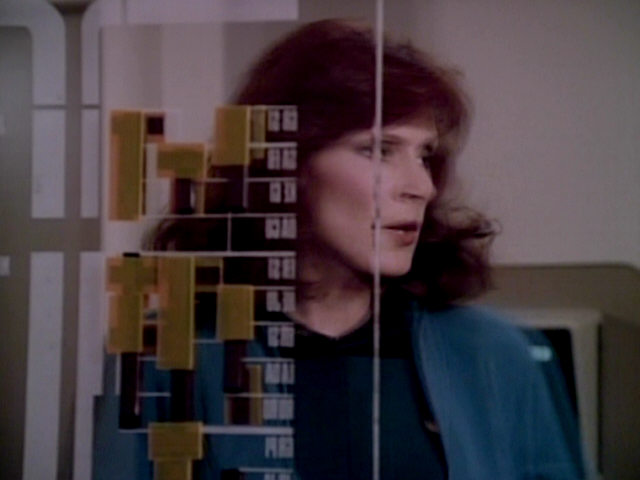
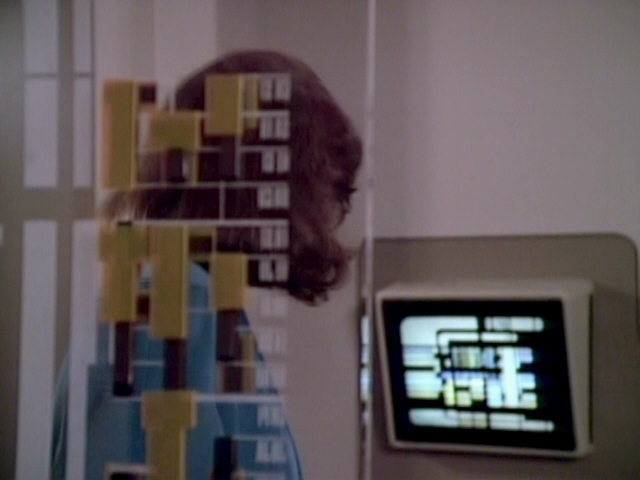
| Dr. Crusher is holding a PADD with what looks like a nonsensical circuit diagram. | 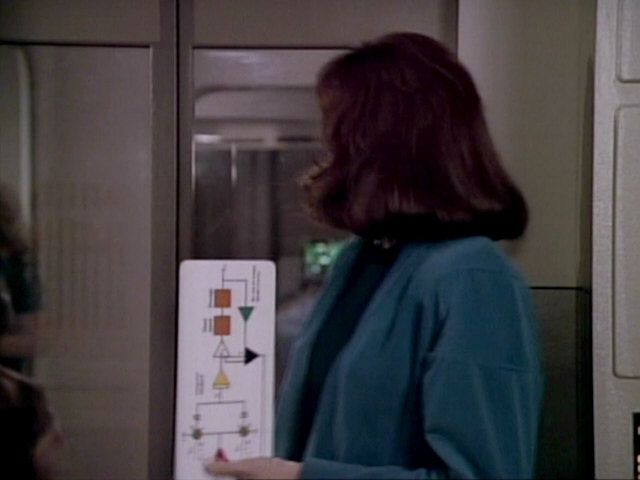 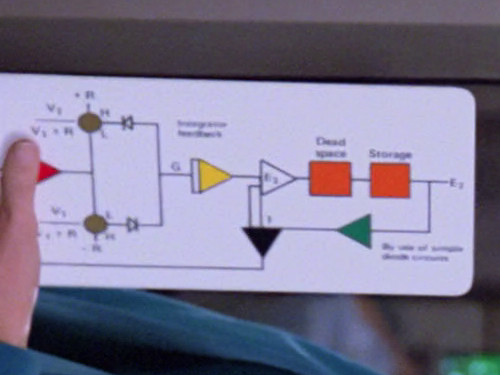 |
Thanks to the HD transfer, some words can now be read on the PADD. The words "Dead space", "Storage", "Integration feedback" and "By use of complex..." can be made out. | ||
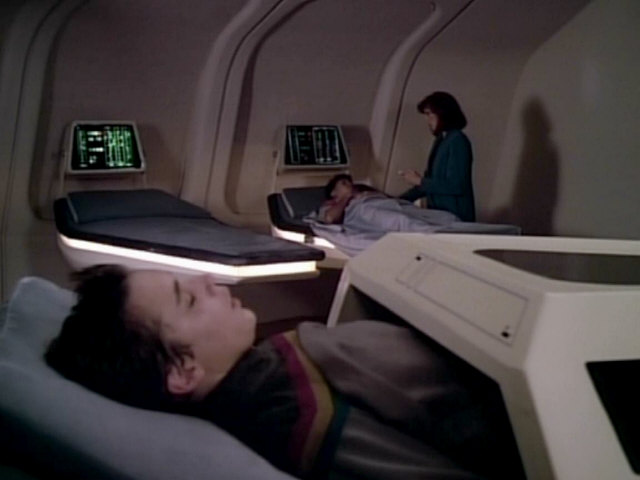
| After it was seen only briefly and completely unlit, the medical lab makes it first proper appearance in this episode. The lab is located adjacent to Doctor Crusher's office. In earlier episodes, when the door was seen from the other side of the sickbay set, the room was unlit, so no details could be seen. In "The Naked Now", the door glass windows were still covered with a brown material. In "Home Soil", the full extent of the set is finally seen. | 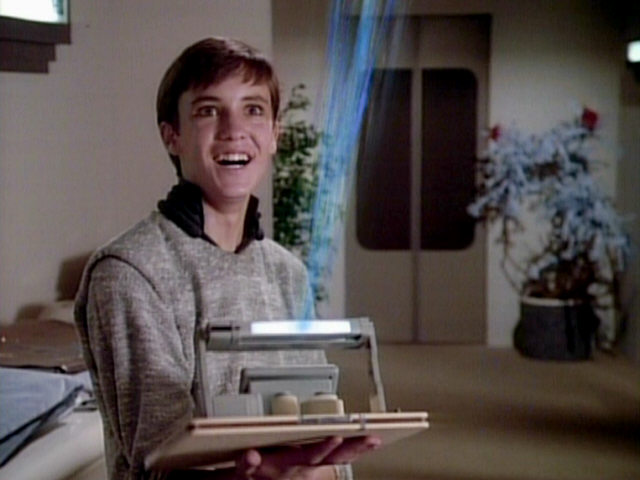 "The Naked Now" |
 |
No changes | |
A transparent spreadsheet is first used by Crusher in "Angel One". It is seen in several more episodes until mid-season 3, when the prop disappears. Mike Okuda: "It was supposed to be a spreadsheet of different virus codes and tests." |
 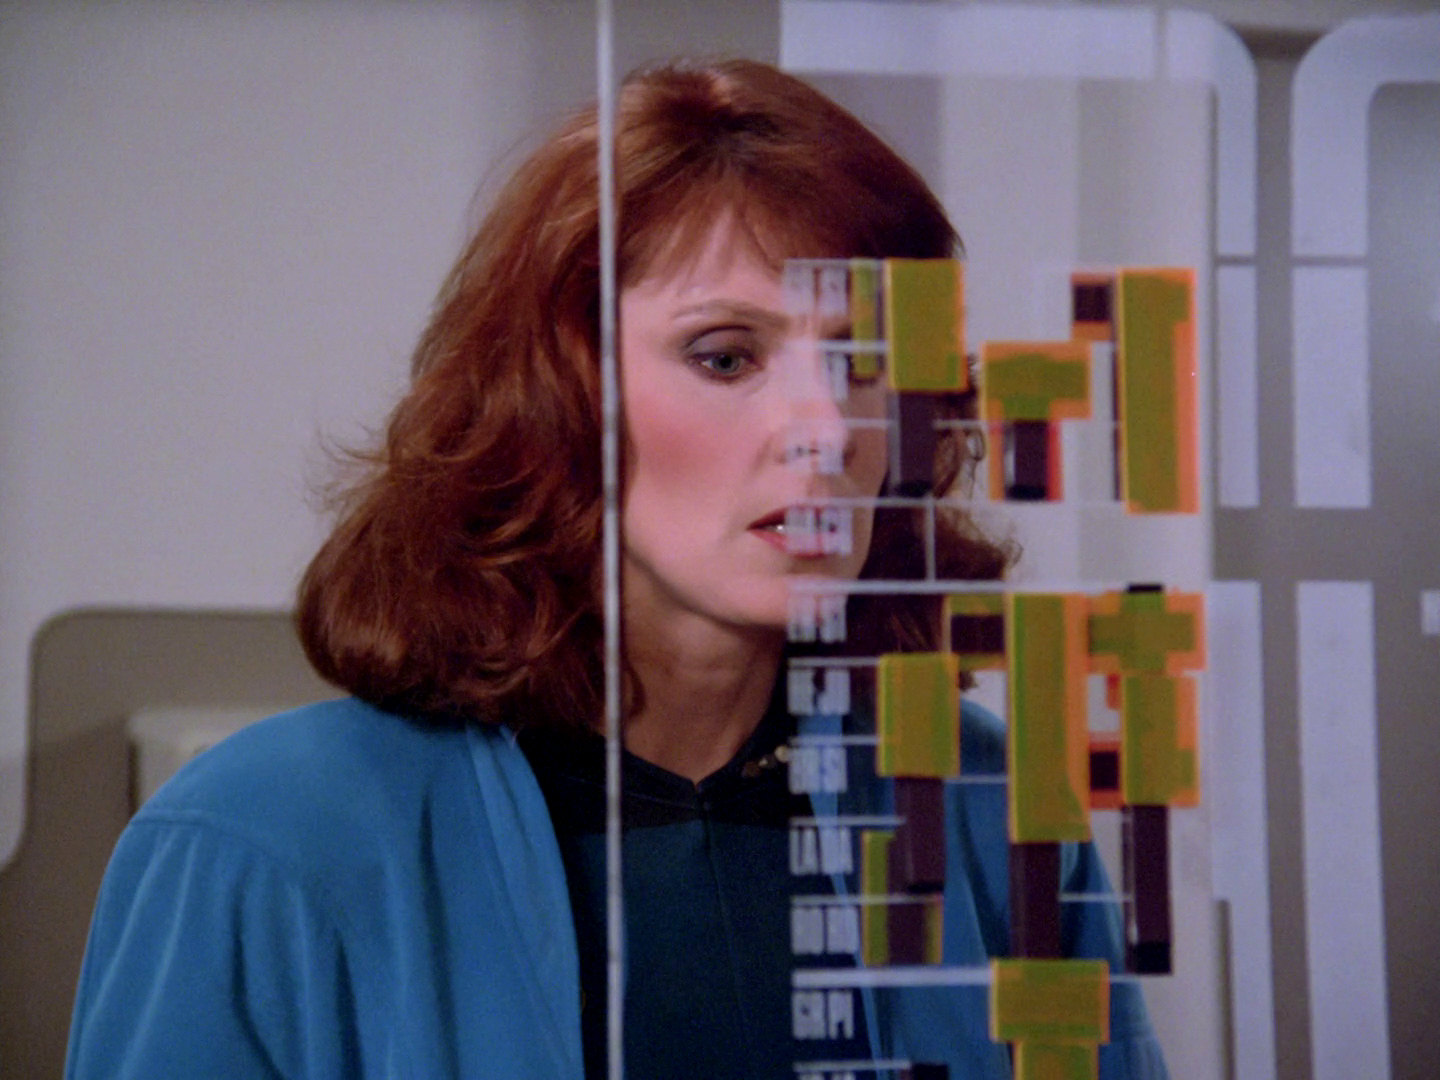 |
In HD, we can see (on a mirrored shot) that the letters refer to several people working on TNG in season 1.
|
||
| The slanted console behind Crusher was originally part of the sensor control room set in "Lonely Among Us". |  "Lonely Among Us" |
  |
A close-up of the console in HD. | |
| The helix statues were previously seen in "Encounter at Farpoint". They also appear in DS9: "Shadowplay". Re-Used Props - Decoration |
 DS9: "Shadowplay" |
  |
A better look at the statue in HD. | |
| This episode features a nice early close-up of the medical tricorder. | 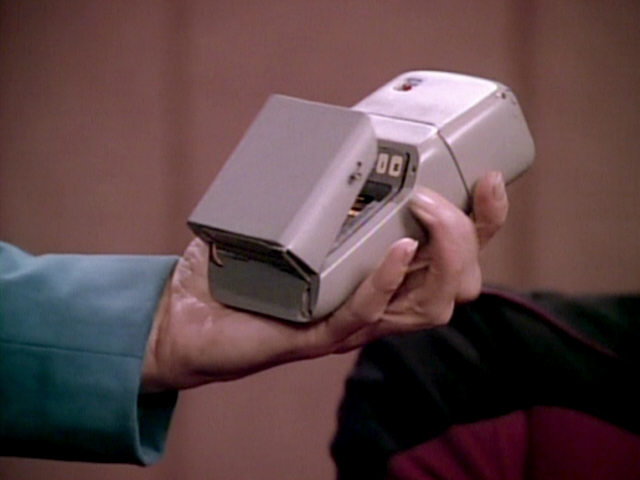 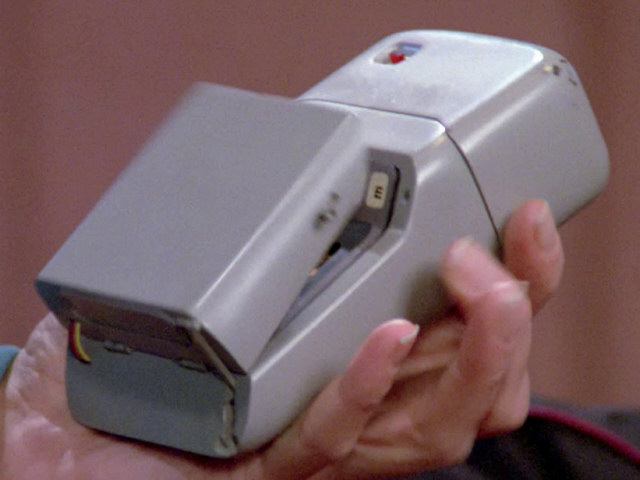 |
Old fashioned red and yellow electric wiring between the two sections of the tricorder can be seen in HD now. | ||
 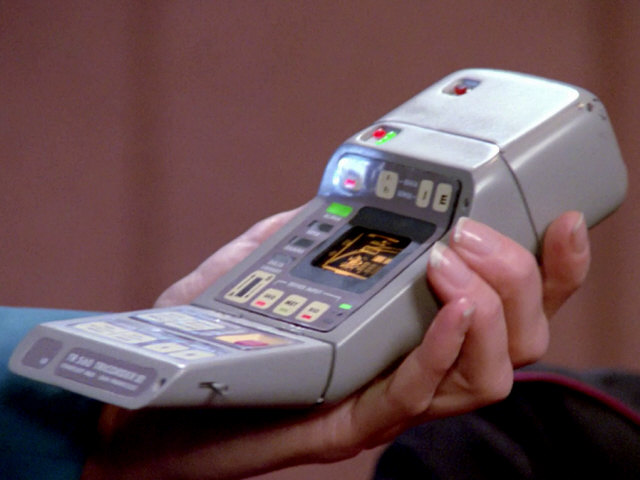 |
The anachronistic on/off switch of the tricorder is very noticeable now. | |||
| This Rougier tube lamp (type 2) previously appeared in "Code of Honor". It will be seen again in DS9: "The Search II" on the Founder homeworld. Re-Used Props - Furniture |
 DS9: "The Search II" |
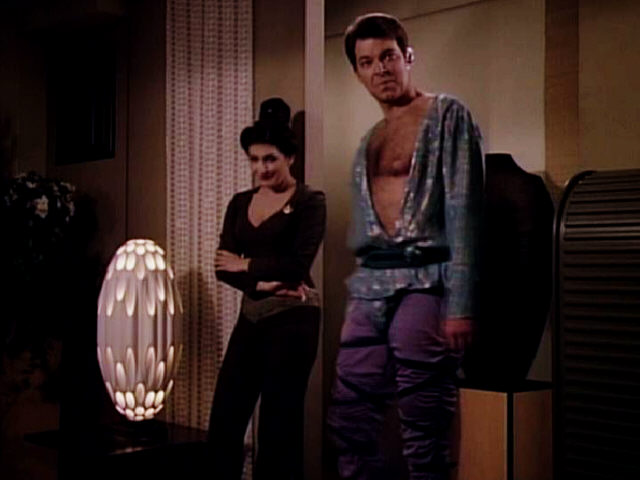 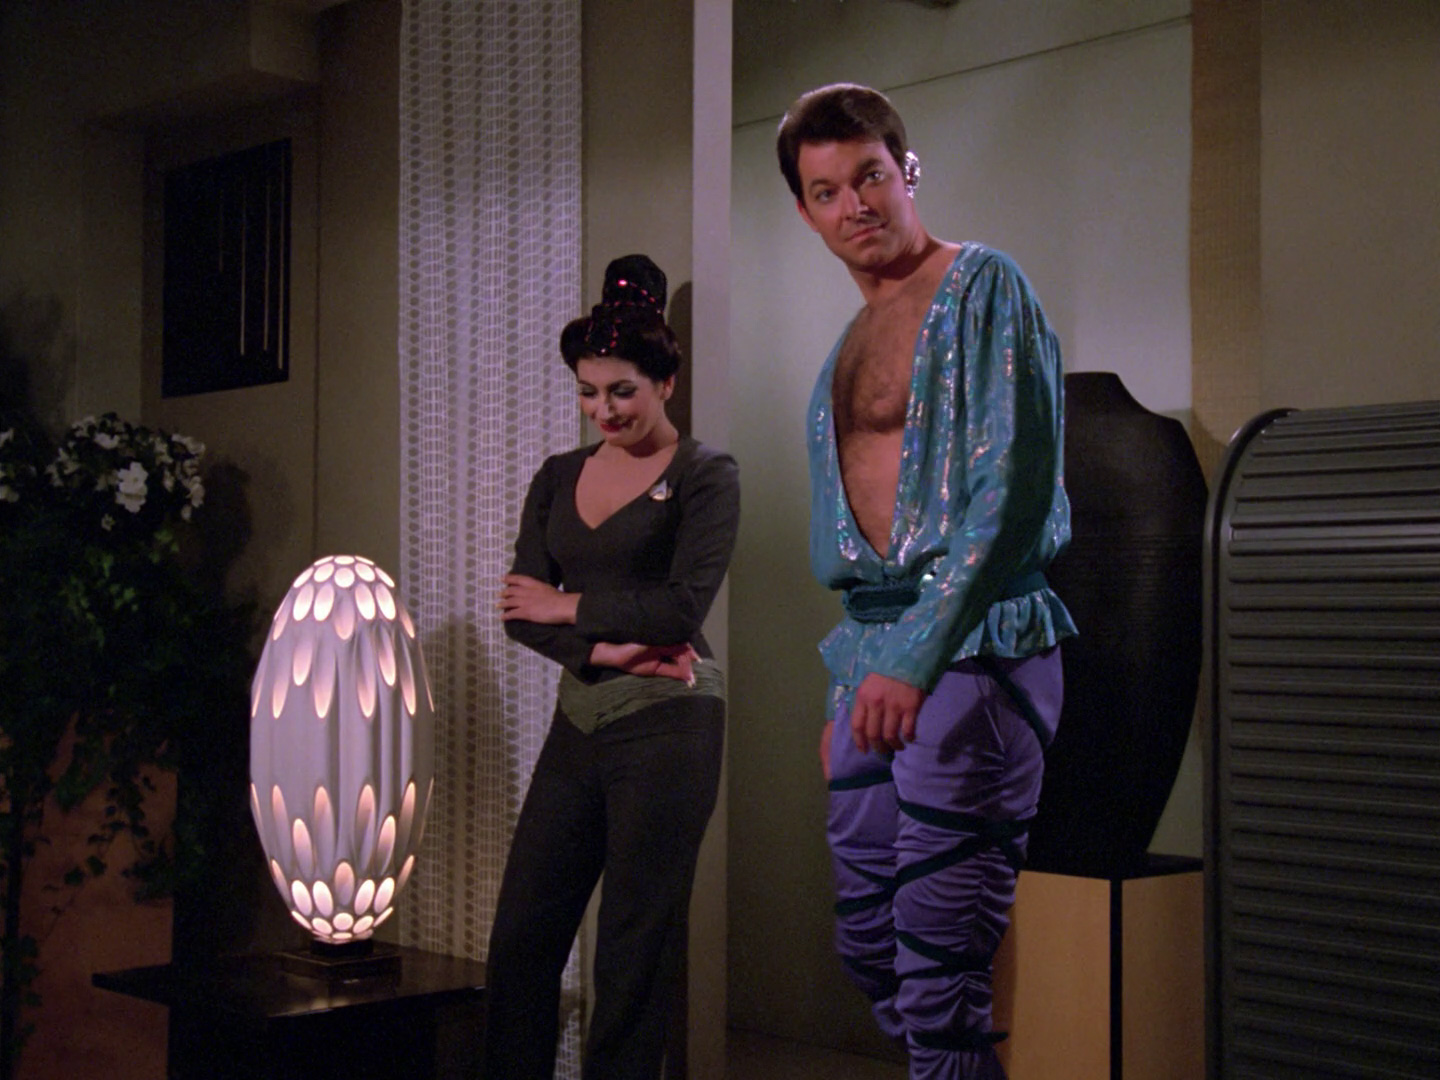 |
The lamp (and Riker's outfit) in HD. | |
| Riker is wearing an earring along with his nightgown. | 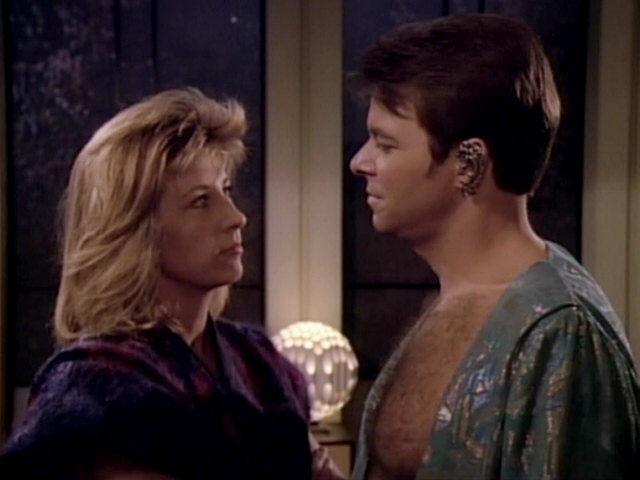 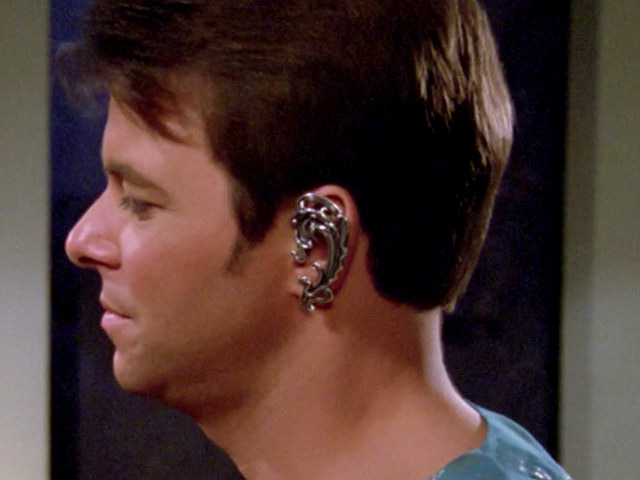 |
Thanks to the HD transfer, Riker's piece of ear jewelry can be seen much better now. | ||
A similar tapestry is also seen in the guest quarters and in a corridor on Angel I. This is possibly Angel I's emblem. Over three decades later, the logo shows up on tall cocktail glasses in LOW: "Empathalogical Fallacies", with the additional print "Angel 1". |
 Angel I emblem |
 "Empathalogical Fallacies" |
  |
A close-up of the emblem in HD insinuates that it is made of some sort of basketwork. |
| Another type of Rougier lamp (lamp 3) is seen in Beata's bedroom. This lamp was also seen earlier in "Code of Honor" and much earlier in "Star Trek III: The Search for Spock" in Dr. McCoy's favorite bar on Earth. Re-Used Props - Furniture |
 "Star Trek III" |
  |
The lamp in HD. | |
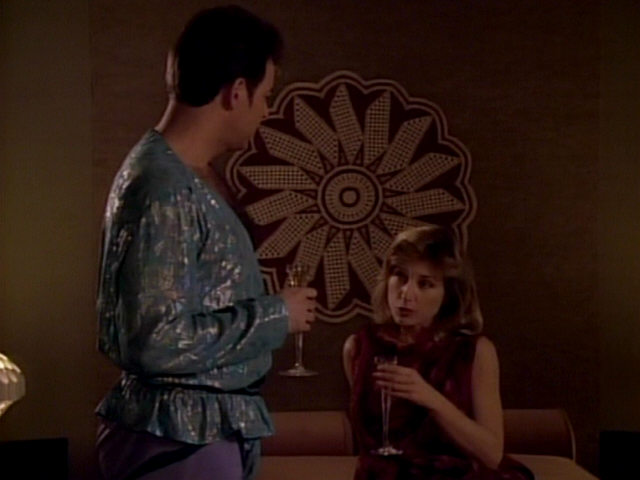
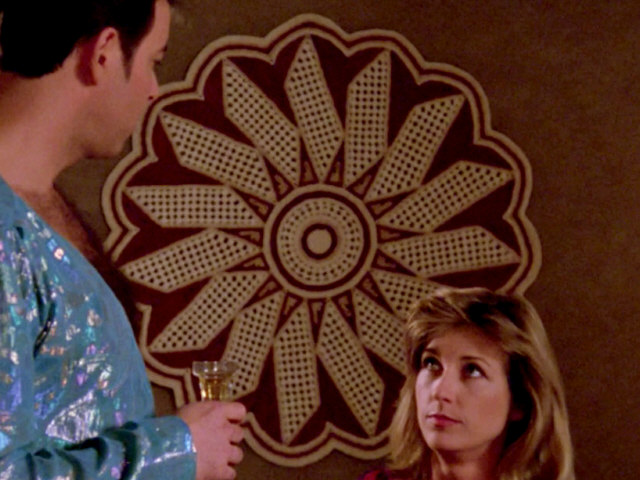
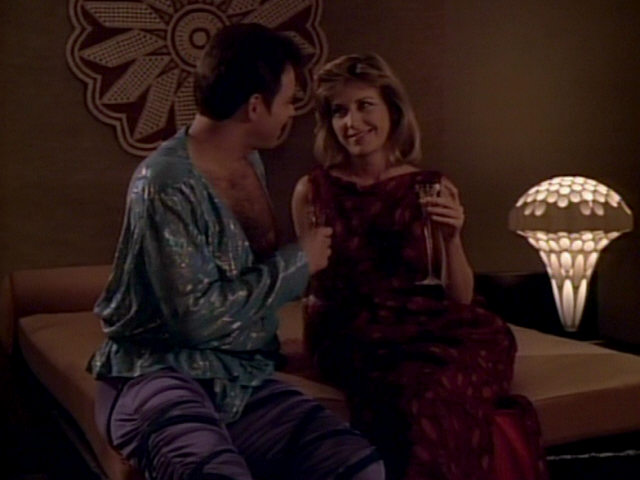
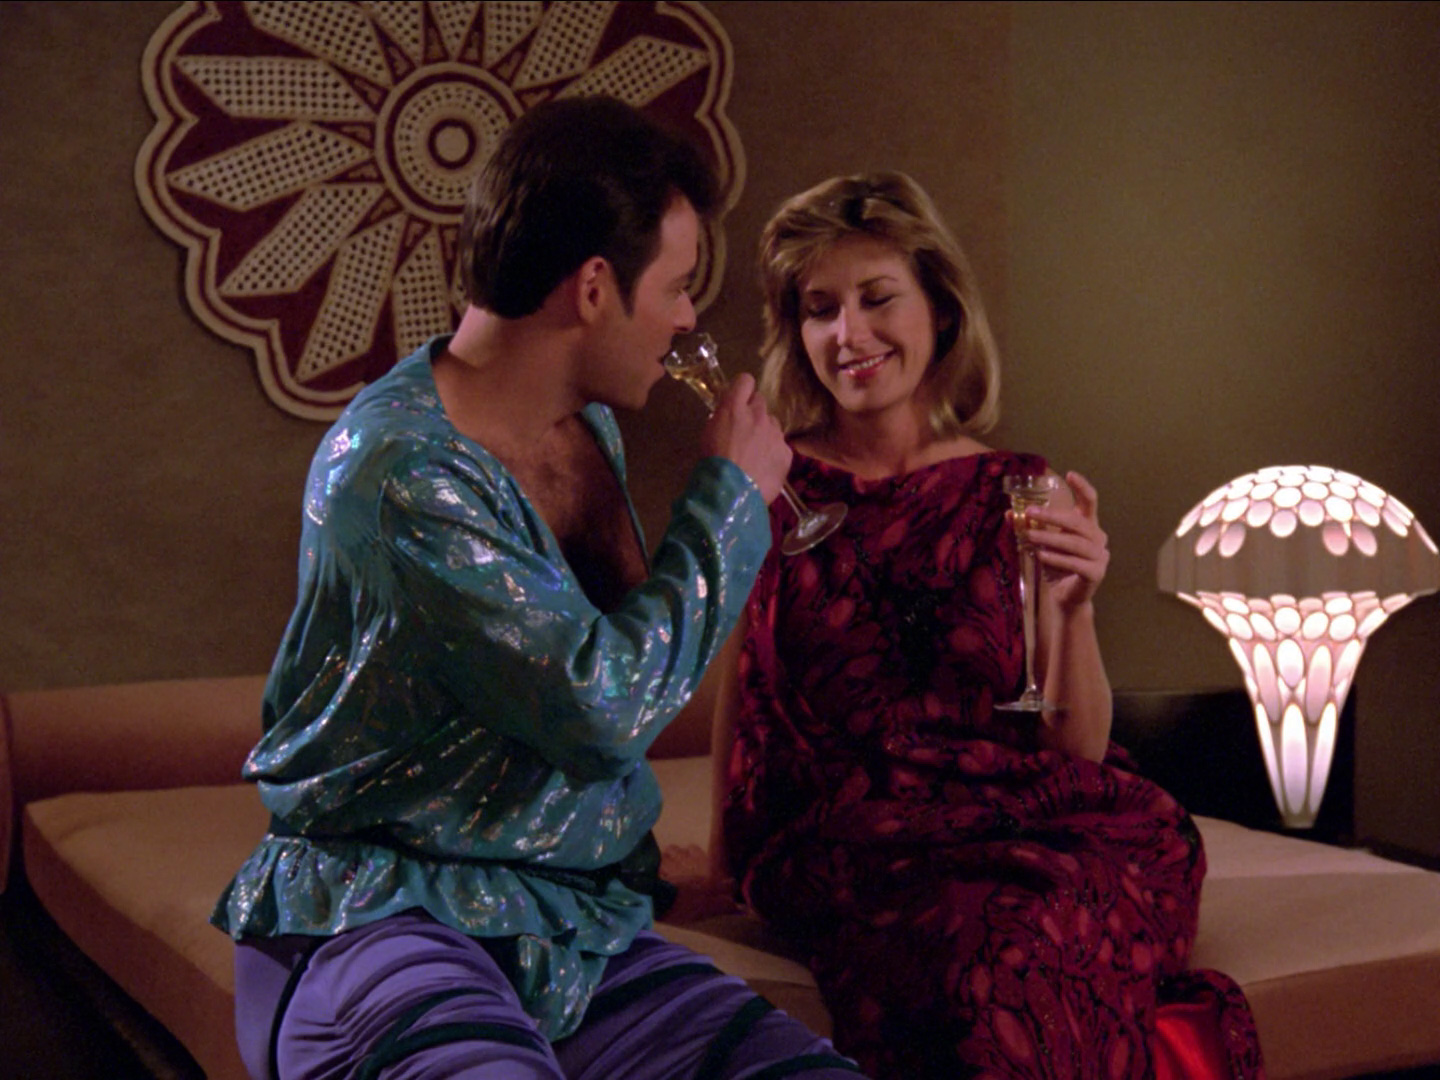
| Beata and Riker are having a glass of champagne (or an equivalent available on Angel I). Beata puts down her glass somewhere to her left, but there is no table close enough in this direction. Actually, as she reaches out her hand, almost off the screen, we vaguely see how someone is taking over the glass. | 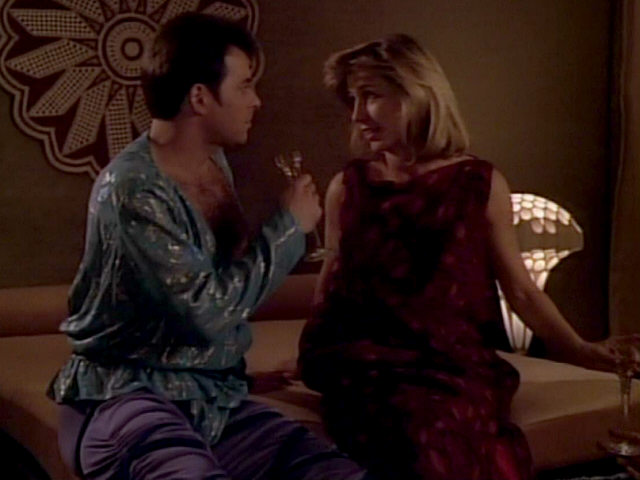 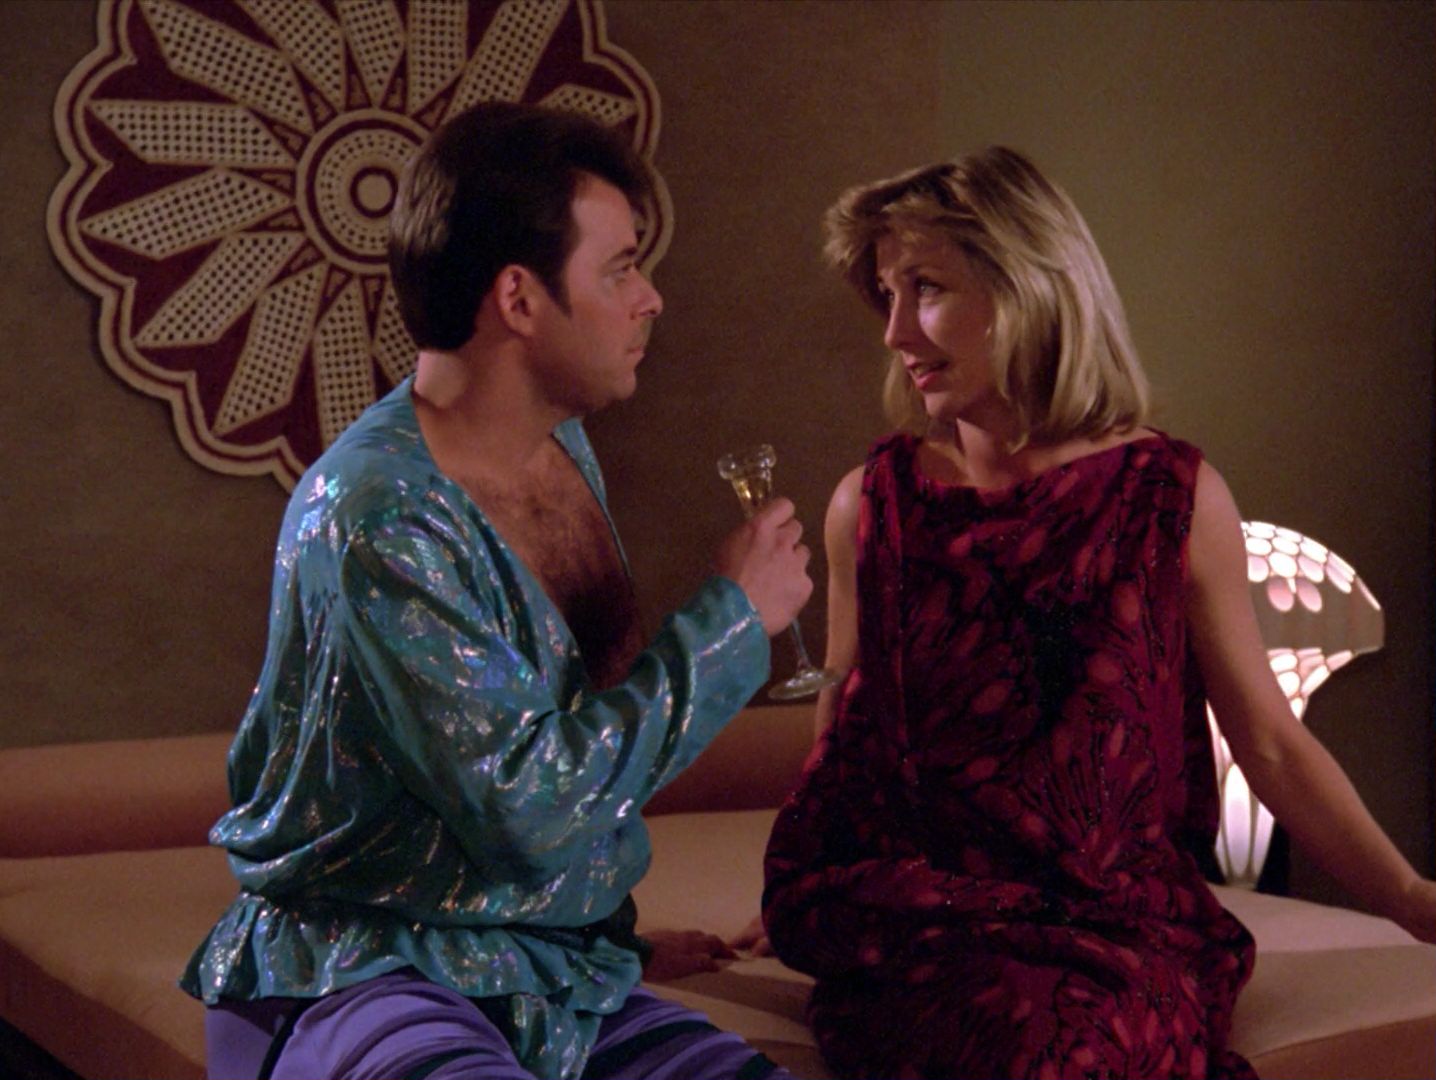 |
The "helping hand" is not visible in TNG-R due to the reframing. | ||
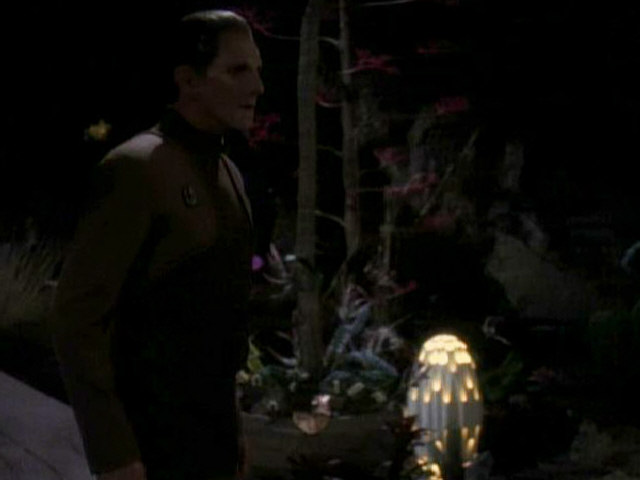
| The Albeni meditation crystal is kept in an octagonal box that later houses O'Brien's spider Christina in "Realm of Fear". |  "Realm of Fear" |
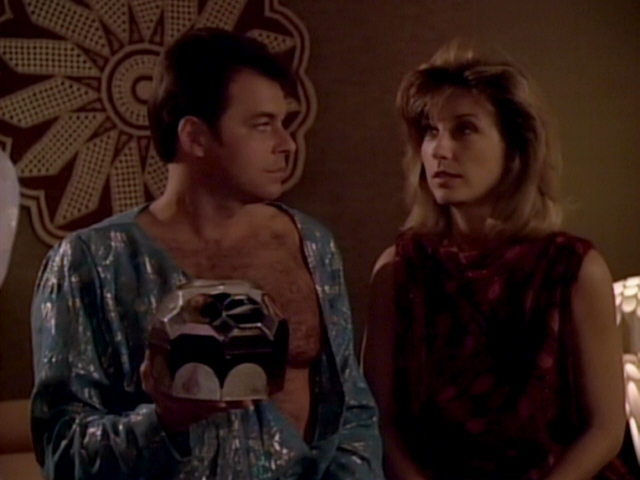 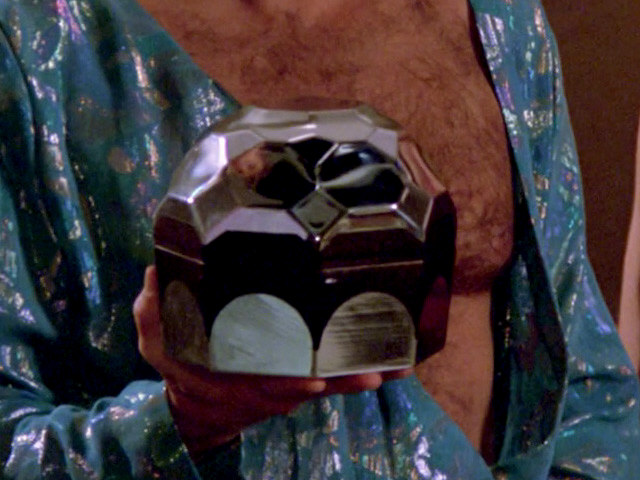 |
A close-up of the prop in HD. | |
| The portable lamps are seen again during Kirk, Spock and McCoy's camping trip in "Star Trek V: The Final Frontier". |  "Star Trek V" |
  |
The lamp in HD. | |
| The crystal itself is later seen as an alien embryonic lifeform in DS9: "Q-less". | 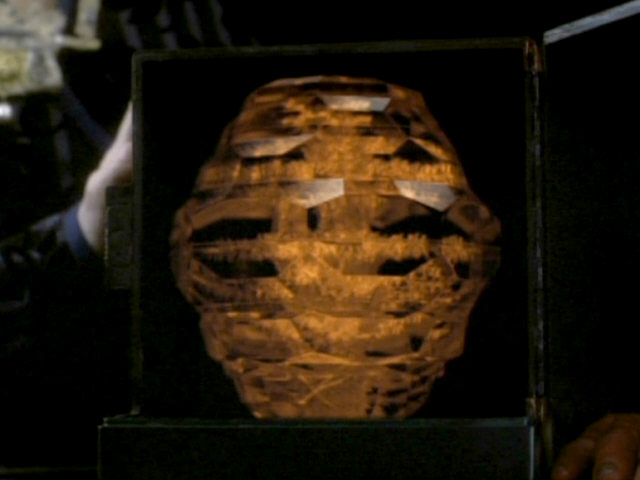 DS9: "Q-less" |
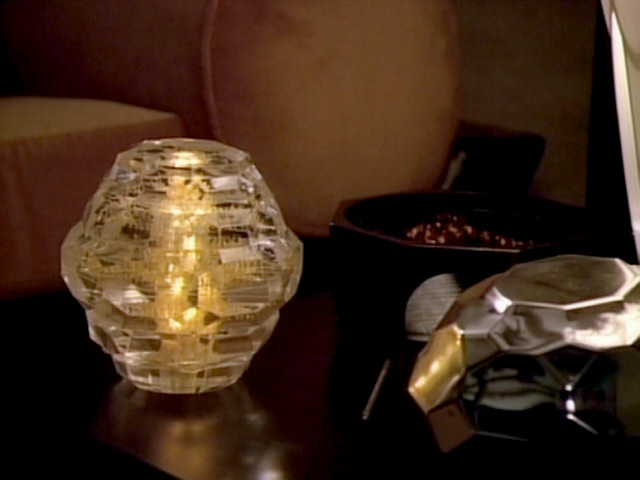  |
The crystal in HD. | |
| Angel I is one of the few planets seen on Star Trek were paper is still in use. The pen appears again many years later on the Alsaurian homeworld in VOY: "Resistance", where it is used by Caylem. |  VOY: "Resistance" |
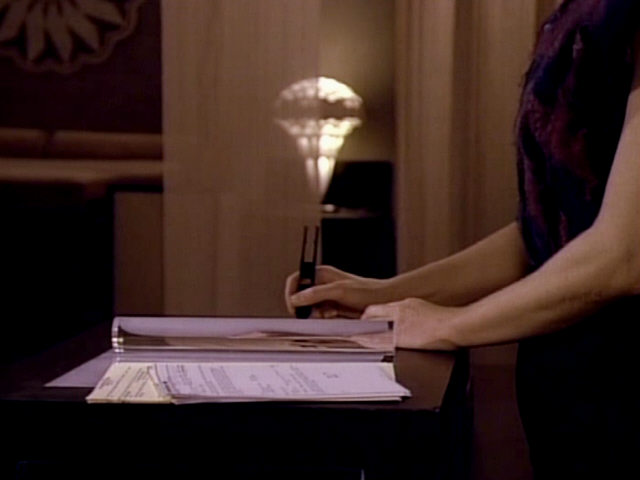 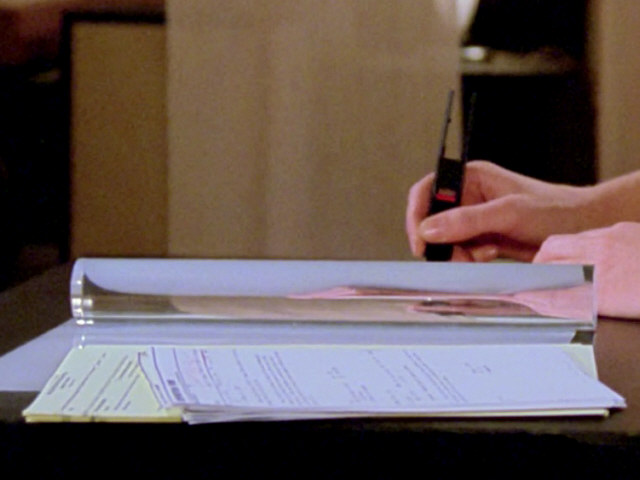 |
In HD it looks like the text is made up of Latin letters. | |
| The last type of Rougier lamp (lamp 4), a spherical version, is seen here. This lamp was also seen on Ligon II in "Code of Honor" and makes another appearance on the Founder homeworld in DS9: "The Search II". Re-Used Props - Furniture |
 "Code of Honor" |
  |
The lamp in HD. | |
| Benches like this were also seen on Rubicun III in "Justice". |  "Justice" |
  |
A better look at the bench in HD. | |
| A similar vase (only in white) is seen on Ligon II in "Code of Honor" and Rubicun III in "Justice". | 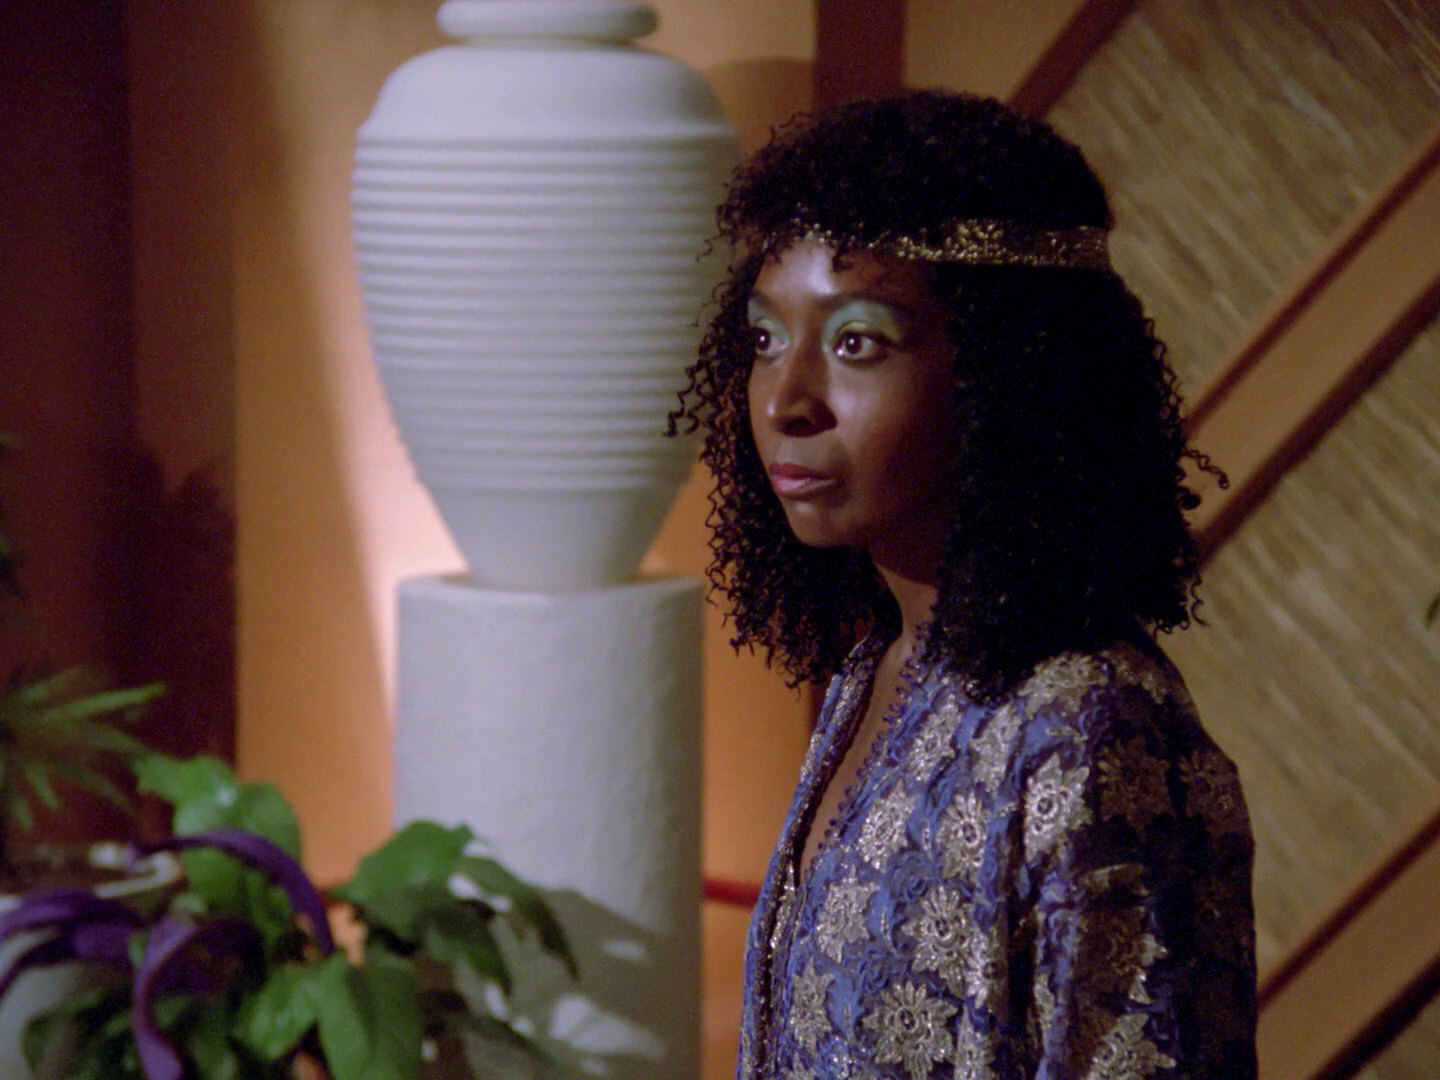 "Code of Honor" |
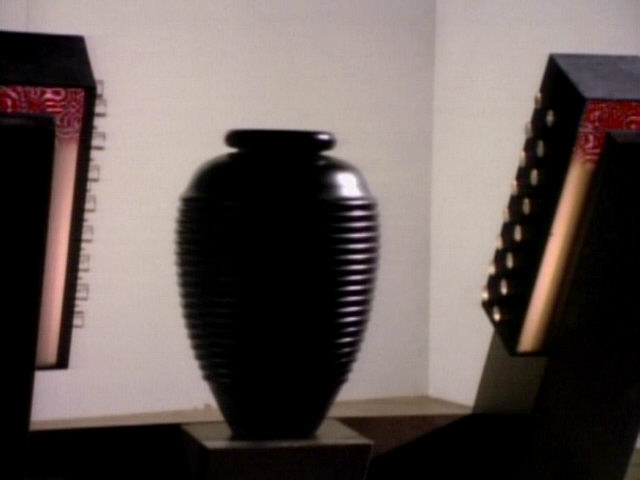 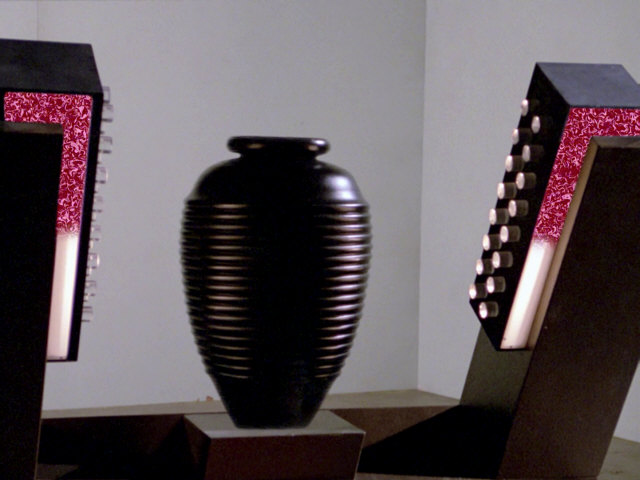 |
The illuminated pattern on the beam emitters is still sharper than we would have it expected to be in HD. | |
| The Angel I guards use weapons similar to the Klingon painstiks, the Breen neural truncheons or the Tandaran energy sticks in ENT: "Detained". | 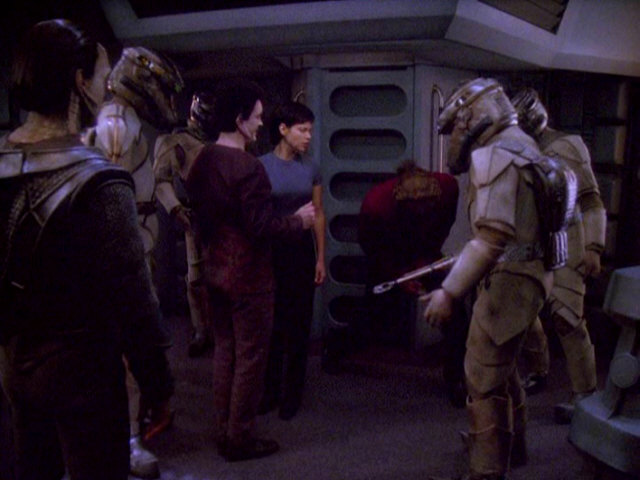 DS9: "Strange Bedfellows" |
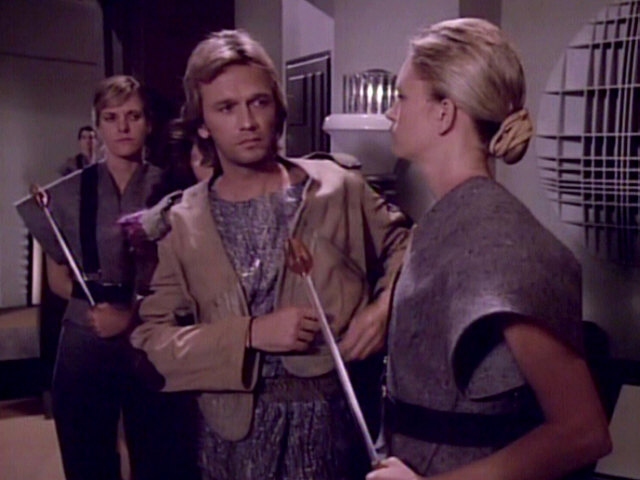 |
No changes | |
| Trent also wears ear jewelry. |   |
Thanks to the HD transfer, one can now see that his piece of jewelry is shaped like a winged dragon. | ||
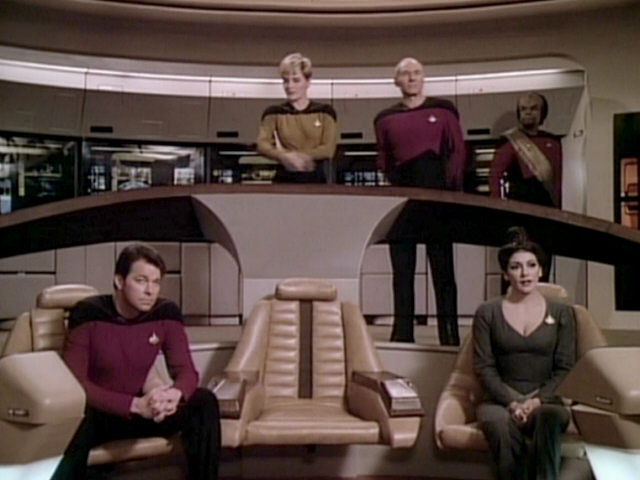
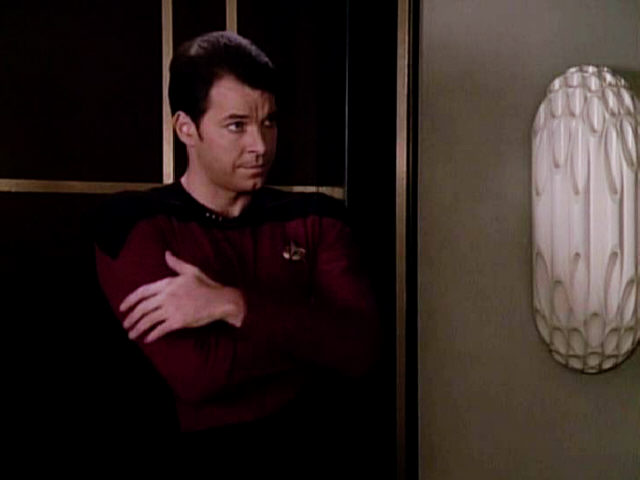
| The turbolift door stays permanently open after the away team returns to the bridge of the USS Enterprise-D. | 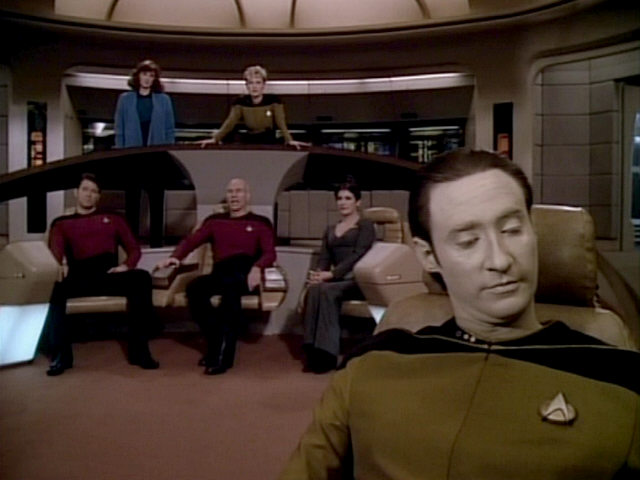 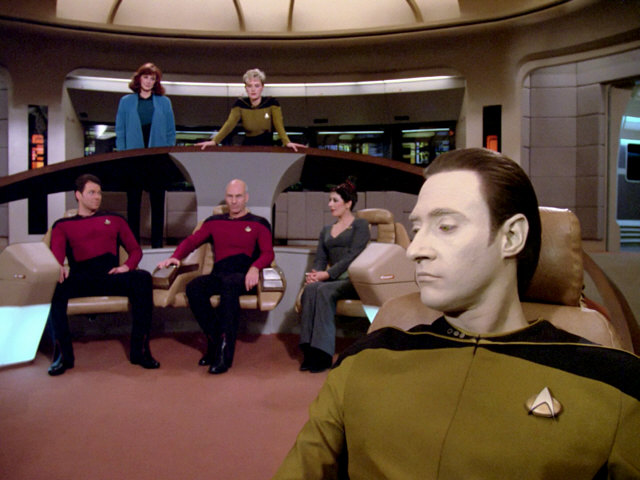 |
It is still open in the remastered episode. | ||
Credits
Thanks to Memory Alpha user Piso Mojado who spotted the blooper with Beata's glass.


