


Observations in TNG: "The Big Goodbye"
A joint project with TrekCore, by Jörg Hillebrand and Bernd Schneider
 Here are some observations about sets, props and visual effects in TNG: "The Big Goodbye" without a specific theme, and a comparison of the original TV release (TNG) with the remastered episode (TNG-R).
![]()
"The Big Goodbye" HD Screencaps @ TrekCore
| Description TNG | Other caps | Comparison TNG to TNG-R | Description TNG-R | ||
| Two square pieces of carpet are seen next to the base of Geordi's console and chair. The carpet most likely hides some cables or holes in the carpet. |  |
No changes | |||
| A silver Constitution class model appears for the last time in Picard's ready room. In all later episodes, the mustard Constellation class model is back. |   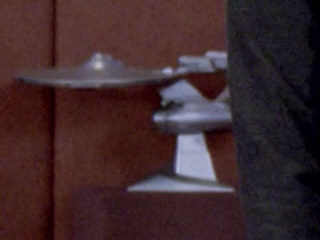 |
The model in HD. | |||
| This is the first time the Holodeck control LCARS display appears outside the holodeck. This display would also be seen in several later TNG episodes. | 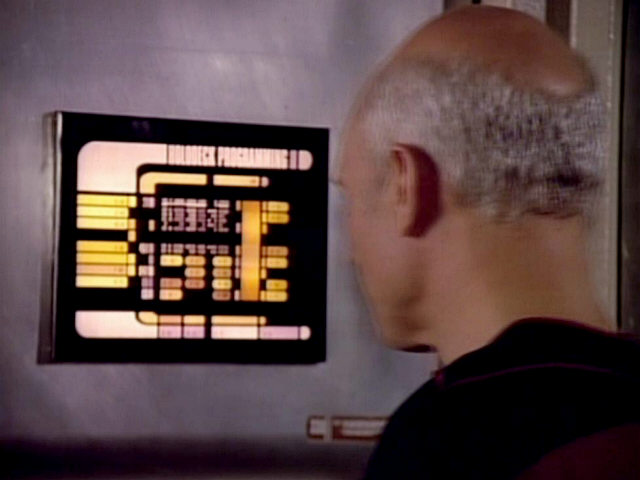 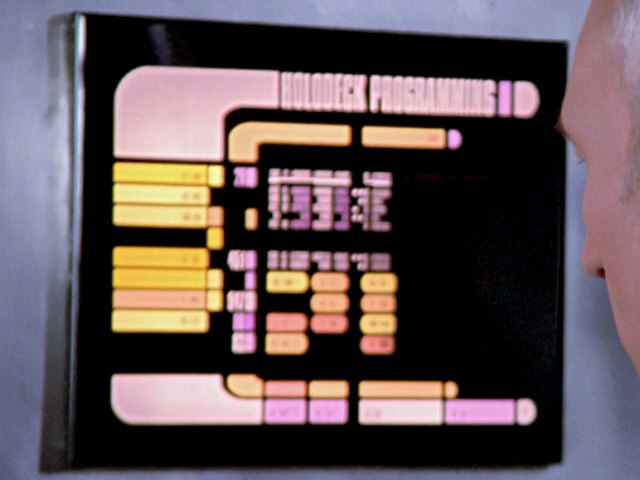 |
The depth of field of the original film does not allow to recognize more details even in HD. | |||
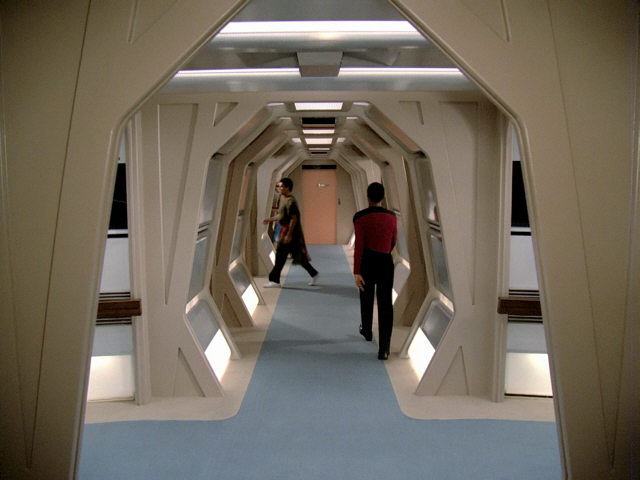
| The holodeck door has been connected to a small corridor set, which is not linked to the main corridor set yet. In "Encounter at Farpoint", the holodeck door was placed at an intersection of the regular corridor set, covering a small alcove leading to a turbolift door. In "Code of Honor" and "Haven", only the inside of the holodeck was seen. This short corridor with the holodeck door would be modified over the course of the first and second season until the door was properly connected to the corridor set at the beginning of the third season. | 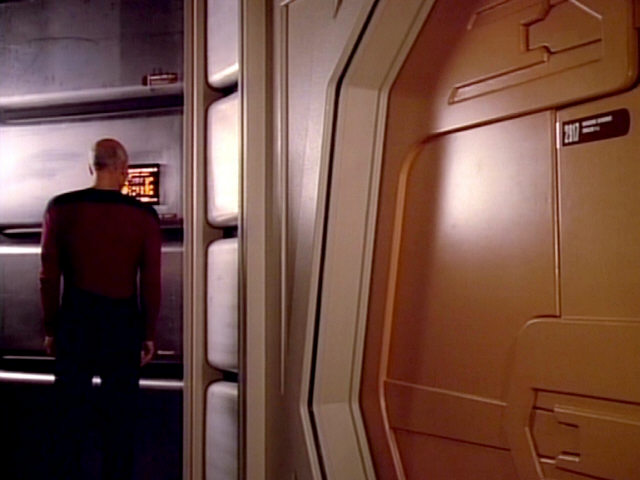 |
No changes | |||
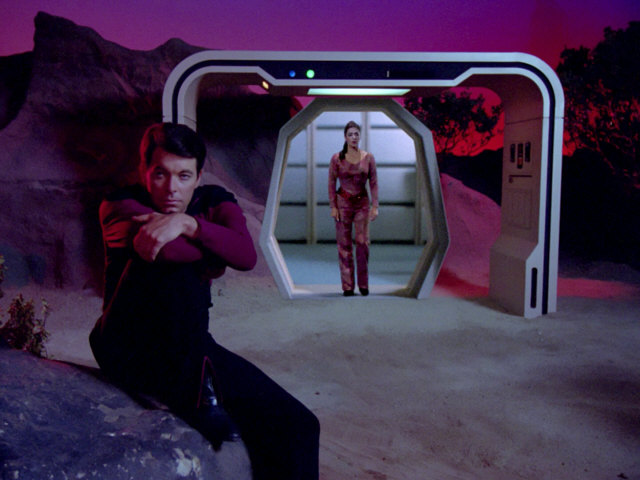
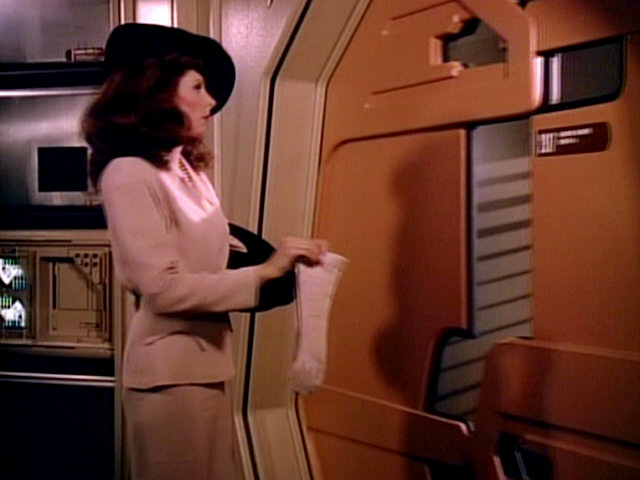
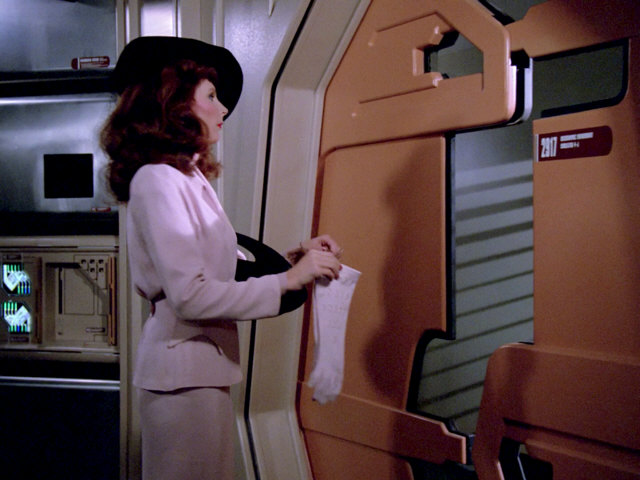
| Picard is using the same holodeck as Riker in "Encounter at Farpoint": Holodeck 4-J, Room 11-2917. The holodeck must have changed location, as the corridor set is different from the way it looked in the pilot. The deck indicator (on the left holodeck door) is also missing in this shot. |  "Encounter at Farpoint" |
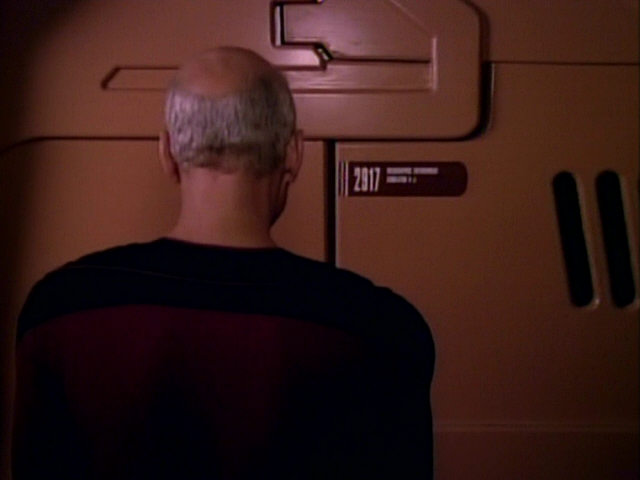 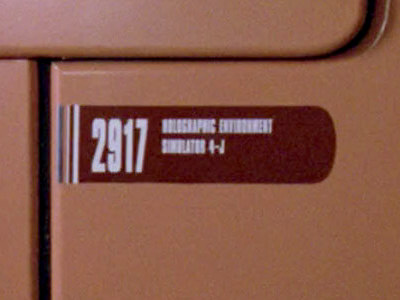 |
The text on the label is readable now. The holodeck is officially a "Holographic Environment Simulator". | ||
| The head-on shot of the Enterprise previously appeared right at the beginning of "Encounter at Farpoint". The difference between the two shots is that the eight windows directly under the bridge are lit now. In "Encounter at Farpoint", Picard is seen standing in the dark forward facing lounge, staring into space, which is why the windows were unlit in the pilot episode. |  "Encounter at Farpoint" |
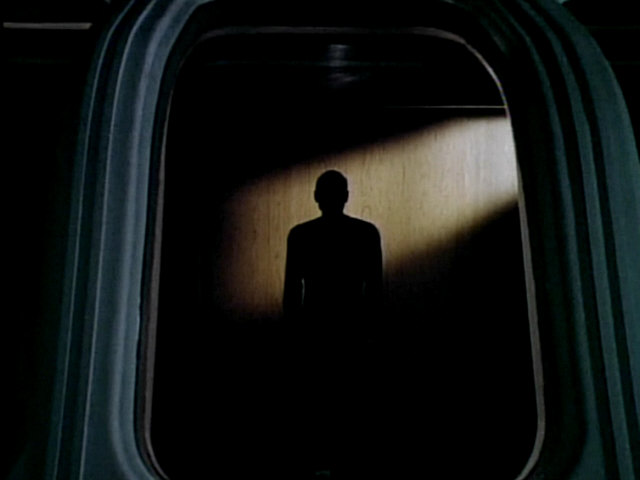 "Encounter at Farpoint" |
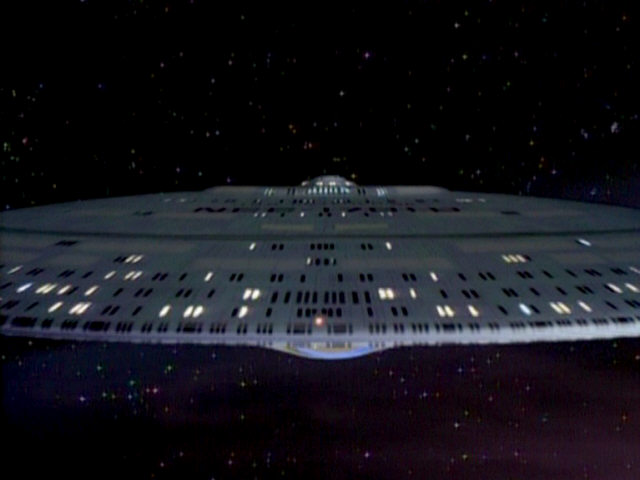 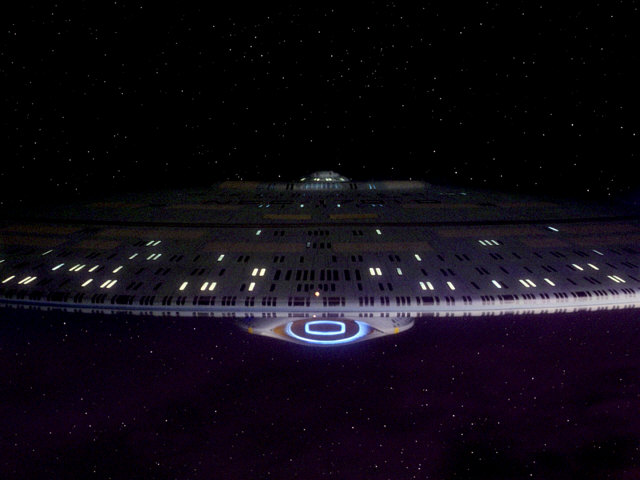 |
The basic shot is still the same in HD. We can see that the windows on deck 2 are illuminated but not quite as bright as the rest of the windows. | |
| The view from the inside of the holodeck shows that there's a plain corridor wall opposite the holodeck door. This will change later in the episode. | 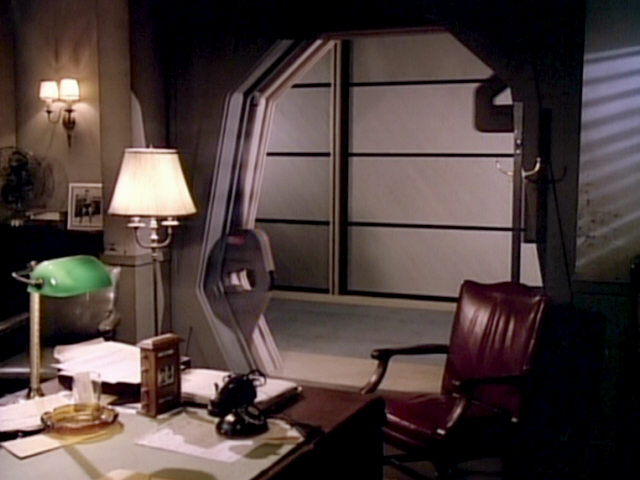 |
No changes | |||
| The crew member wearing a science uniform is seen holding a transparent orange PADD. This is the first appearance of a transparent PADD. | 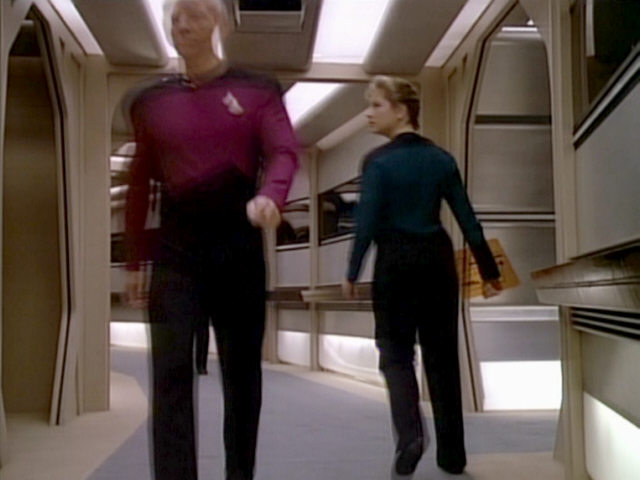 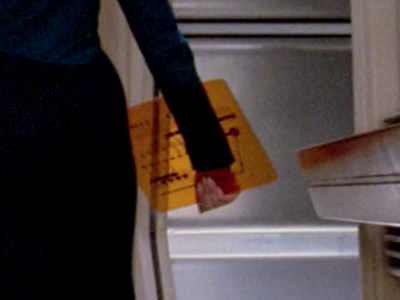 |
The PADD is better visible in HD. | |||
| A crew member is walking by with a white plastic box. | 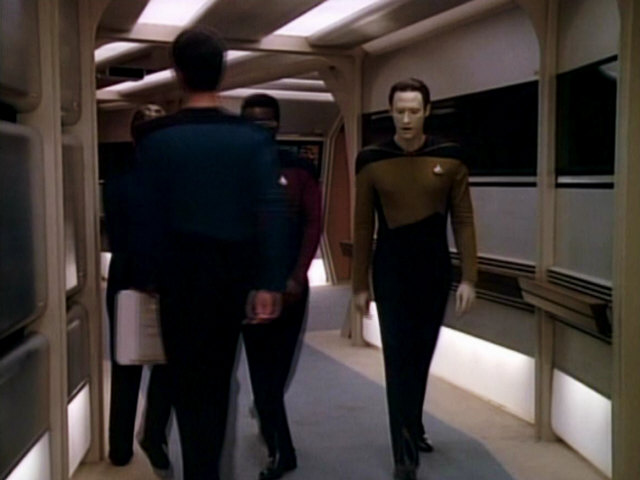  |
We can identify the case in HD. It is a Fisher Price Construx box. | |||
| In this short corridor scene, a corridor wall with an LCARS display is seen in the background. This is a rare occurrence, as the walls in this part of the corridor set, which doubles as main engineering, are normally covered when the set is transformed from main engineering into a corridor lounge. The LCARS display is the same display seen at that same spot in "Lonely Among Us" and a few episodes later in "Justice". |  "Lonely Among Us" |
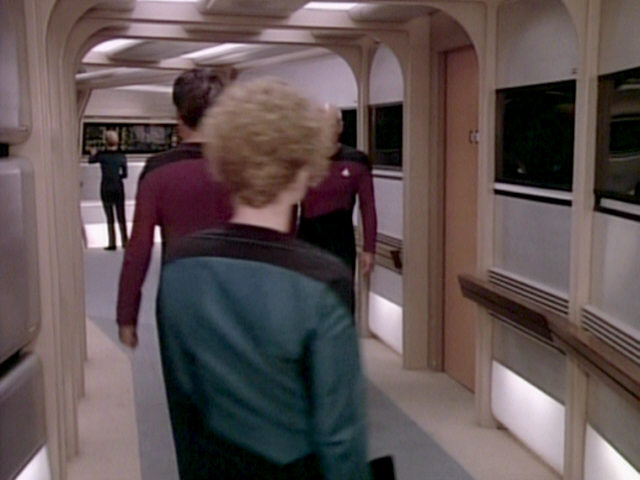 "Justice" |
  |
The HD shot confirms that we have seen this panel before. | |
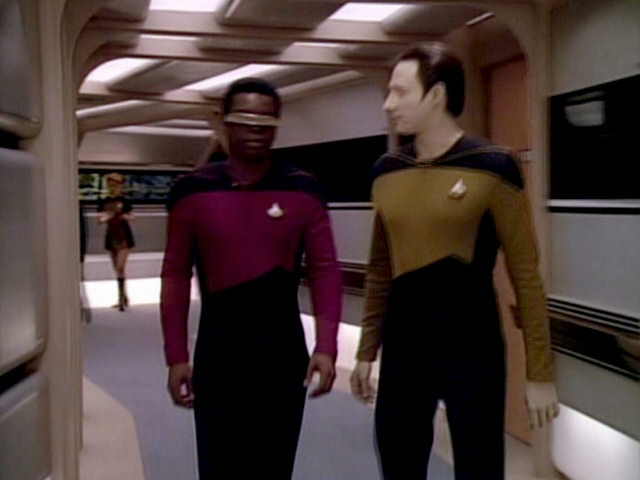
| The turbolift door next to the abovementioned display is not fully closed in this shot. |  |
No changes | |||
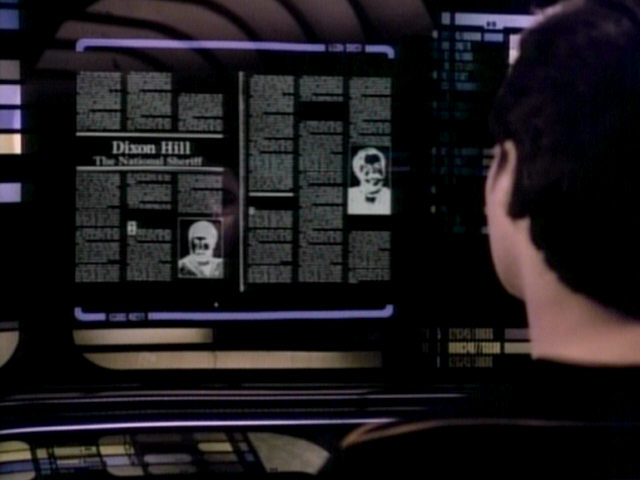
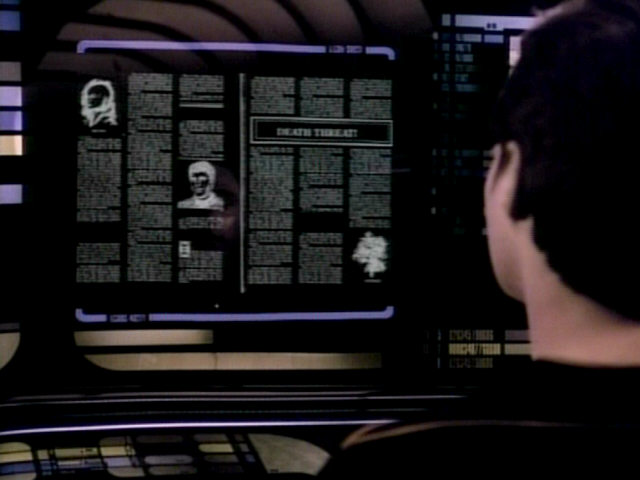
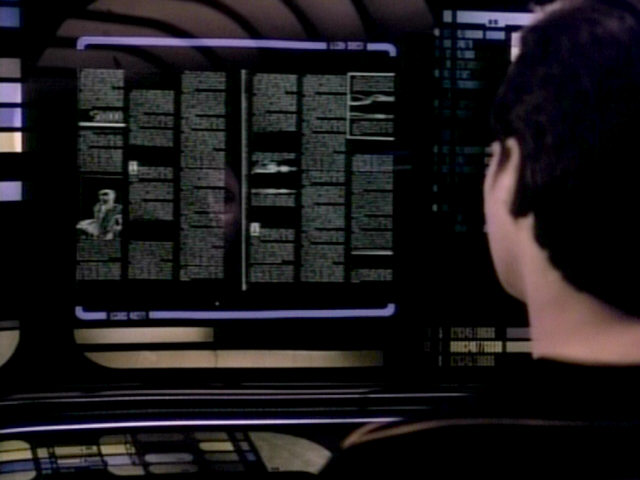
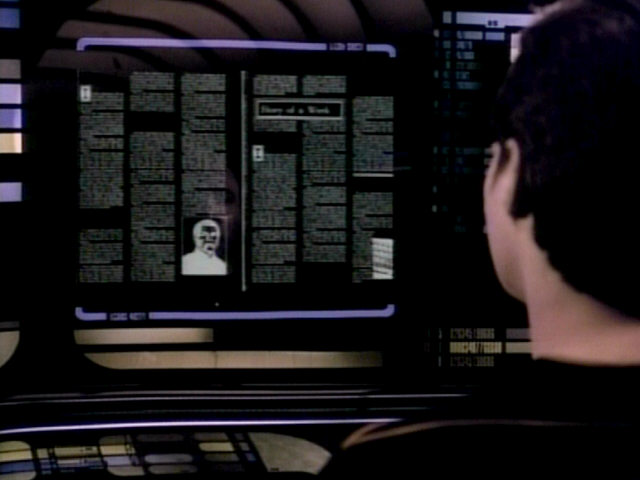
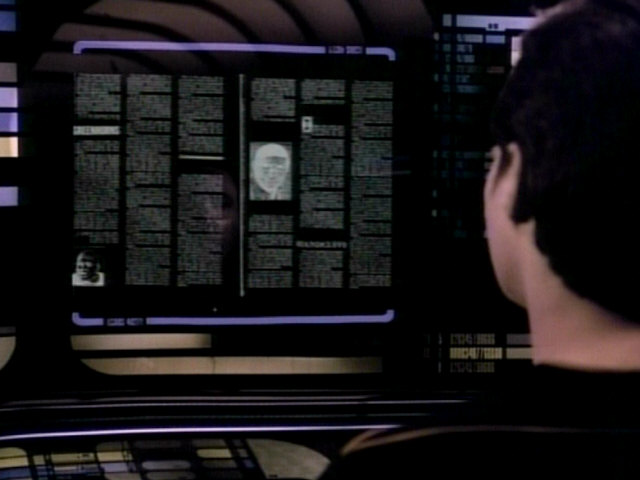
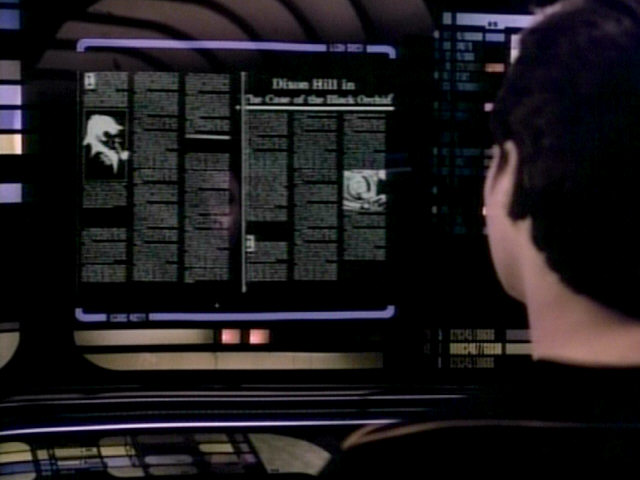
The pages of the Dixon Hill stories Data views at the aft bridge station contain drawings taken from various Star Trek RPG books published by FASA in the early and mid-80s and a fictional detective magazine that came with the 80s computer game The Witness. The pages can be grouped into three distinctive groups, although the order of books and of pages is overall chaotic. We can see that the pages were scanned in from books, as the page folds are clearly visible and many of the pages are tilted. |
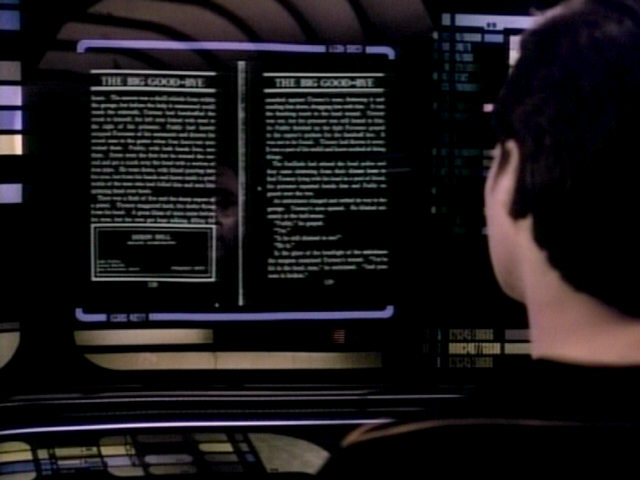  |
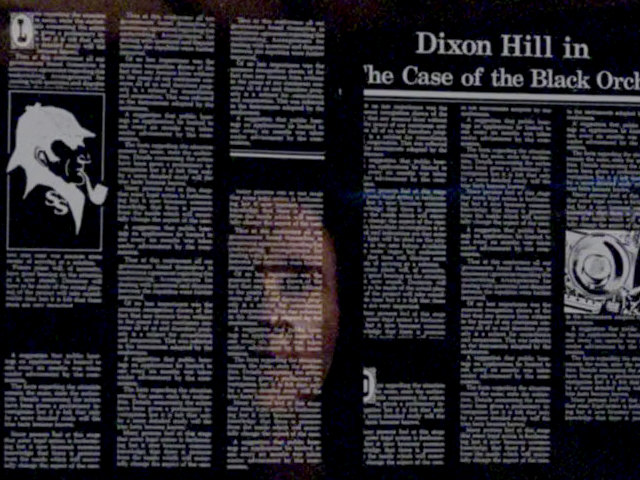
Nothing was changed about the content and the order of the pages. But is appears that the scans were cleaned up for TNG-R. The page folds are not as clearly visible as before, although many pages are still visibly tilted. The pages of "The Big Good-bye" aka The Listening Man are now completely readable. |
|||
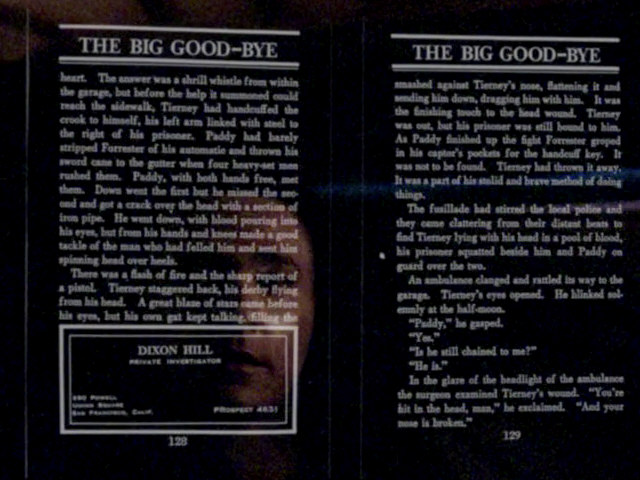
Pages from the first book all have "THE BIG GOOD-BYE" written on top of nearly every page. Several pages are illustrated with a picture of Dixon Hill's business card. The text on the card is only partially legible, but the spacing and length of the words is similar to the actual business card seen a little earlier (in a glass) and later in the episode. |
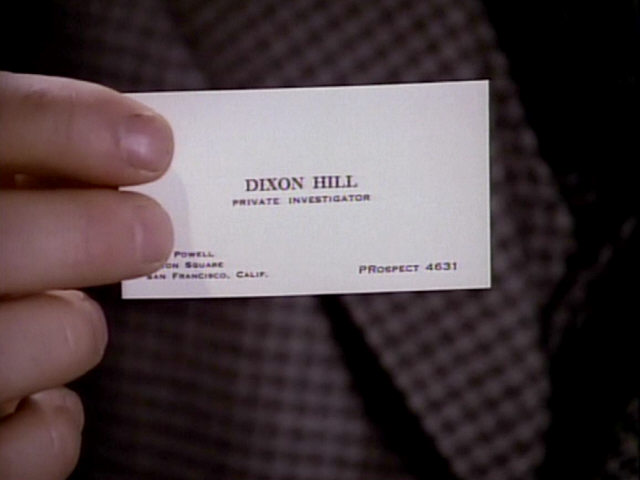 Dixon Hill's business card |
||||
The text in this group of images was taken from The Listening Man by John A. Moroso. All in all, 41 pages from the book are reproduced here. One of the protagonists of the crime novel is "Solid Ivory" Tierney. Several short stories or chapters about the character were serialized in various US newspapers in the summer of 1913, such as The News and Courier, issues of June 22, July 6 and July 13, 1913. The July 20, 1913 edition of the Washington Post contains text from the book that is also legible on screen (pages 138 and 140, for example). The pages reproduced in the episode are taken from a 1924 edition of The Listening Man (as per the first page, the title page). A vintage review of the book. |
|||||
| Three pages from the second book also contain the illustration of Dixon Hill's business card. The title of the book (at the top of each page) is Dangerous Ground by Francis Sill Wickware. As can be seen on the first page (000) the book was published in 1946. It is identical to the actual first page of the book. Only the logo of the publisher and some of the text were masked or replaced with different text. Here is a review oft he book. |
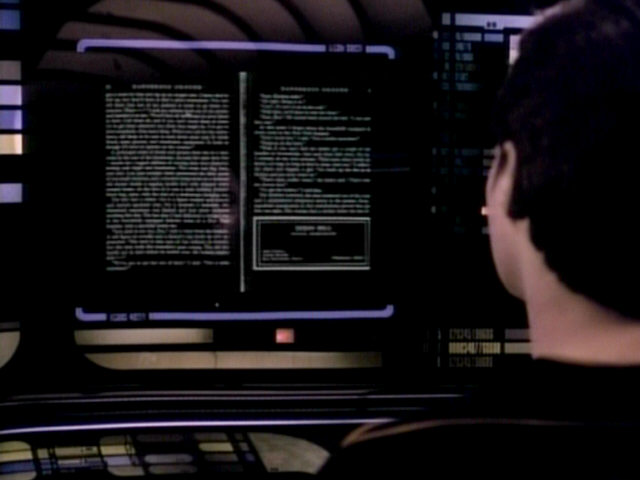 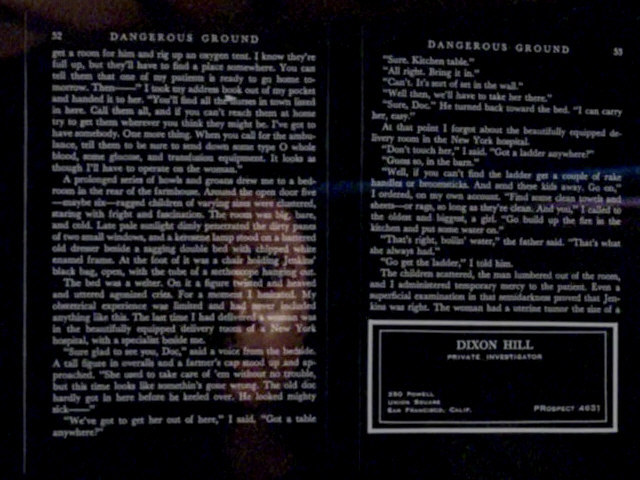 |
The title Dangerous Ground is legible in the HD edition. | |||
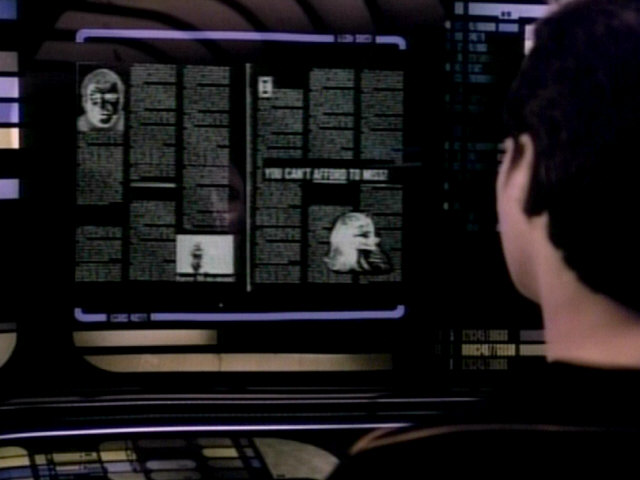
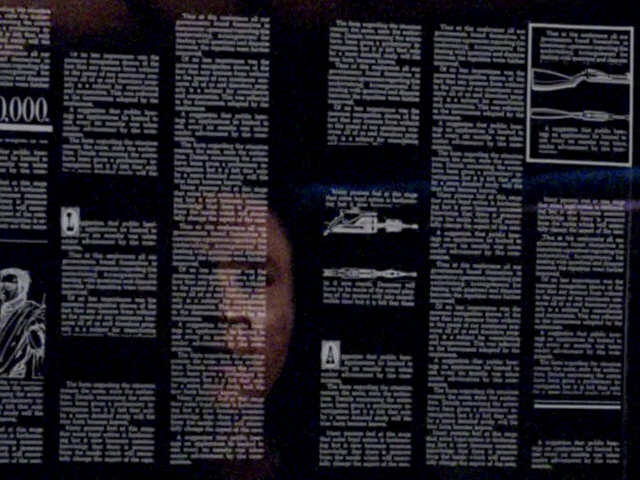
The pages from the third book (or rather, from the third randomly arranged group) are most interesting, as they contain numerous illustrations culled from various FASA Star Trek RPG books and a fictional detective magazine (called the National Detective Gazette) that came with the 80s computer game The Witness. When viewing the pages one after another, it becomes clear that the text is identical on every page. The text can is the regular newspaper filler text seen in several other Star Trek episodes and countless movies and TV shows. Hence, some phrases are repeated over and over again and appear on every single page:
|
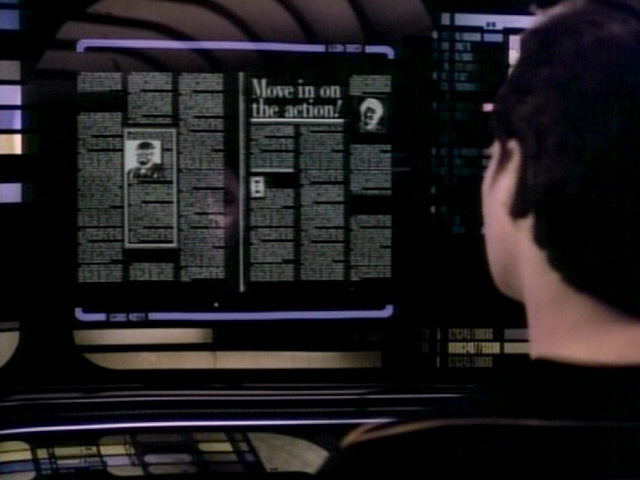 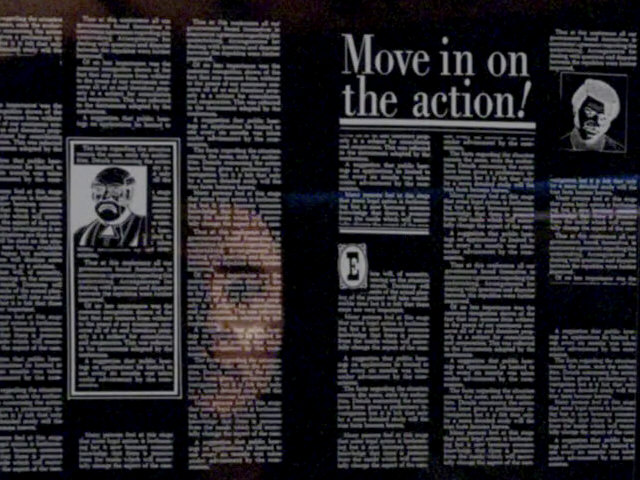 |
Thanks to the HD version of the episode we can now read much of the text. | |||
Most of the illustrations in the third book were found in three FASA books:
Some are from the aforementioned
The following illustrations could be identified, in order of their appearance:
|
 "Adm. Threvan" |
|
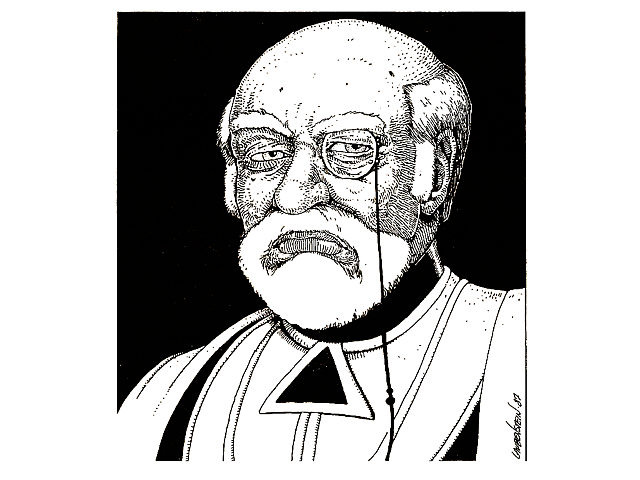
The illustrations are better recognizable in HD. And we can now confirm that the person on one photo is indeed Gene Roddenberry. | ||
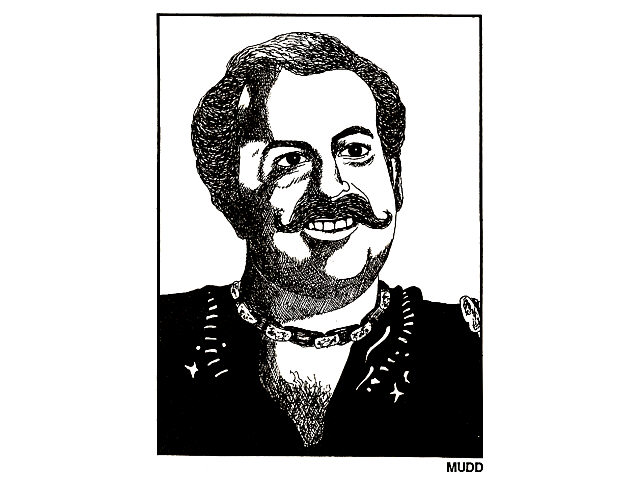 Harry Mudd |
  |
||||
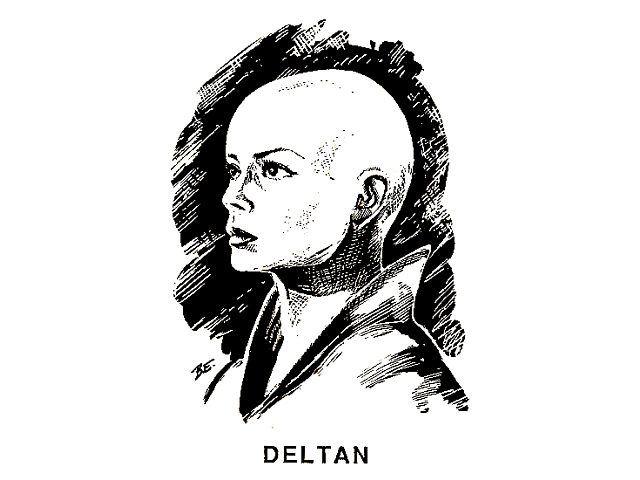 Deltan |
  |
||||
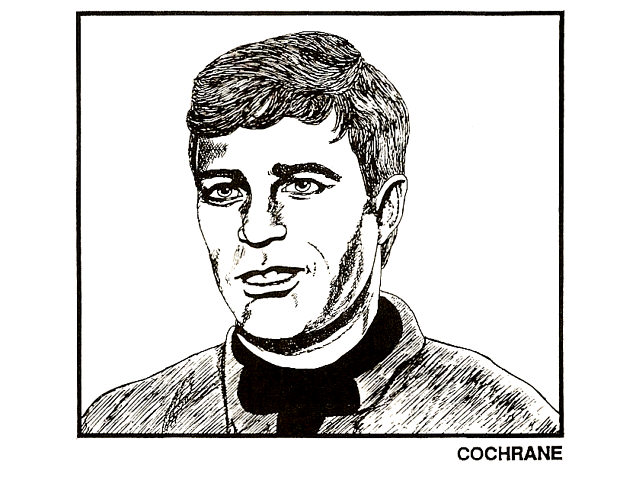 "Zephram" Cochrane |
|||||
 "Kaferian" |
|||||
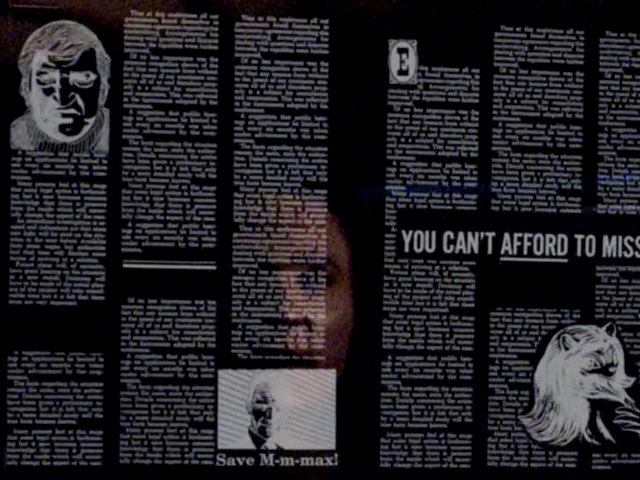
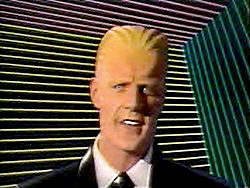 Max Headroom |
  |
||||
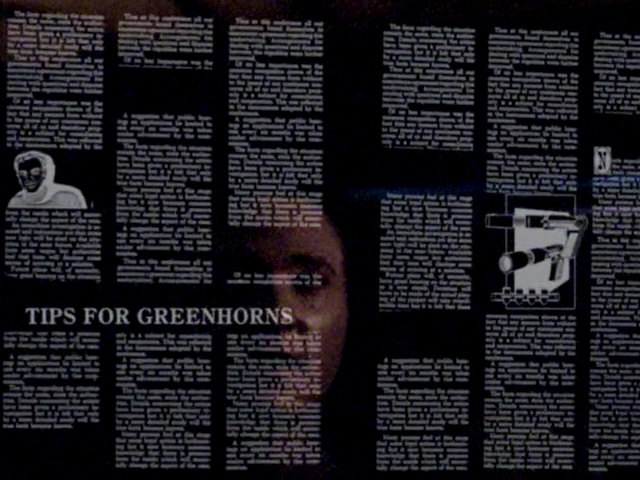
 "Tanglegun" |
  |
||||
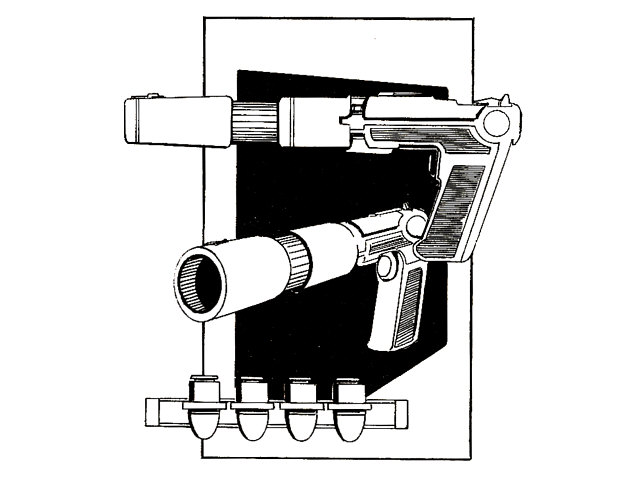
 "Klingon rifle" |
  |
||||
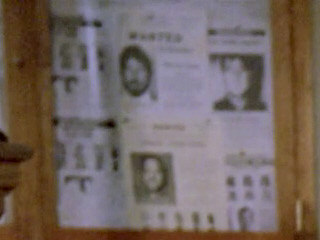
 Wanted poster in police office |
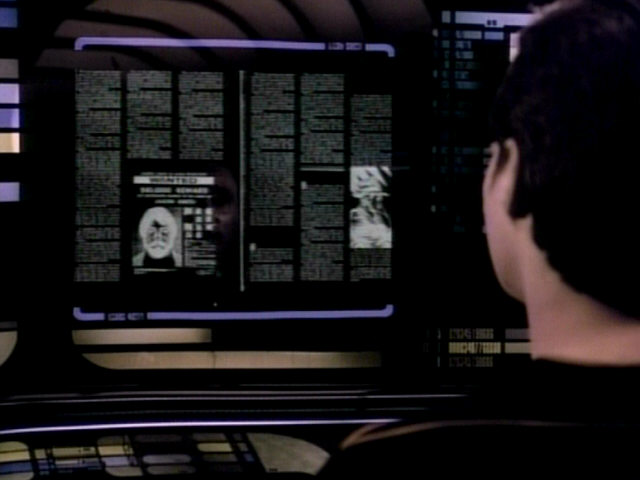 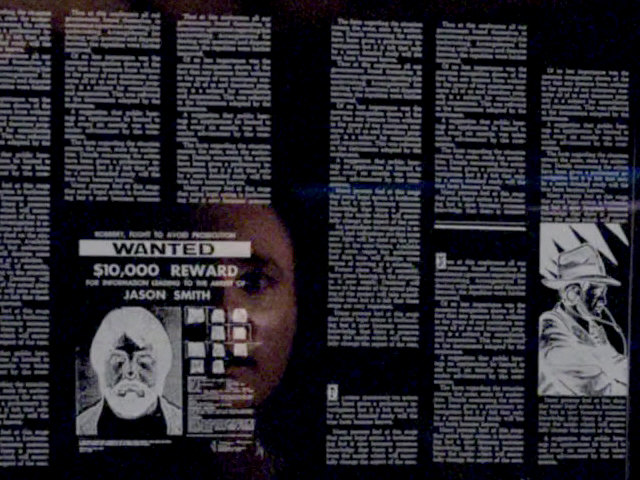 |
||||
 Wanted poster close-up in HD |
|||||
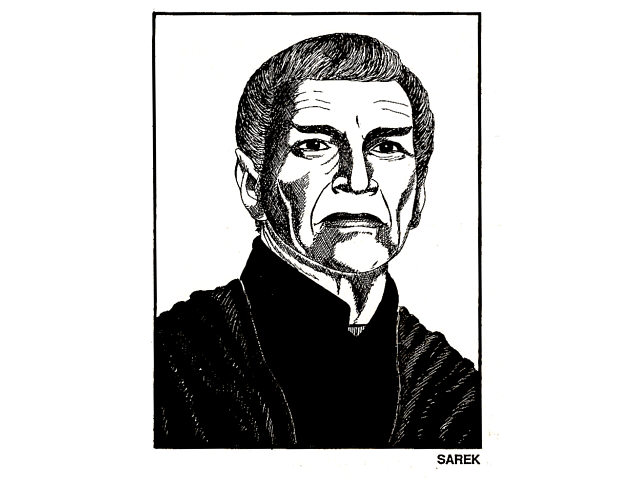 Sarek |
  |
||||
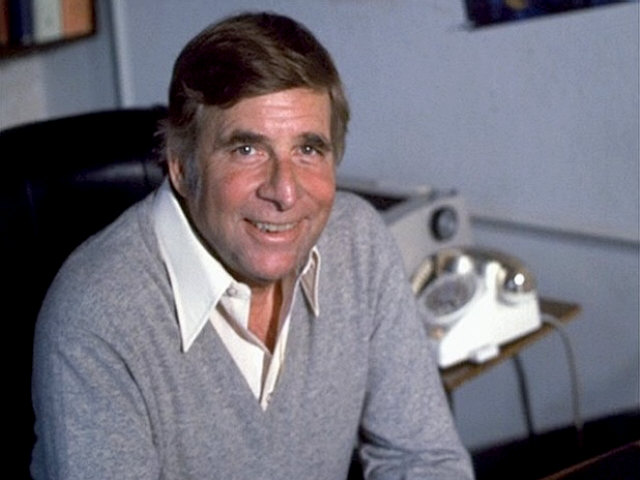 G. Roddenberry |
  |
||||
 "Kelvar Garth" |
  |
||||
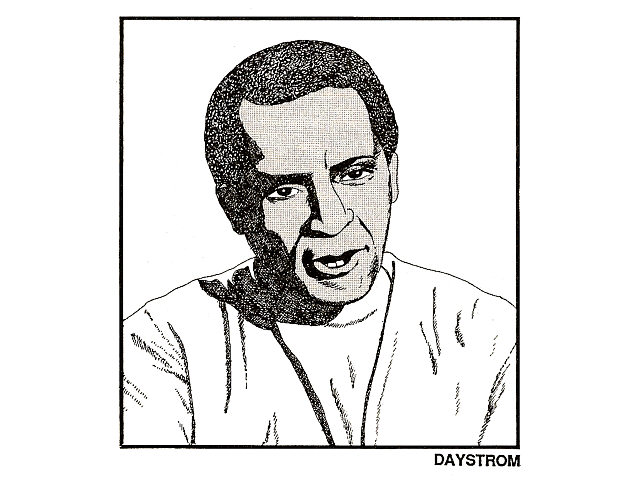 Richard Daystrom |
|||||
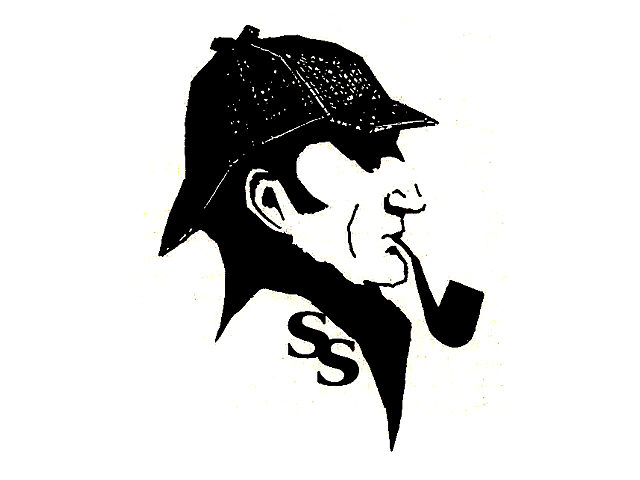 "Surelox logo" |
  |
||||
The location of the holodeck entry changes several times in this episode. When Picard left the holodeck for the first time earlier in the episode, the holodeck door faced a corridor wall. This matches the placement of the holodeck door in the newly created short corridor set mentioned earlier. In this shot, the transporter room corridor can be seen behind the doors from the inside of the holodeck. The placement of the holodeck thus is identical to where it was located in "Encounter at Farpoint". The footage seen behind the open door is actually also lifted from "Encounter at Farpoint", where it is seen when Wesley, Riker and Data leave the holodeck. It is also worth noting that the holodeck doors can have three different appearances when seen from the interior of the holodeck. In the shot from earlier in the episode, one can see that the door framing is seen in addition to the door. In this shot (in the streets of New York) only the door appears. In "Haven" and several later episodes, the holodeck door is also surrounded by the "arch". Later in the episode, there is another mix-up of holodeck doors. |
 "Encounter at Farpoint" |
 "Haven" |
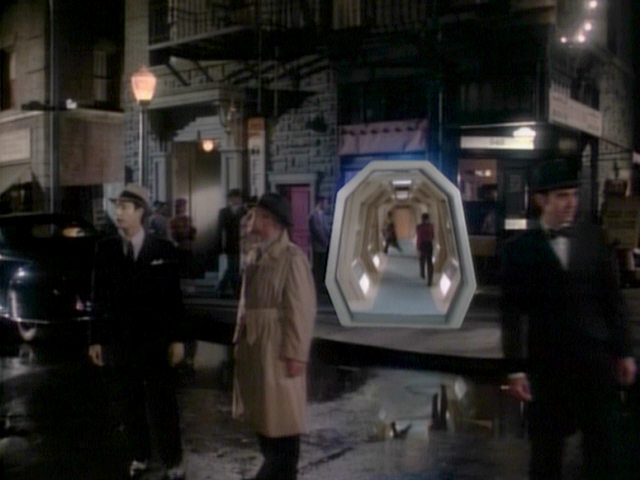  |
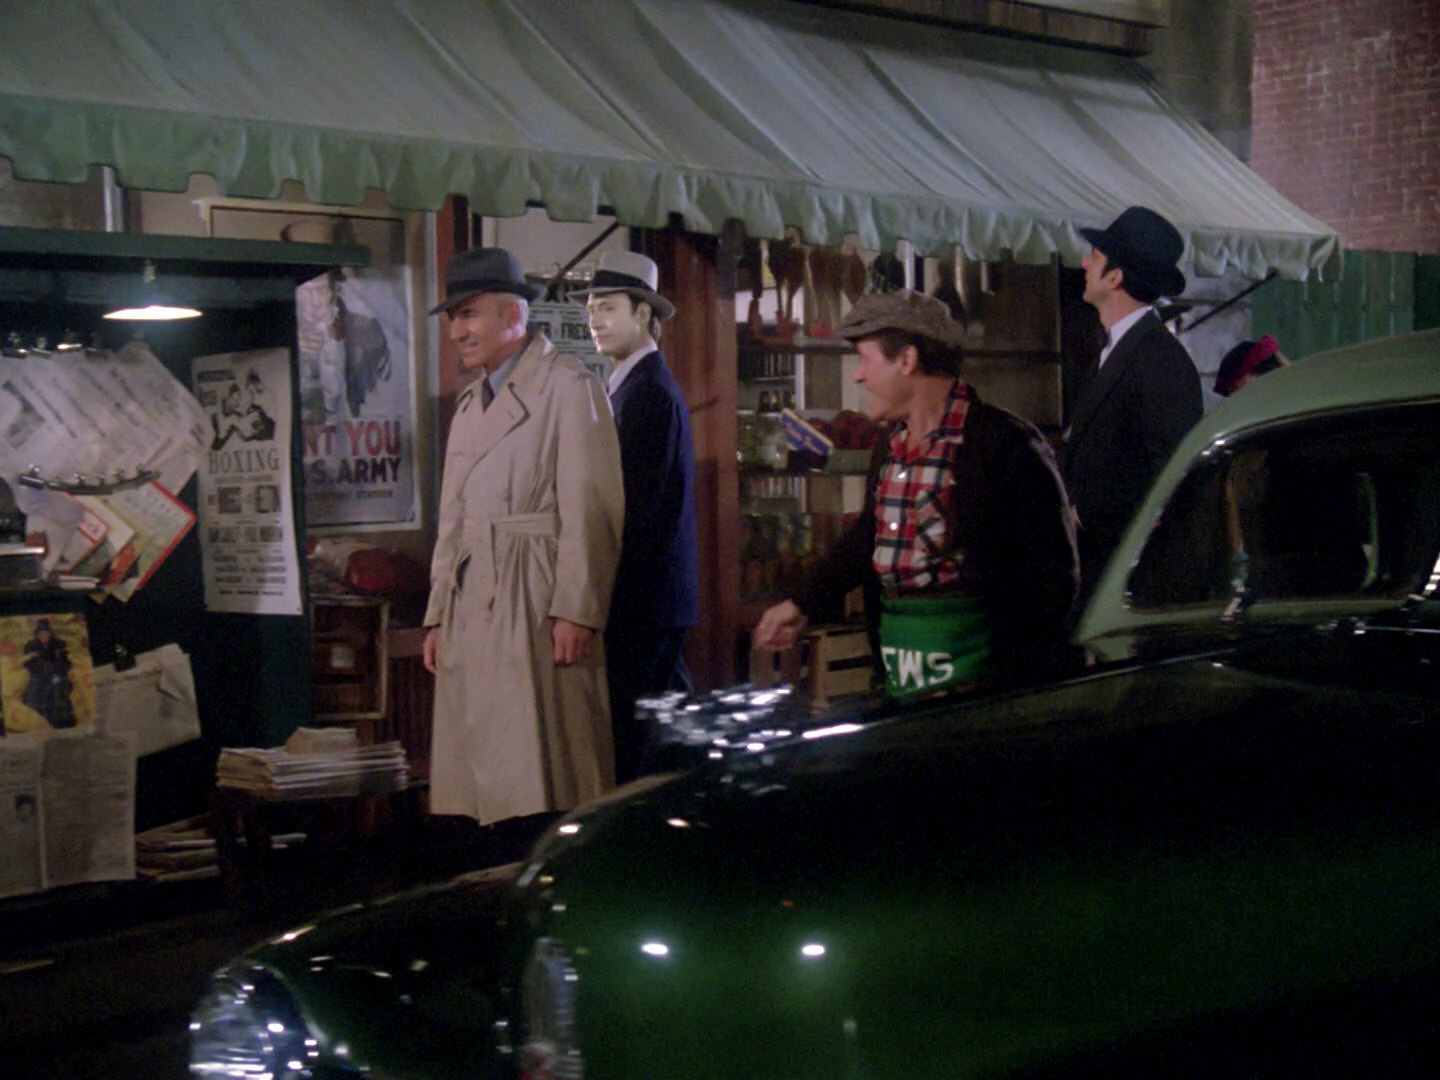
Not only the resolution but also the contrast of the street scene was greatly improved, which is amazing for a dark shot. We can recognize several more details. | |
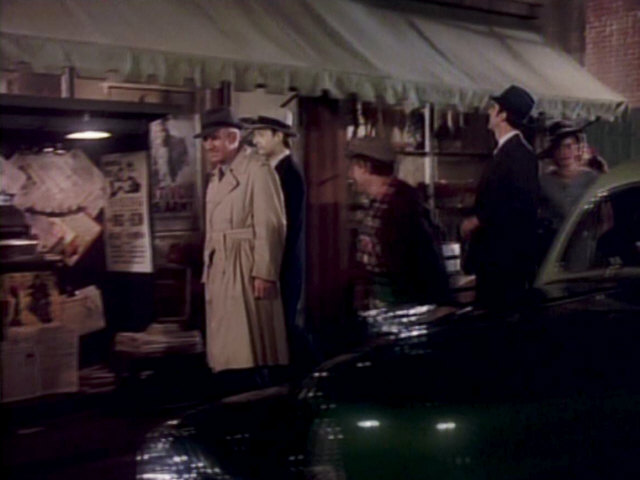
| The San Francisco street scenes were filmed in the New York Streets set at Paramount. Between this episode and "Time's Arrow II" the set was heavily modified, explaining why only a few buildings are recognizable. Re-Uses of the New York Streets Set |
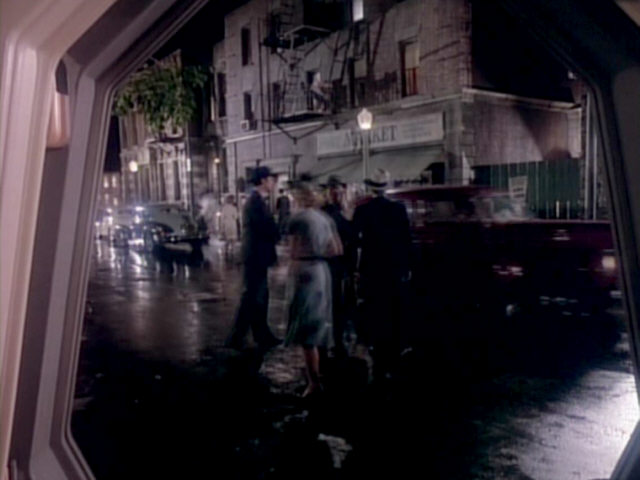  |
||||
  |
|||||
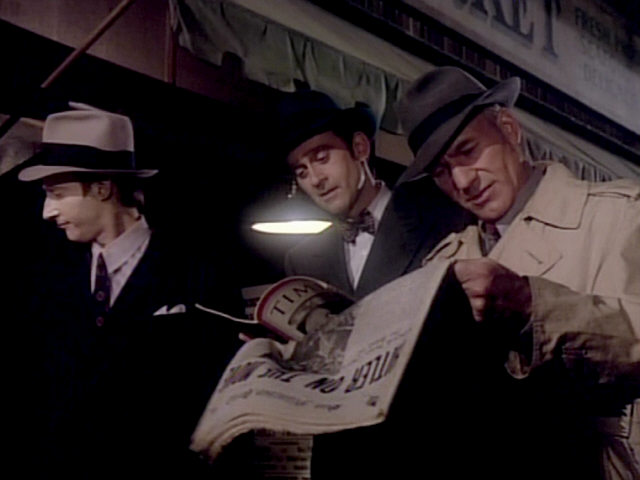
| Since TOS: "The City on the Edge of Forever", a boxing poster is seen whenever the crew travels back in time to the 20th century or runs a holoprogram from that era. This marks the first appearance of boxing posters on modern Trek. | 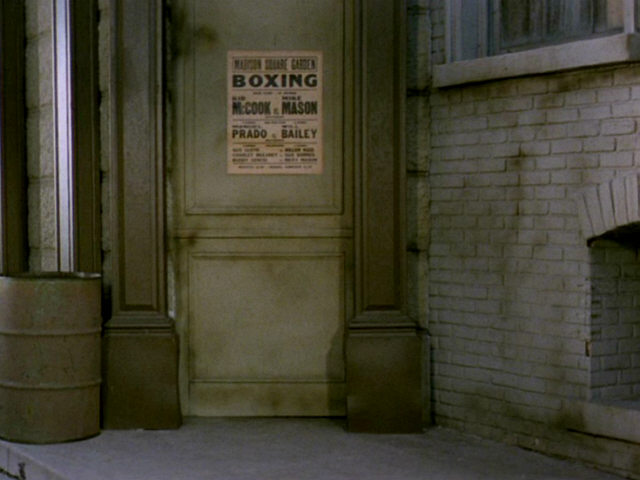 "The City on the Edge of Forever" |
 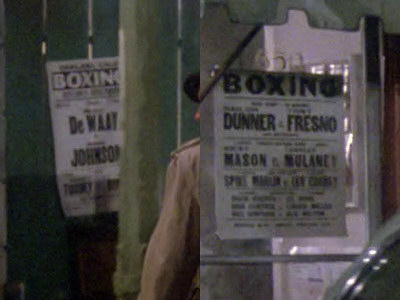 |
We can read much of the text in HD. | ||
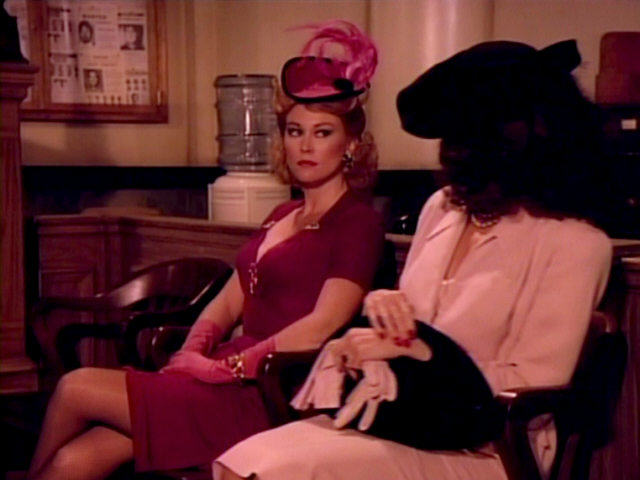
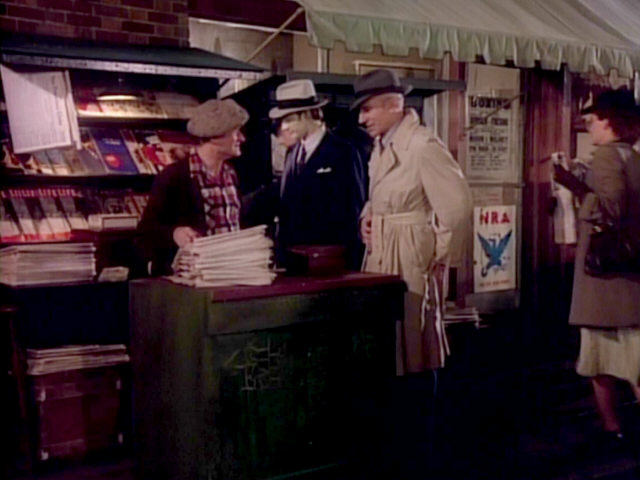
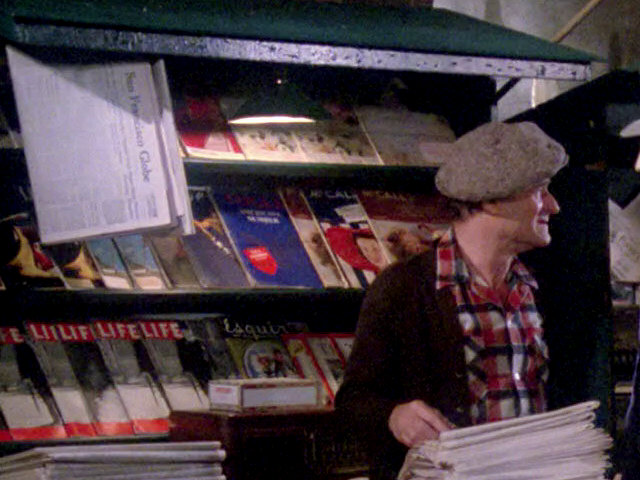
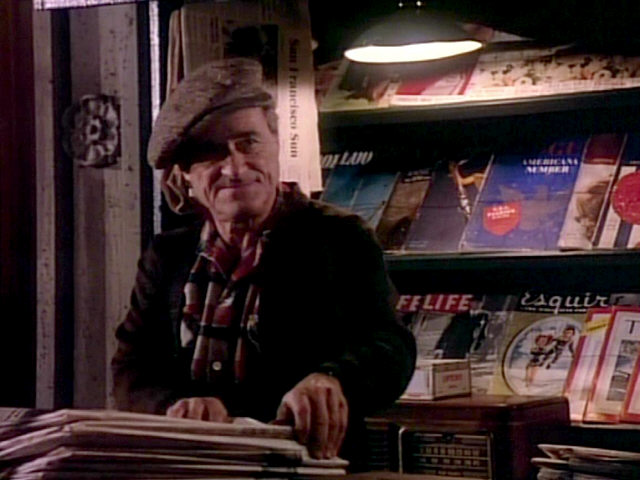
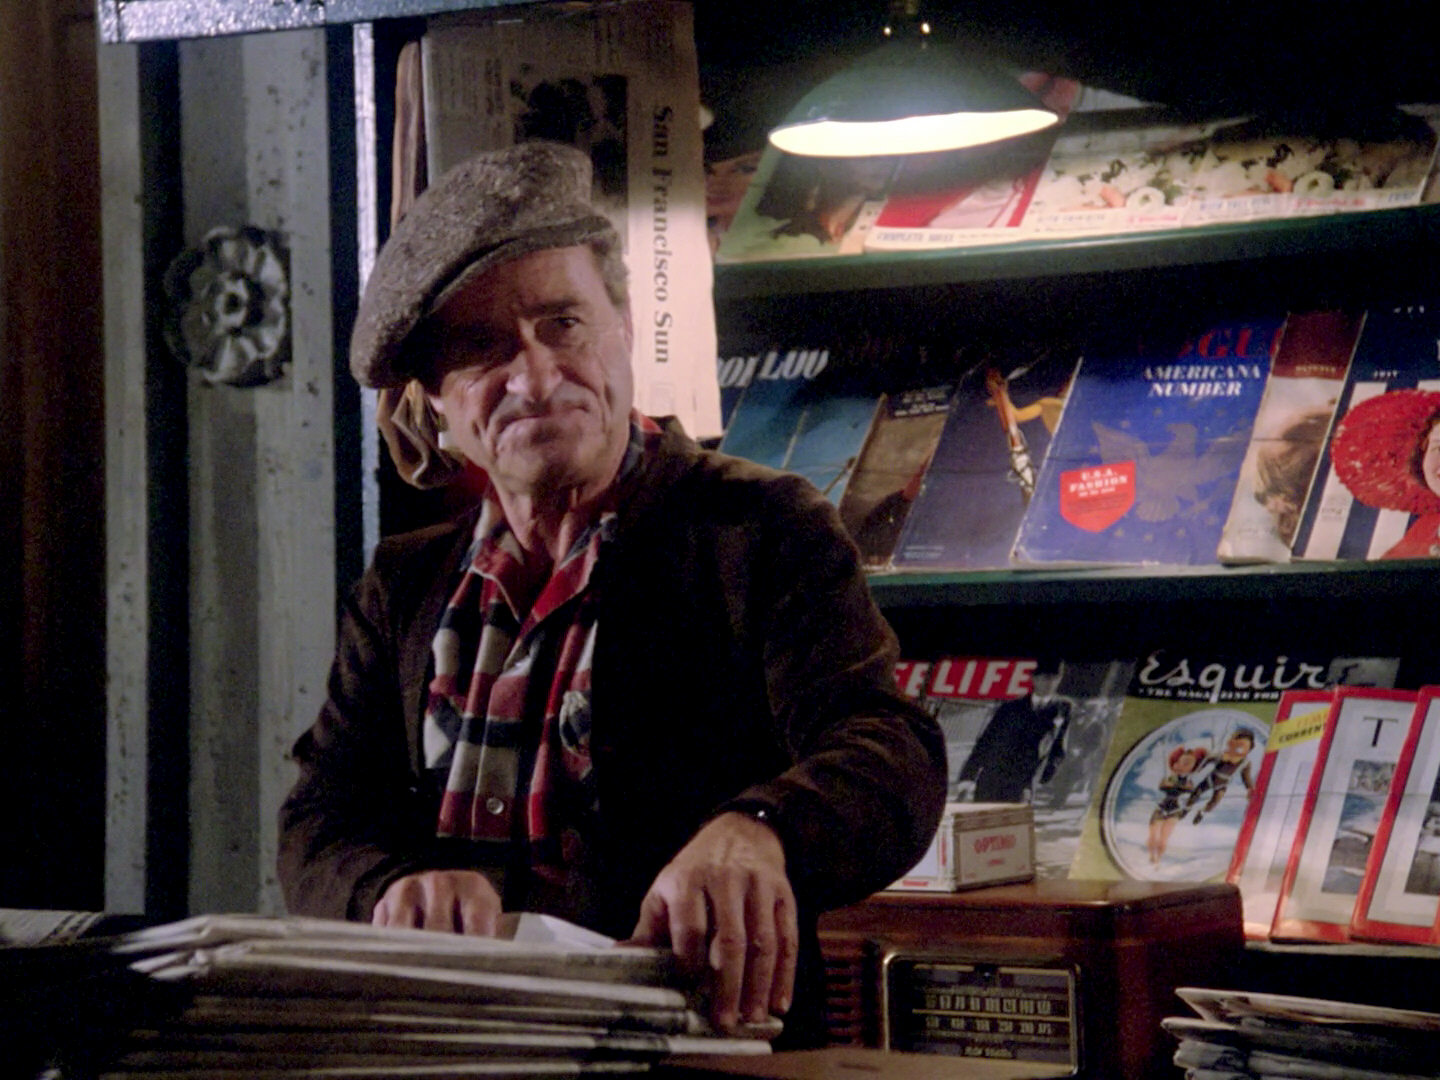
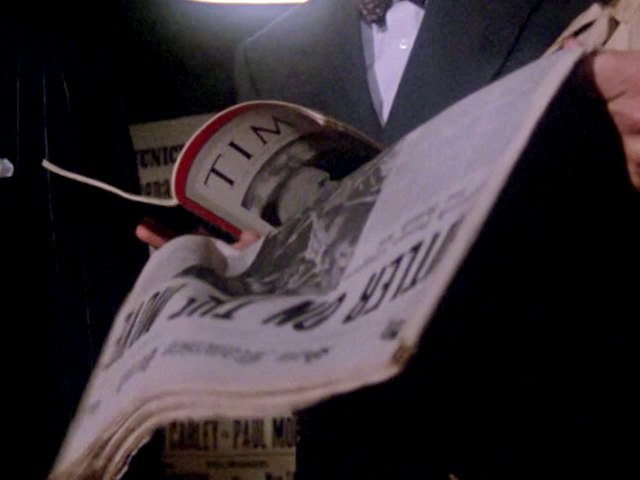
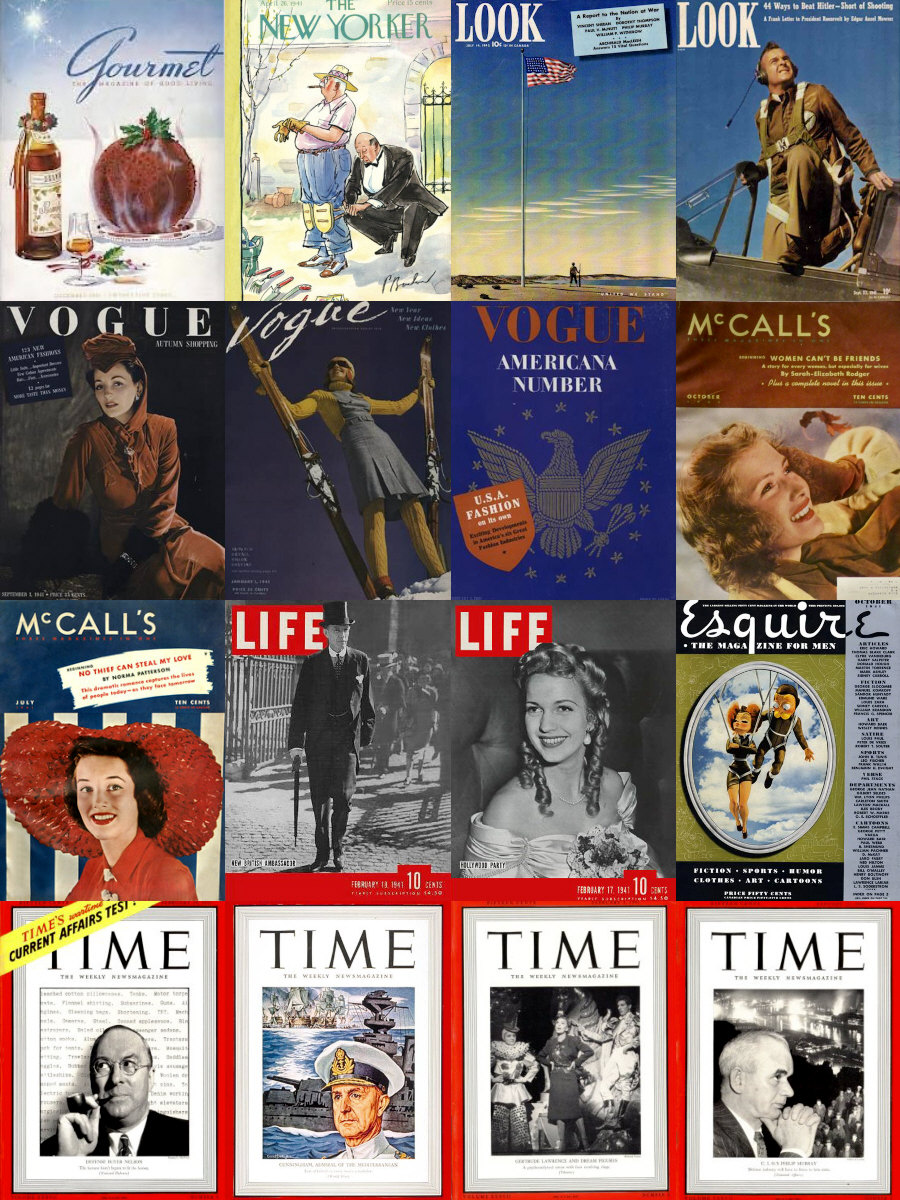
| Mack is selling an interesting assortment of magazines. The following issues can be identified.
On the shelf:
In addition, Whalen is seen browsing through another issue:
|
  |
A much better look at the magazine issues is possible. We can even see the wear of the old magazines, which are original issues and not reprints as it seems. | |||
  |
|||||
  |
|||||
  |
|||||
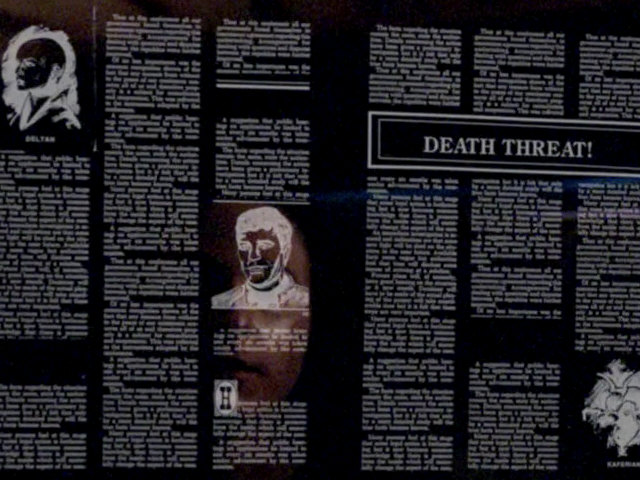
| This text appears on newspapers in several other Star Trek episodes. Newspaper Pages in Star Trek |
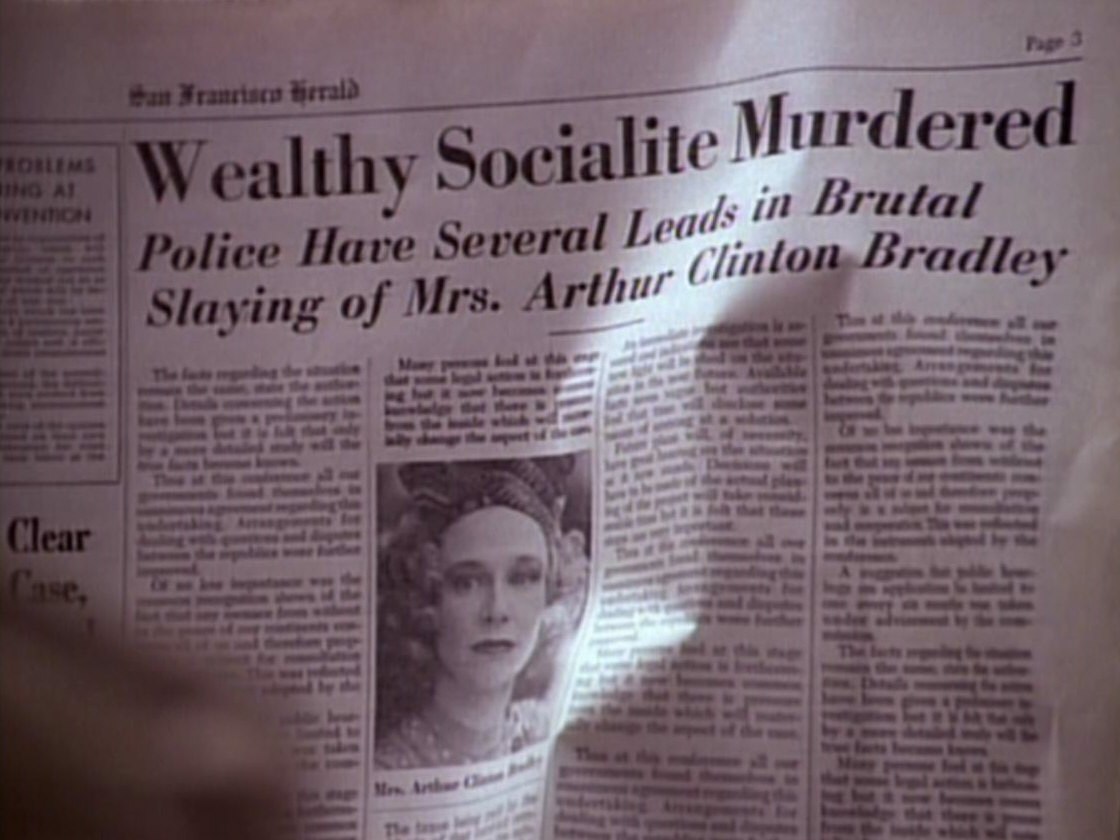 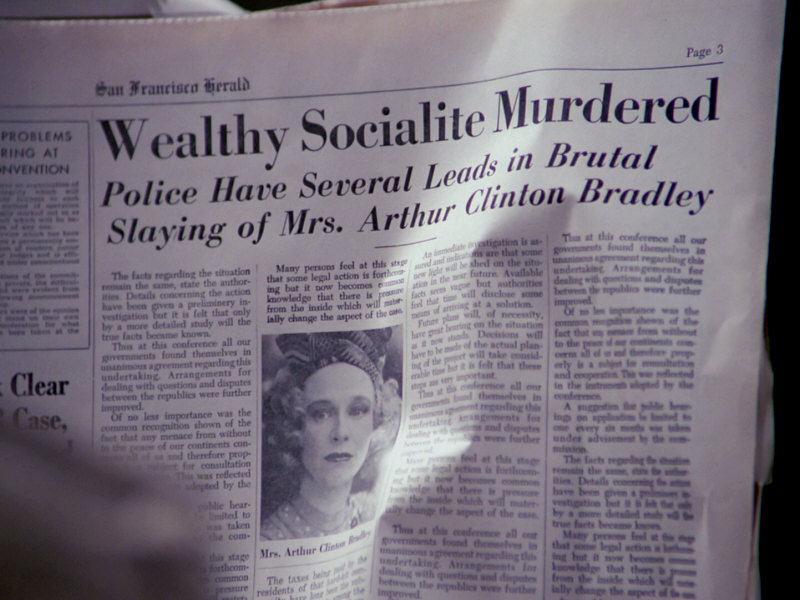 |
The text remains unchanged, although it doesn't refer to the headline. We can see that some passages repeat, such as the first one "The facts regarding the situation..." that appears again later in the article. | |||
| A shot of Dan Bell was mirrored to make it appear as if he is looking at Mack and Whalen. A few seconds later, the footage is continued without being mirrored. | 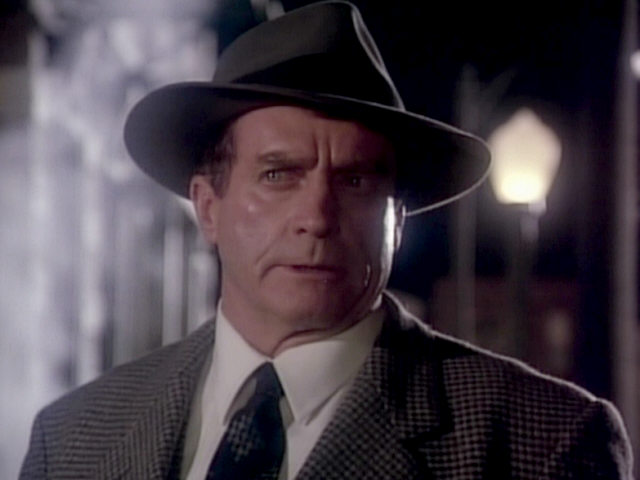 |
No changes | |||
 |
|||||
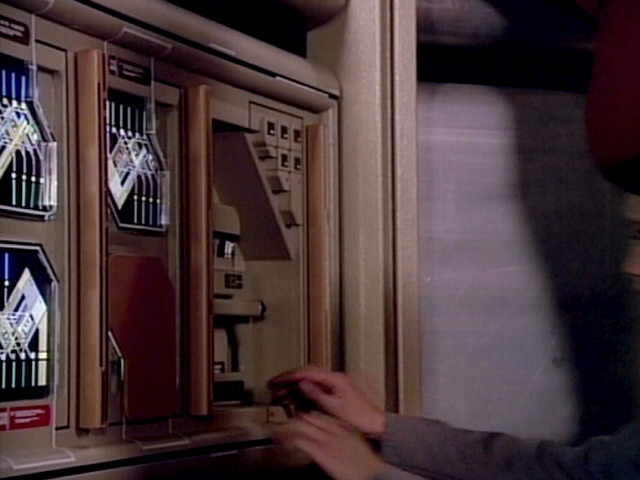
| Just before Beverly Crusher enters the holodeck, the holodeck controls are shown. We can see that the controls are flashing, and there is a silver cover below the control panel, as on the rest of the wall. When we see Beverly enter in the very next shot, the circuitry below the controls is suddenly exposed, and the controls have also stopped flashing. | 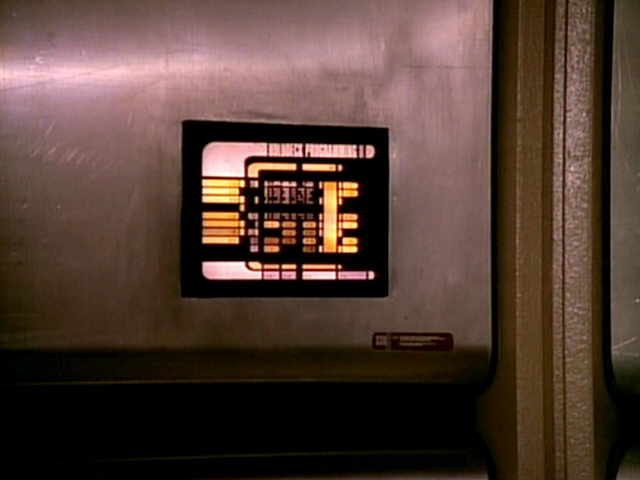 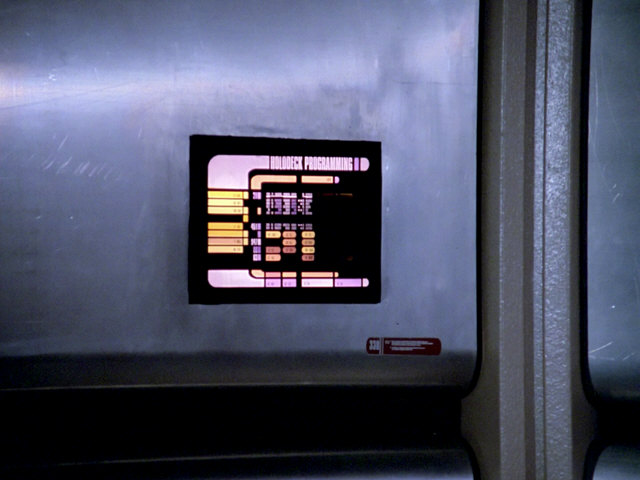 |
Nothing was changed about this blooper in TNG-R. | |||
  |
|||||
| The silver wall cover is back in place when Geordi checks the holodeck panel. | 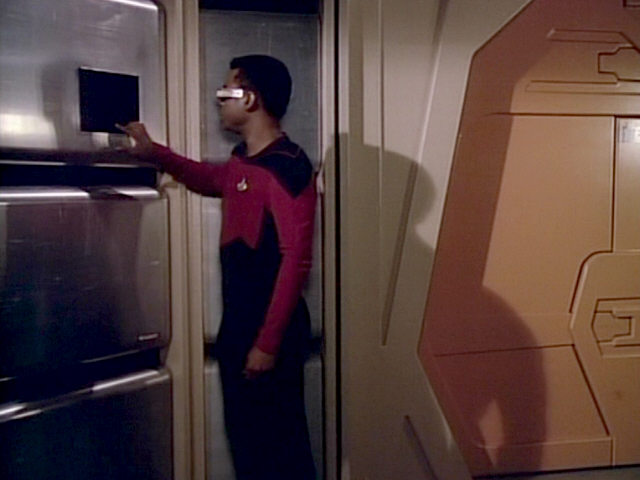 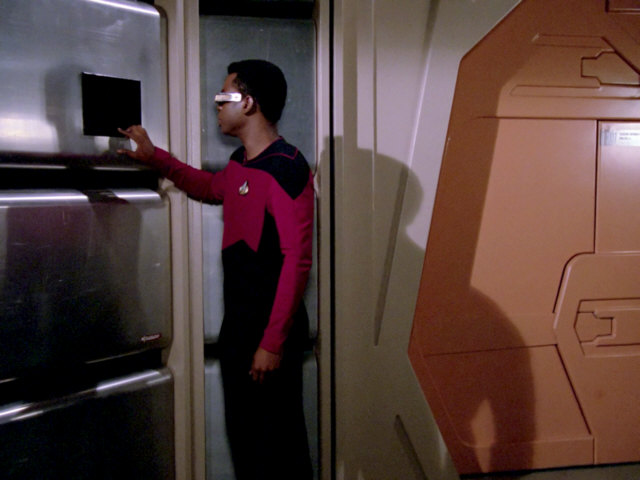 |
||||
| This shot shows the location of the turbolift in relation to the holodeck door. |  |
No changes | |||
| These circuits will be seen again in "11001001" and "Tin Man". In "11001001" they appear on the other side of the holodeck door. | 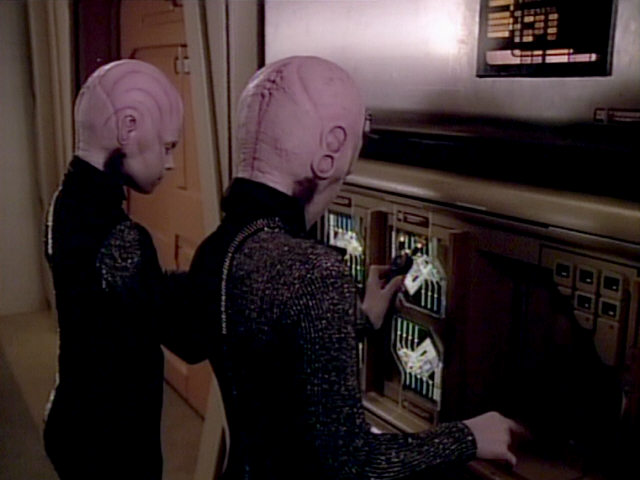 "11001001" |
 "Tin Man" |
  |
A better look at the circuits in HD. | |
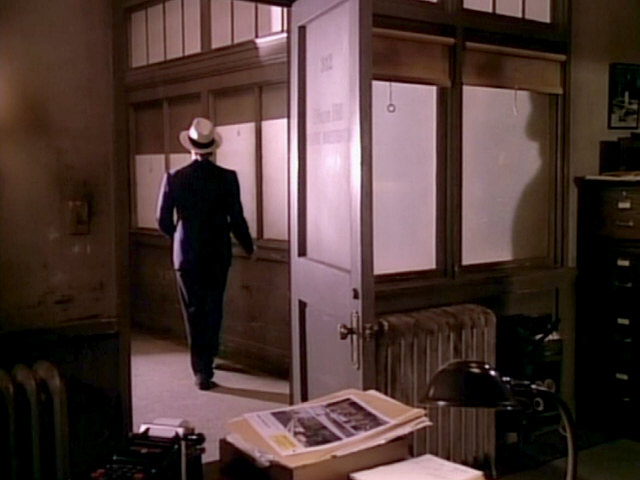
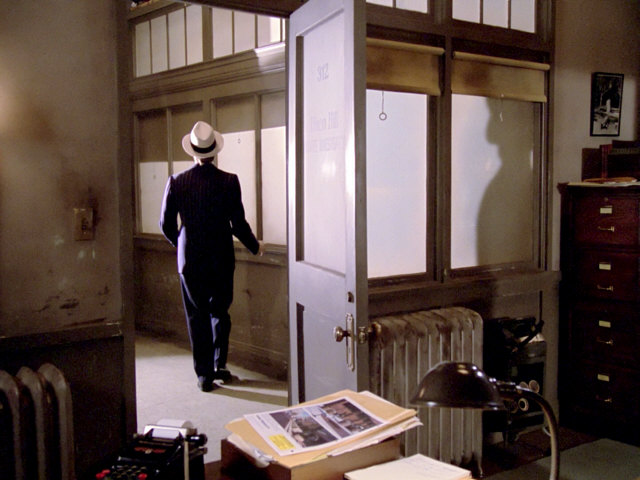
| A paper folder can be seen lying on the desk in the foreground. There is nothing on top of this folder. A few moments later, Data is seen leaving the office and the folder comes into sight again. Now, a sheet of a paper with two anachronistic color photographs is lying on top of the folder. As nobody was in the room in those two minutes, the sheet of paper must have been left behind by a member of the production crew during filming. |  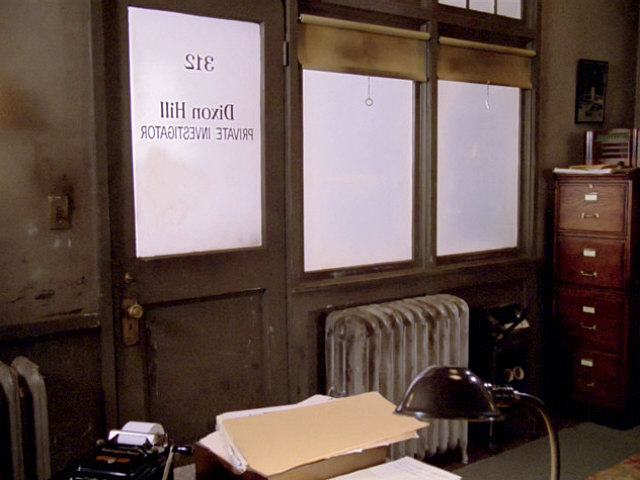 |
Nothing was changed about it in TNG-R. | |||
  |
|||||
| The graphic depicting Torona IV was previously seen in "The Naked Now" and "Hide and Q". | 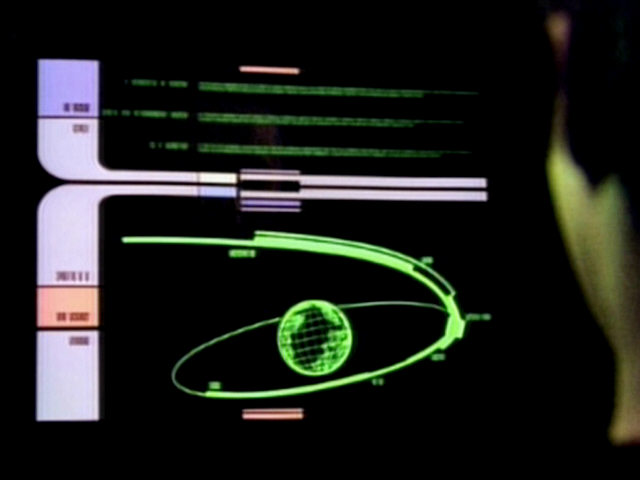 "The Naked Now" |
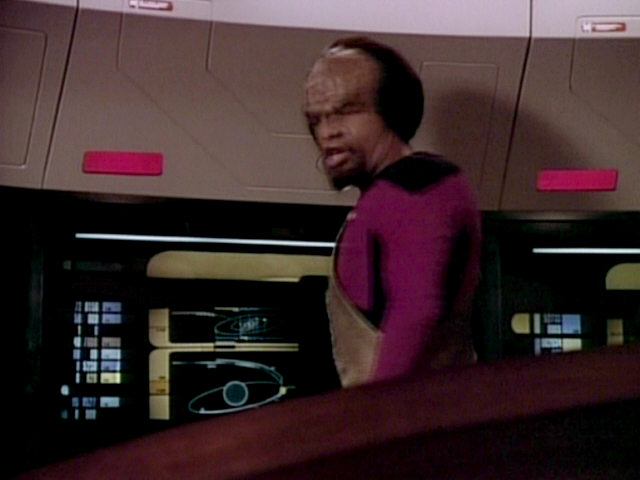 "Hide and Q" |
 |
No changes | |
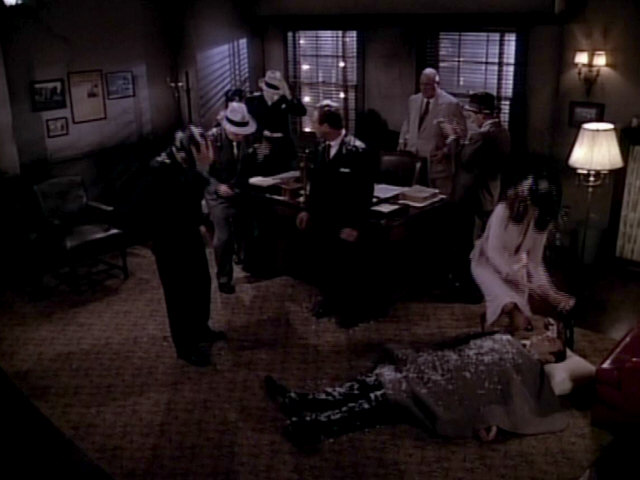
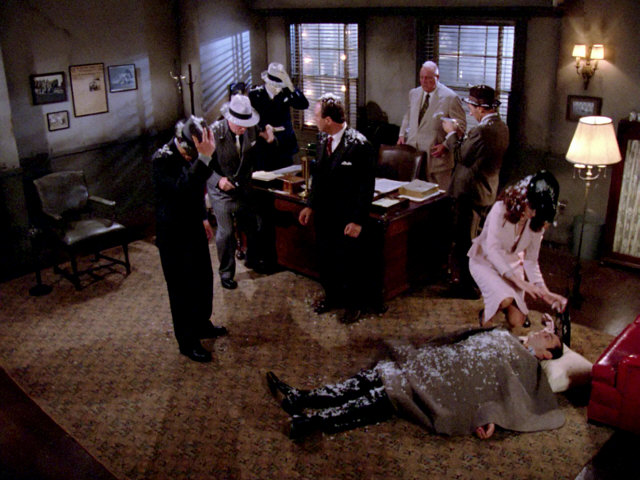
| When the crew all of a sudden finds itself in the snow storm during the holodeck malfunction, the wind is blowing so strong that everybody has to hold on to their hats. Because of this, the snow has no chance to fall onto their hats, heads and shoulders and stay there. One frame later, when the shot switches to Dixon Hills office, everybody has lots of snow on their heads and shoulders. This looks almost comical in the case of Cyrus Redblock who has a huge pile of snow on his bald head. | 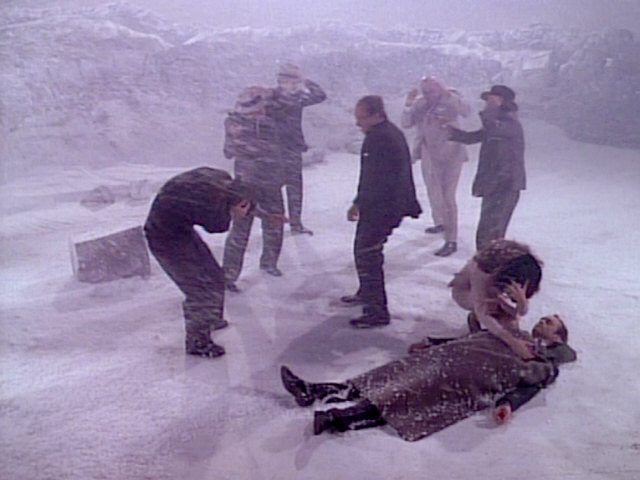 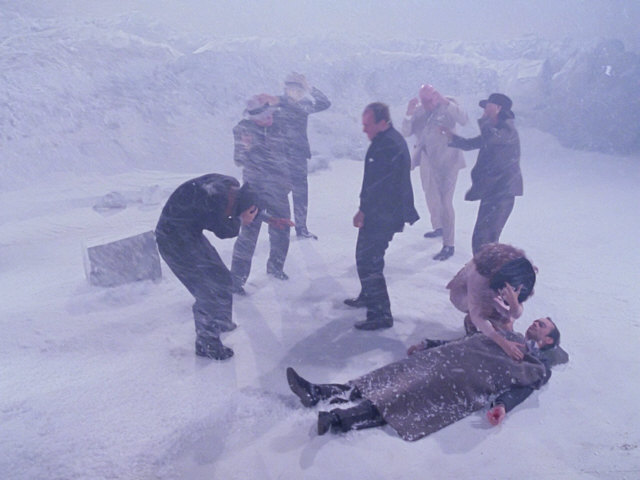 |
A view at the scene in HD. Note that the dark shot in the office has a lot more contrast in TNG-R. | |||
  |
|||||
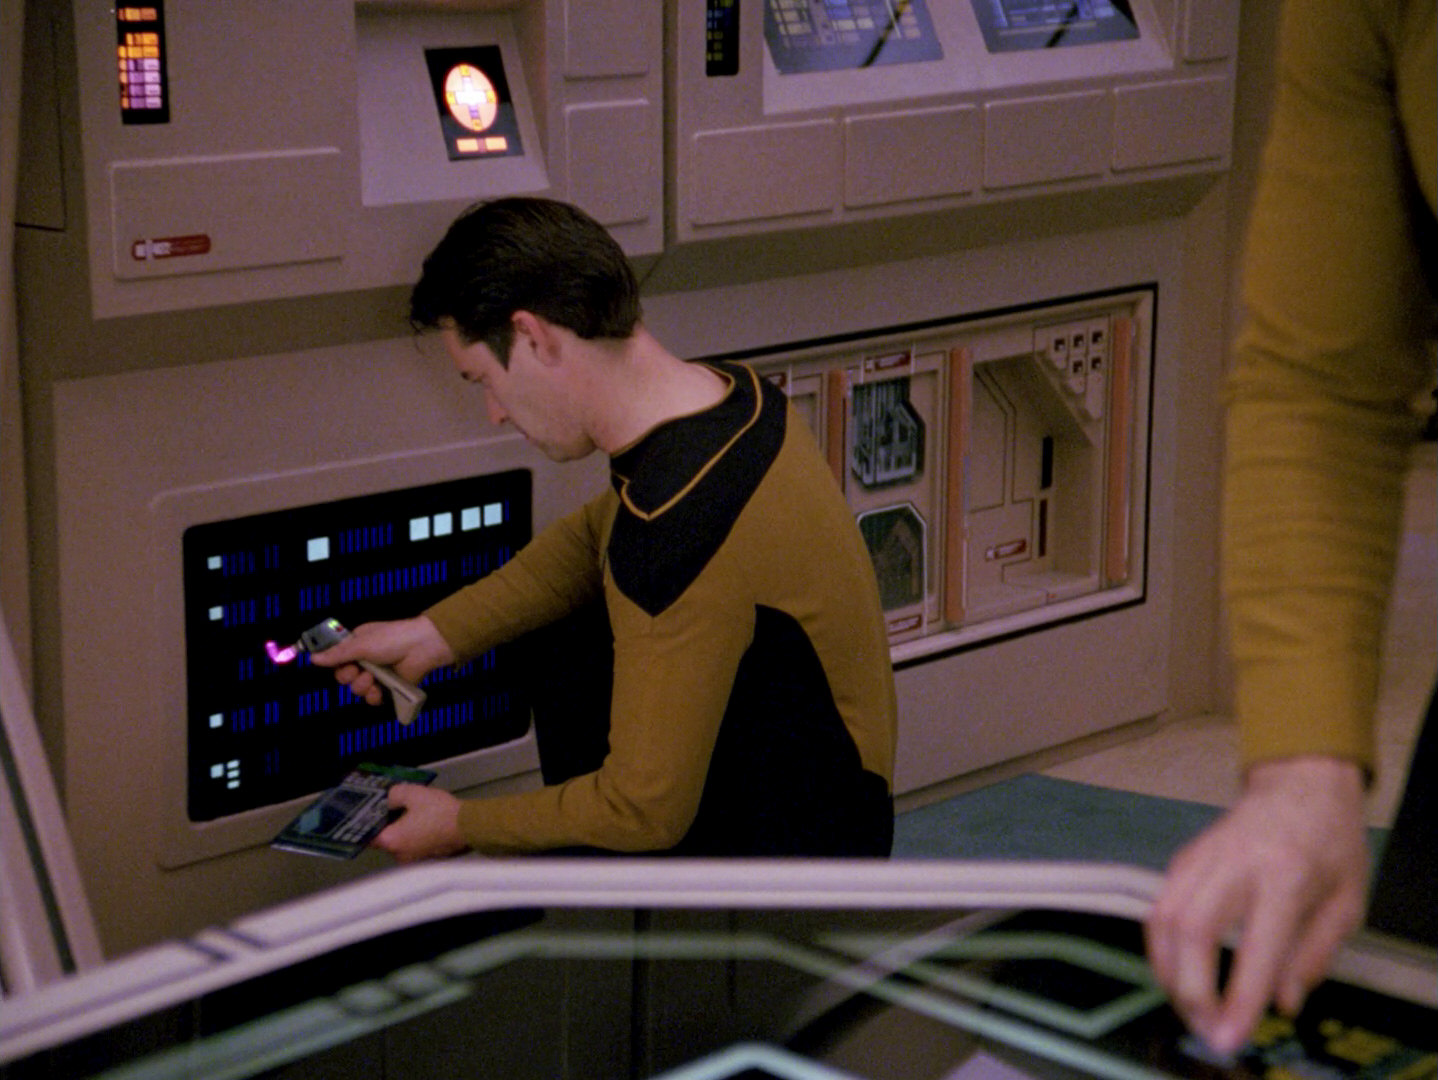
| The ocular of the device Wesley uses to scan the circuits was later re-used as part of a medical device Pulaski uses to operate on Riker in "Shades of Gray". |  "Shades of Gray" |
 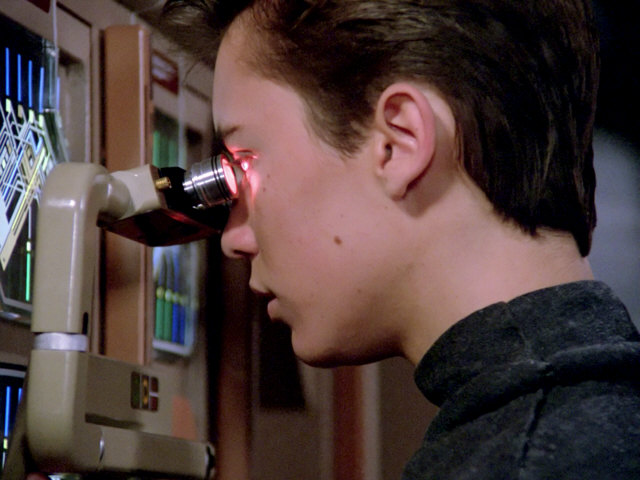 |
A better look at the device in HD. | ||
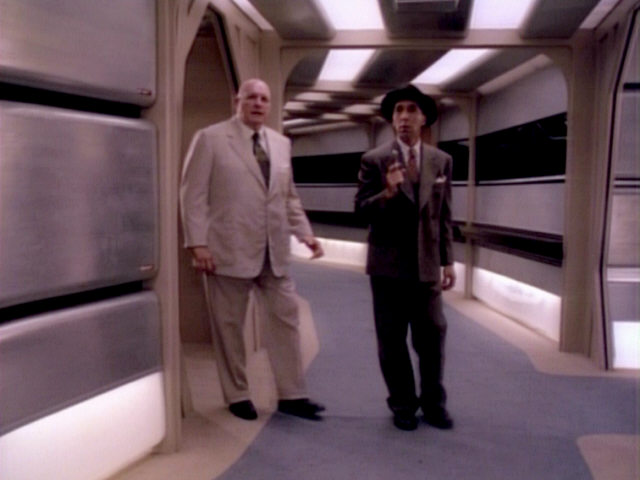
| The holodeck arch re-opens and a corridor wall is seen directly opposite the entrance. When the shot switches to Cyrus Redblock and Felix Leech leaving the holodeck, they are suddenly standing on the regular corridor set with no wall like that in sight. Their location corresponds to the location of the holodeck entrance in "Encounter at Farpoint". | 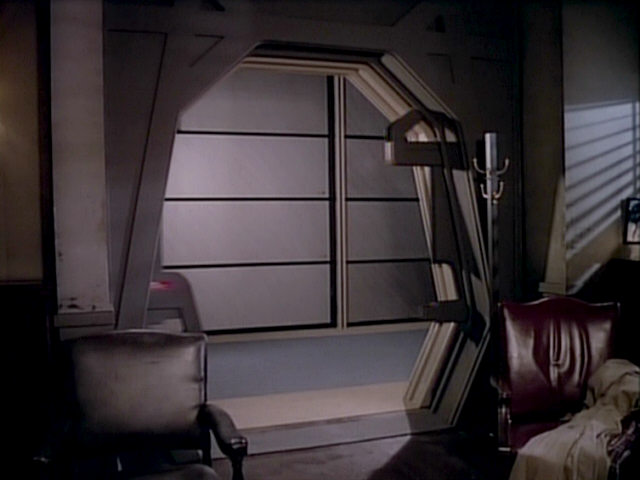 |
No changes | |||
 |
|||||
| As they are mere projections, Redblock and Leech lose coherence outside the holodeck. Transporter, Replicator & Holodeck |
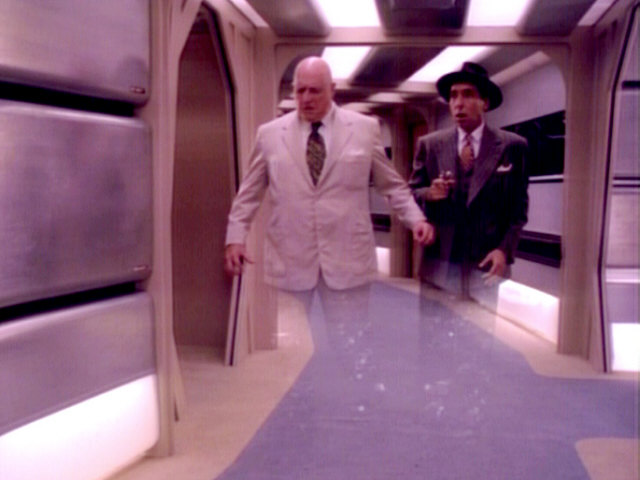 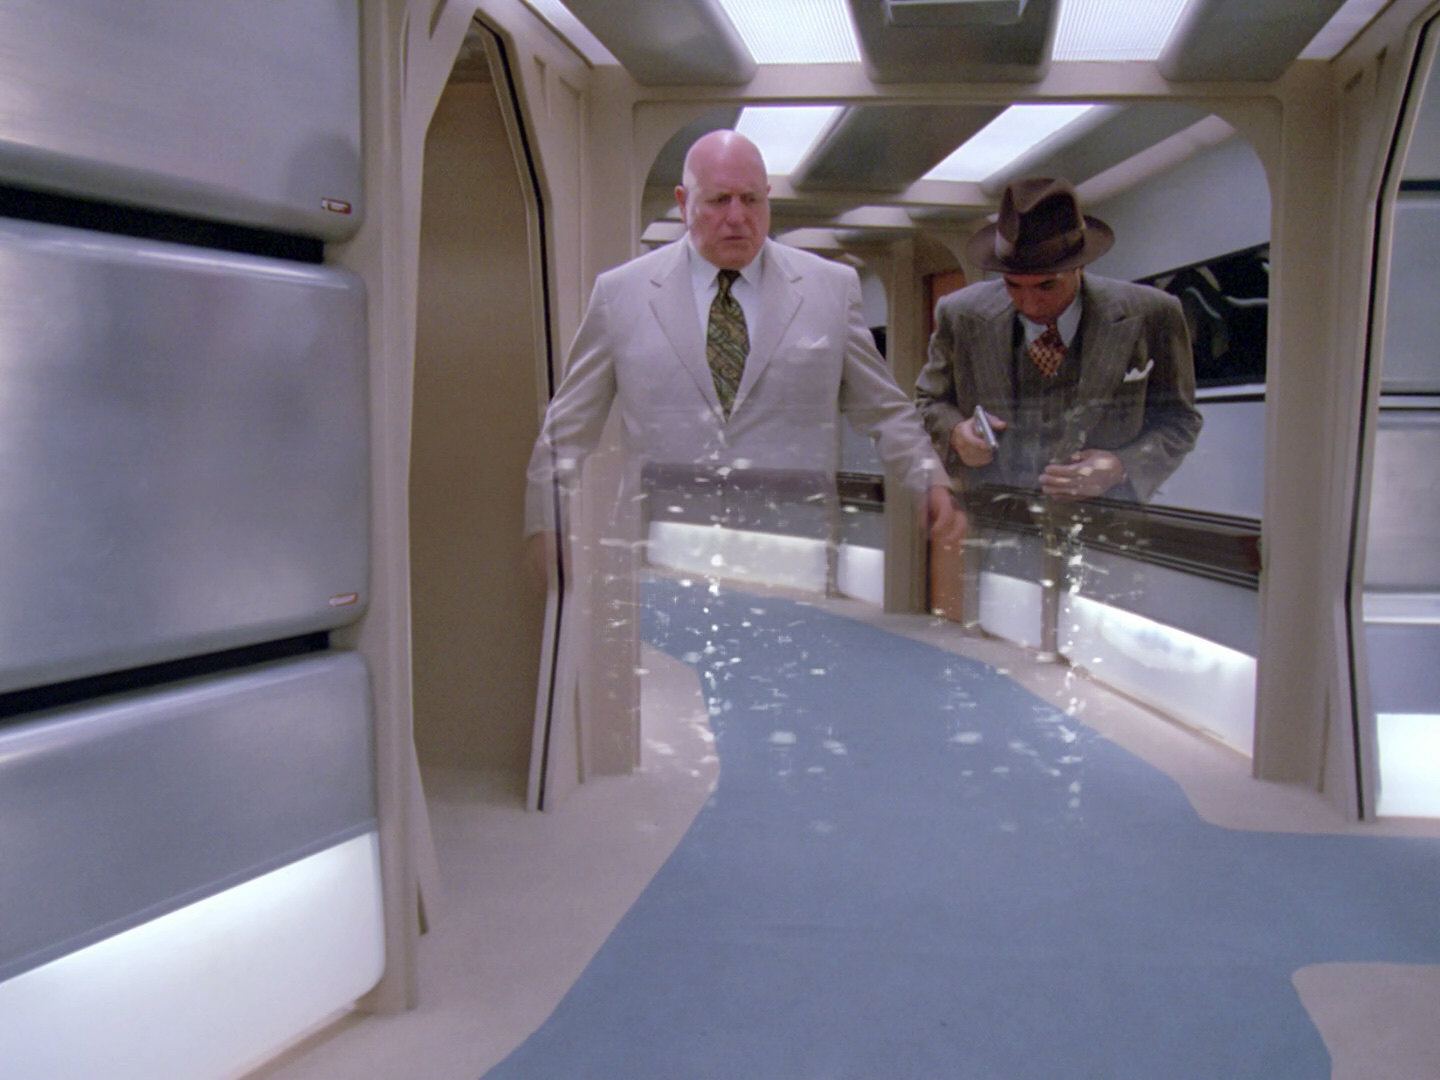 |
The effect was faithfully recreated for TNG-R. | |||
| This exact shot from "The Big Goodbye" was the basis for a painting of Picard as Dixon Hill, as seen in Data's quarters in "Star Trek Nemesis". | 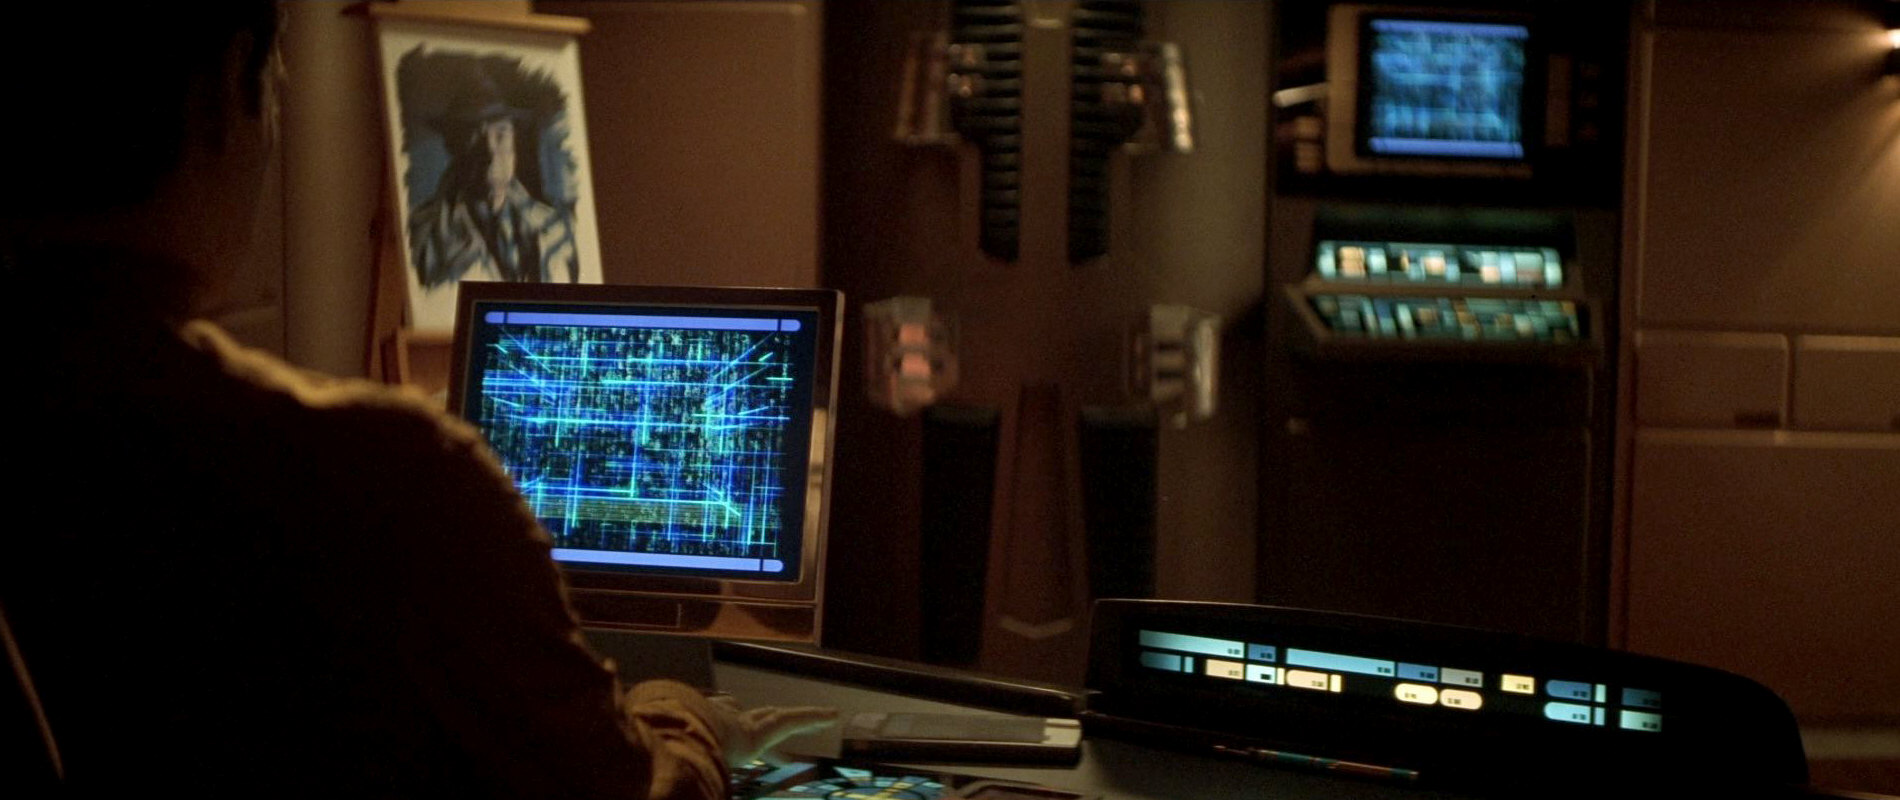 "Star Trek Nemesis" |
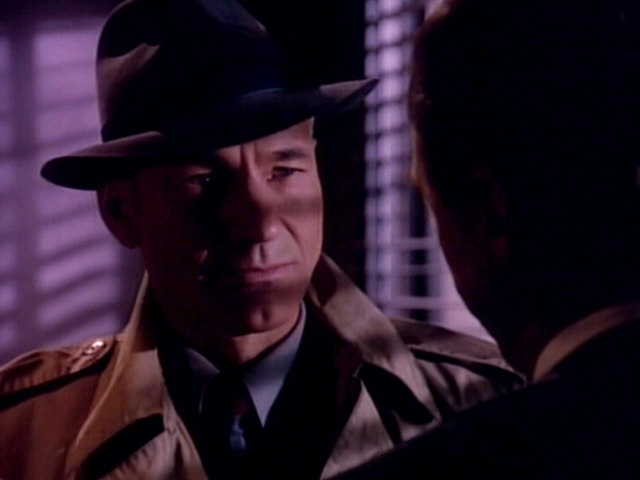 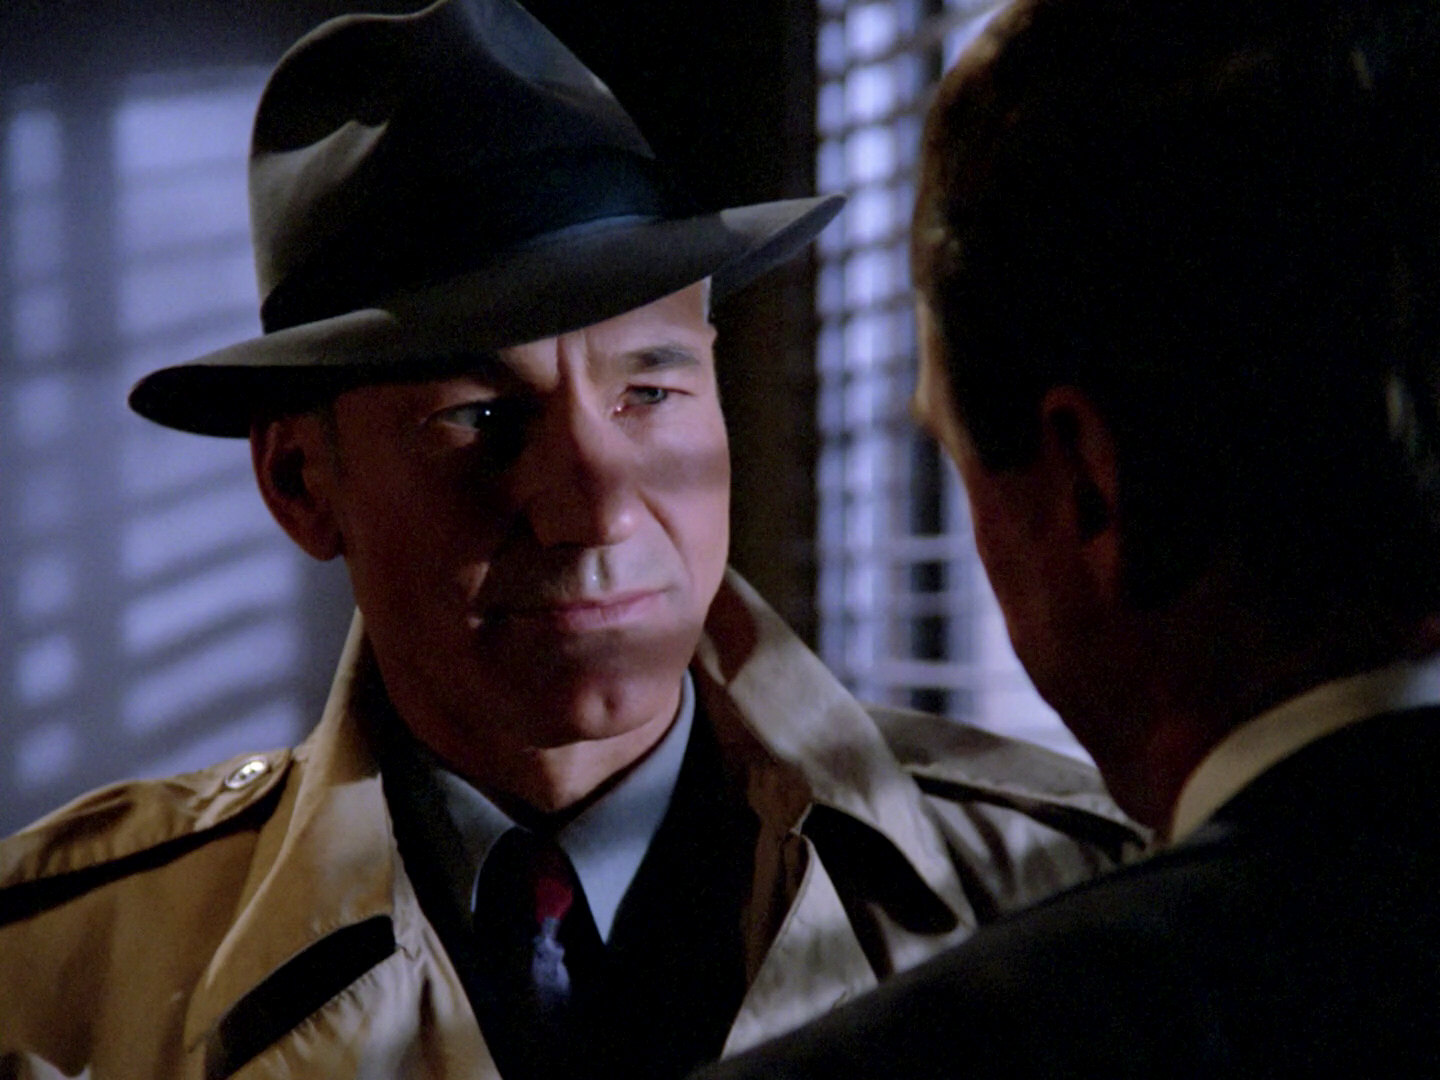 |
The shot in HD. | ||
| The Enterprise warps away from the planet in the Jaradan sector. Note how extremely blurred the planet is. | 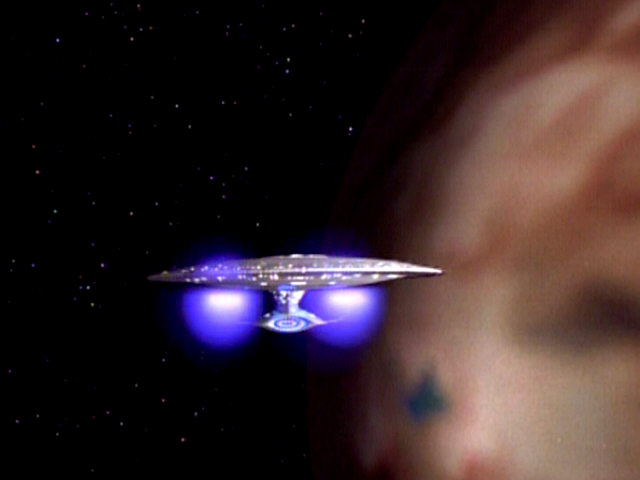 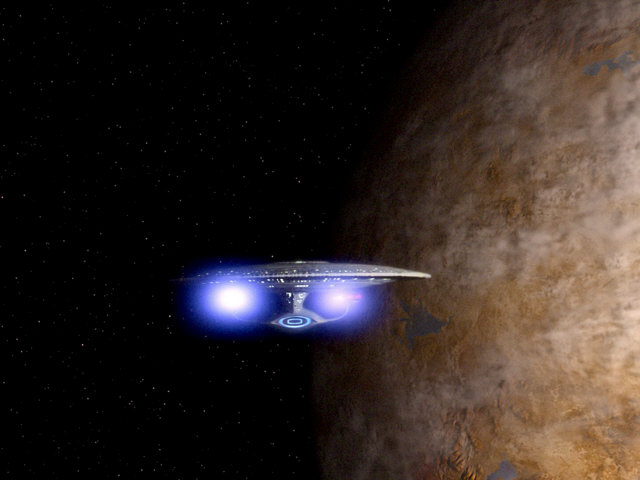 |
The previously blurry planet was rebuilt for TNG-R and looks sharp now. | |||
Credits
Thanks to Colin for identifying several of the magazines and for spotting Max Headroom. Thanks also to Mark for correcting an error about a label and to Twitter user @mrtwirth for identifying the plastic box.


