


Observations in TNG: "Ménage à Troi"
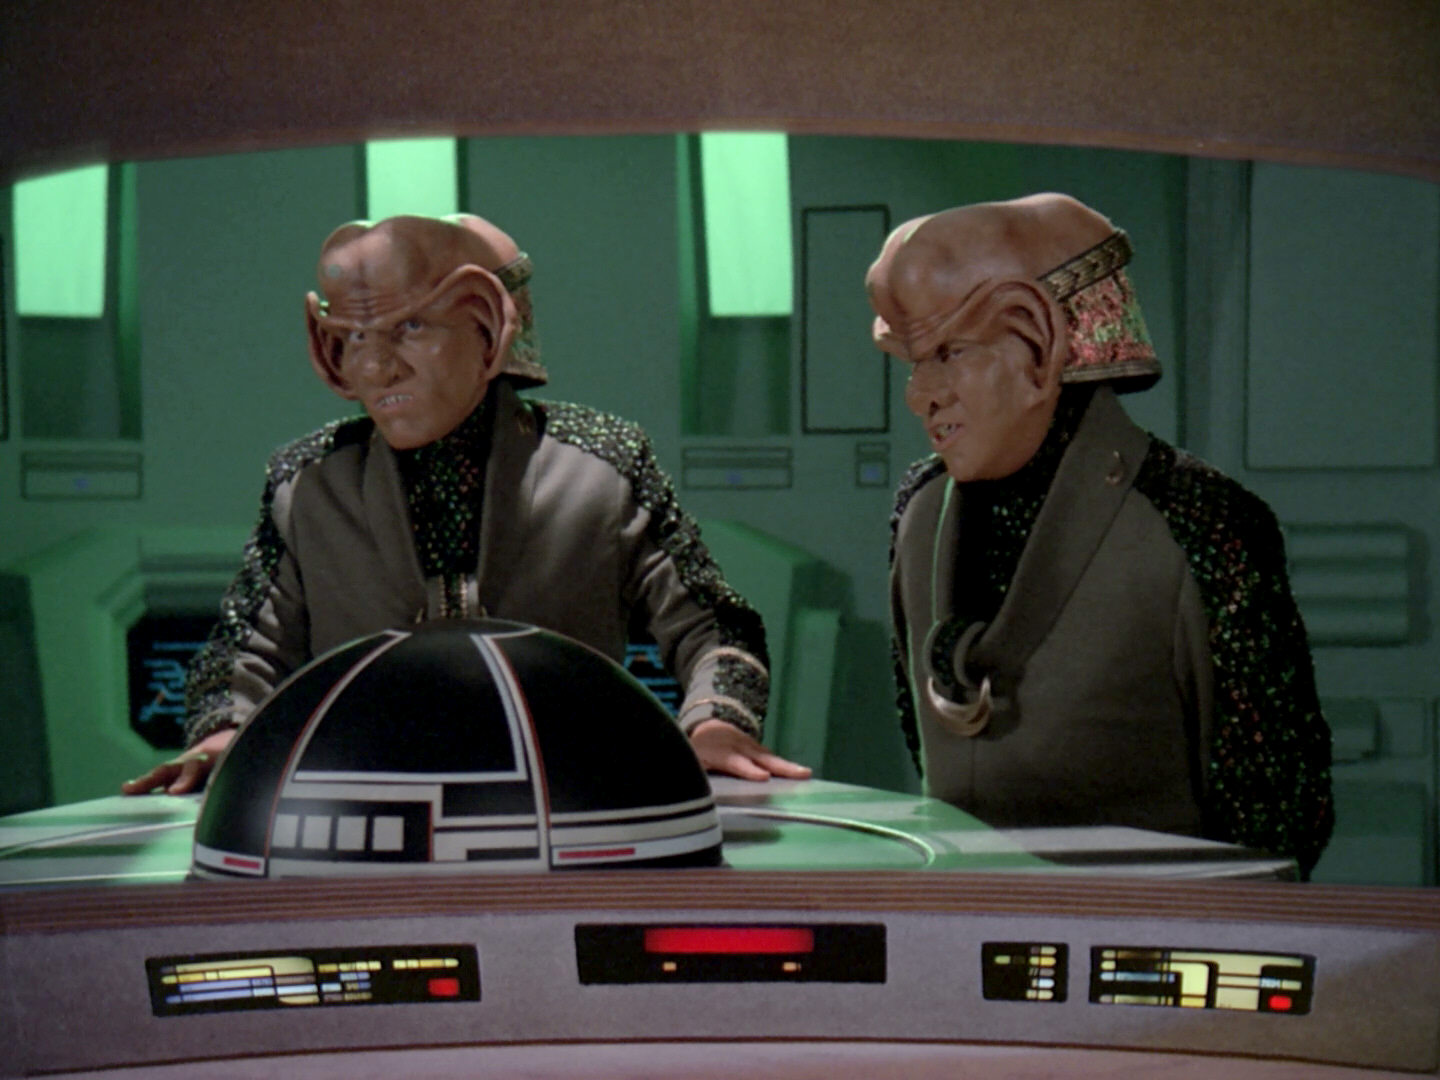
A joint project with TrekCore, by Jörg Hillebrand and Bernd Schneider
 Here are some observations about sets, props and visual effects in TNG: "Ménage à Troi" without a specific theme, and a comparison of the original TV release (TNG) with the remastered episode (TNG-R).
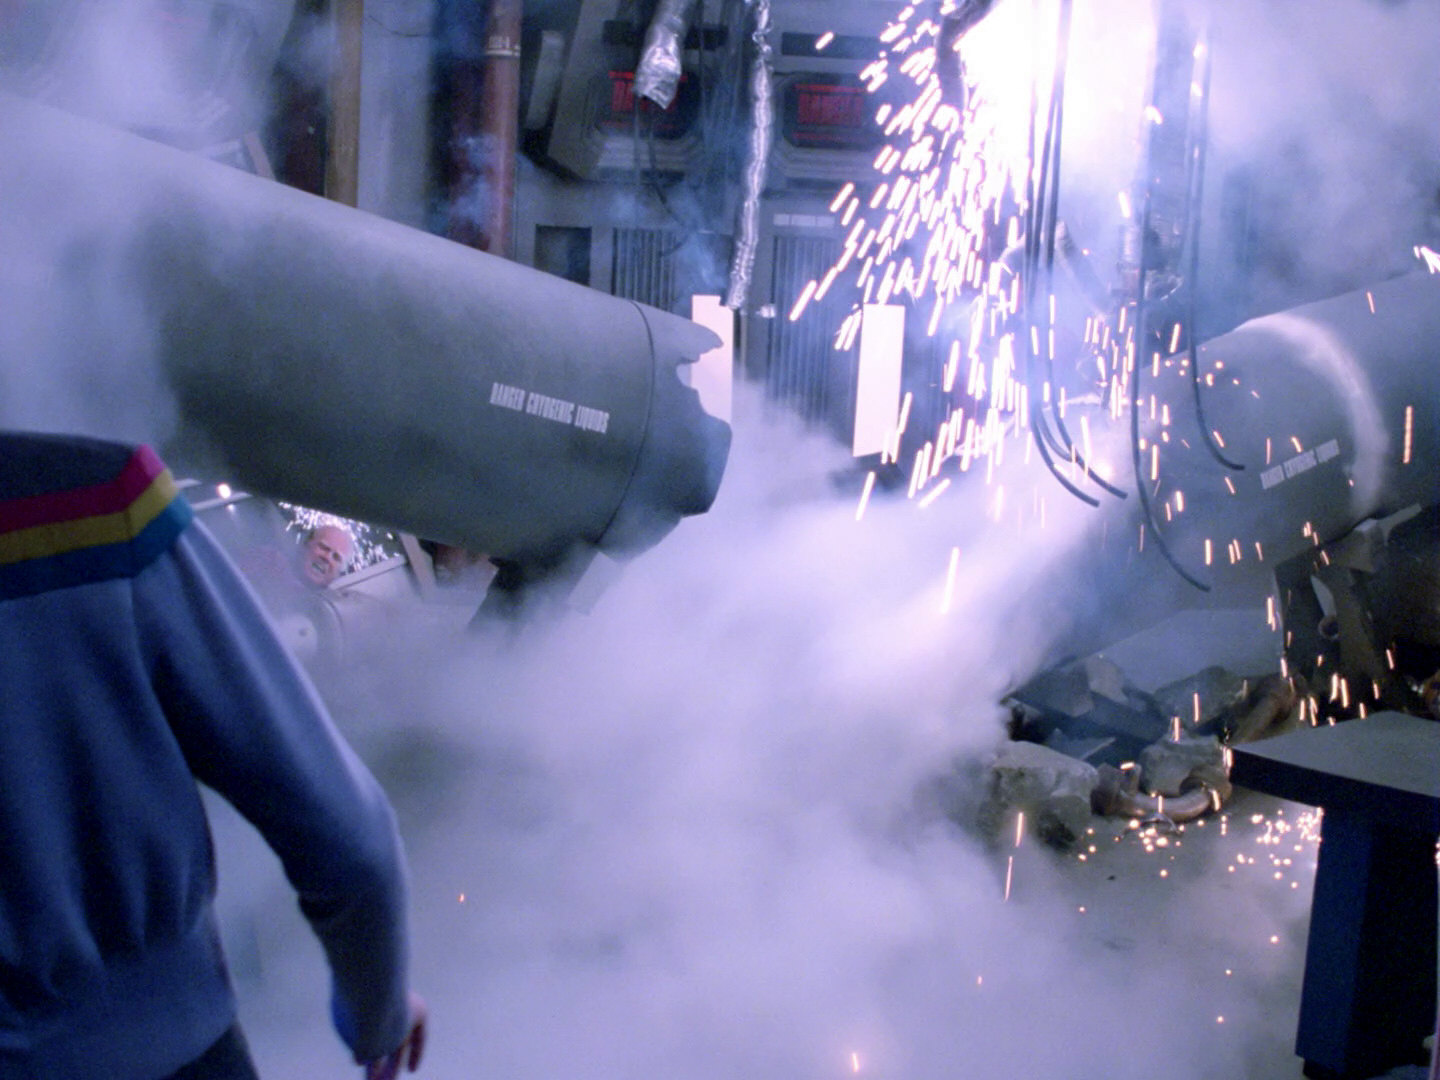
![]()
"Ménage à Troi" HD Screencaps @ TrekCore
| Description TNG | Other caps | Comparison TNG to TNG-R | Description TNG-R | |
| This is one of two new shots of Betazed appearing in this episode. The other shots are all re-uses of Mintaka II from "Who Watches the Watchers". Re-Used Planets in TNG |
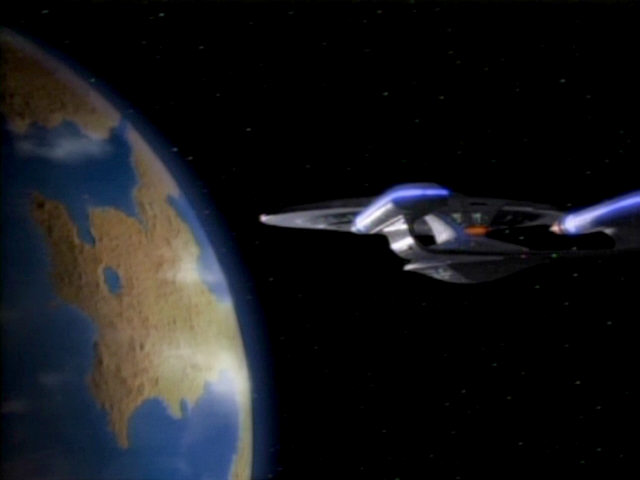  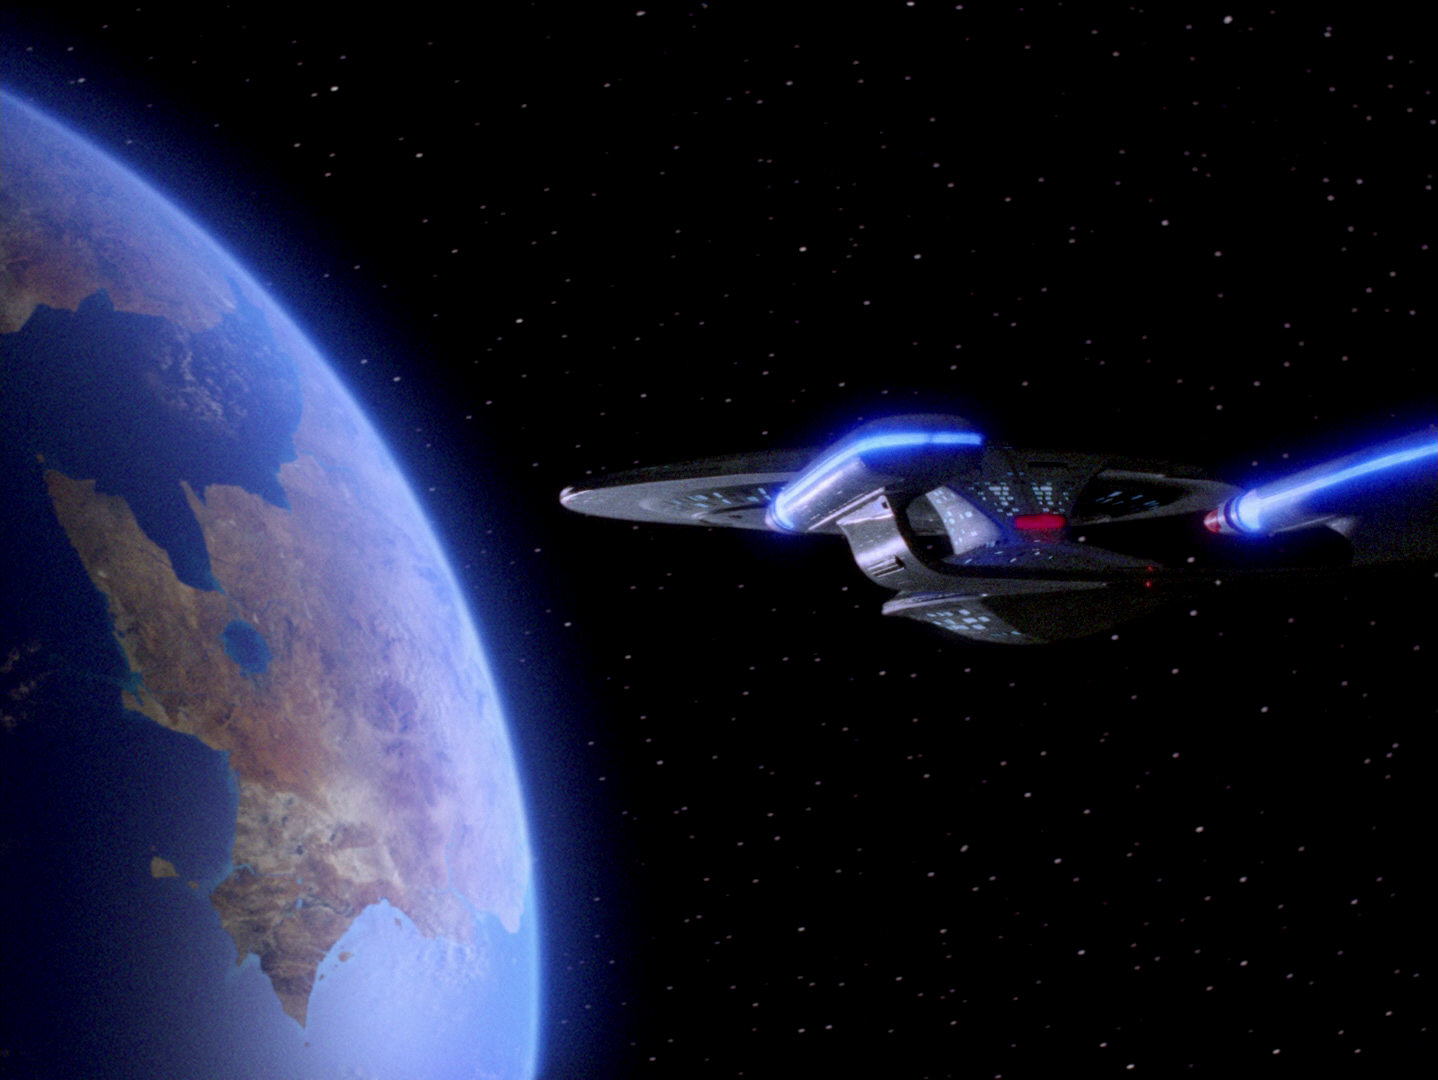 |
It is possible that the new Betazed is not the same in TNG-R as Mintaka. | ||
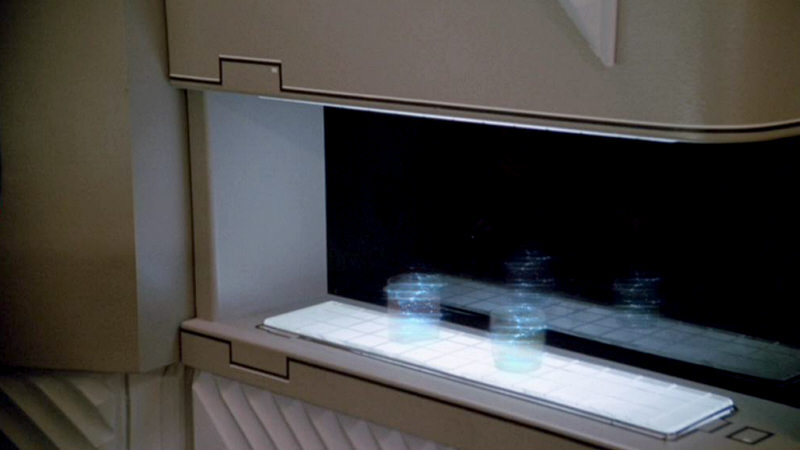
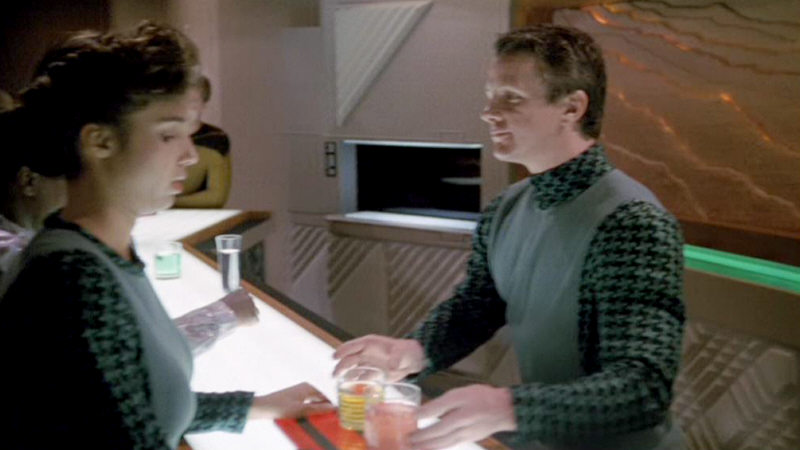
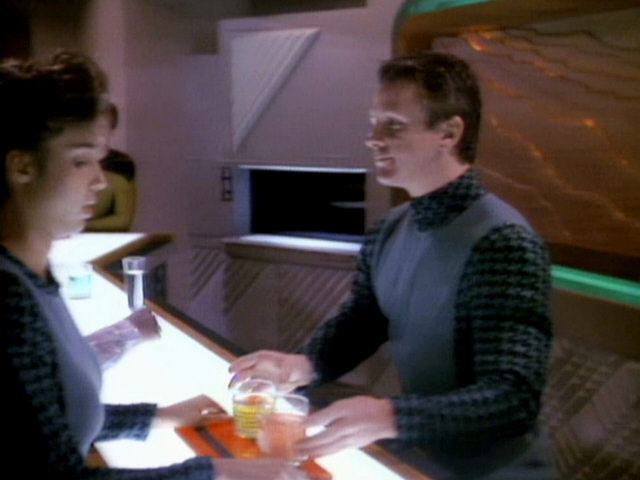
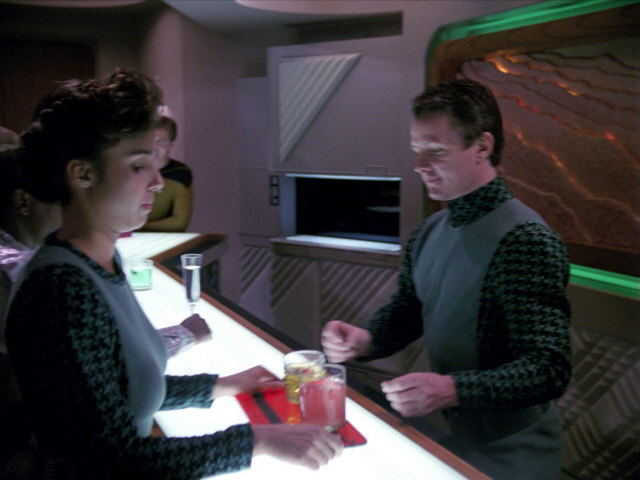
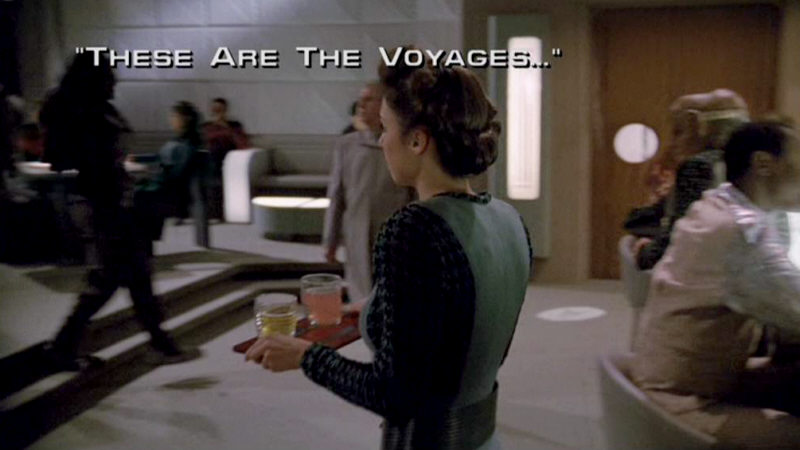
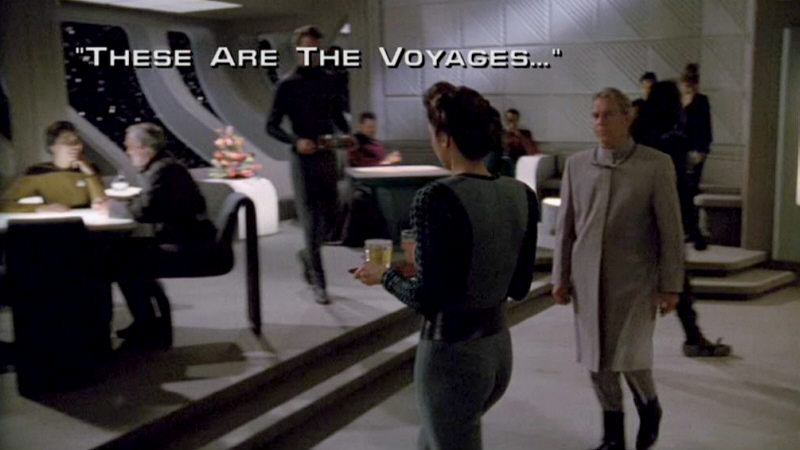
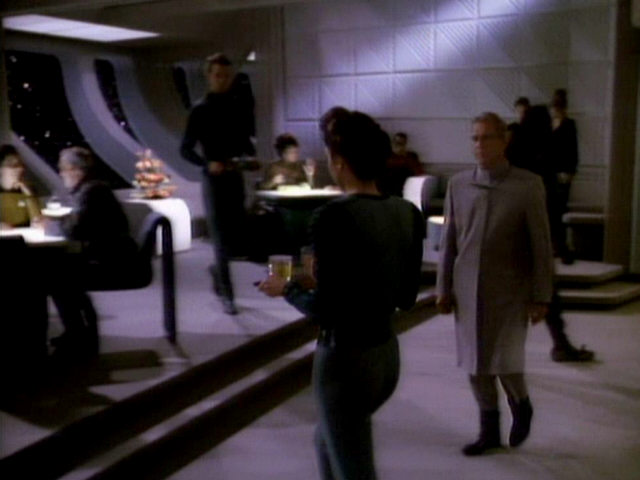
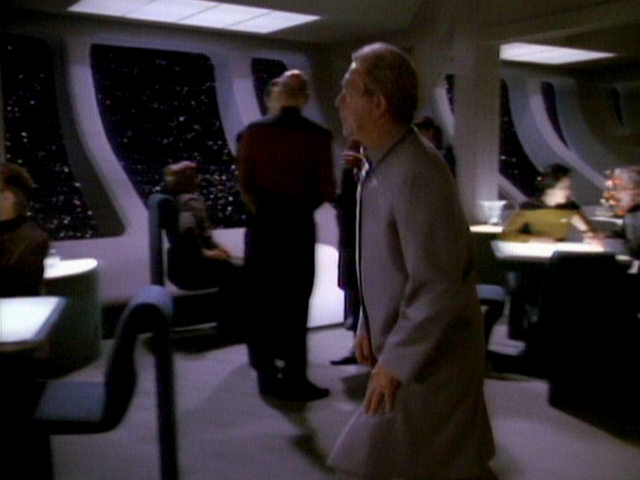
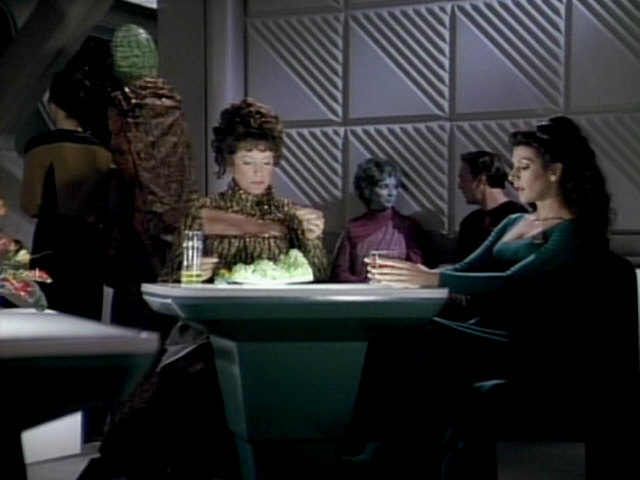
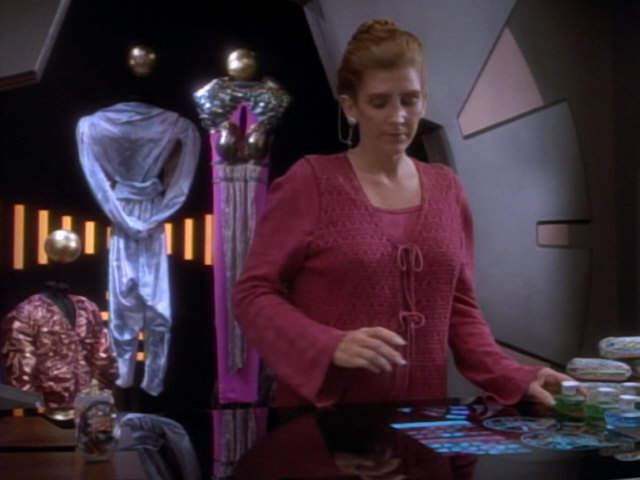
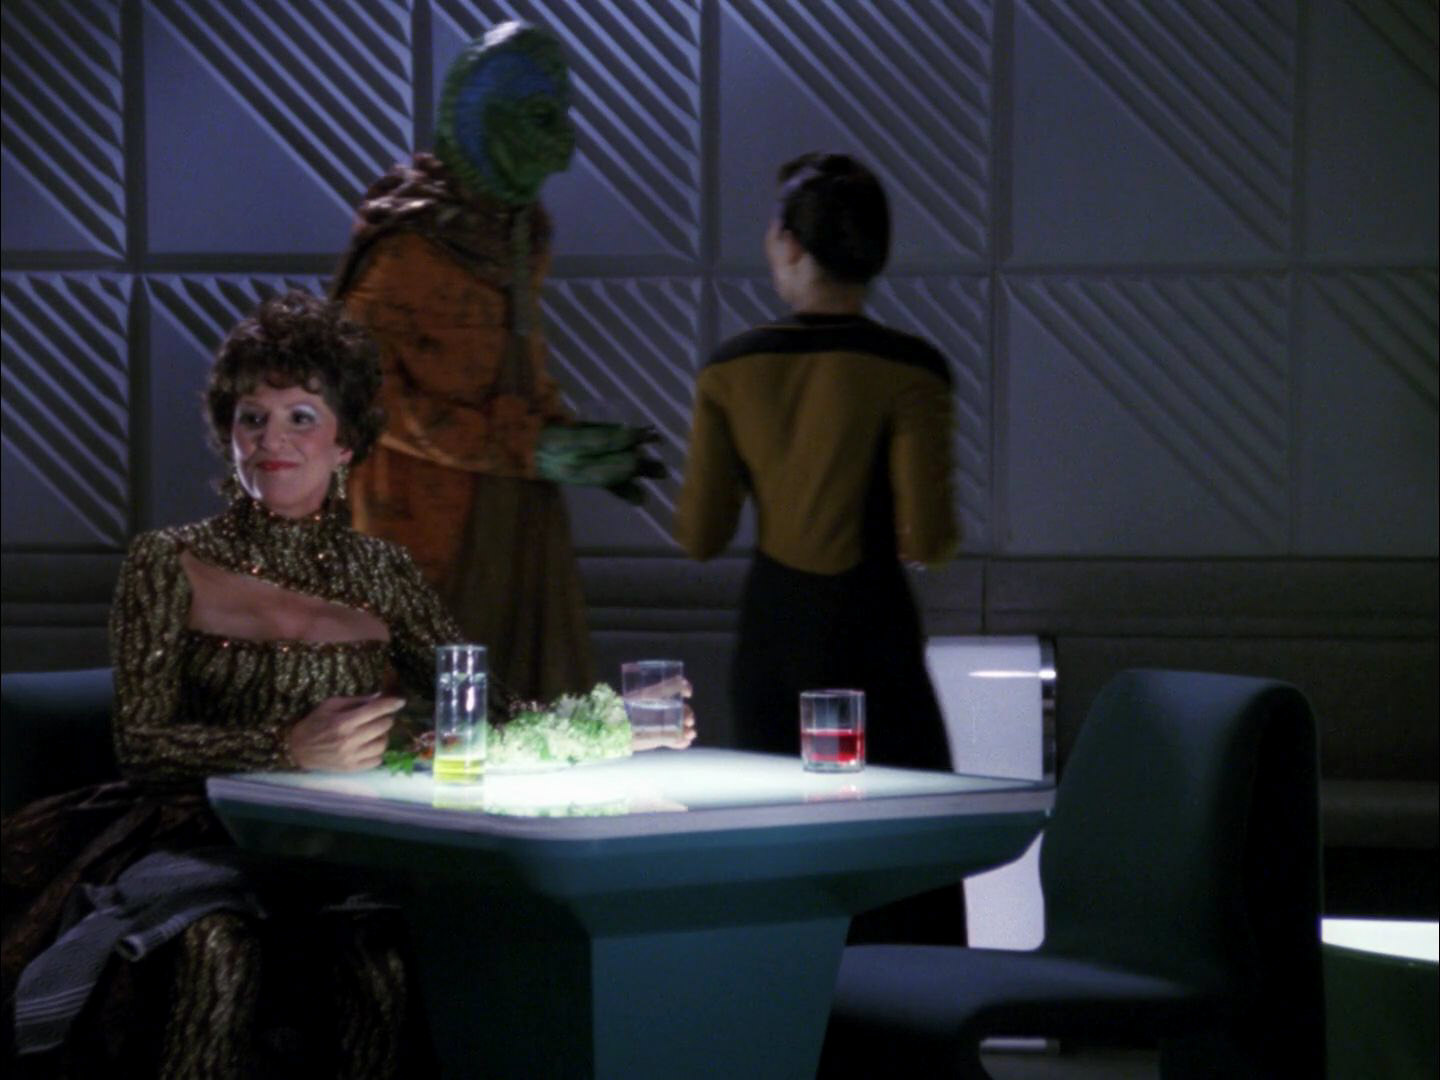
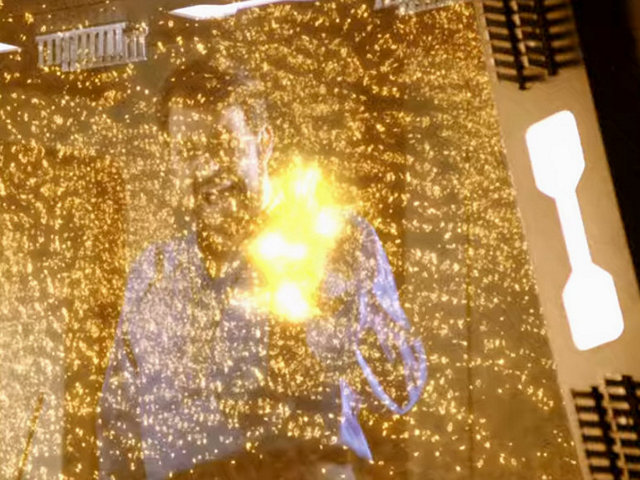
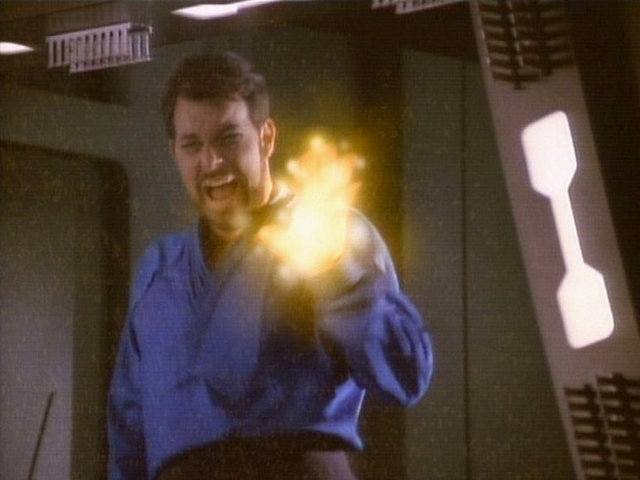
| This Ten Forward footage was re-used in the final Enterprise episode "These Are The Voyages". As can be seen, the replicator effect looks a little different and Lwaxana and Deanna Troi were replaced with William T. Riker and Deanna Troi in the Enterprise episode. Re-Used TNG Scenes in ENT: "These Are The Voyages" |
 "These Are..." |
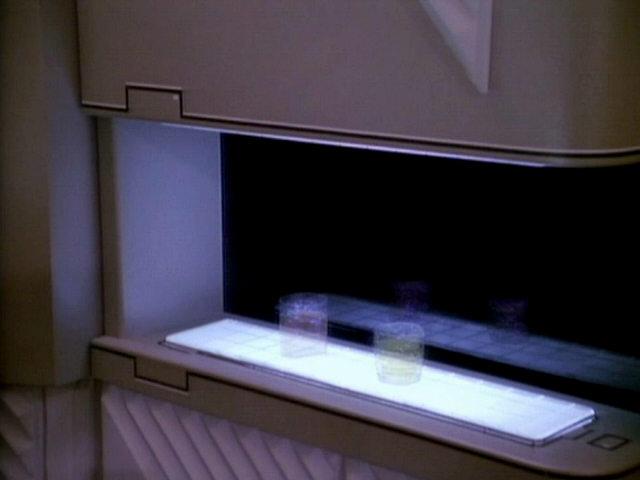 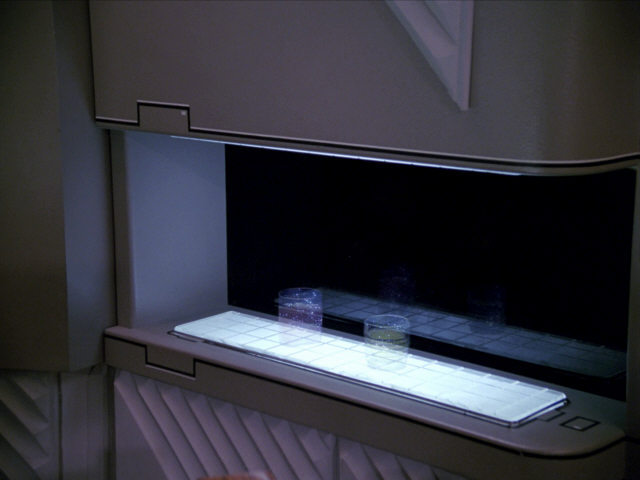 |
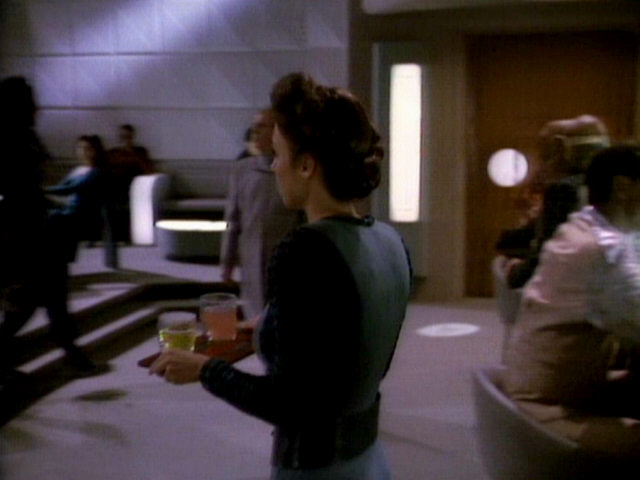
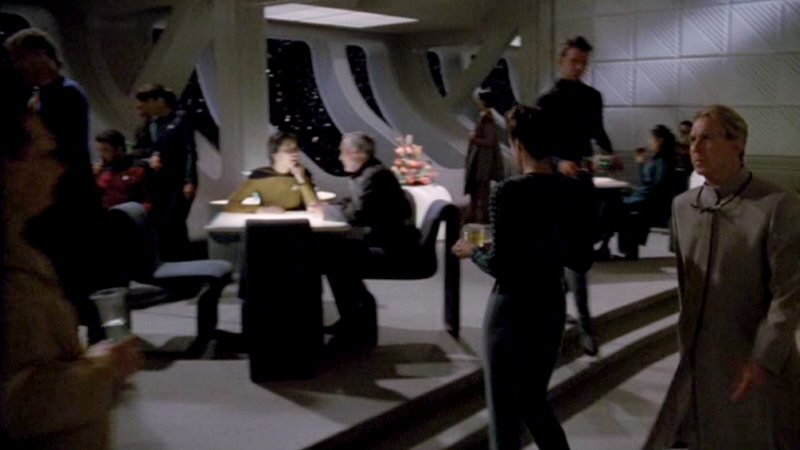
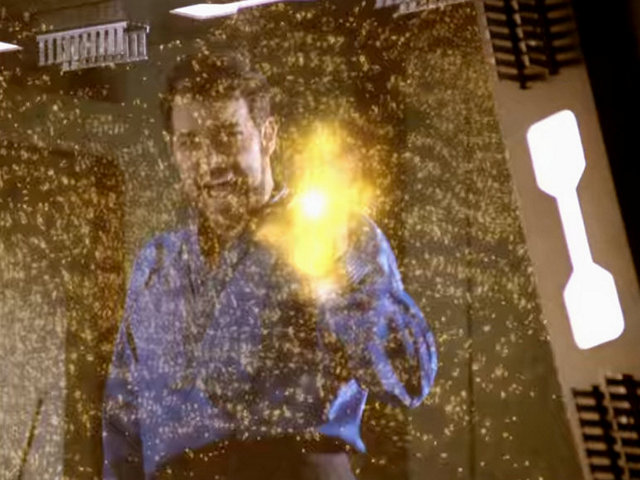
The sequence as it appears in TNG-R. The transporter effect appears to be closer to the original than in the previous reconstruction for the ENT finale. | |
 "These Are..." |
  |
|||
 "These Are..." |
  |
|||
 "These Are..." |
 |
|||
 "These Are..." |
 |
|||
 "These Are..." |
 |
|||
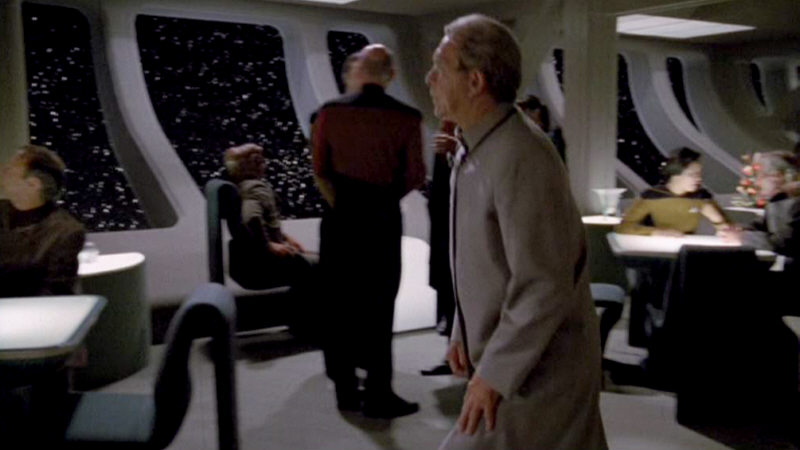
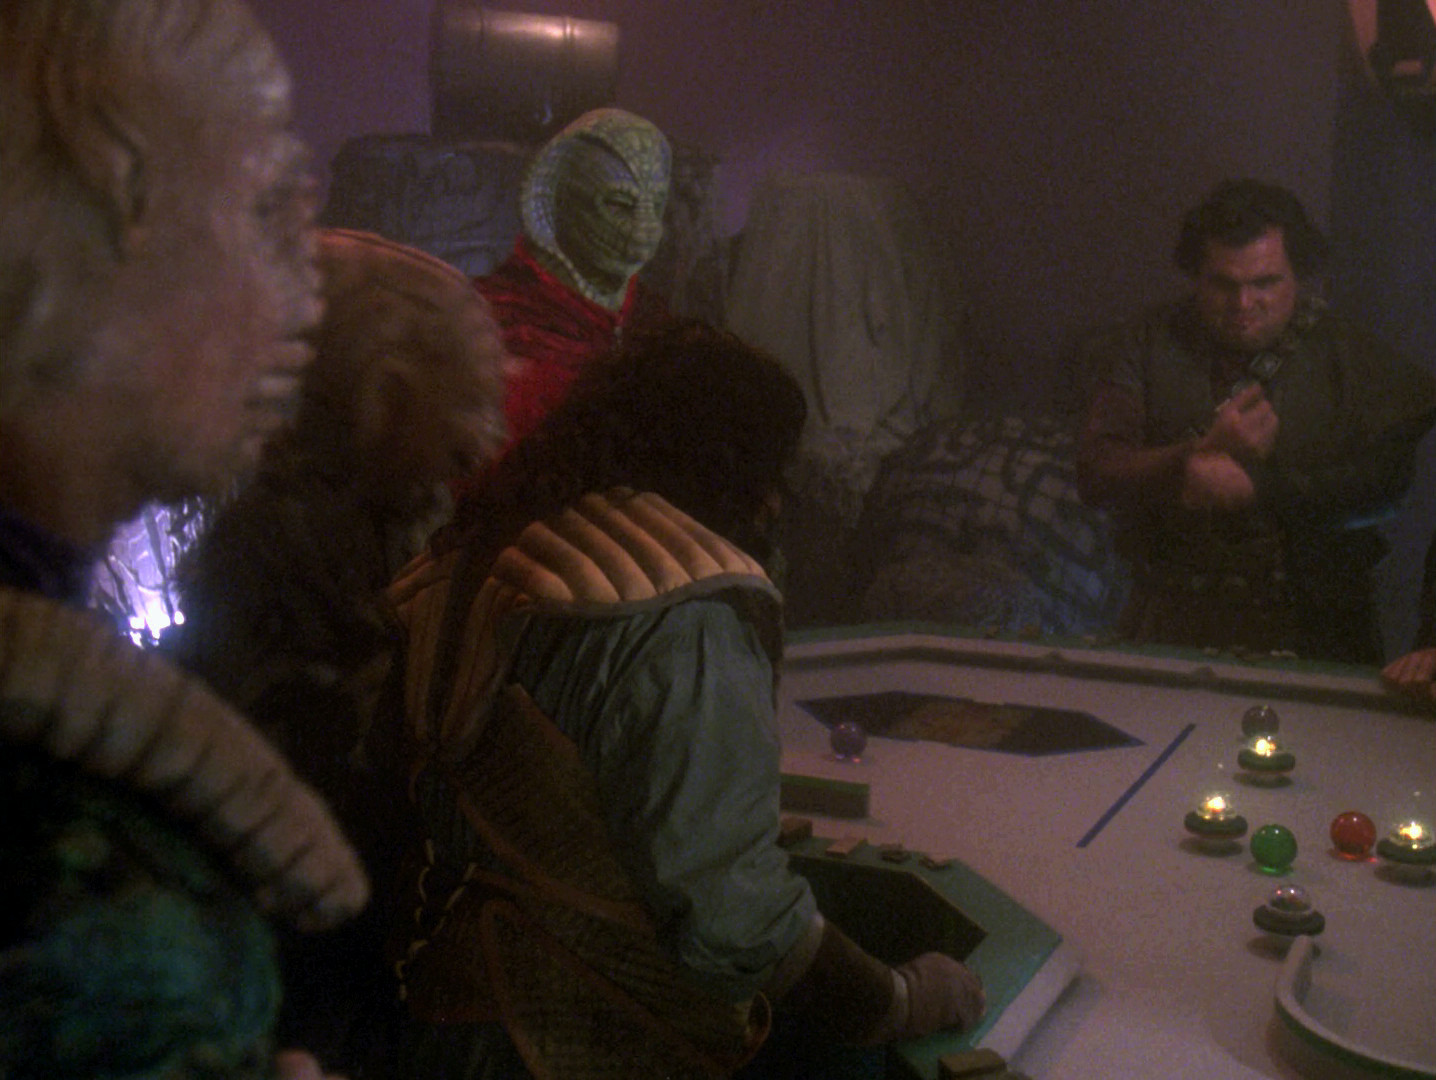
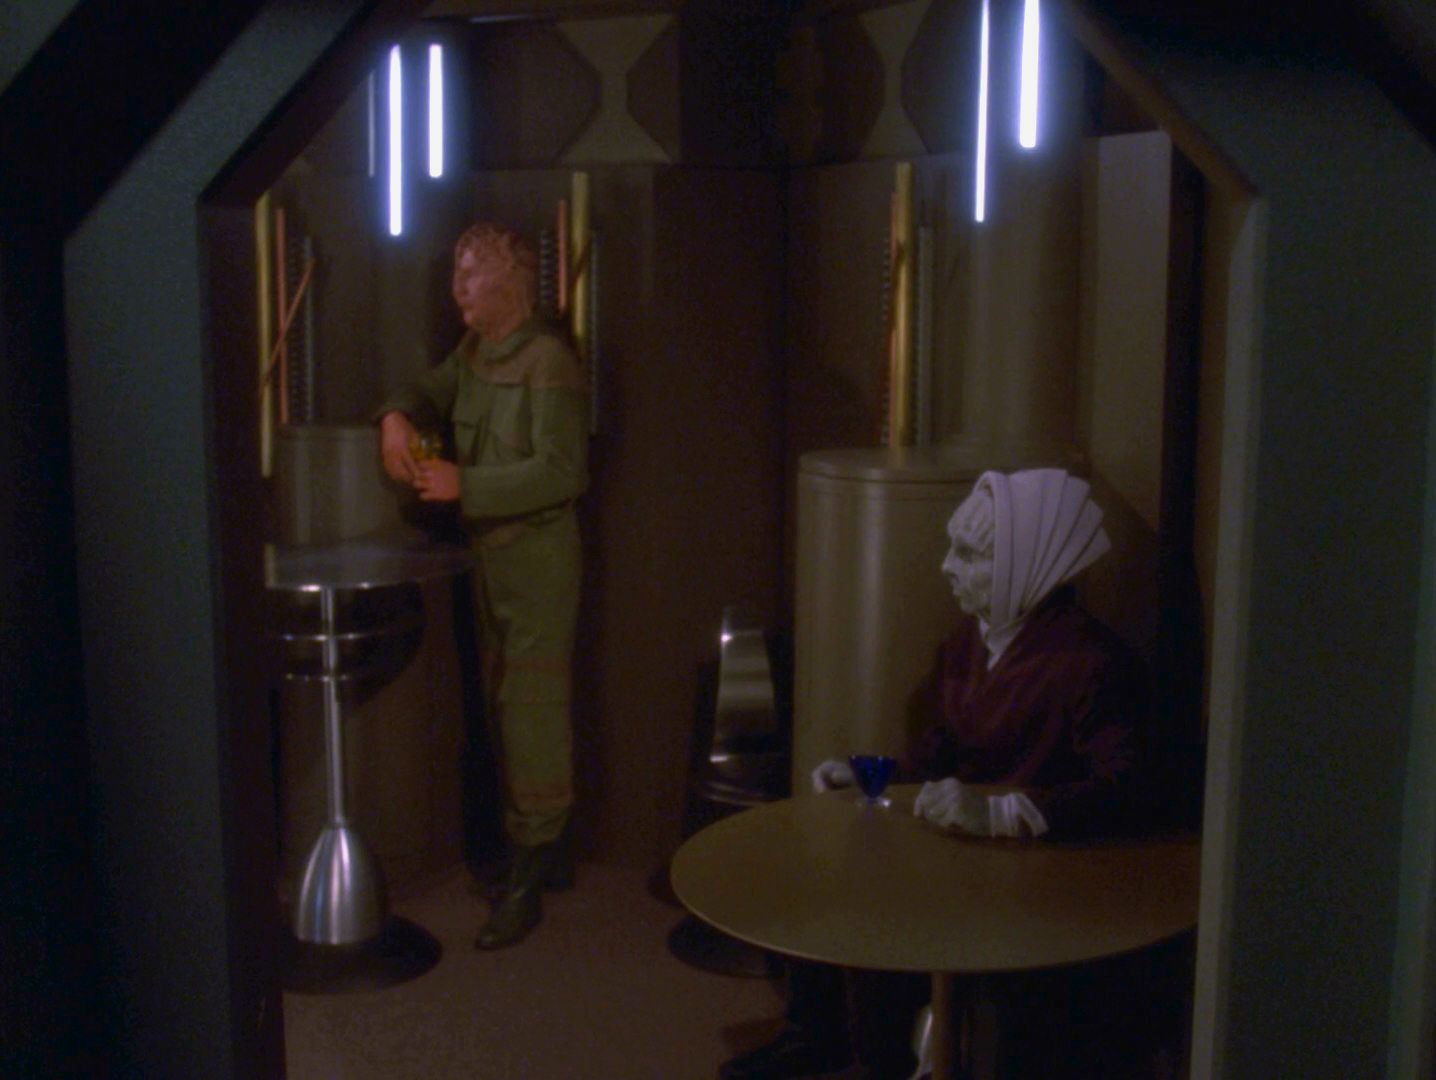
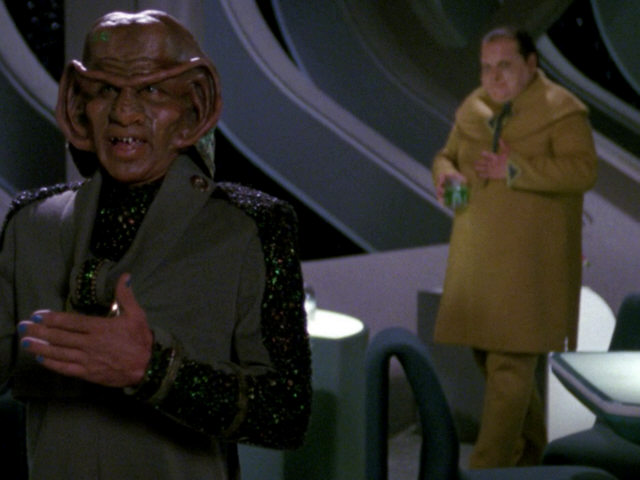
| The delegate at the bar wears Sobi's costume from "Symbiosis". | 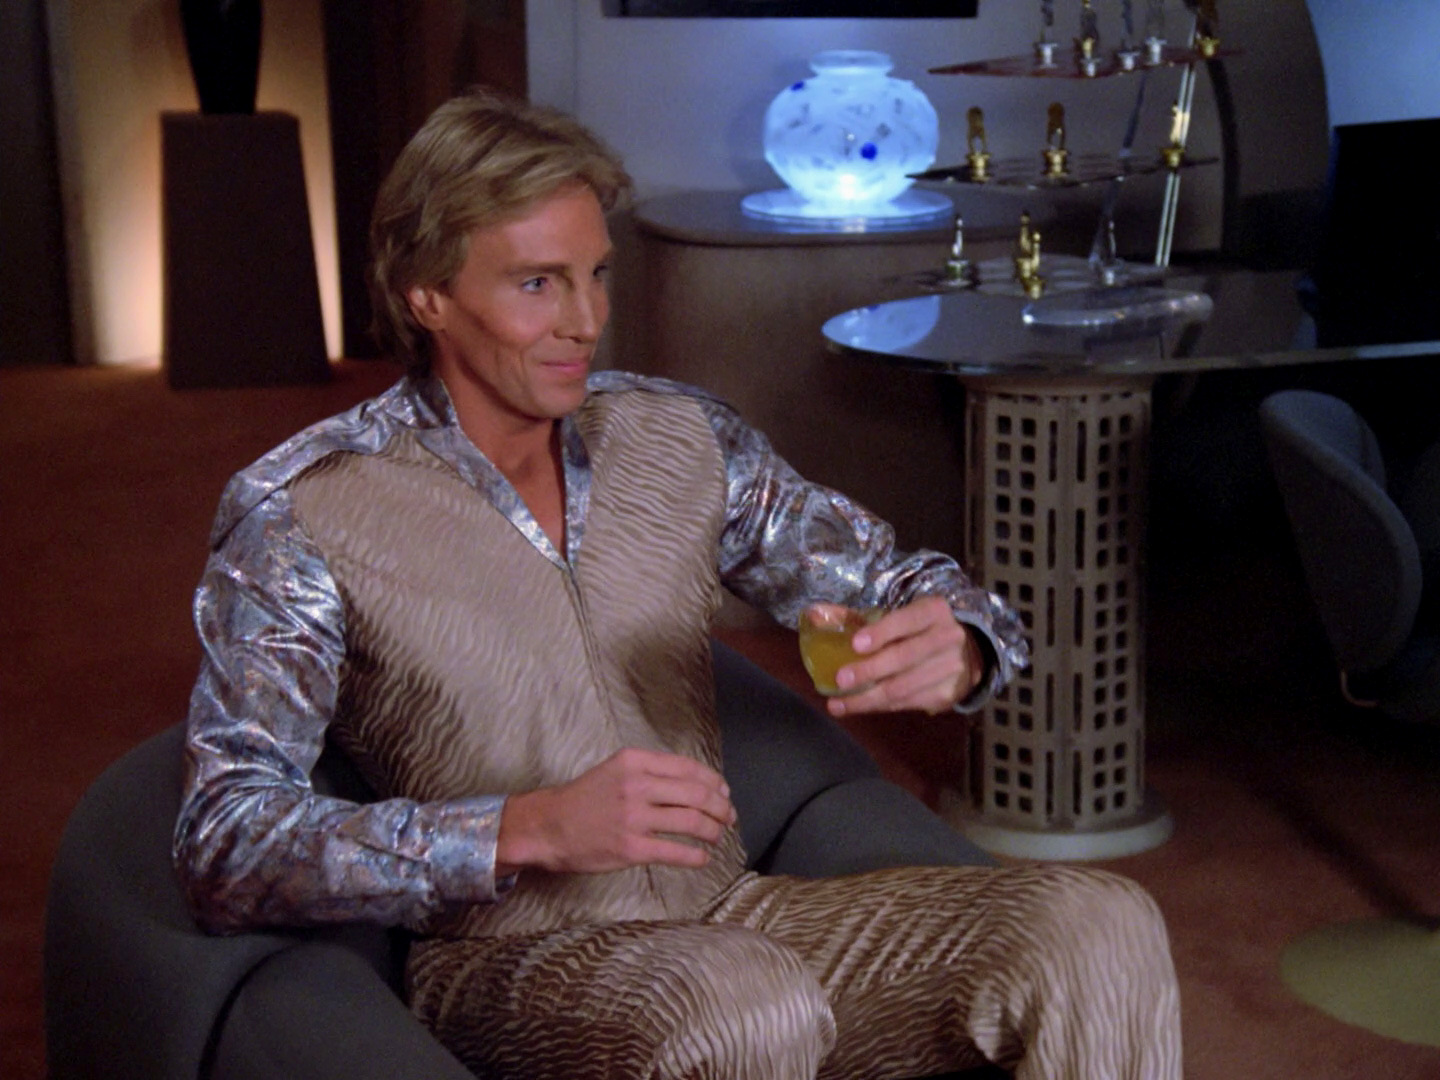 "Symbiosis" |
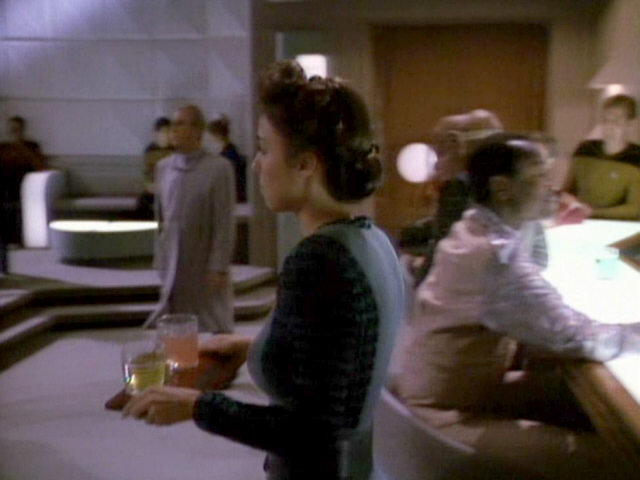 |
No changes | |
| Another delegate wears Debin's costume from "The Outrageous Okona". | 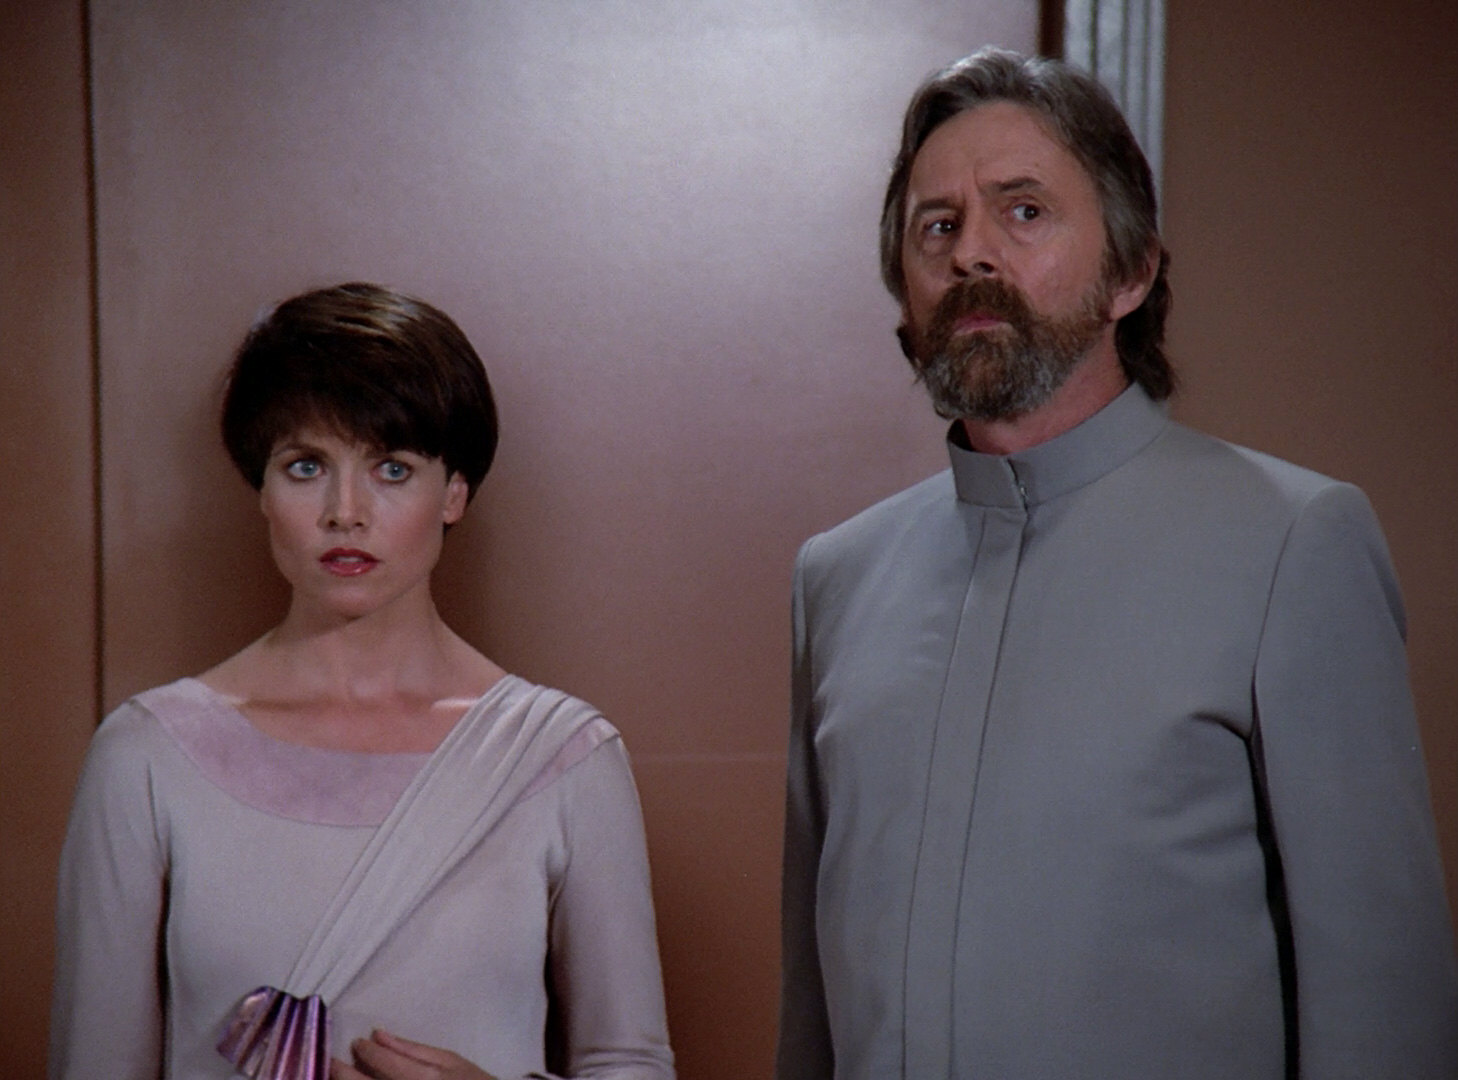 "The Outrageous Okona" |
 |
No changes | |
| Another Algolian, wearing the same costume, is seen in the Federation Archaeology Council in "Qpid". | 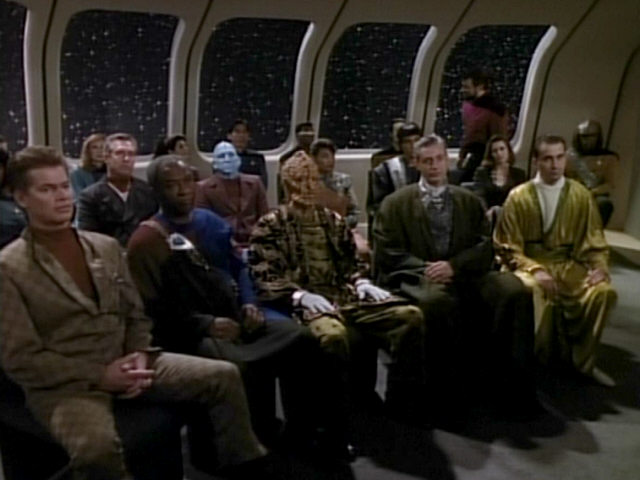 "Qpid" |
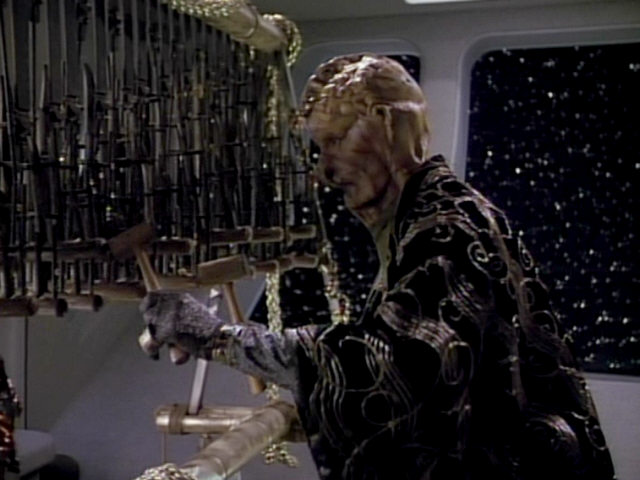 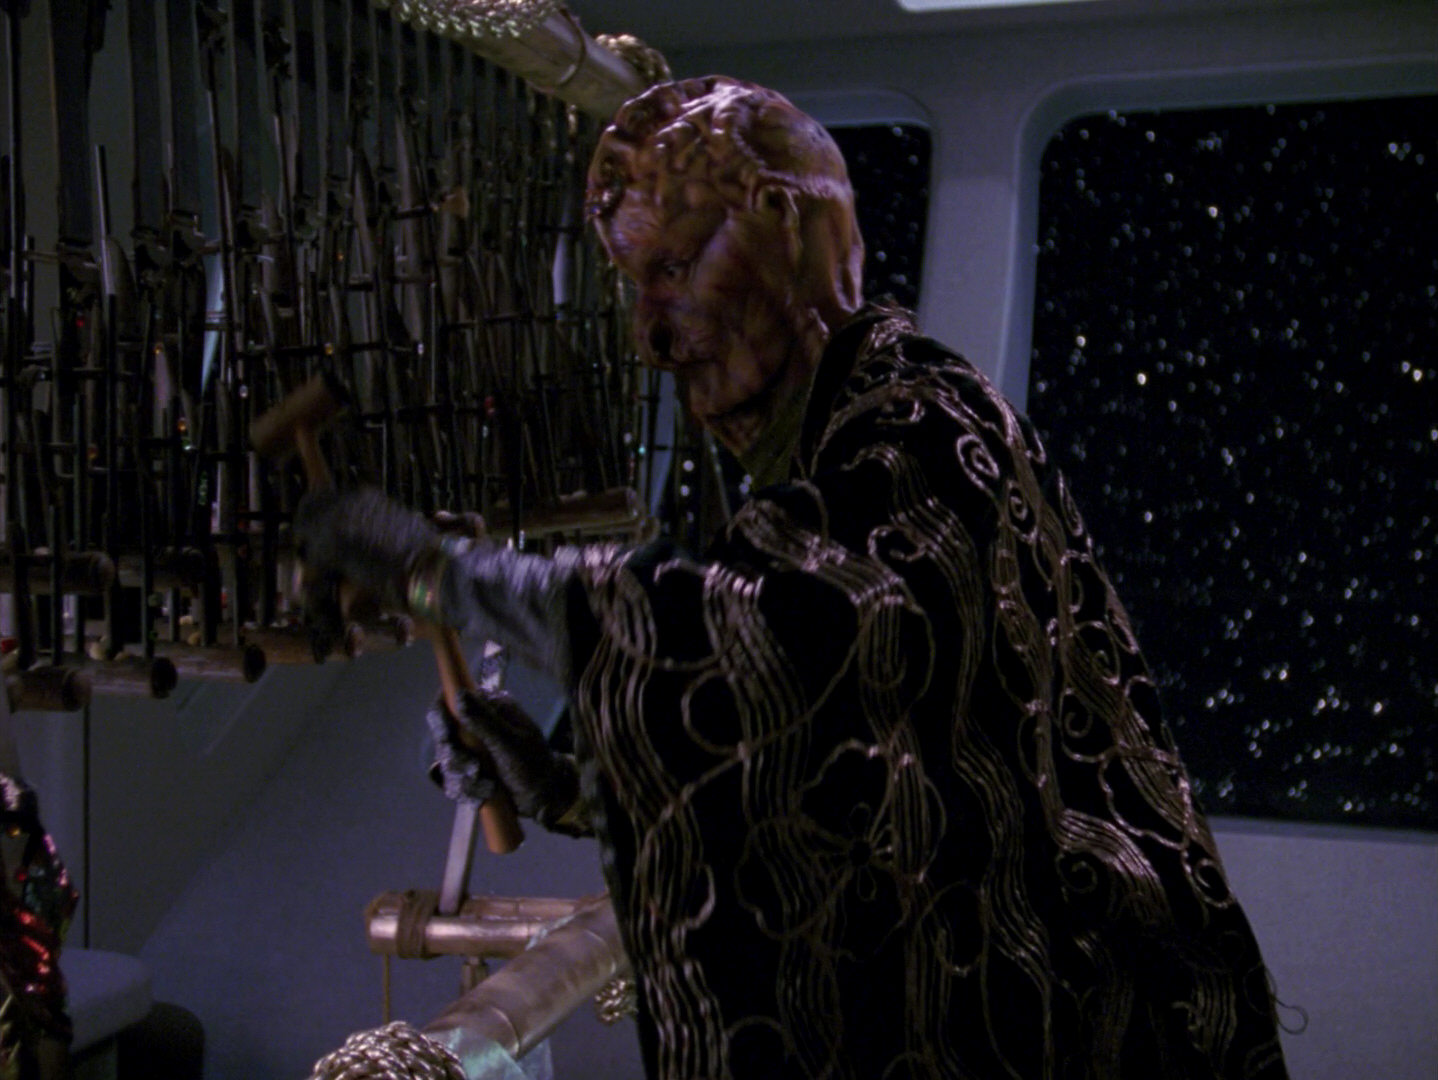 |
The Algolian in HD. | |
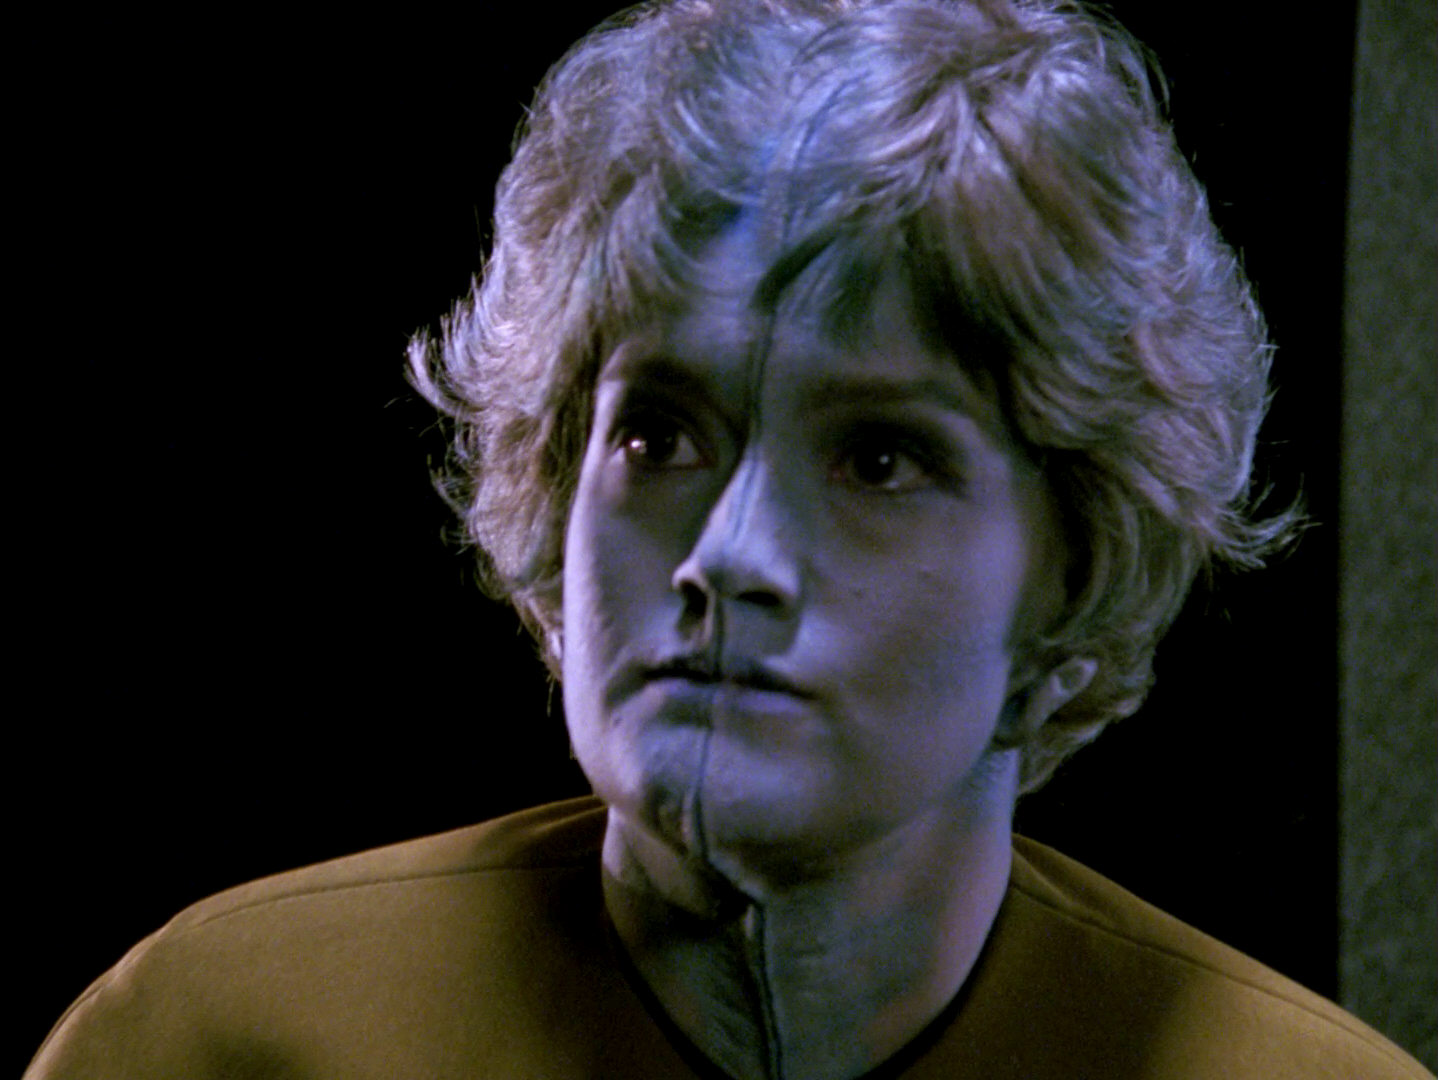
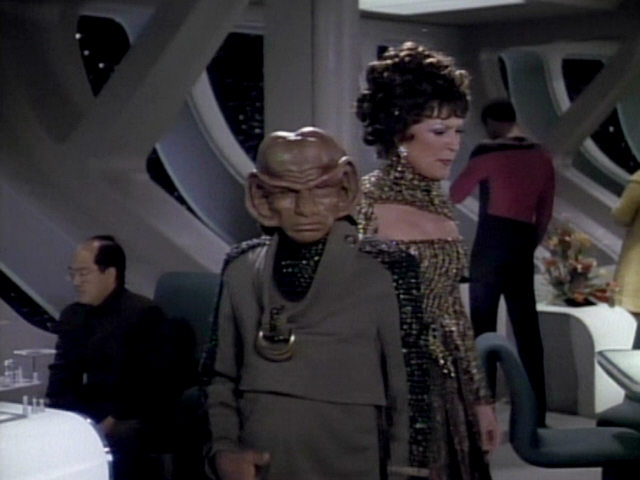
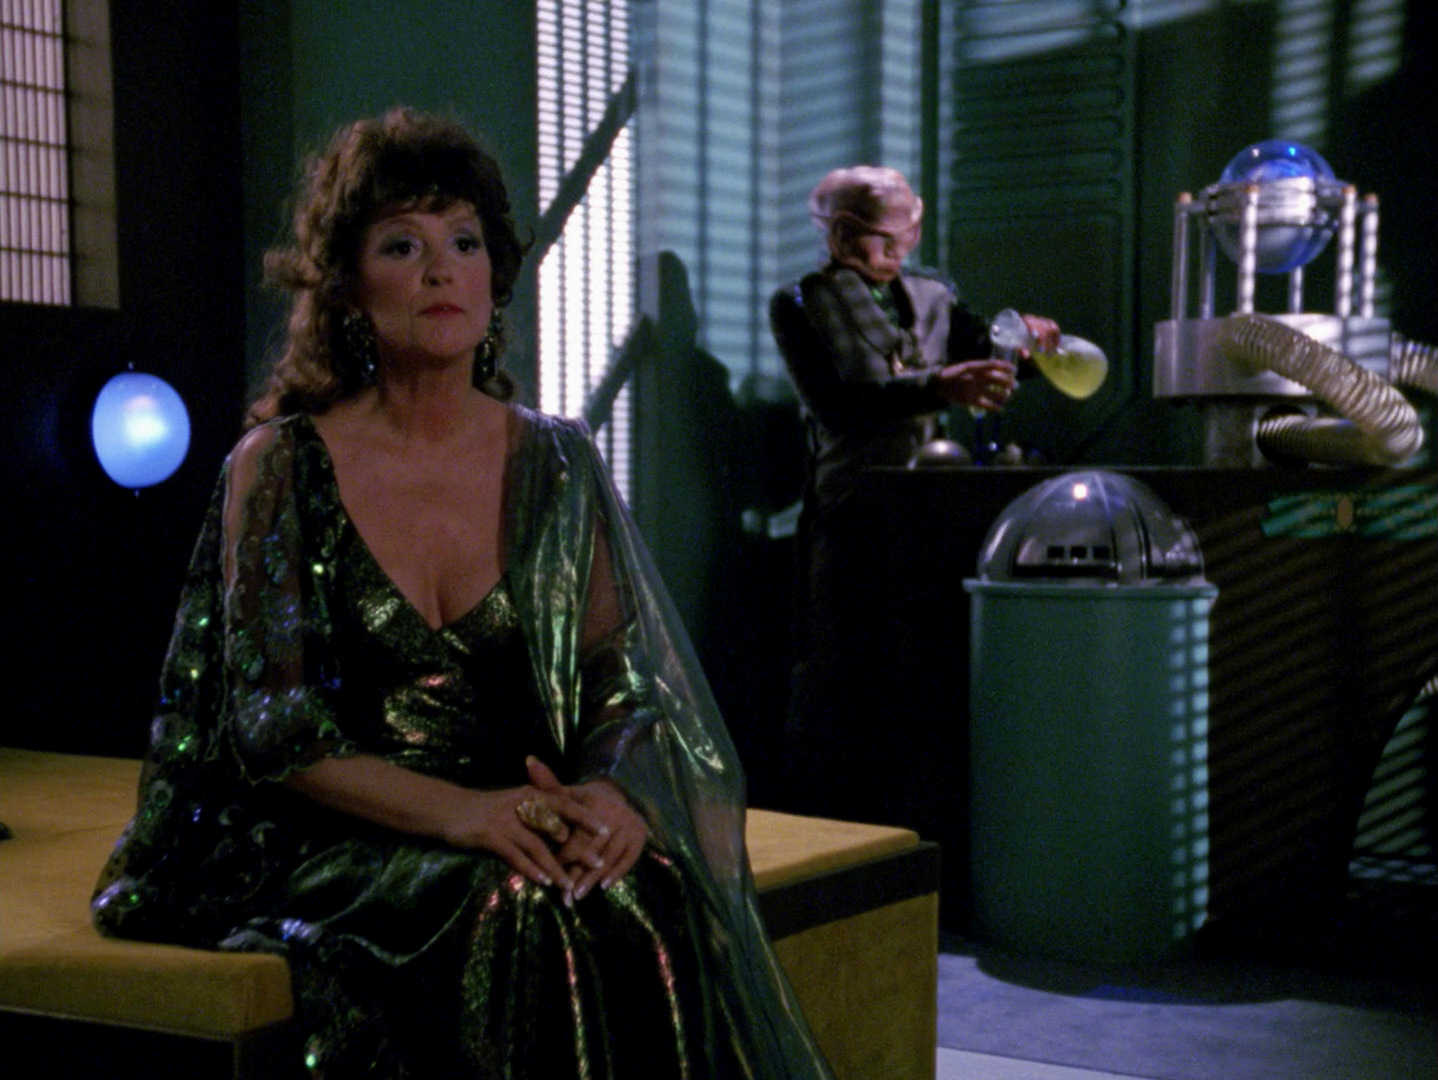
After Mitena Haro in "Allegiance", this is the second and final Bolian seen wearing hair. The Bolian female wears Anne Jameson's dress from "Too Short a Season". |
 "Allegiance" |
 "Too Short a Season" |
 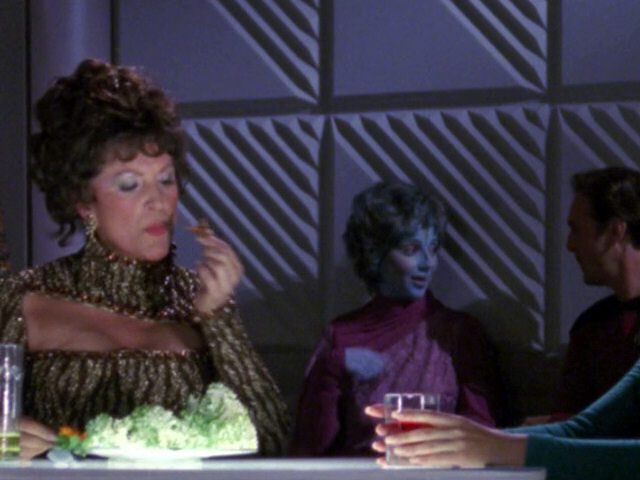 |
An HD close-up of the Bolian woman. |
| Another delegate wears Yareena's outfit from "Code of Honor". This costume will reappear on a mannequin in DS9: "Sanctuary". | 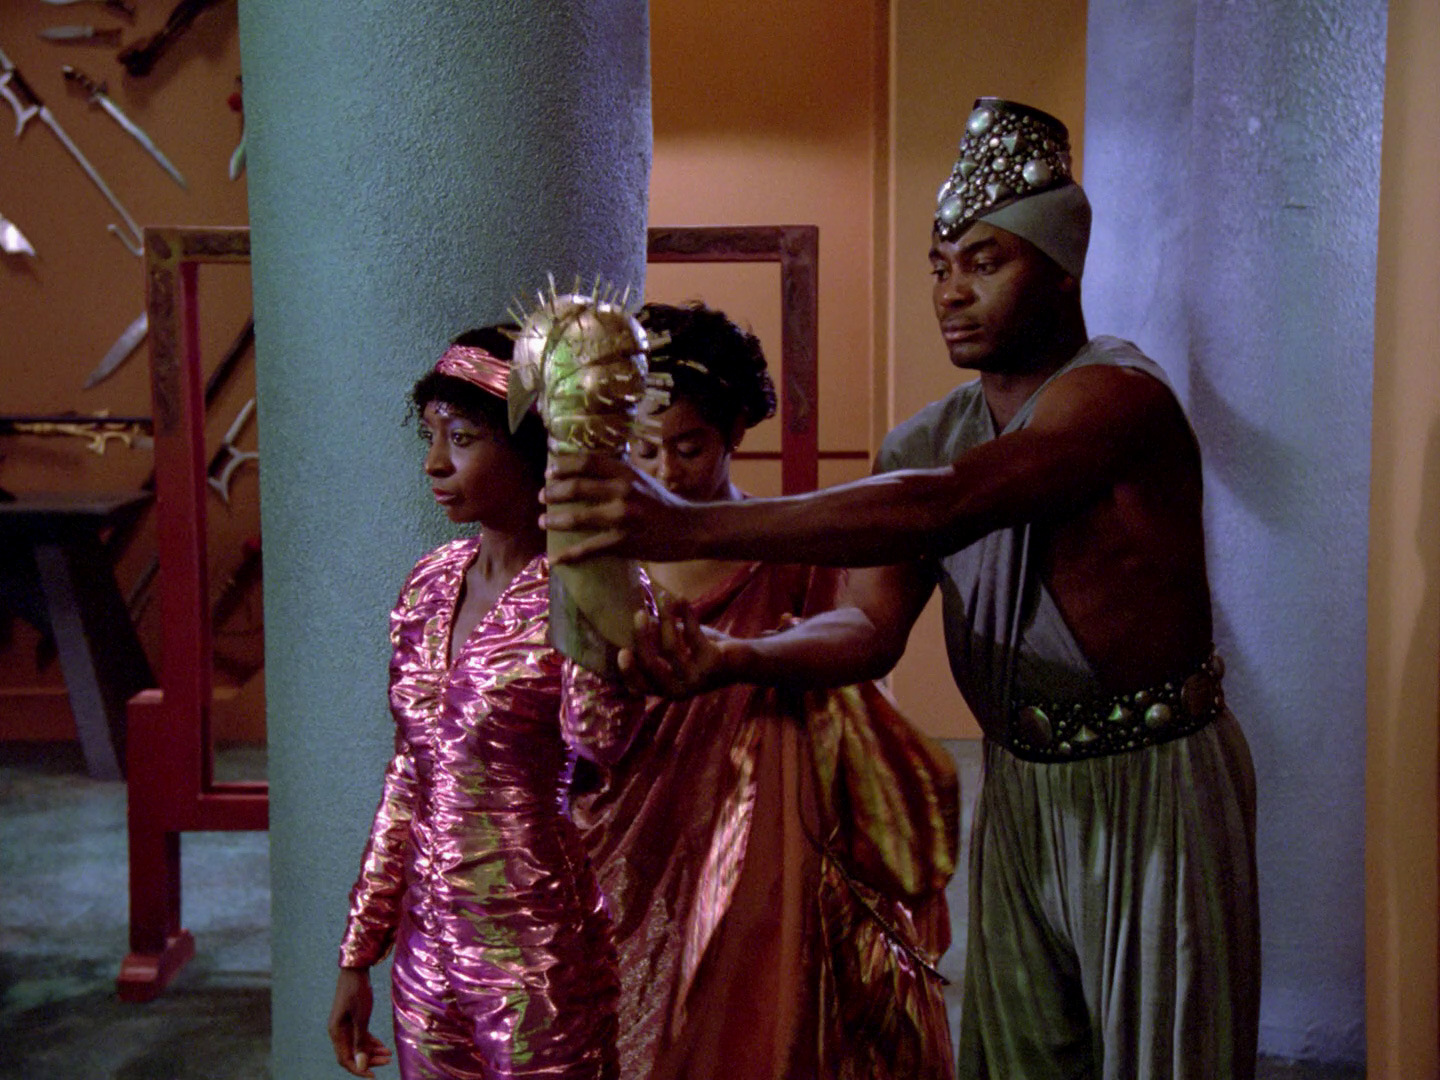 "Code of Honor" |
 "Sanctuary" |
 |
No changes |
| This is the first appearance of a Selay after "Lonely Among Us". A Selay will appear only once more, in "Tapestry". | 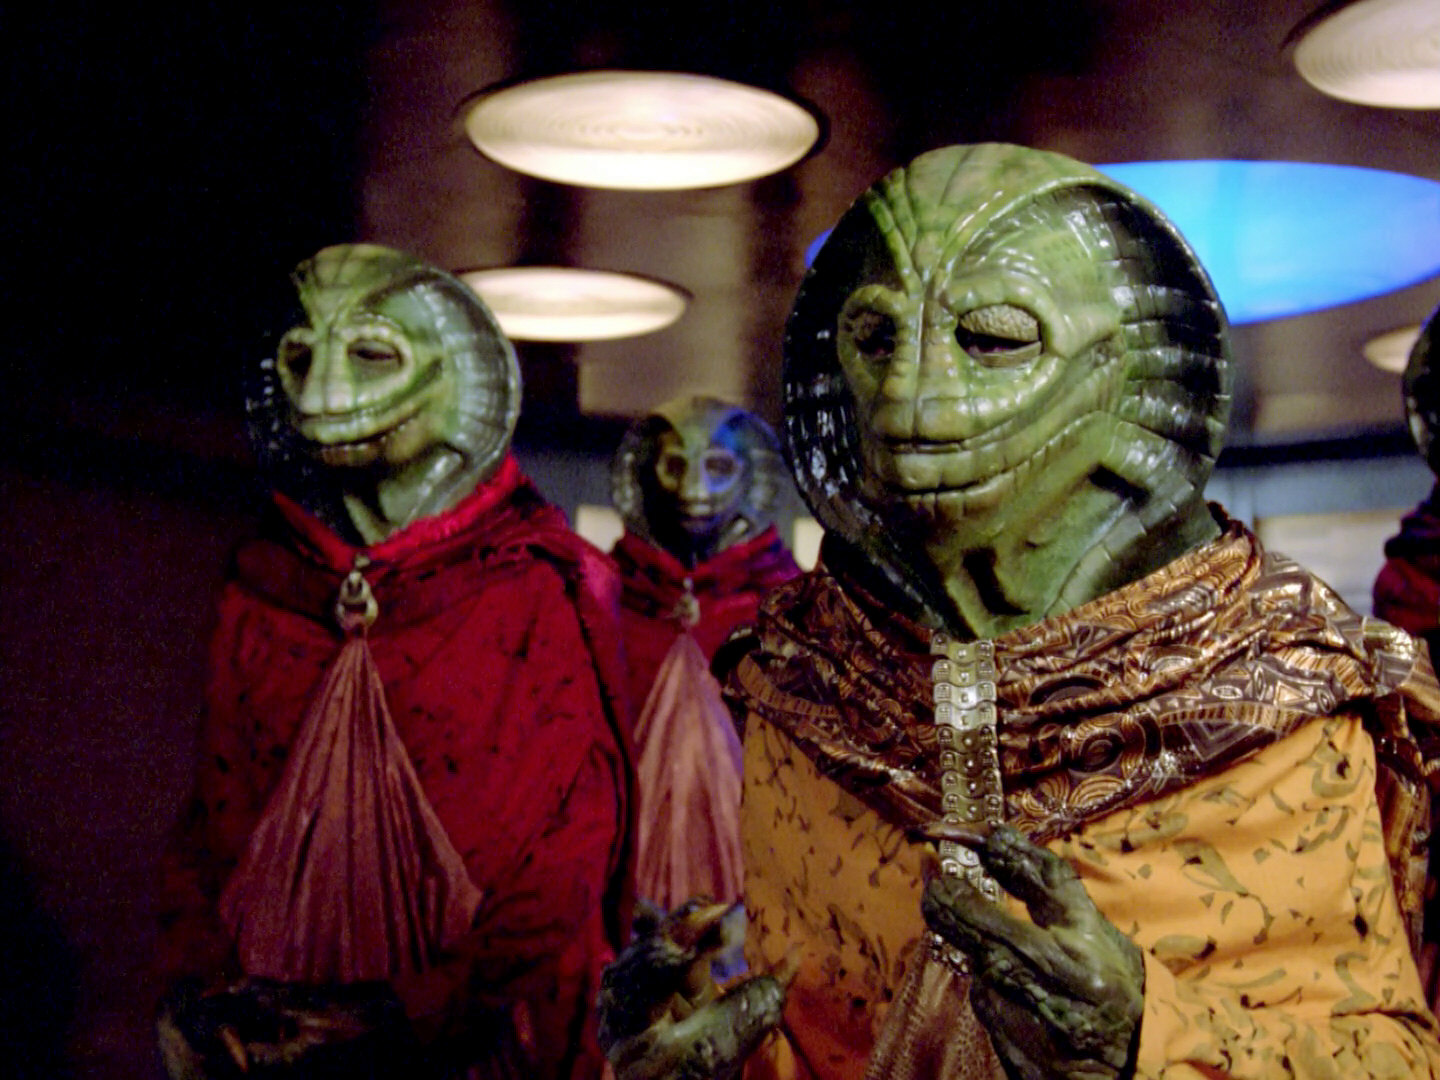 "Lonely Among Us" |
 "Tapestry" |
  |
Motion blur doesn't allow to see more details of the Selay in HD. |
| A Klingon delegate is also present in Ten Forward. |  |
No changes | ||
| This is the first appearance of a Mizarian after "Allegiance". Another Mizarian will be seen in "Chain of Command I". |  "Allegiance" |
 "Chain of Command I" |
 |
No changes |
| One delegate wears Kushell's costume from "The Outrageous Okona". |  "The Outrageous Okona" |
 |
No changes | |
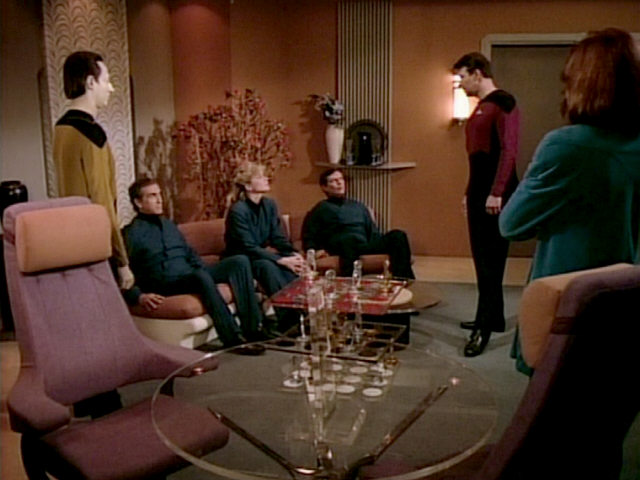
The delegate playing chess in the background wears Victor Granger's costume from "Up the Long Ladder". He is interesting because he is one of the few characters on Star Trek seen wearing glasses. The glasses mysteriously disappear in the next shot, however. |
 "Up the Long Ladder" |
 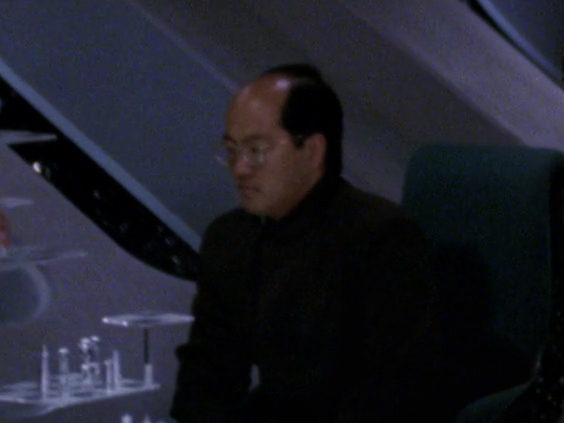 |
The guy with the glasses in an HD close-up. | |
| There's also a Zakdorn delegate wearing Sirna Kolrami's costume from "Peak Performance". After this appearance, Zakdorn are only seen in live-action Trek in "Unification I+II". | 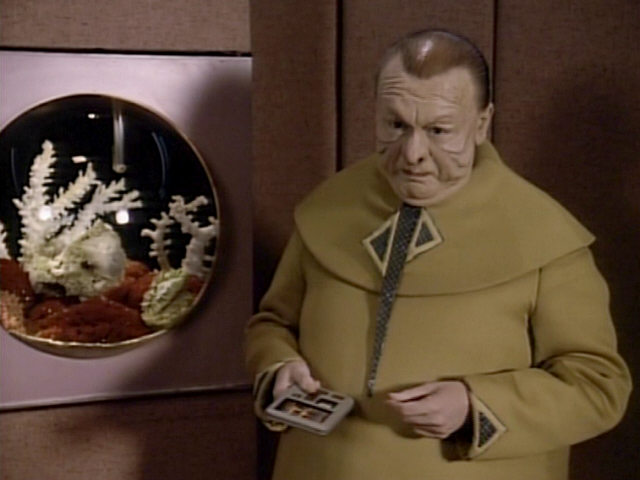 "Peak Performance" |
  |
An HD close-up of the Zakdorn. | |
| The final alien species present at the conference is this Vulcan delegate. | 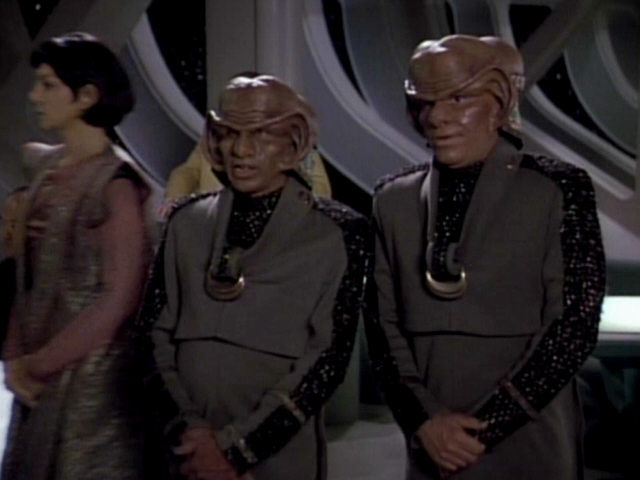 |
No changes | ||
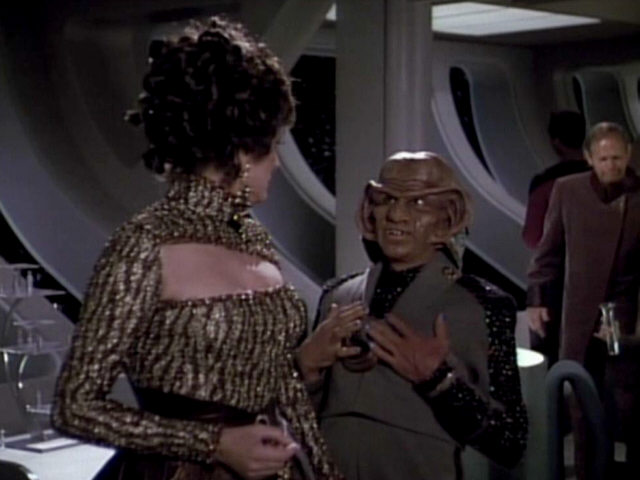
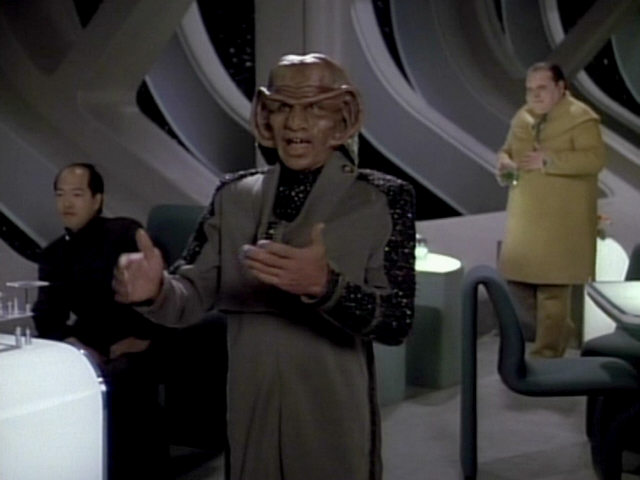
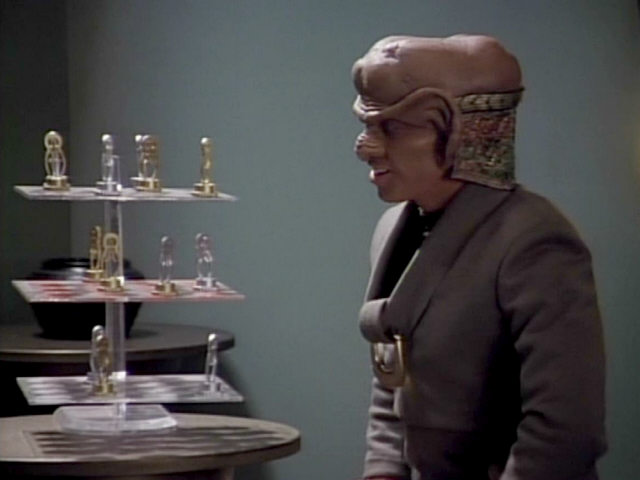
| In contrast to earlier episodes, the Ferengi rank tattoo seems to be two-colored in this episode. |  "The Battle" |
 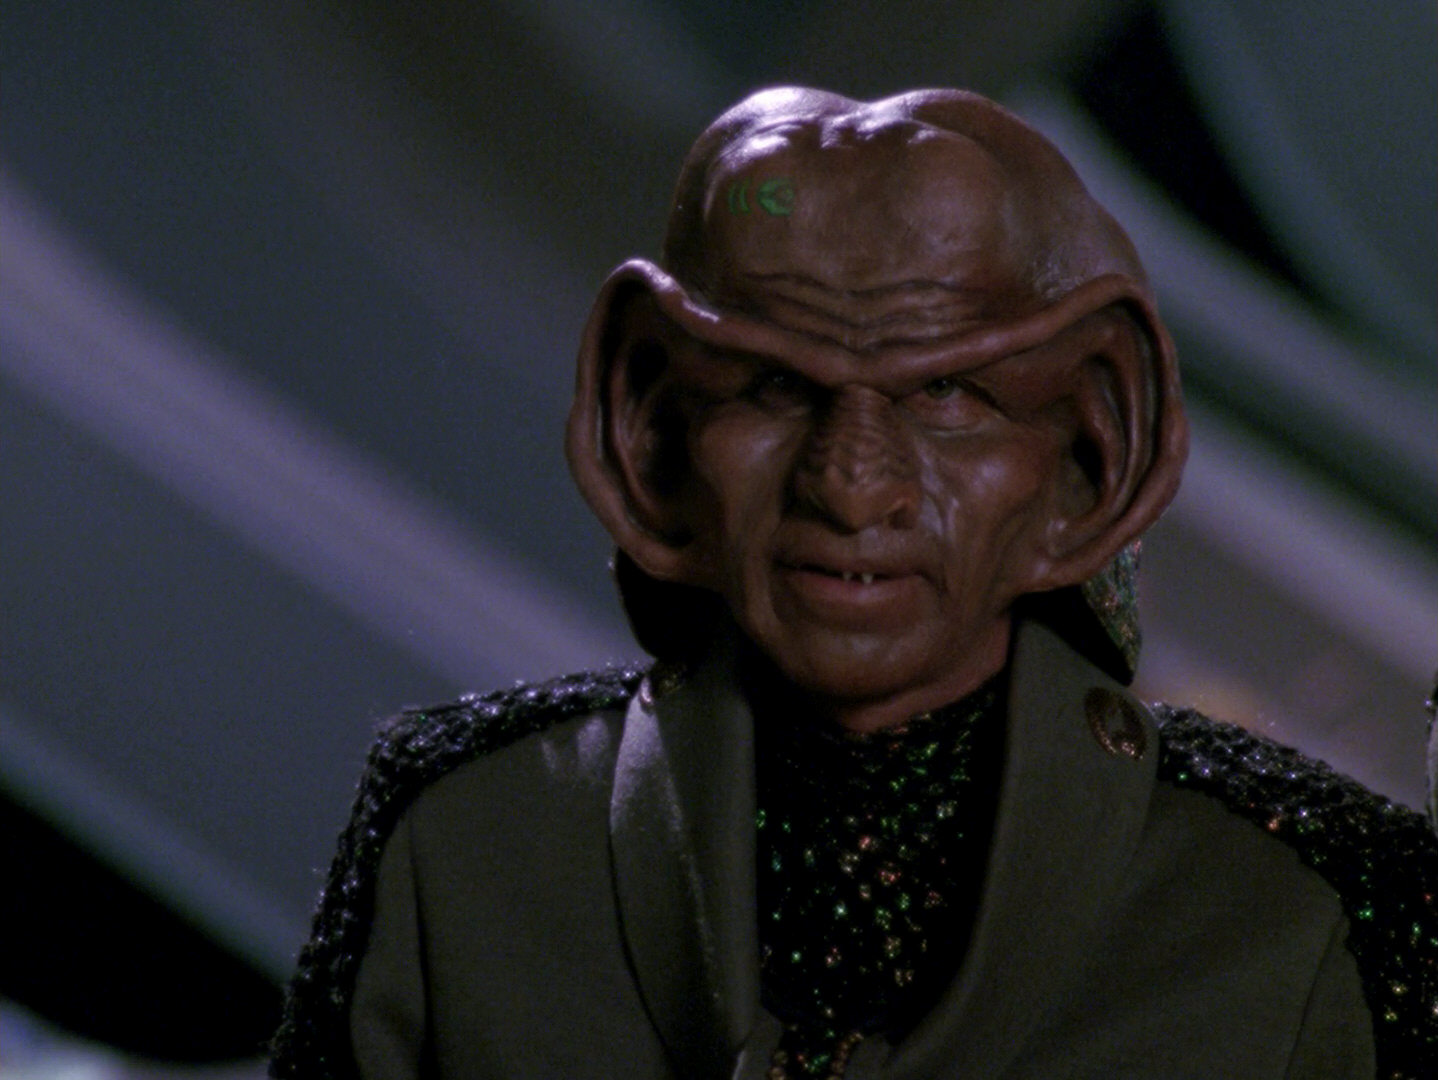 |
The Ferengi in HD. | |
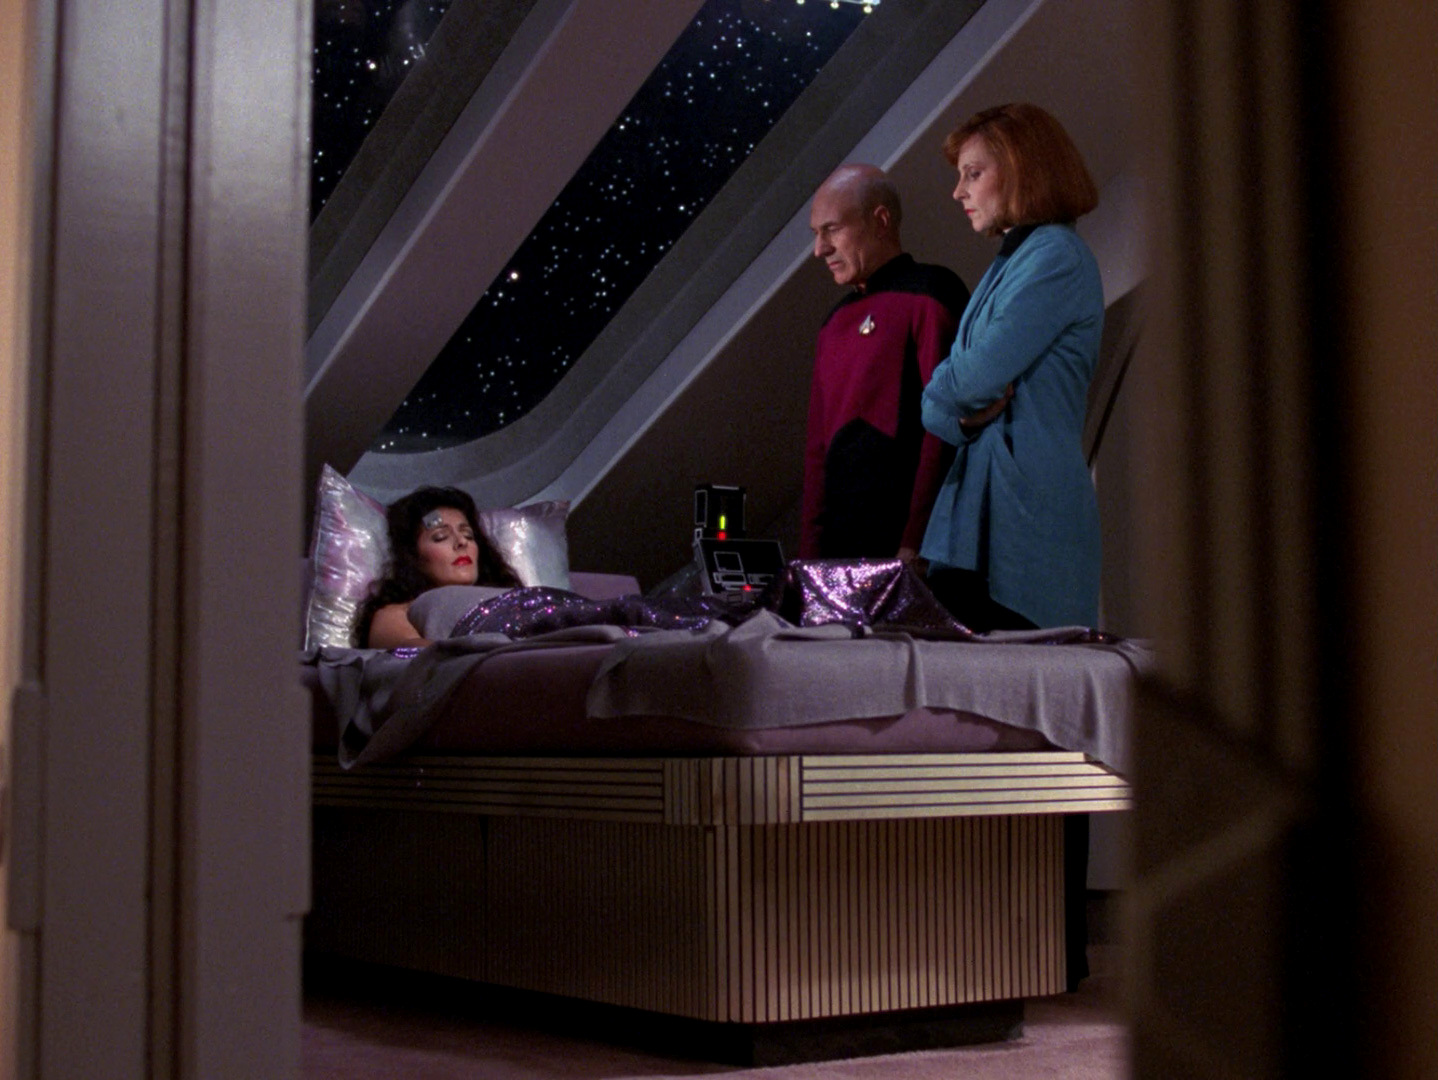
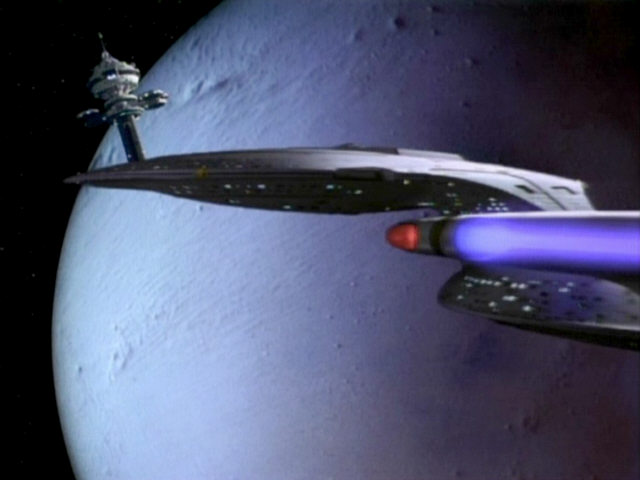
| Betazed can be seen through the windows of Deanna's quarters (where her mother is resting) in this shot. This is the second new shot of the planet not previously seen in "Who Watches the Watchers". | 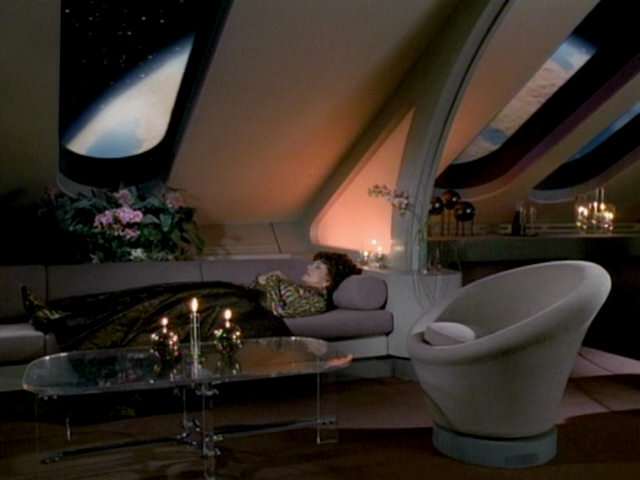  |
The planet was replaced for this shot too. | ||
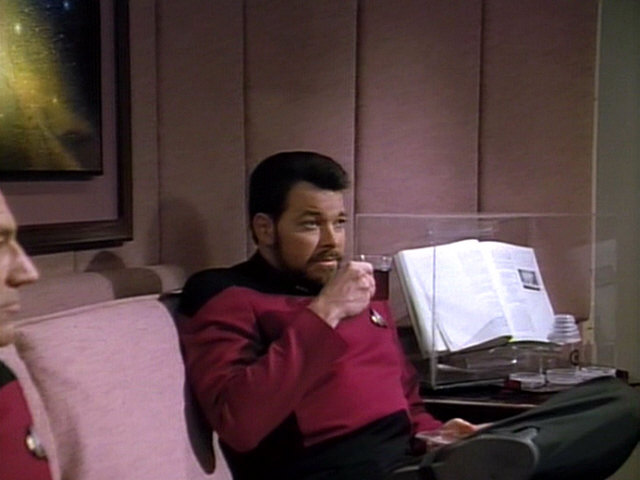
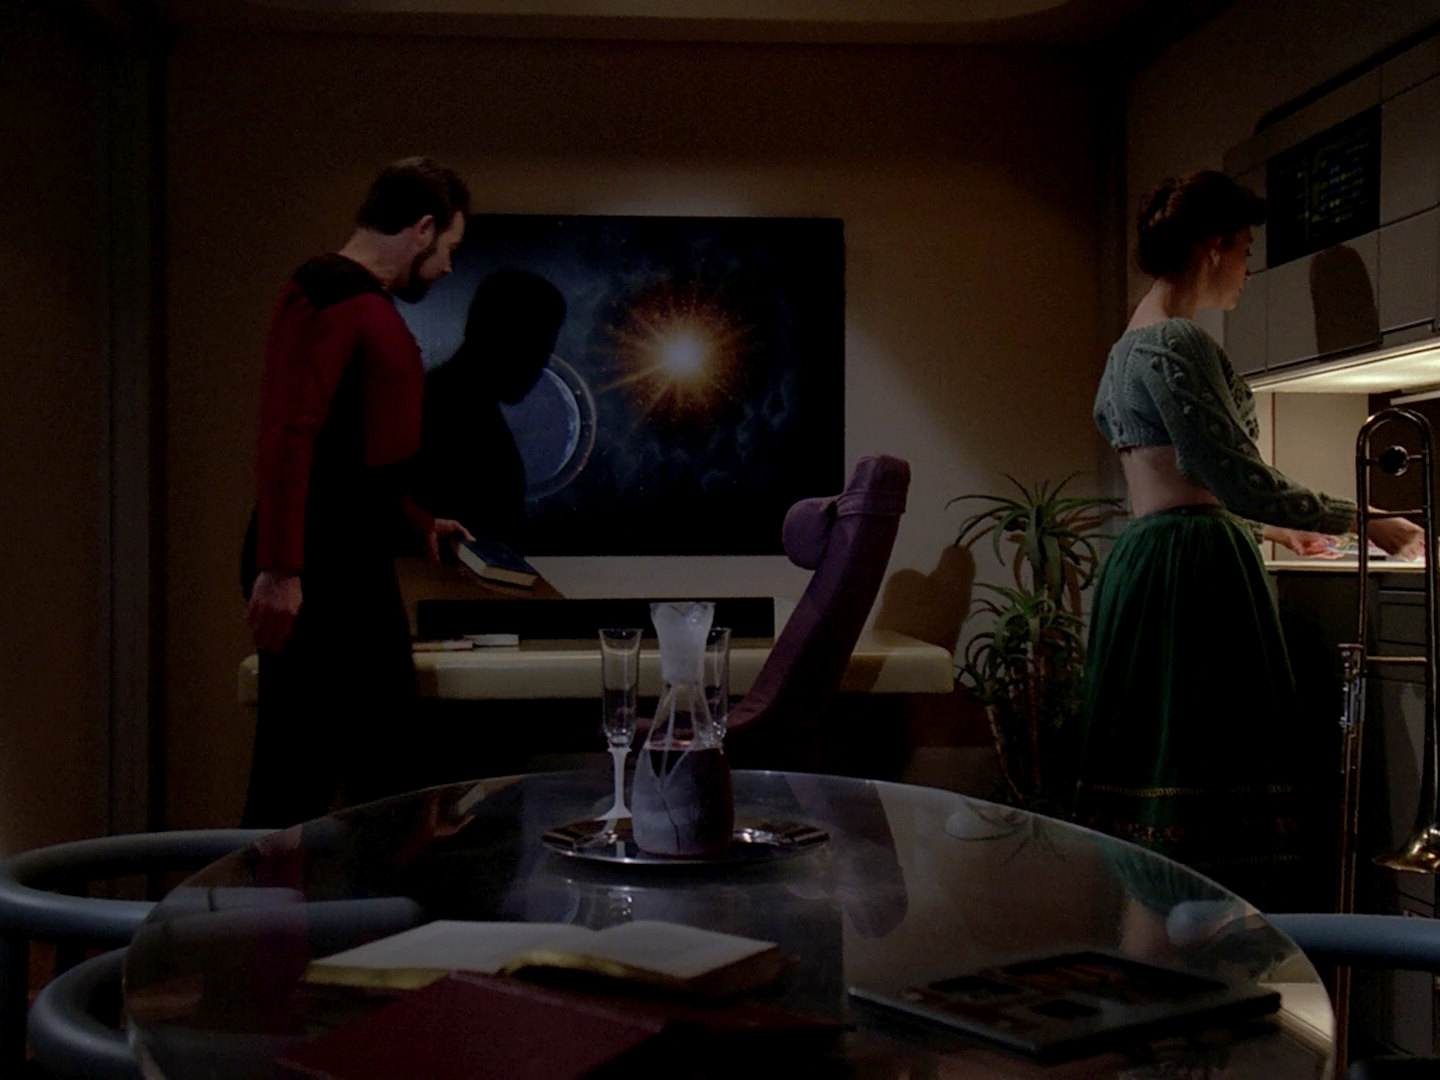
| Picard's Annotated Shakespeare Vol. 1 is clearly seen here. In this episode (and "The Best of Both Worlds I"), a double page (356/357) from As You Like It is opened. Picard's Shakespeare Books |
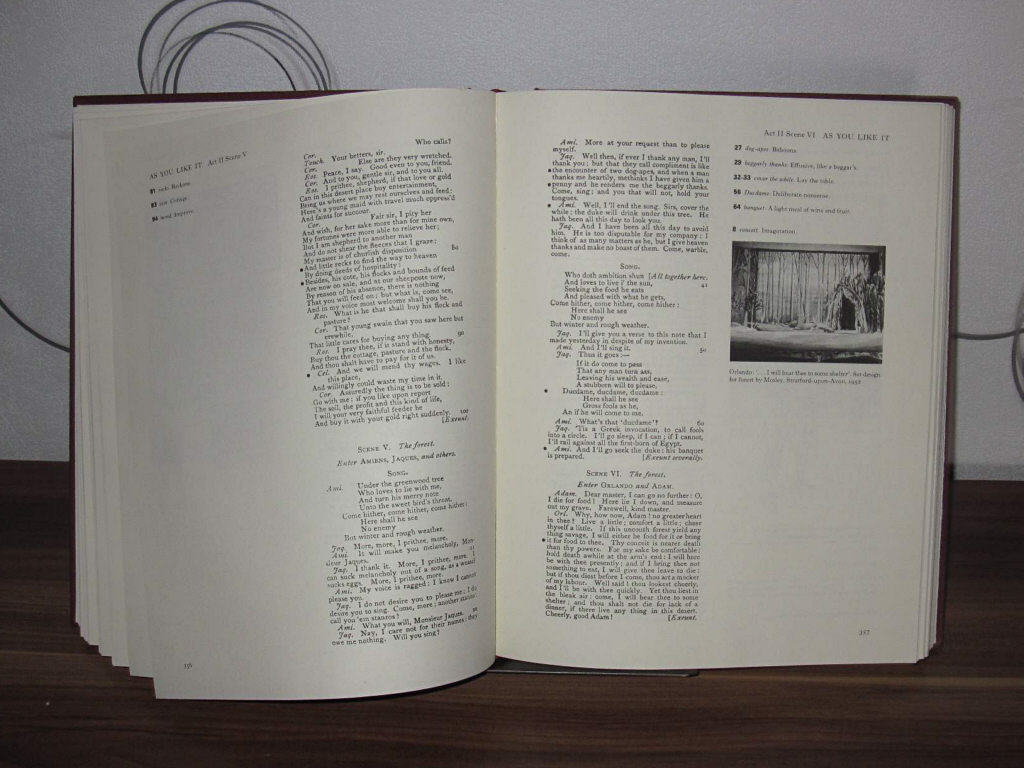 Pages 356/357 |
 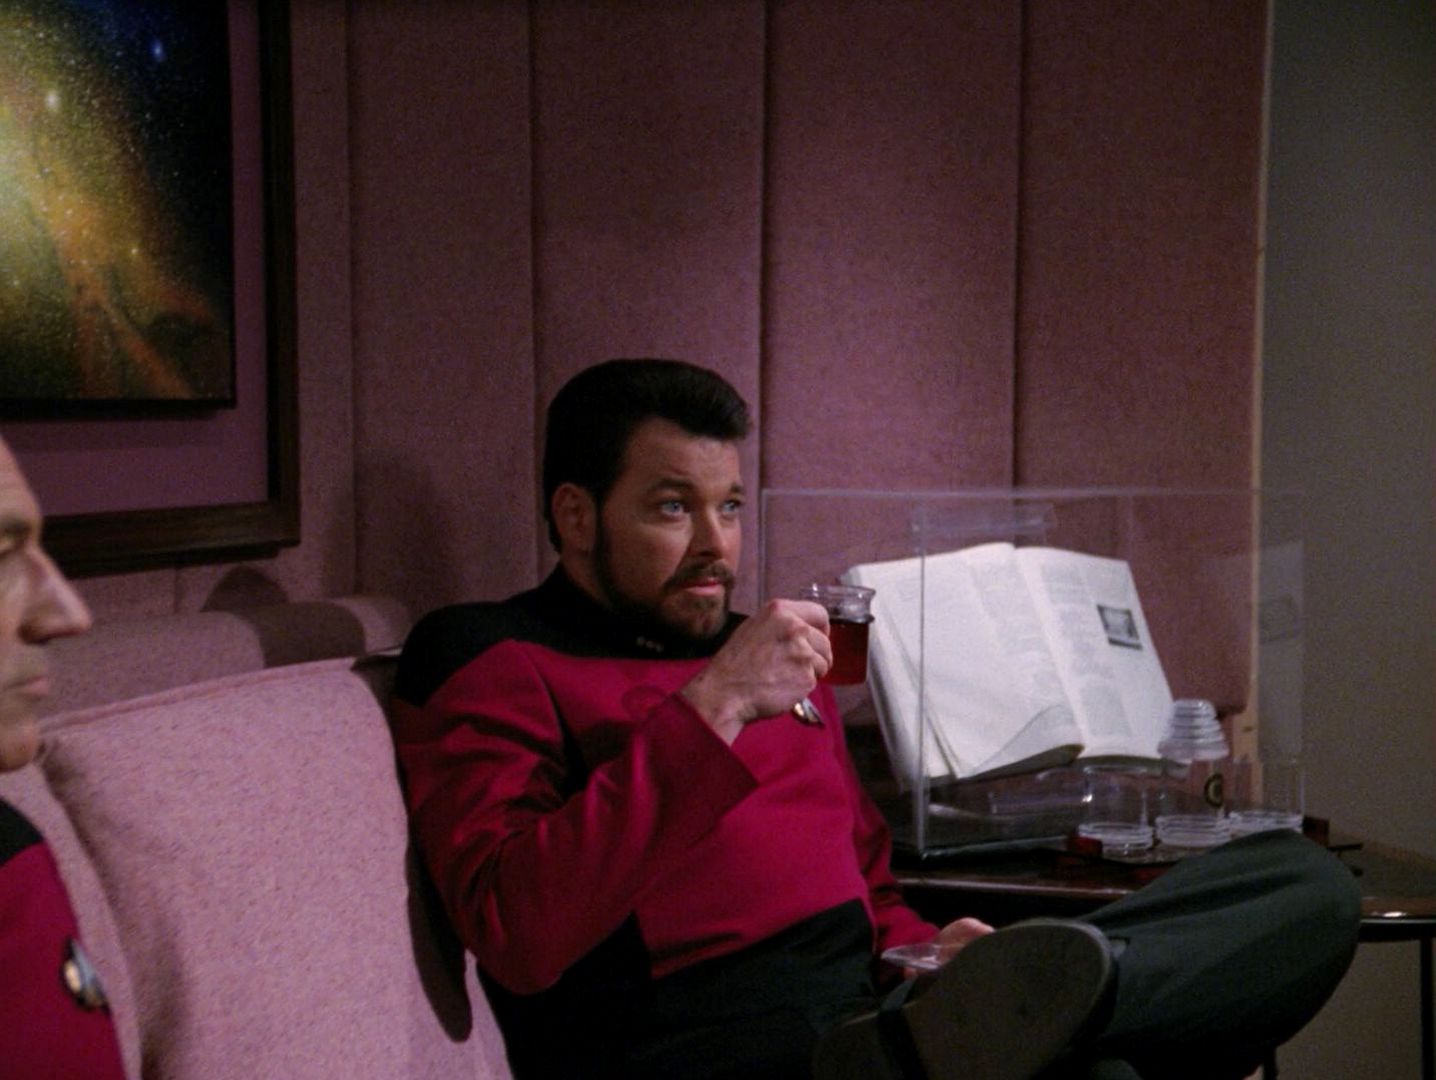 |
The book in HD. | |
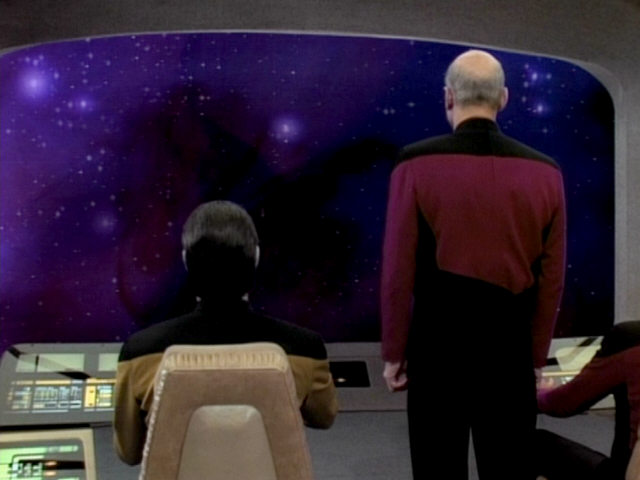
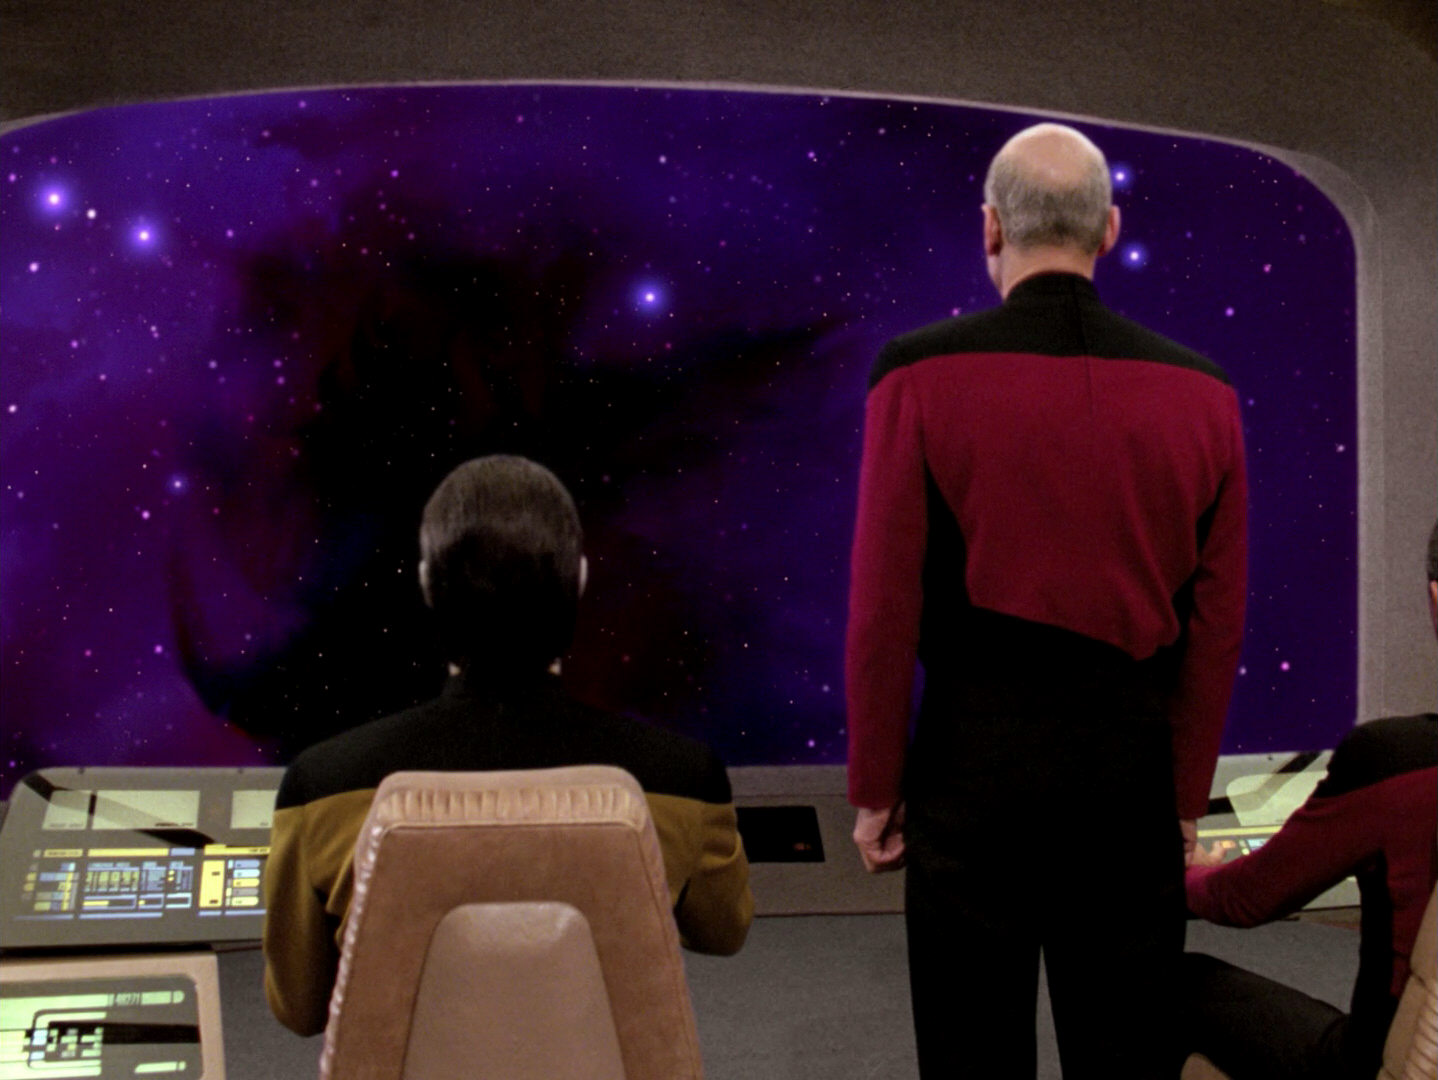
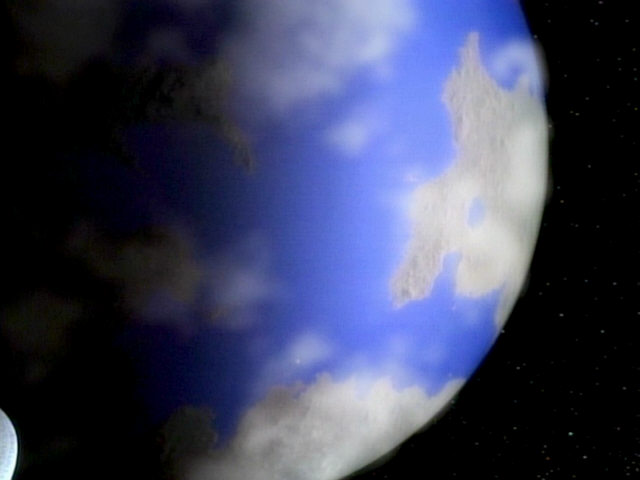
| Betazed in all its beauty. This shot appeared exactly like that as Mintaka III in "Who Watches the Watchers". | 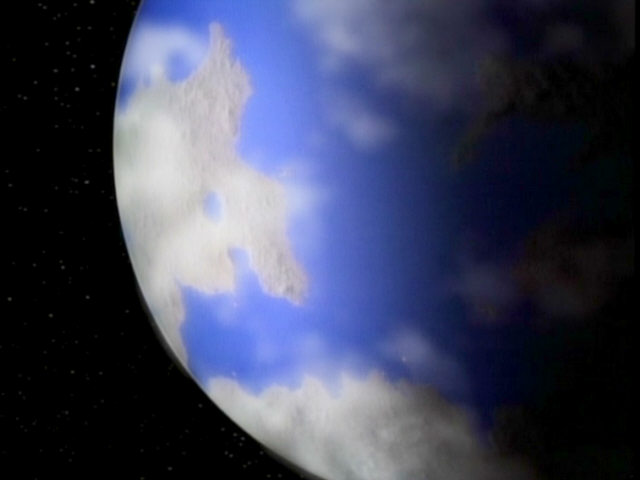 "Who Watches the Watchers" SD |
 "Who Watches the Watchers" HD |
  |
The cloud patterns, but also the texture of the continents appear to be different on the remastered Betazed than on the remastered Mintaka. |
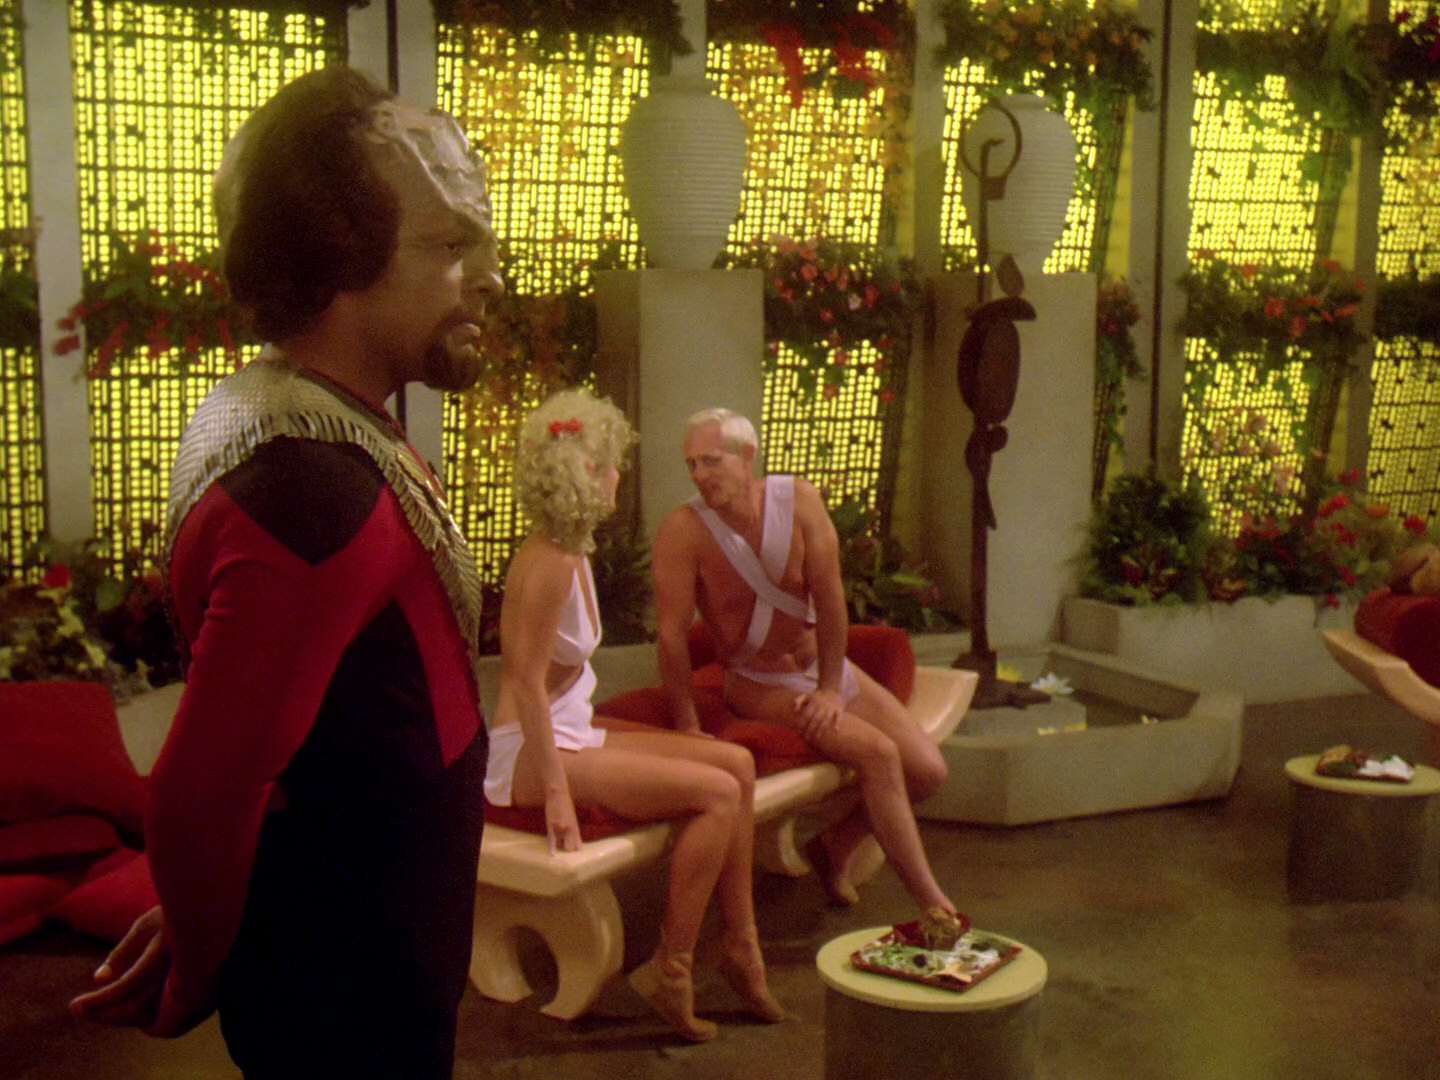
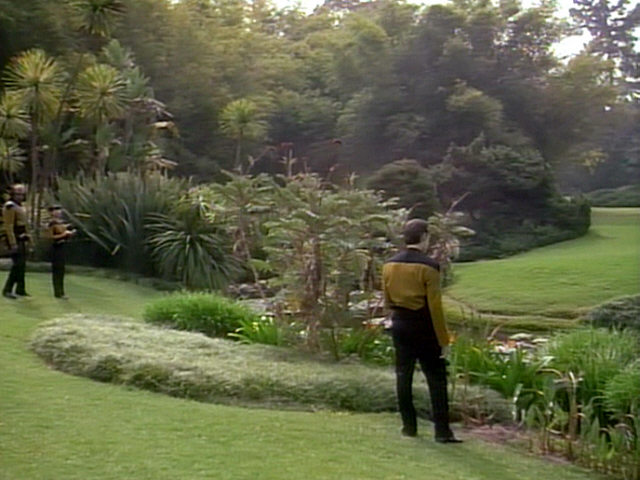
| A partial matte painting showing the surface of Betazed. The live-action footage was filmed at the Huntington Library gardens, just like parts of "Justice". | 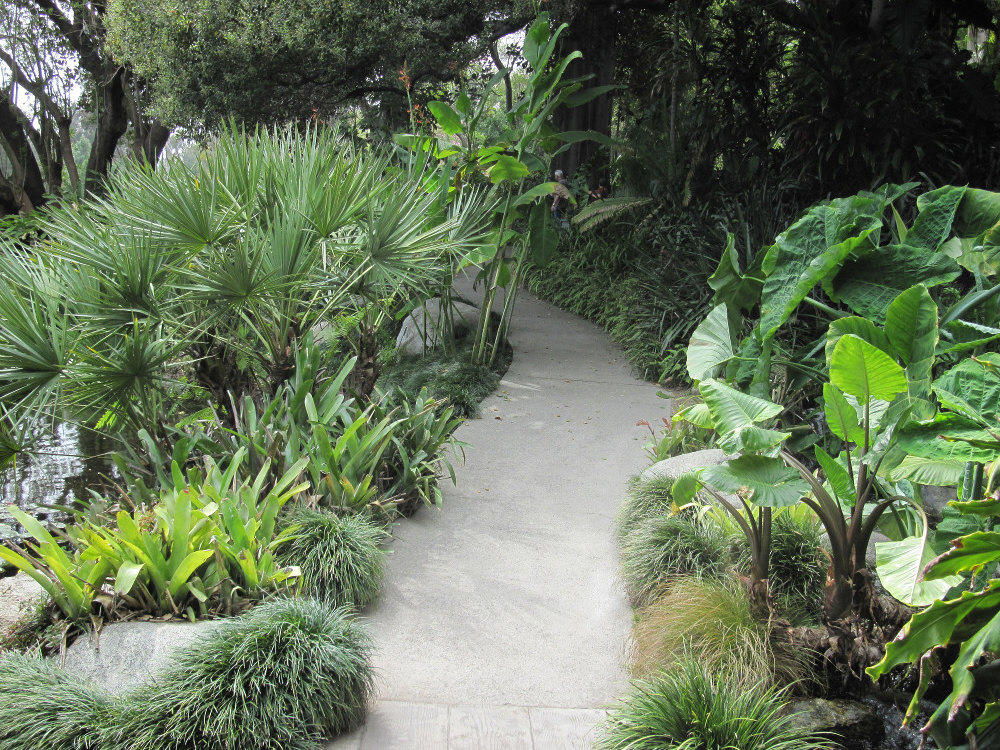 Huntington Library gardens (2010) |
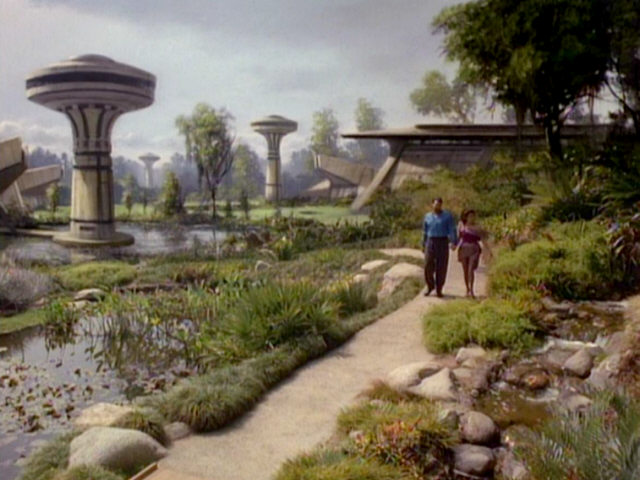  |
The matte remains unchanged in TNG-R. | |
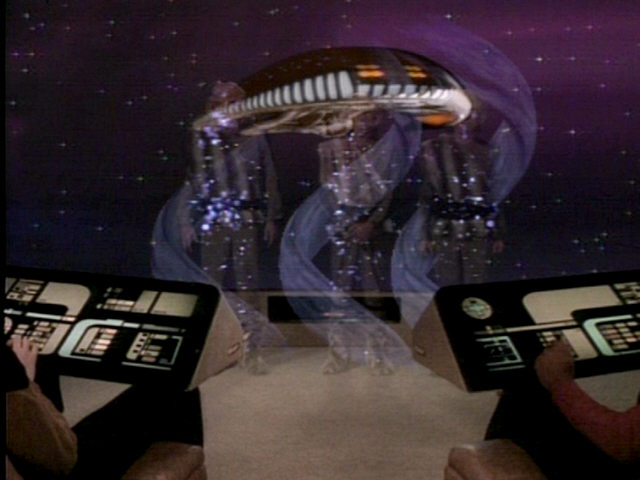
| The Ferengi transporter effect. As can be seen, it has changed considerably since it was last seen in "The Battle". |  "The Battle" |
  |
The reconstructed effect in TNG-R. | |
 "The Battle" |
  |
|||
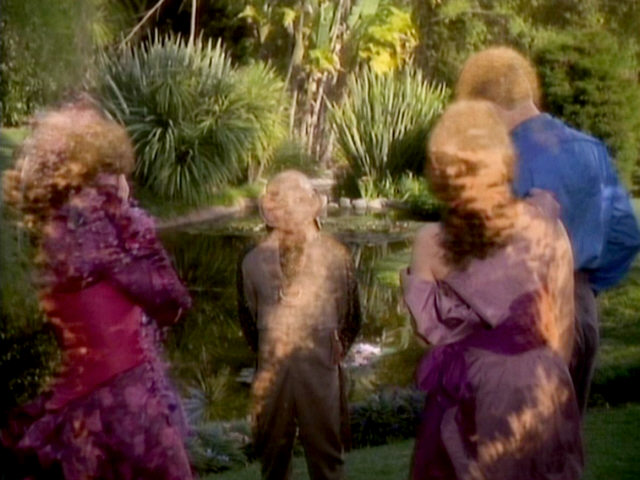
| This is another shot filmed on location in the Huntington Library gardens. | 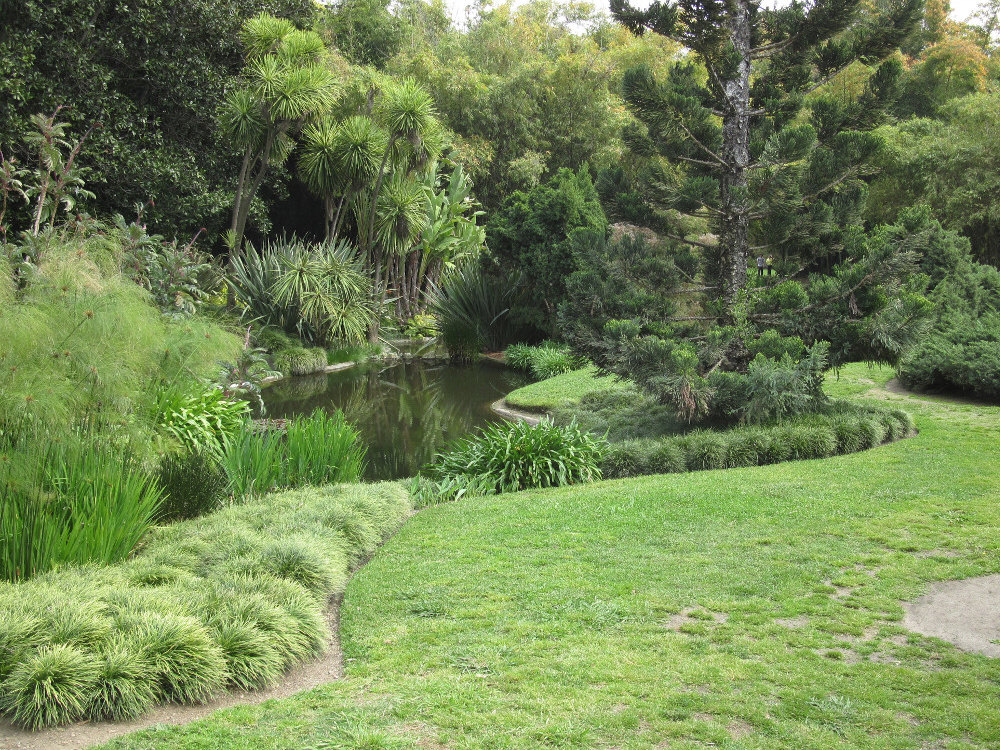 Huntington Library gardens (2010) |
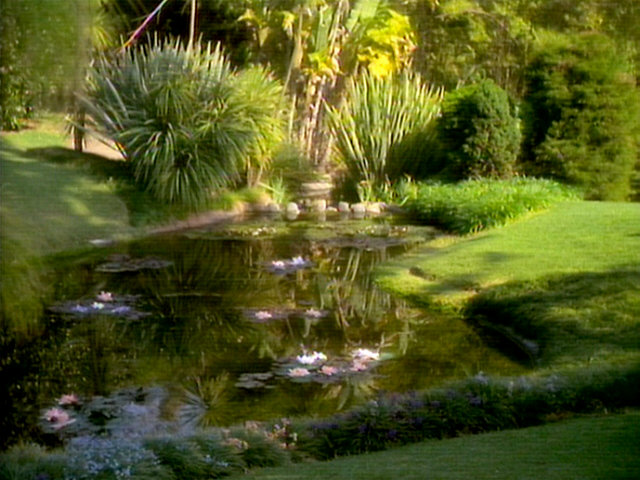  |
The location in TNG-R. | |
| This footage of the Ferengi Marauder in flight was newly created for this episode. Appearances of the Ferengi Marauder |
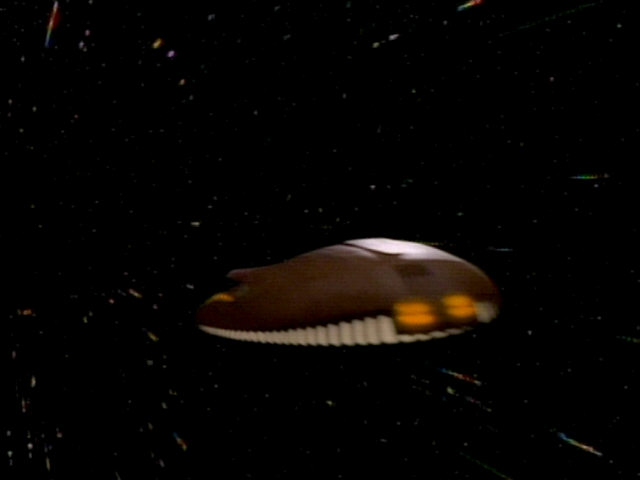 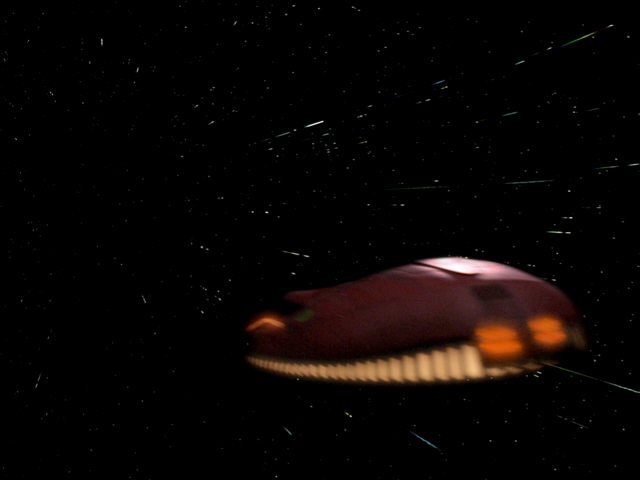 |
The shot in TNG-R. | ||
| The same stools as on the Ferengi Marauder will be used in the Enterprise-D sickbay in later seasons. | 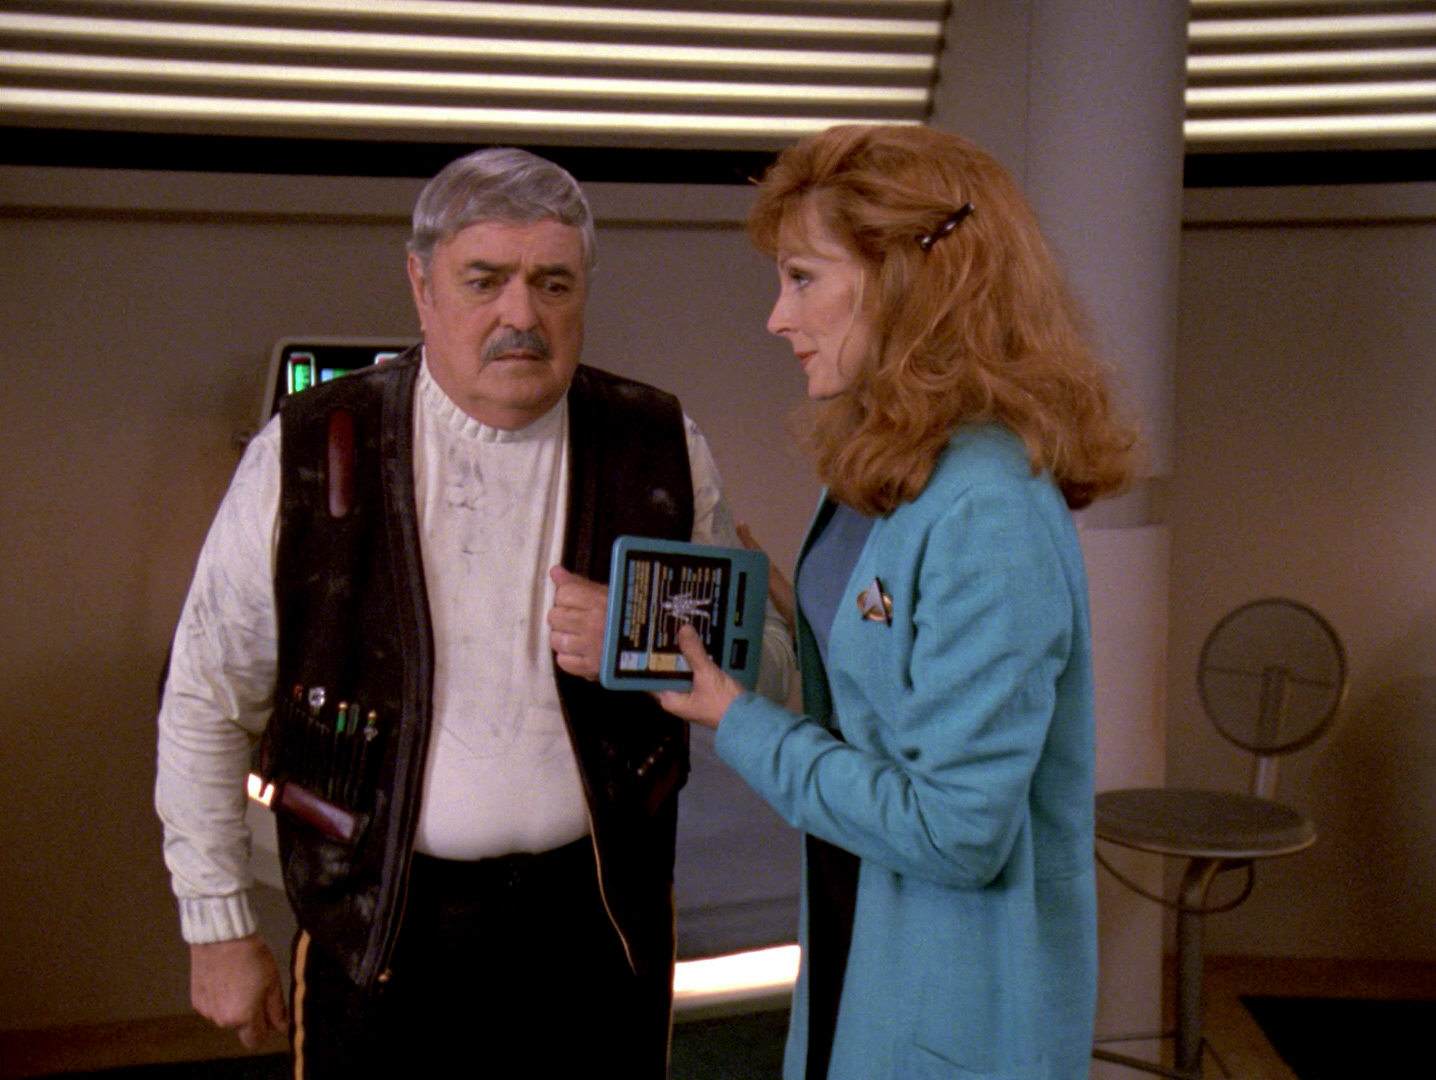 "Relics" |
 |
No changes | |
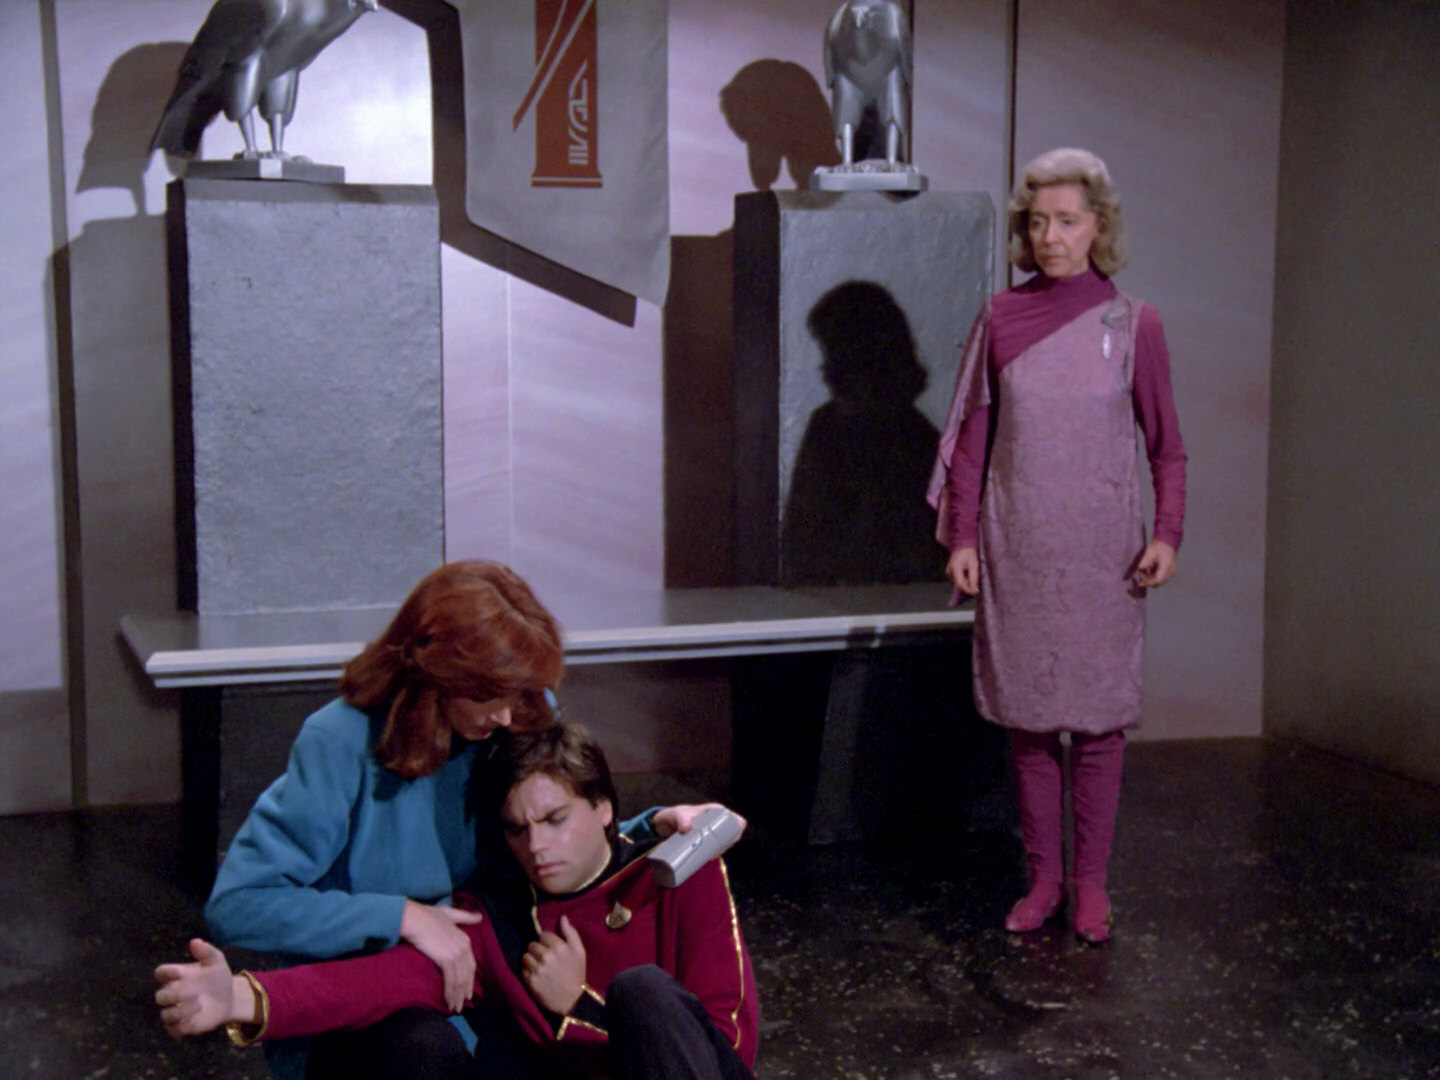
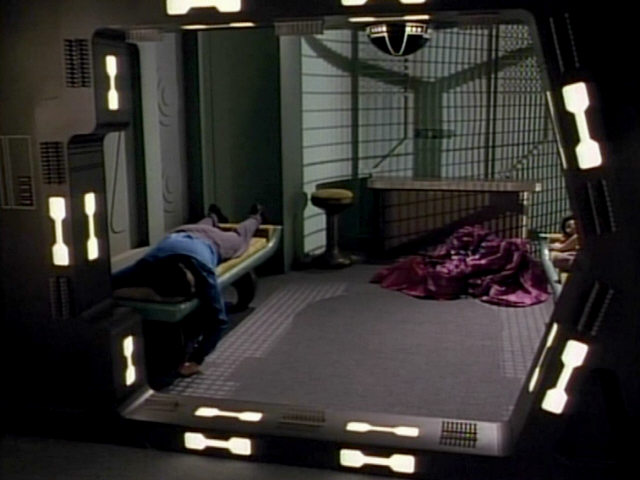
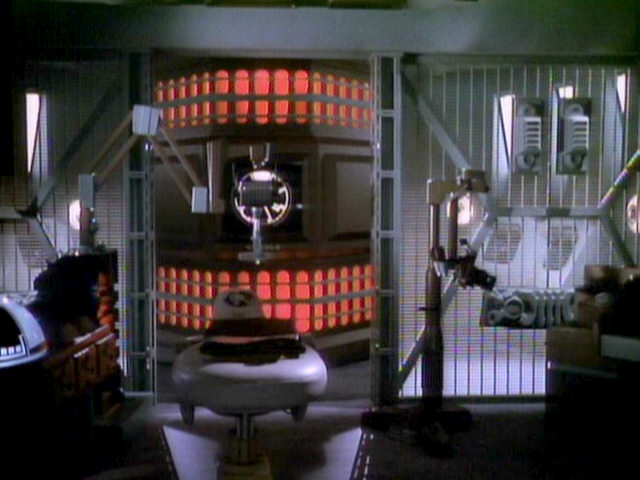
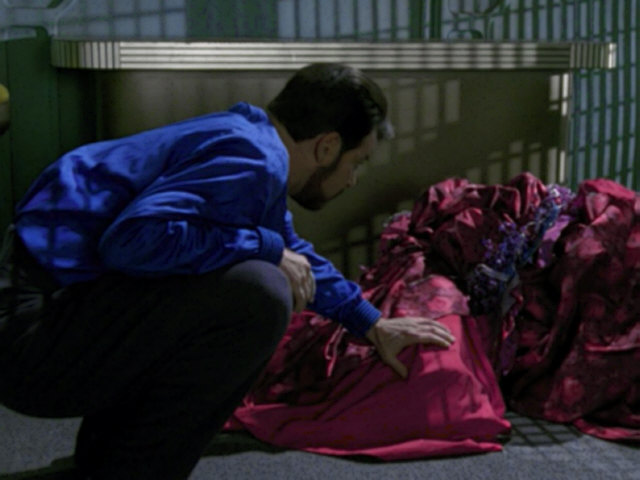
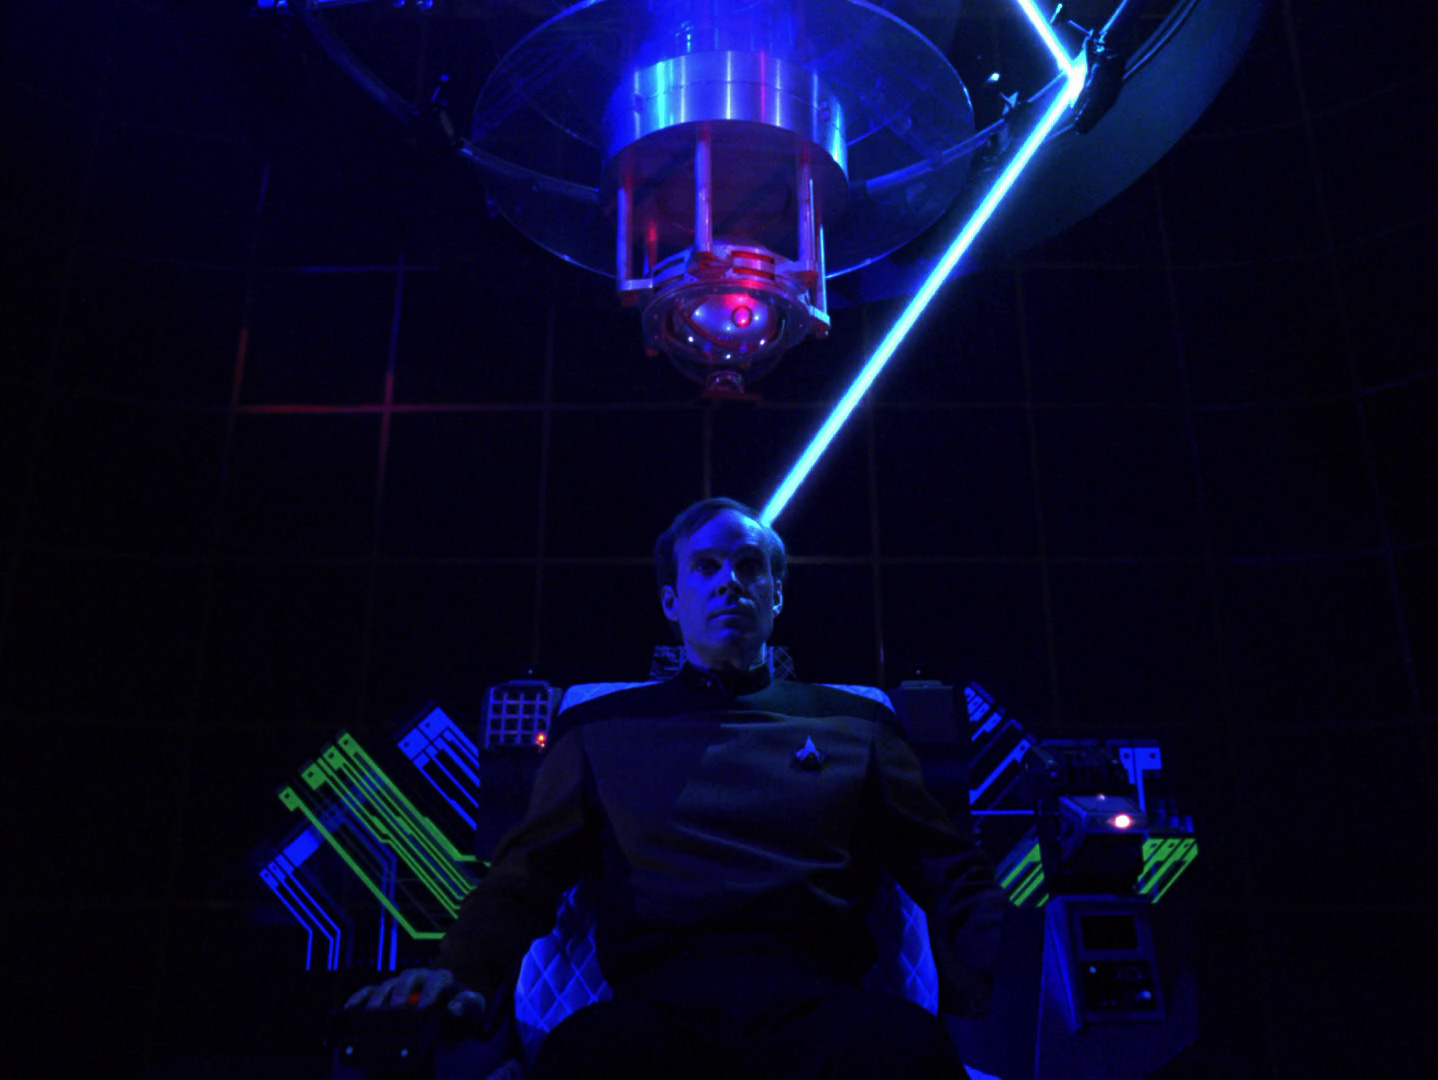
This whole set, including the forcefield frame and large console, was re-used aboard the Talarian observation craft in "Suddenly Human". The console also appears in "Relics". The (stone?) bench that Riker wakes up on could be seen on Rubicun III in "Justice". |
 "Suddenly Human" |
 "Relics" |
  |
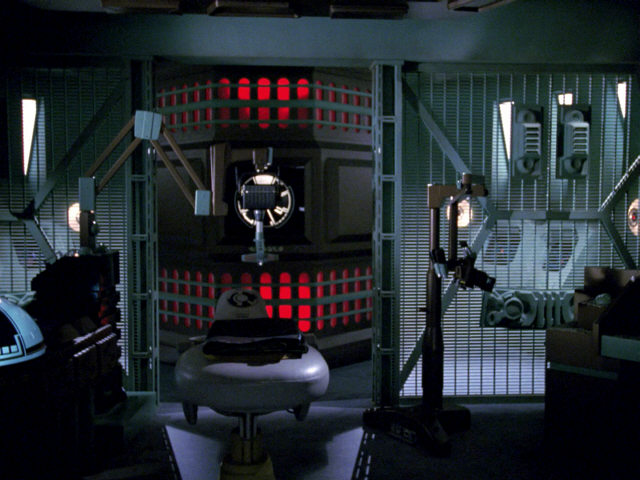
The set as it appears in TNG-R. |
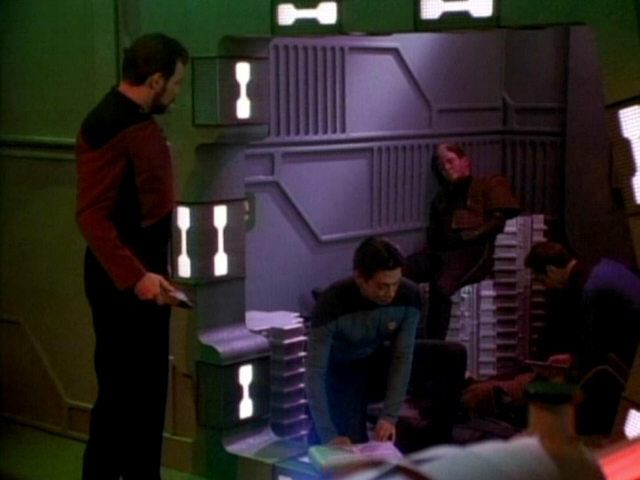 "Suddenly Human" |
 "Justice" |
  |
||
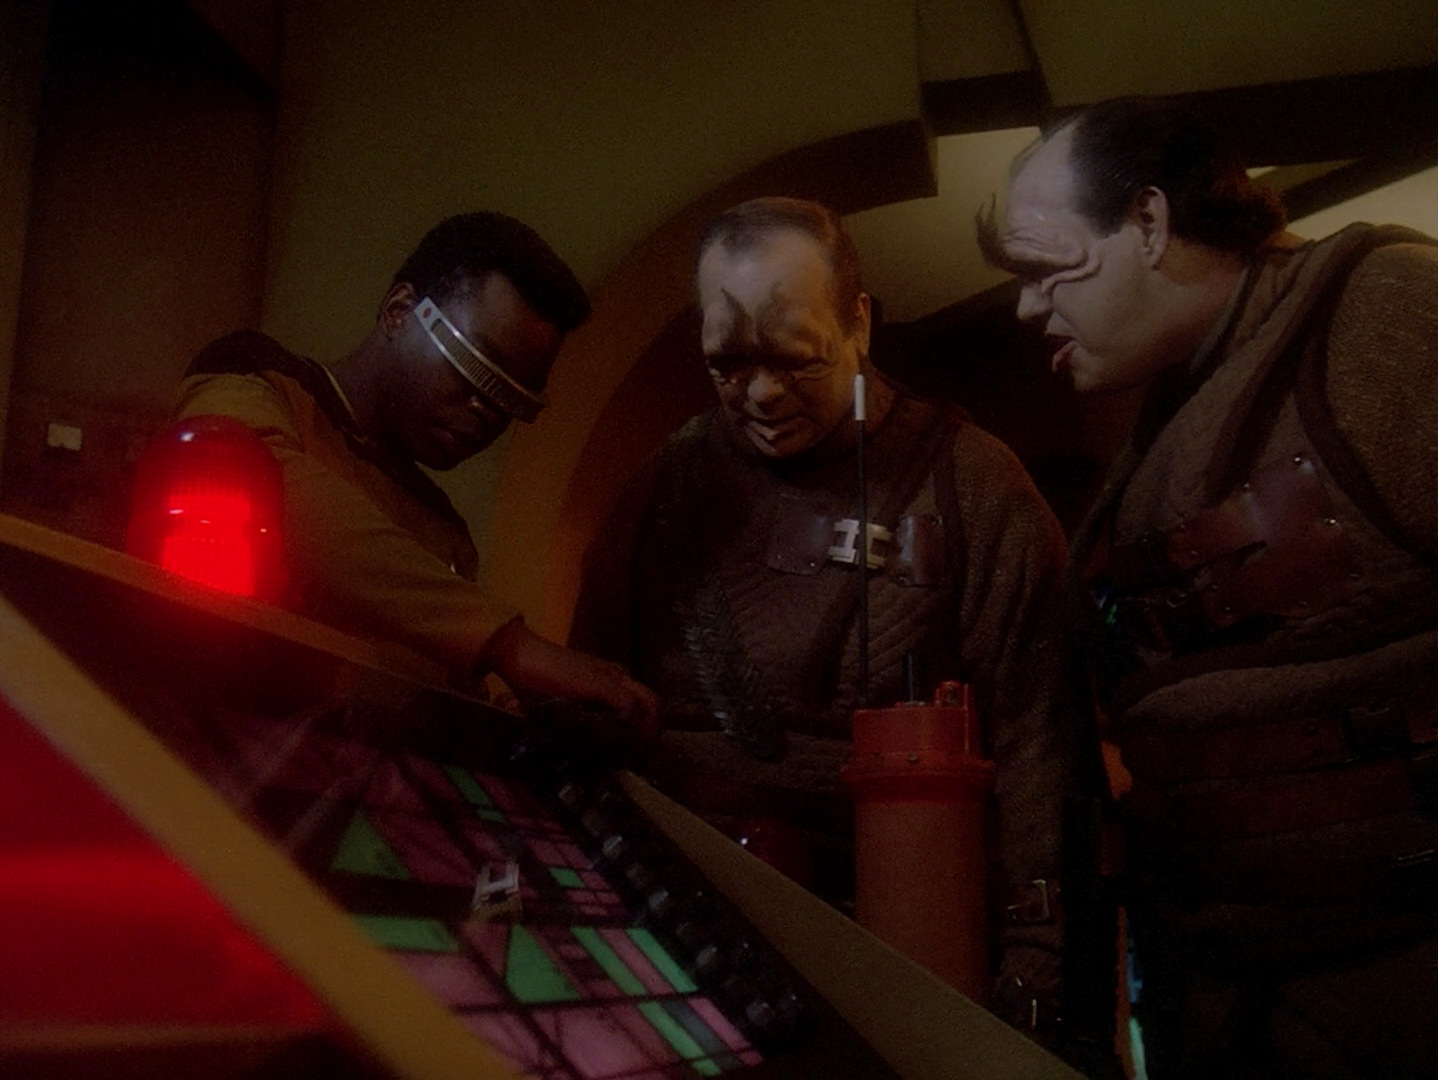
| The large central console in DaiMon Tog's lab was originally the warp core of the USS Hathaway in "Peak Performance". | 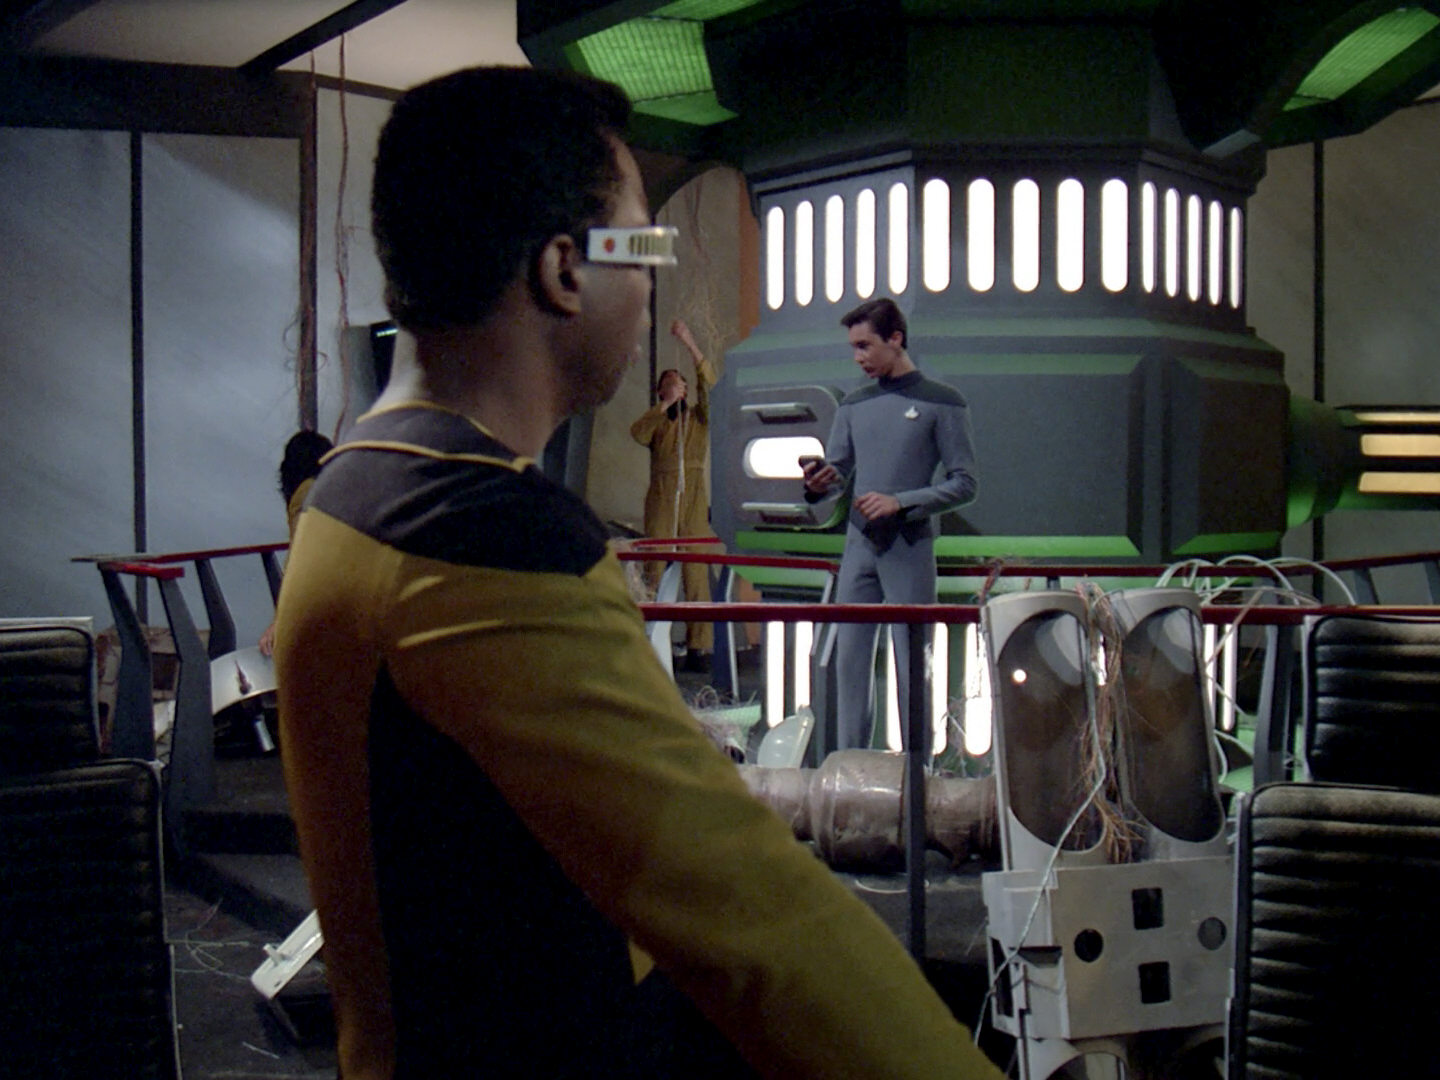 "Peak Performance" |
  |
||
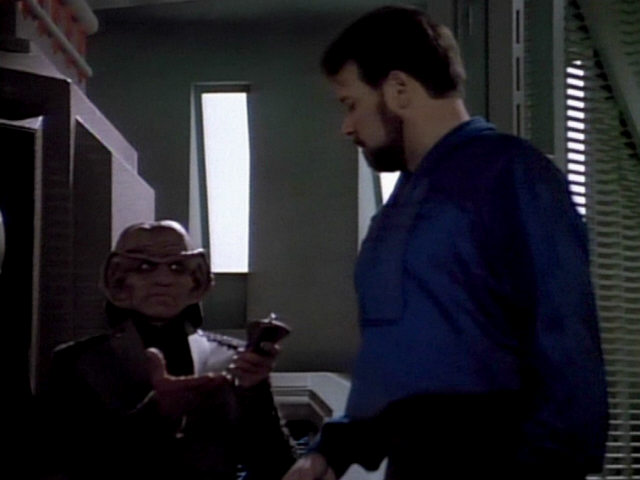
Commander Riker touches the Ferengi forcefield. Above and beside him we can see short pieces of 20th century cable ducts (without the lid). |
  |
The ripple effect lasts a little longer in the remastered version. | ||
  |
||||
  |
||||
| The sideboard seen inside the Ferengi brig previously appeared in the Enterprise-D crew quarters in season 1. The paneling around the edges is also found on the large crew quarters beds. | 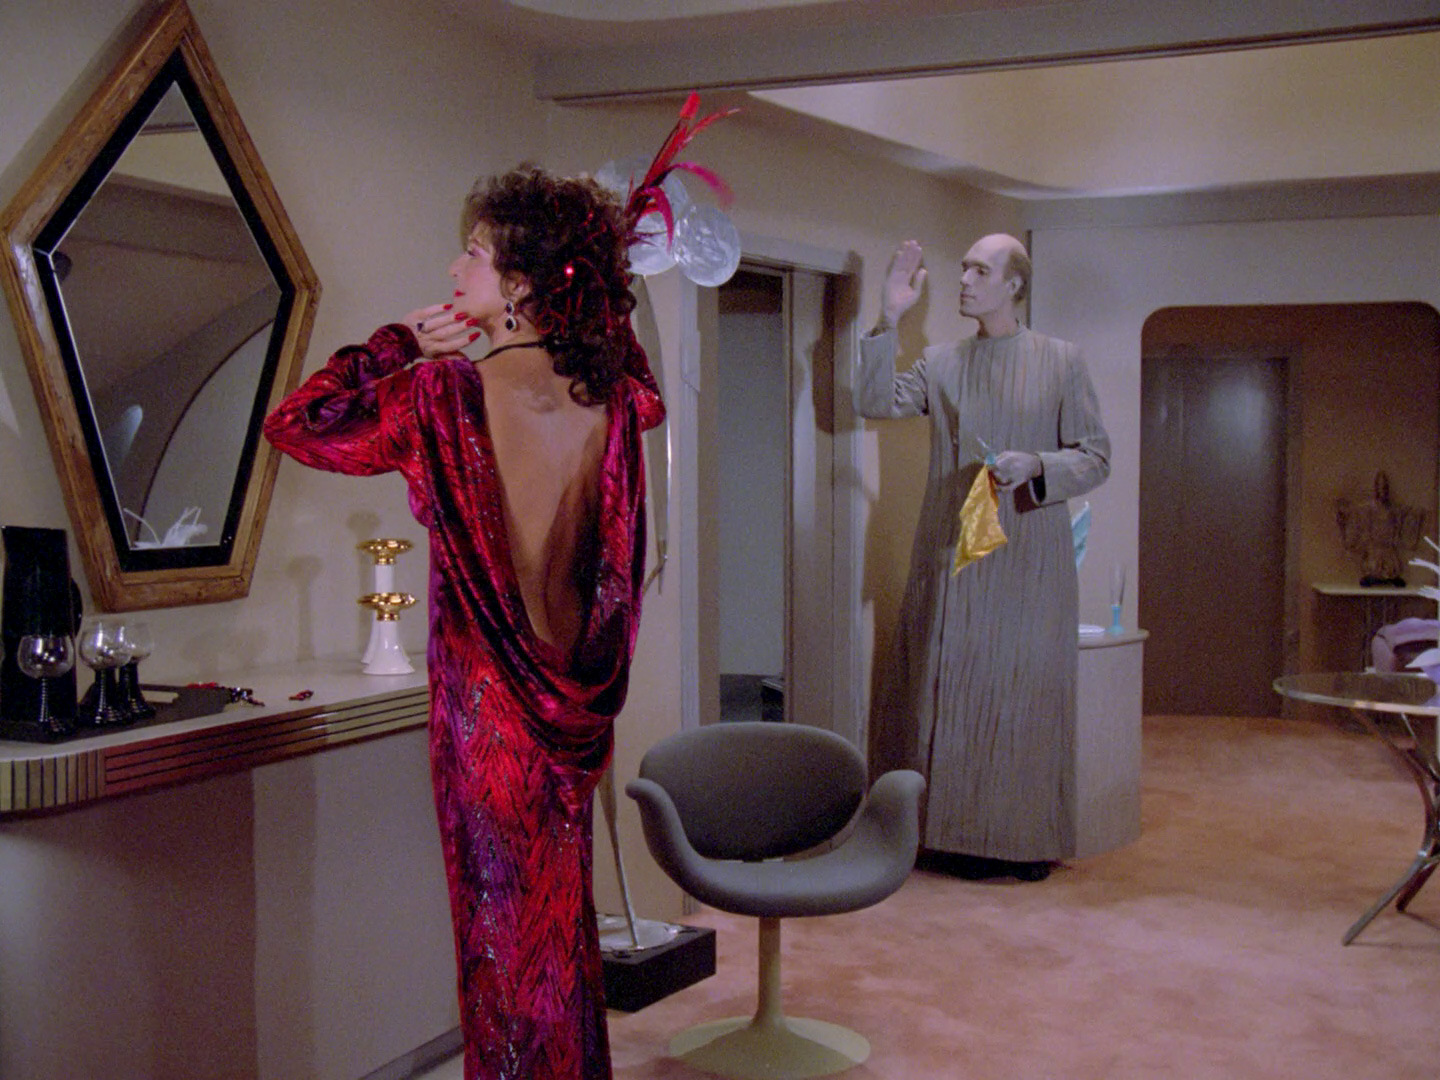 "Haven" |
 "The Survivors" |
 |
No changes |
| The console with the blue Ferengi interface in the background was first seen on the Pakled ship Mondor in "Samaritan Snare". It also appeared on Bre'el IV in "Déjà Q". Consoles Built for Star Trek |
 "Samaritan Snare" |
 "Déjà Q" |
 |
No changes |
| The console behind the medical bed was first seen on the bridge of the Erstwhile in "The Outrageous Okona". It also showed up on the bridge of the Mondor in "Samaritan Snare" and on the Gatherer ship in "The Vengenace Factor". For "Ménage à Troi", it was fitted with a typical Ferengi dome. | 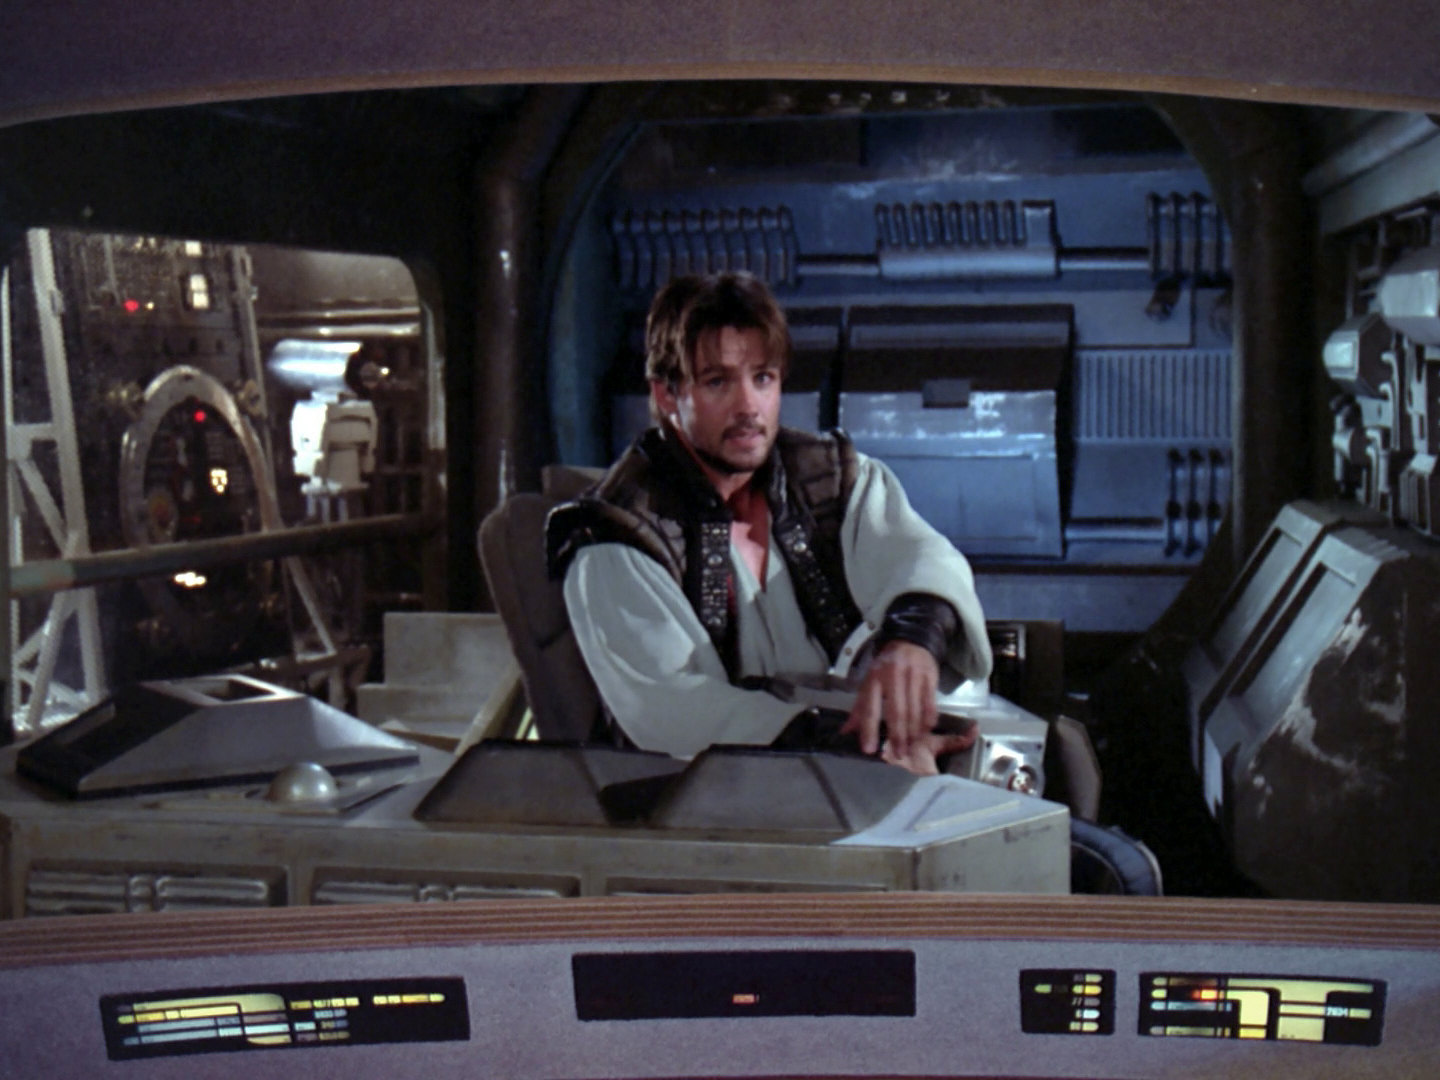 "The Outrageous Okona" |
 "Samaritan Snare" |
 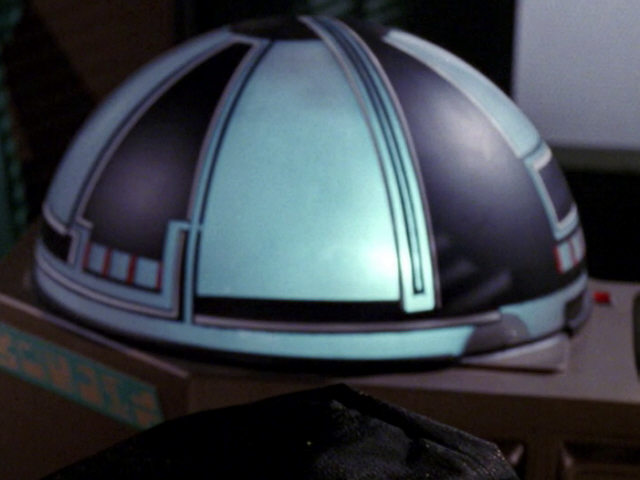 |
An HD close-up of the console. |
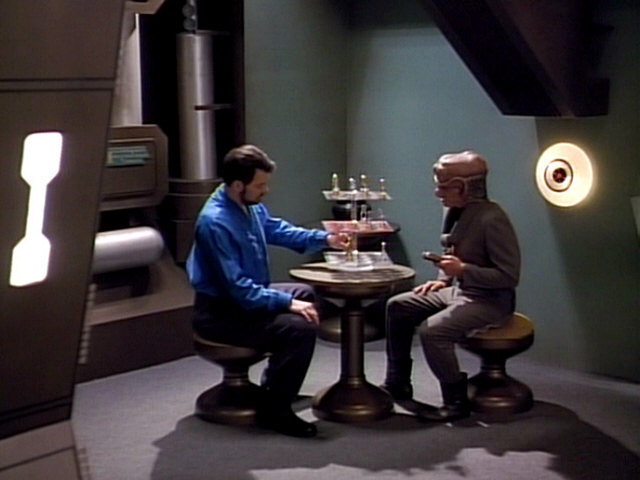
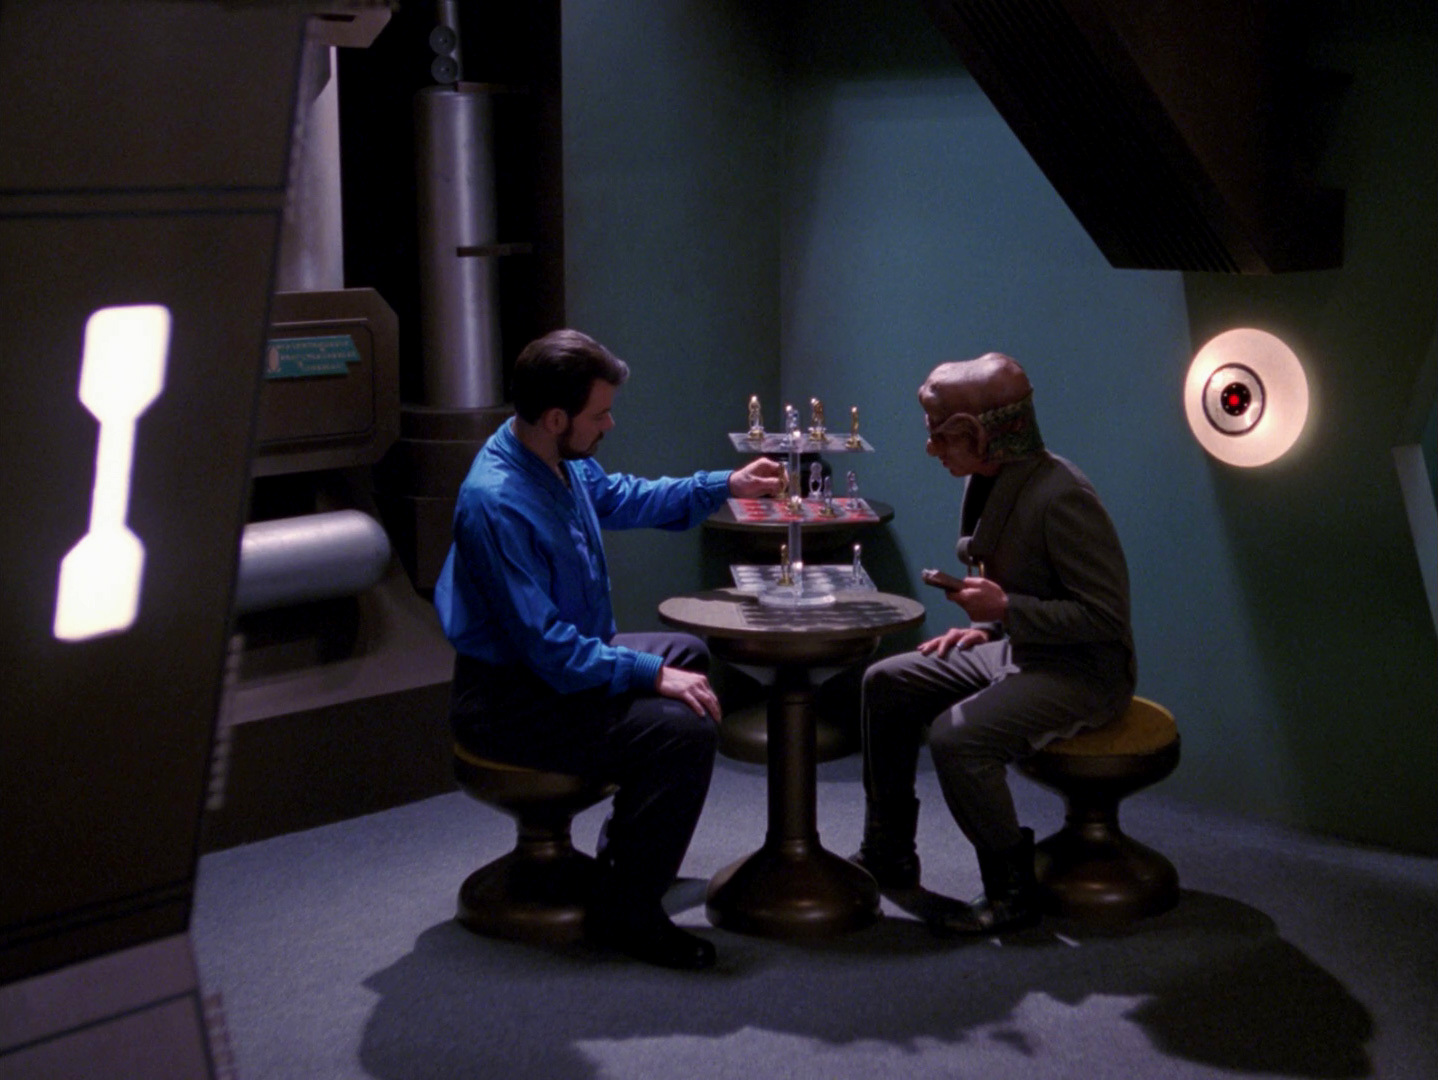
| Earlier in the episode, Riker played 3D chess against the Ferengi using the elaborate chess set usually seen in Ten Forward beginning with the second seasons. That prop was based on the 3D chess set seen in the original series. Here, the two players are using the simpler, earlier chess set seen in several season 1 episodes. | 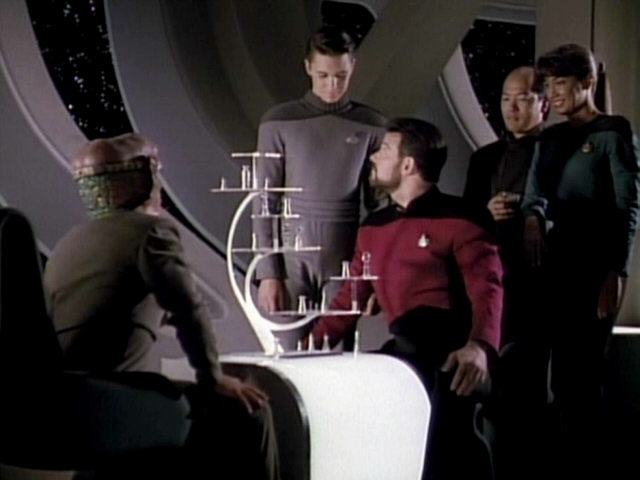 Earlier in this episode |
 "The Neutral Zone" |
 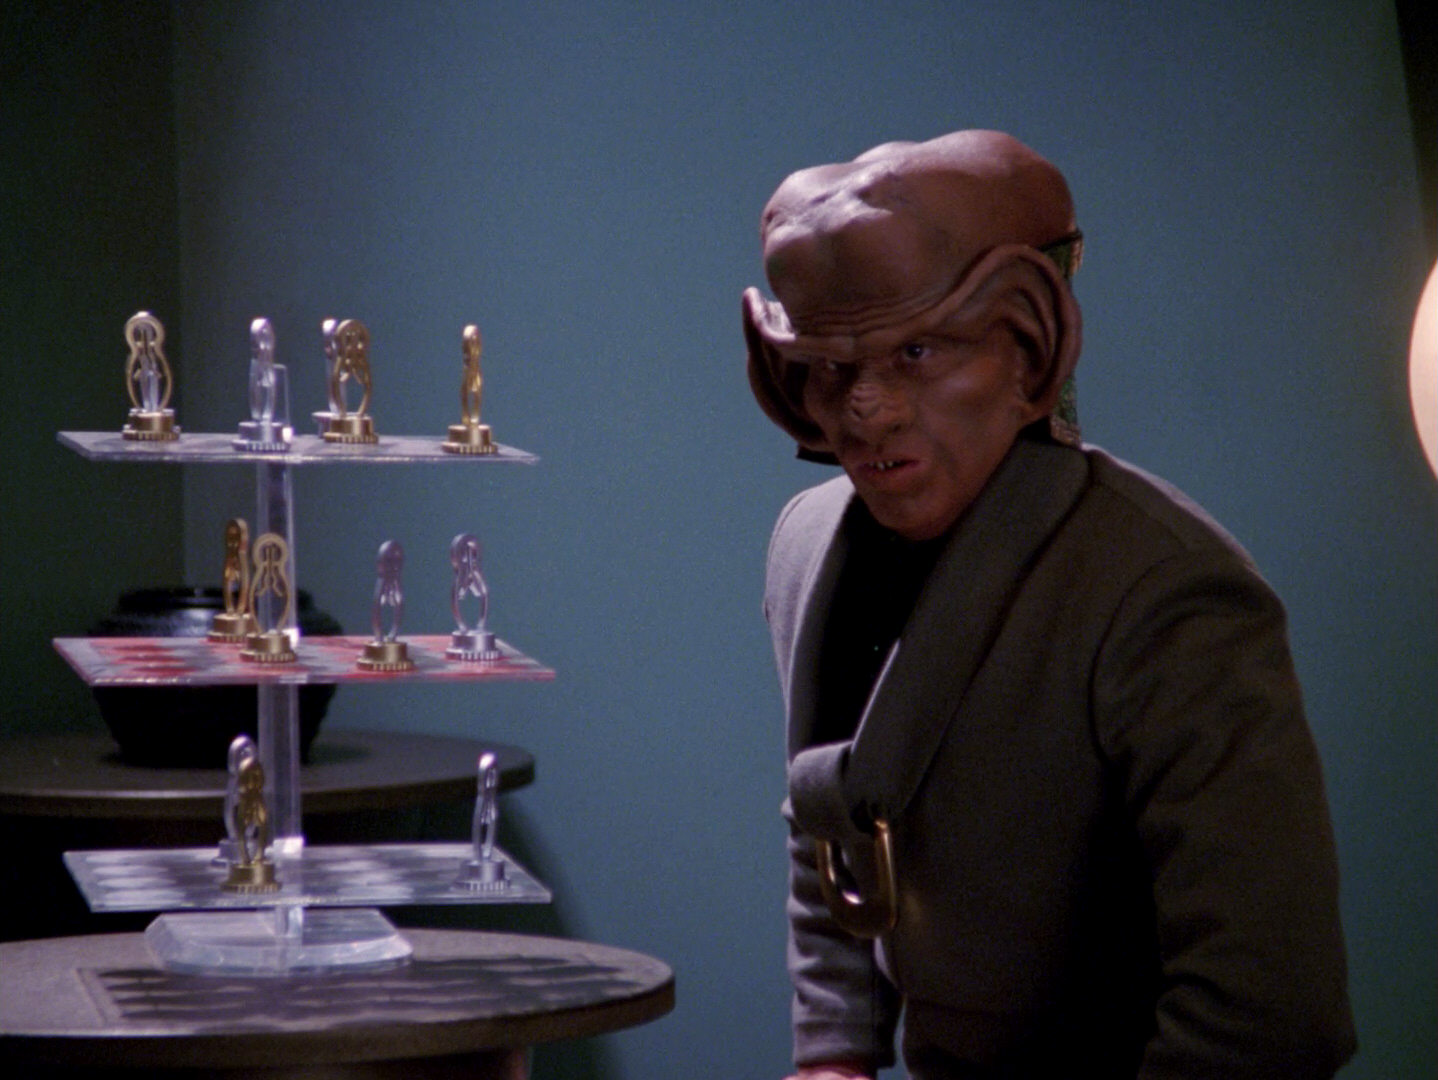 |
The chess game in HD. |
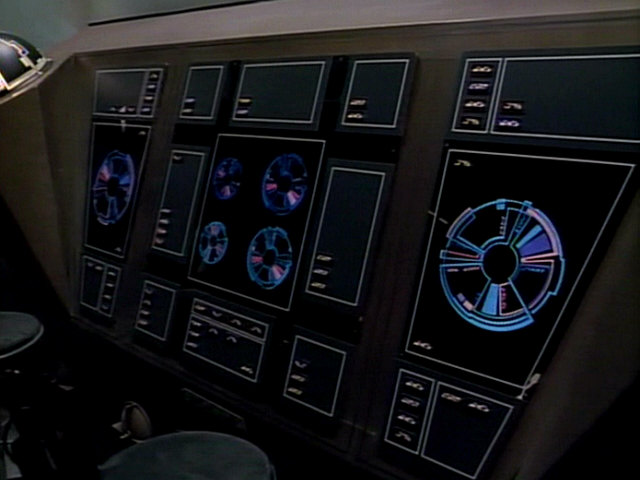
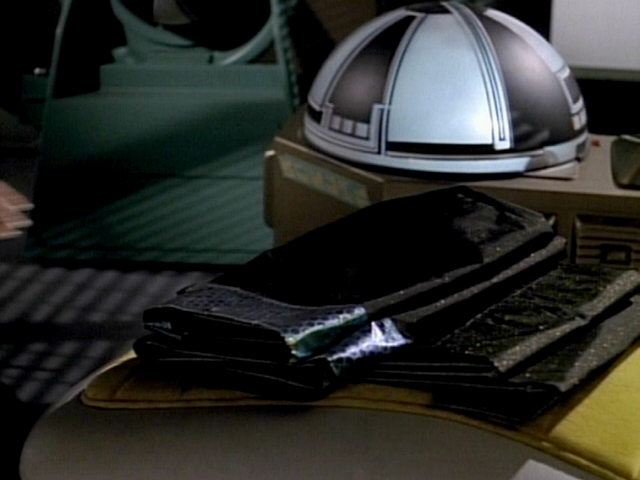
| This is the first time these strange two metallic balls are seen on TNG. They will appear in many later episodes, such as prominently in "The Nth Degree", as part of Barclay's holodeck interface. A different device with the same basic construction could be seen a bit earlier in the episode, in the scene when Riker and the Trois woke up on the Ferengi ship. | 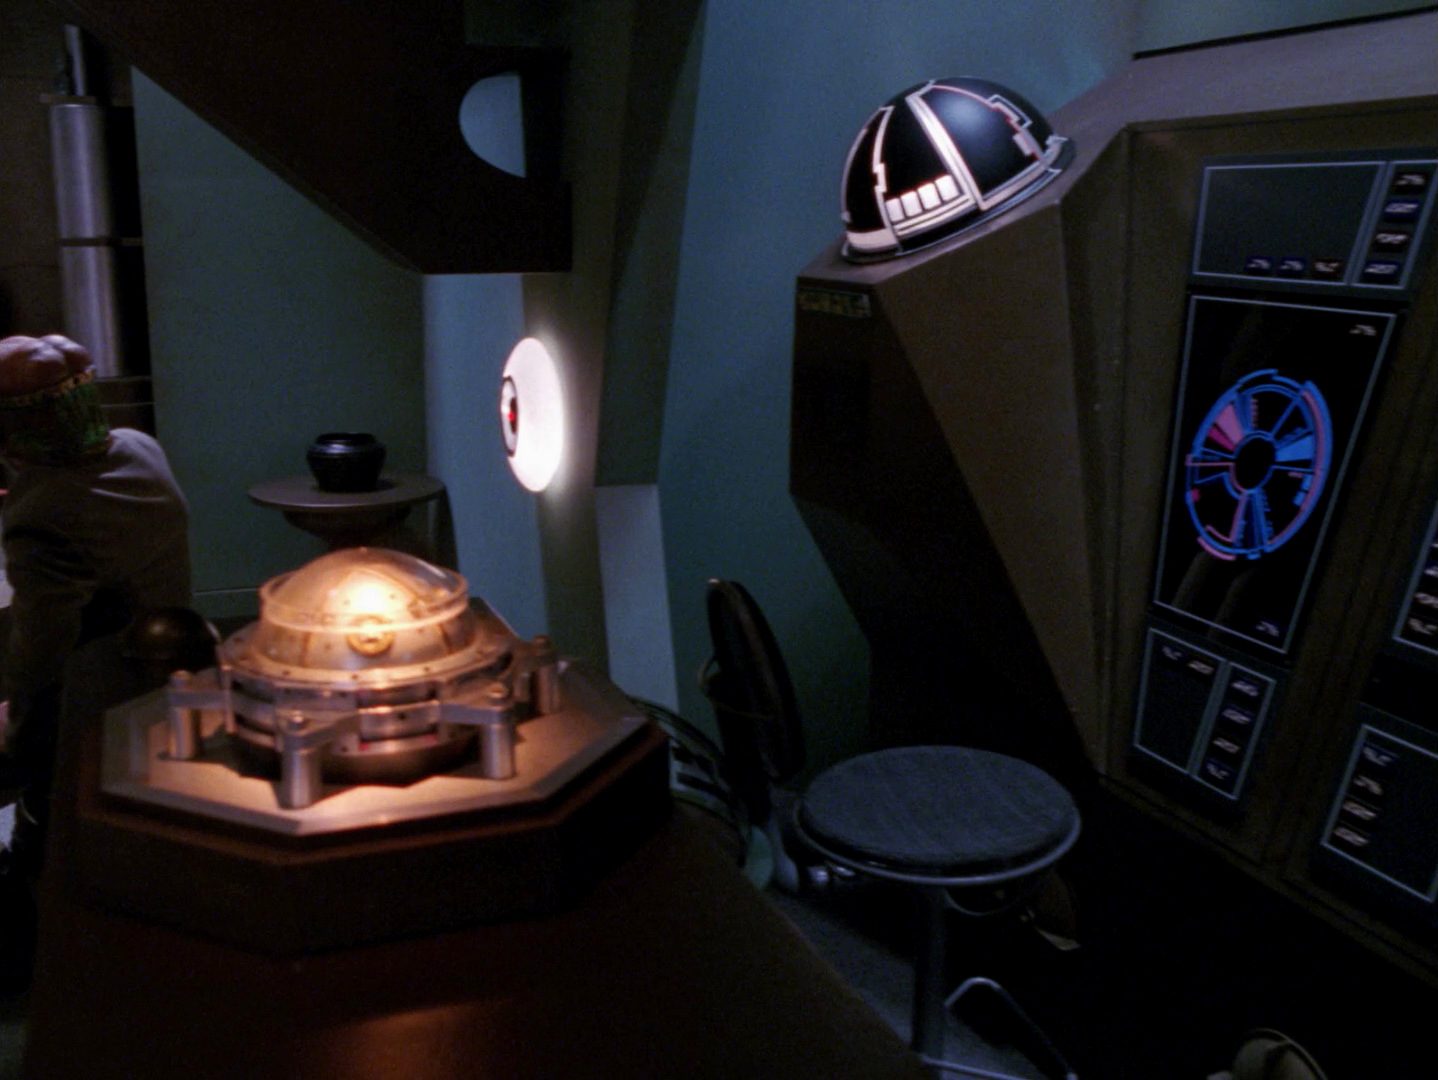 Earlier in this episode |
 "The Nth Degree" |
  |
The two consoles in HD. |
| The console with the domed container later appears on Carraya IV in "Birthright II". |  "Birthright II" |
|||
| The carafe was previously seen in a couple of episodes, such as "Symbiosis", "Up the Long Ladder" or "The Survivors". | 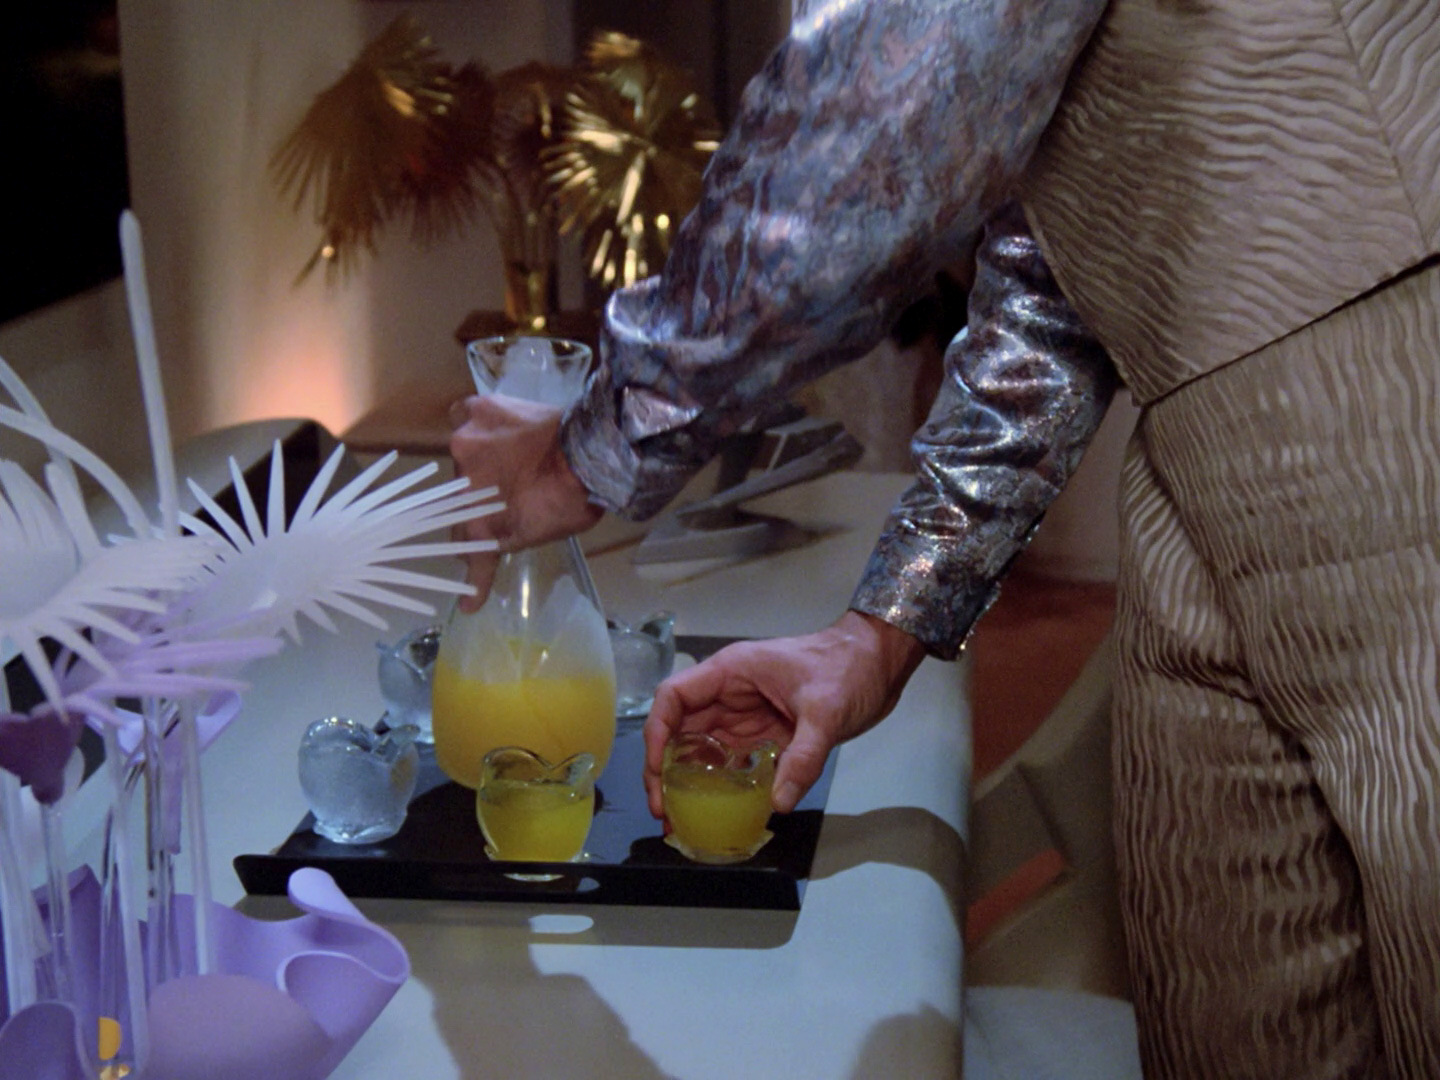 "Symbiosis" |
 "Up the Long Ladder" |
||
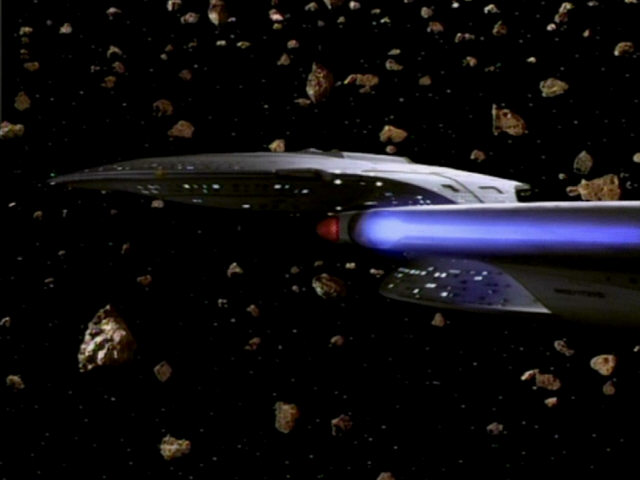
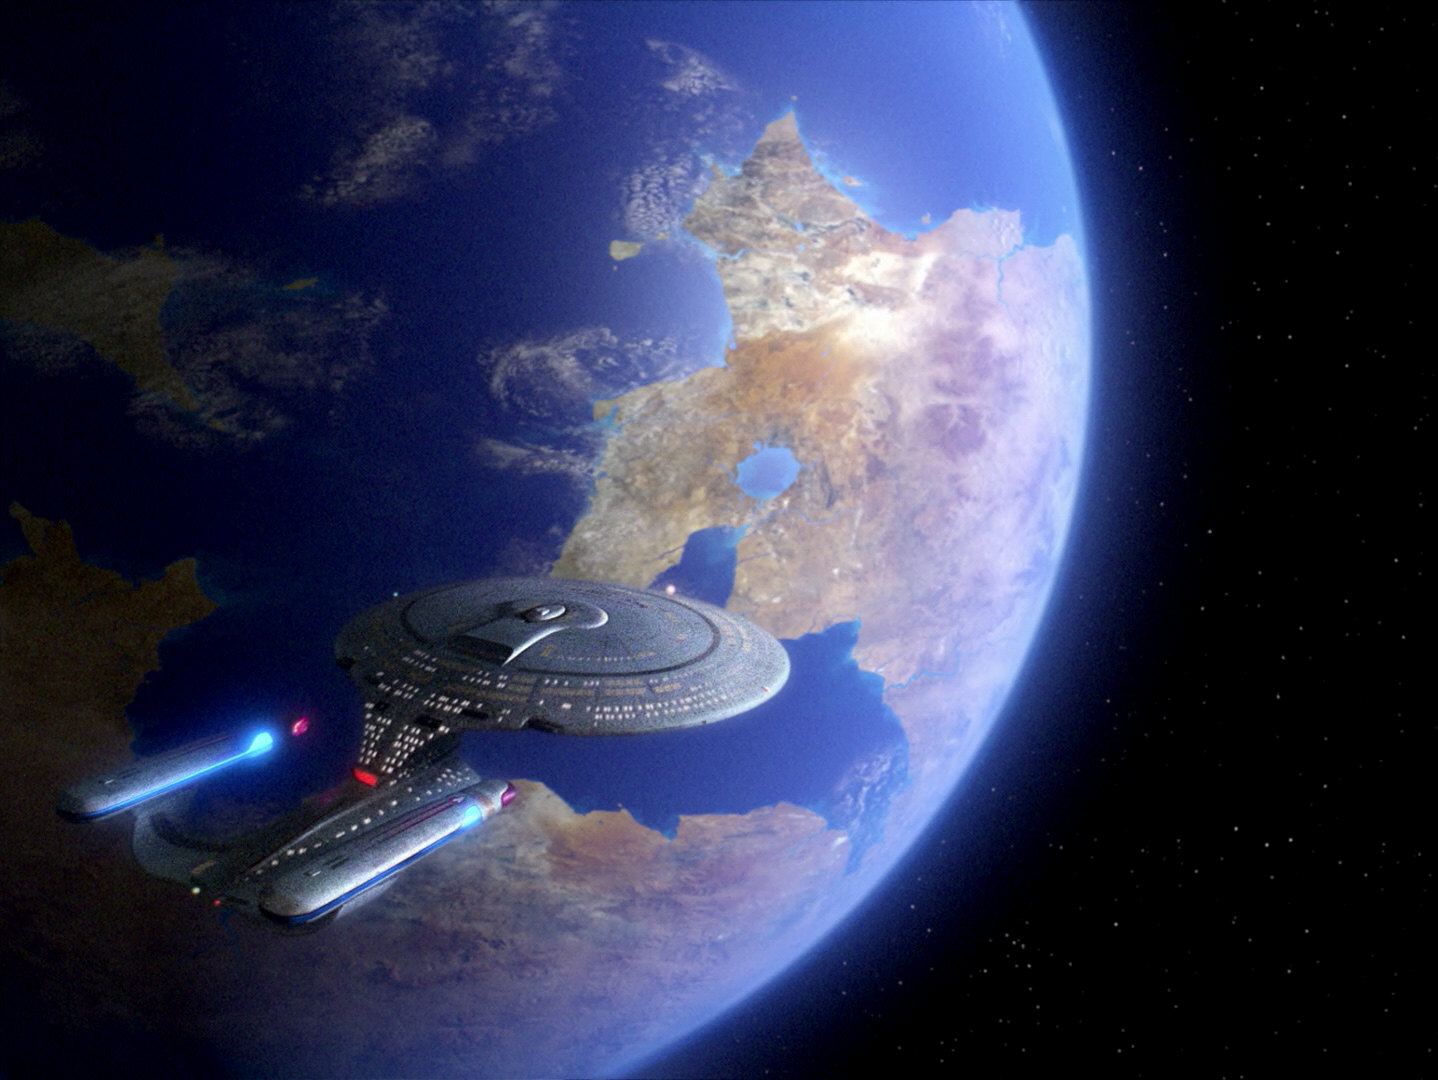
| The USS Enterprise-D traveling through the Gamma Erandi Nebula. It seems that this shot was flipped, as the colors of the port and starboard navigation lights are switched. |  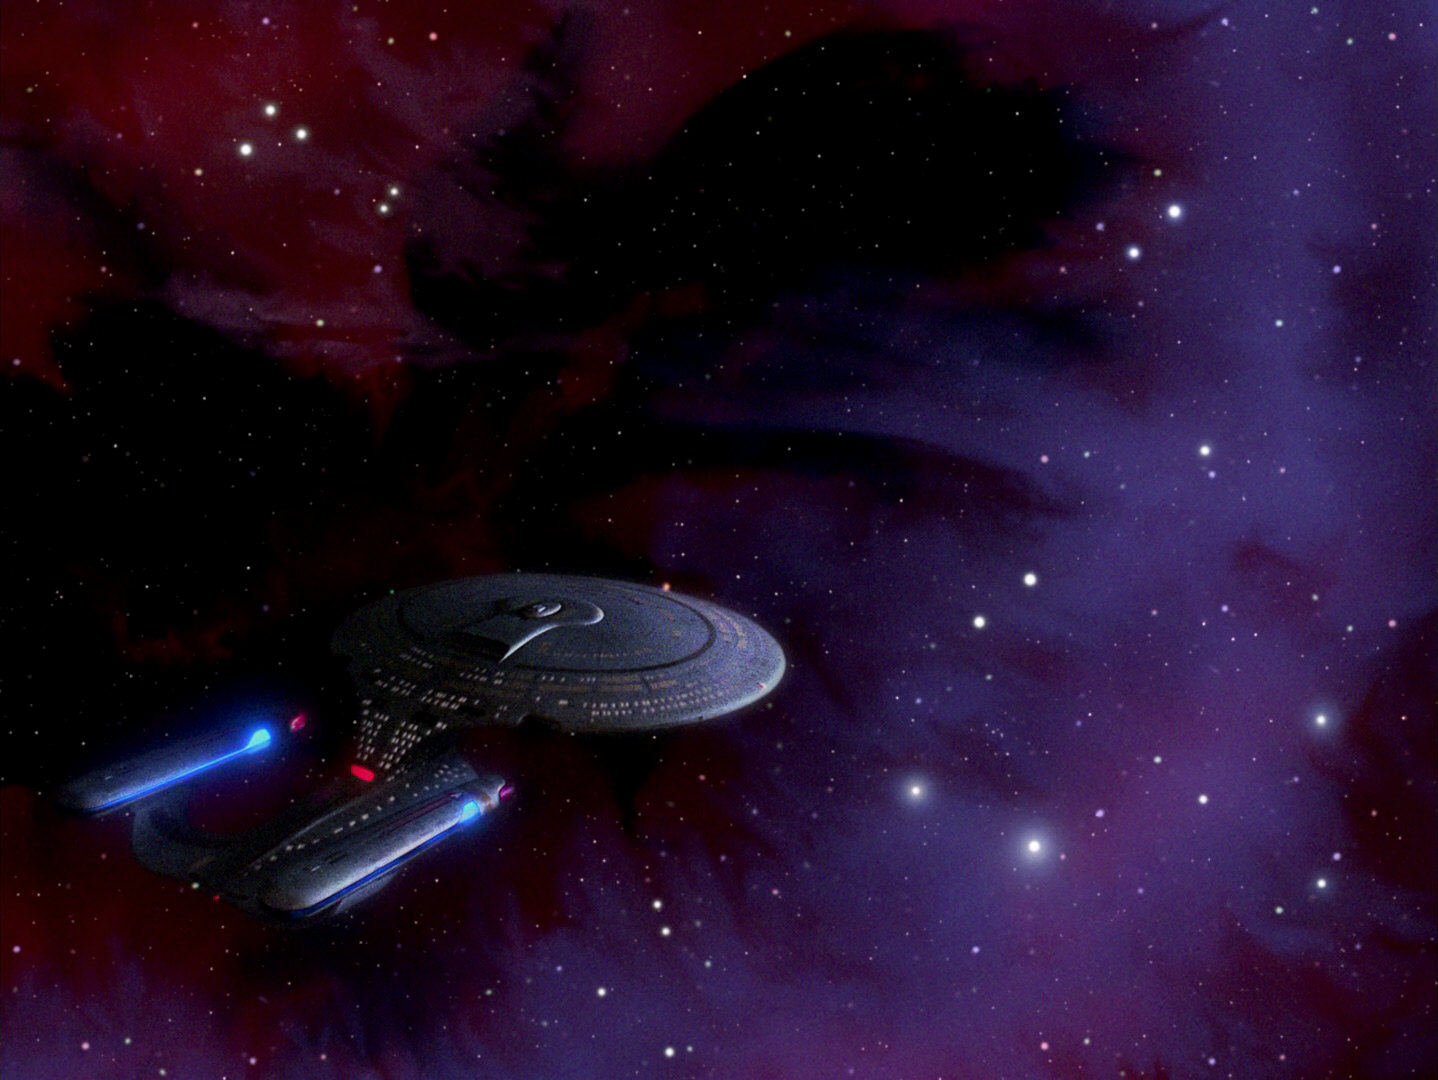 |
The impressive nebula in HD. The wrong lights were not fixed for TNG-R. The HD shot clearly shows the left light on port and red on starboard. | ||
  |
||||
| This footage of the Ferengi Marauder was also newly filmed for this episode. | 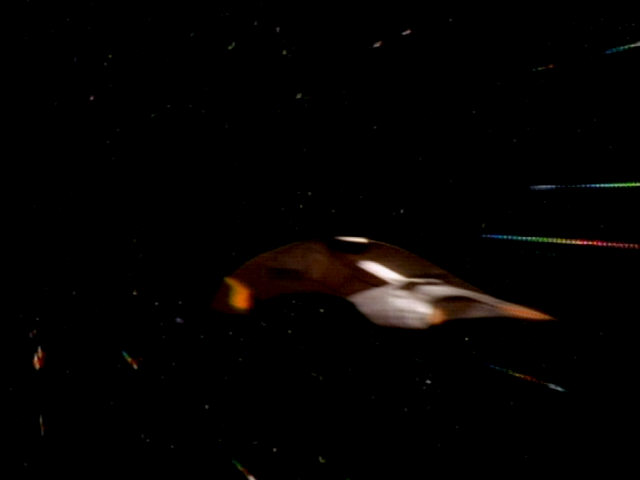  |
The shot in TNG-R. | ||
| The stools were previously seen on the Enterprise-D in "Where No One Has Gone Before". In real life, these are Rocchetto Stools. Commercially Available Chairs in Star Trek |
 "Where No One Has Gone Before" |
  |
The stools in TNG-R. | |
| Close inspection of the top right corner of this screenshot reveals that the footage of the USS Enterprise-D is flipped. | 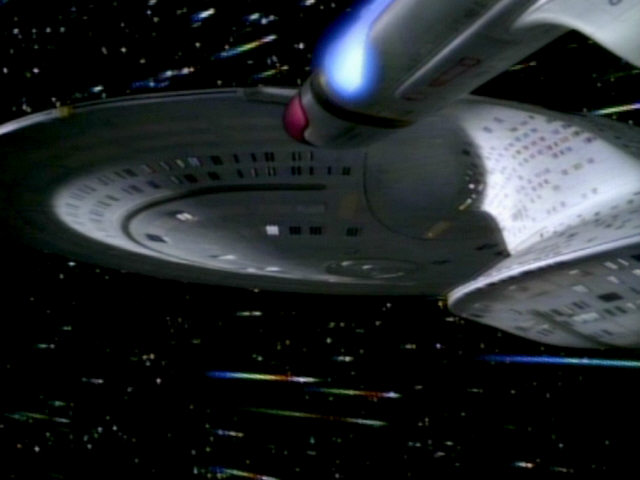 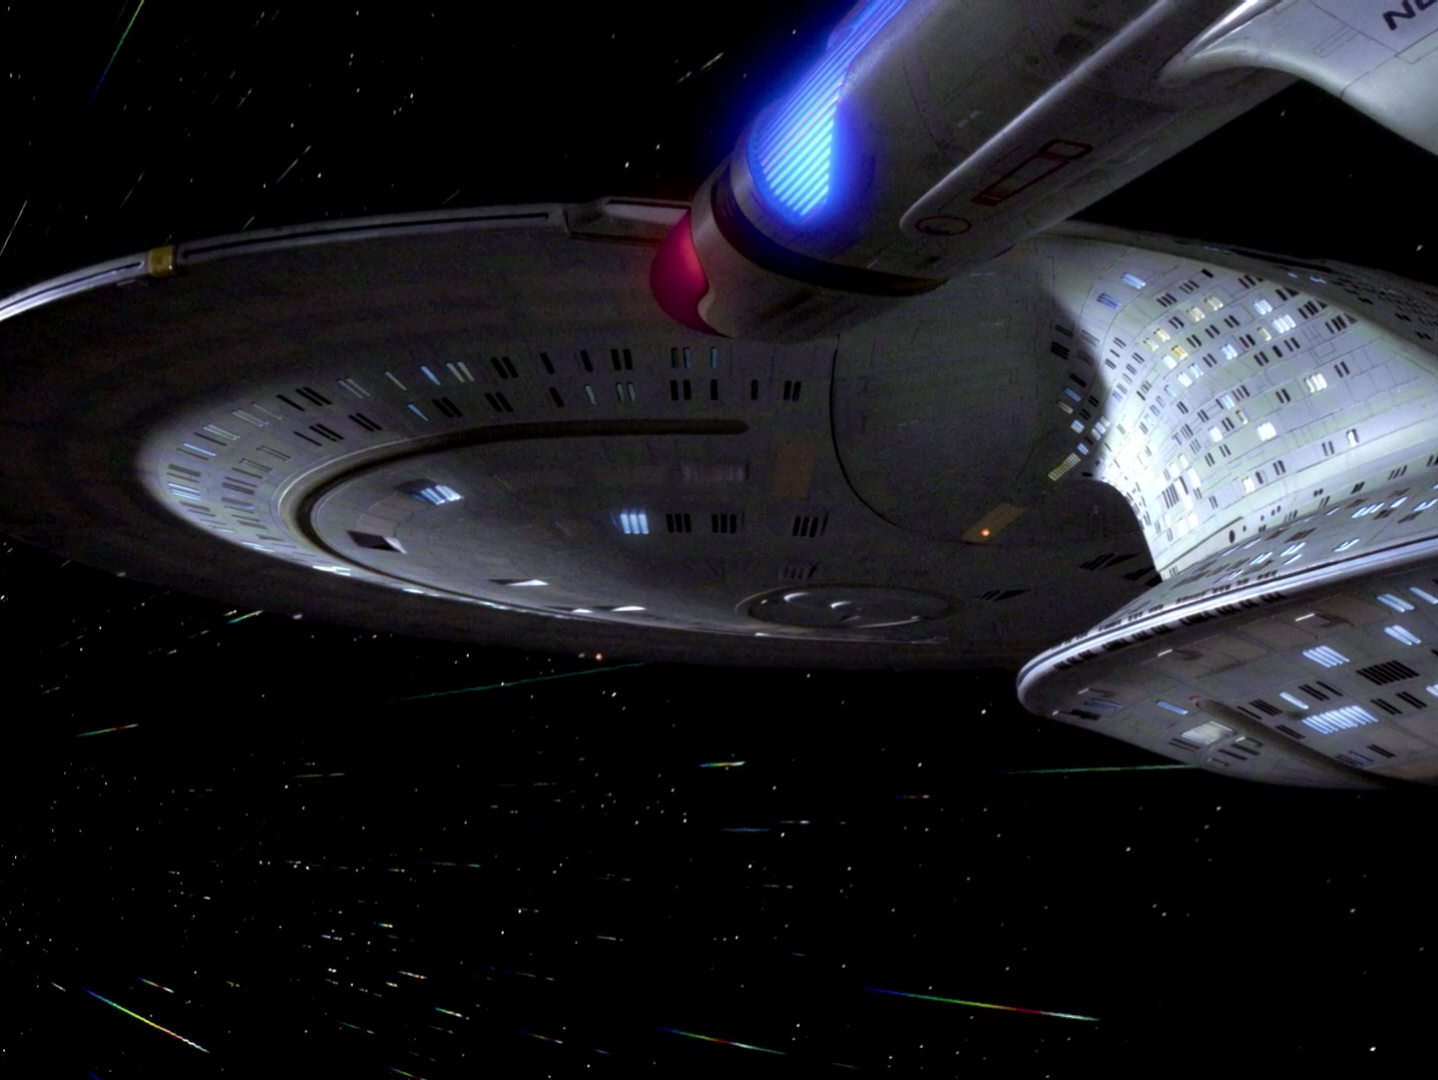 |
The text was corrected for the remastered version of this shot and is no longer flipped. | ||
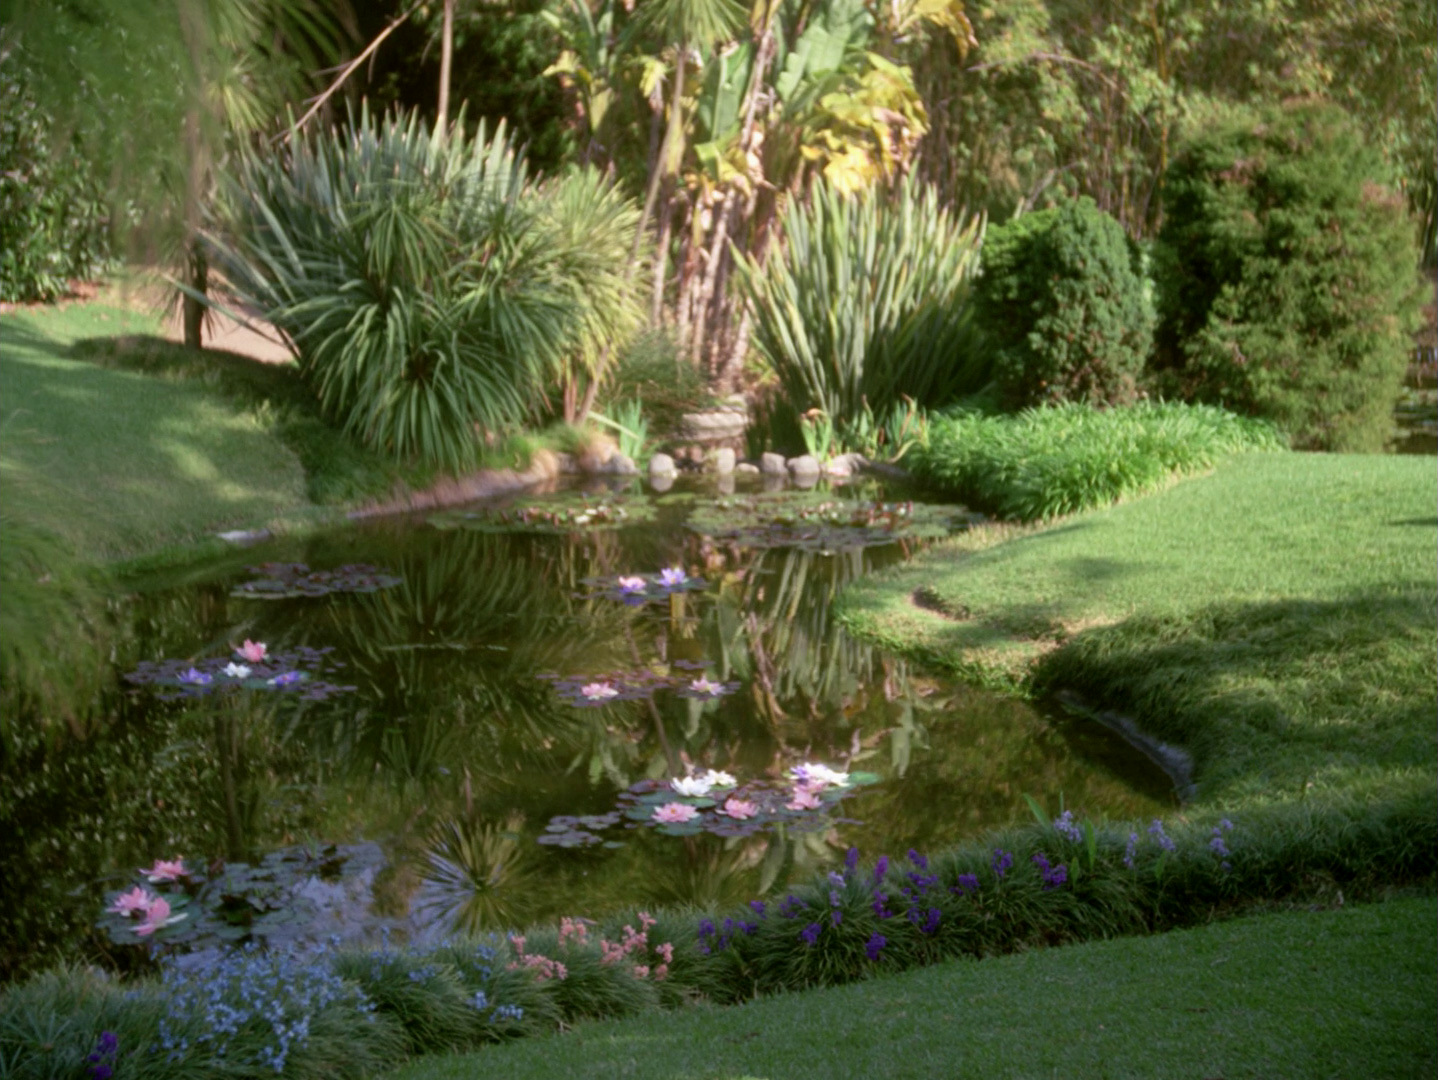
| The same portion of the Huntington Library gardens was also seen in "Justice" when the location doubled as Rubicun III. |  "Justice" |
 Huntington Library gardens (2010) |
  |
The shot as it appears in TNG-R. |
| This shot of Betazed was originally created for "Who Watches the Watchers" where the planet appeared as Mintaka III. | 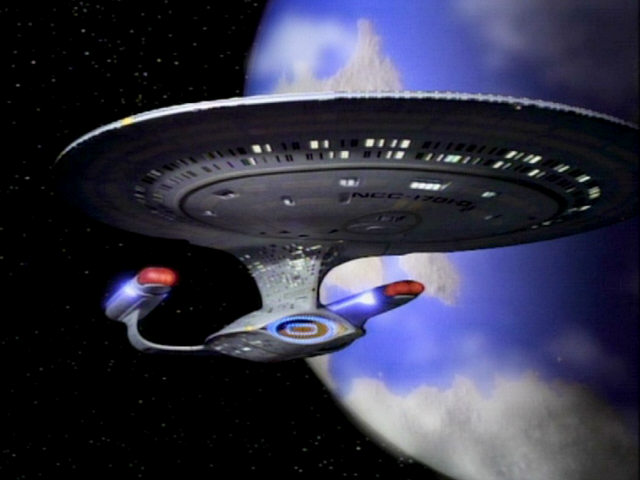  |
Once again, we may see another new planet than in TNG-R: "Who Watches the Watchers". | ||
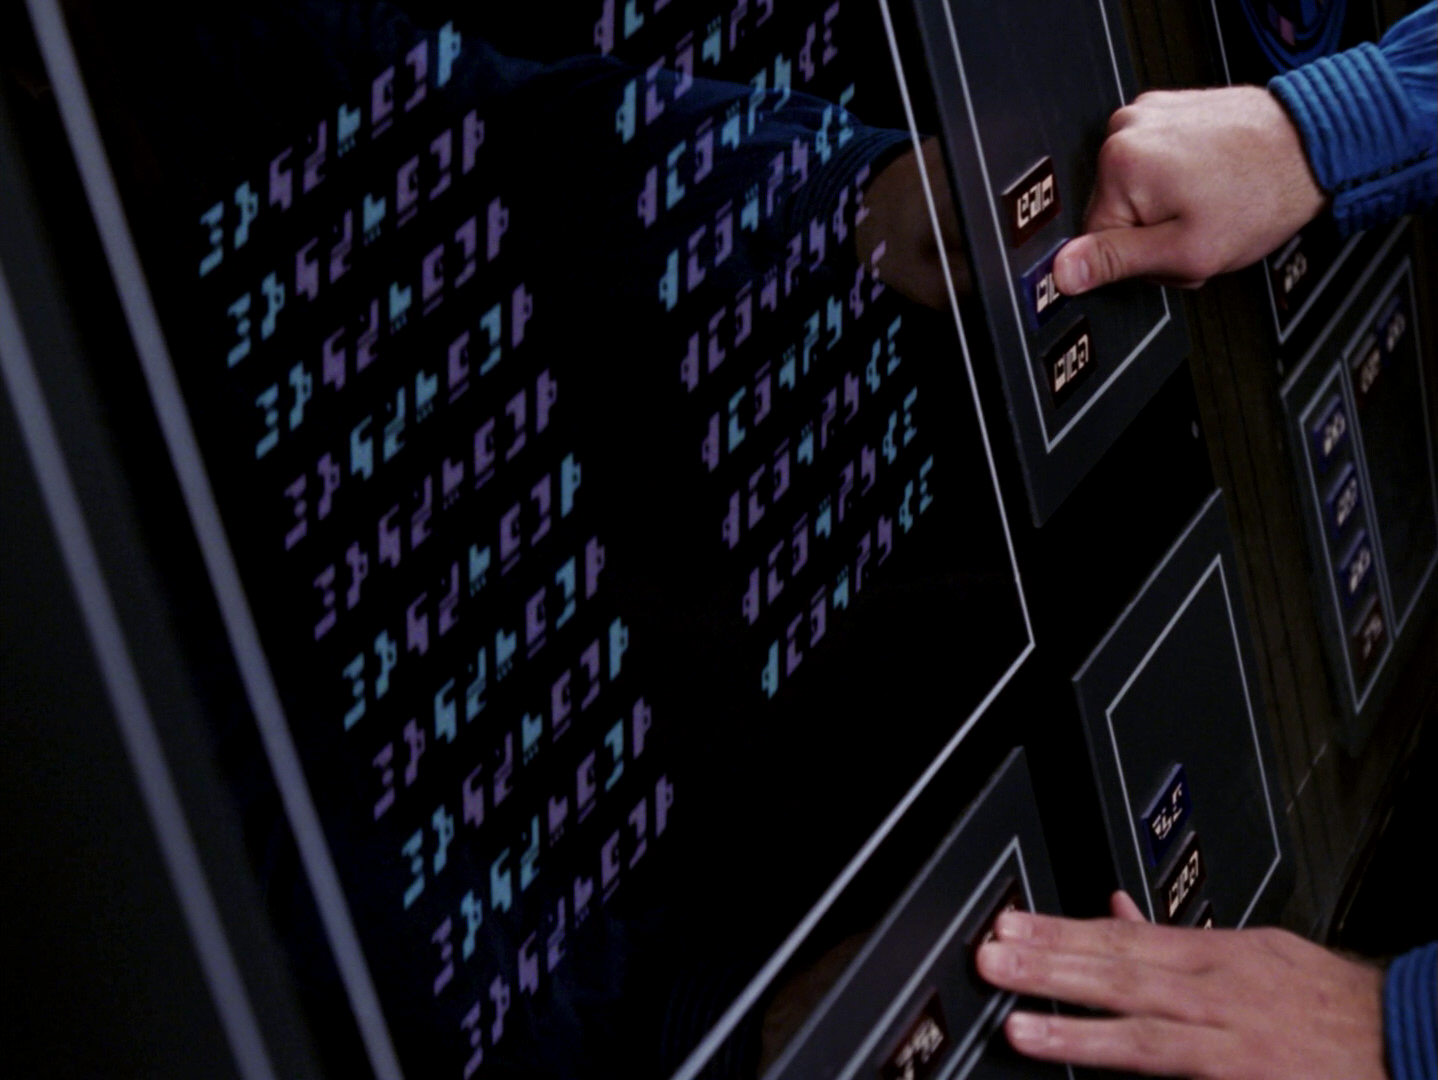
| Ferengi writing can be seen in the following screenshots. | 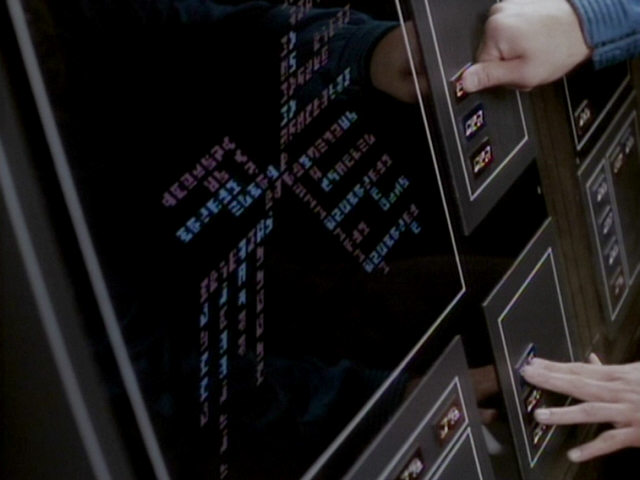 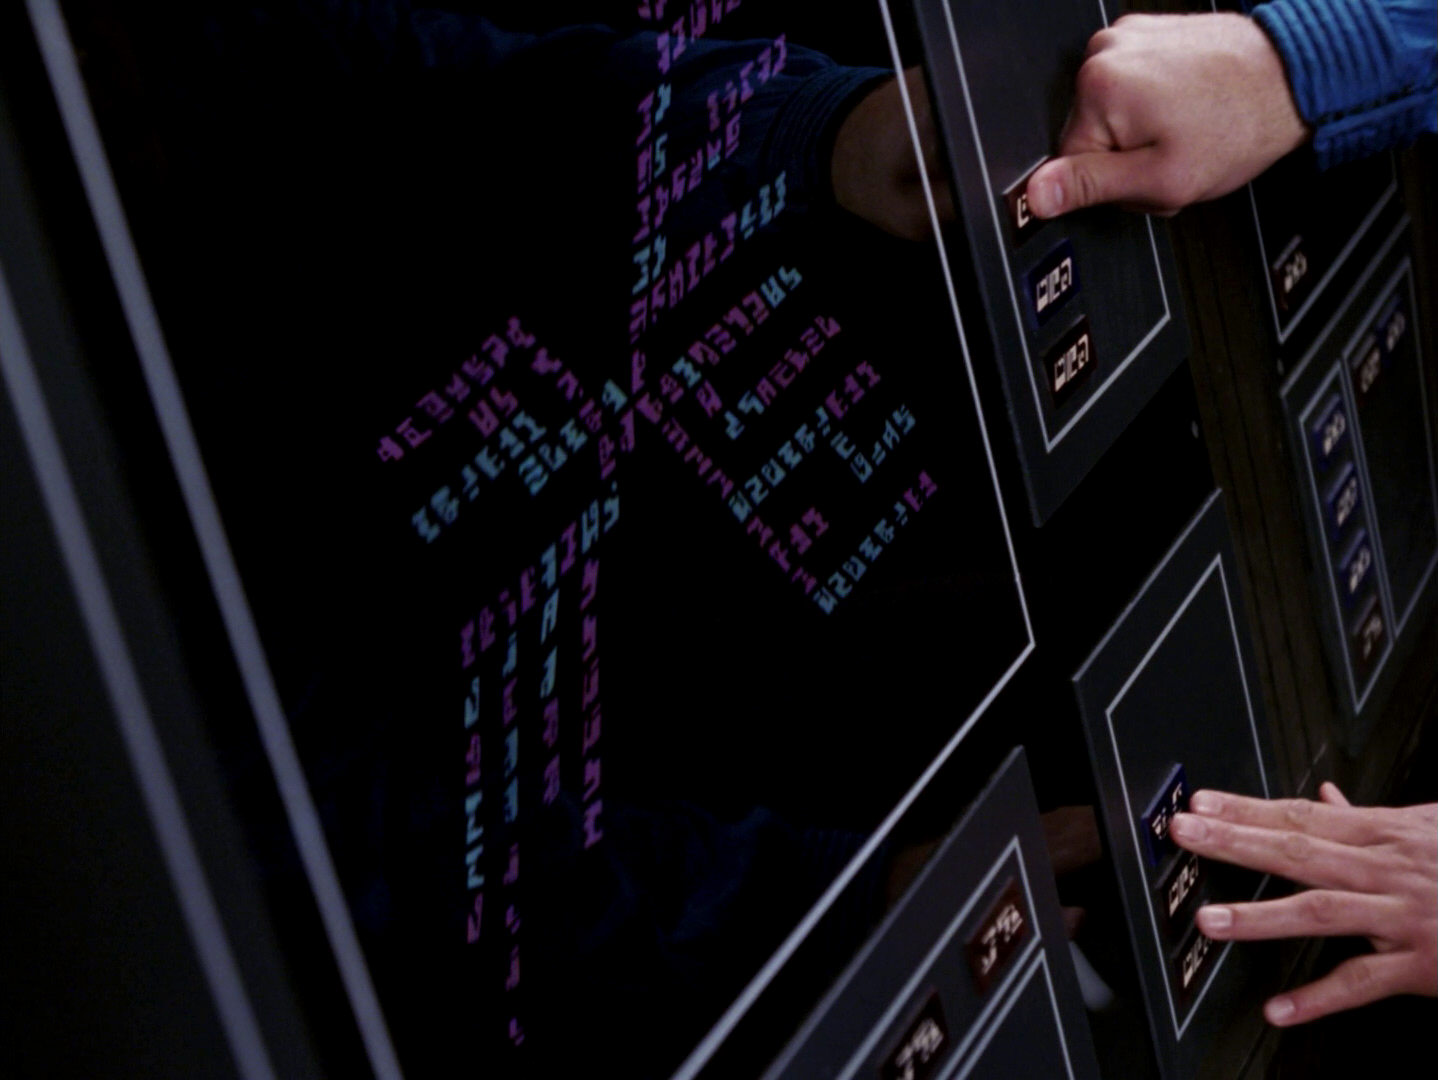 |
A closer look at the writing in HD. | ||
  |
||||
  |
||||
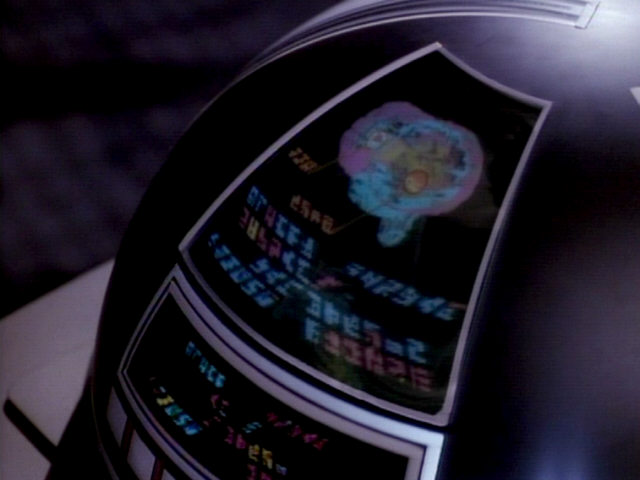
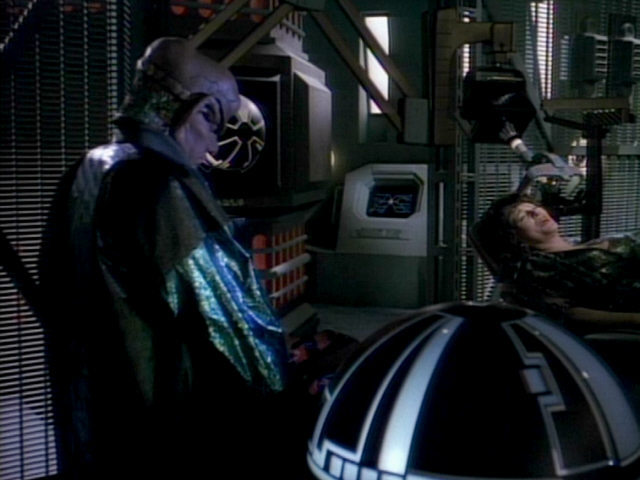
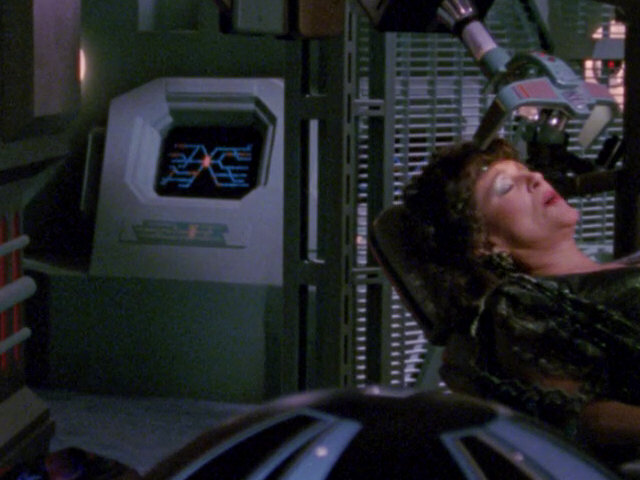
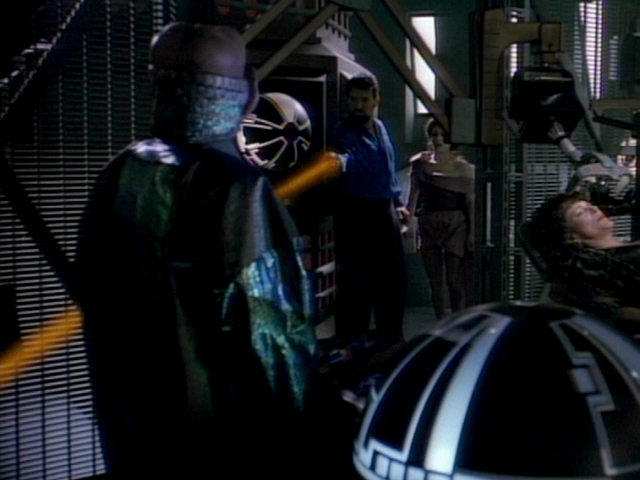
| The device Doctor Farek uses to experiment on Lwaxana Troi was also used during Picard's heart surgery in "Samaritan Snare". | 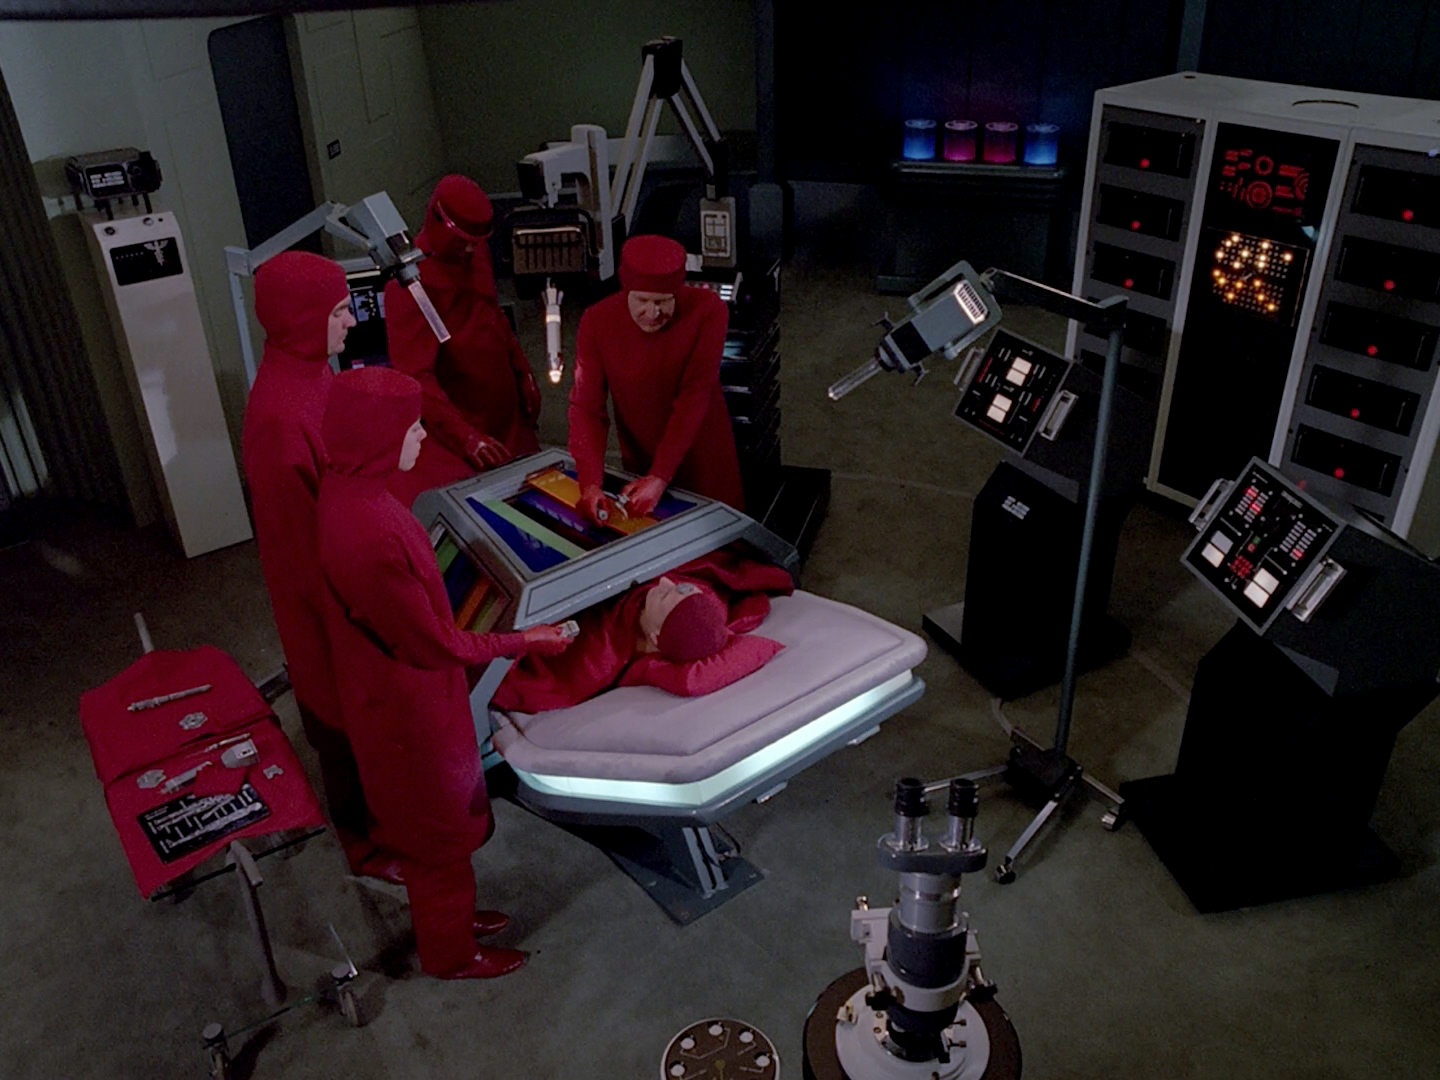 "Samaritan Snare" |
 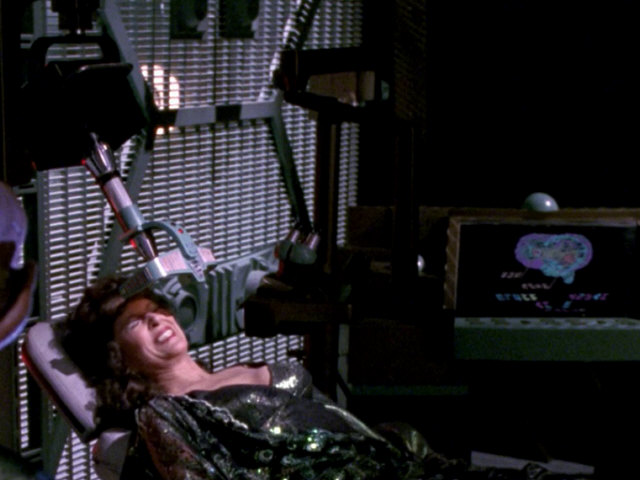 |
An HD close-up of the device. | |
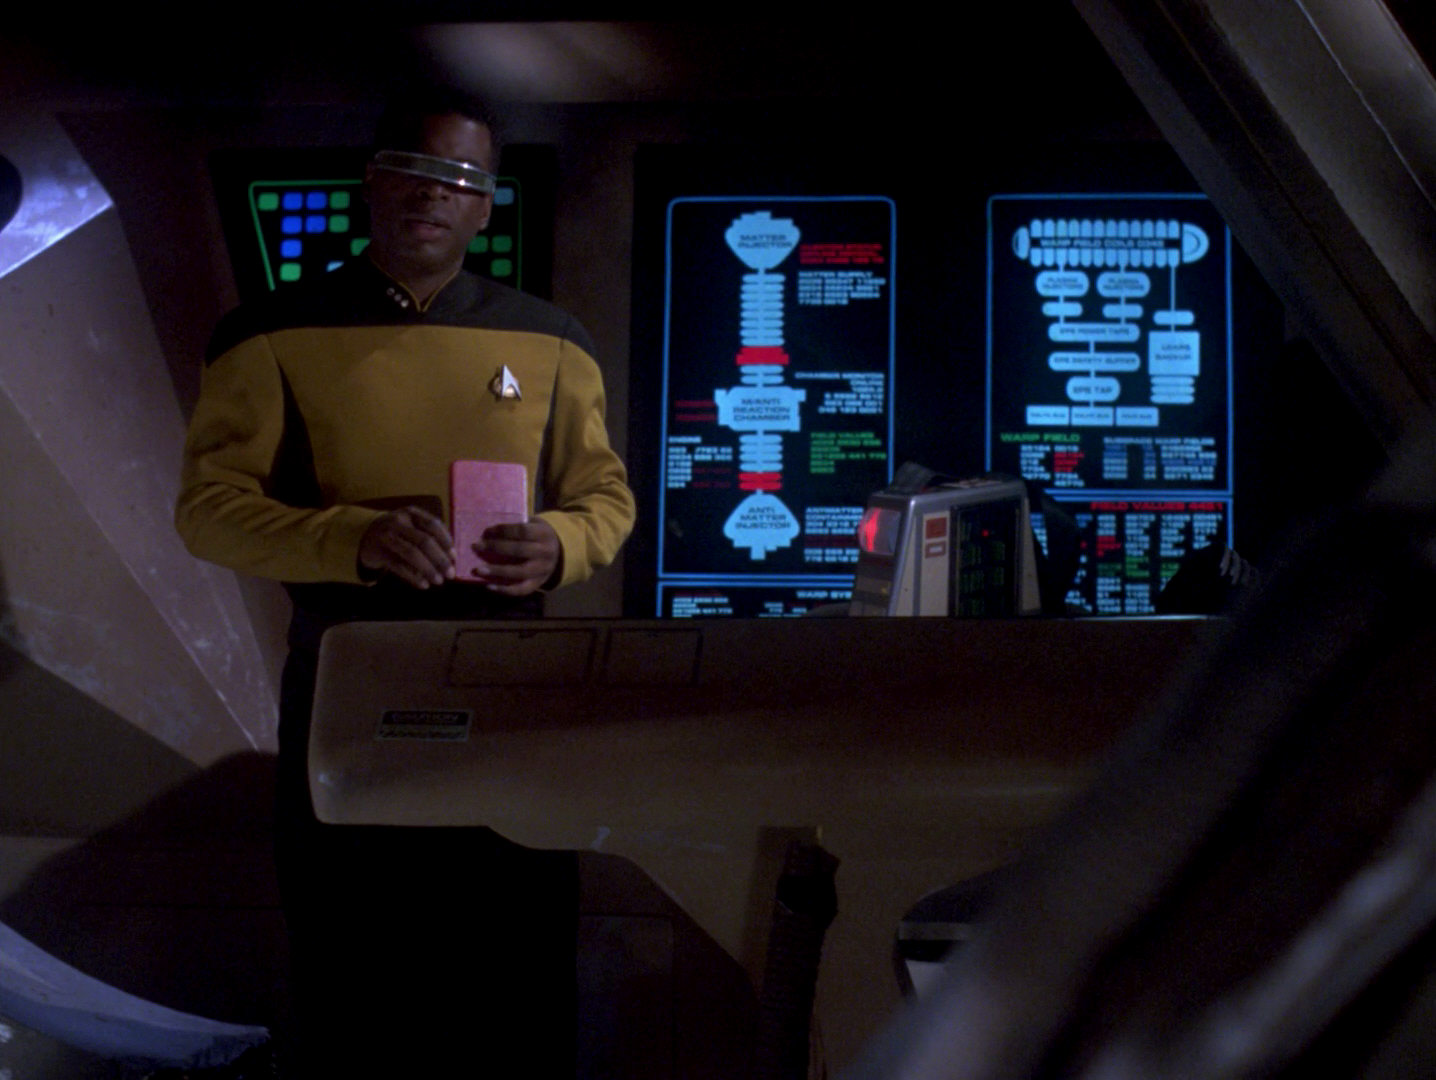
| Geordi scans the Ferengi subspace frequencies to locate the Trois and Riker. |  |
No changes | ||
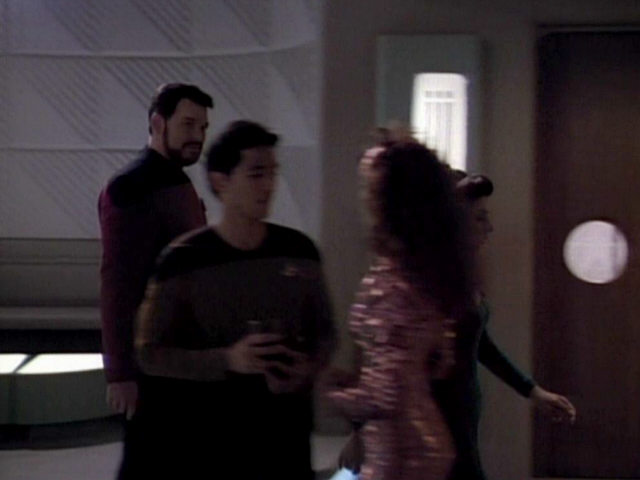
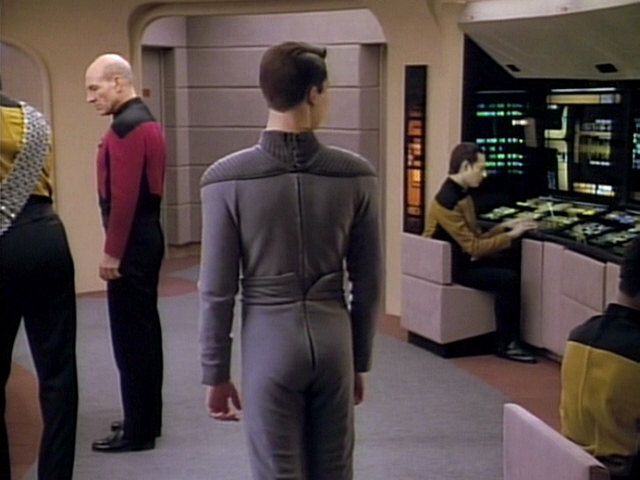
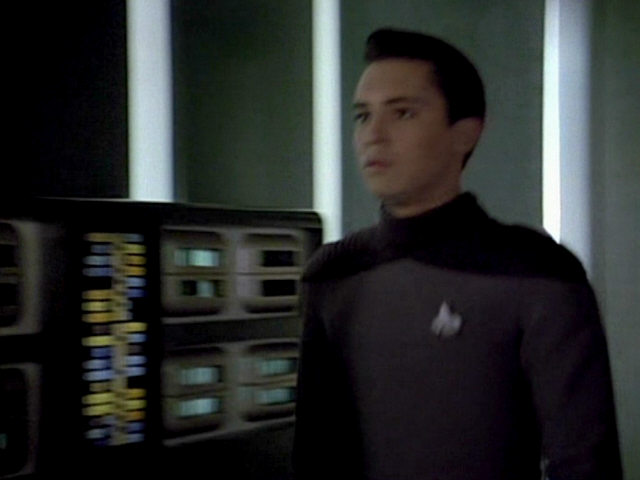
| Wesely's final look at the bridge (because he is supposed to leave for the Academy) is filmed from the same angle as the one in which Picard enters the bridge at the very beginning of "Encounter at Farpoint". | 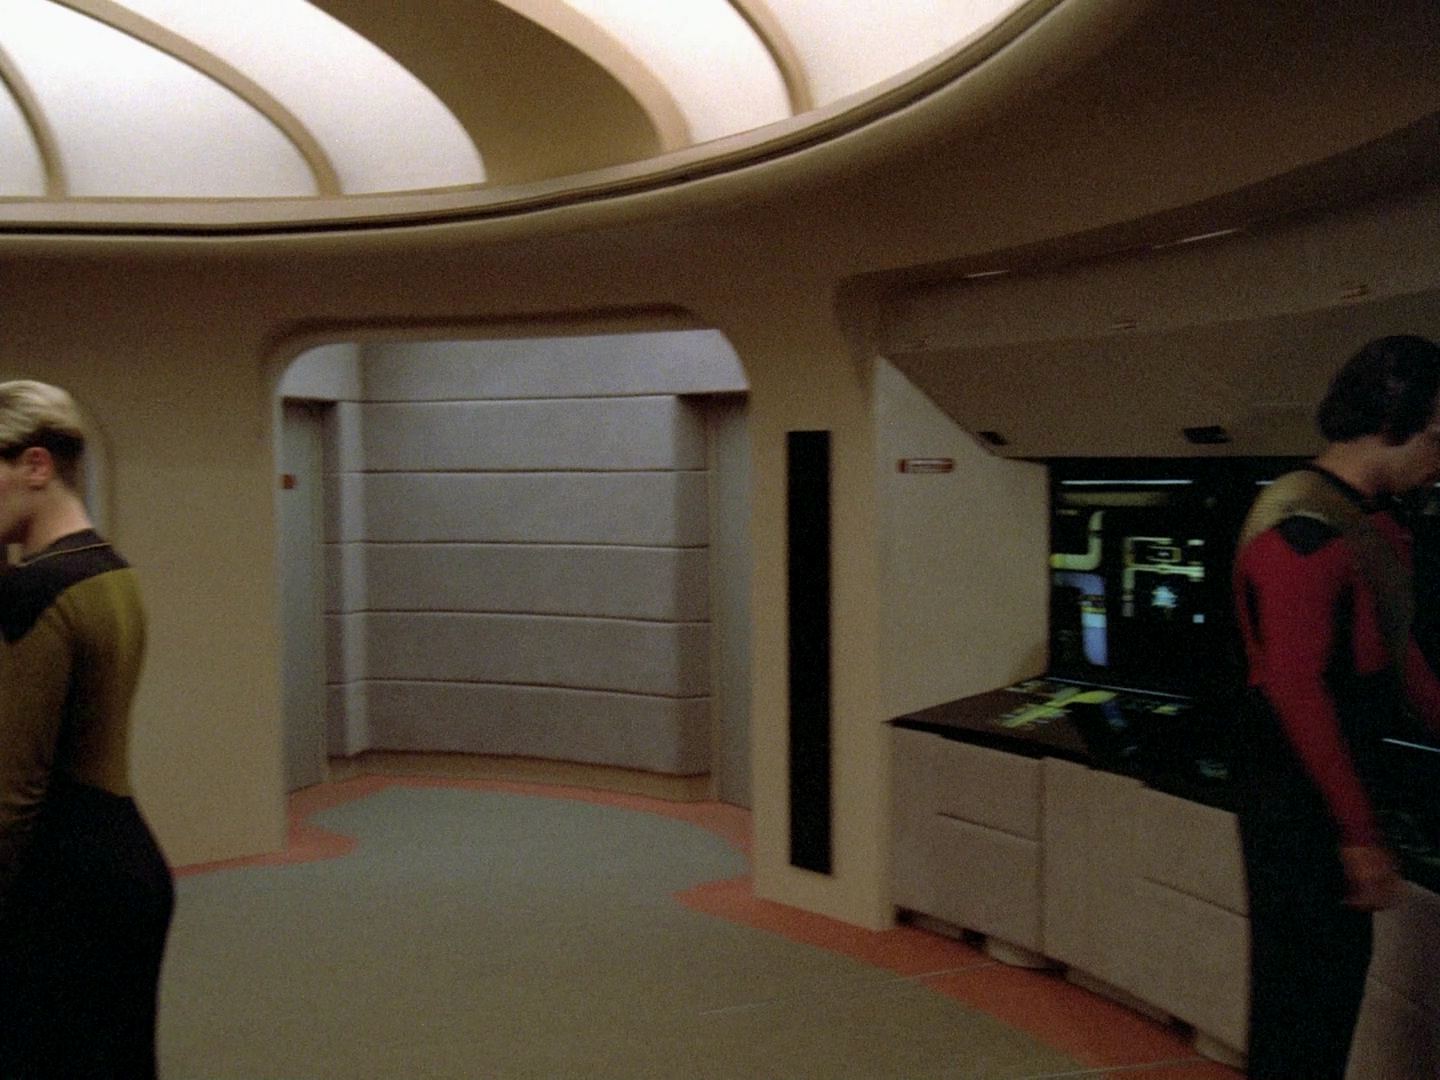 "Encounter at Farpoint" |
 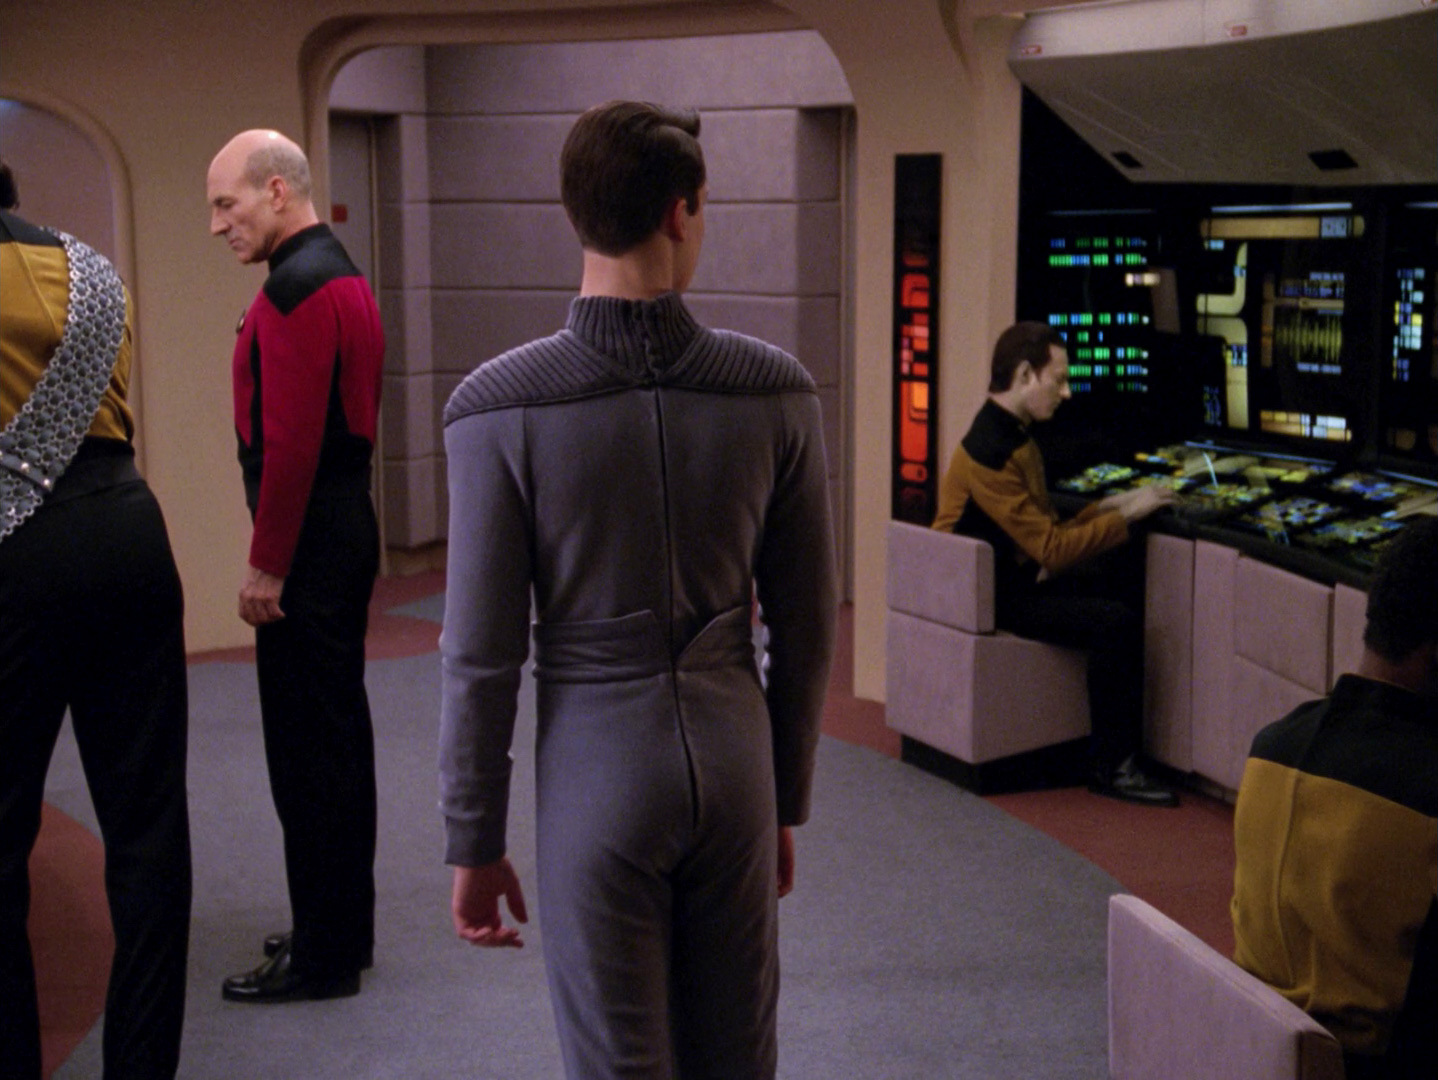 |
The shot in HD. | |
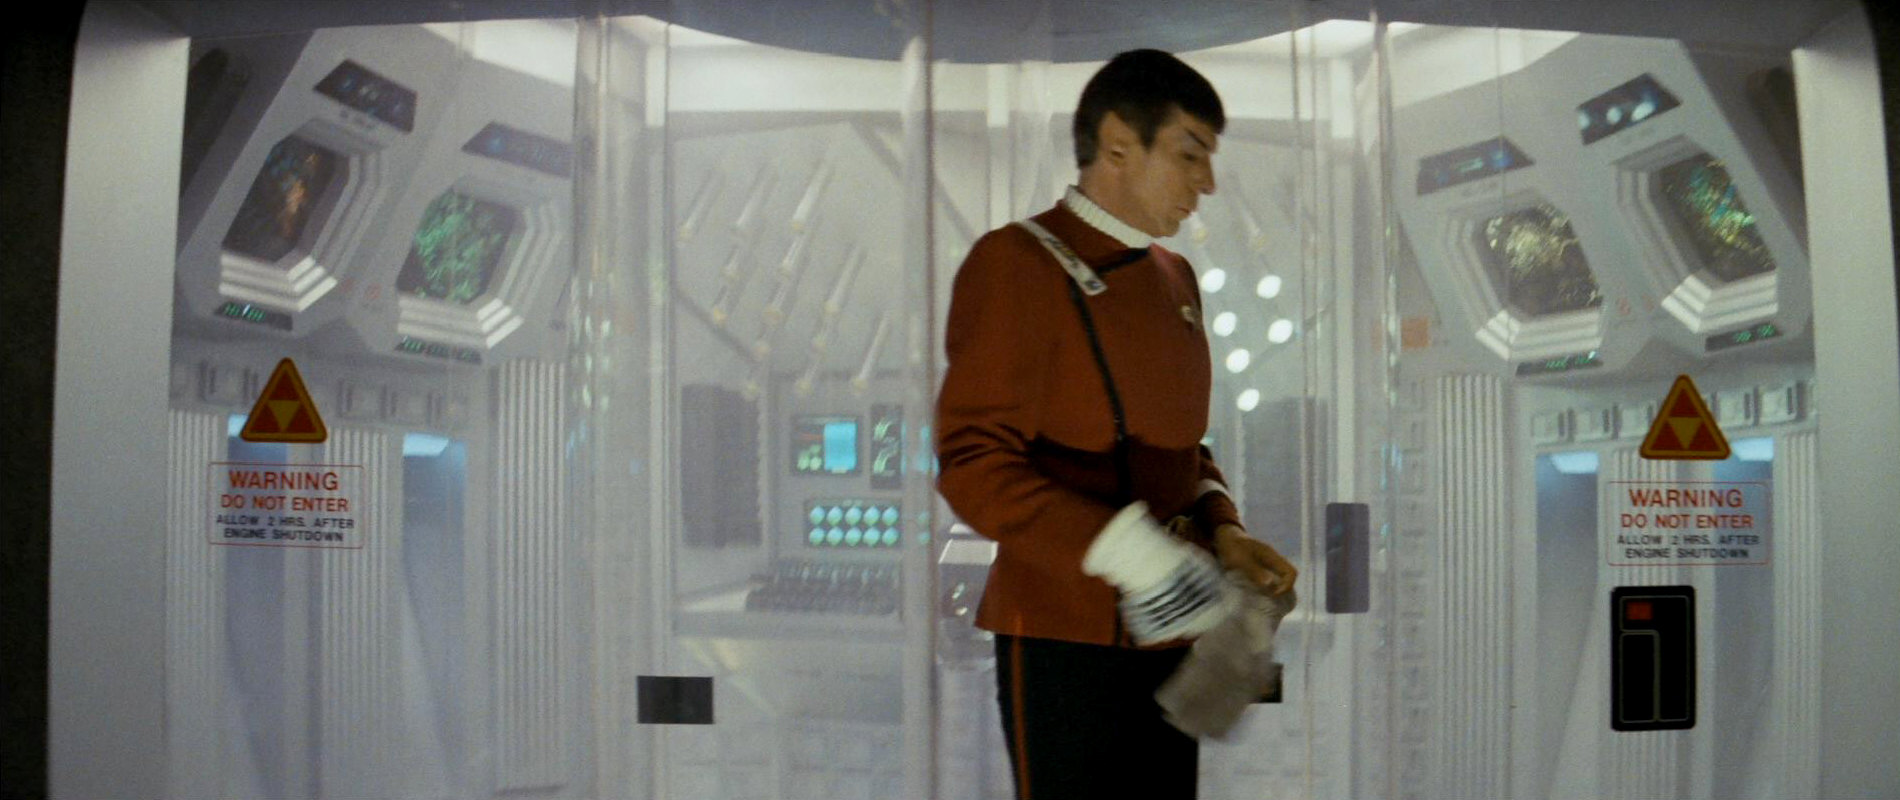
| Wesley enters the transporter room through the rarely used side entrance. The Corridor from the Transporter Room to Sickbay |
"Star Trek II" |
 |
No changes | |
"Loud as a Whisper" |
 |
|||
| Wesley's suitcase was previously used by other people, like the Acamarian delegation in "The Vengeance Factor" and Vash in "Captain's Holiday". A gray version with the emblem first appeared in "The Bonding". | 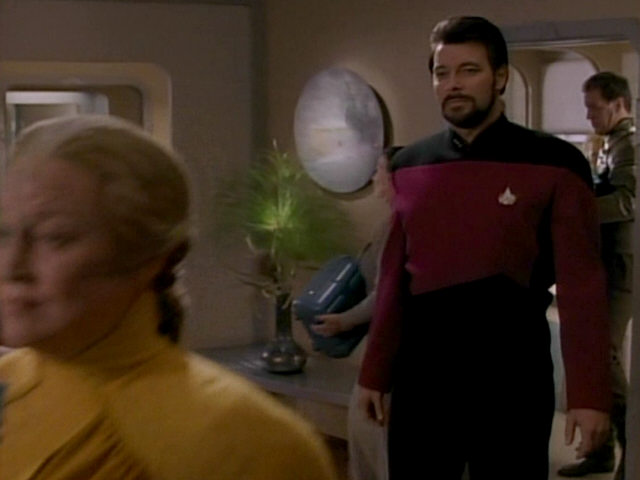 "The Vengeance Factor" |
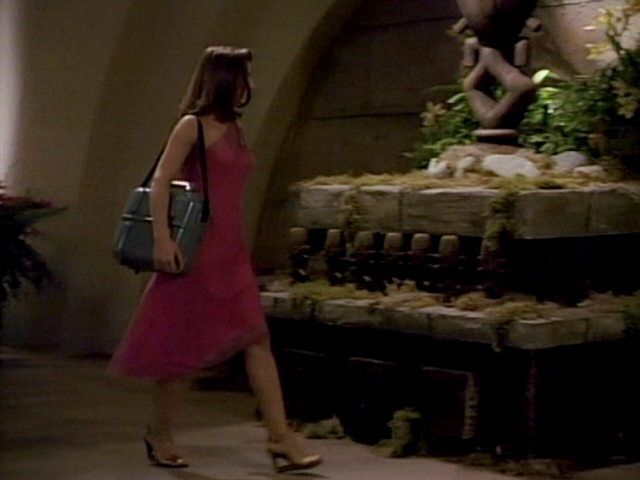 "Captain's Holiday" |
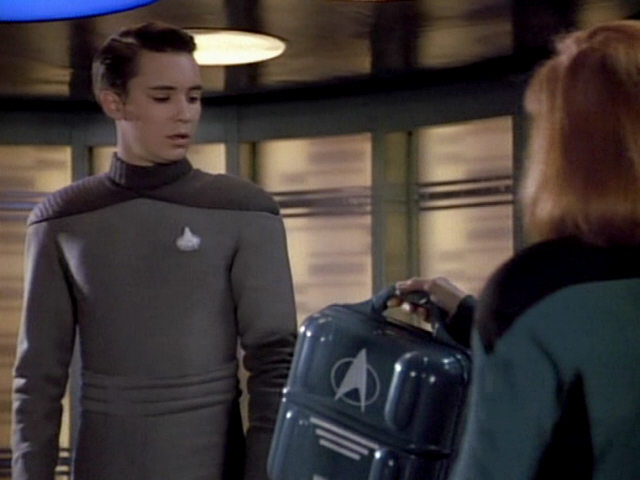 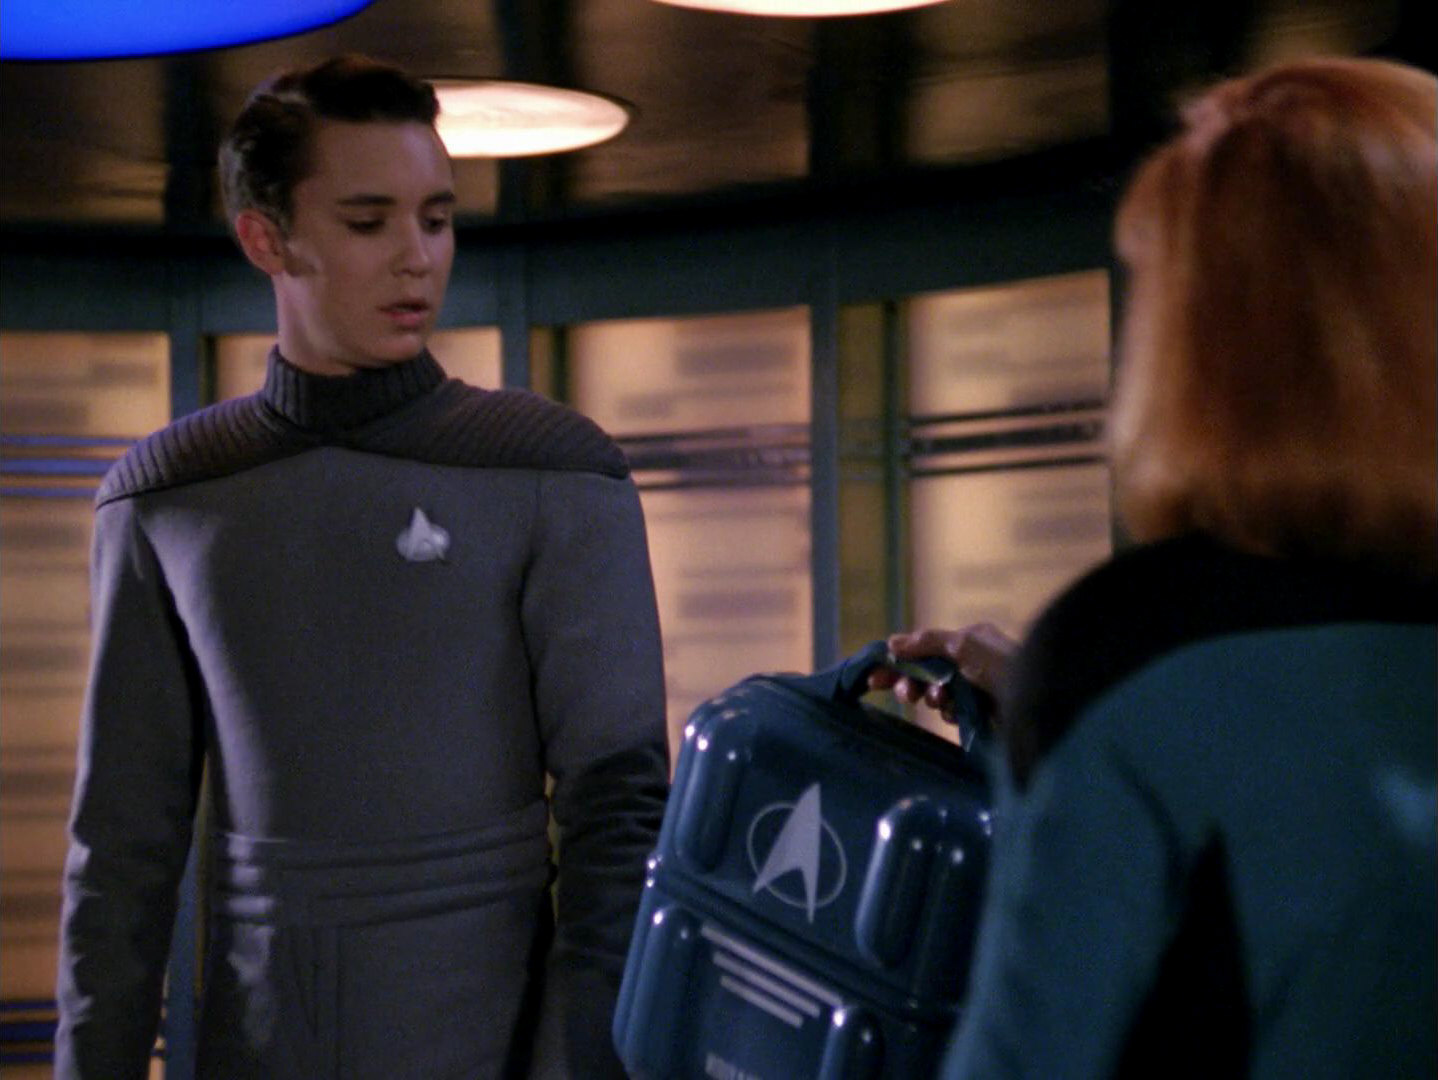 |
The prop in HD. |
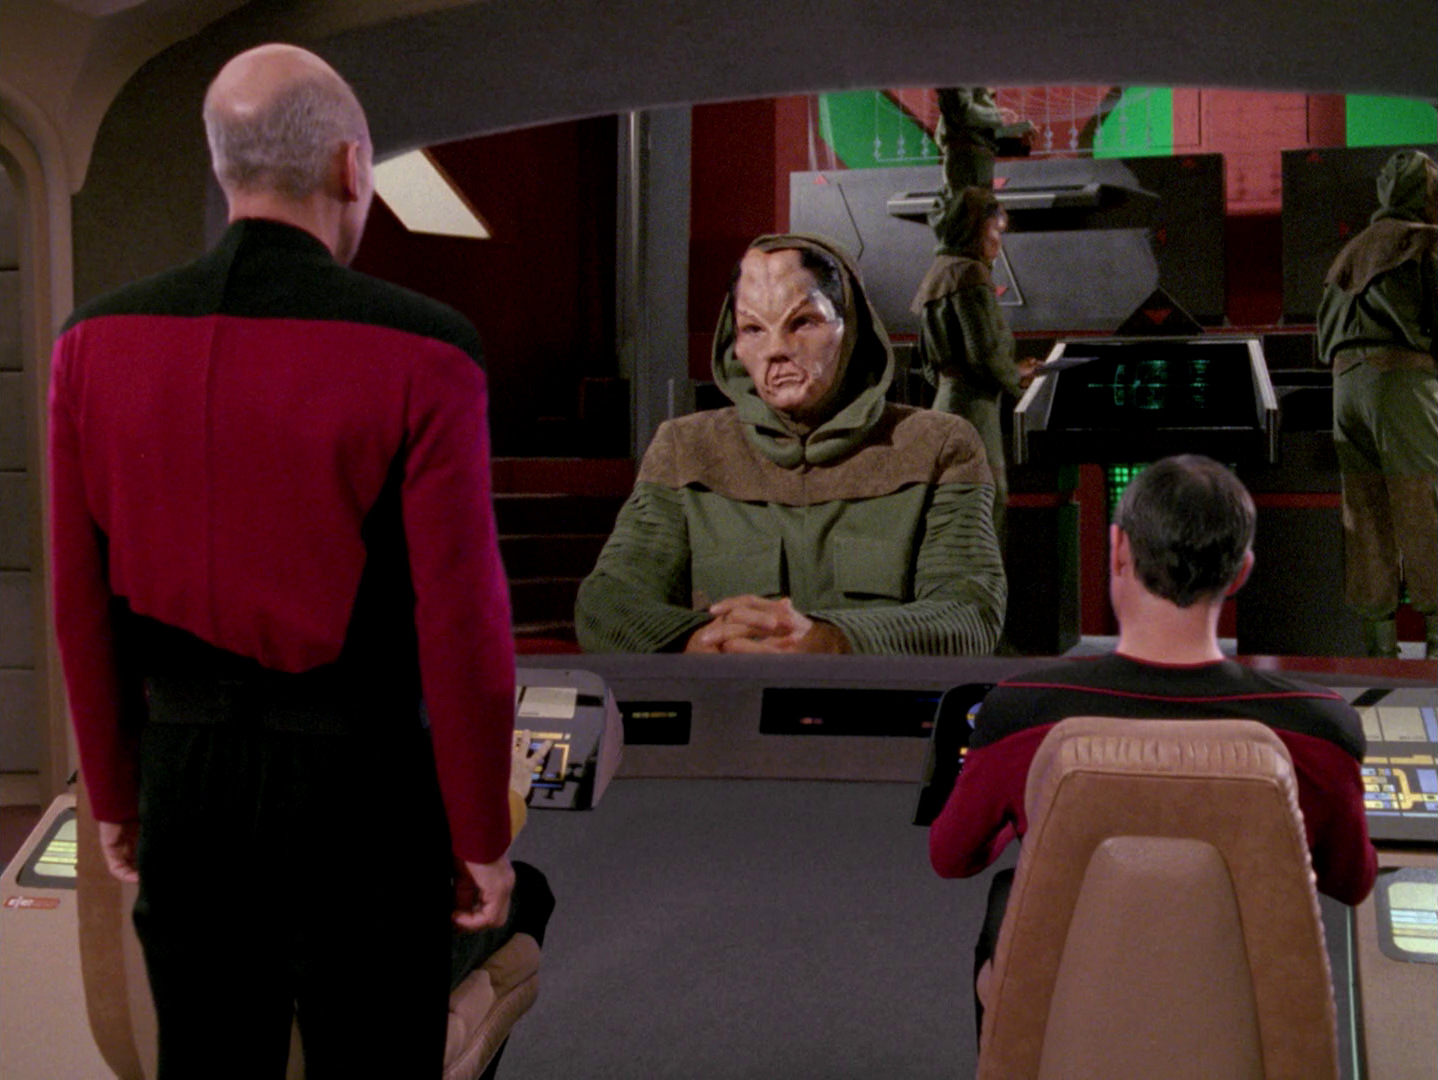
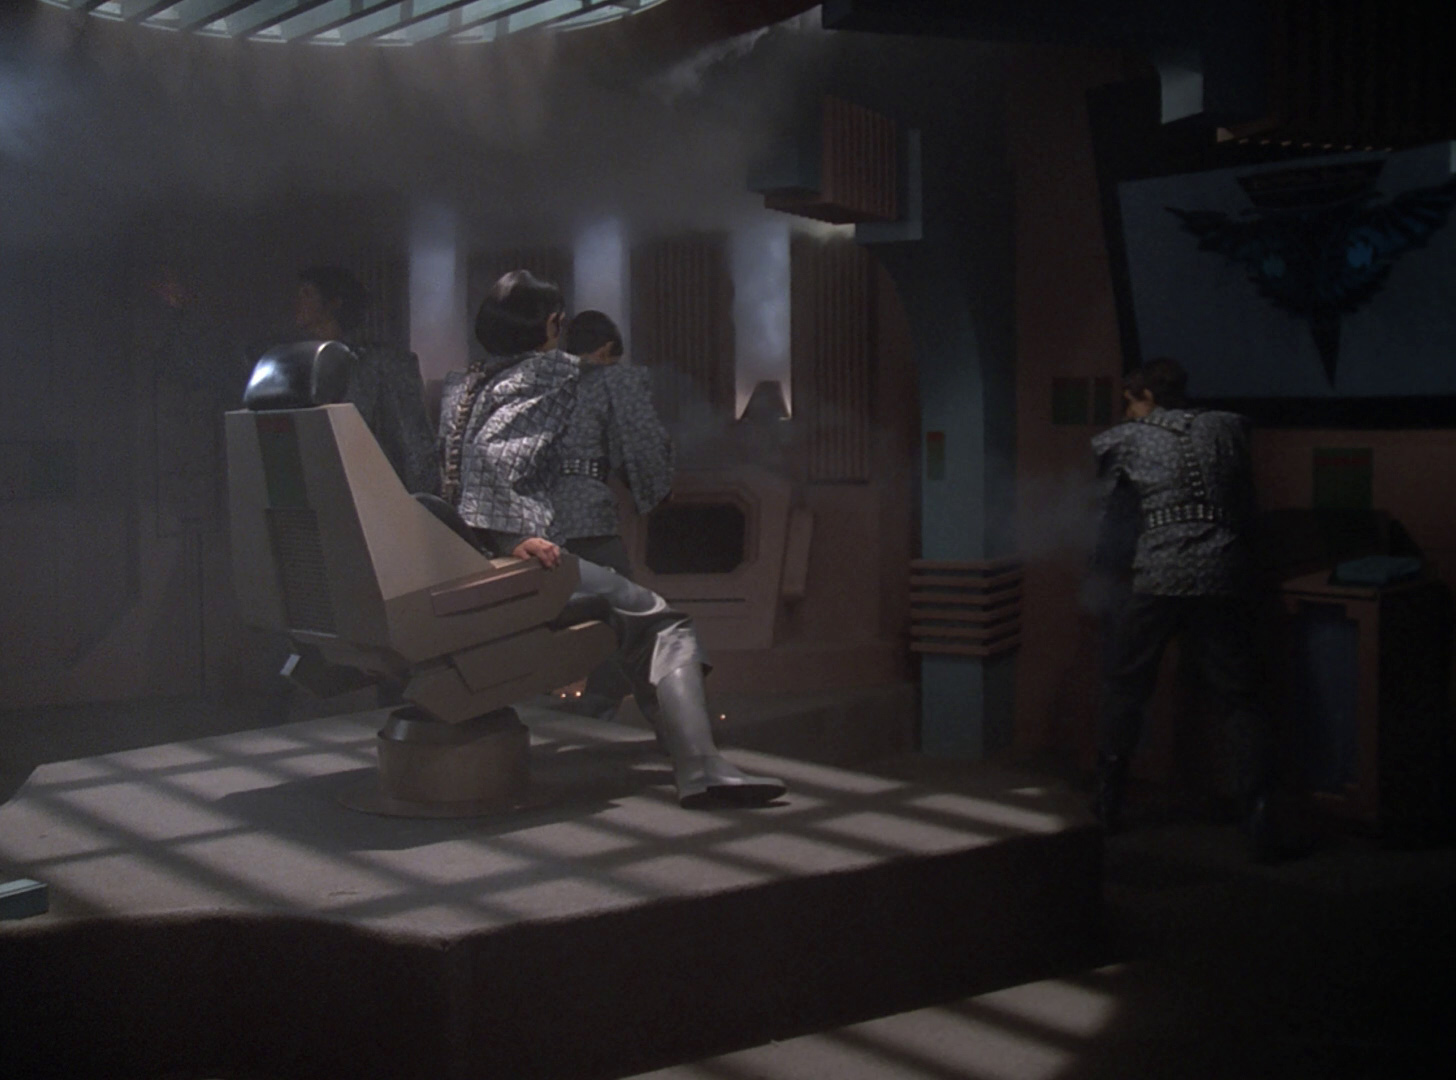
| Consoles with an octagonal viewscreen and narrow light slits like the ones seen in the background previously appeared on Ferengi ships in "Peak Performance" and "The Price". The consoles were seen in numerous Star Trek episodes and films in the past. Appearances range from the bridge of the Klingon battlecruiser Amar in "Star Trek: The Motion Picture" and the engine room of the USS Enterprise in "Star Trek II: The Wrath of Khan" to the environmental maintenance lab on Relva VII in "Coming of Age" and the bridge of the Romulan Warbird in "Contagion". |  "Star Trek I" |
 "Contagion" |
  |
An HD close-up of the monitor. |
 "Star Trek II" |
 "Peak Performance" |
|||
 "Coming of Age" |
 "The Price" |
|||
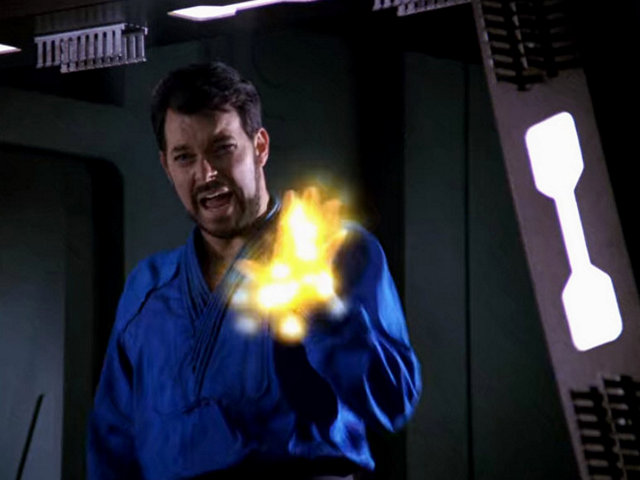
| This is the first appearance of the Ferengi phaser. The prop appears in only three more episodes, "Rascals", "Vortex" and "Bloodlines". In this episode and "Vortex", the phaser fires an orange beam. In "Rascals", the beam is green. | 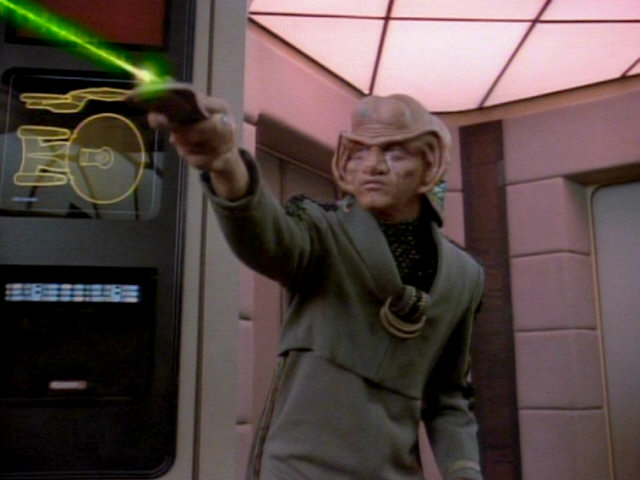 "Rascals" |
 DS9: "Vortex" |
  |
An HD close-up of the weapon. |
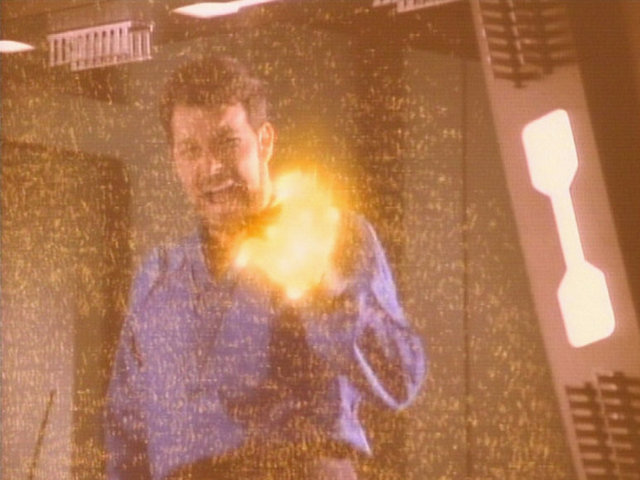
 |
||||
| The footage of the USS Enterprise-D flying past the Ferengi Marauder was originally created for "Evolution". The footage also appeared in "Booby Trap" and "A Matter of Perspective". | 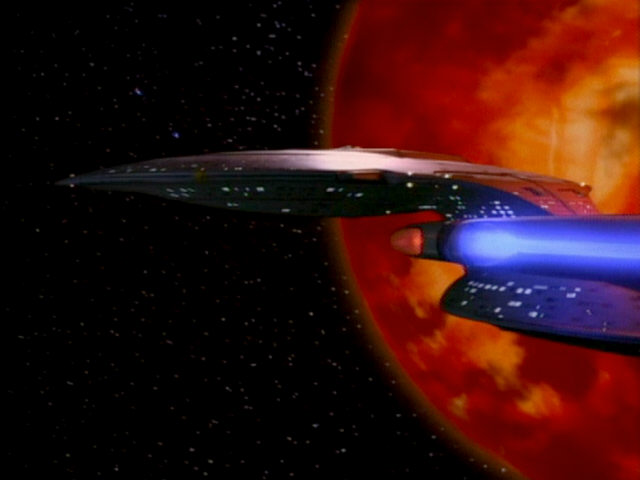 "Evolution" |
 "A Matter of Perspective" |
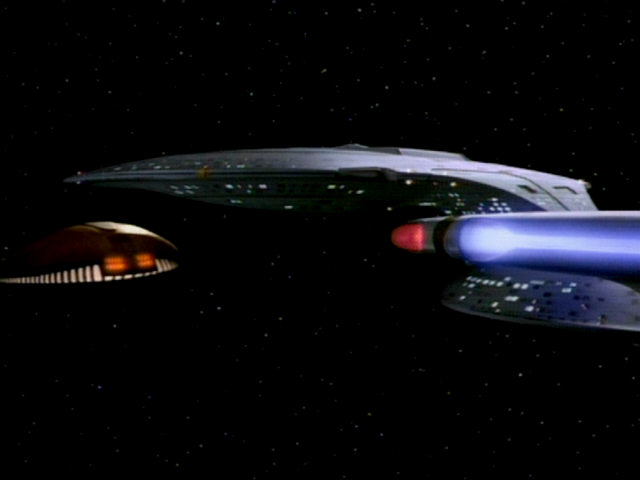 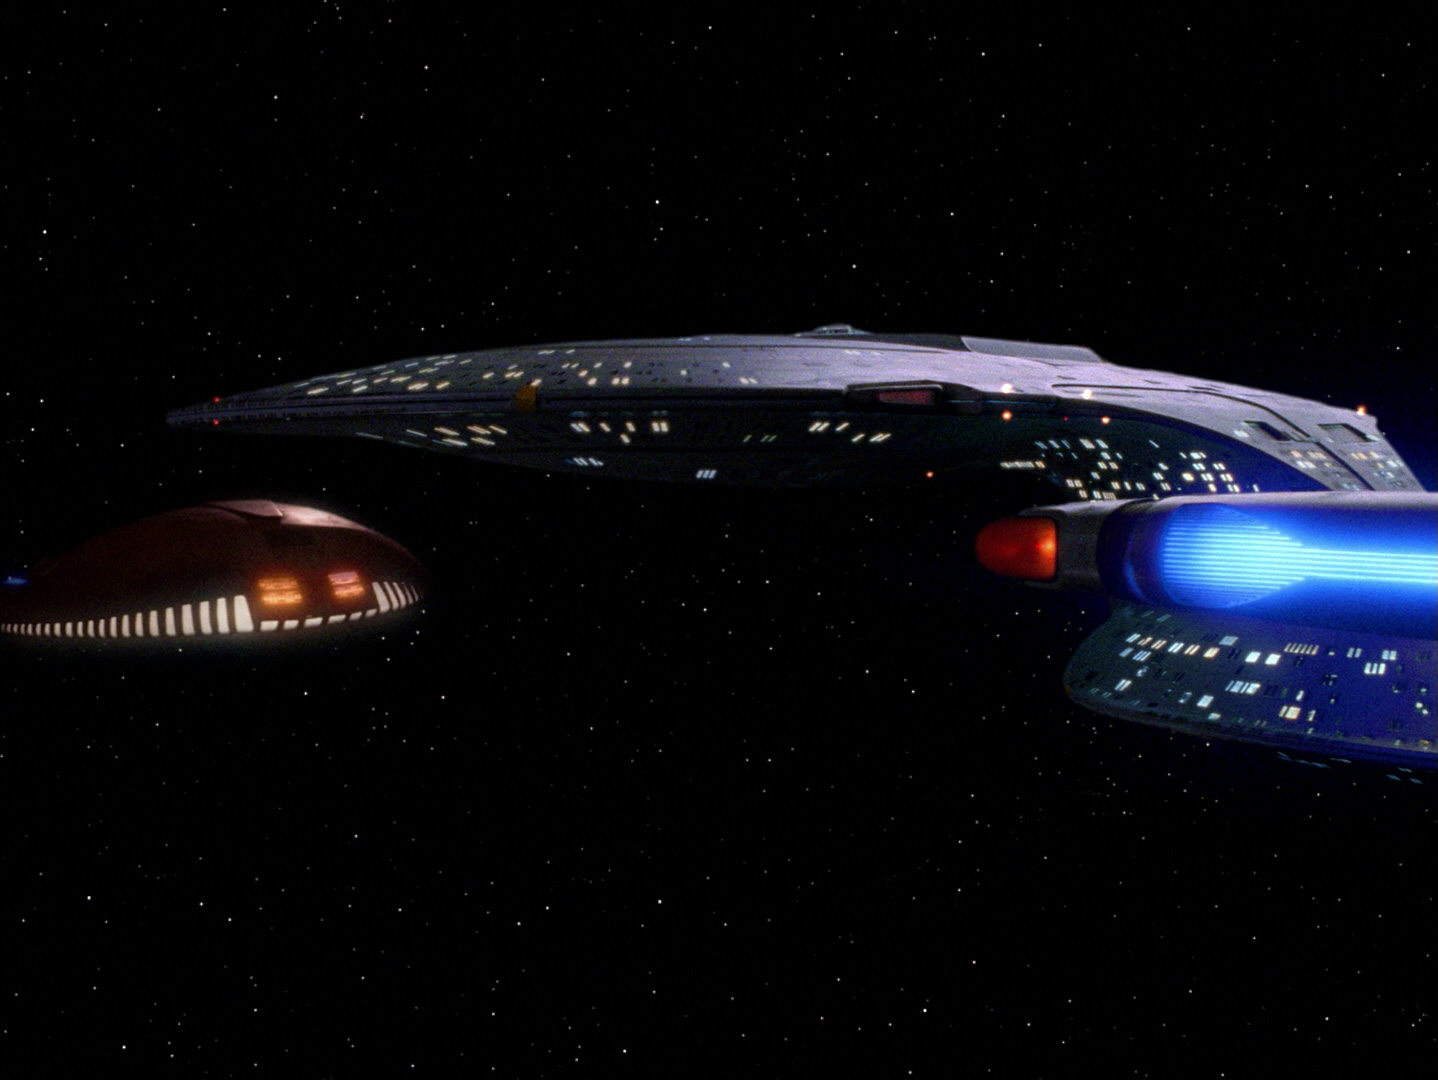 |
The ship encounter in HD. |
 "Booby Trap" |
||||
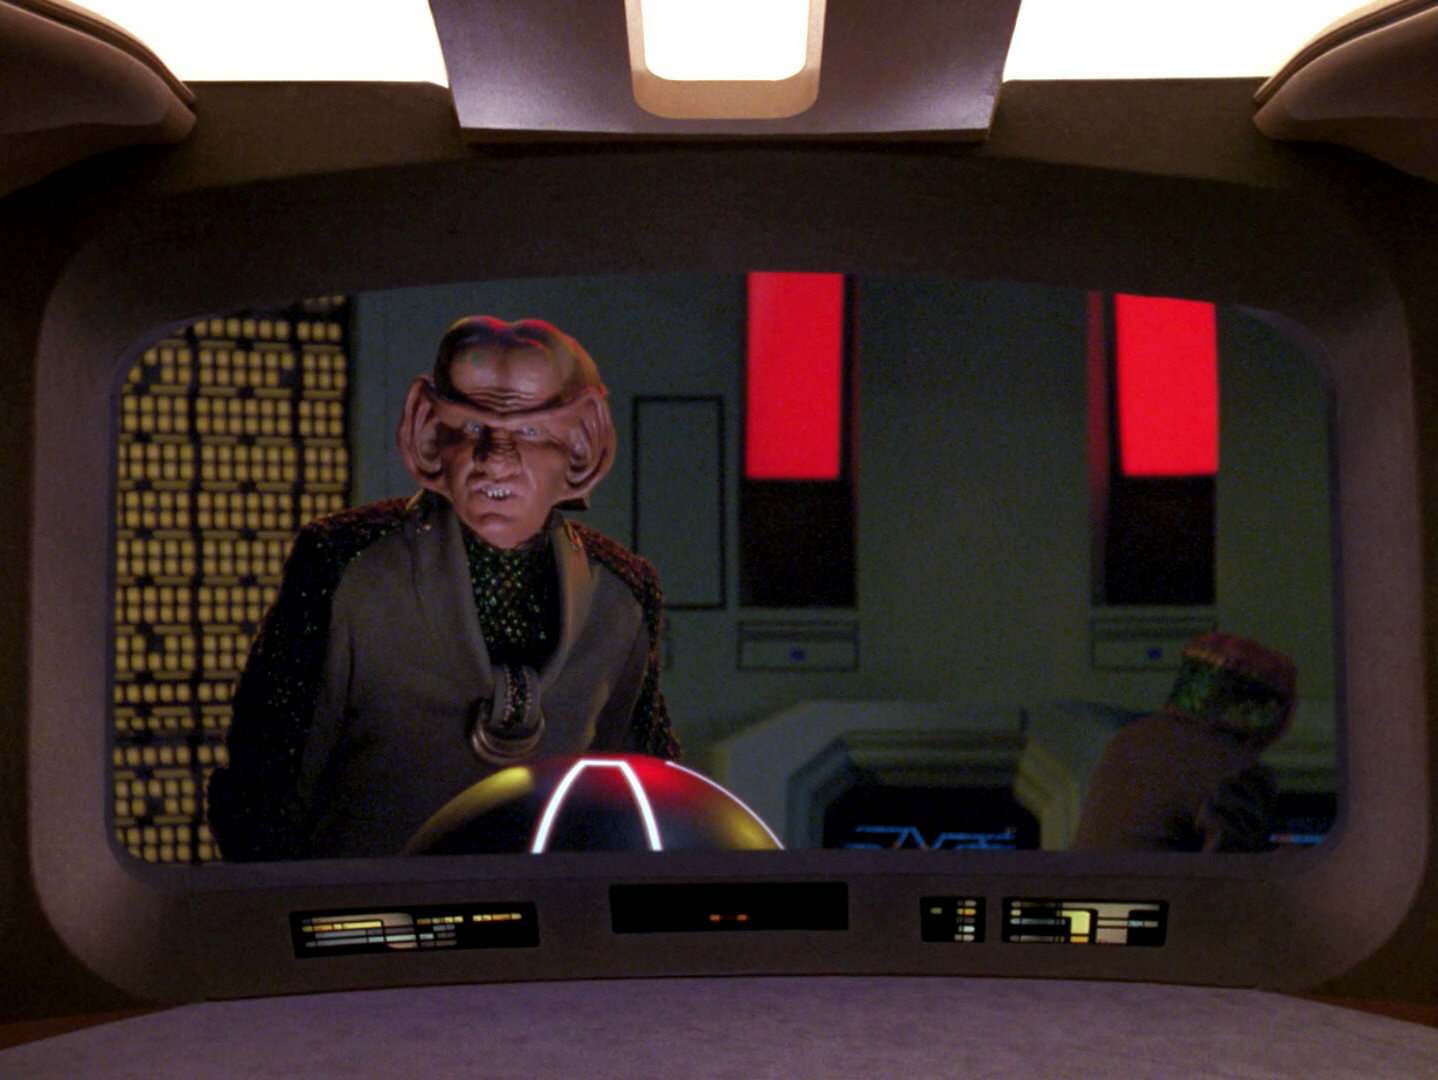
| The shot of the Ferengi Marauder on the viewscreen was originally created for "Peak Performance". For the appearance in "Ménage à Troi", the footage was flipped. | 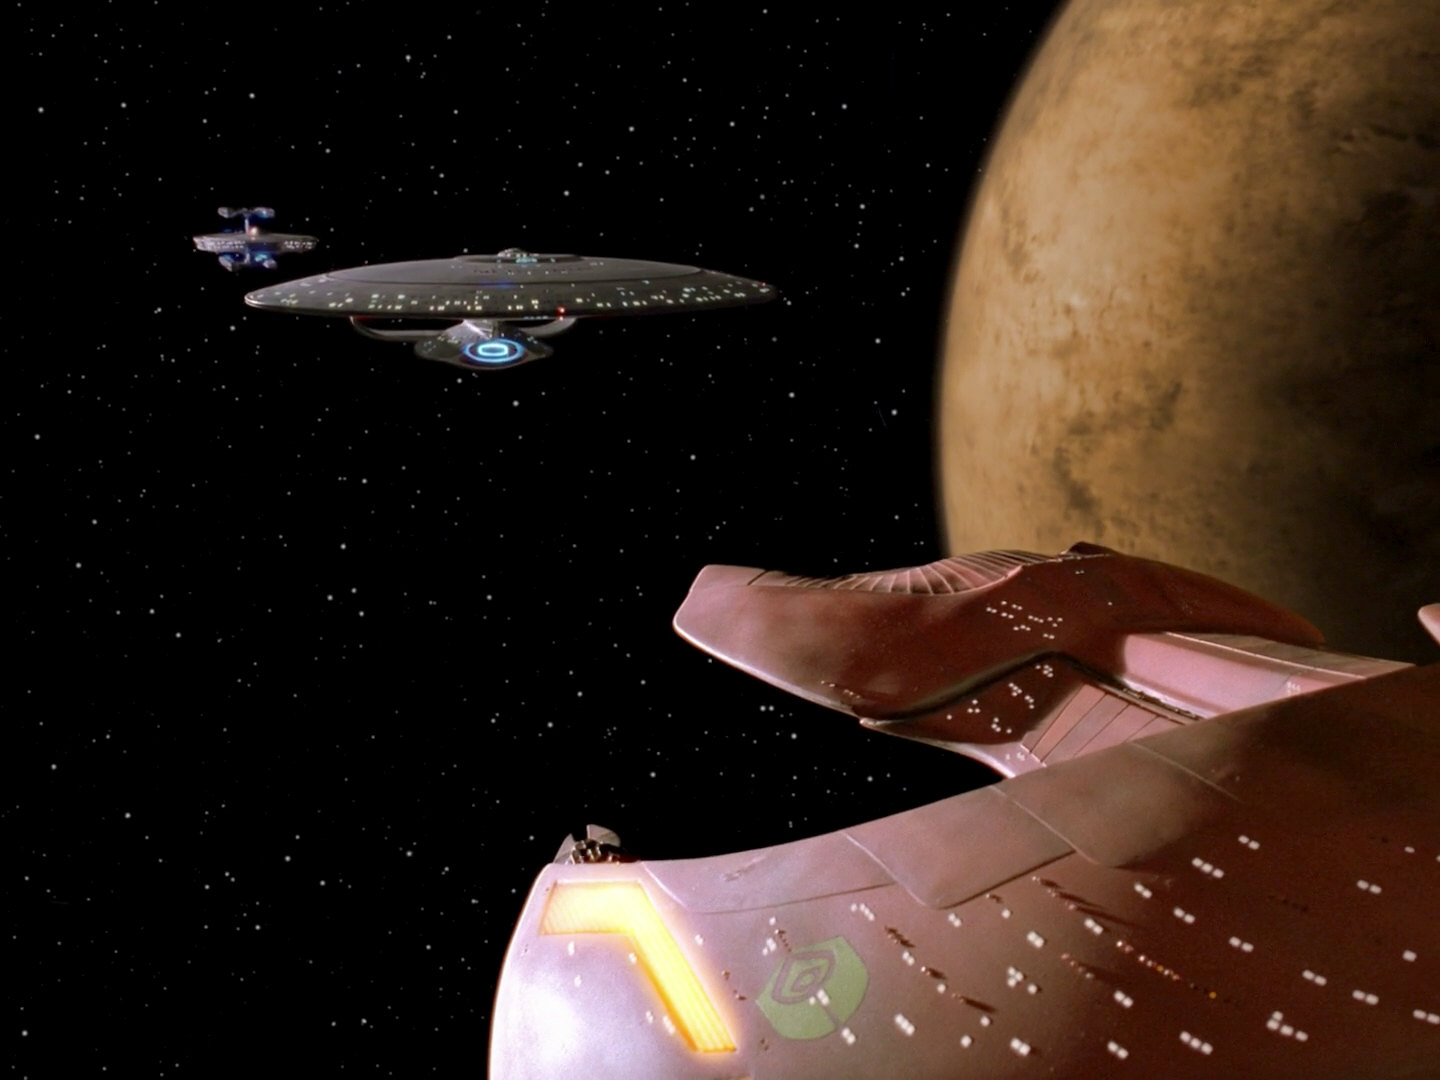 "Peak Performance" |
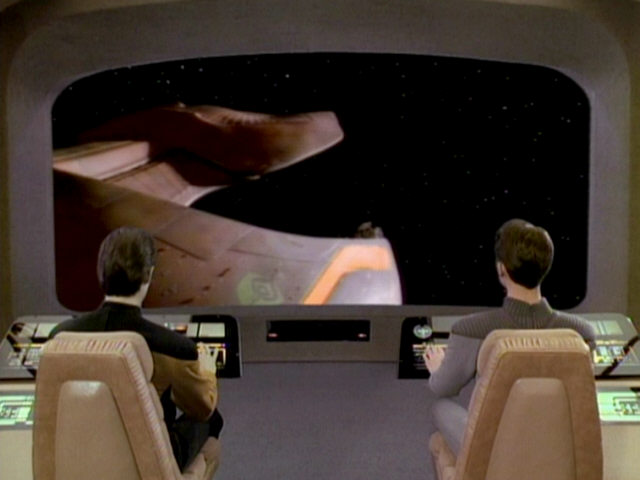  |
||
| It is implied in the dialogue that Picard is viewing Wesley's service record on his desktop monitor in this shot. | 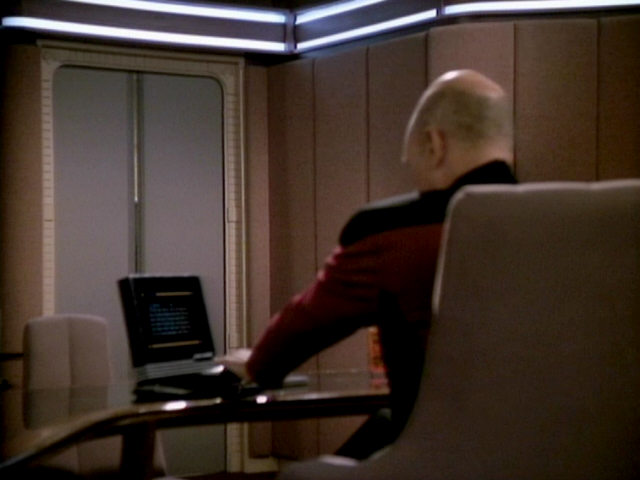 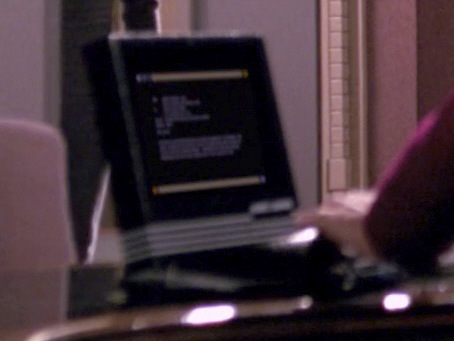 |
Even in HD we can't recognize anything on the screen but we can see that the text arrangement has changed. | ||
| A little more of Betazed can be seen in this shot. Like the earlier footage of the planet, it was originally created as Mintaka III for "Who Watches the Watchers". When comparing this to the earlier clear view of the Betazed, the footage simply was flipped as the continents are mirrored in this shot. The continents actually keep changing their direction or orientation throughout the episode. | Earlier in this episode |
  |
The shot is flipped in TNG-R just as well. | |
| Riker and Troi are back on the Enterprise, still in their civilian clothes. | 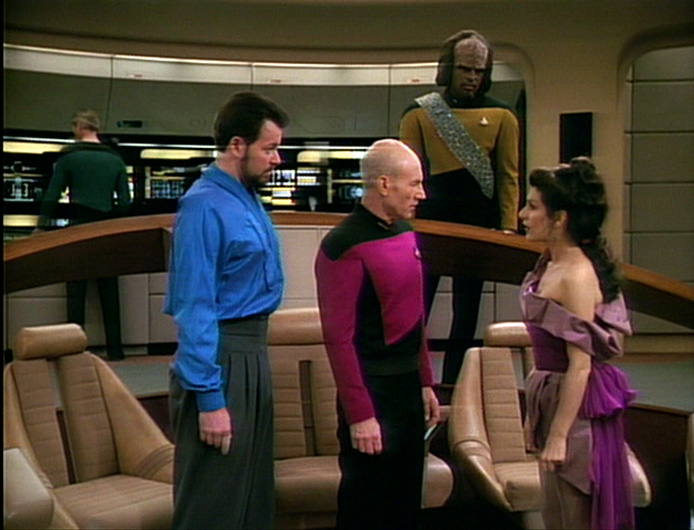  |
The HD shot reveals that there is still an adhesive bandage around Jonathan Frakes's right forefinger, as we could already see it in the previous episode, "Sarek". | ||
| The Ferengi subspace frequencies, which were scanned earlier in the episode to locate the Trois and Riker and appeared on several bridge monitors, are still on display at the end of the episode on the monitor behind Riker as can be seen here. | Earlier in this episode |
 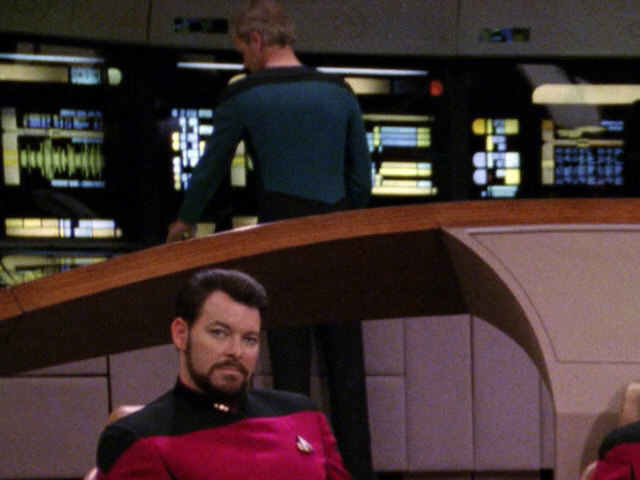 |
An HD close-up of the waveform. | |
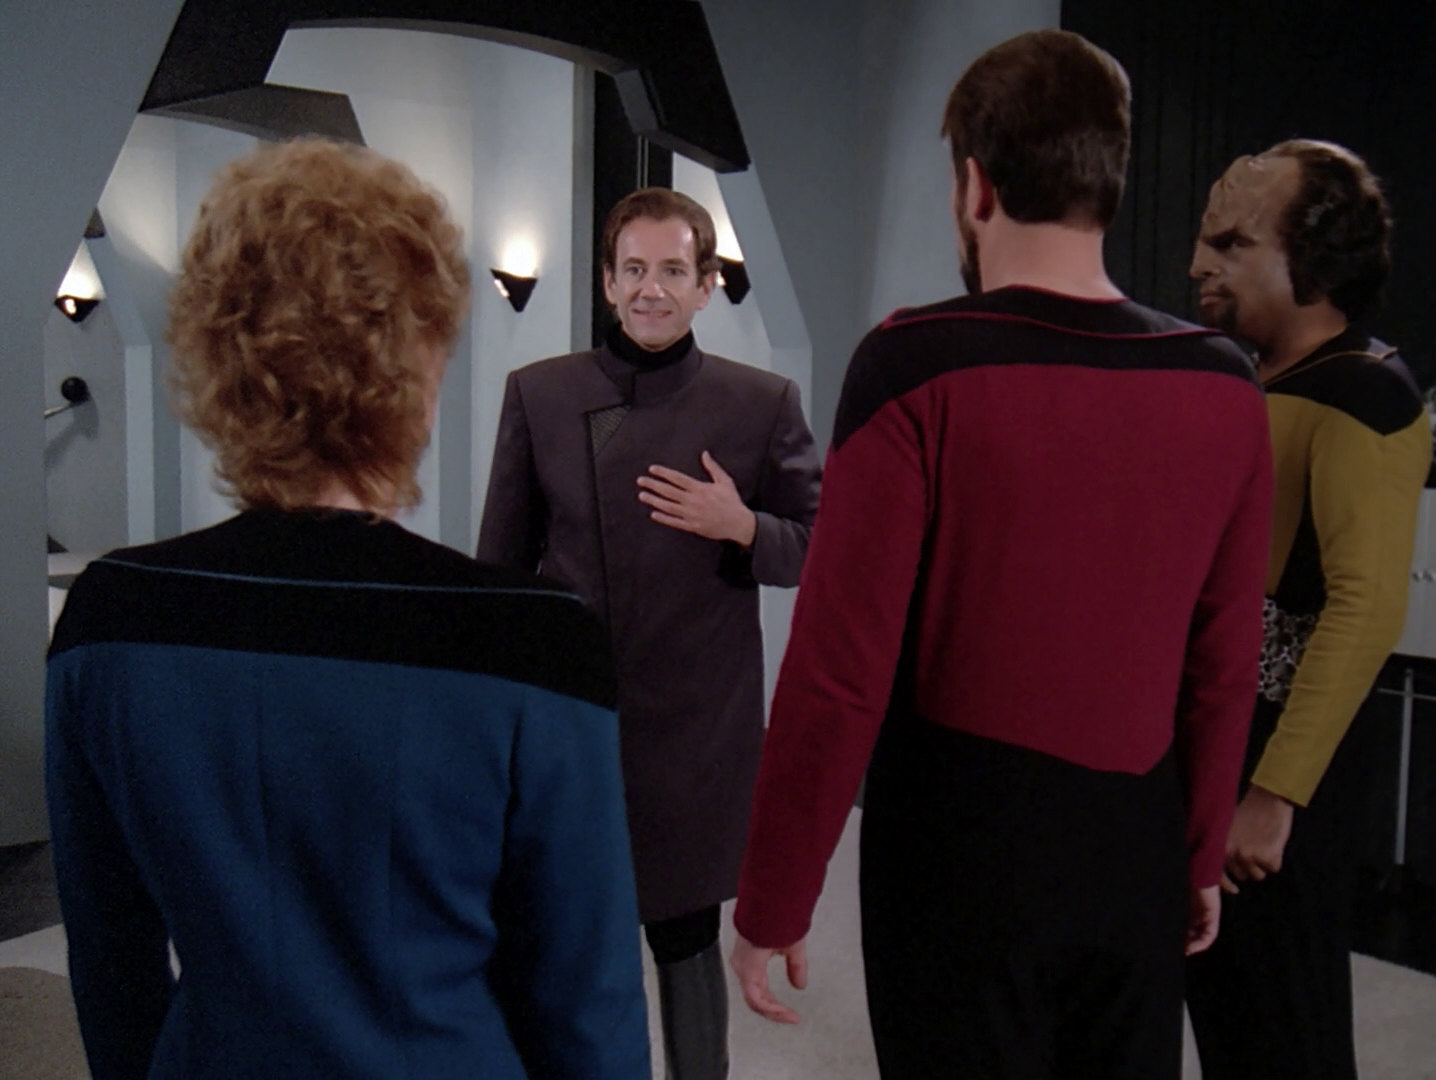
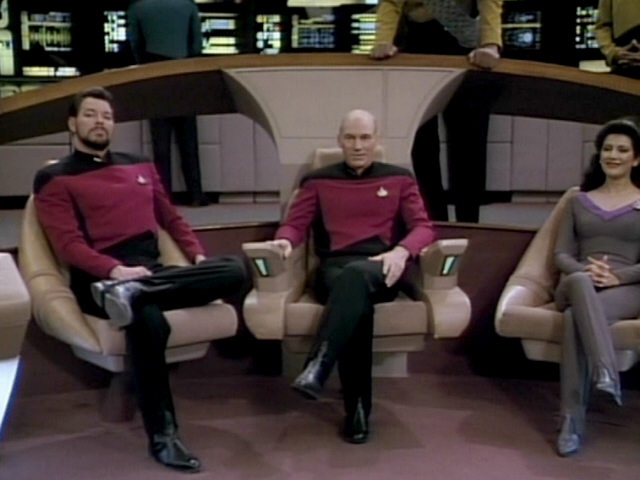
| This is another rare occasion when the complete main cast of Star Trek: The Next Generation is seen on the bridge at the same time. | 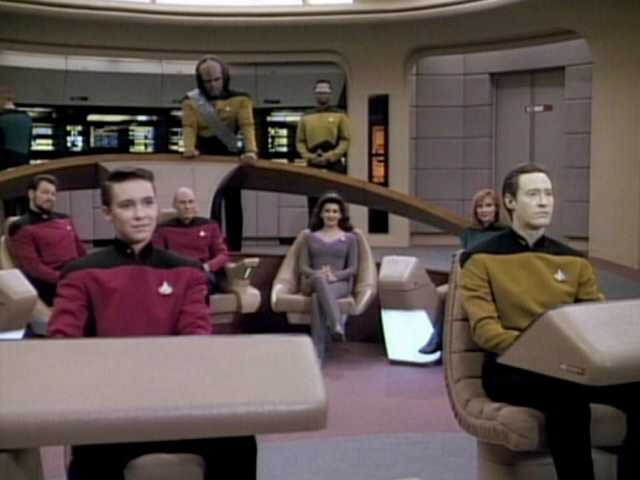  |
The shot in HD. | ||
Credits
Thanks to Christian Hinze of Star Trek HD, who spotted Jonathan Frakes's injured finger. Thanks also to Armando J. for the hint about the navigation lights.


