


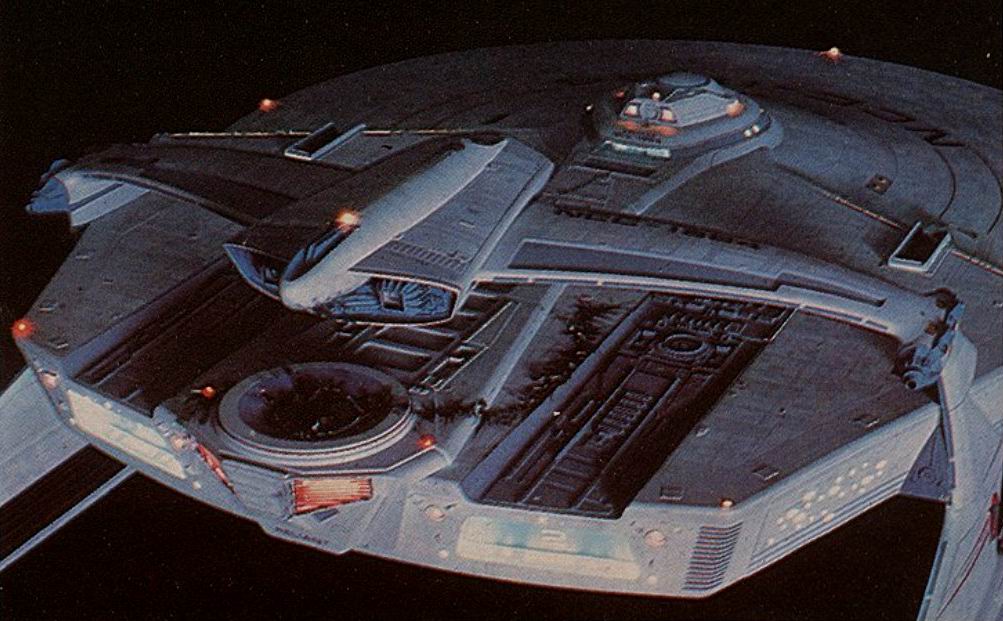
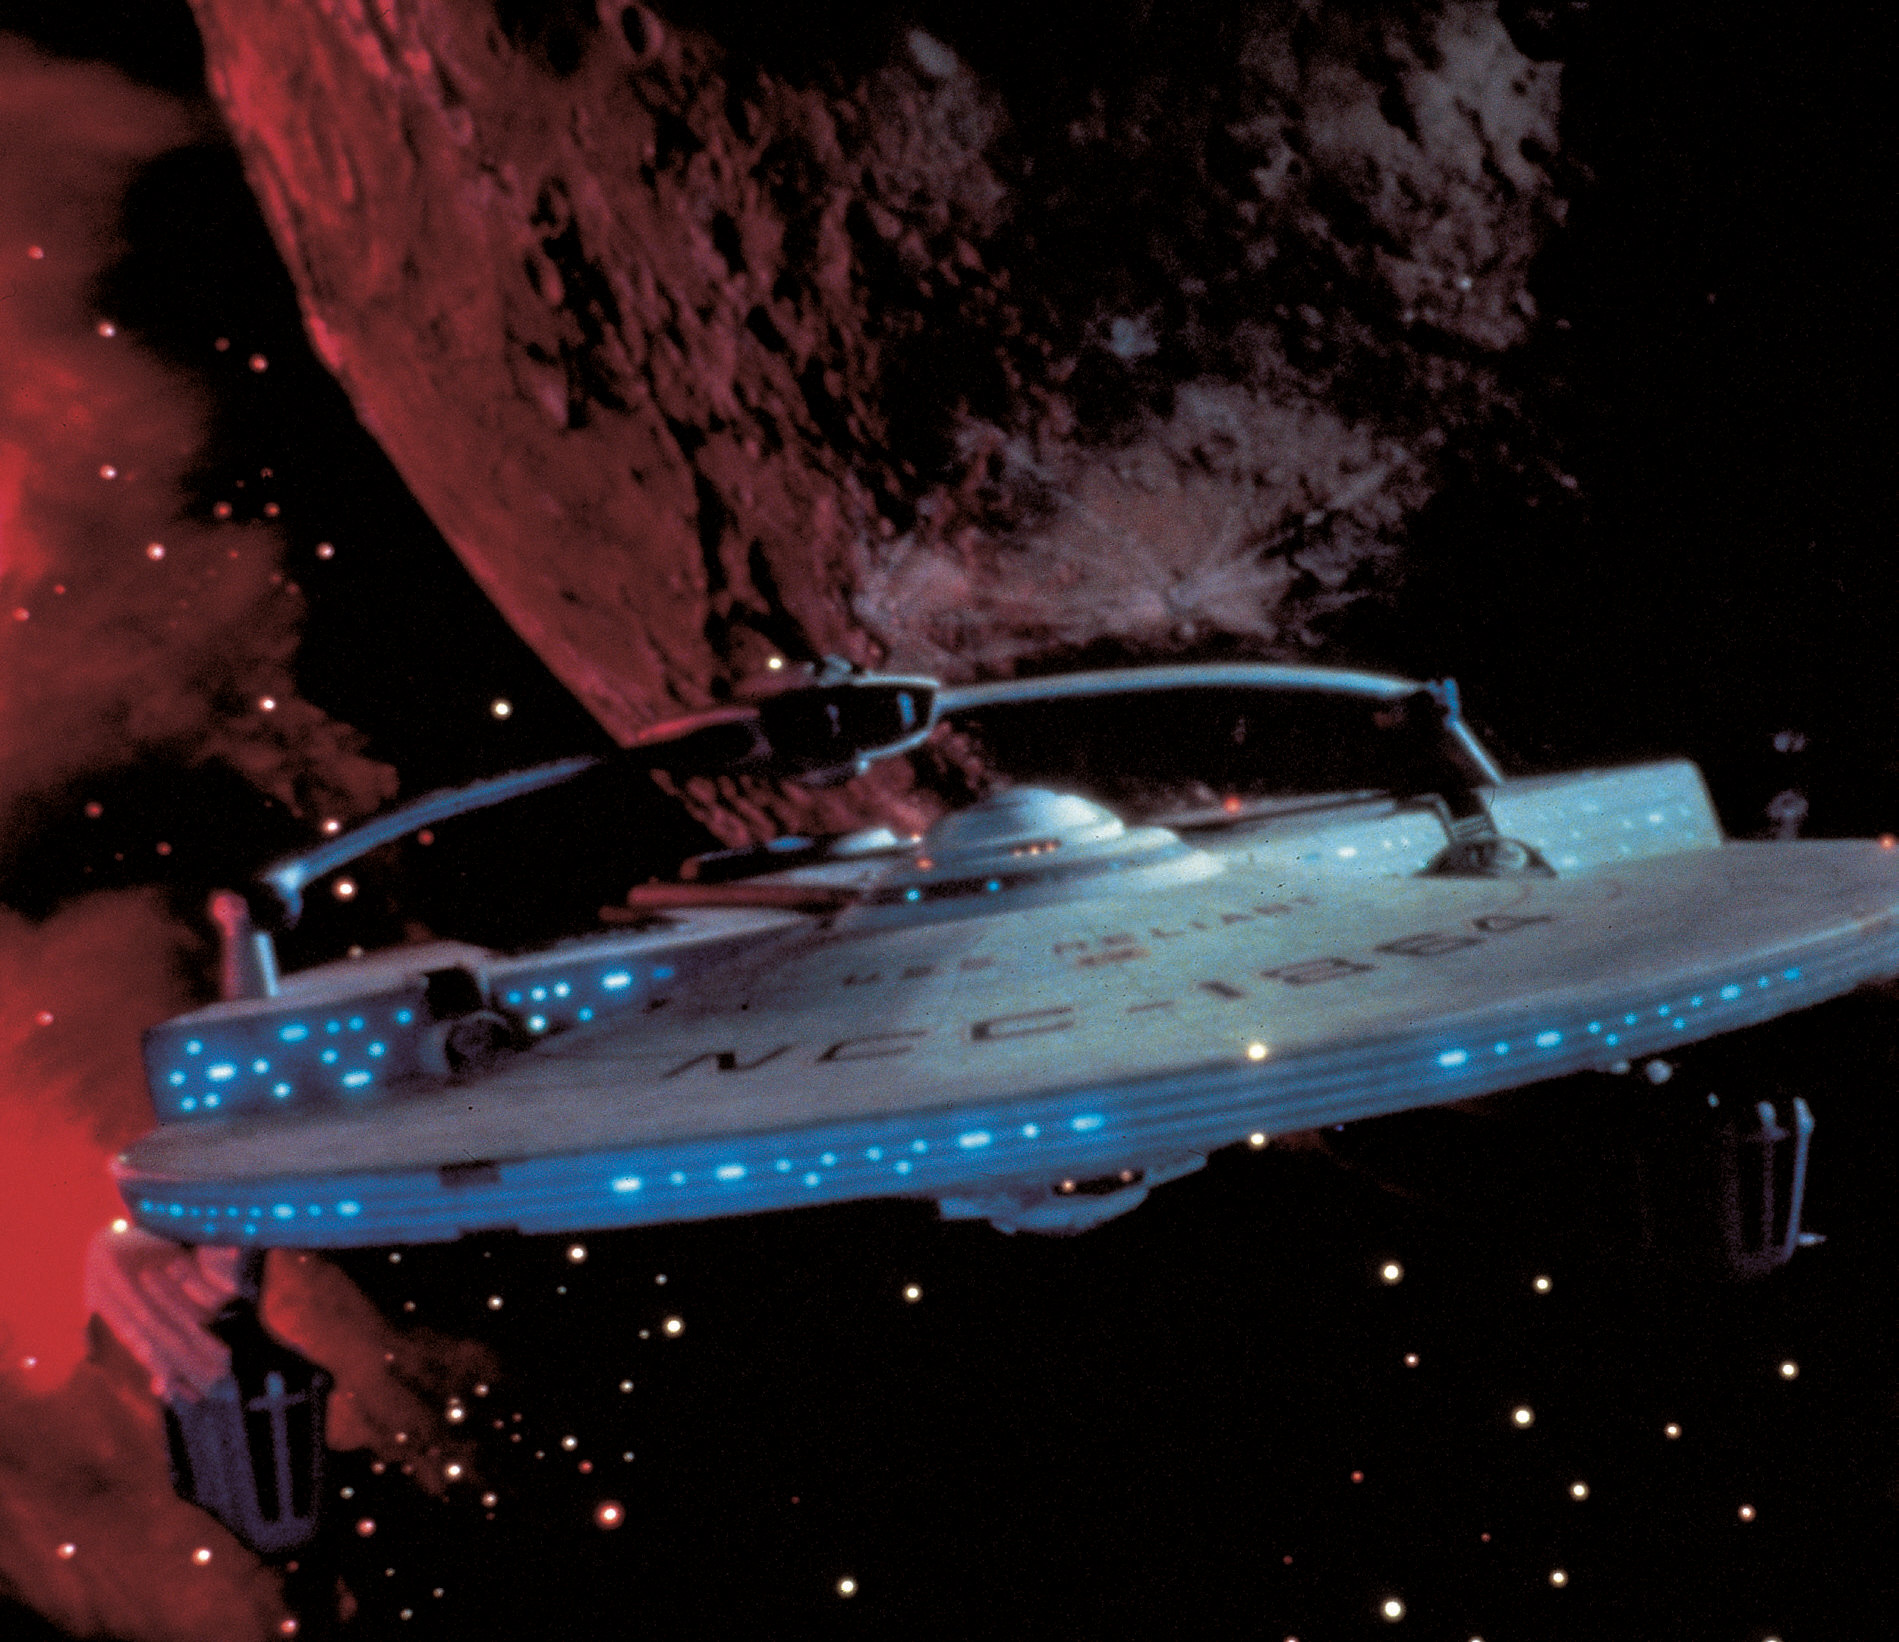
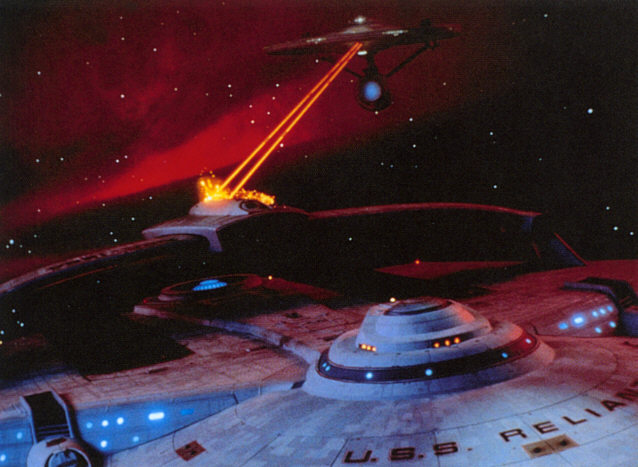
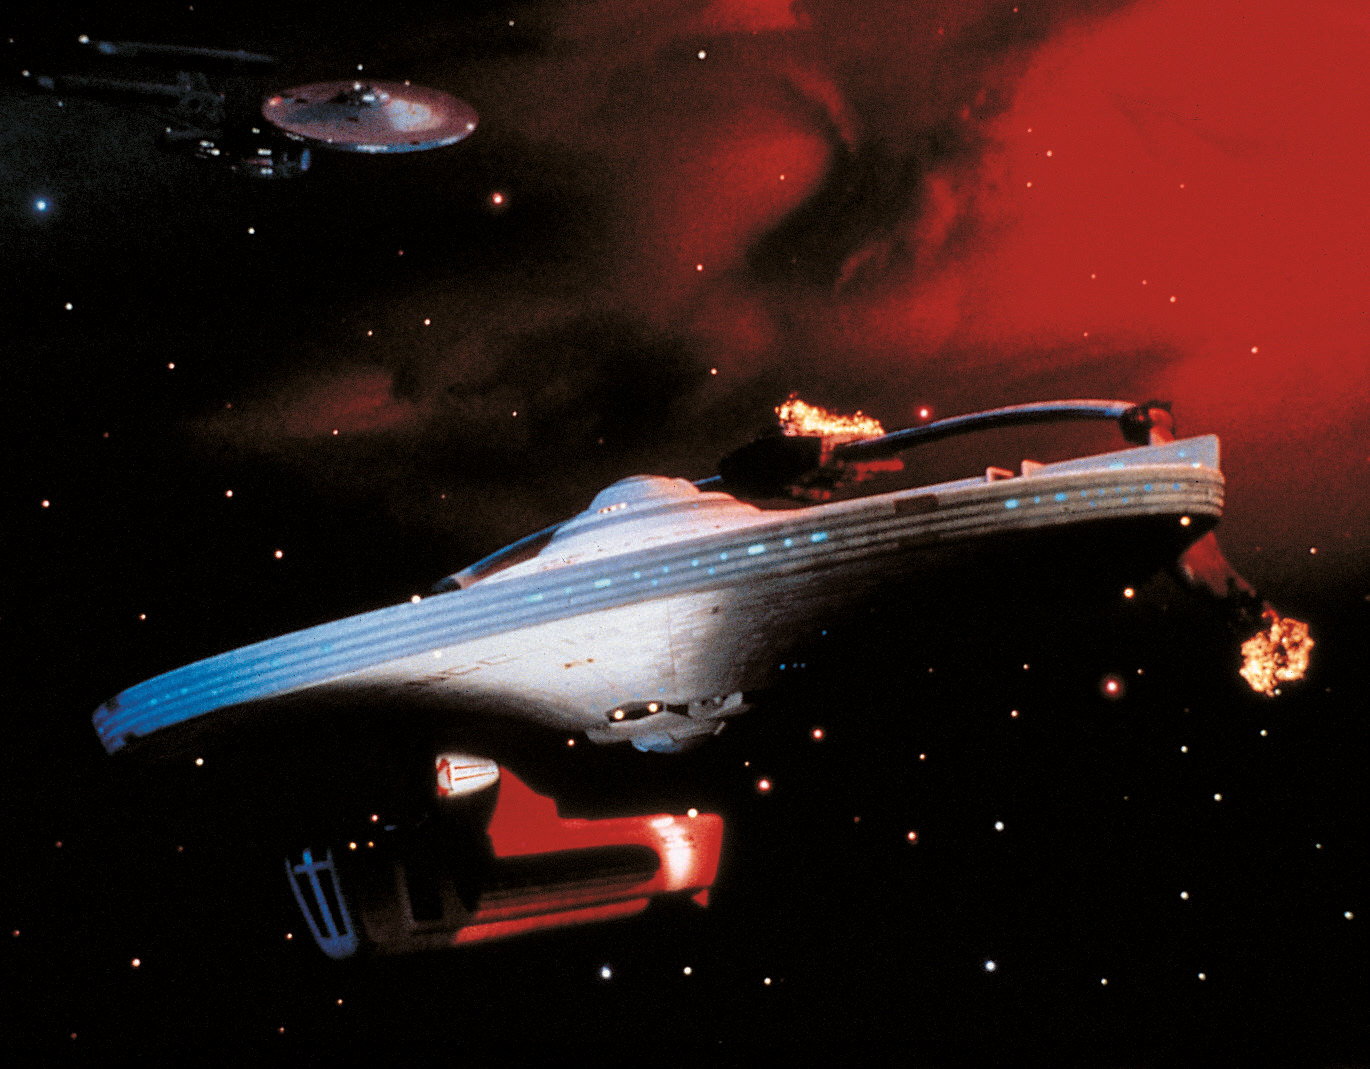
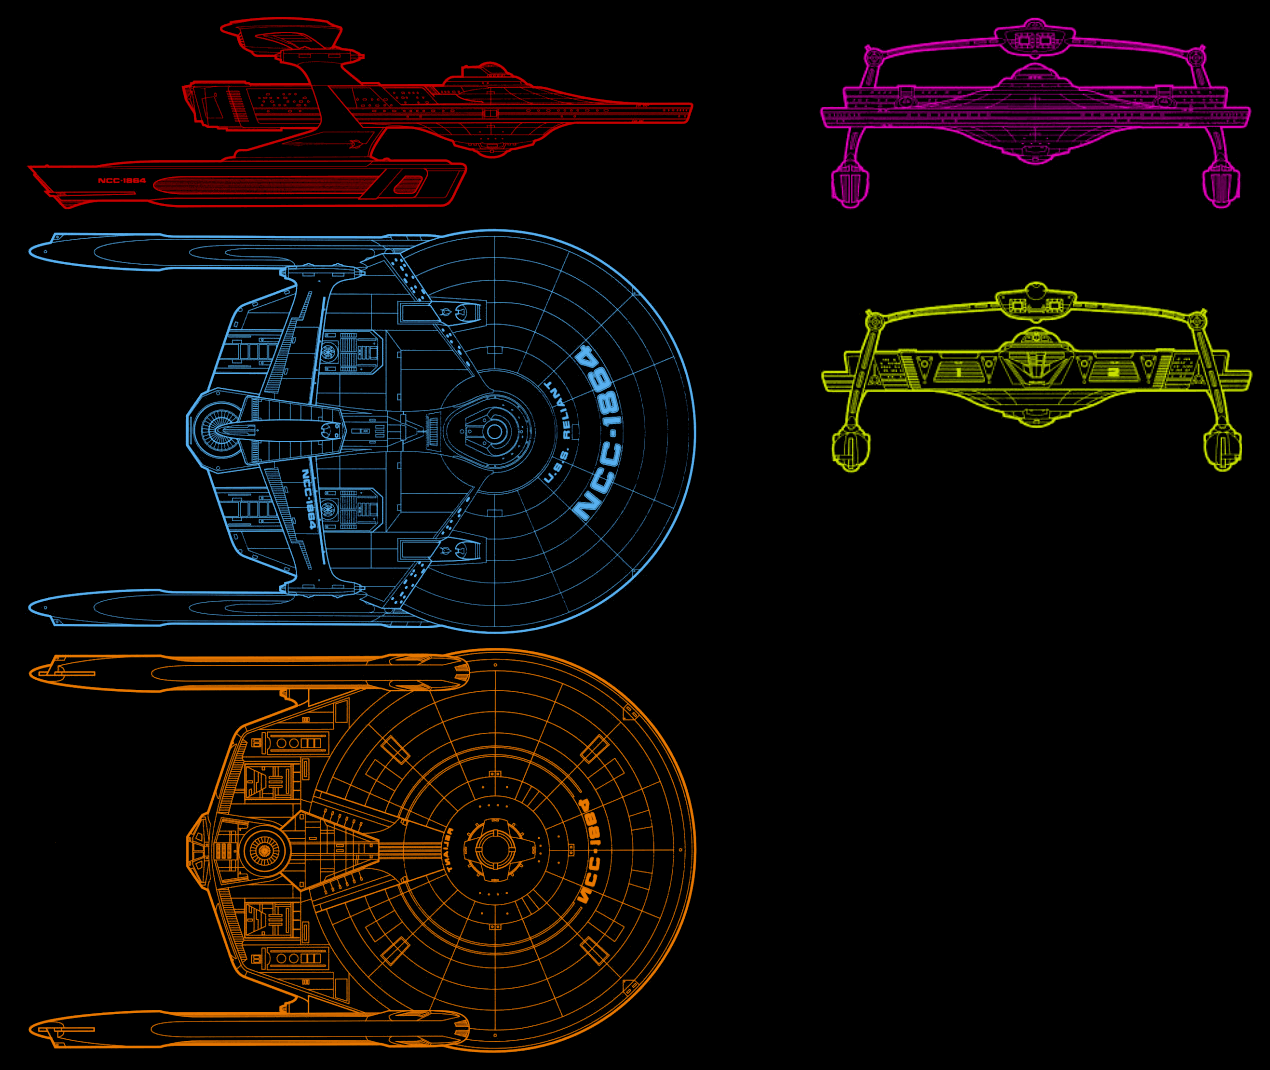
Starship Gallery - Miranda
ReliantSaratogaLantree, Soyuz Class and Antares ClassAuxiliary Craft
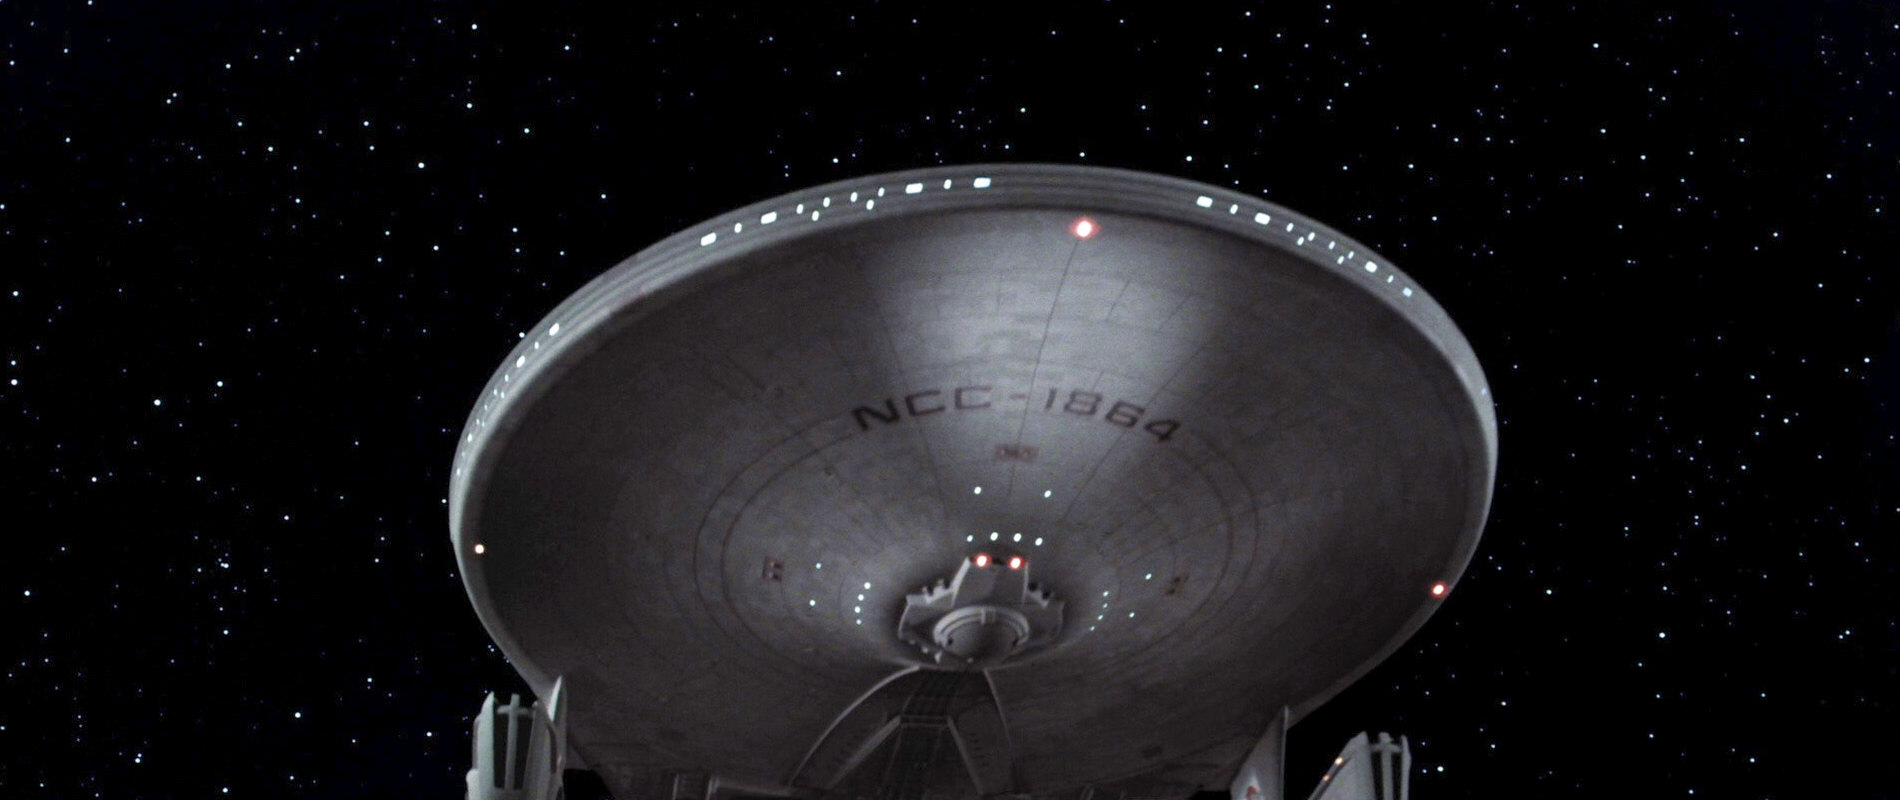
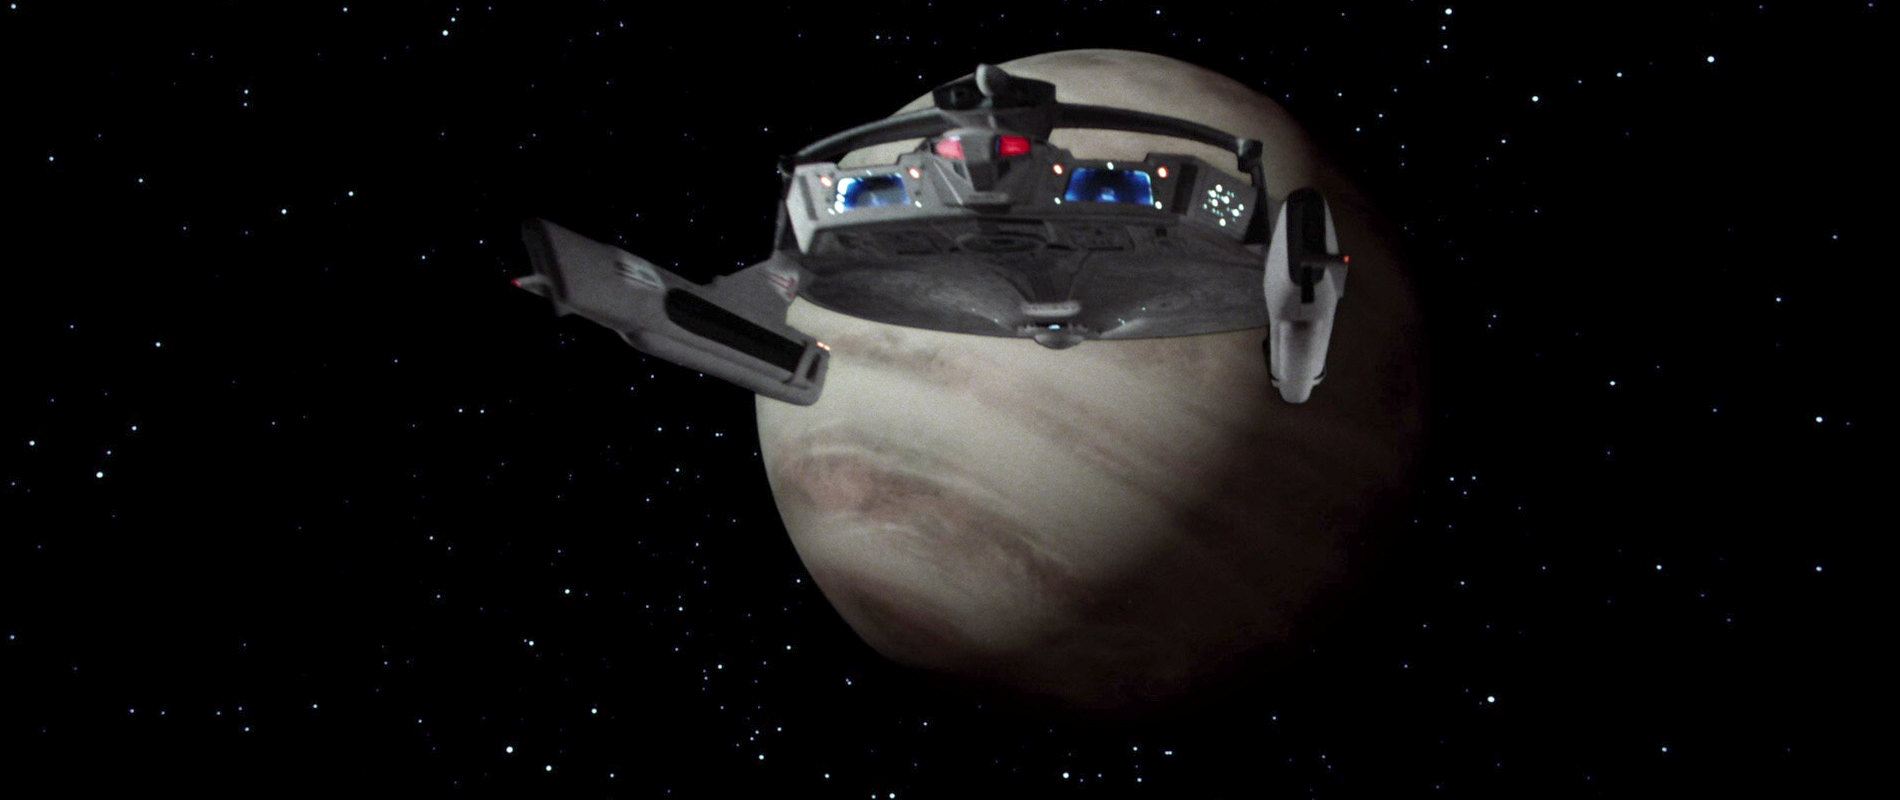
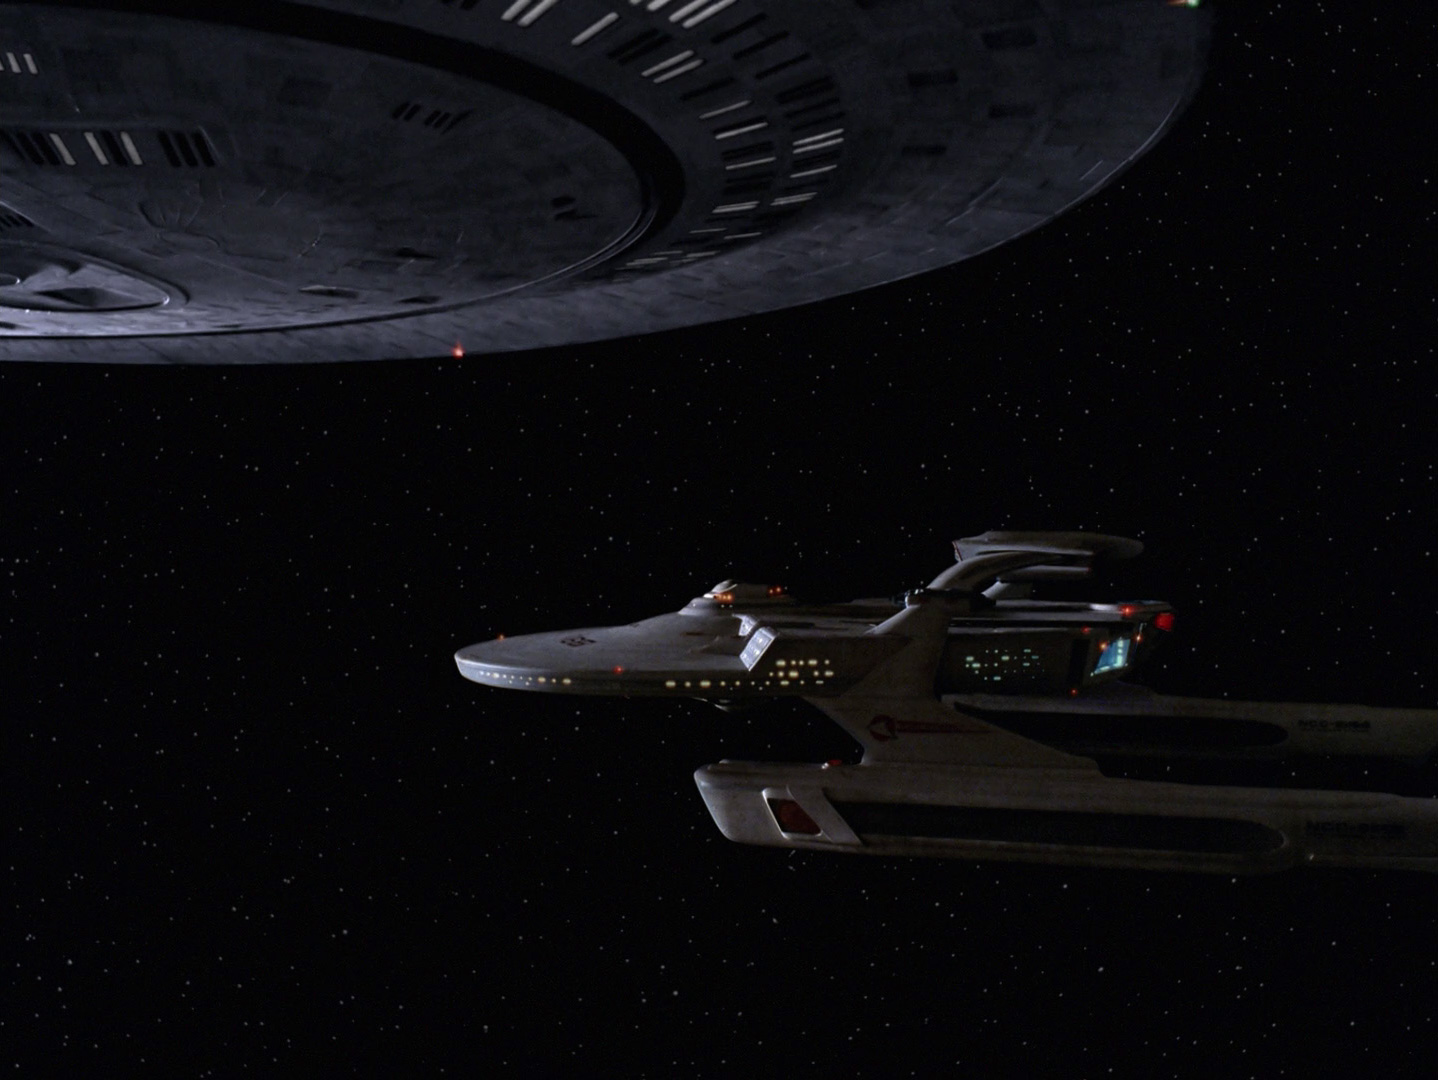
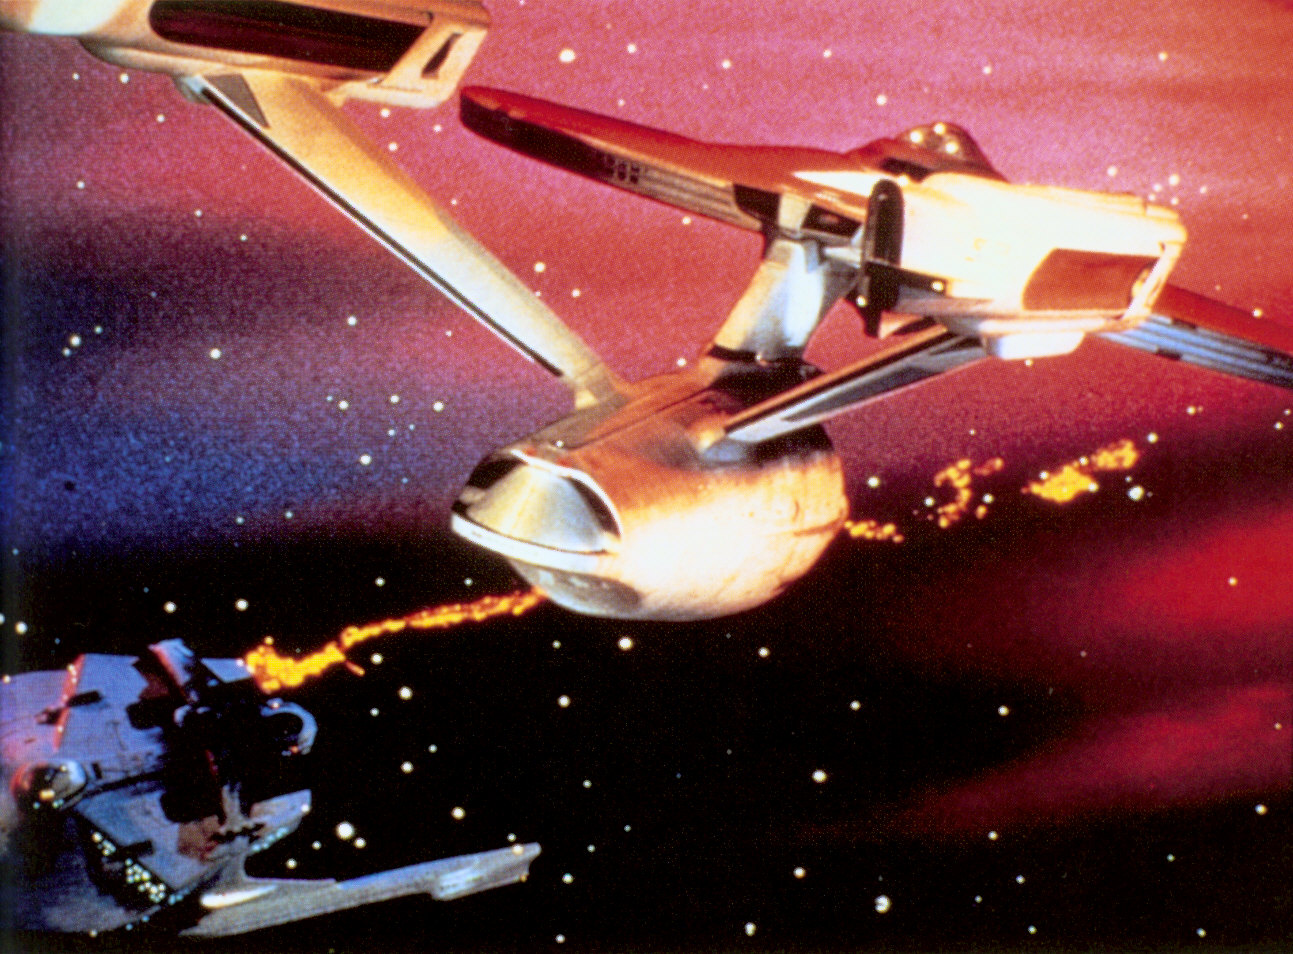
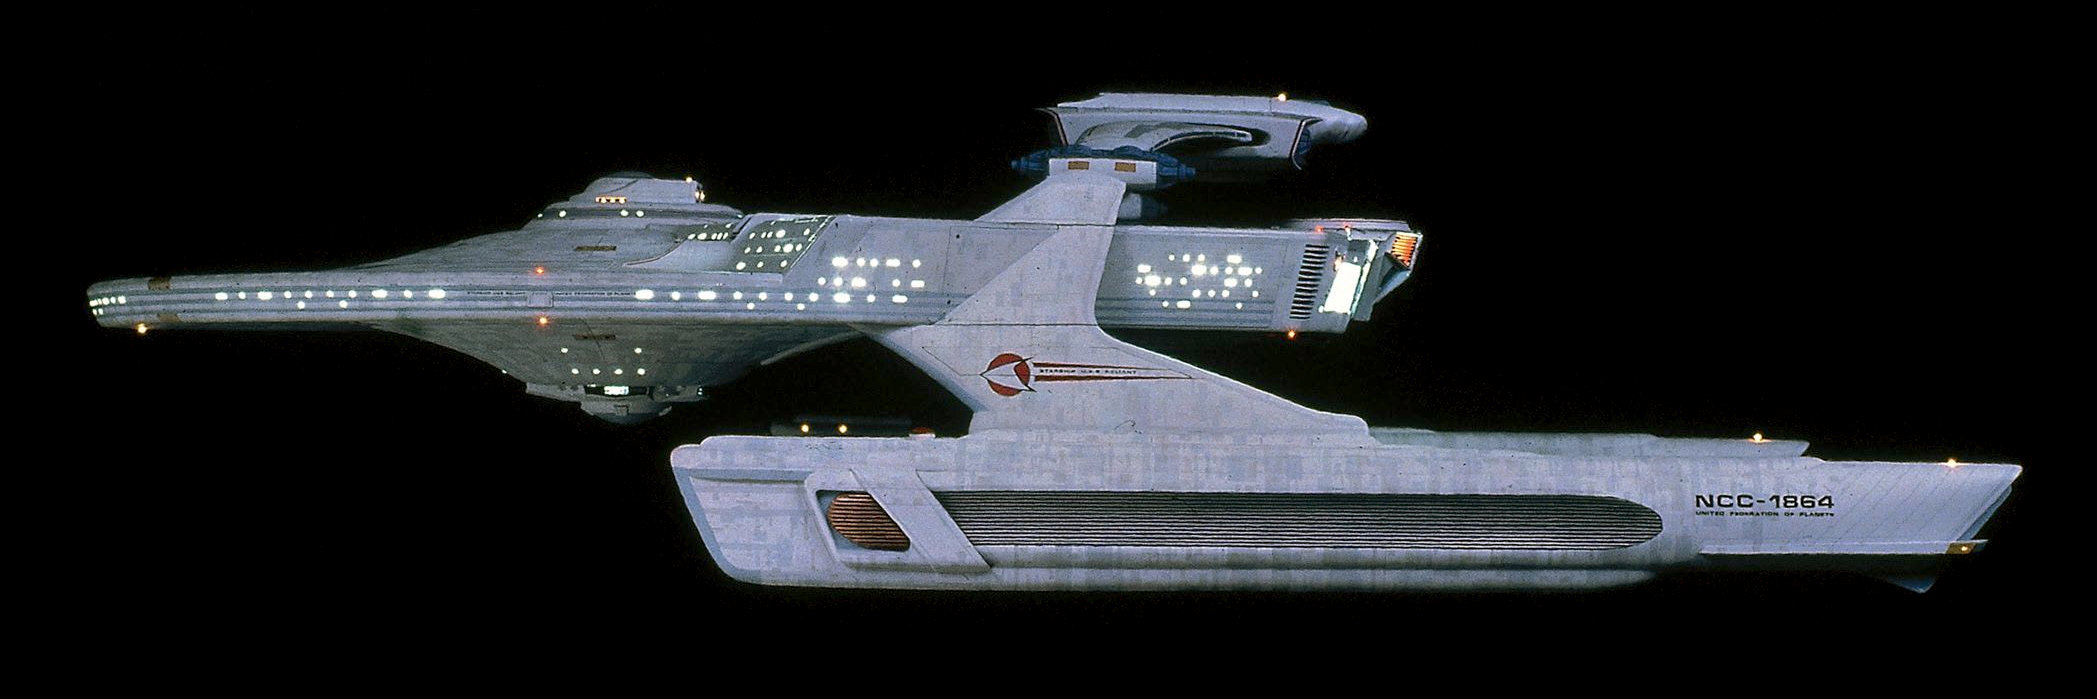
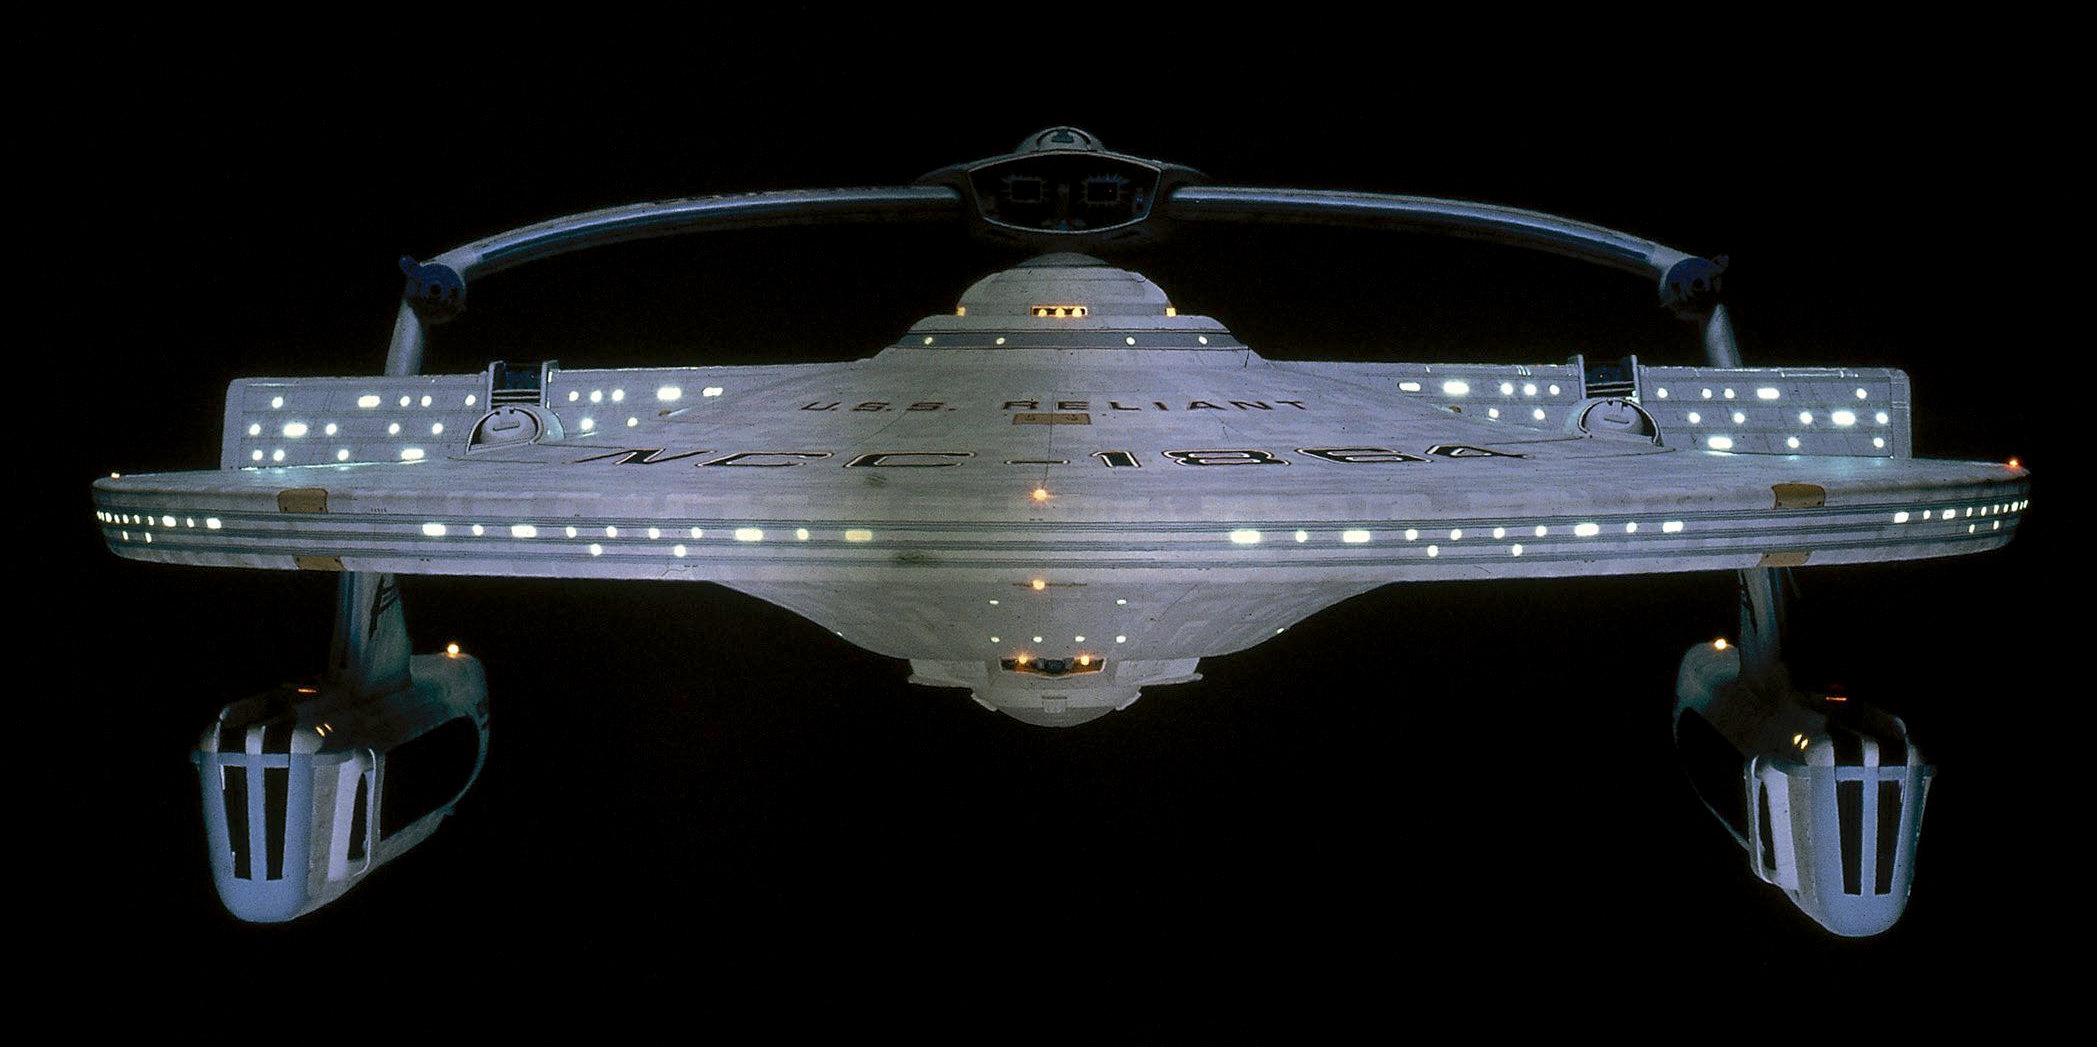
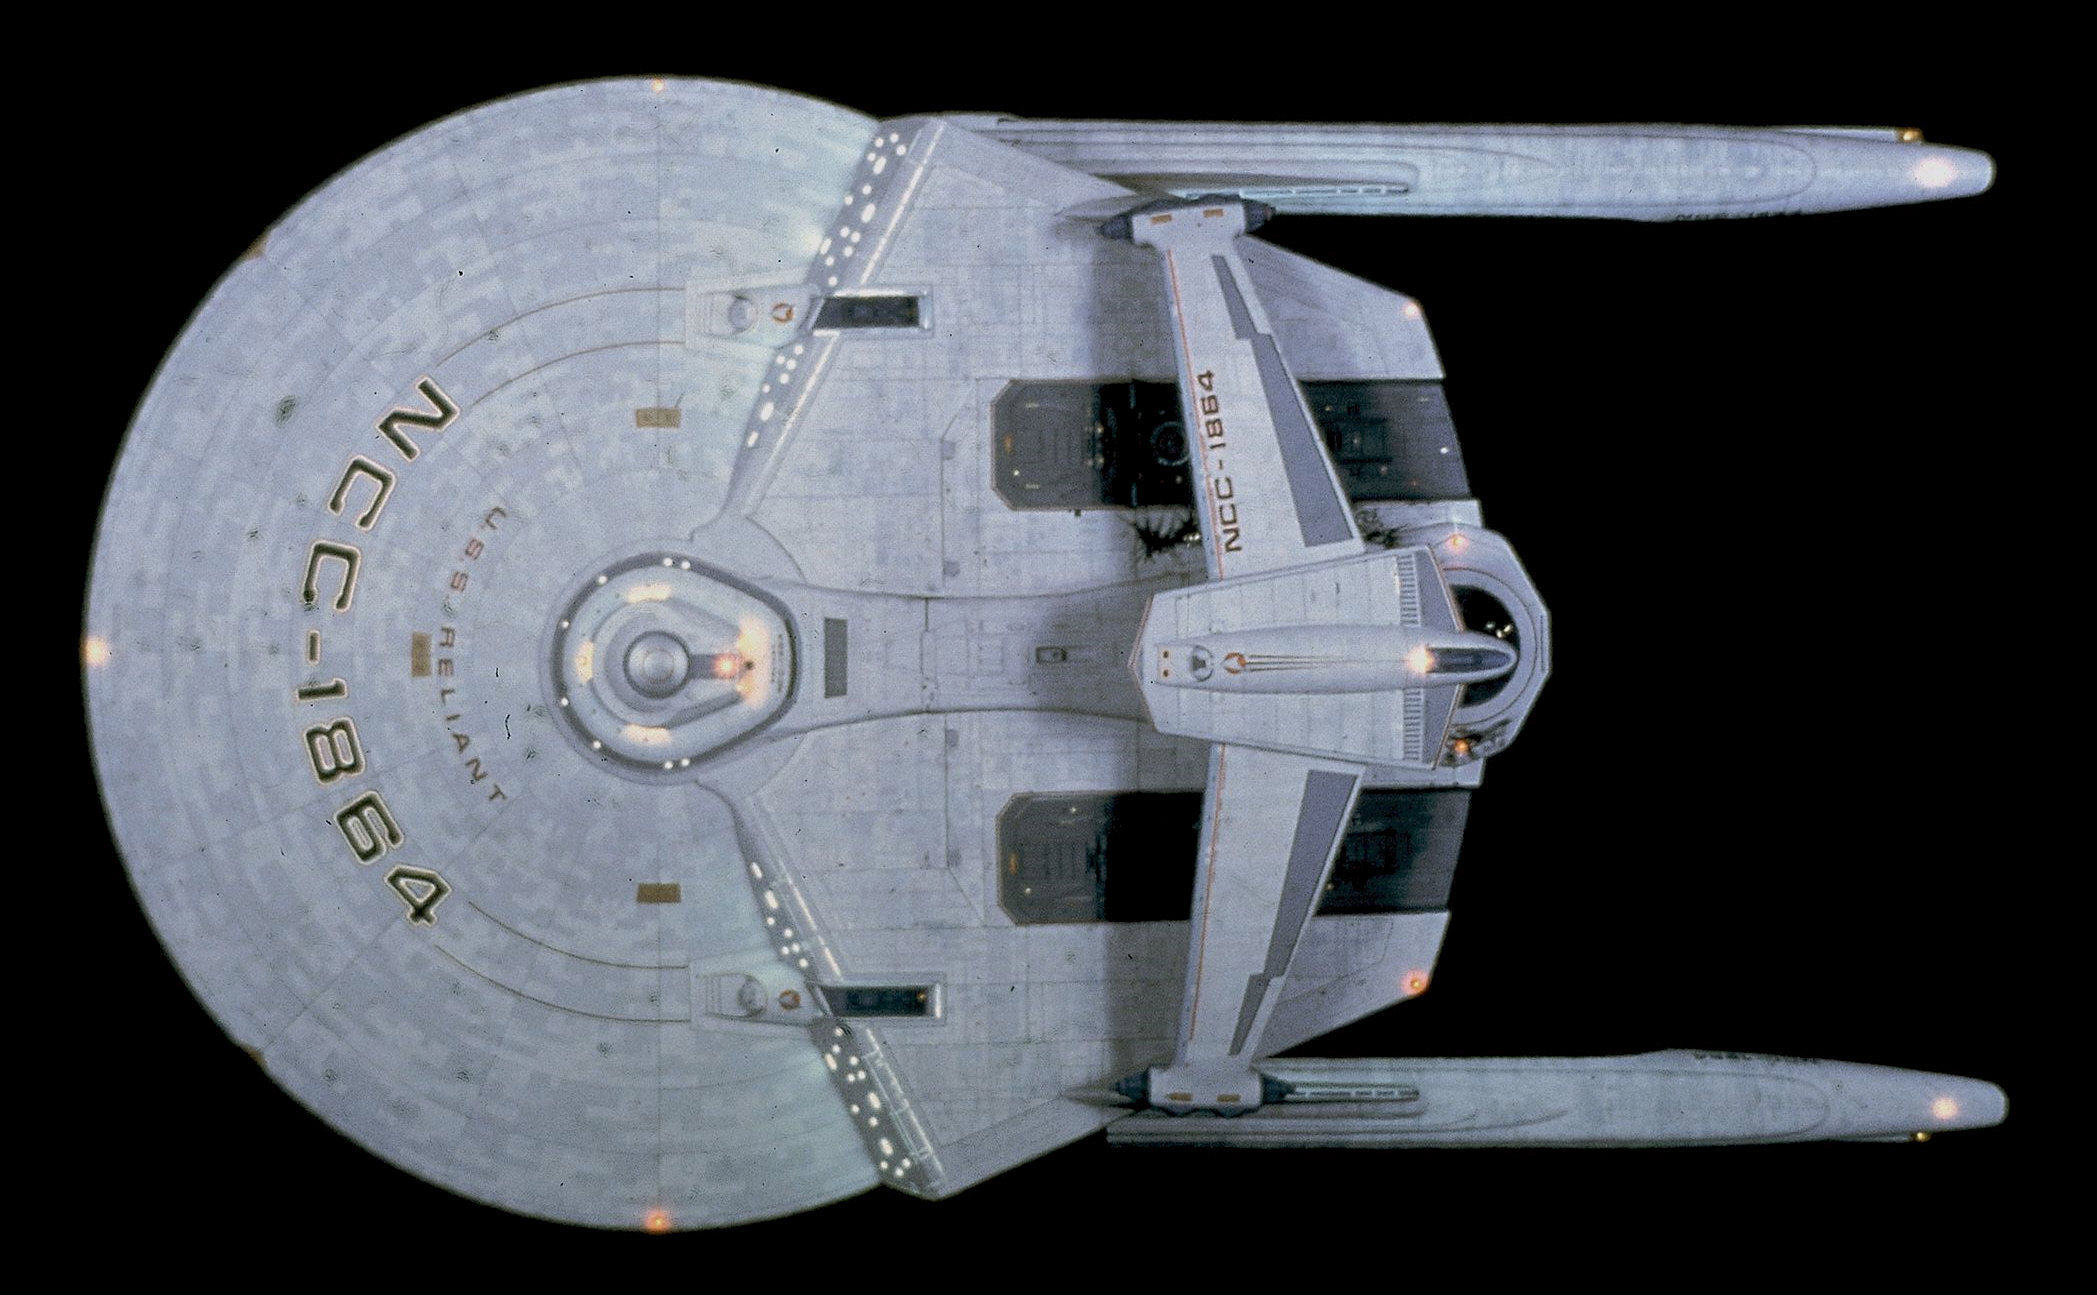
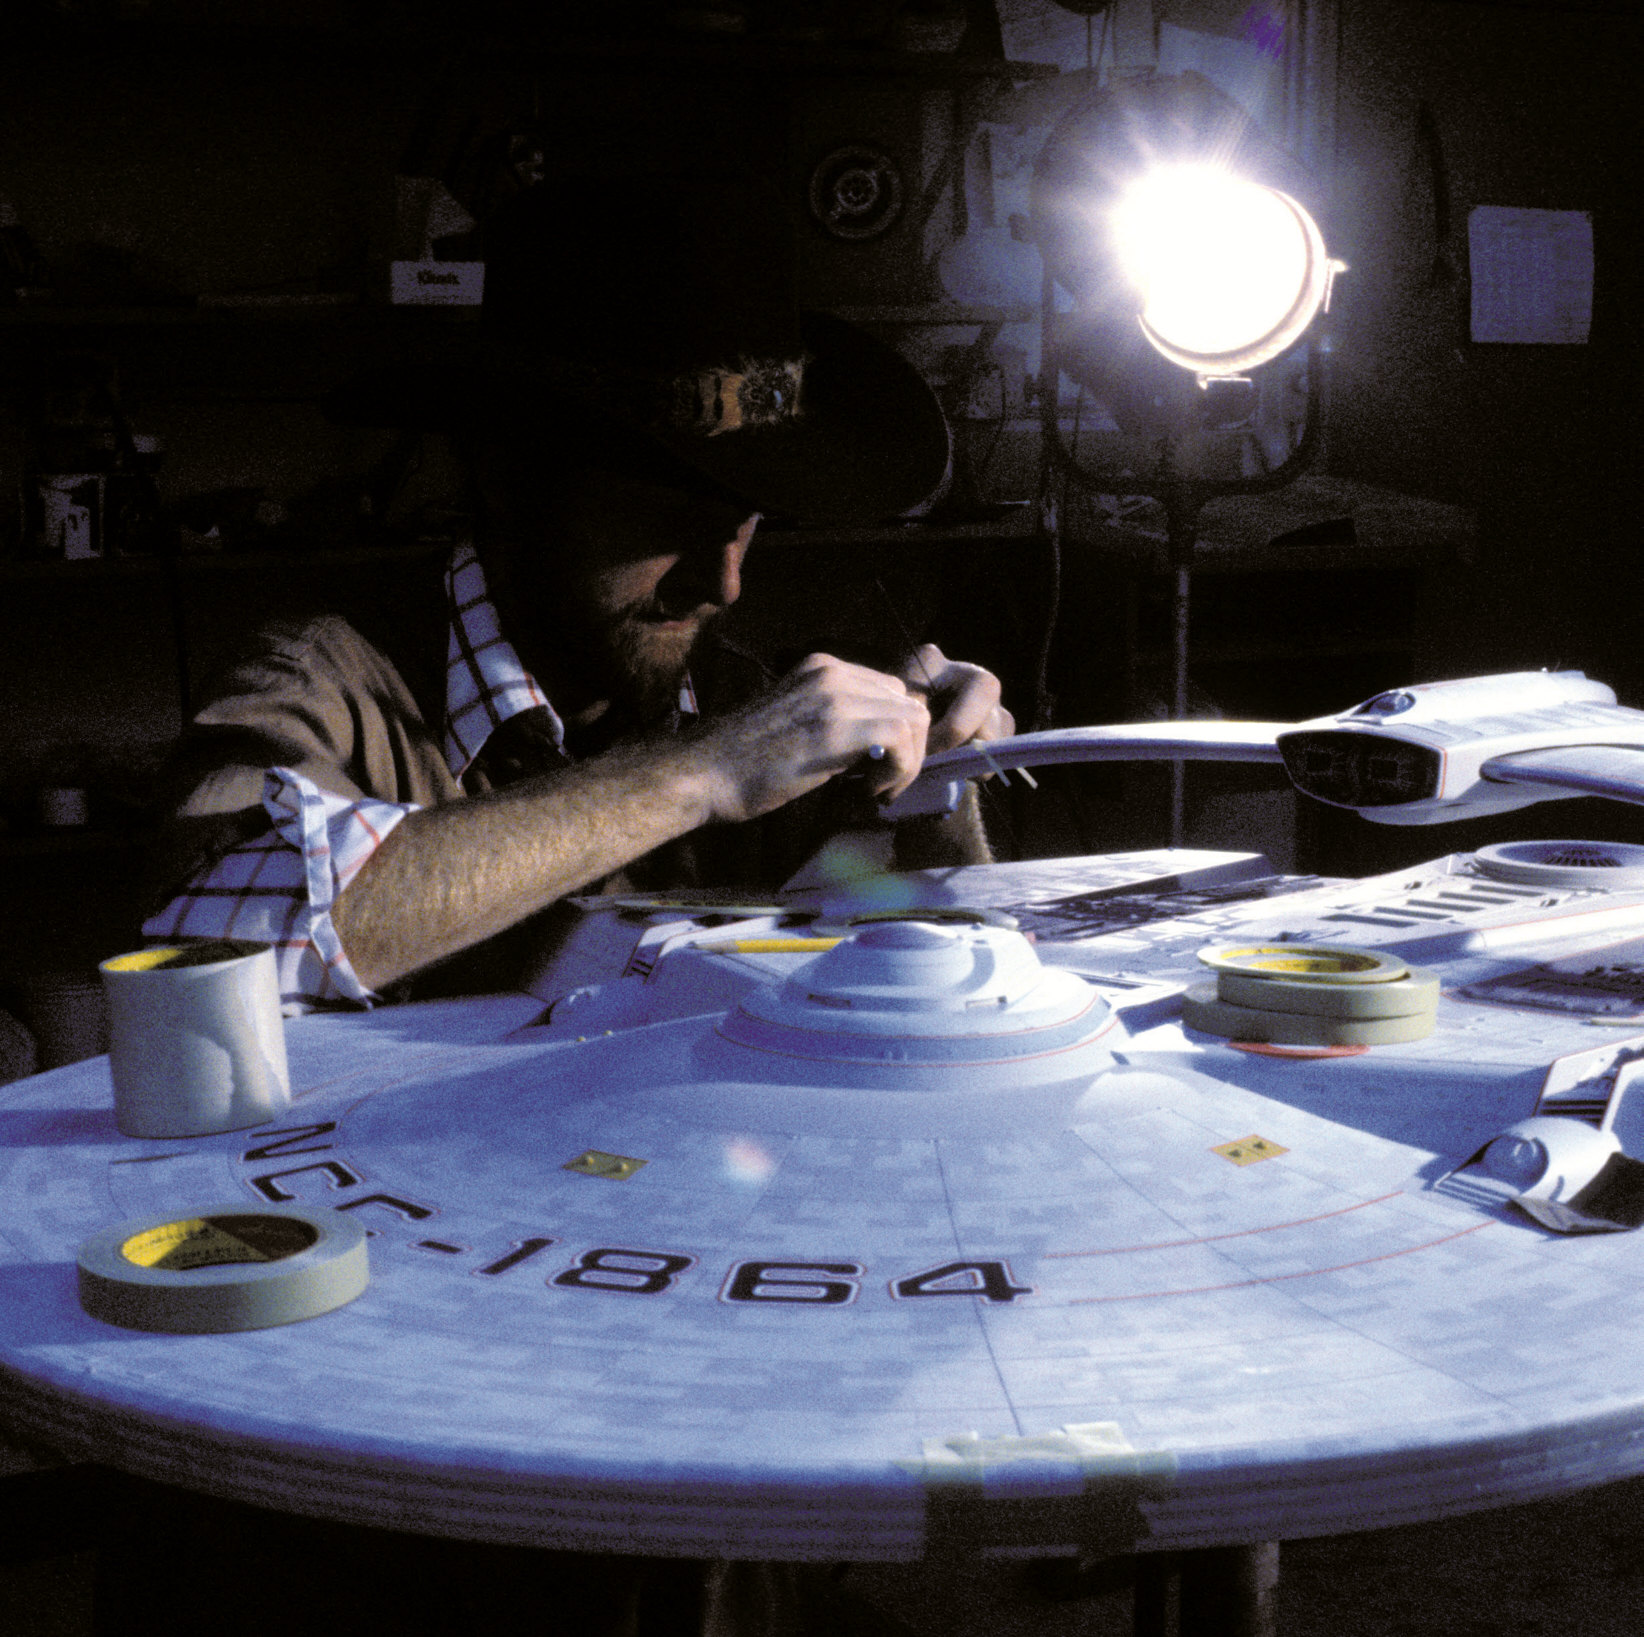
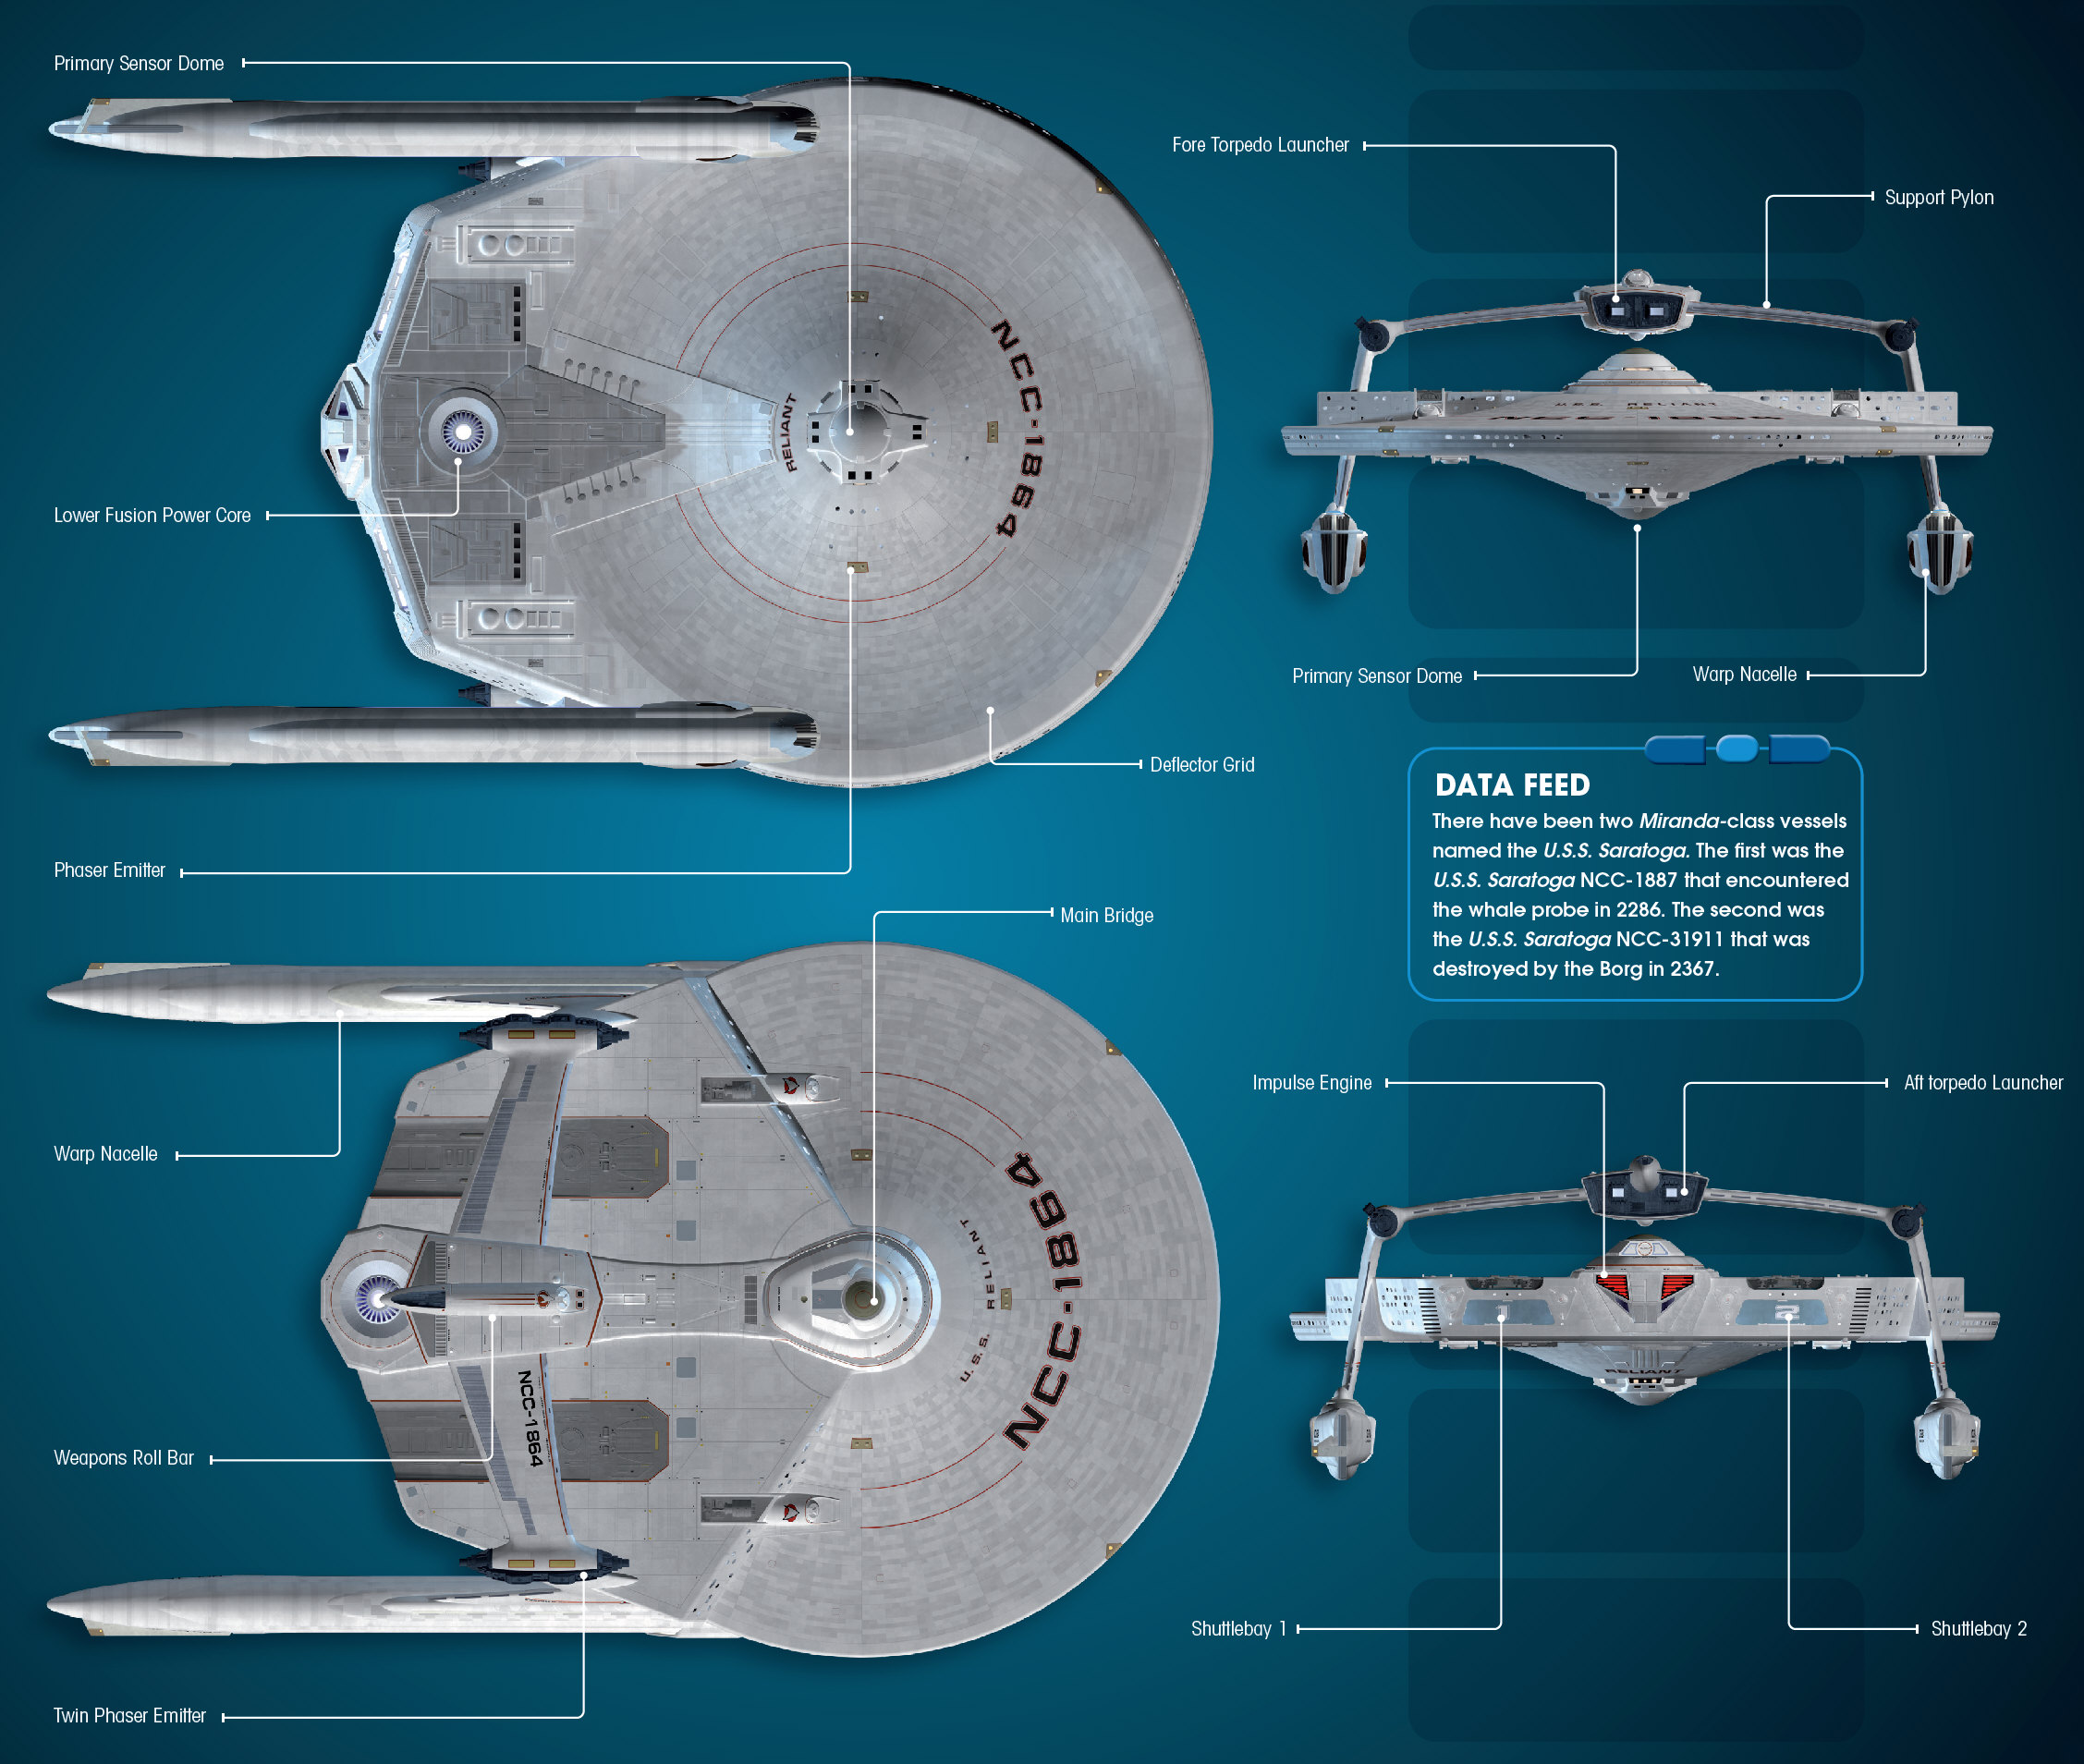
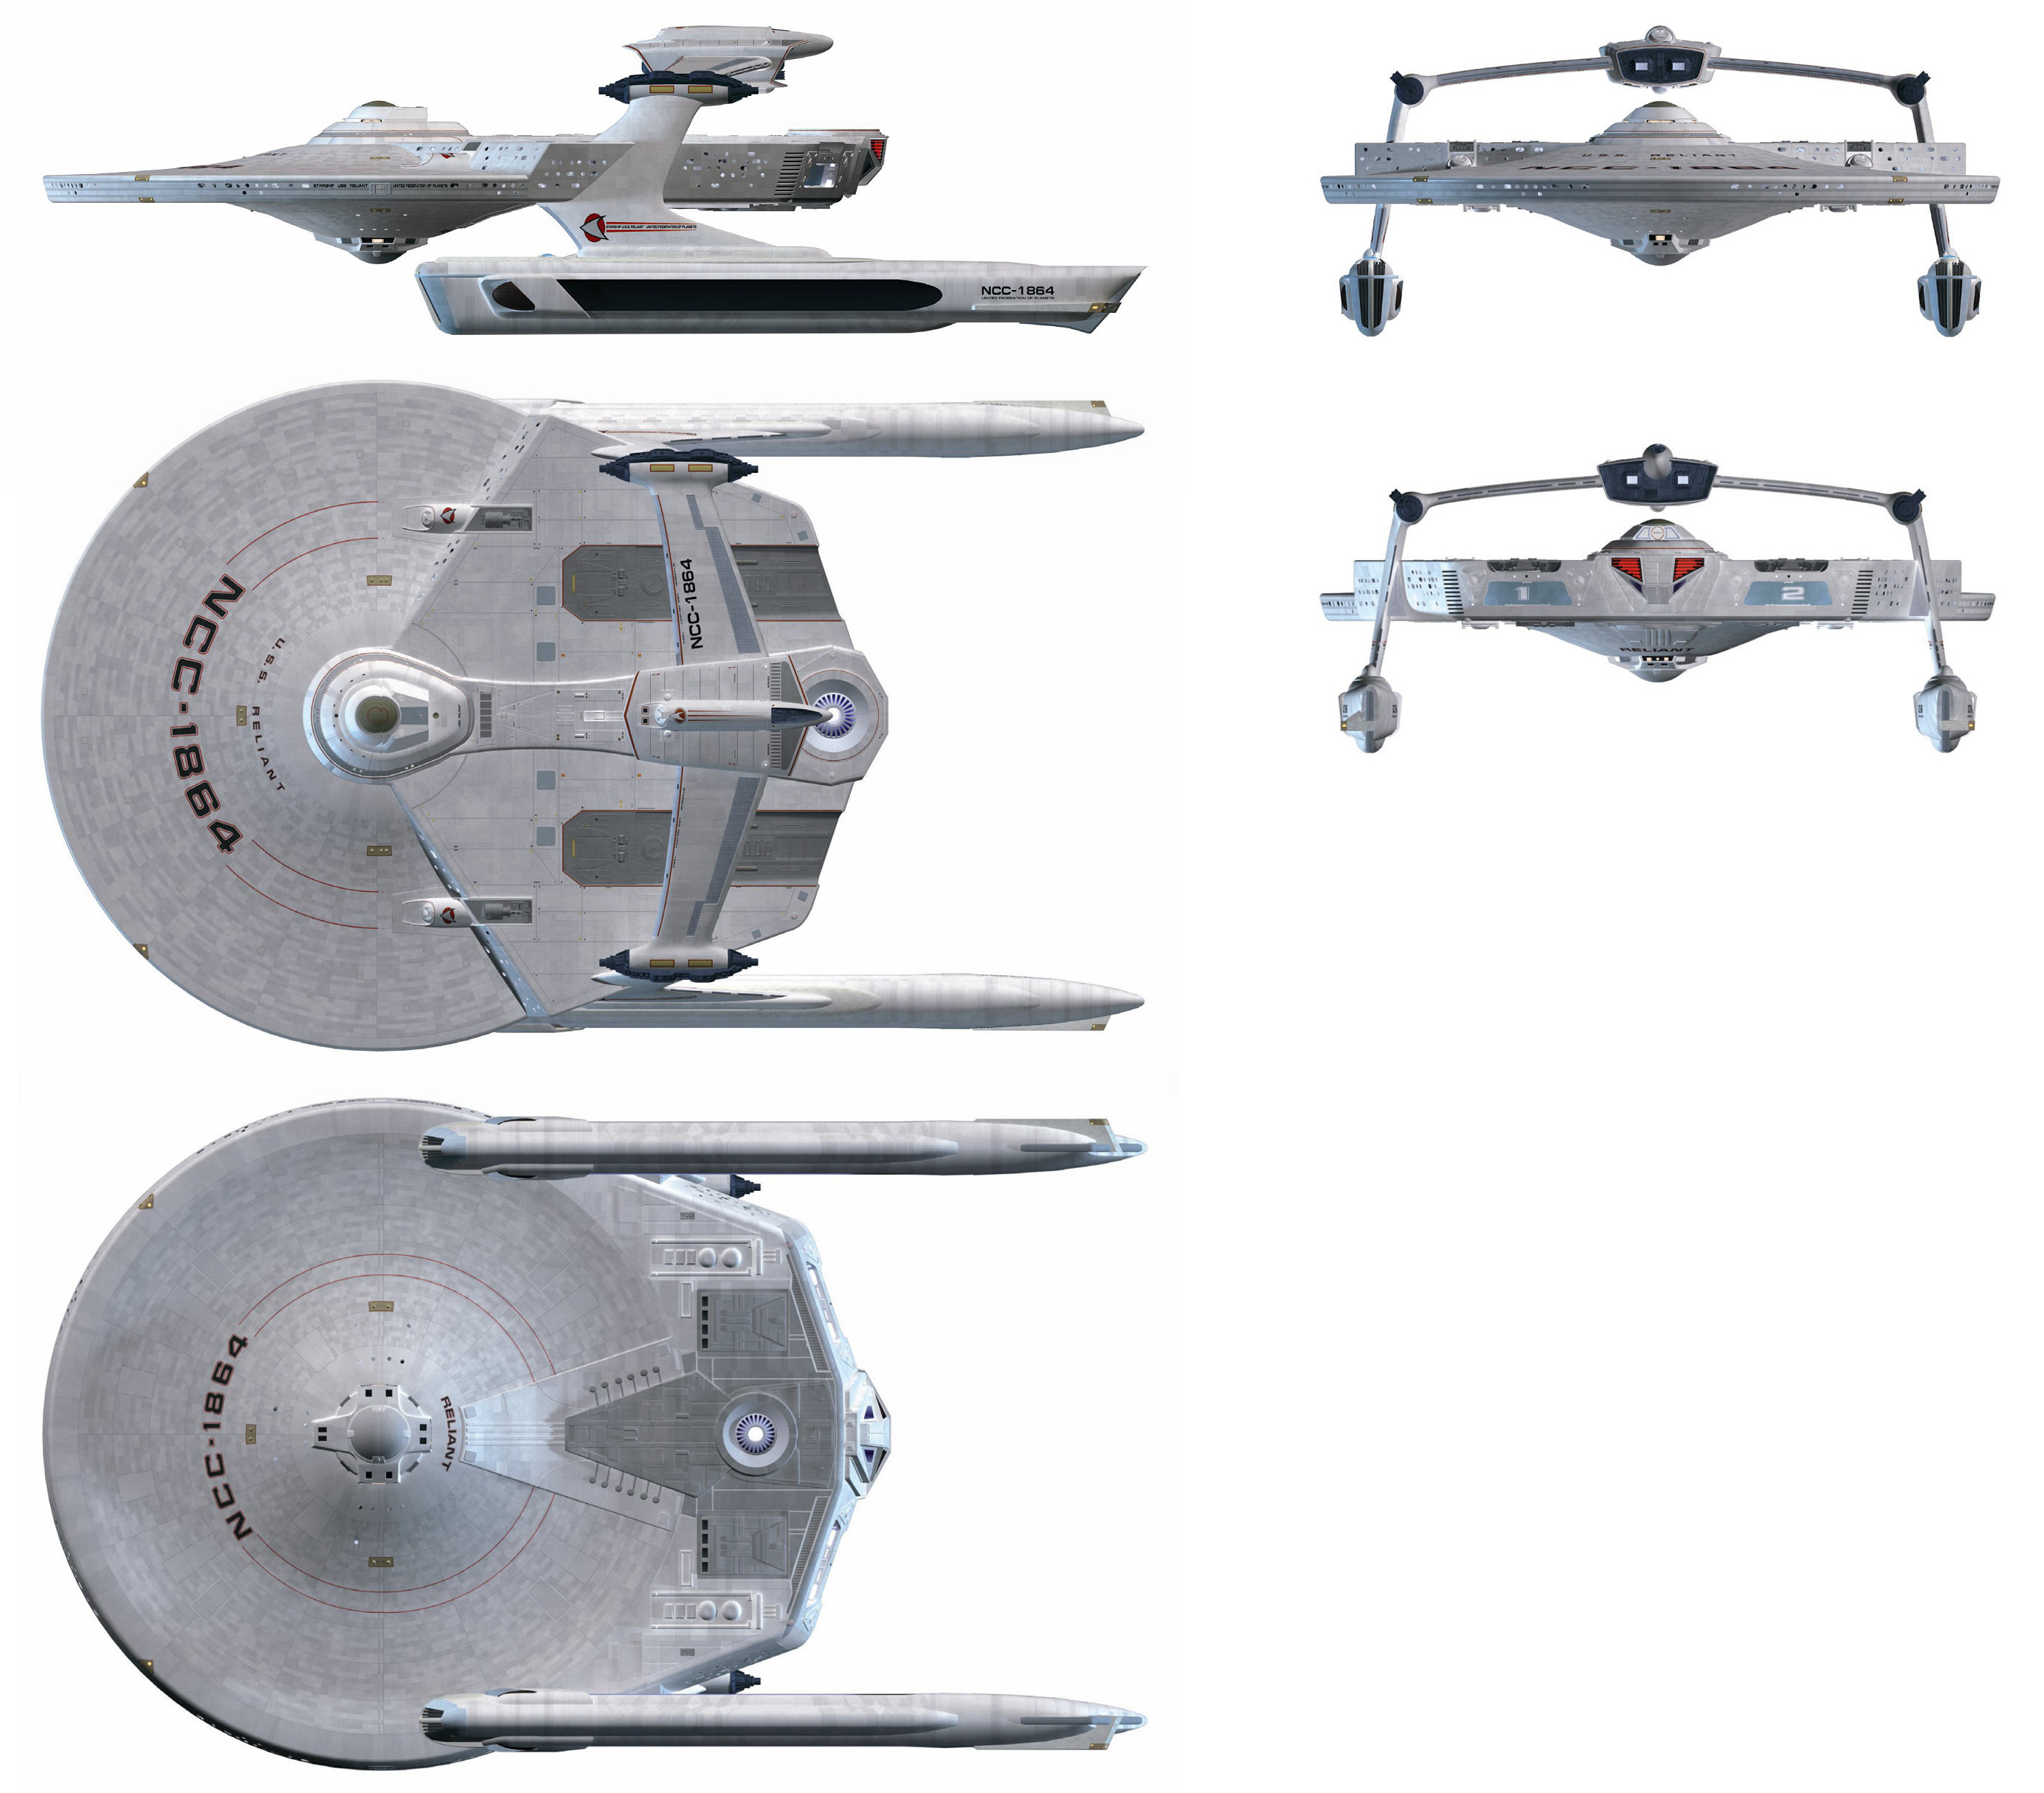
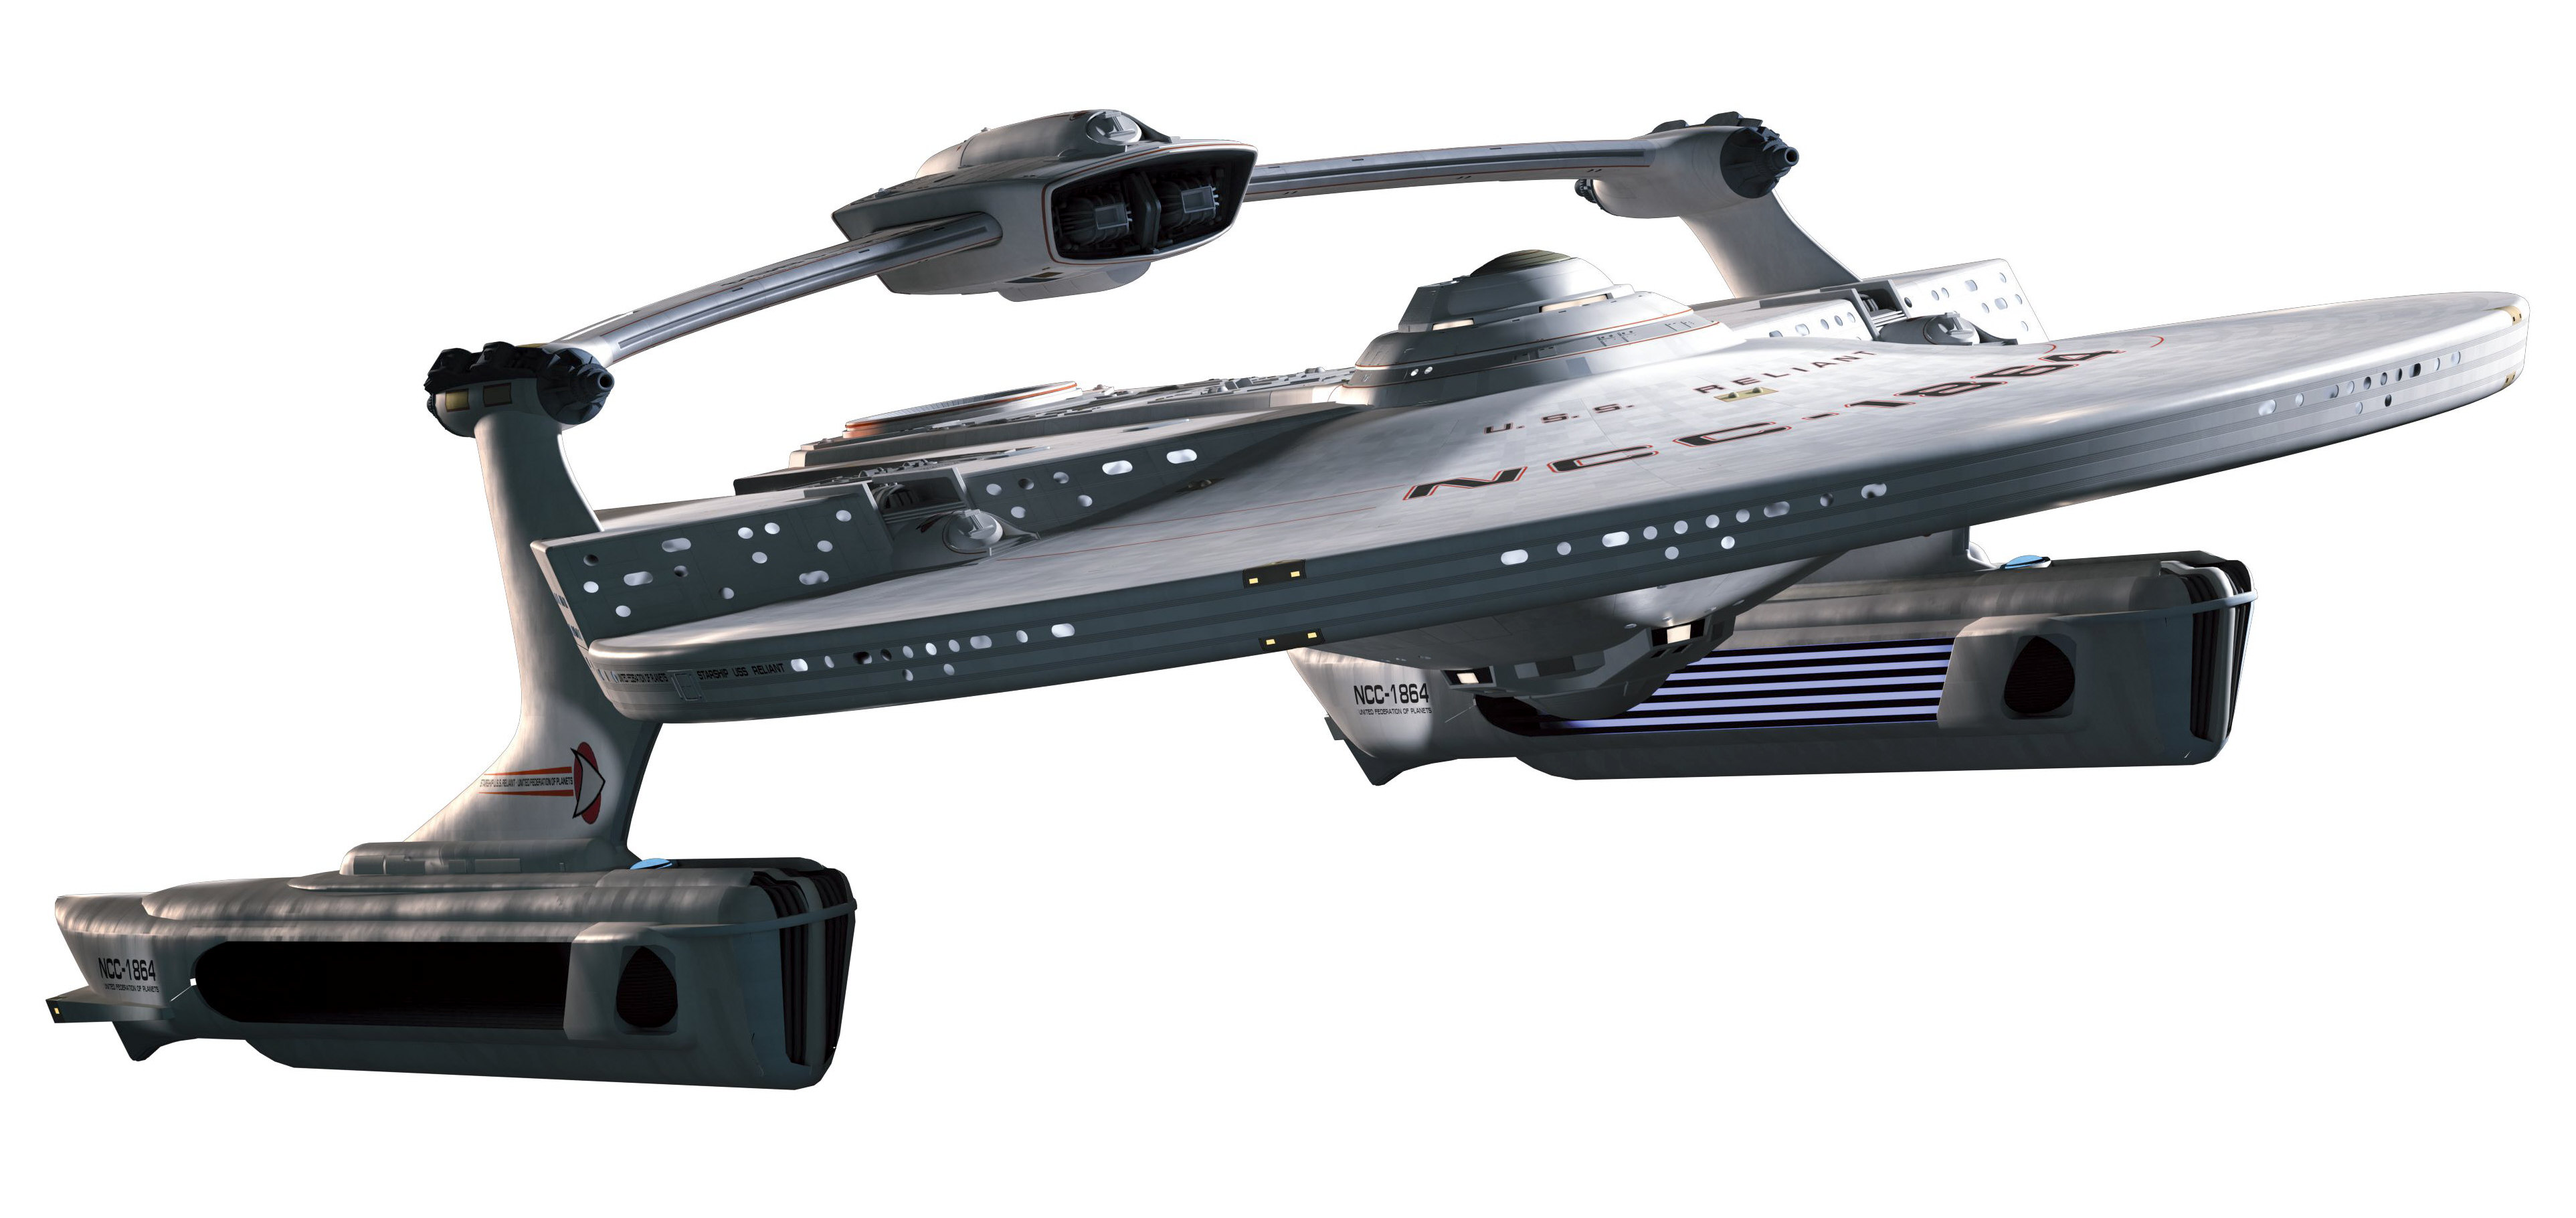
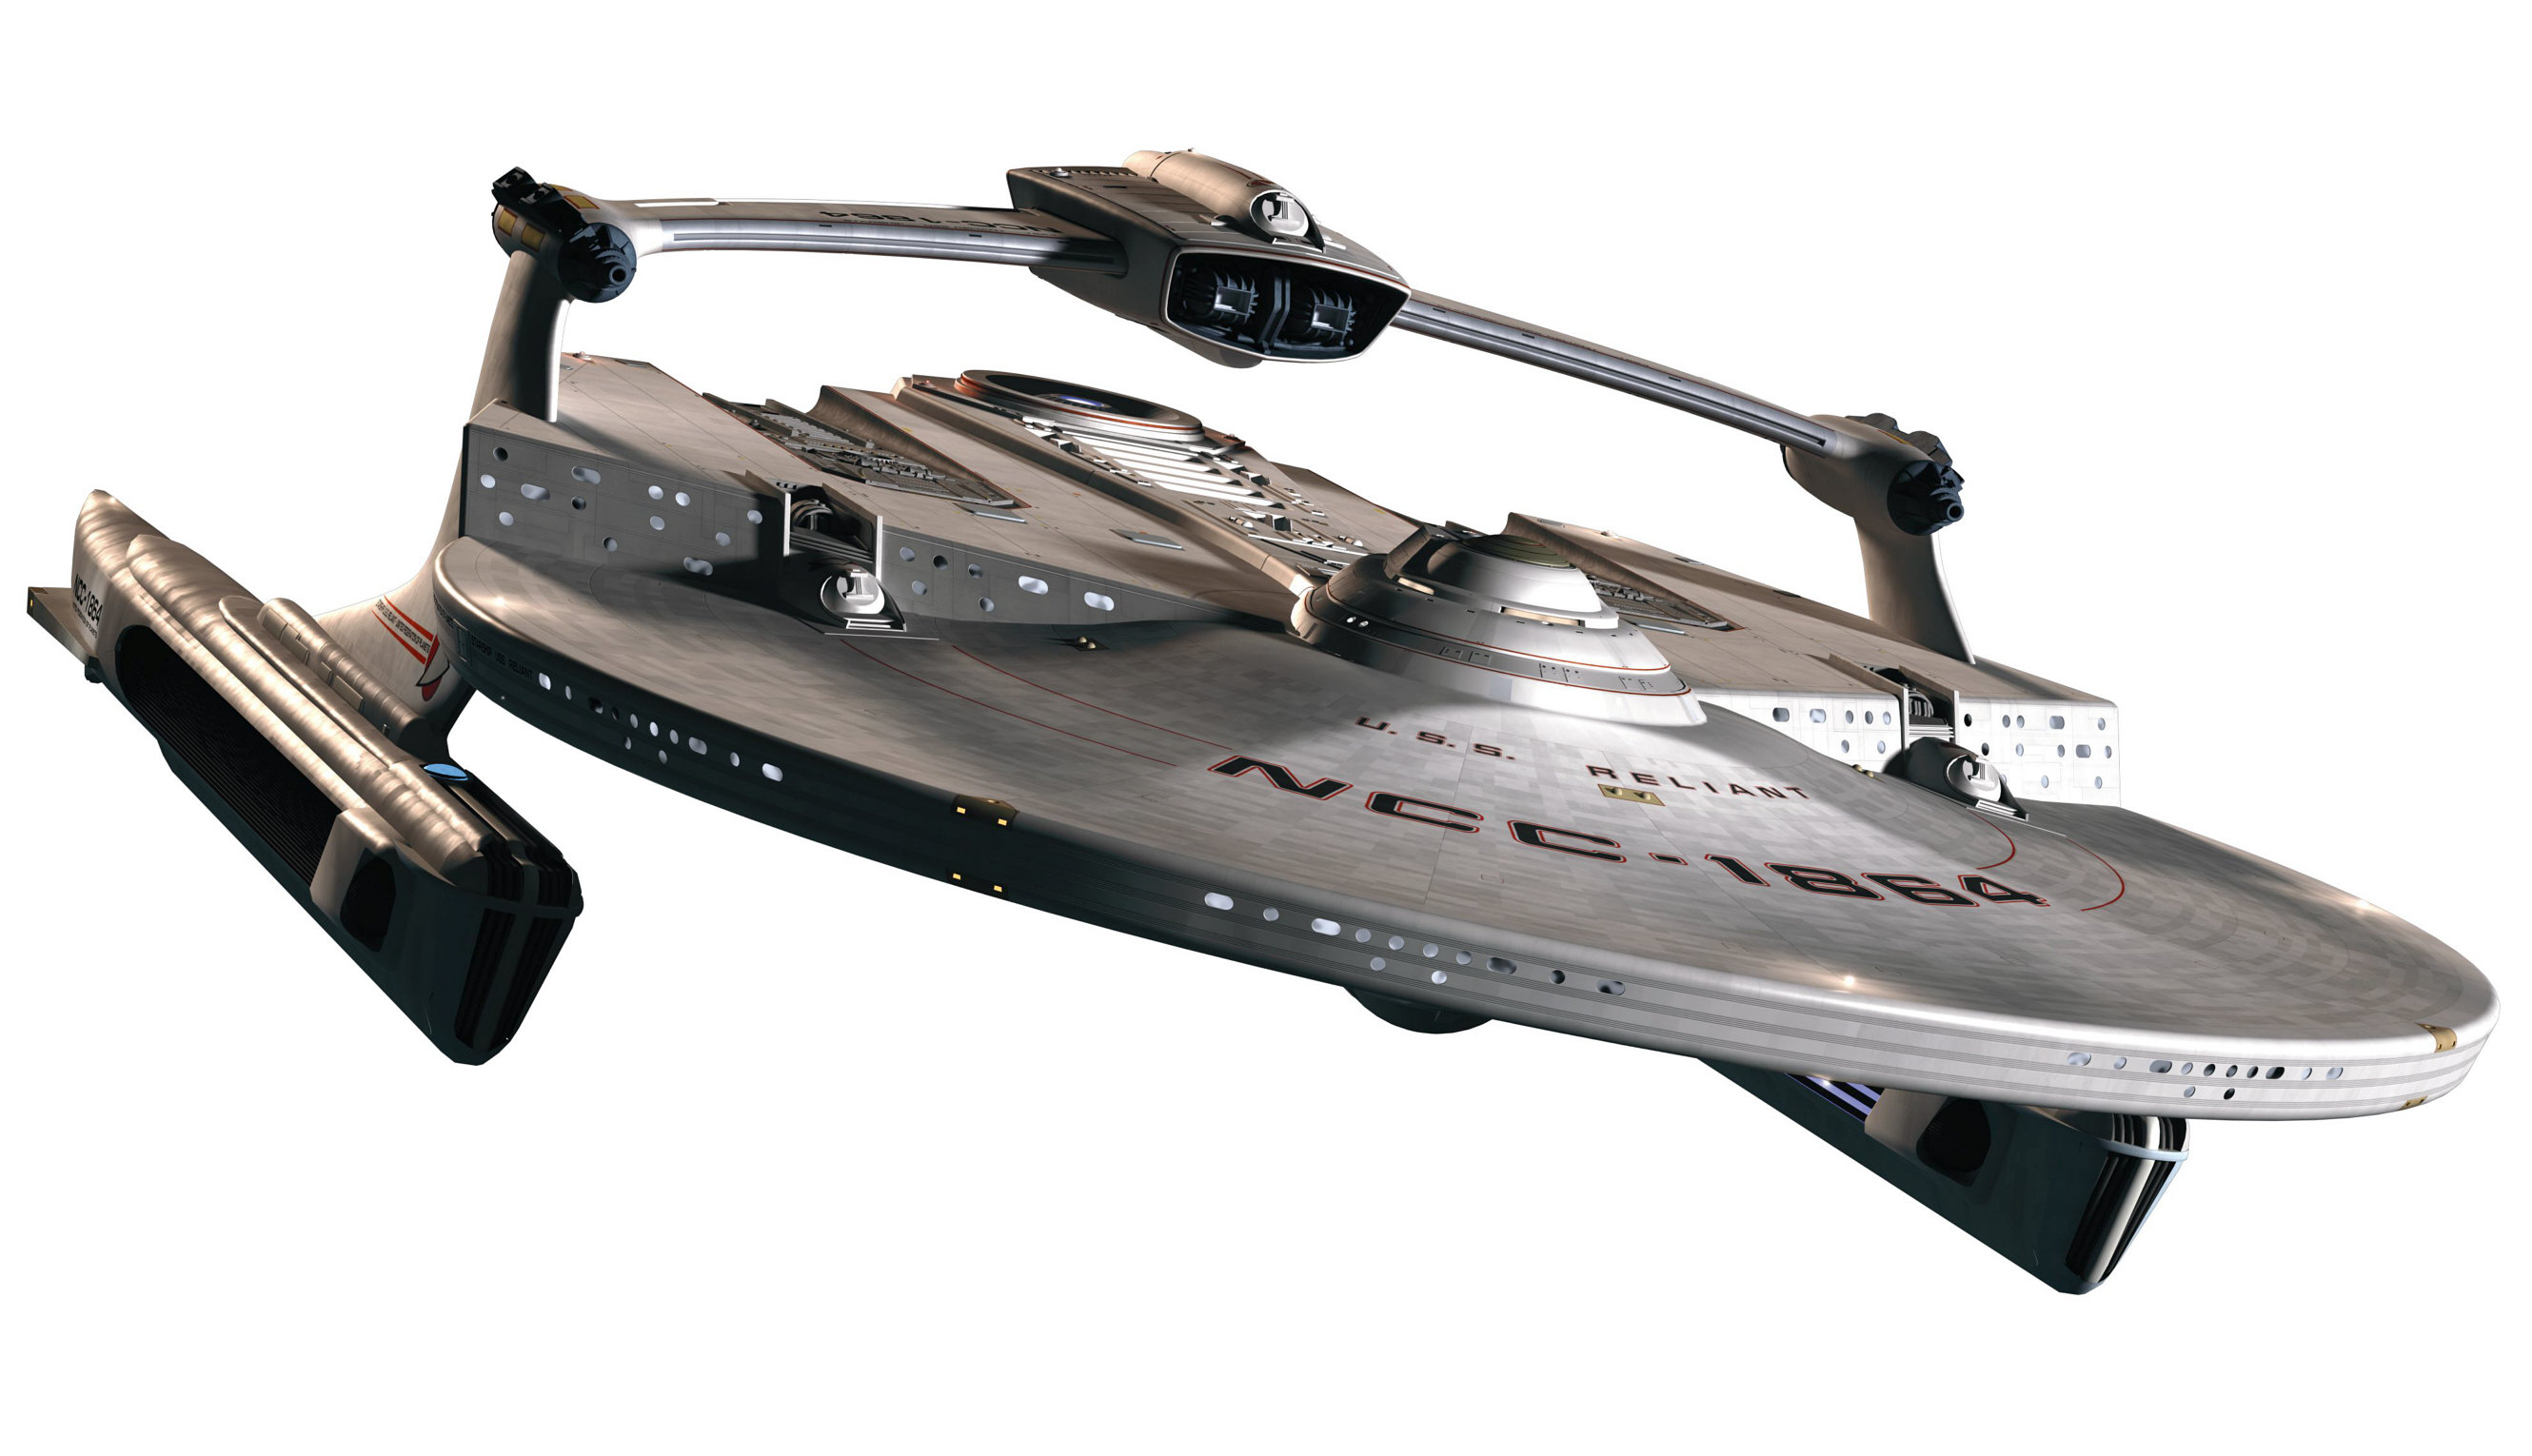
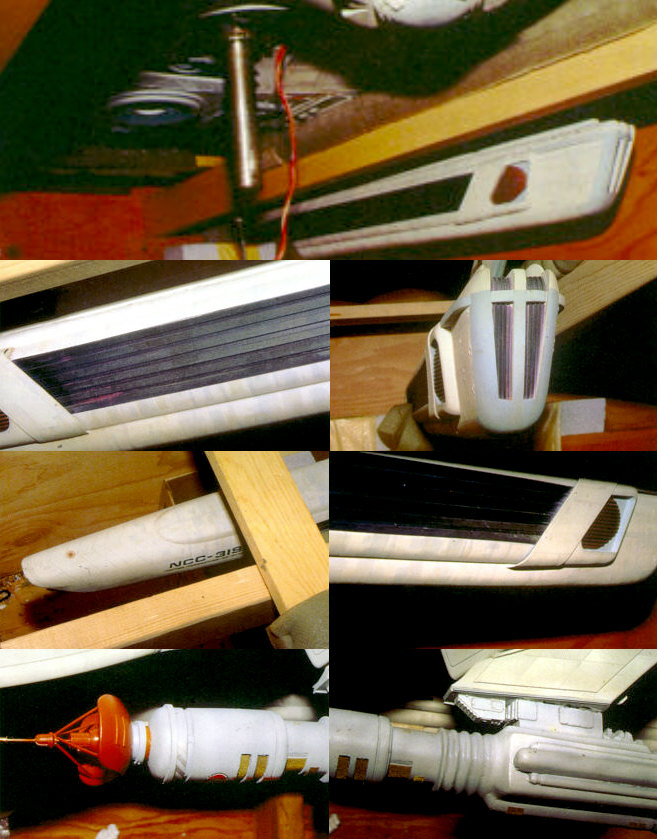
Reliant


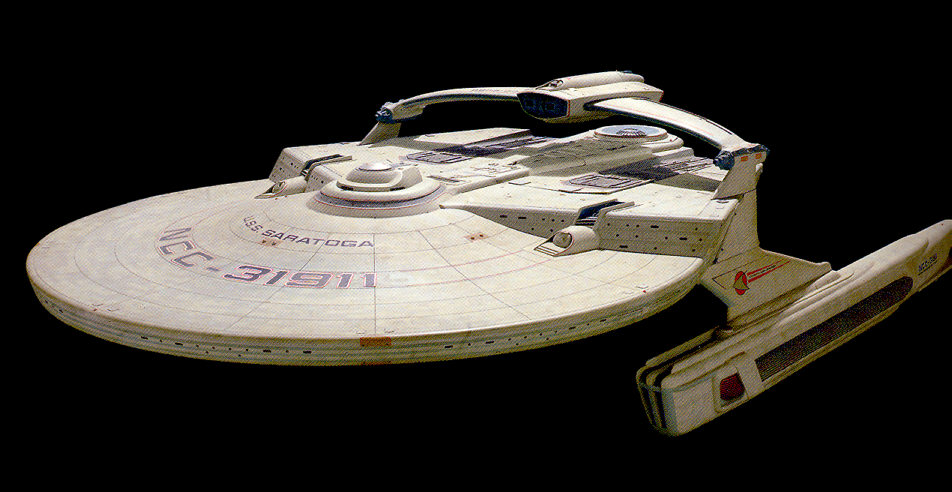
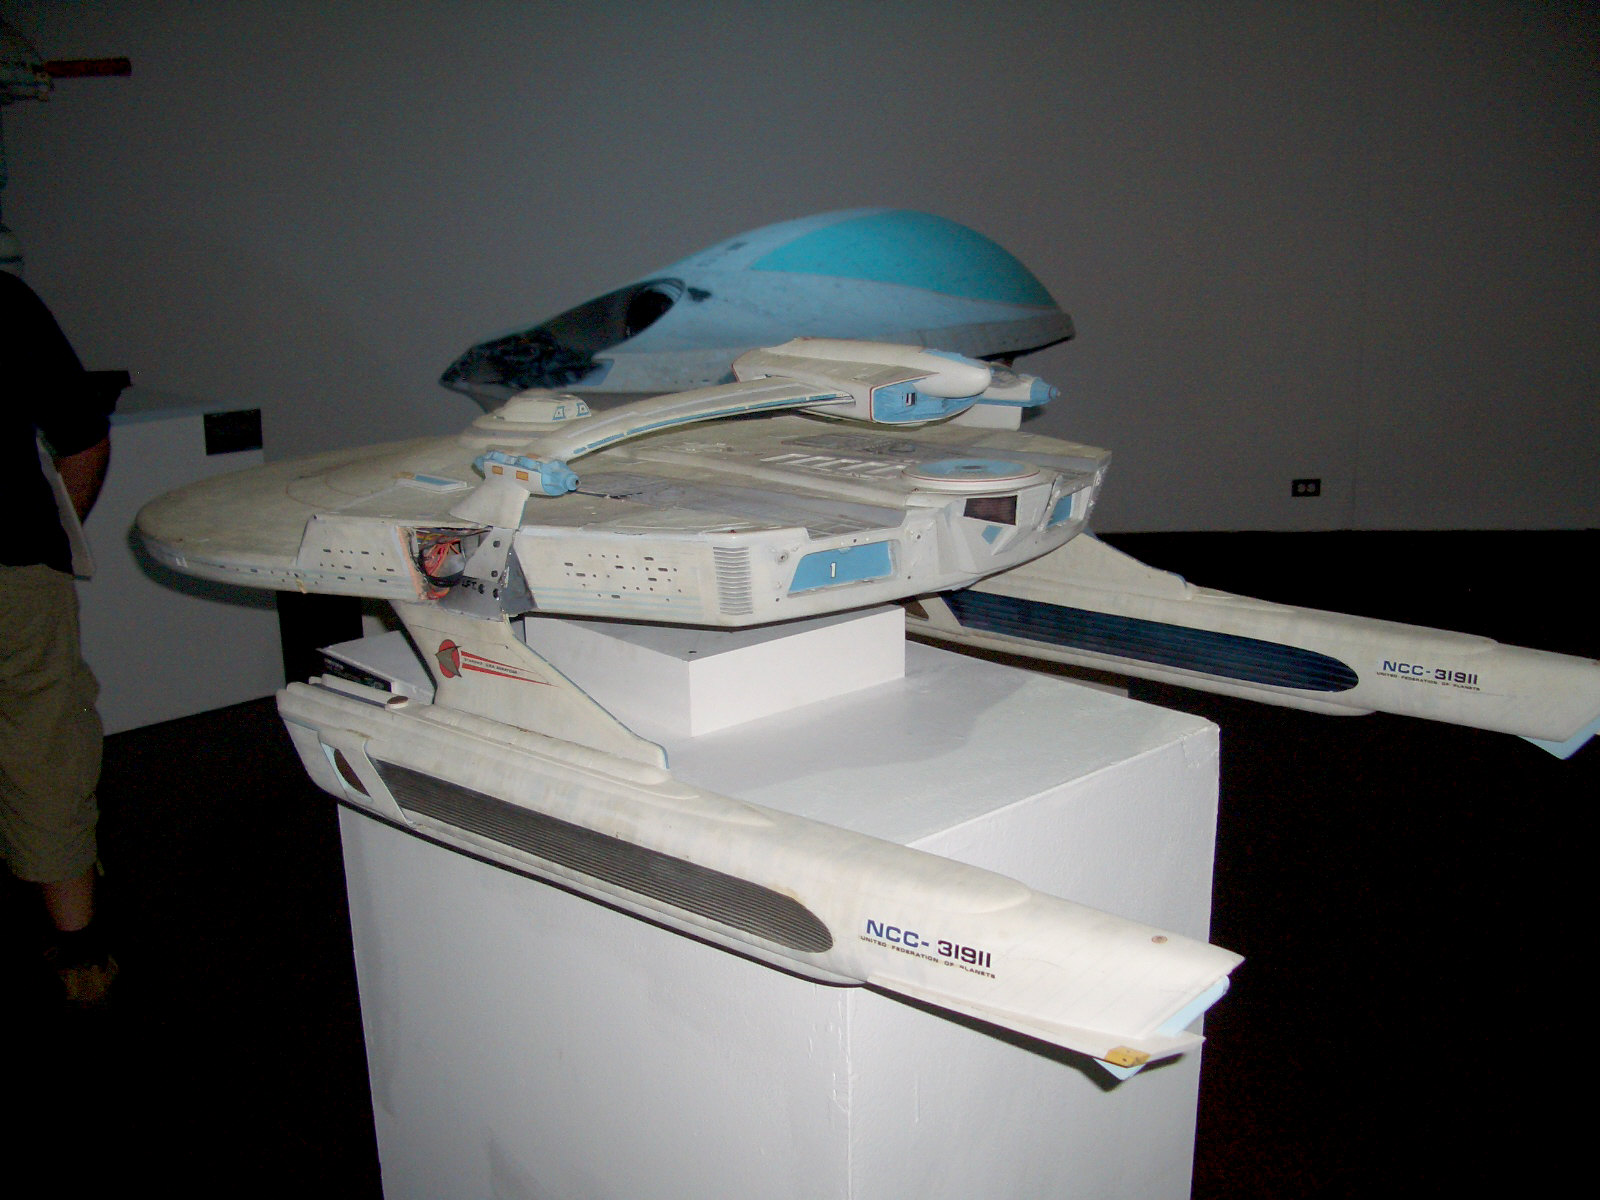
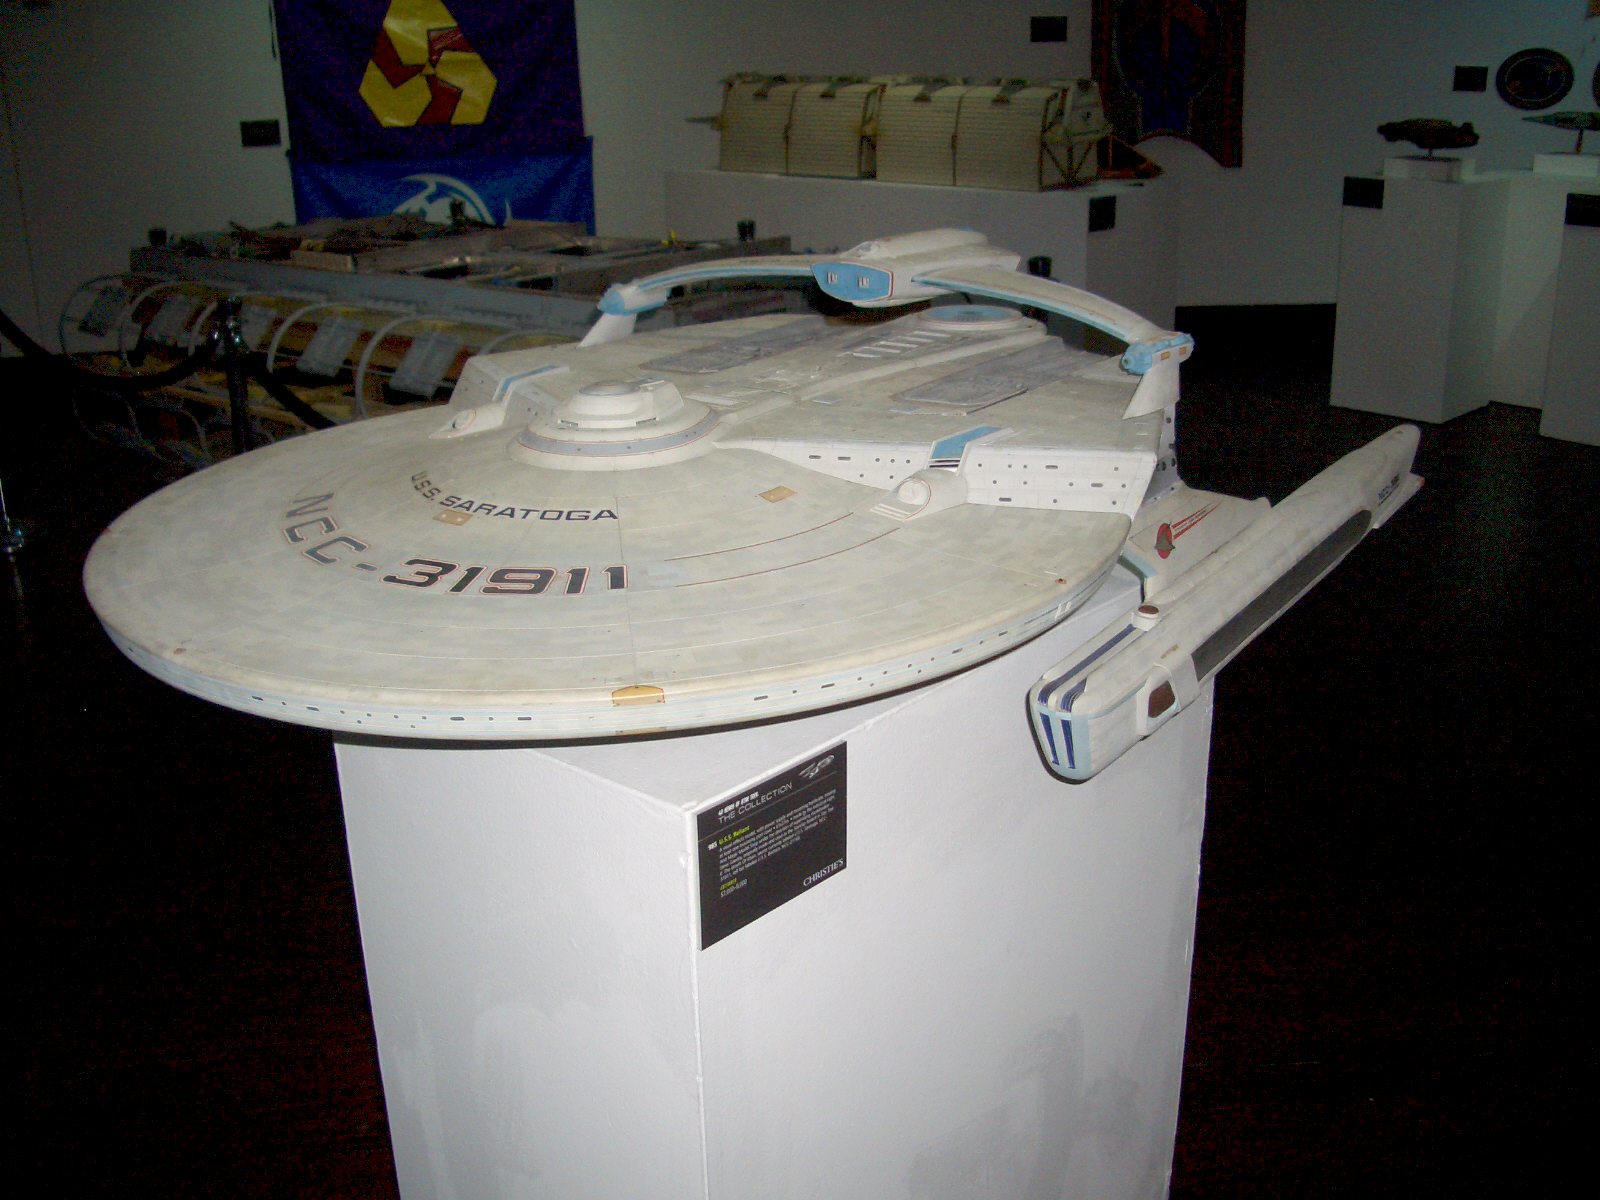
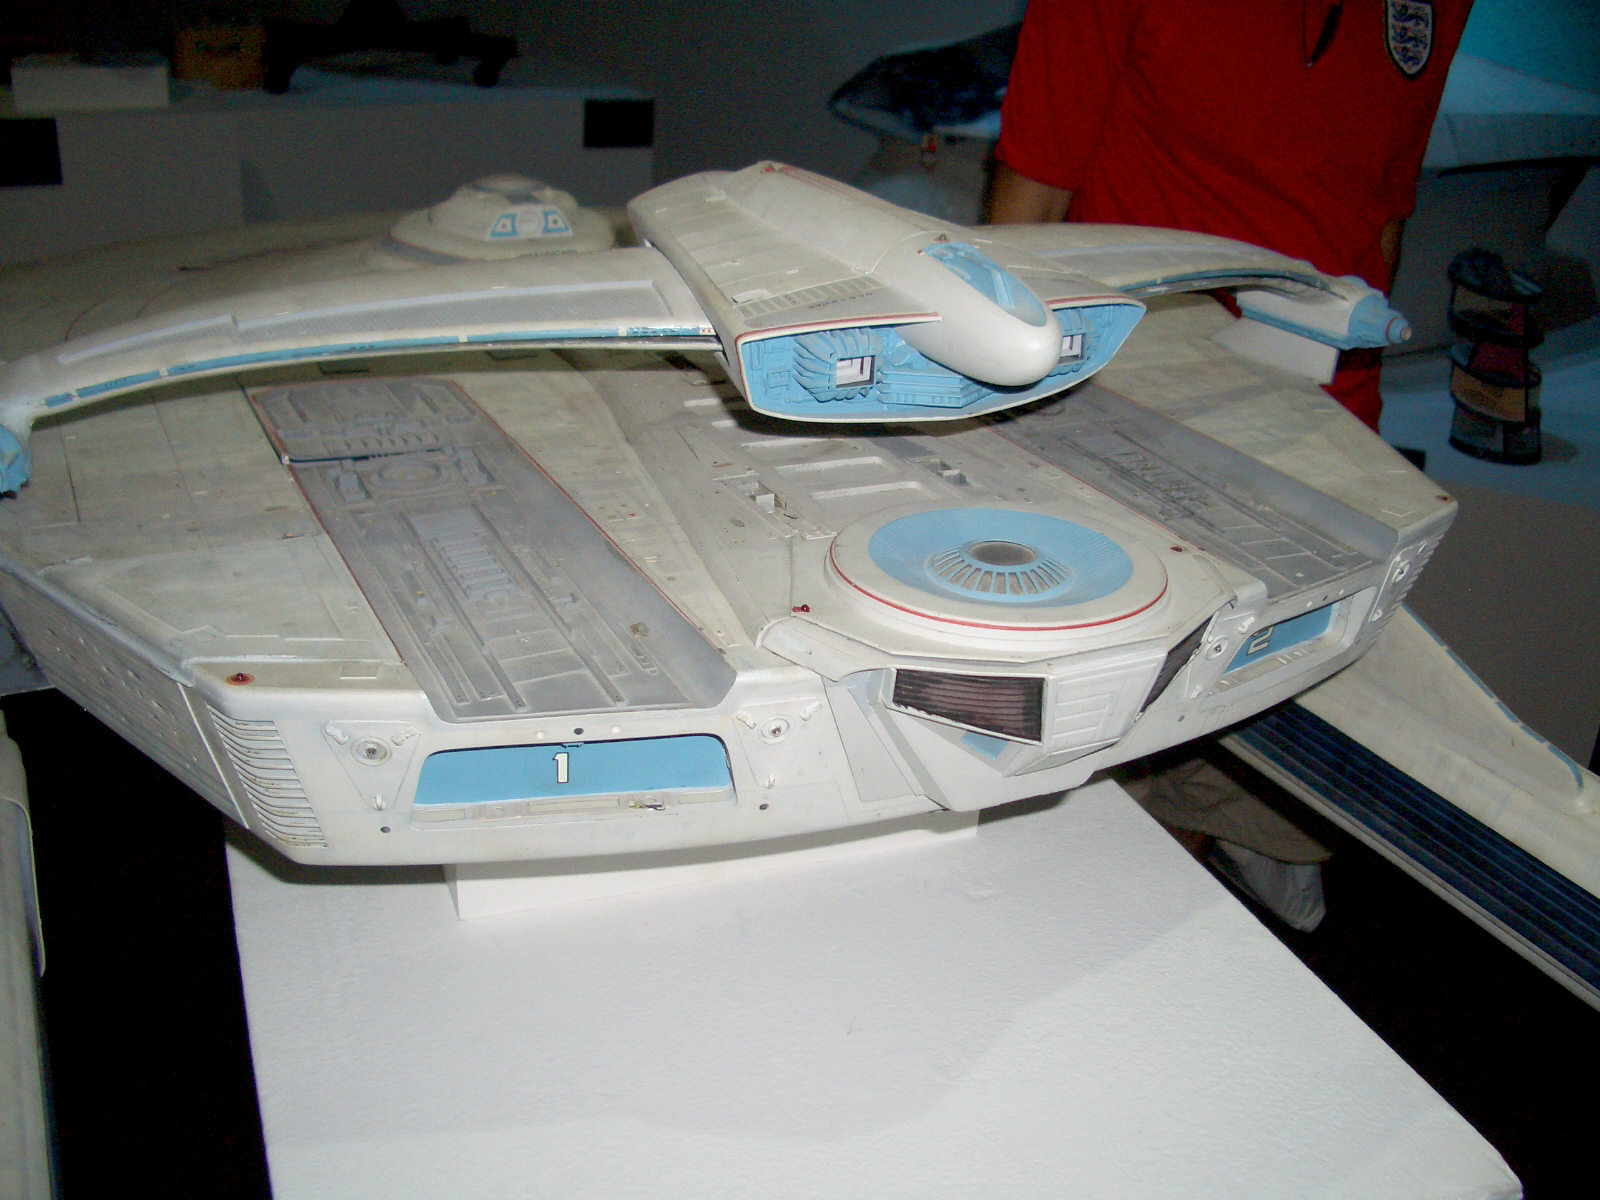

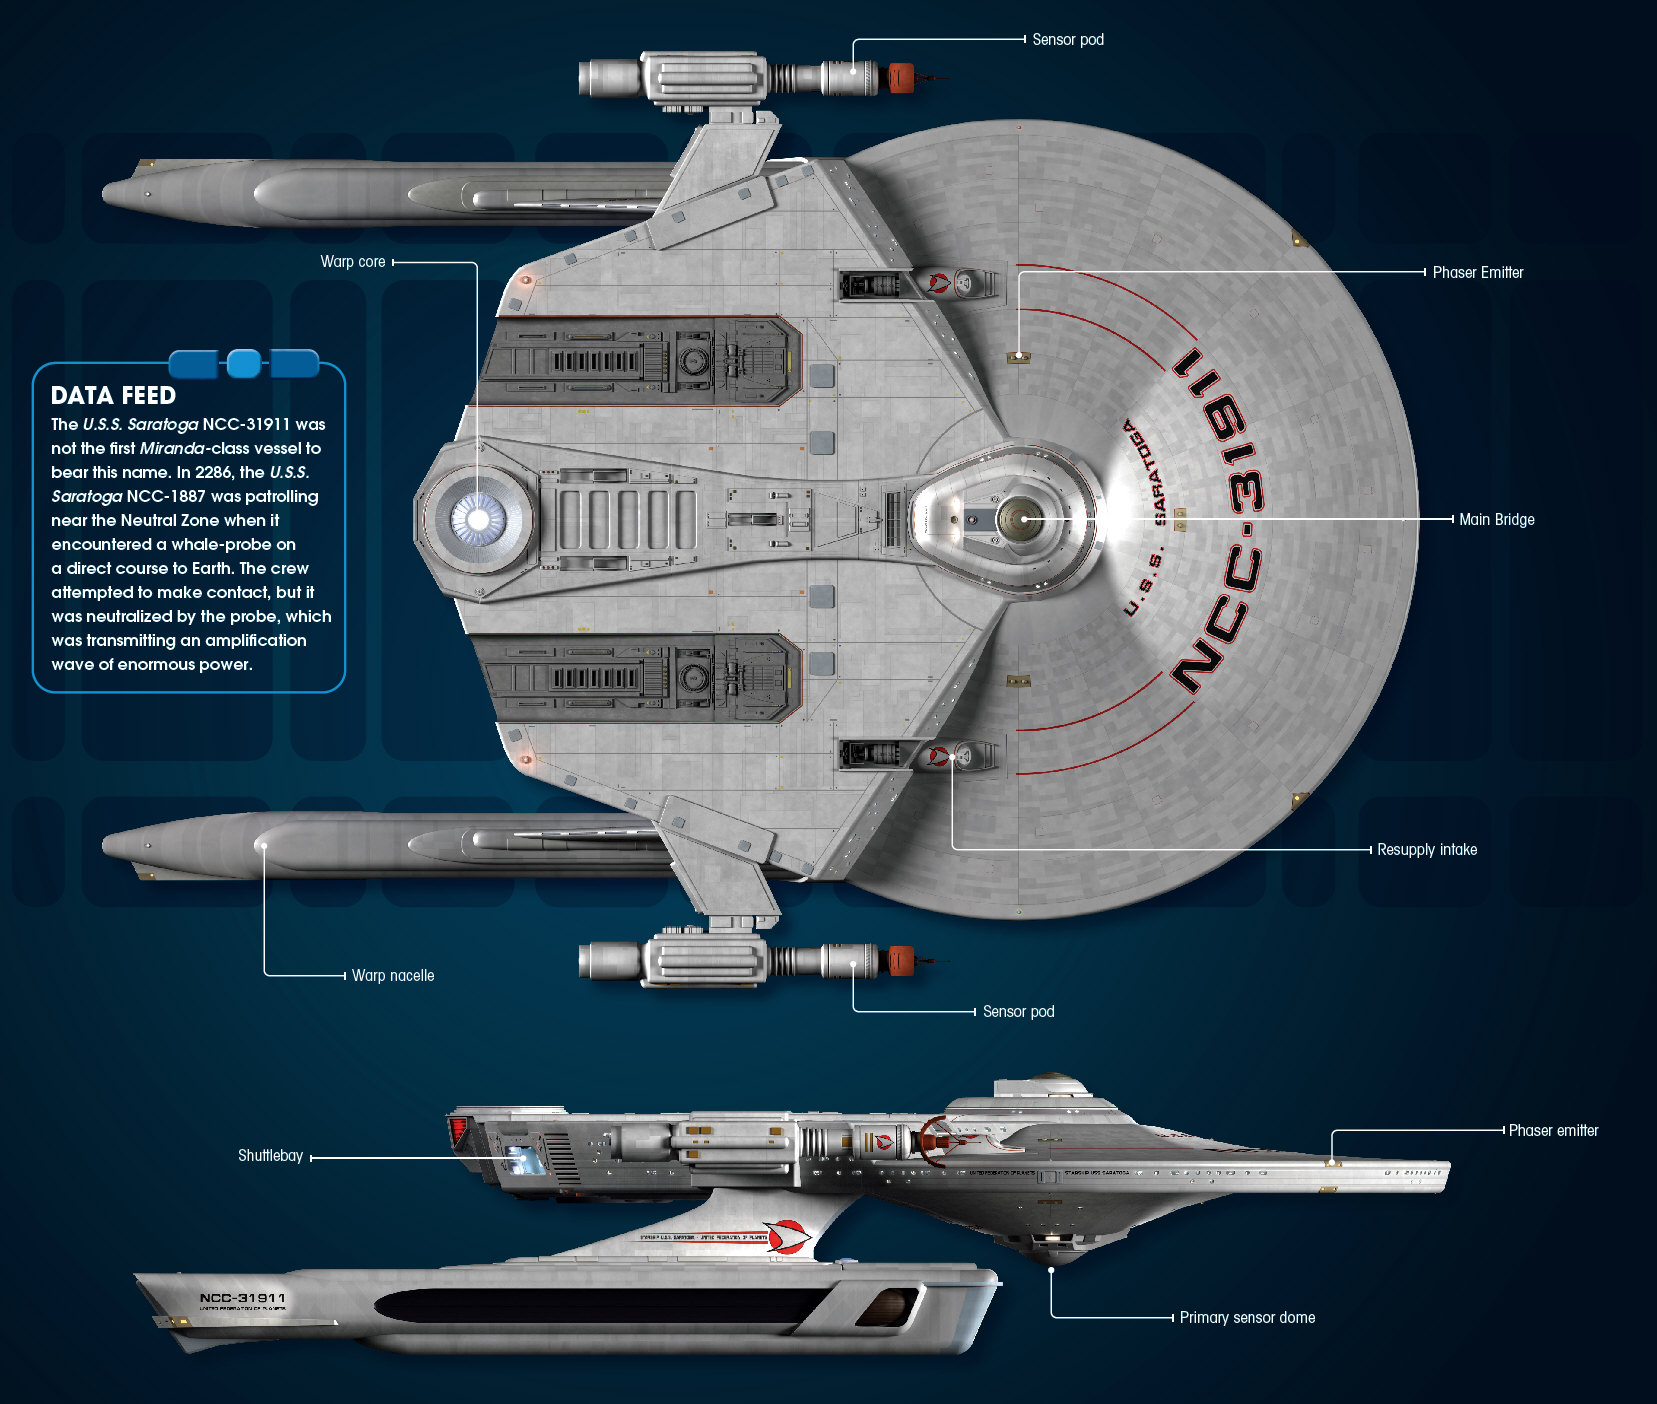
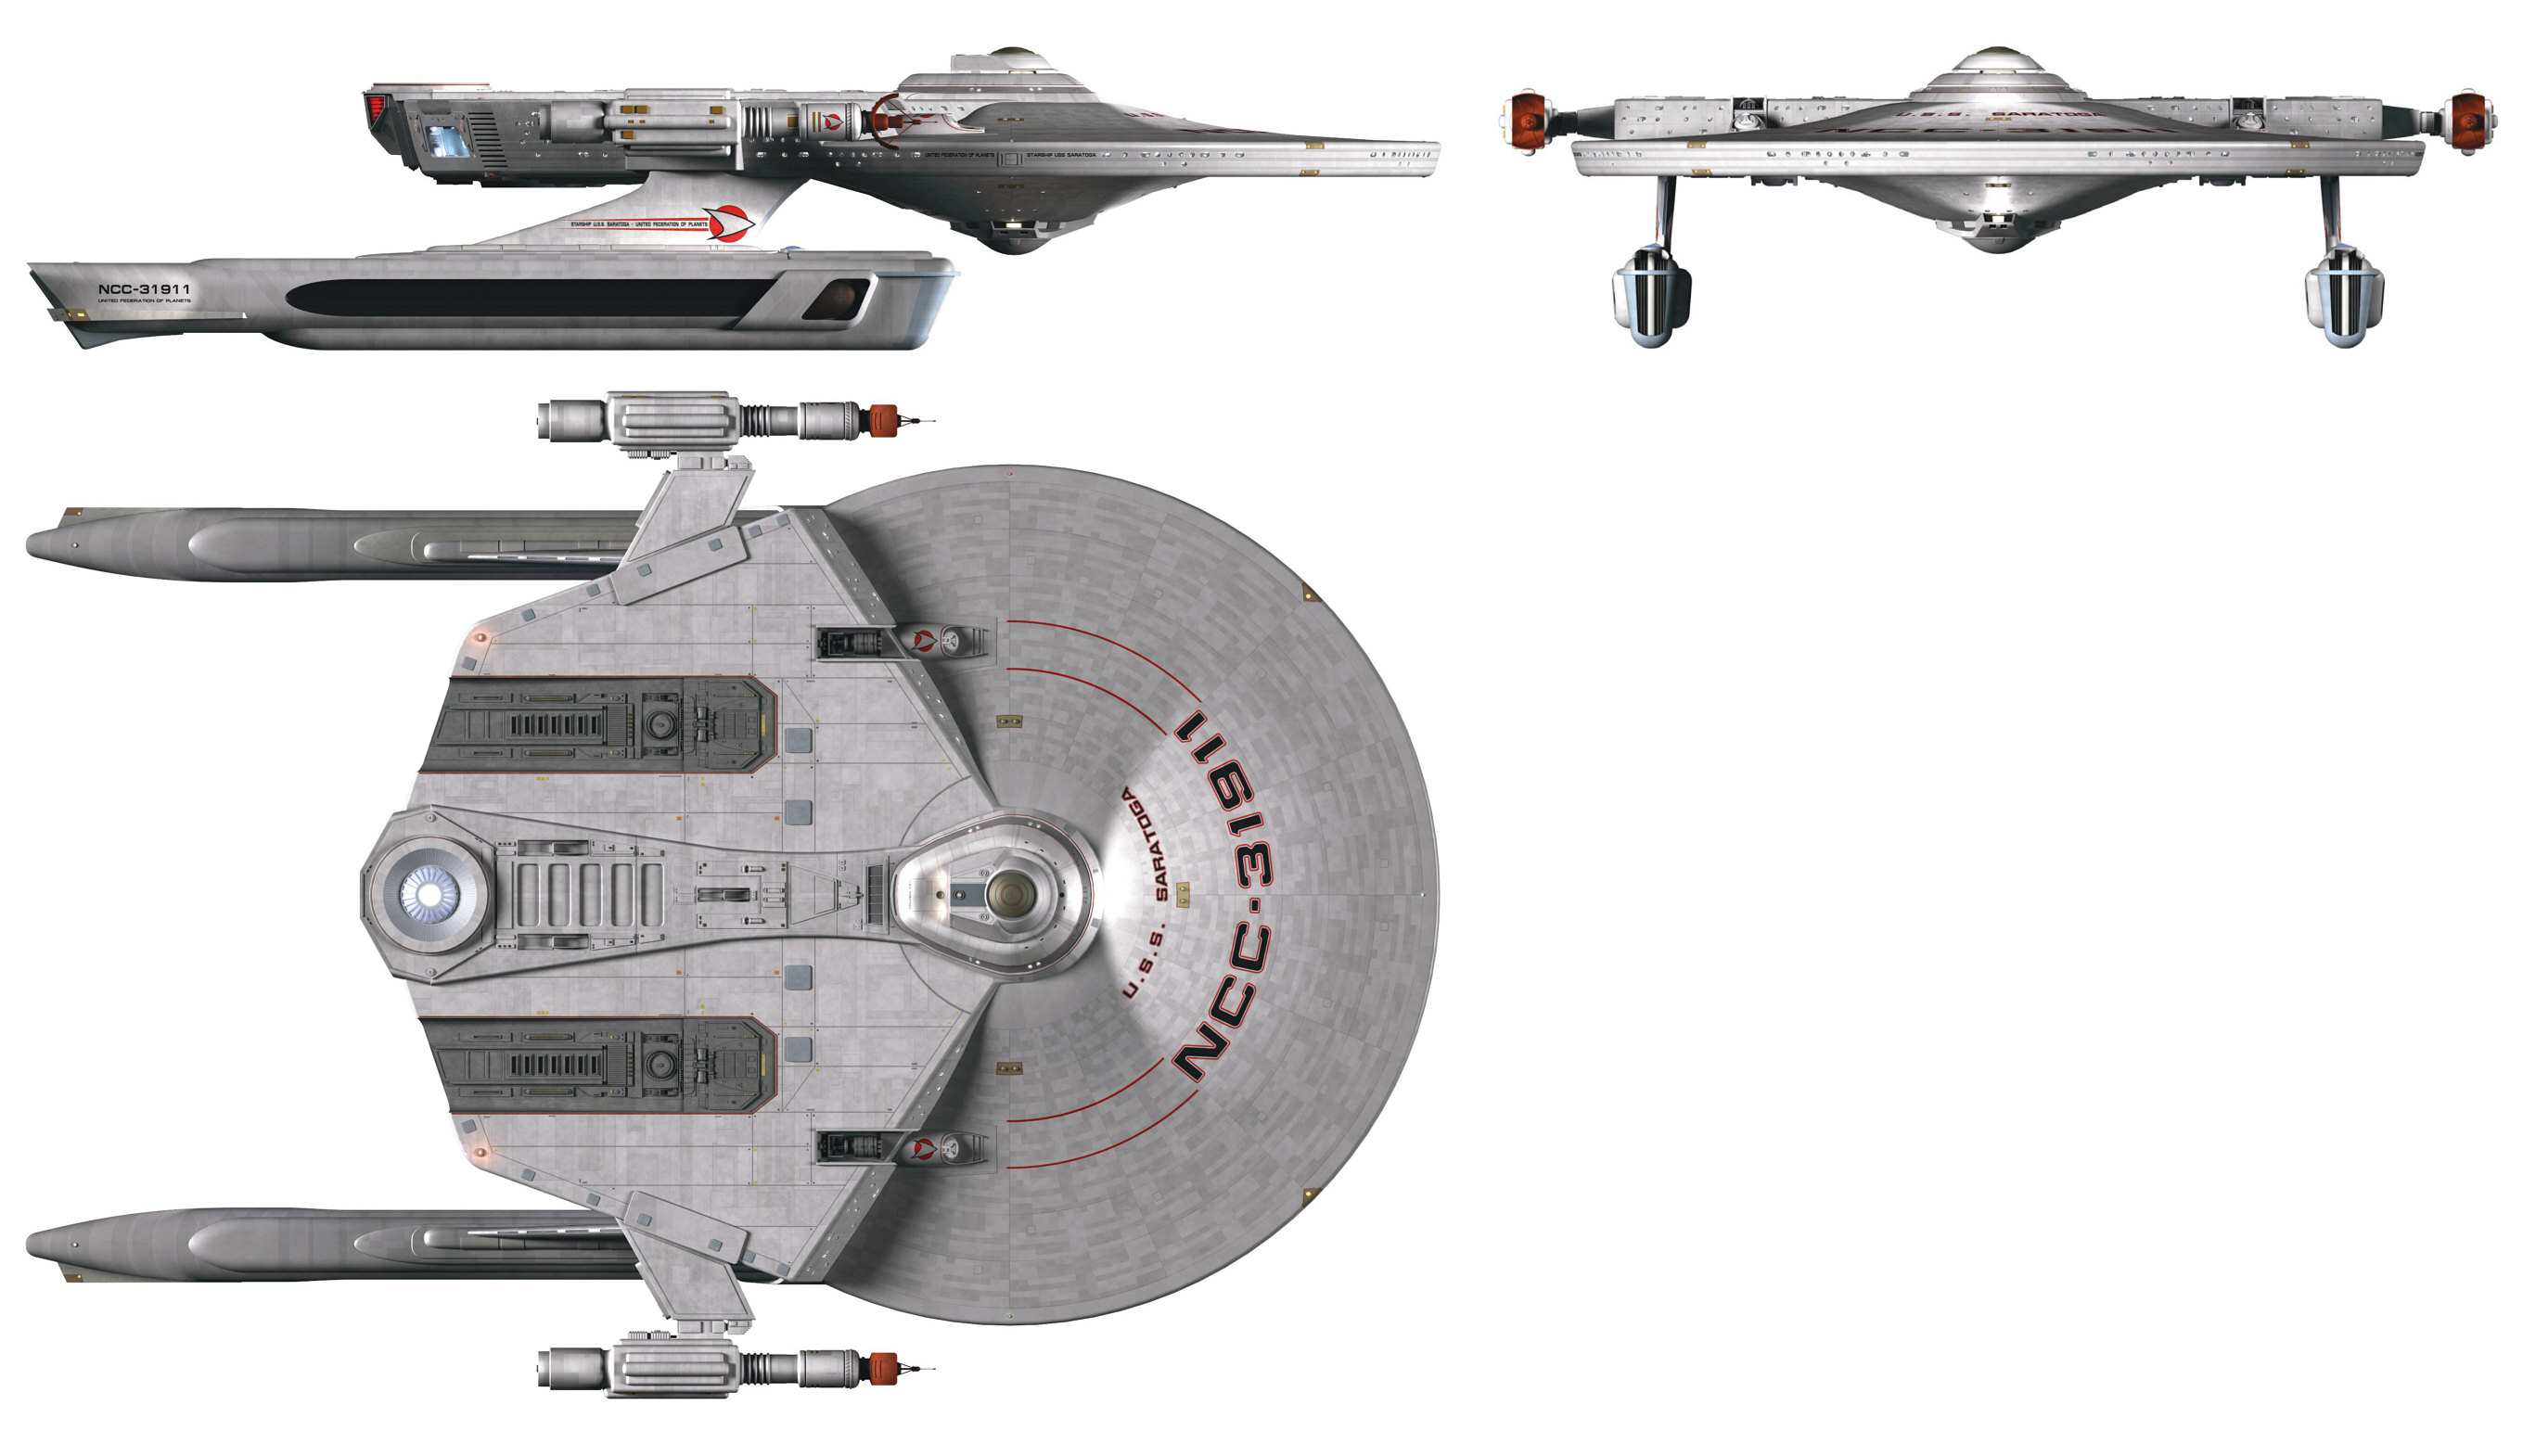
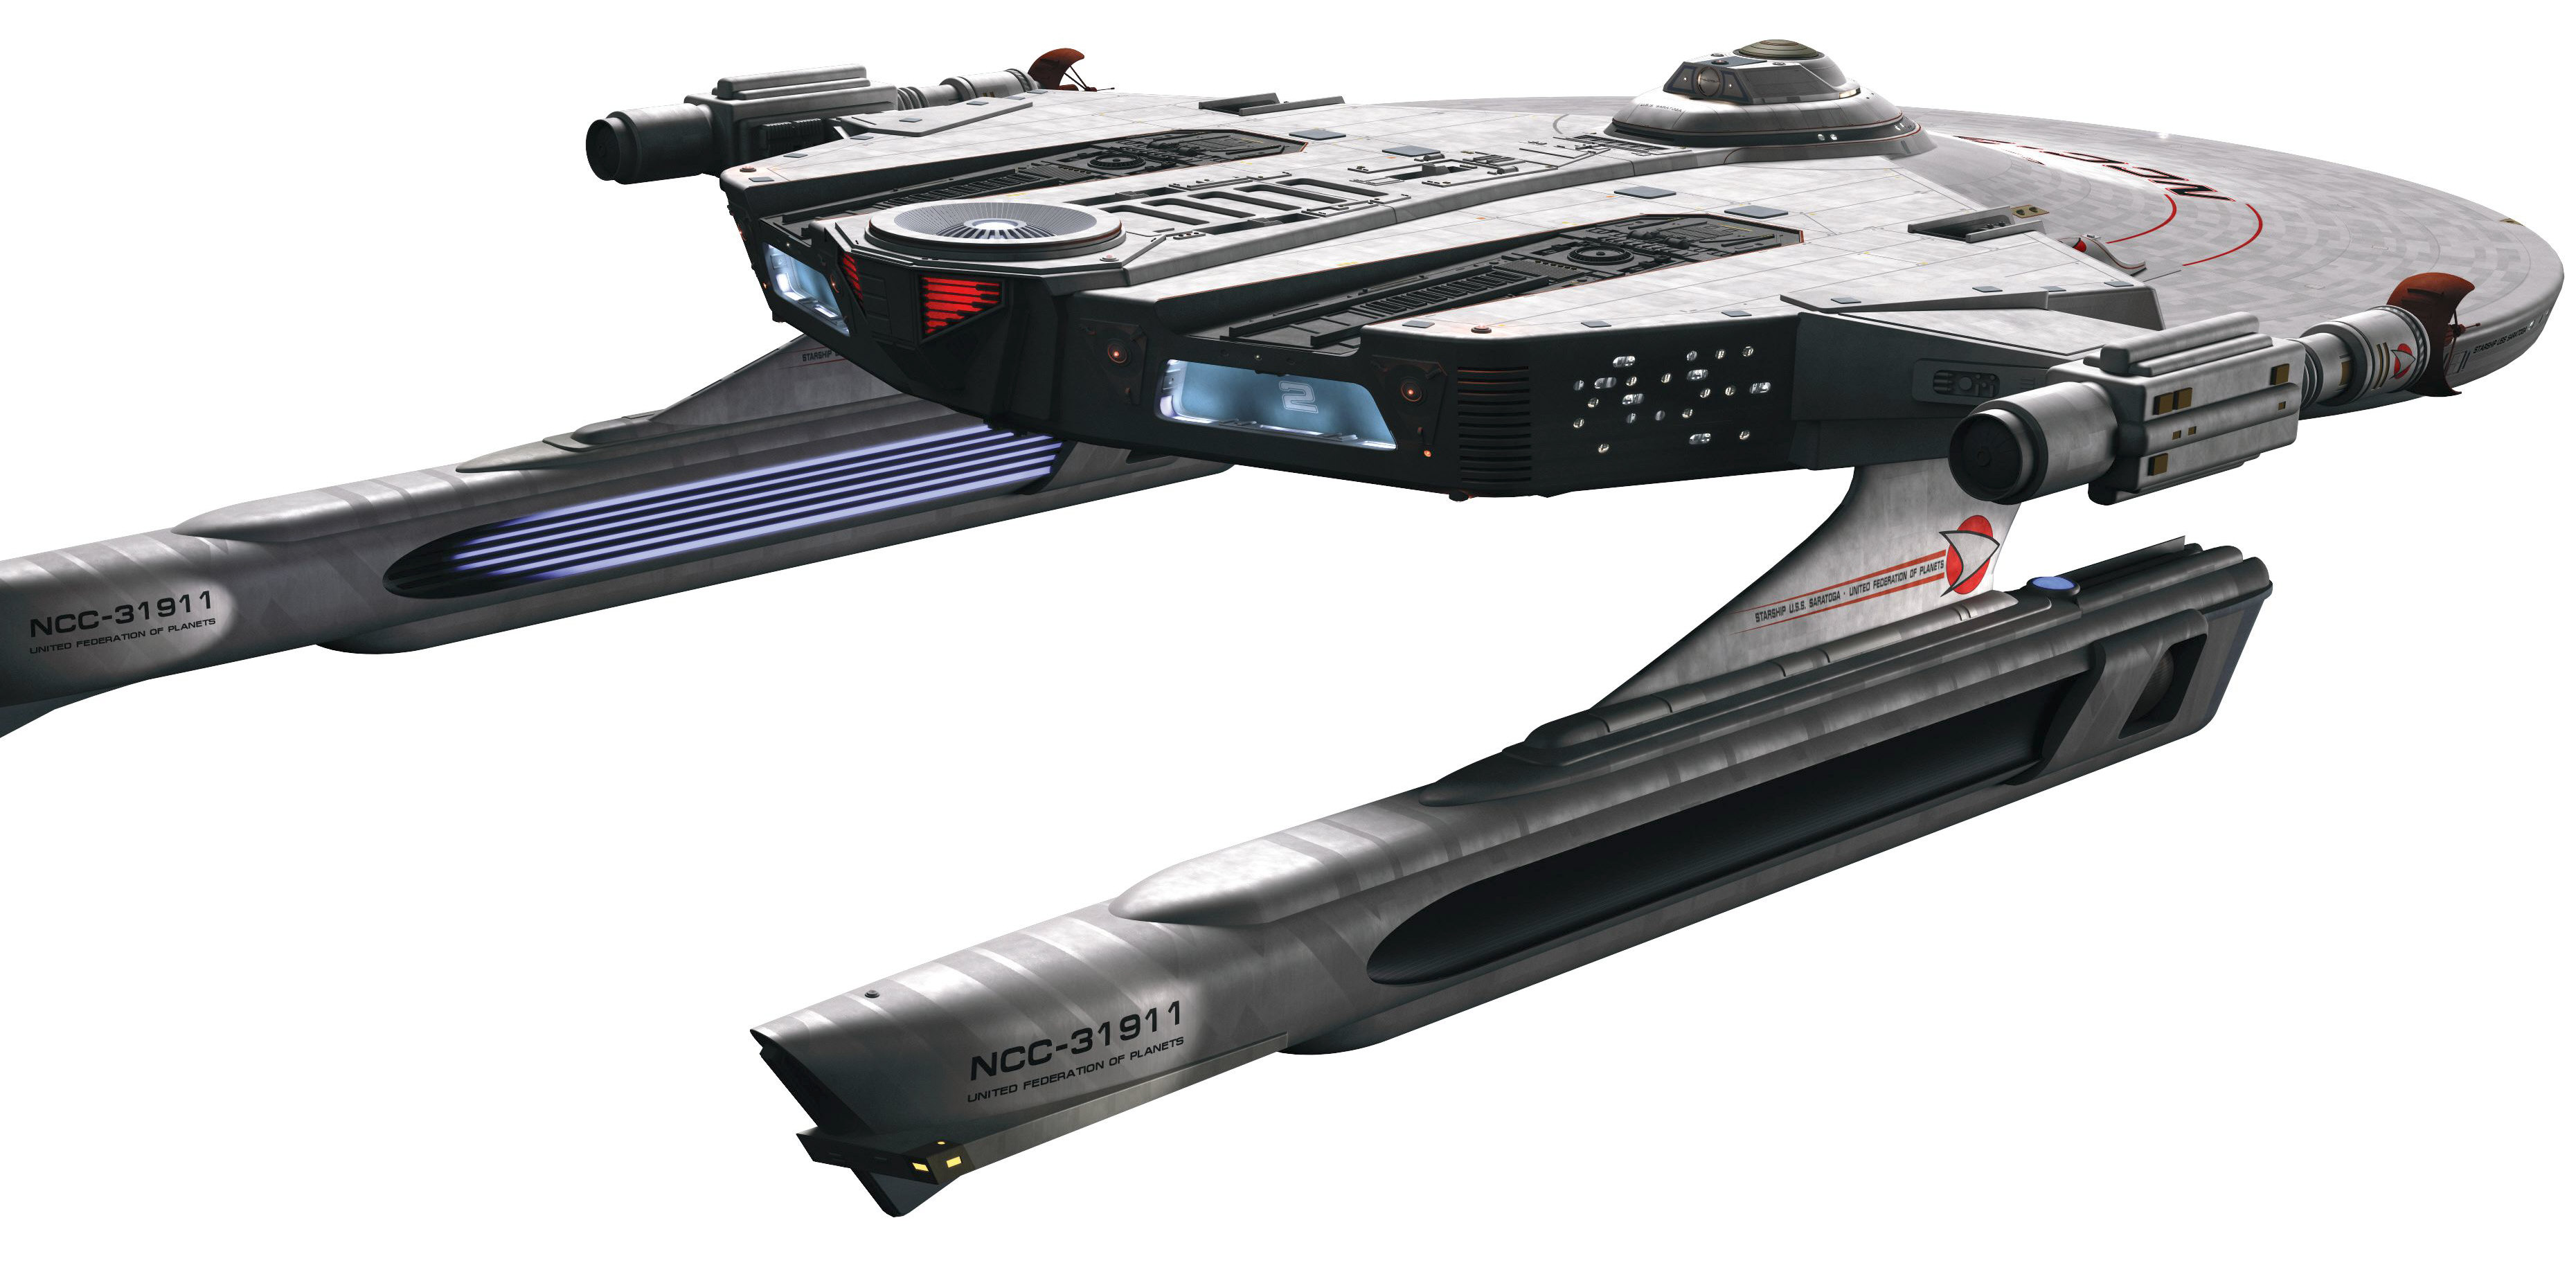
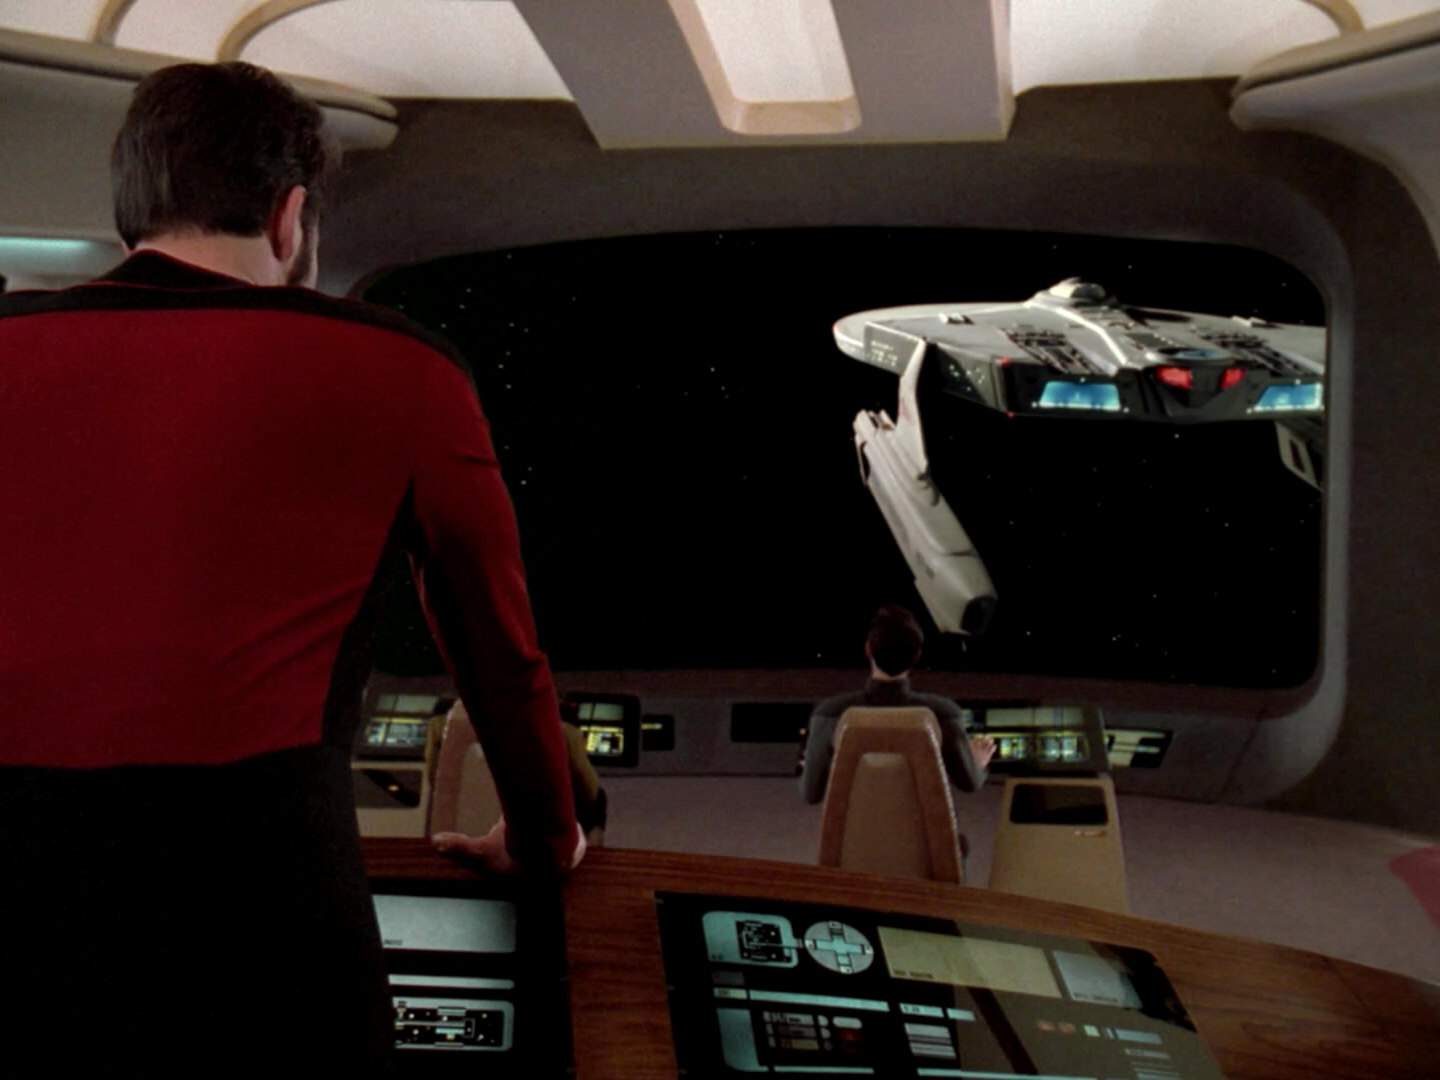
Saratoga

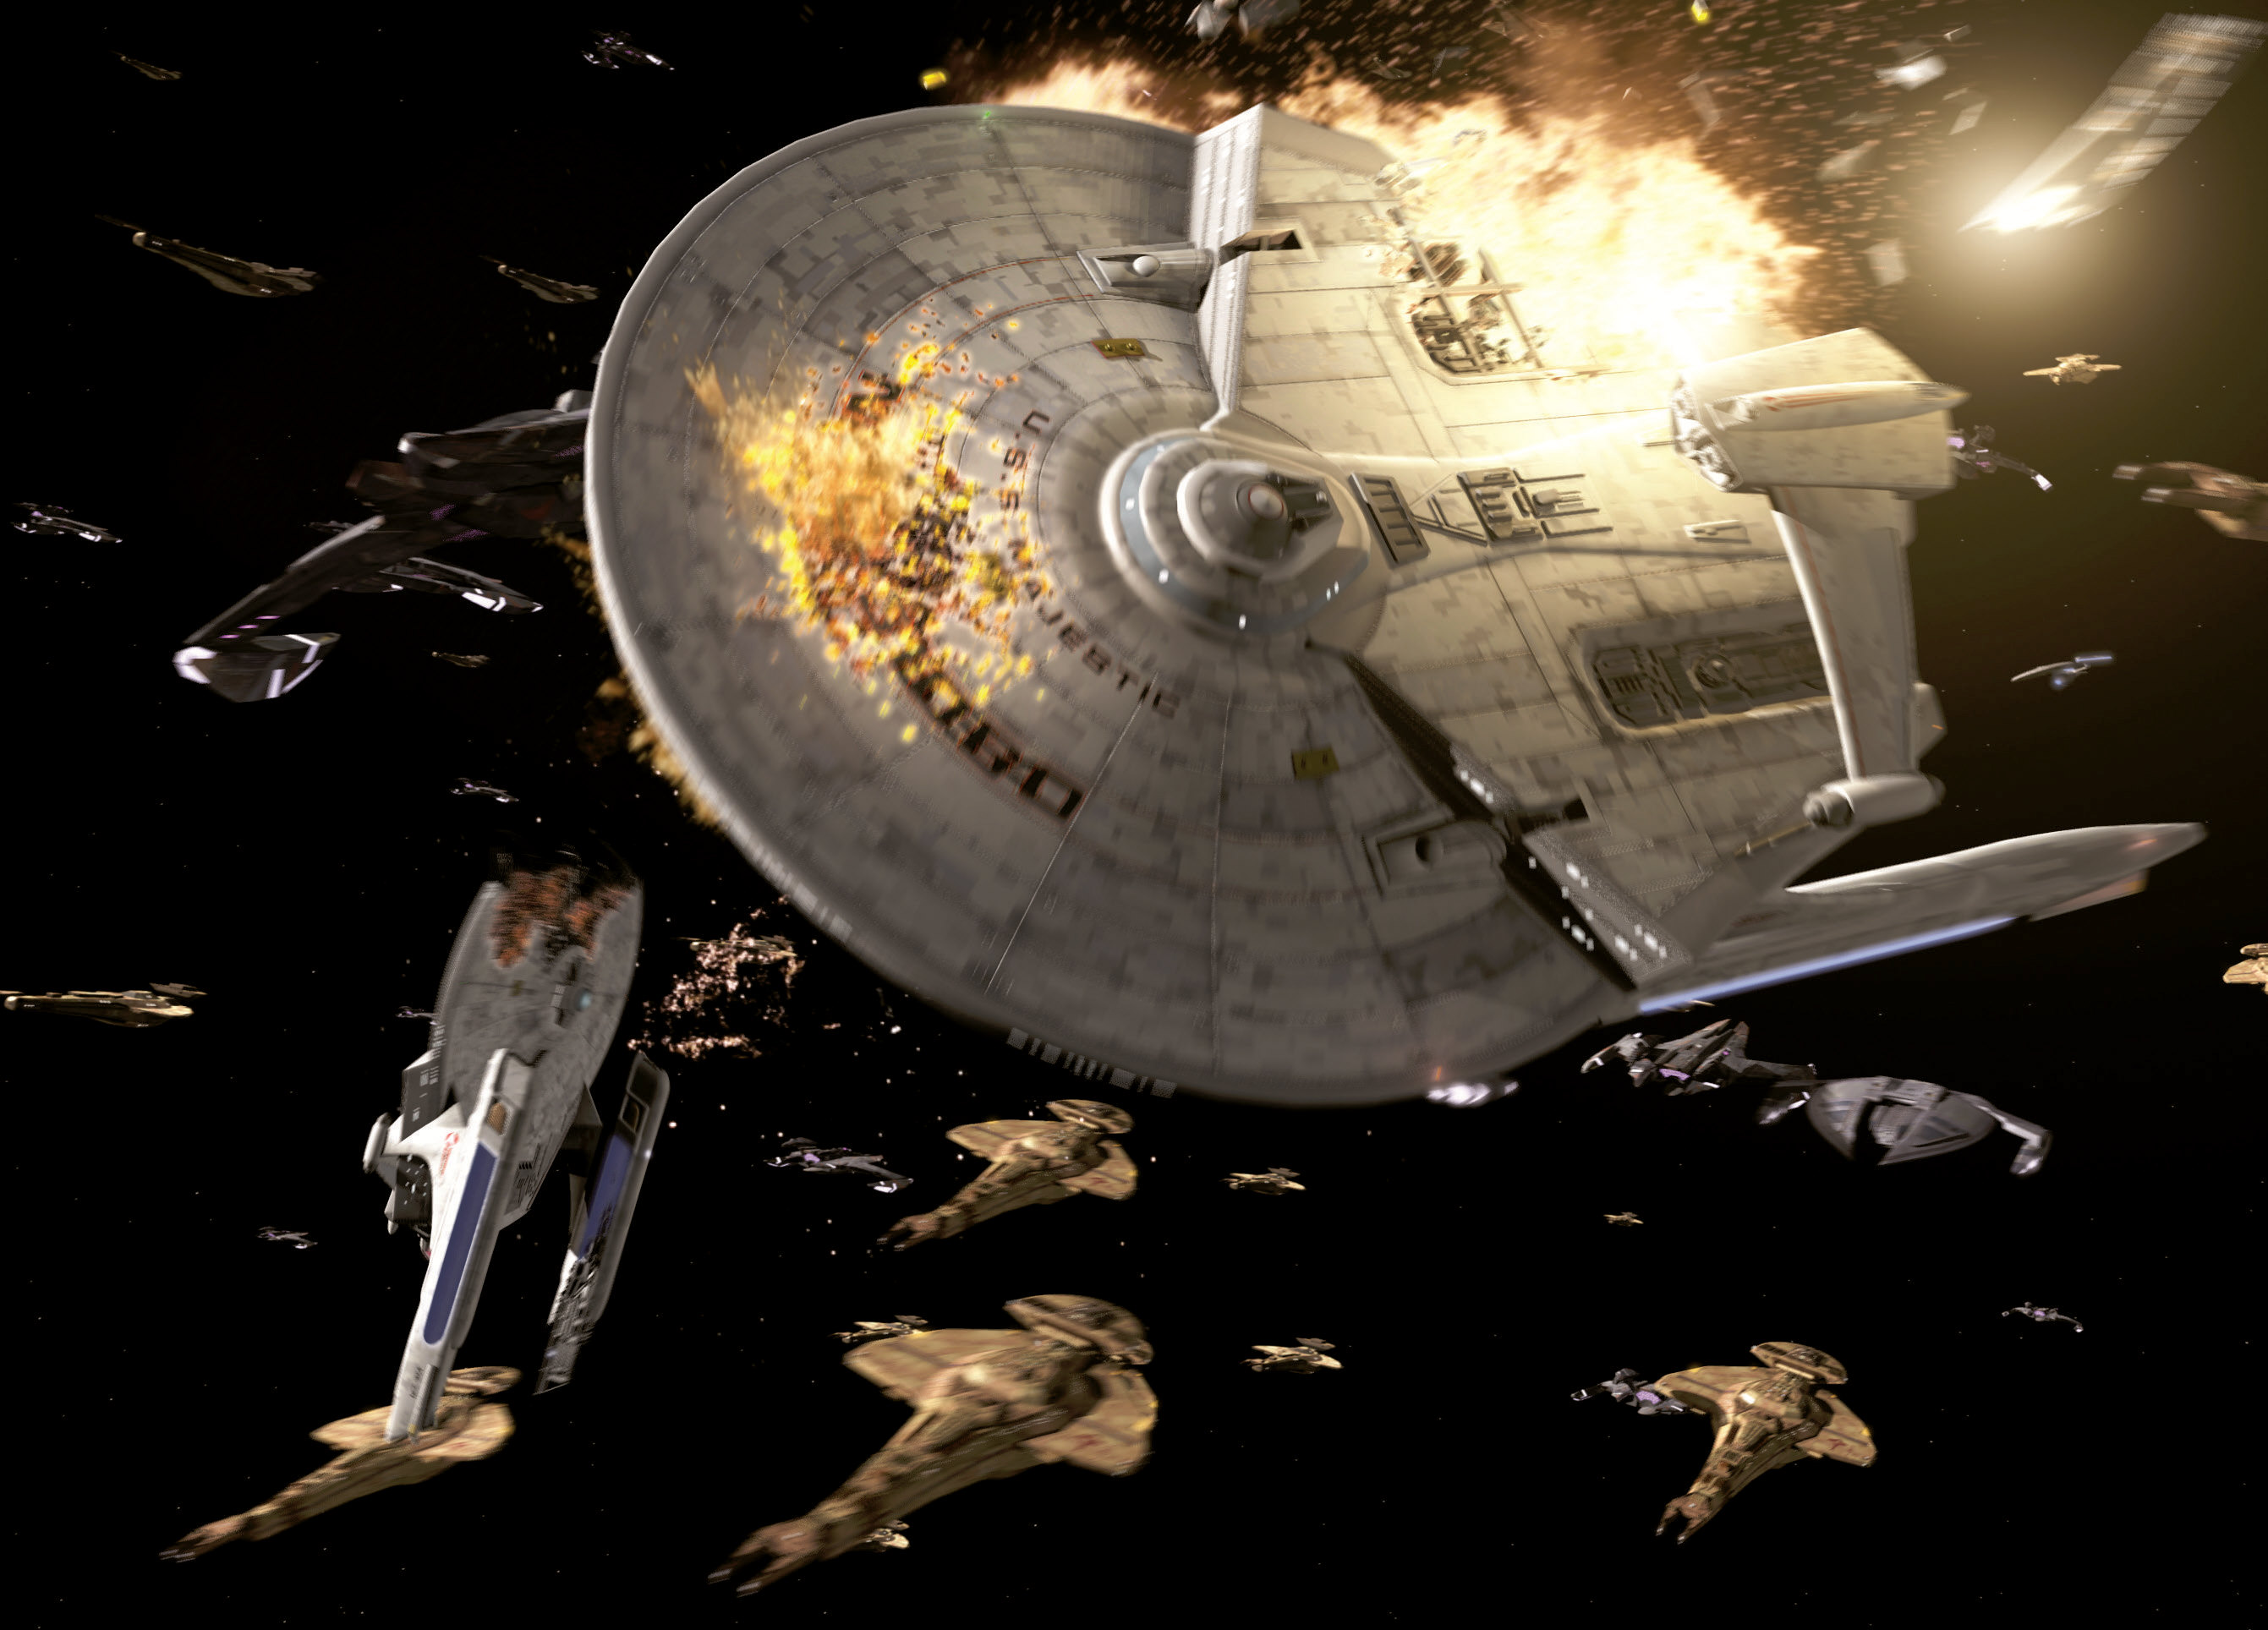
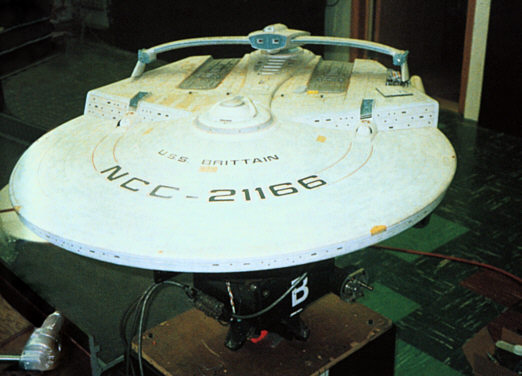
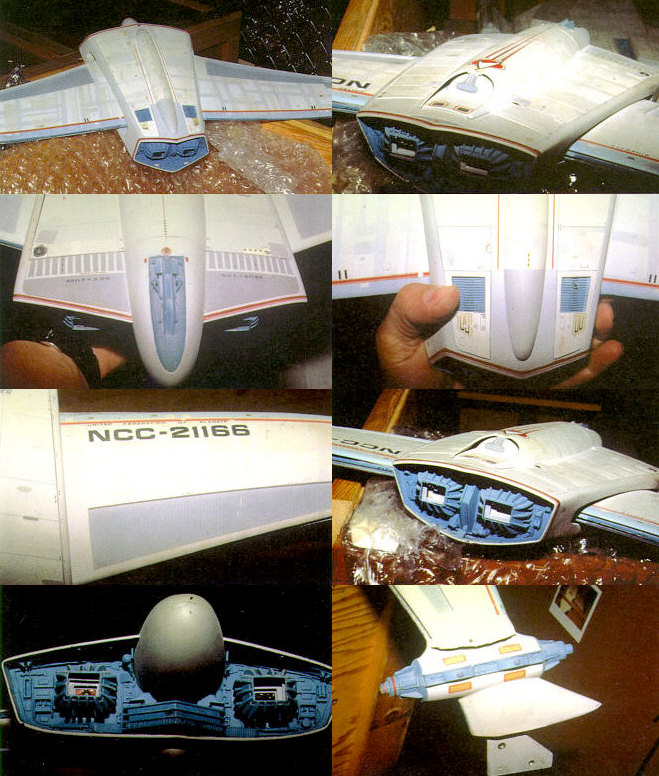
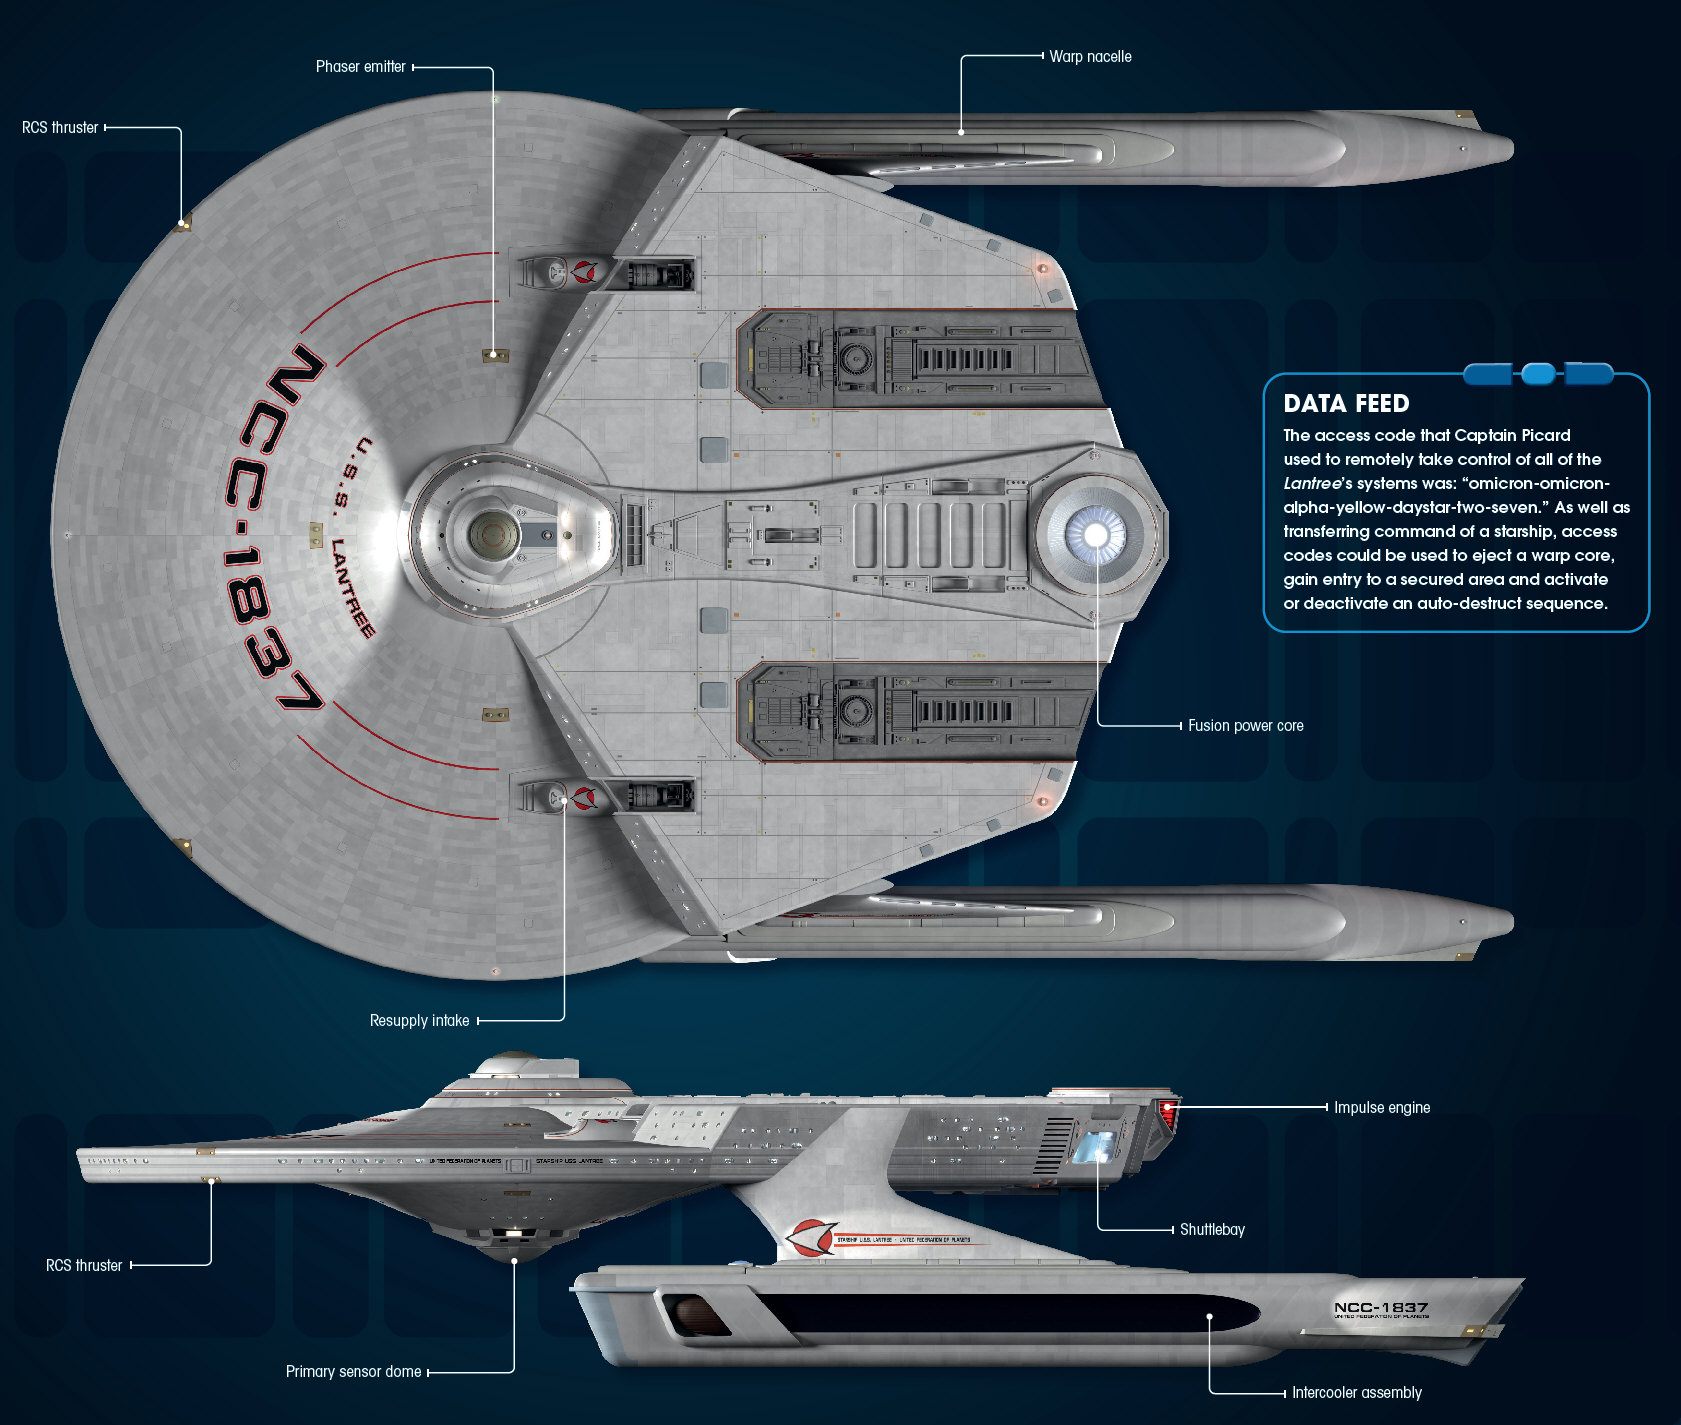
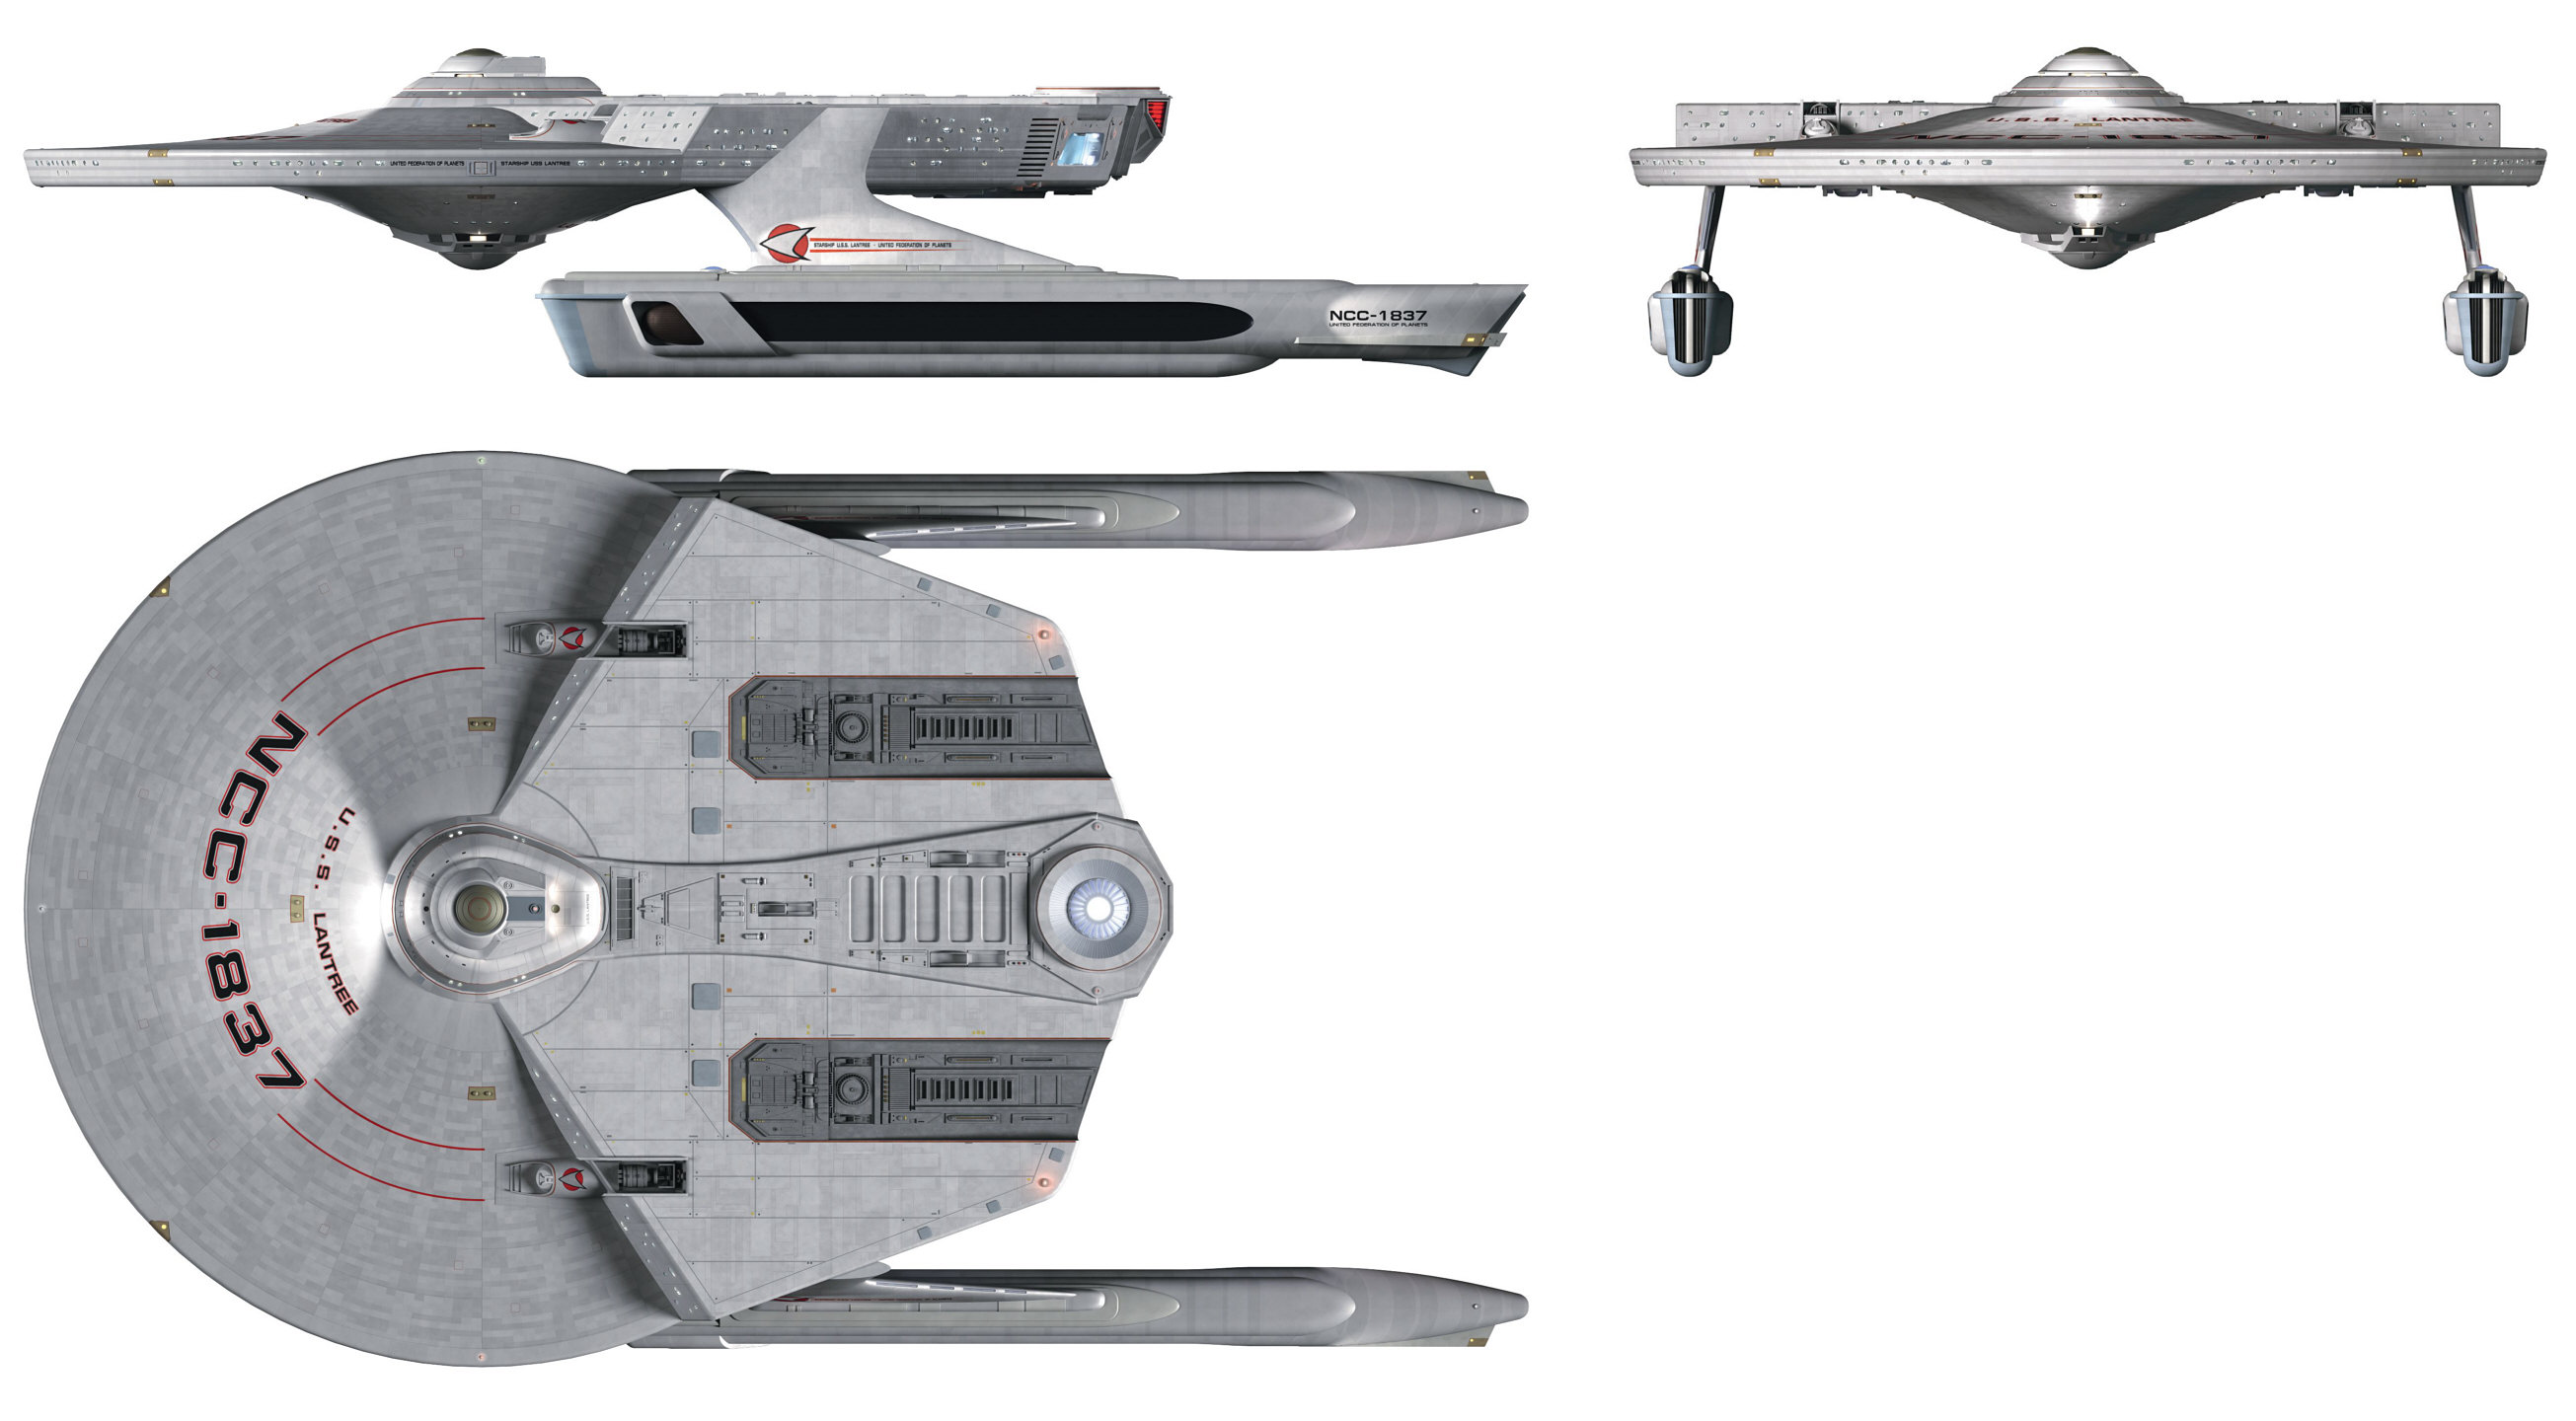
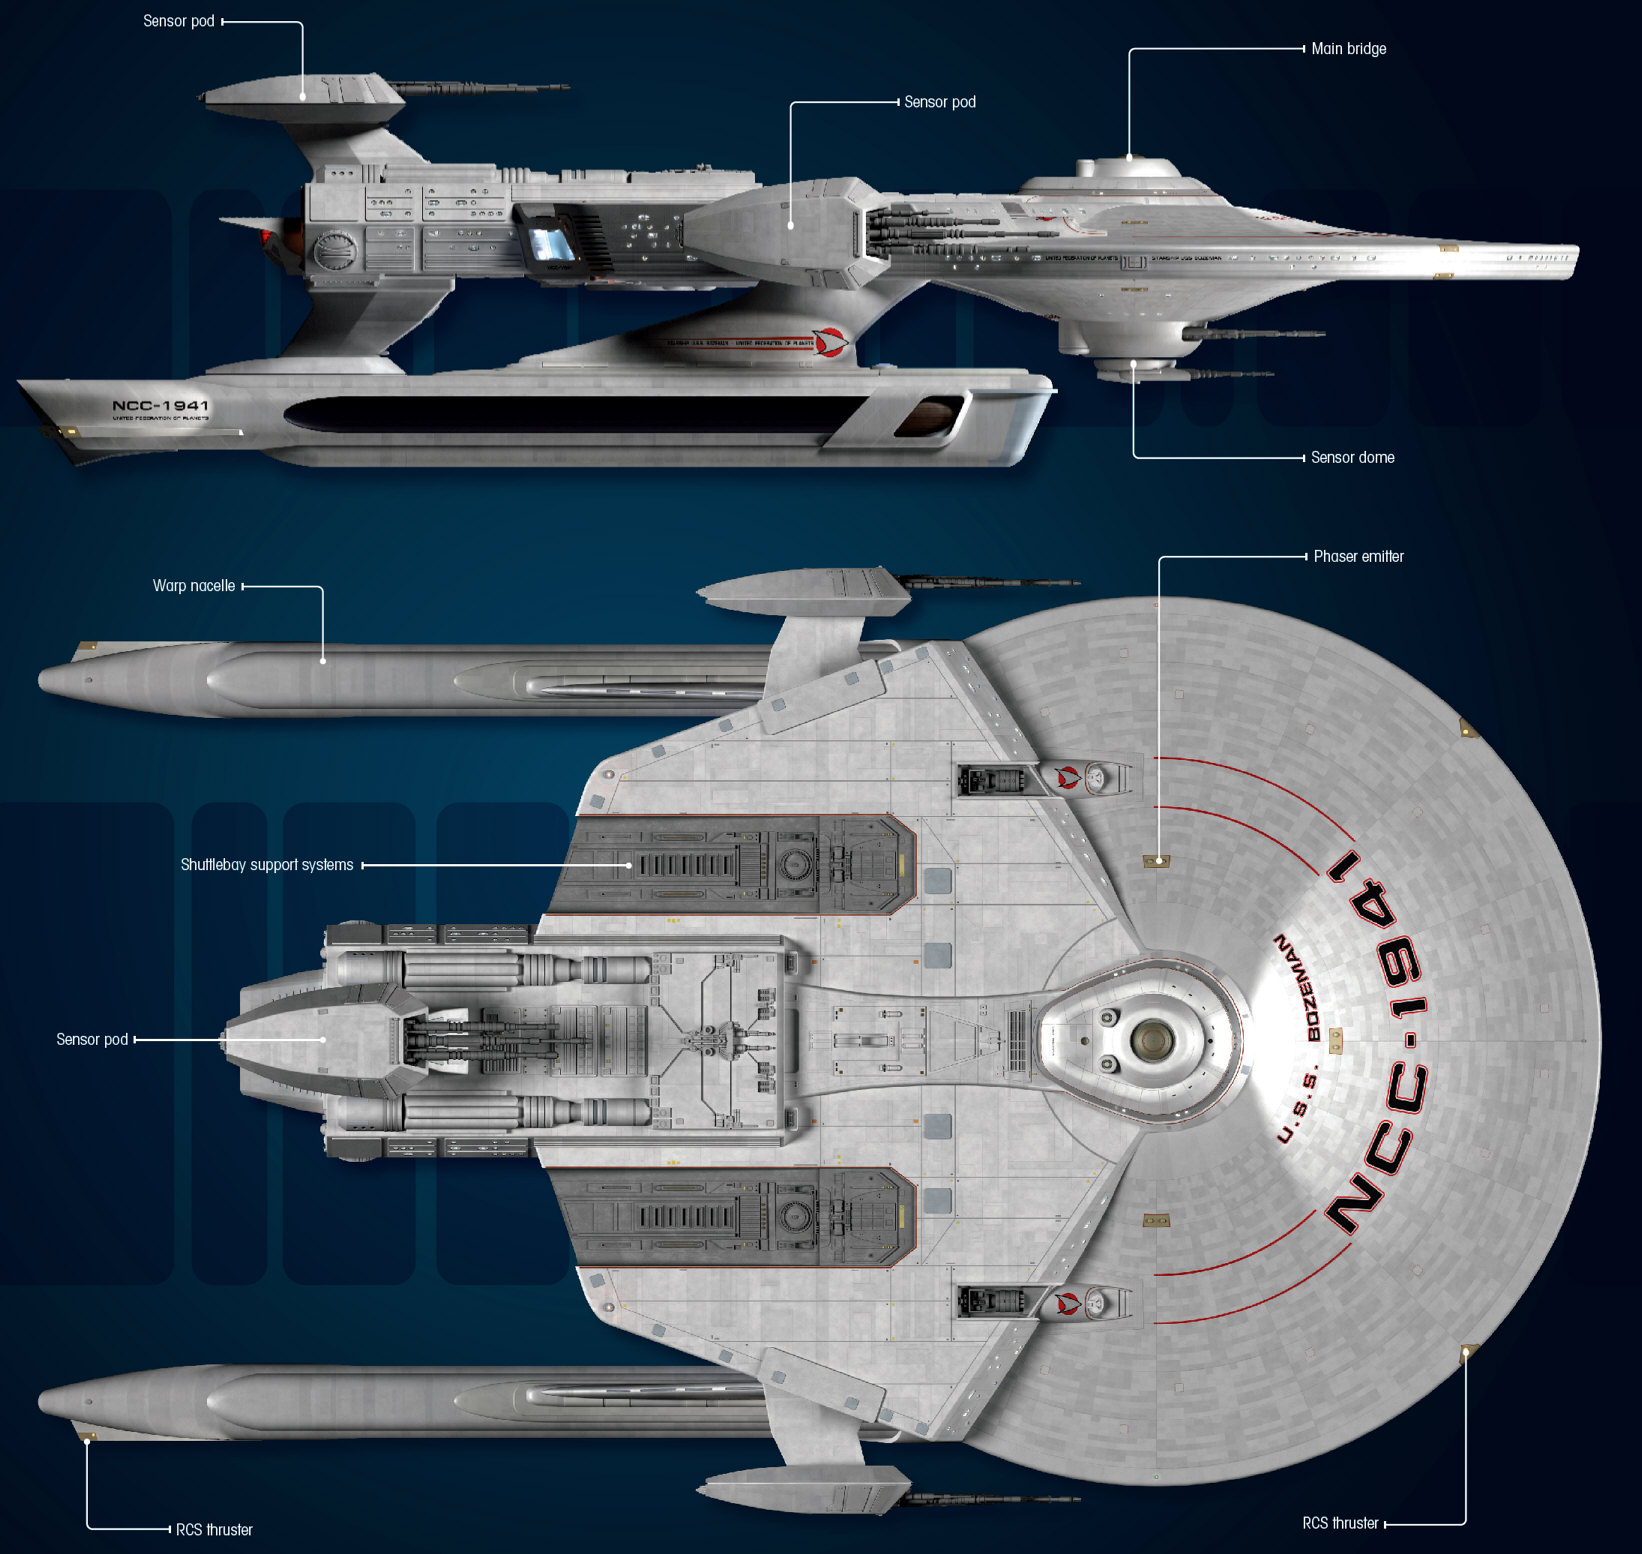
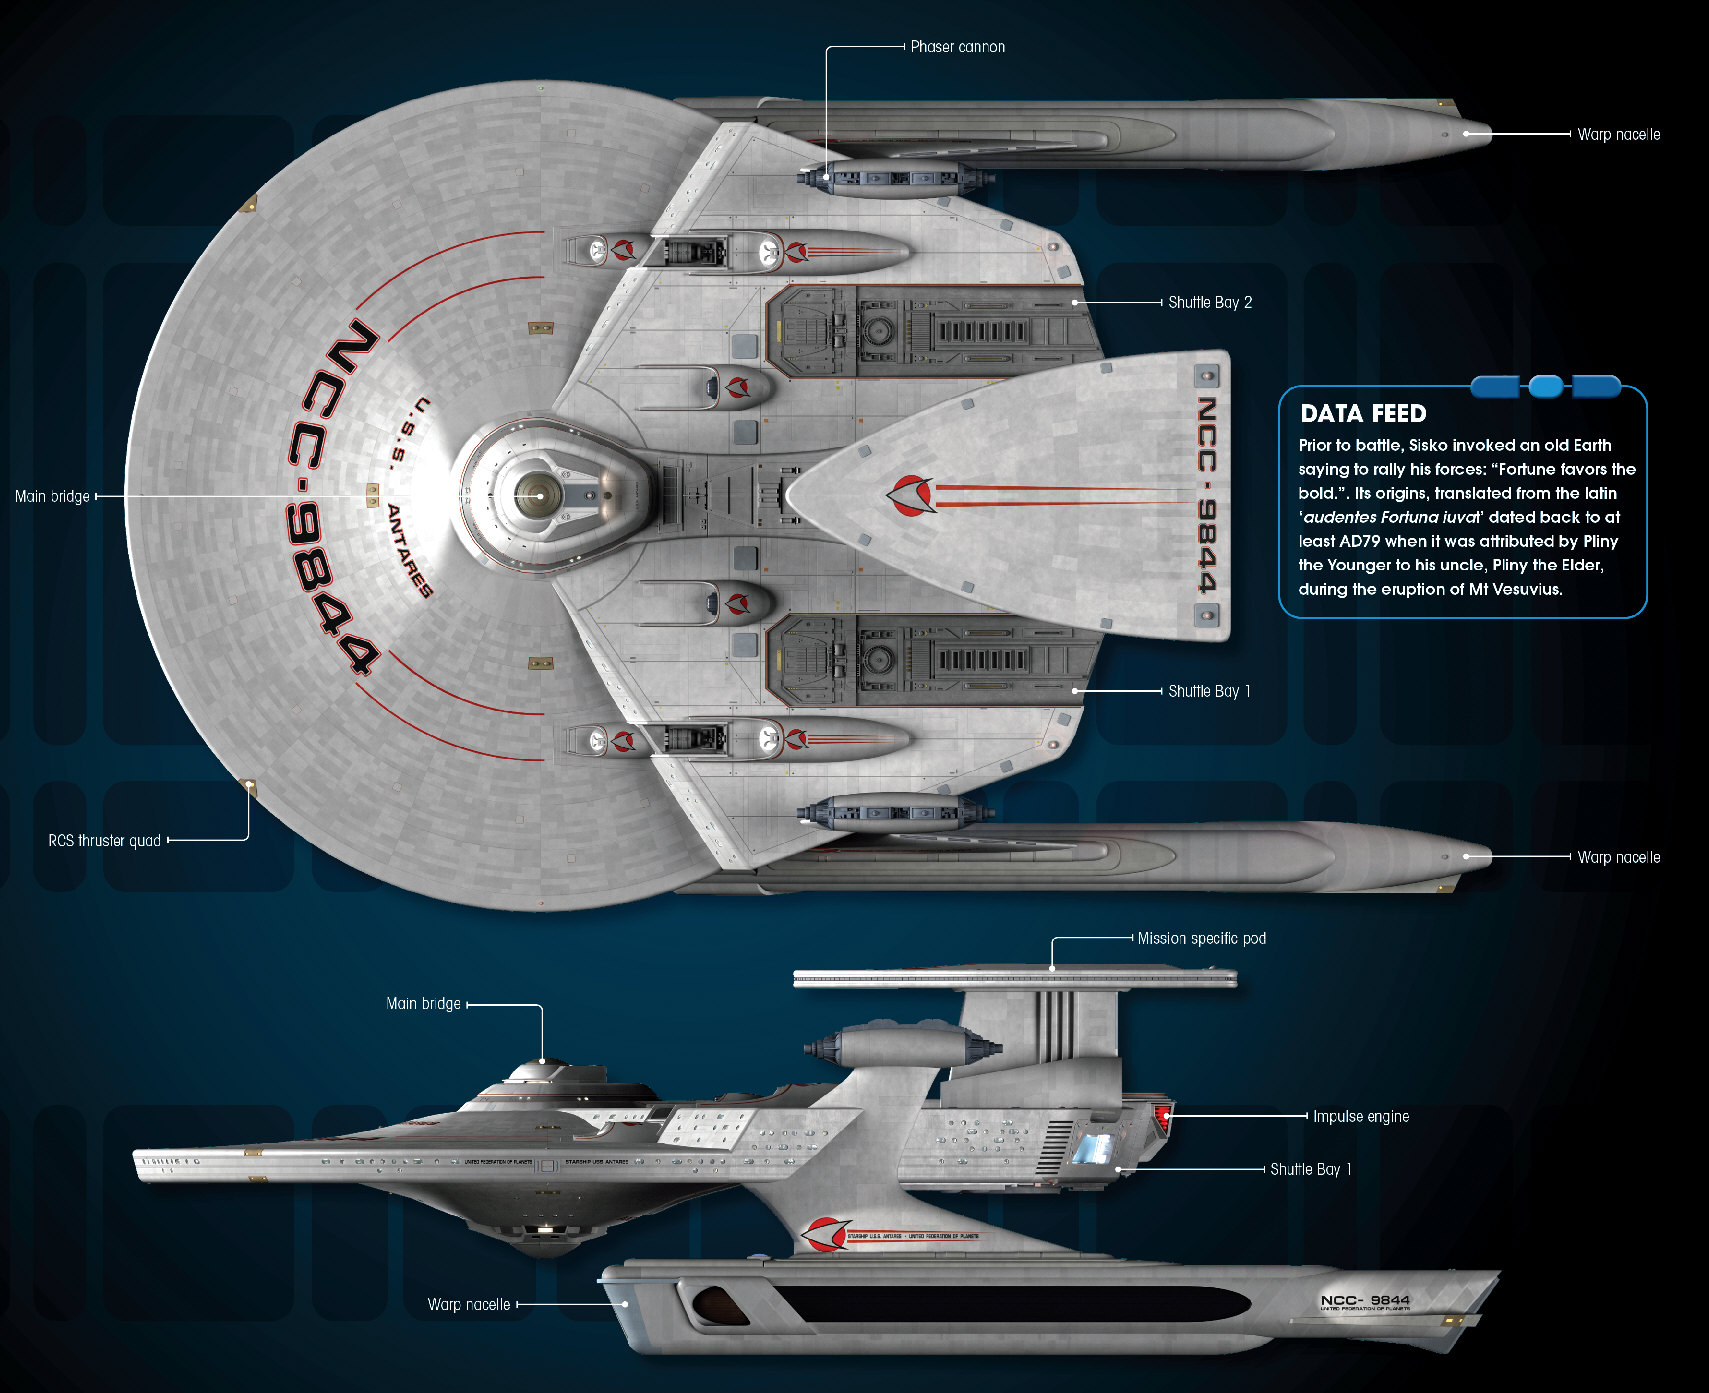
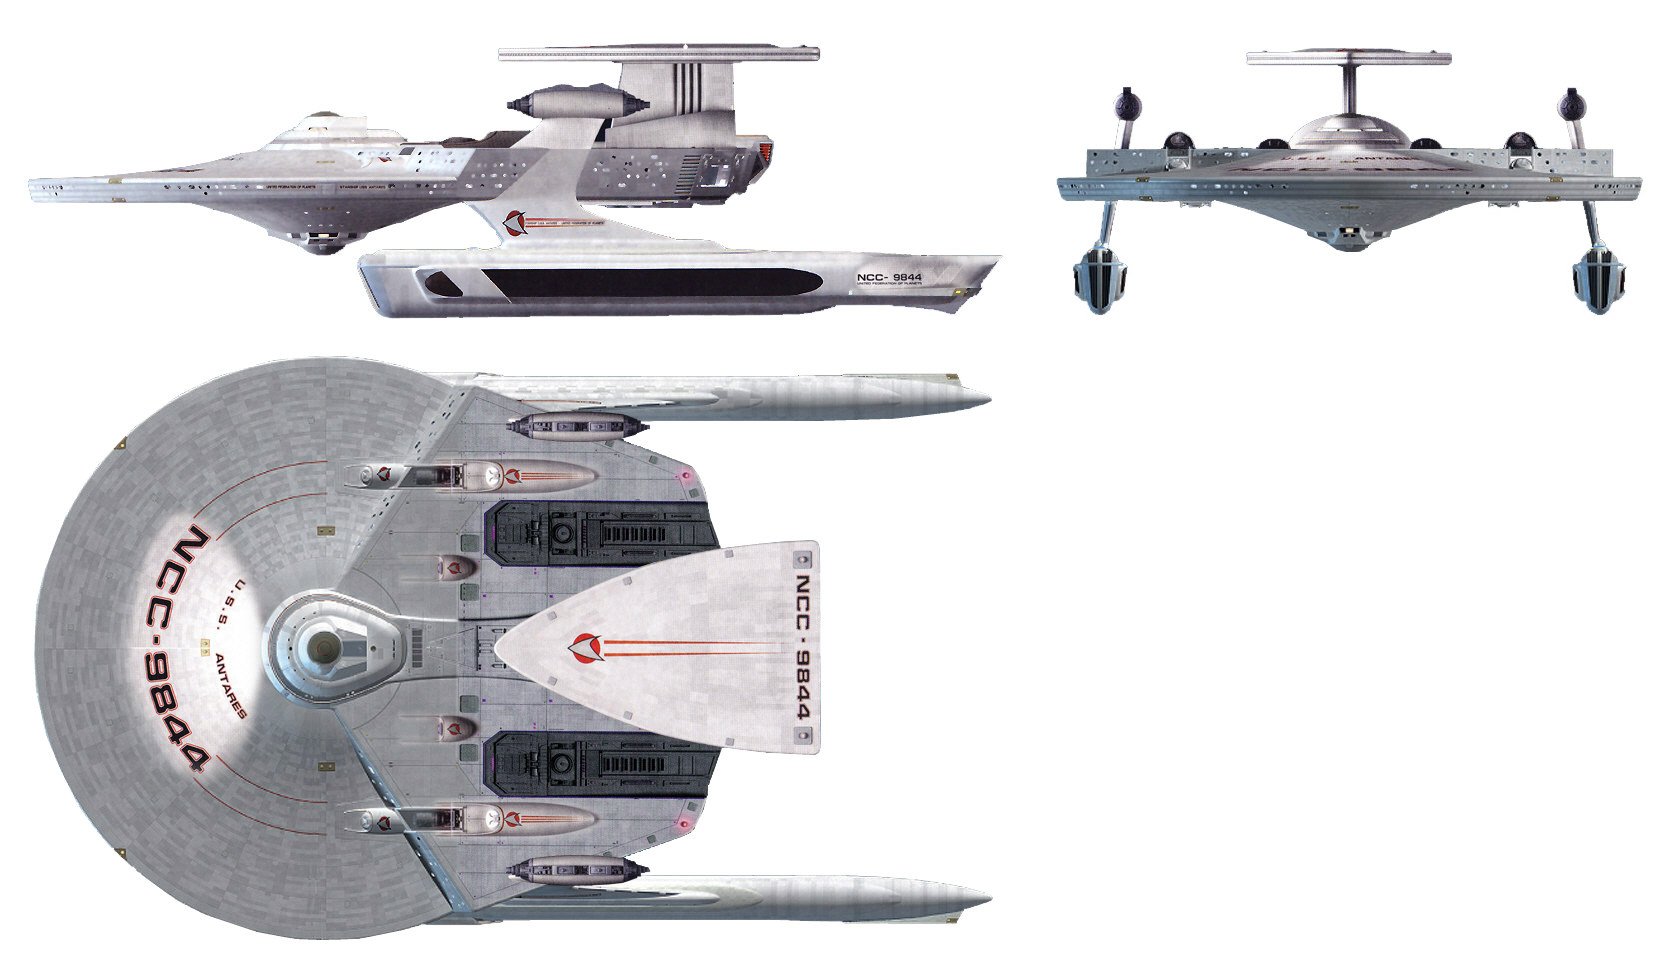
Lantree, Soyuz Class and Antares Class


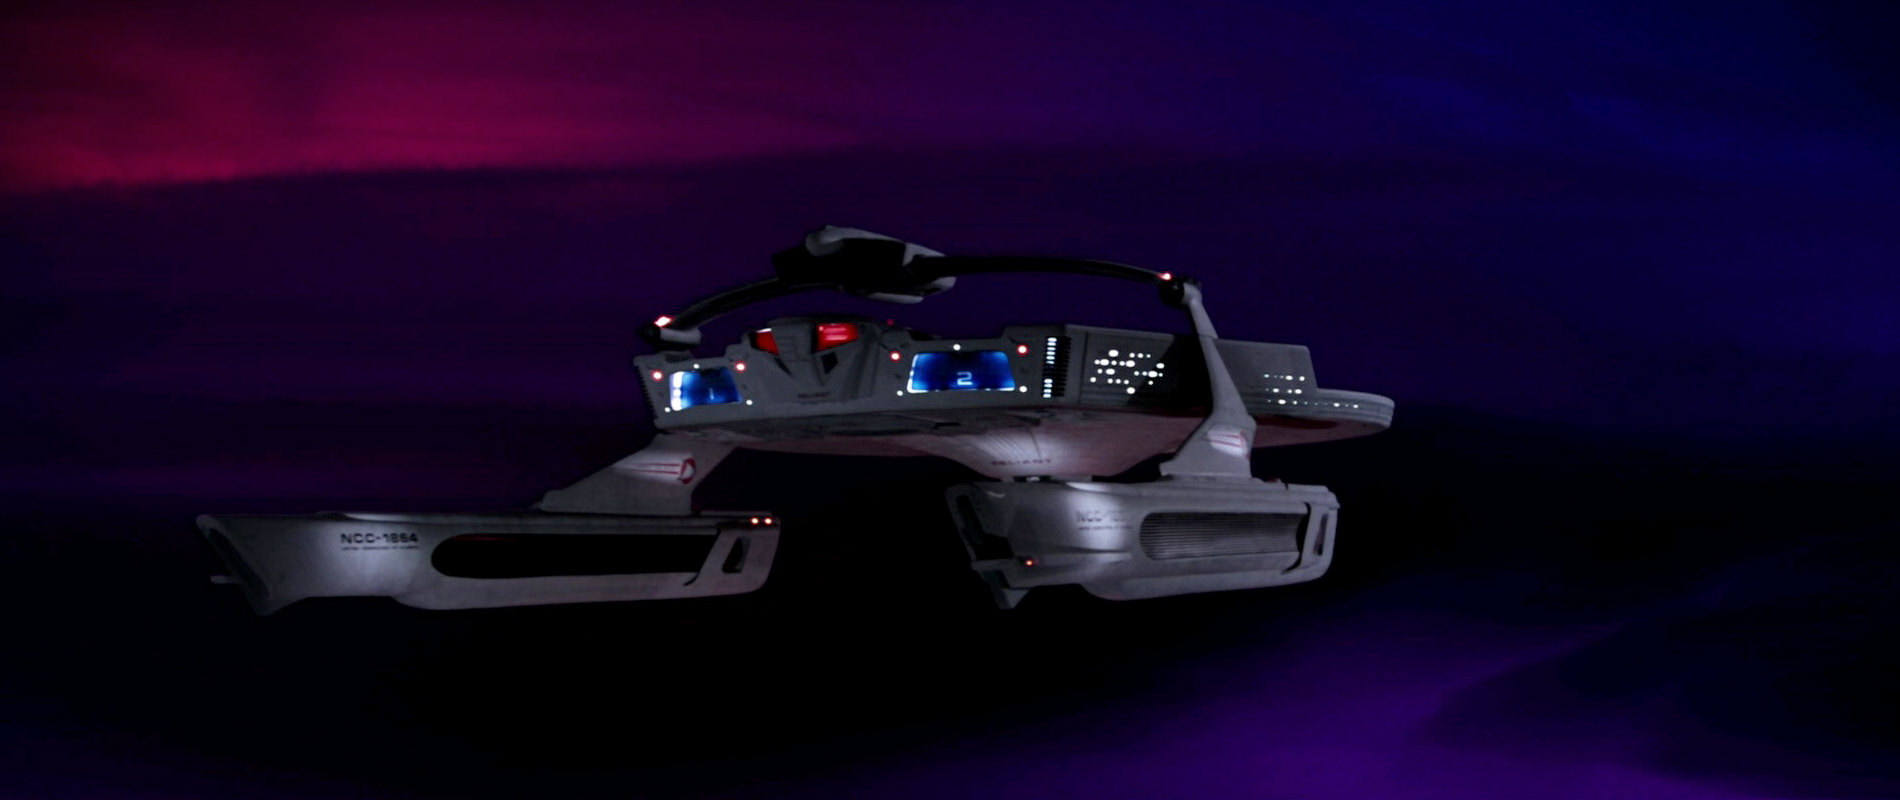
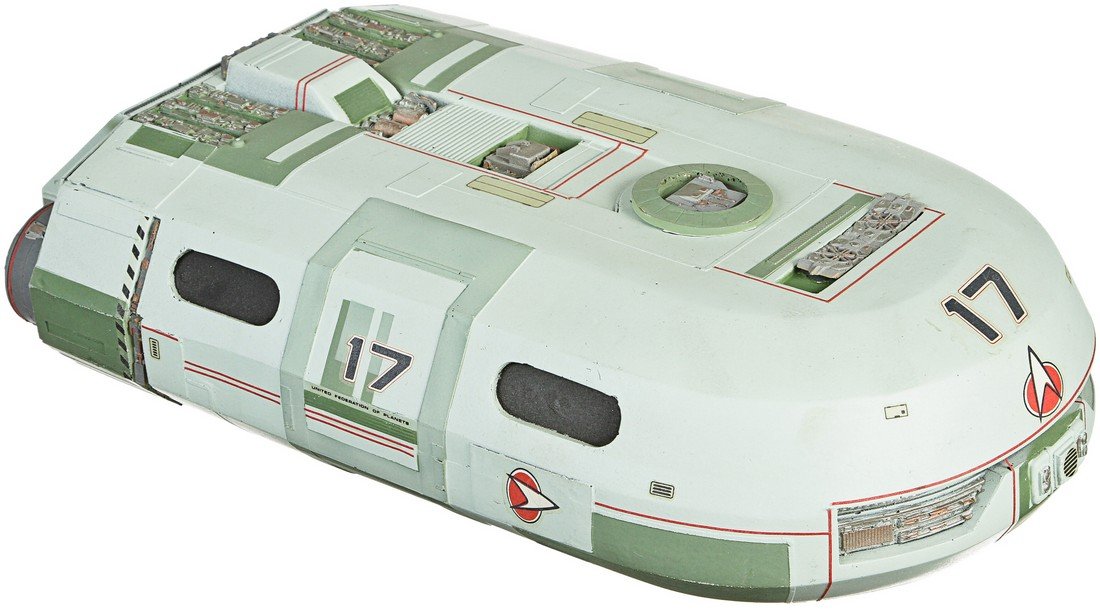
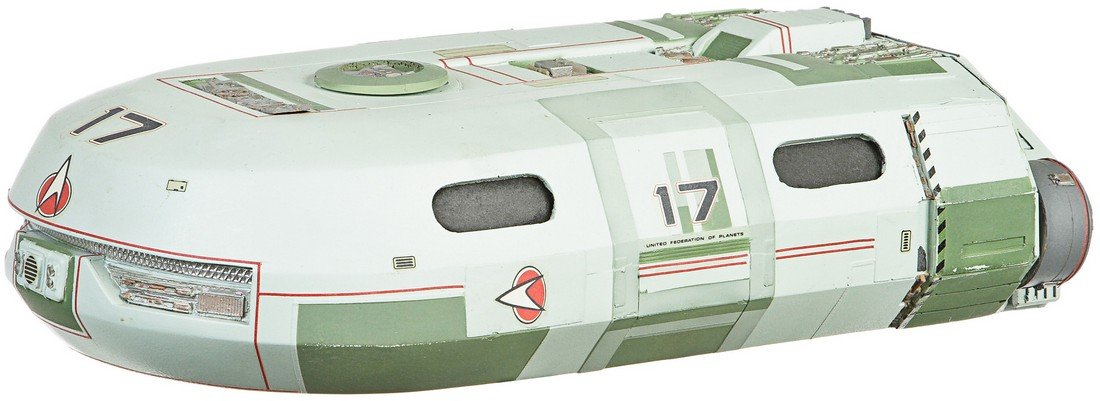
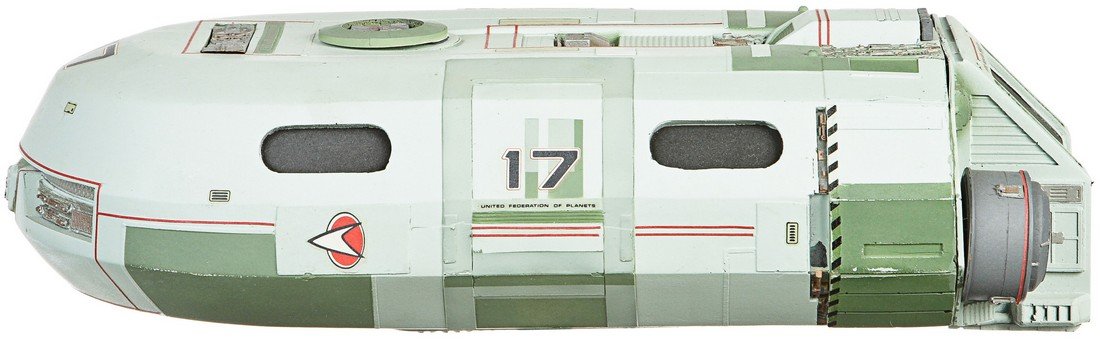
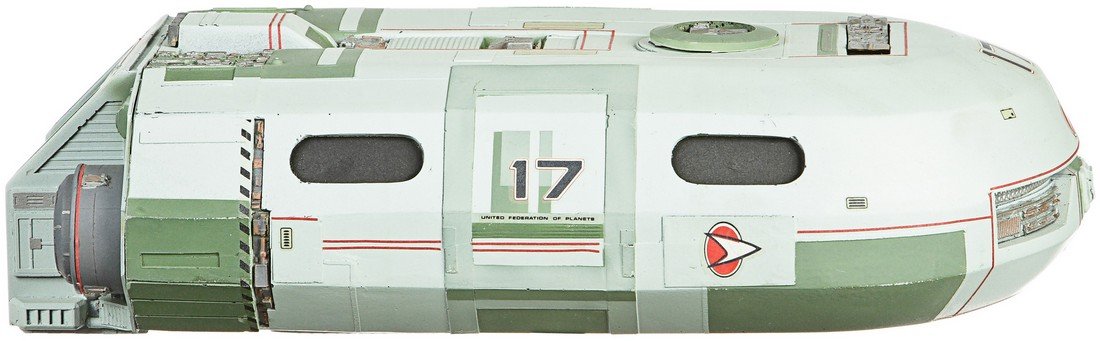
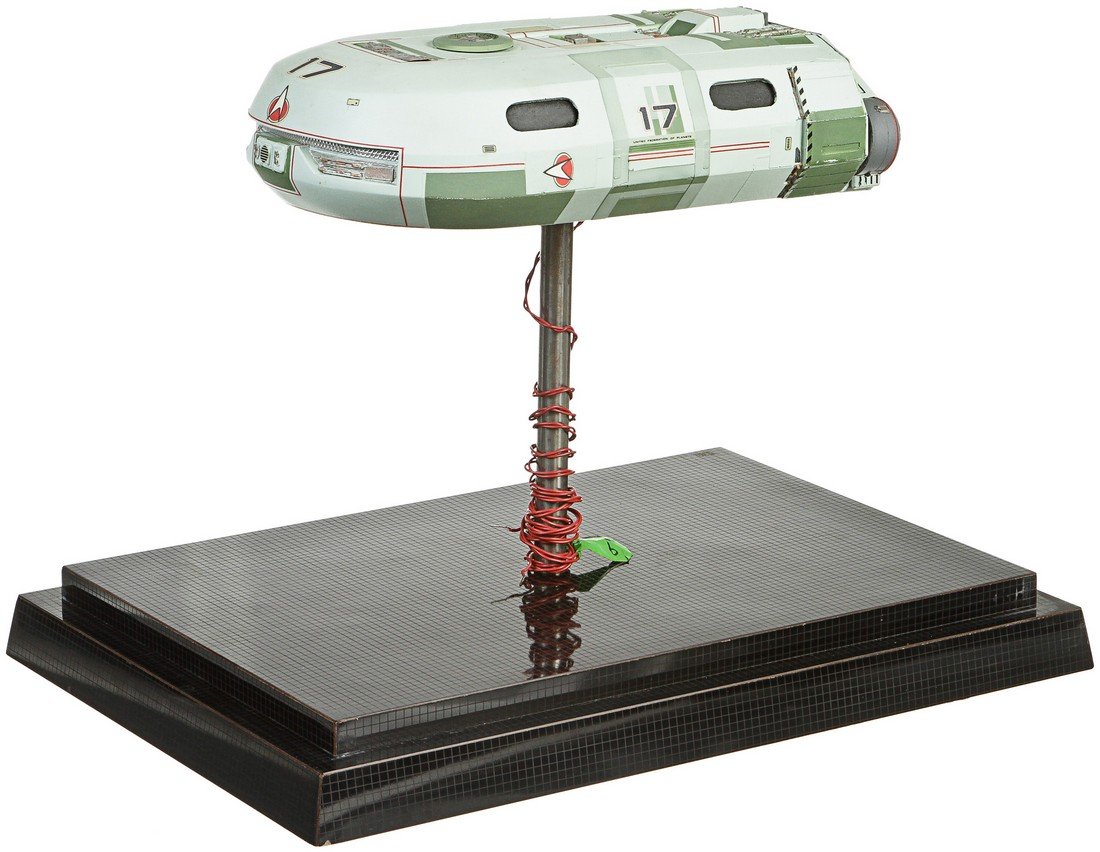
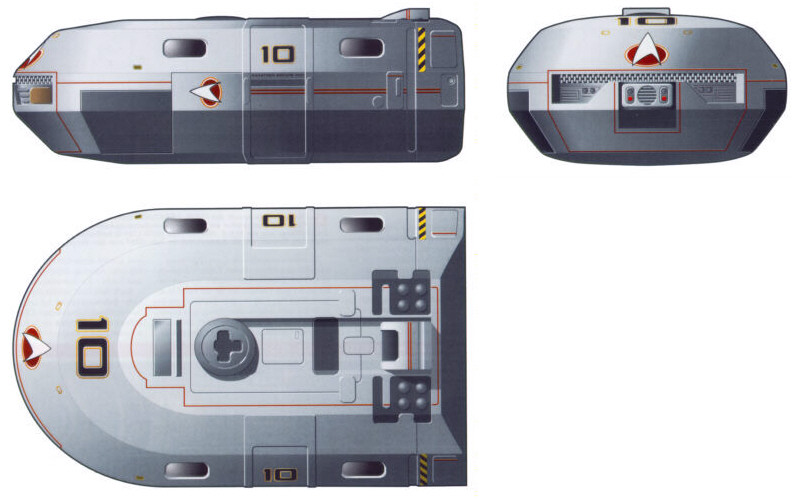
Auxiliary Craft


See Also
Miranda Class Variations - all variations and all appearances of the long-lived class
Starship Class Inconsistencies - a compilation of some popular problems
Credits
Special thanks to ST-Bilder.de, TrekCore and Mike Brown. The PDF archive of the Eaglemoss Official Starships Collection is hosted at the Starship Schematics Database.

Back to Starship Gallery index


