


Building the Enterprise-E
First ImpressionAssembly SequenceColor SchemeConclusion
The Enterprise-E as first seen in "Star Trek: First Contact" is unquestionably one of the most attractive Federation starships, so it was obvious for AMT to offer a model kit of this ship. I was lucky to purchase a kit when I was in the USA in December 1997. Since it has been first available in Germany in autumn 1998, it seems to be permanently sold out. I hope my review will provide useful information on building the model.
The following instructions are based on common tools and average skills so anyone should be able to reproduce the result. You will need conventional polystyrene glue, some rubber bands and clothes pins, an assortment of files, fine sandpaper, a sharp knife, light gray spray paint, some masking tape, some fine brushes and a number of enamel paints listed in the table near the bottom of this page.
First Impression
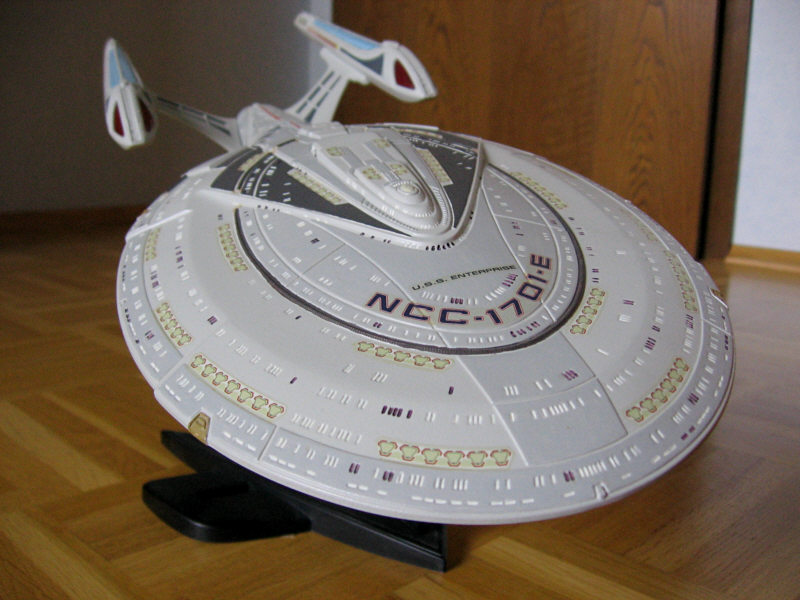
According to Picard's truthful statement in "Star Trek: First Contact", the Enterprise NCC-1701-E is approximately 700m long (official length: 680m, Enterprise-D: 640m). Nevertheless, going by its volume, the Enterprise-E is more than three times smaller than its predecessor. As a result, since the two AMT model kits are in scale, the Enterprise-E model is rather small (slightly larger than the AMT Excelsior).
The kit contains some 40 polystyrene parts fortunately not molded in an exotic color, but in light gray. However, this is still a bit too dark for the ship's basic color and, due to the plastic gloss, it is indispensable to paint the whole hull. The first impression is that the detailing is quite poor, since the main hull panels are completely flat, showing no subdivisions as e.g. in the Enterprise-A and D models. The finished model, however, appears to be even more detailed than the Enterprise-D, since it shows a lot of painted details and decals (e.g. lifeboats). 10 parts are clear, including the impulse engines, main deflector, Bussard collectors and warp plasma conduits.

Assembly Sequence
The numbers refer to the sub-assemblies in the AMT instruction sheet.
- The three clear parts are the impulse engines and the saucer shuttlebay. The latter should be opaque, of course. It seems AMT was not sure about the position of impulse engines and shuttlebays. There are in fact some pre-production drawings of the Enterprise-E that show two shuttlebays in the place where the impulse engines are in the final prototype. Paint the impulse engines from inside and cement together sub-assembly #1. Before painting the saucer hull, mask the impulse engines and the area where the engineering hull fits in.
- Both warp nacelles are symmetric and thus identical. The two Bussard collector parts and the plasma conduits have to be painted from inside. This is very delicate work for the latter one, since it is cemented on the same side. Finish sub-assembly #2 without the plasma conduits because they are hard to mask when the nacelle is painted. For better handling of the parts, do not cement together warp nacelles and warp pylons before painting (i.e. skip sub-assembly #3). So you have to mask the Bussard collectors, the area where the plasma conduits will be located and the warp pylon connecting area.
- see 2.
- The model's most obvious deviation from the "true" ship is the raised long panel between the deflector dish and the warp pylons (on both sides of the engineering hull). The panels have to be filed down to the level of the panel outline, resulting in a "channel". This additional work will take you more than an hour, but the result is worth the effort. A small rectangular file is required. In order not to affect the surrounding panels when filing, you can mask them with a thick tape. In this case you must remove the tape several times in order to control your filing. Paint the deflector dish from inside and cement together the parts as depicted. Also fix the engineering hull shuttlebay door and the "bump" behind the saucer section (from sub-assembly #5). Cement the warp pylons to the engineering section. This is useful, since the pylons serve to stabilize the hull when painting the parts. Do a test fit of saucer and engineering hull. Mask the dish, the top of the engineering hull where it connects to the saucer and the points of the warp pylons.
- see 4.
- All components are ready for painting now. I applied spray paint (light gray, RAL7035), since it is quick, easy to handle and provides a good result. However, careful preparation is inevitable. Check if all parts are masked that have to be cemented together or are already painted. Clean the whole hull with soap and water and dry it afterwards. Do not paint your model in a dusty environment. Give your paint enough time to dry.
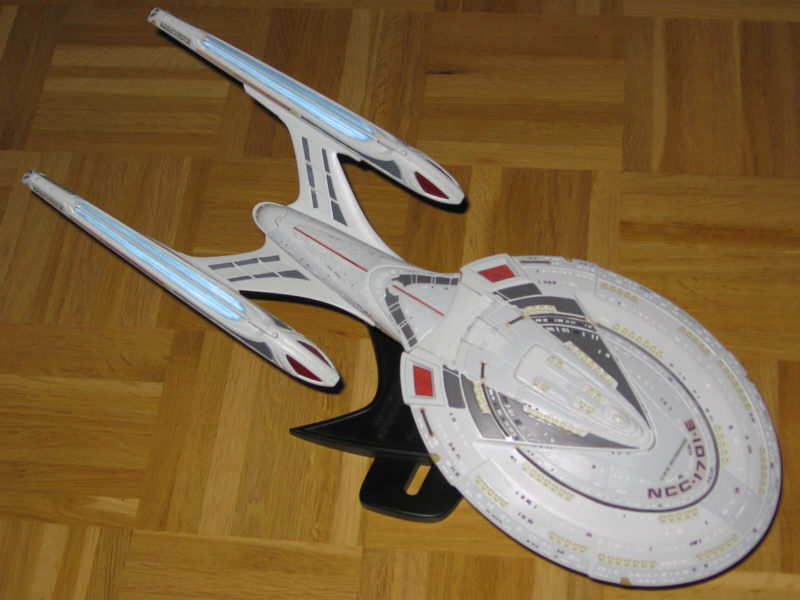
- Cementing together the major sub-assemblies is very easy. The warp nacelles need no adjusting the way it was necessary for many other kits, including the extremely tricky Enterprise-A. Compared to the image in the AMT instructions, the display stand has to be turned by 180° in order to stabilize the model. It remains AMT's secret why it is not possible to design a secure display stand.
Color Scheme
As usual, you can forget the AMT painting instructions, which are once again nearly completely wrong. The following table lists the appropriate colors for the major sections of the ship, based on screen shots, prototype images and the suggestions of Rick Sternbach, given e.g. in Model Citizen's Trek Modeler's Reference Guide. See the studio model and go to my links page if you need more information on the authentic colors.
| Overall hull color | Very light gray |
| Most raised panels | Light gray (only slightly darker) |
| Dark panels (saucer top and bottom, engineering hull bottom, engineering hull "bump") | Dark brown gray |
| Plasma vents (both sides of warp pylons and tubes) | Dark gray |
| Phaser strips | Brown gray |
| RCS quads | Light brown gray |
| Impulse engines | Red (when active) |
| Bussard collectors | Red (when active) |
| Plasma conduits | Light blue |
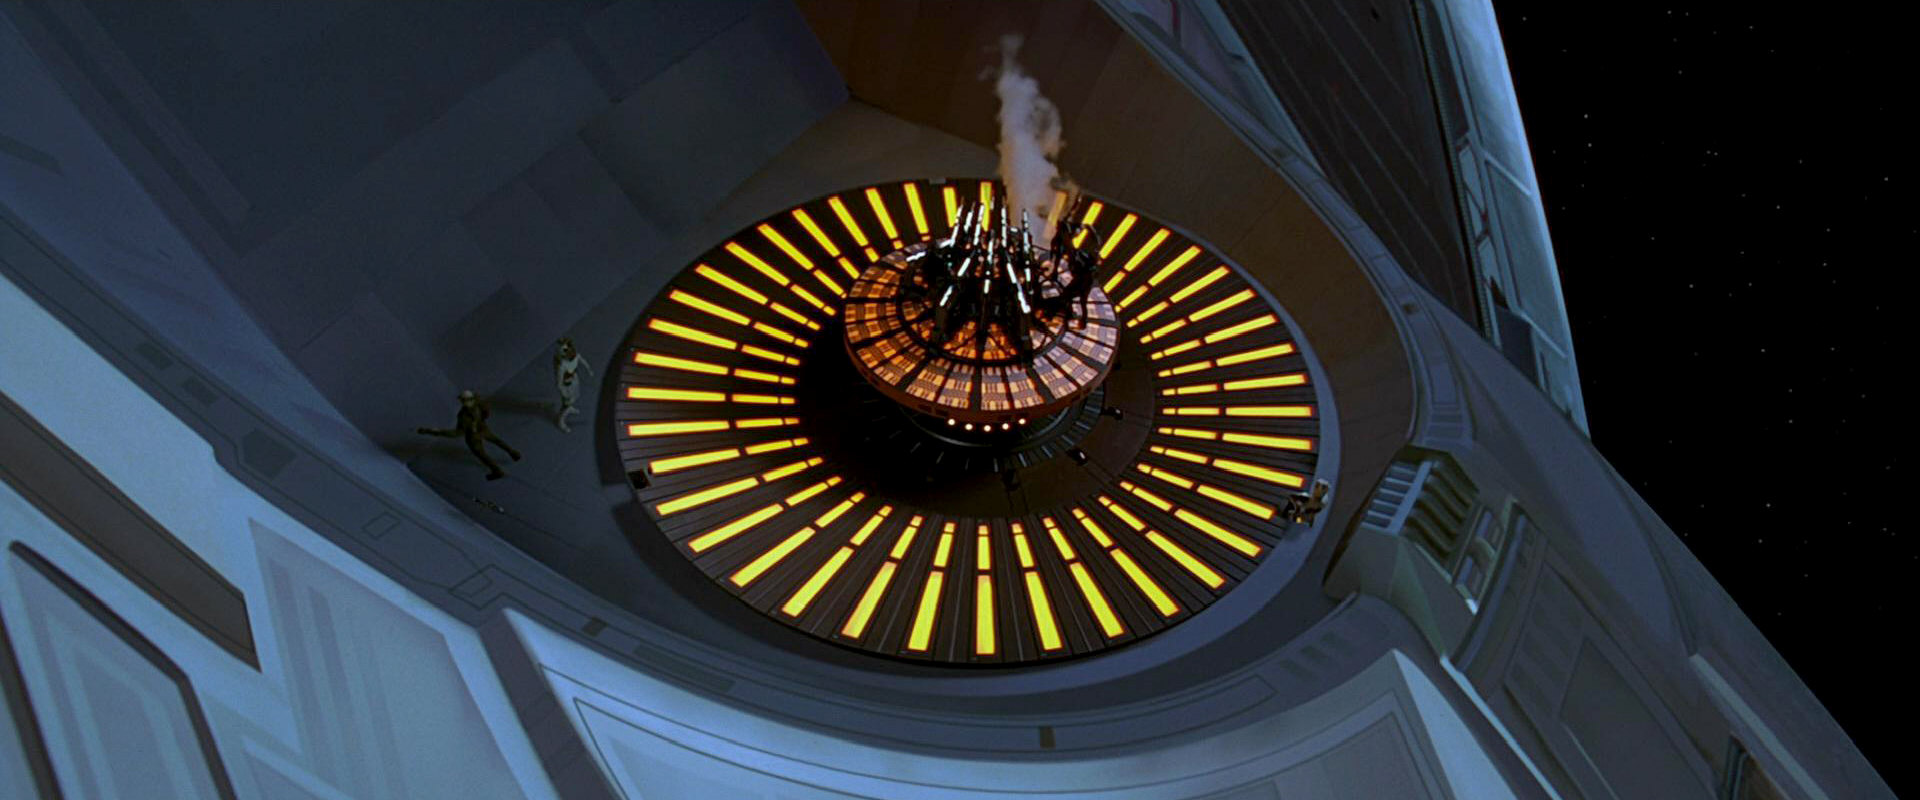
| Deflector dish | Some kind of yellow (when lighted, see the deflector scene) |
| Lighted windows | White |
| Dark windows | Black |
Painting will require several hours. However, most of the work is rather easy, since raised details as e.g. the deck panels need no masking. Though the windows are very small, they can be painted using a very fine brush and thinned enamel paint. Instead of brush and enamel paint you may utilize a fine waterproof pen for the dark windows.

Conclusion
The Enterprise-E is rather easy to build compared to many other AMT Star Trek model kits, the assembly difficulties of which range from hard to impossible. It is quite small, but well detailed. If you are careful in preparing the parts, cementing, painting and applying the decals, you will get an excellent model. It is important to ignore the AMT painting sheet in order to get an exact reproduction of the prototype. Work will take you some 25hours, 5h for preparation of parts, 2h for cementing, 1h for masking, 15h for painting and 2h for decals.
|
Rating
Reproduction: 7 |
See Also
Sovereign Class Variations - comparison of the Enterprise-E models used in the three movies


